

Your cuticles are doing a lot more than you probably realize. That thin layer of skin at the base of your nails is actually working hard to protect your nail beds from bacteria, germs, and dirt that could cause infections or mess with nail growth. Yet despite their importance, cuticles are often neglected or mistreated—either ignored completely or aggressively cut away during a manicure without a second thought. The irony is that taking care of your cuticles at home doesn’t require special skills or expensive products. With the right approach and a little consistency, you can keep your cuticles healthy, your nails strong, and your manicures lasting much longer.
The conversation around cuticle care can feel confusing, especially with conflicting advice floating around. Some sources say never cut them. Others say it’s fine if done right. You might hear that cuticles grow back thicker if you cut them, or that they’re completely removable dead skin with no real purpose. The truth is more nuanced, and understanding the basics makes all the difference between having beautiful, healthy nails and dealing with painful hangnails, infections, or manicures that chip in days. Let’s clear up the confusion and walk through exactly how to care for your cuticles the way dermatologists and professional nail technicians recommend.
What Your Cuticles Actually Are and Why They Matter
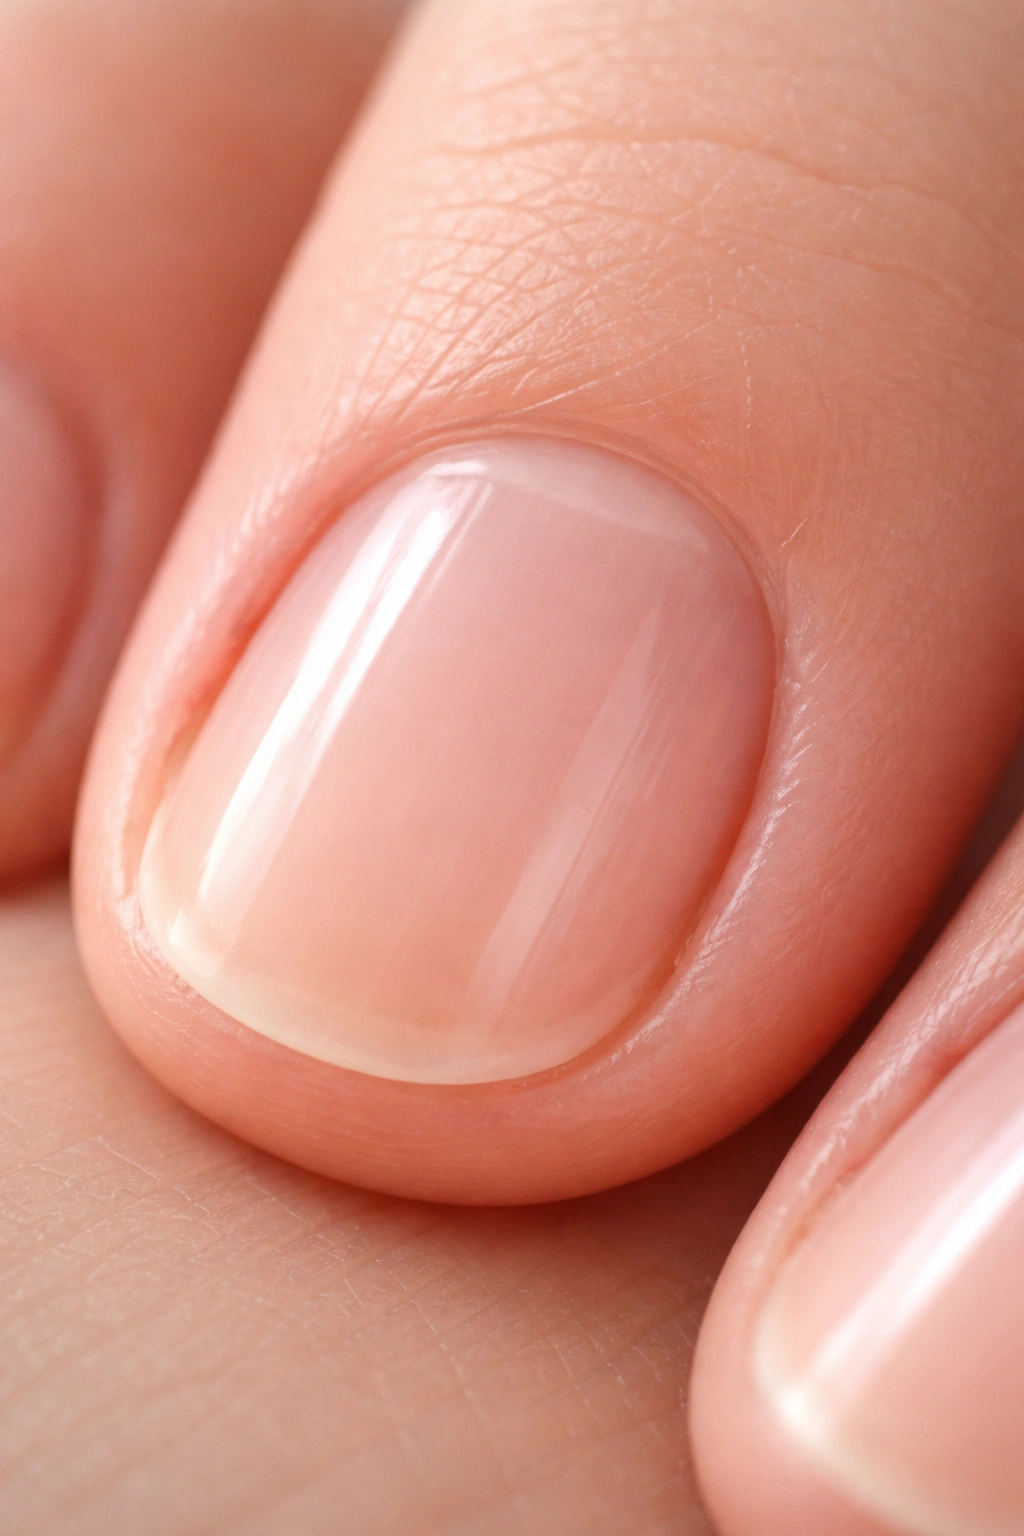
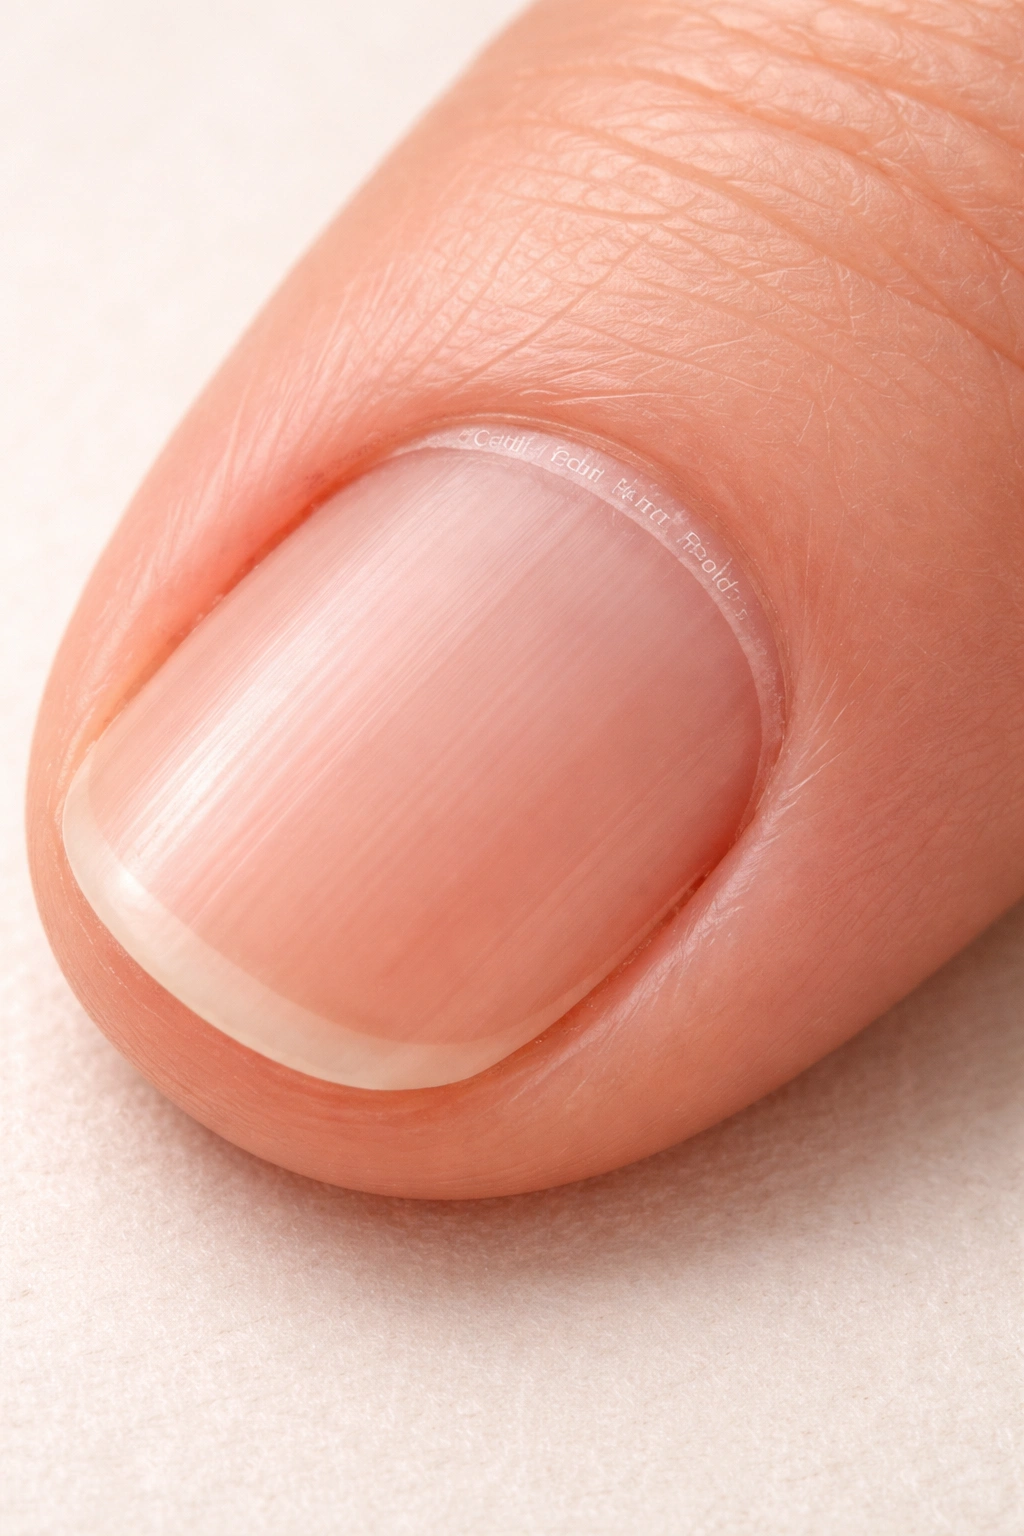
Your cuticle is a thin, transparent layer of dead skin located at the base of your nail. It sits directly over your nail matrix—the part of your nail where new nail growth actually originates. Think of your cuticle as the grout between tiles in a shower: it forms a watertight seal that keeps moisture, bacteria, and germs from getting into the nail unit and causing damage.
The confusion often starts with terminology. The cuticle itself is dead skin, so trimming it doesn’t hurt when done correctly. The living tissue above and around it is called the nail fold or eponychium, and that’s where problems occur if you’re too aggressive. Many people accidentally mistake one for the other and end up damaging the living tissue, which can lead to inflammation, infection, or the painful condition called paronychia.
Your nail beds are especially vulnerable because they’re constantly exposed to outside elements—soap, water, dirt, harsh chemicals, and bacteria. Without an intact cuticle protecting that area, your nail matrix has no defense against these invaders. This is why cutting or removing cuticles entirely opens the door to infection and compromises nail growth. When cuticles are healthy and in place, your nails grow strong and look polished. When they’re damaged or missing, your nails become susceptible to white spots, ridges, slow growth, and those stubborn infections that take weeks to resolve.
The Difference Between Cuticles and Nail Folds

Understanding this distinction is absolutely critical if you’re going to work on your cuticles at home. The terms get used interchangeably all the time, which is exactly why people accidentally damage the wrong part of their nails.
Your cuticle is the clear, dead skin you see at the base of your nail. It’s the protective layer that overlaps your nail plate. Your nail fold (also called the nail wall, proximal fold, or eponychium) is the living skin above and around the cuticle. It’s the actual flesh you see when you look at your nail from the side.
If you feel pain or see bleeding when pushing back your cuticles, you’ve gone too far and are now working with living tissue. That’s your cue to stop immediately. Dead skin doesn’t hurt to cut, but live skin absolutely does. If trimming ever causes discomfort, you’re doing it wrong.
Why Proper Cuticle Care Actually Affects Your Manicure Longevity
Here’s where it gets practical: how you care for your cuticles directly impacts how long your manicure lasts. If your cuticles are overgrown or covered in ragged dead skin, polish or gel has nowhere good to adhere. The product sits on top of that dead skin layer, which eventually sheds or lifts, taking your manicure with it.
With gel manicures specifically, this becomes even more important. Since gel sits on your nail and cures under UV light, any cuticle that’s been left on your nail bed acts like a weak spot waiting to give way. As your nails naturally grow and that cuticle eventually sheds, the gel loses its foundation and starts peeling. Professional nail technicians spend substantial time on cuticle prep before applying any polish or gel—often an hour or more—because they know good prep is the foundation of a manicure that actually lasts.
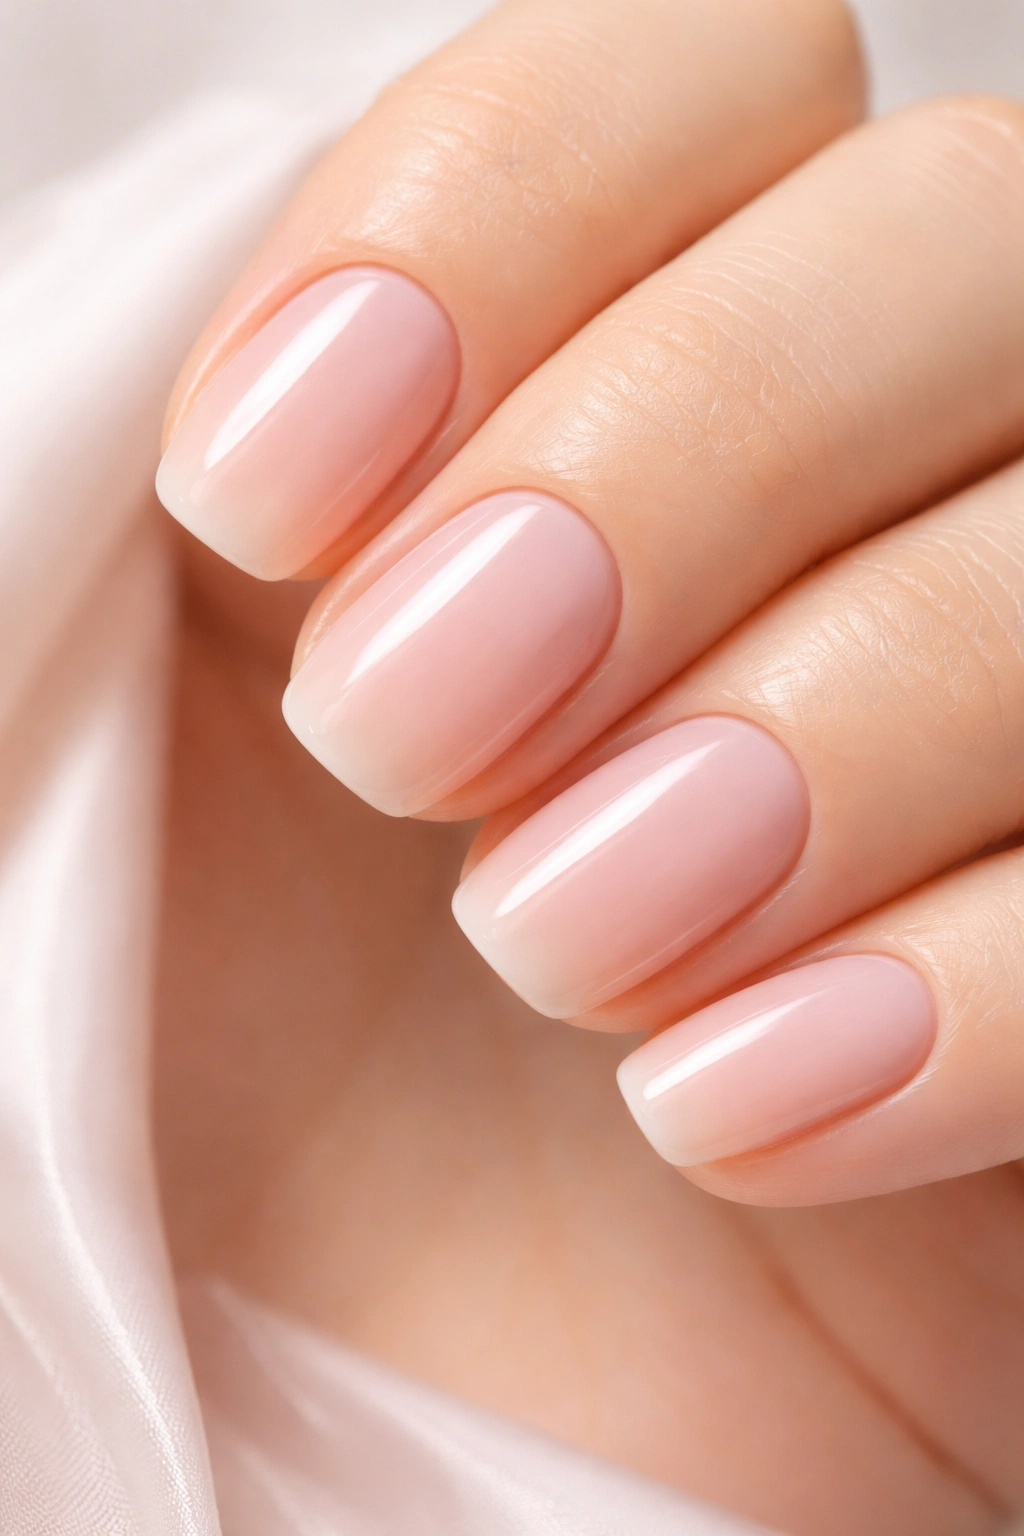
When your cuticles are properly prepared, your manicure adheres to actual nail plate instead of sitting on temporary dead skin. That difference means the gap between a manicure that chips after three days and one that holds strong for two weeks or more.
Moisturizing Your Cuticles Every Single Day
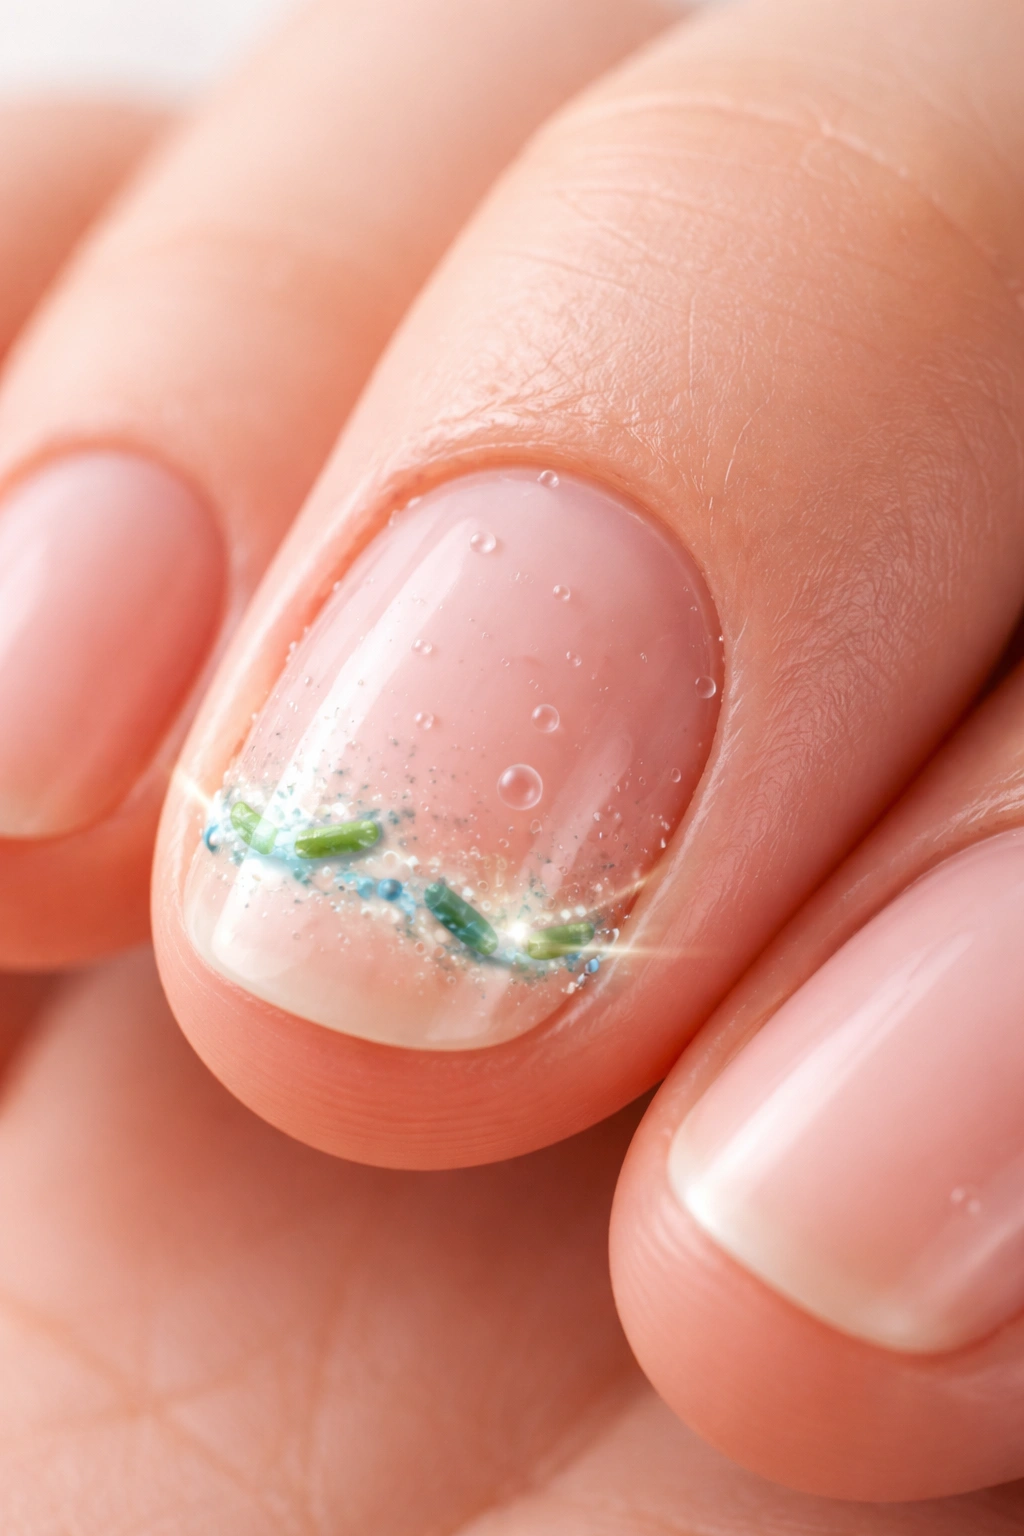
The single most important part of cuticle care at home is moisture. Period. Your cuticles are skin, and like all skin, they dry out, crack, peel, and flake. The delicate skin at the base of your nails is especially prone to drying because it’s thin and frequently exposed to water, hand sanitizer, soap, and harsh household chemicals.
Dry cuticles lead to every single problem you don’t want: peeling, cracking, hangnails, a ragged appearance, and increased susceptibility to infection. The solution is equally simple: apply a nourishing product daily, preferably multiple times a day. This is the one non-negotiable step in any cuticle care routine.
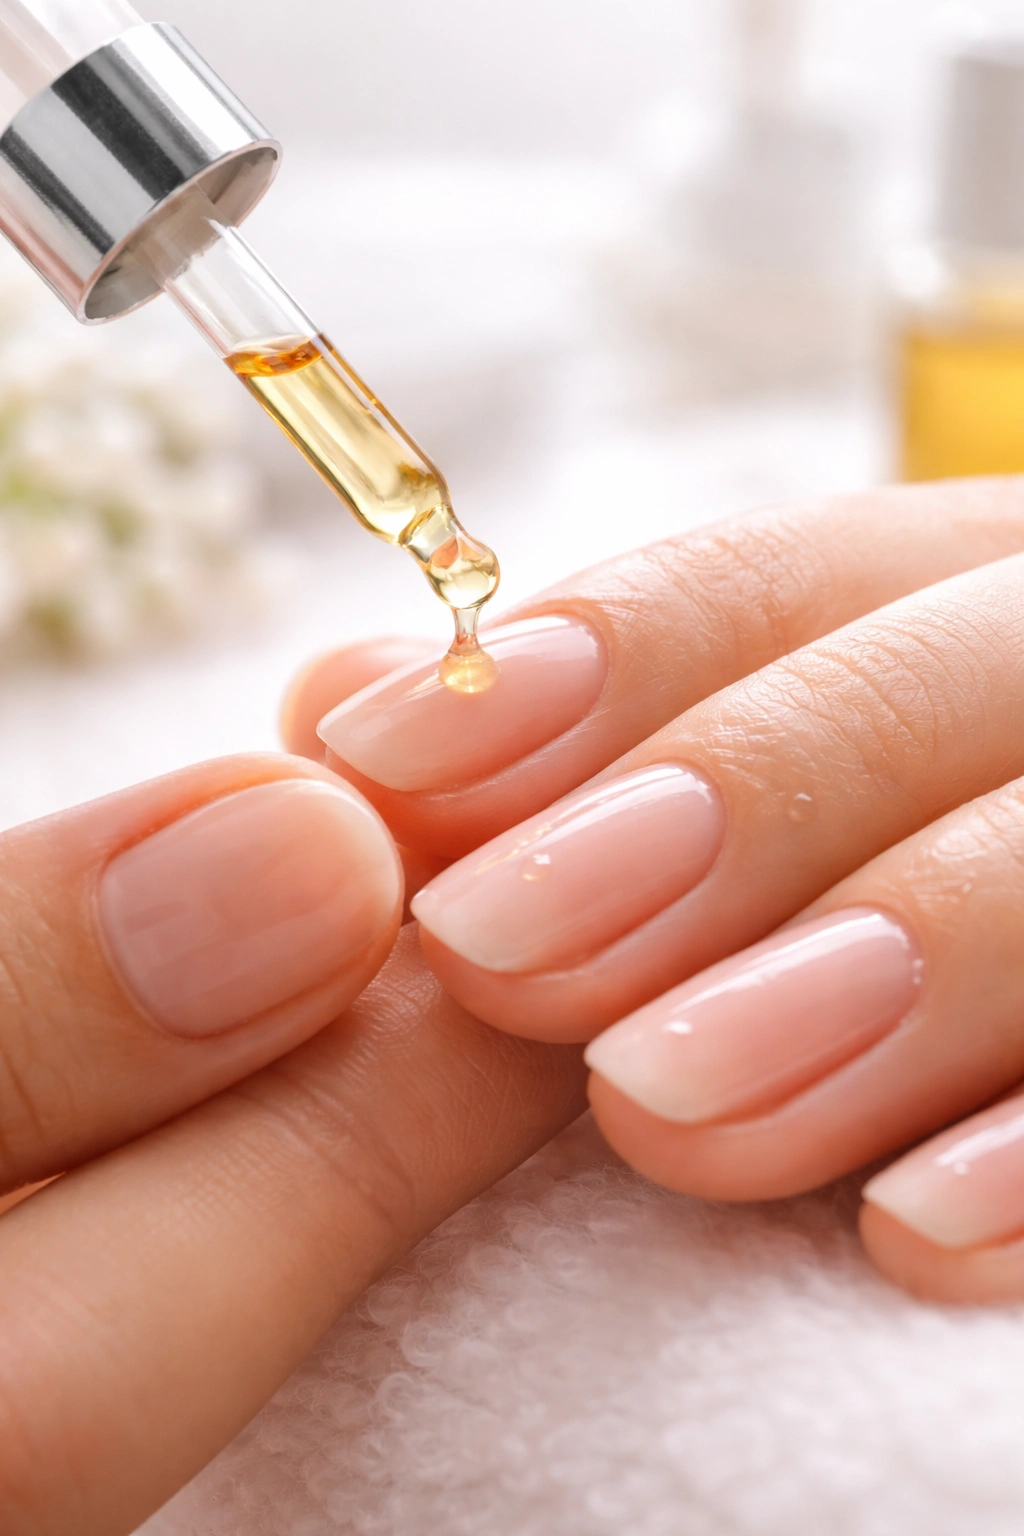
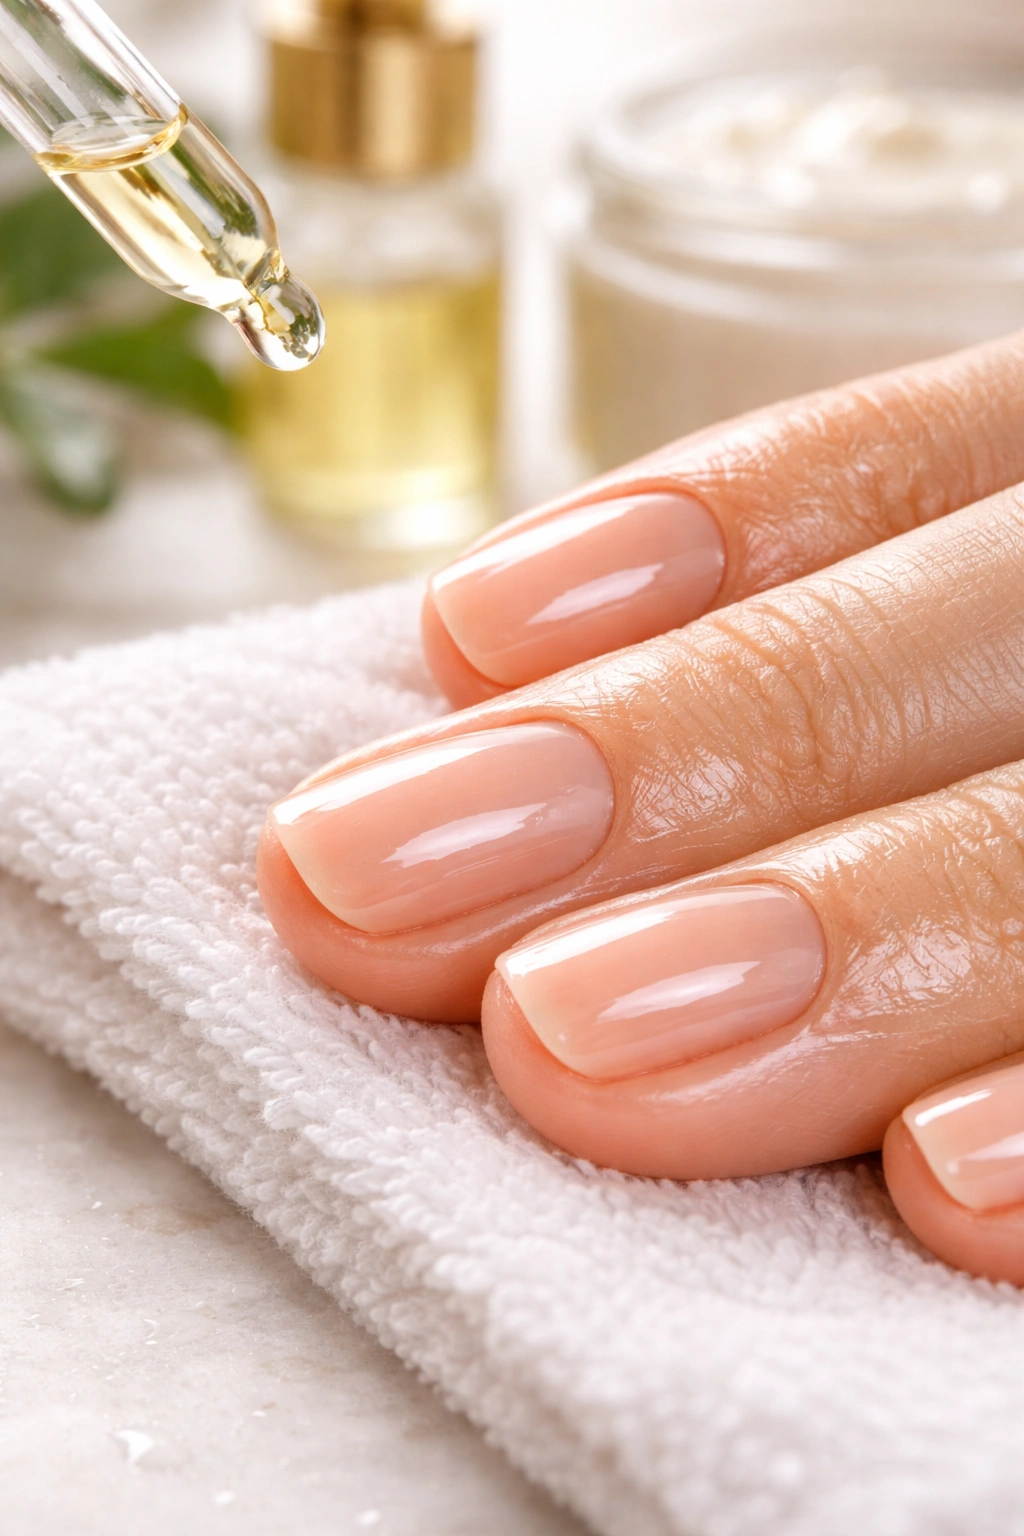
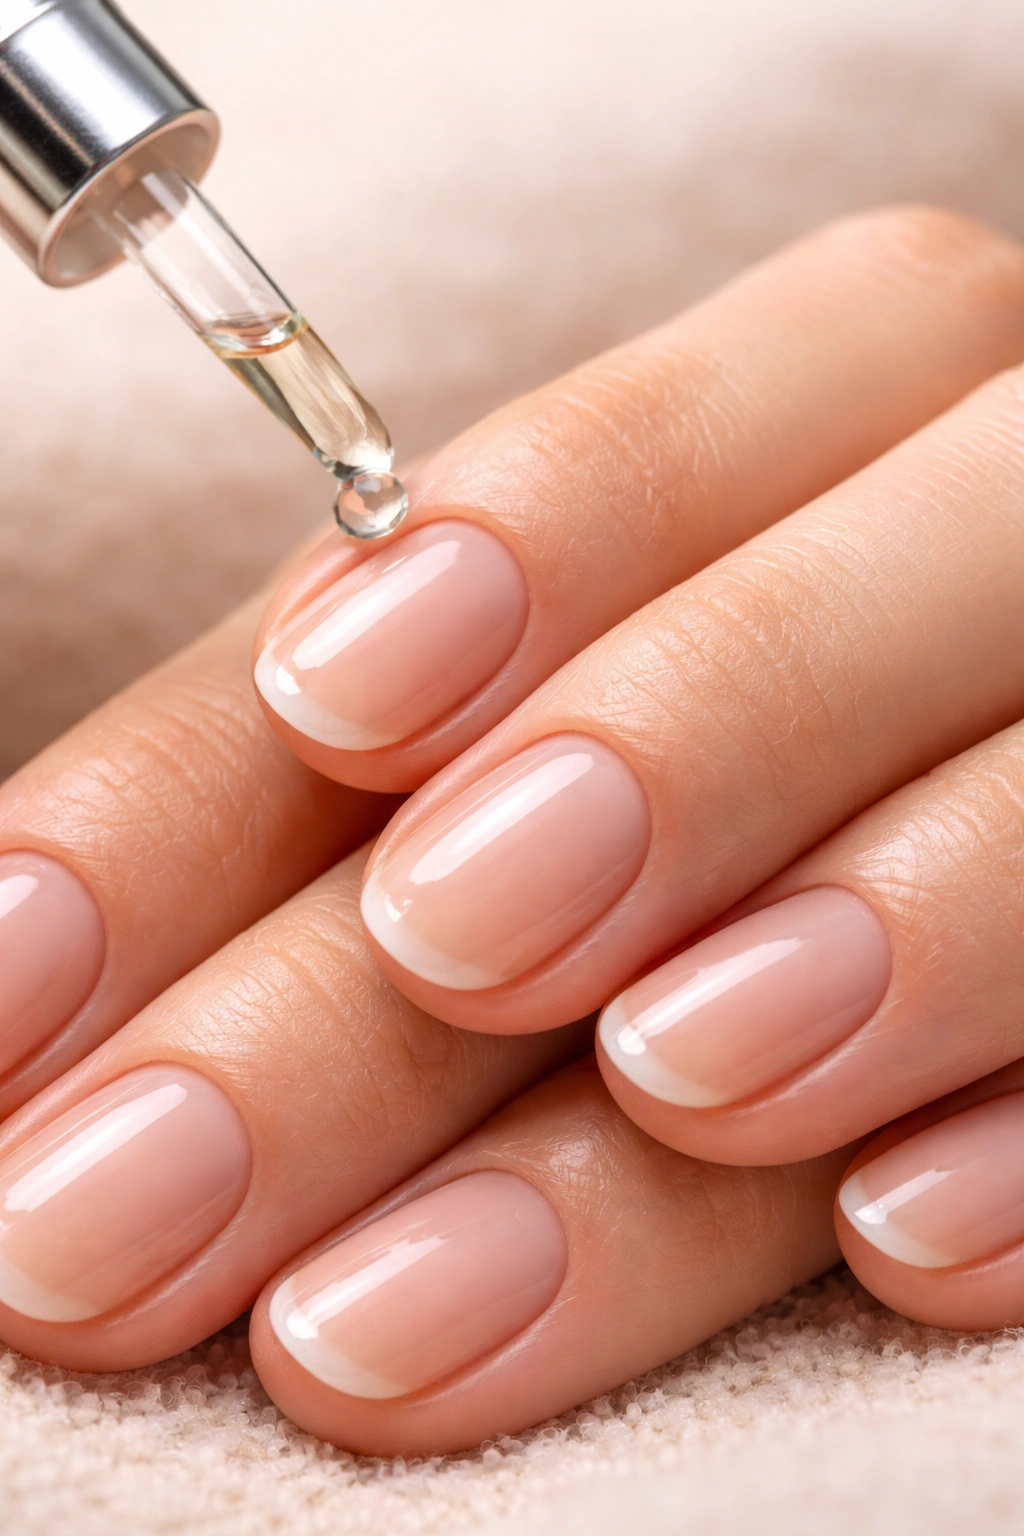
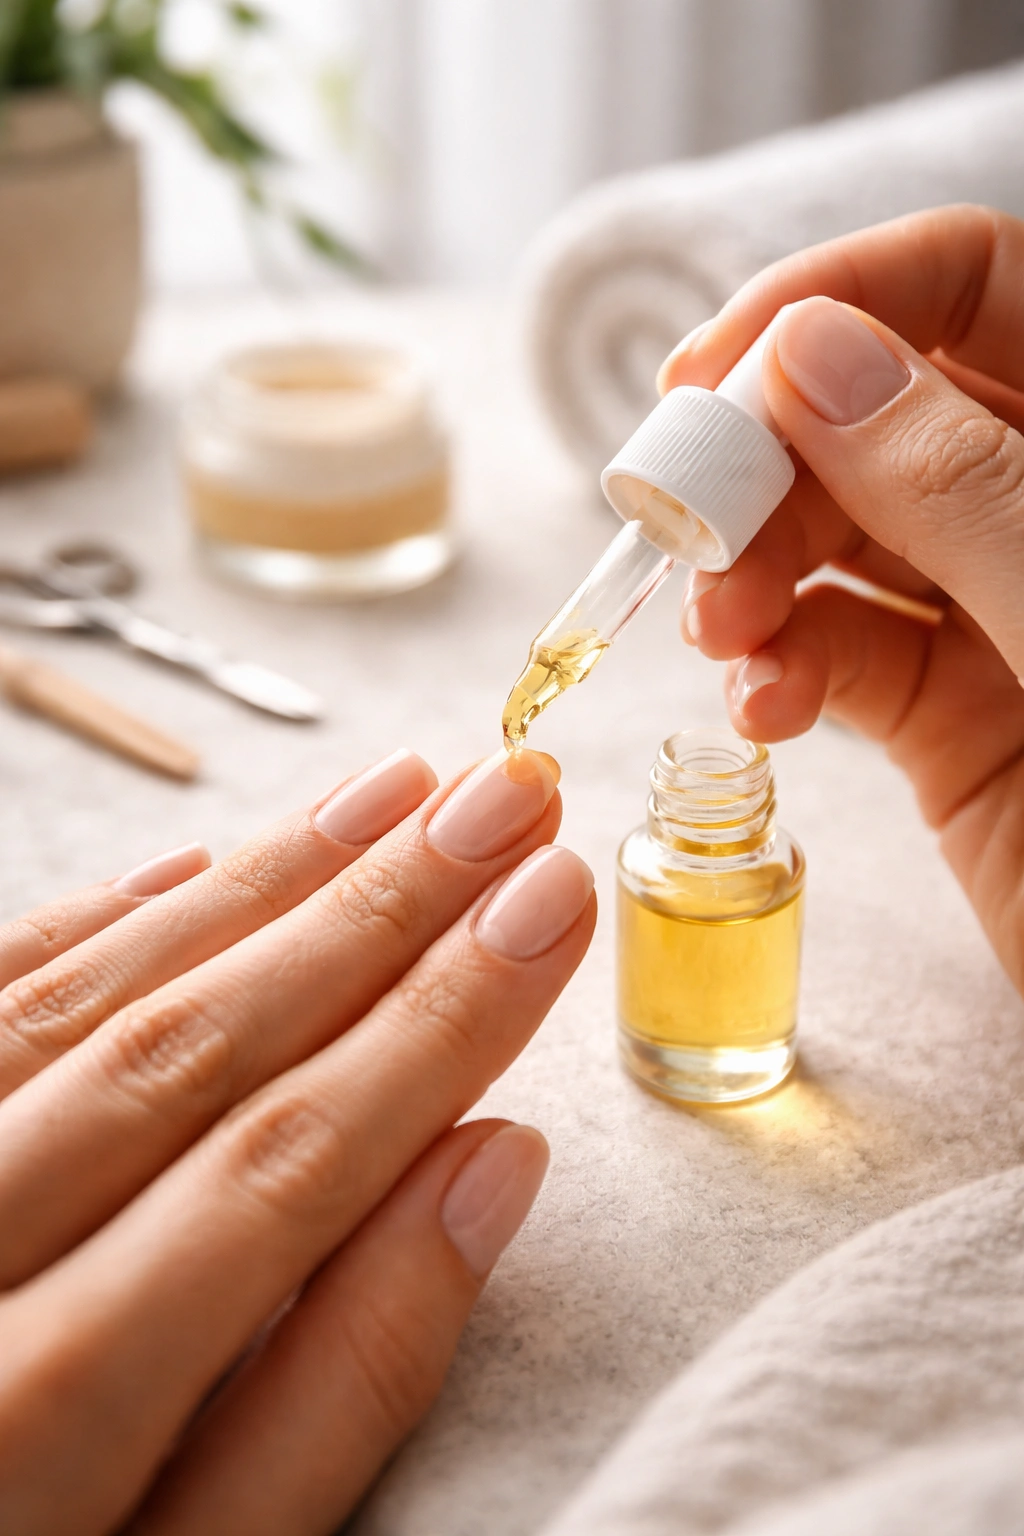
You have options for what to use. Cuticle oils are considered the gold standard because oils absorb more effectively into the cuticle tissue than creams. A good cuticle oil should contain nourishing ingredients like vitamin E, jojoba oil, sweet almond oil, or coconut oil. If you don’t have cuticle oil on hand, hand cream, hand lotion, or even regular moisturizer works fine—it’s just less effective than an oil.
Apply your cuticle moisturizer right after your hands are wet, ideally immediately after washing your hands or showering. Wet skin absorbs moisture better, and applying oil while the cuticles are still slightly damp helps seal in that hydration. If you remember to apply moisture only once per day, that single application is infinitely better than nothing. But twice daily is the goal—morning and night—because consistency is what actually changes the condition of your cuticles over time.
The Safest Tools for Cuticle Care at Home
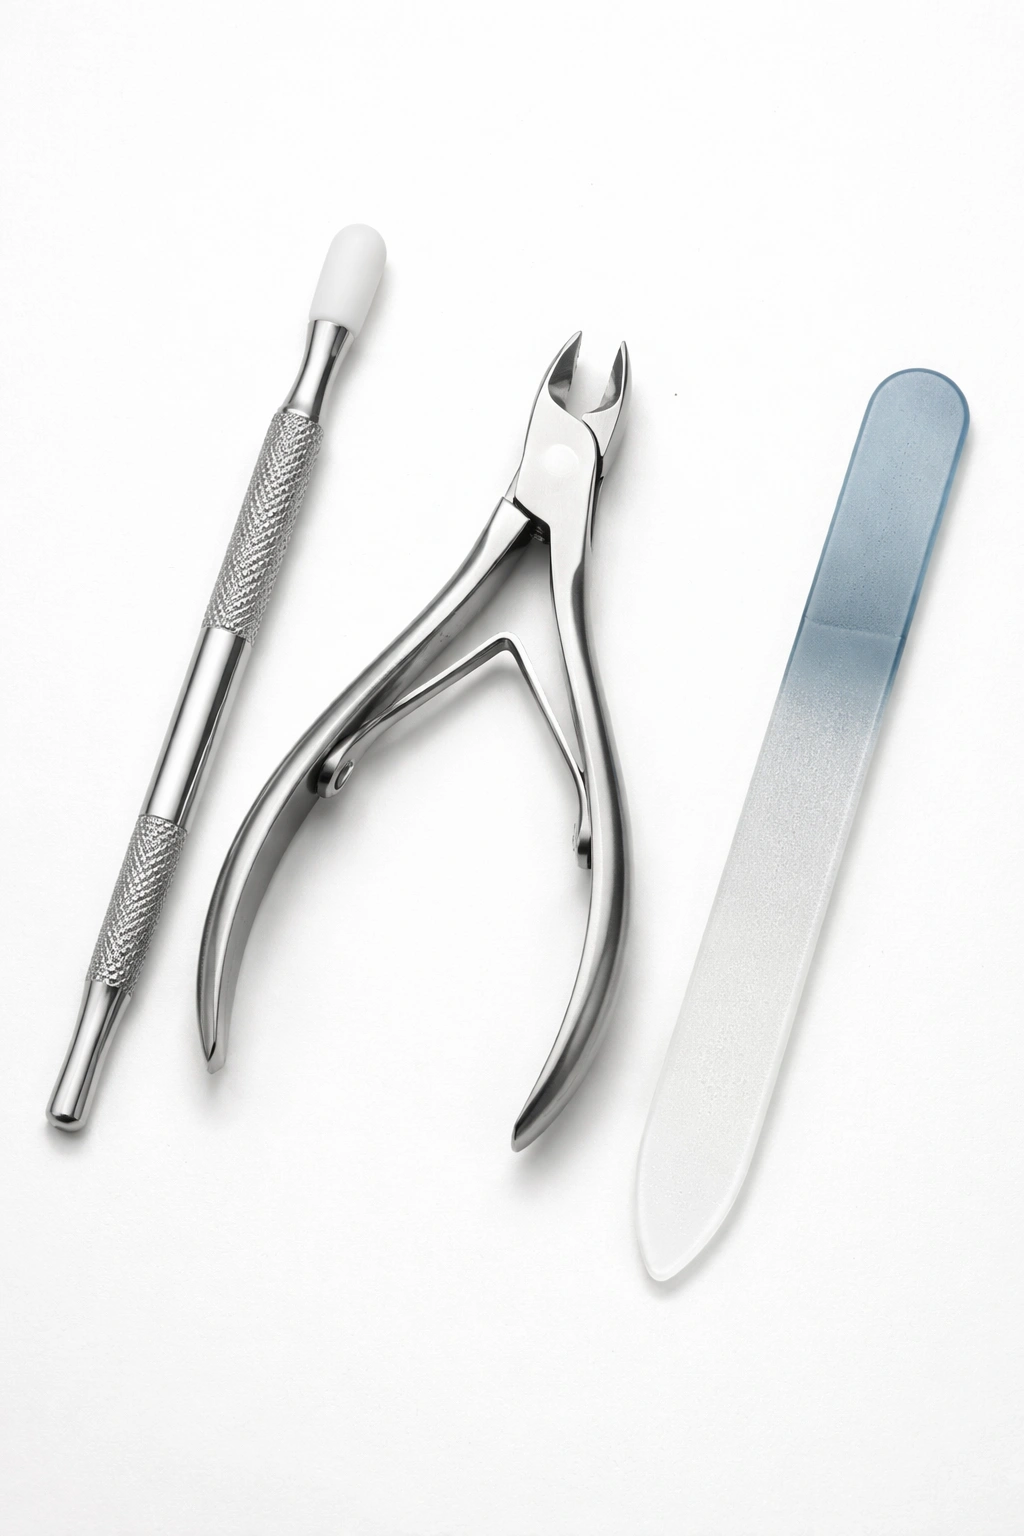
You don’t need much. In fact, you need far less than the marketing around nail care products suggests. Here’s exactly what deserves a spot in your cuticle care kit.
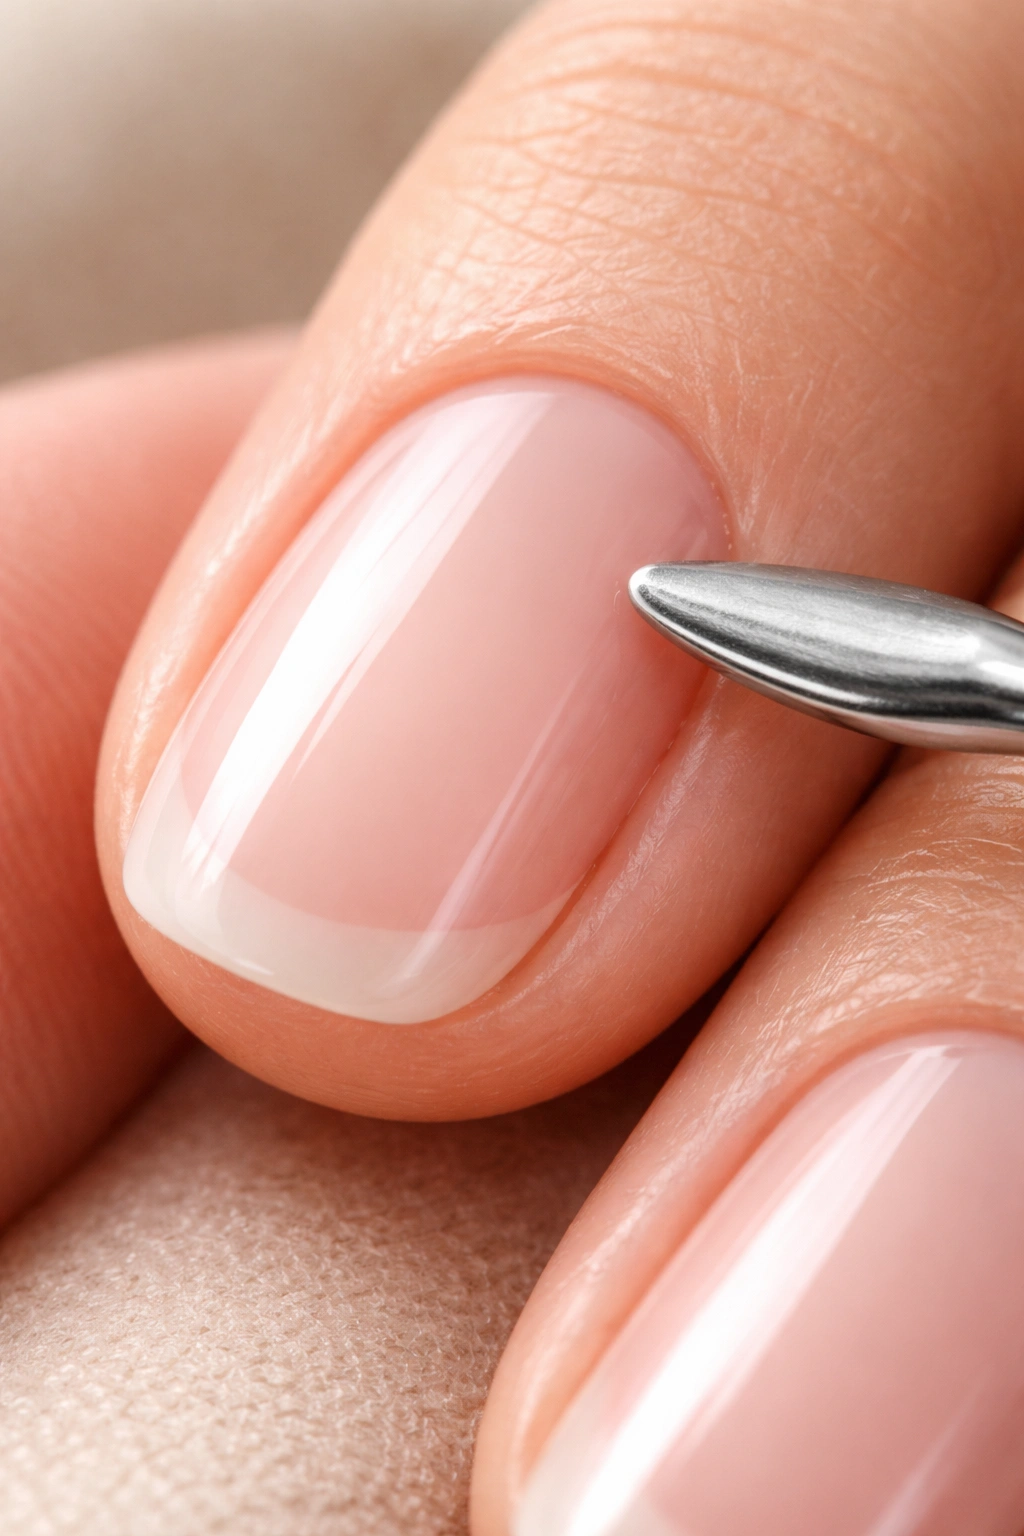
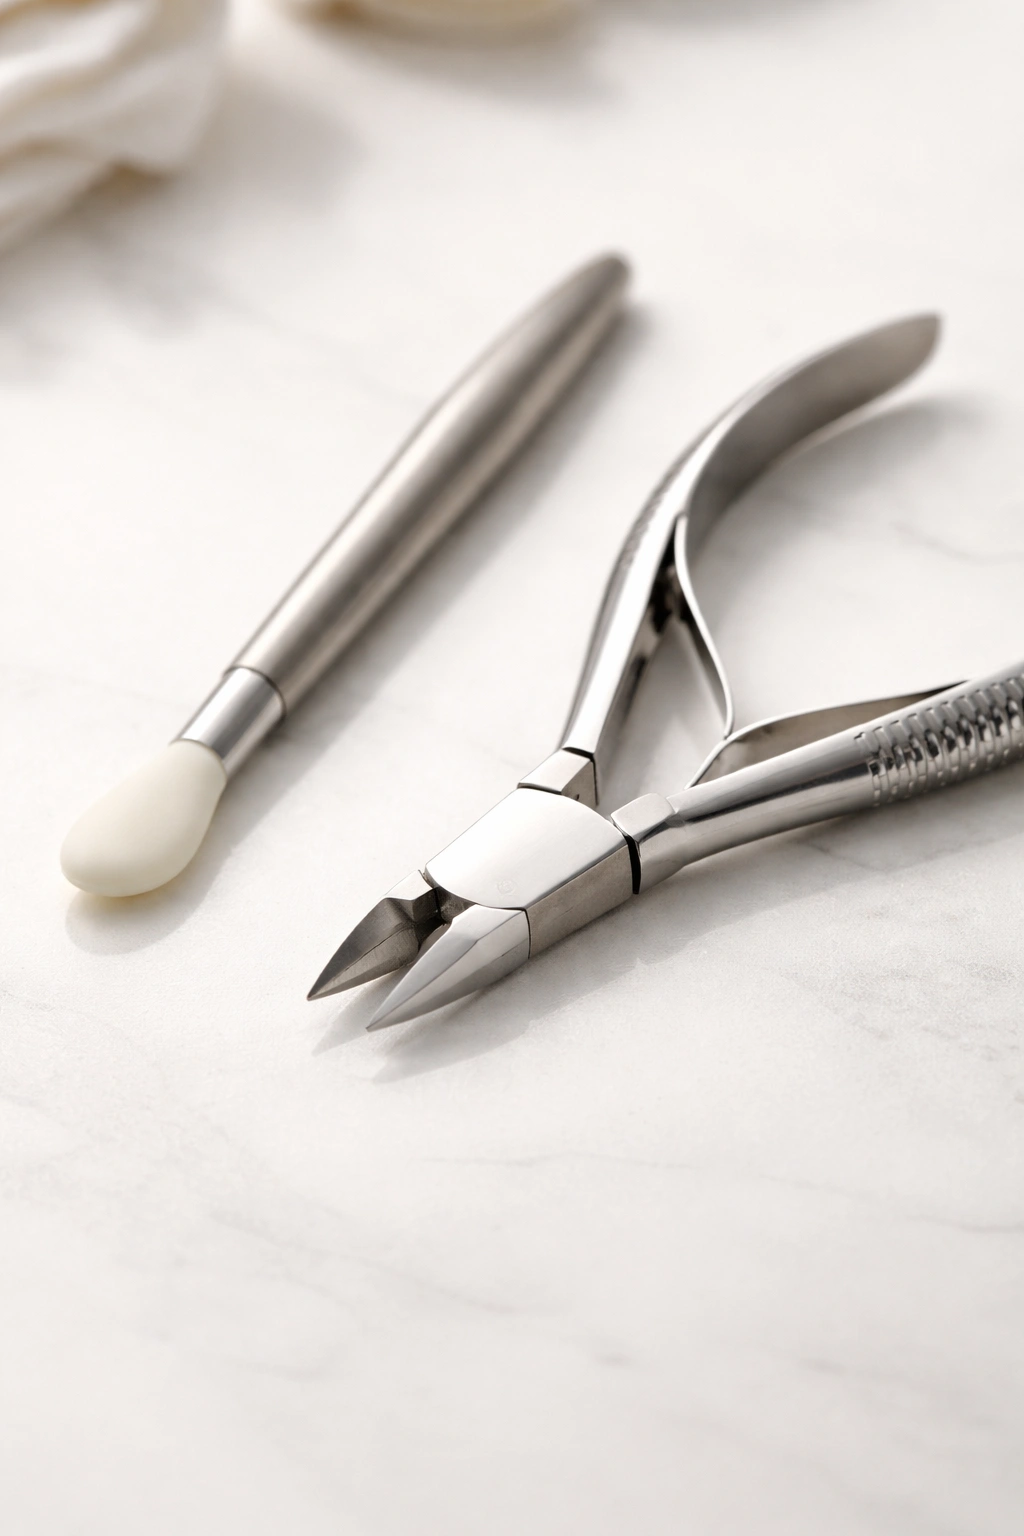
A gentle cuticle pusher is your workhorse. This should be made of a soft material—silicone, rubber, or wood. Avoid sharp metal pushers or tools with rough edges because they can scratch your nail bed or damage the nail matrix that sits directly beneath the surface. Look for pushers with a beveled or rounded edge rather than anything sharp or pointed. Ideally, it should feel comfortable in your hand and require minimal pressure to do its job.
Cuticle nippers (also called cuticle clippers or trimmers) are worth having if you want to safely trim dead skin or hangnails. Regular nail clippers are too blunt and won’t give you the precision you need. Real cuticle nippers have fine, sharp blades that cut cleanly. The catch: they need to stay sharp. A dull pair is more dangerous than a sharp one because you’ll press harder and risk slipping. If you have nippers that are more than a year or two old, invest in fresh ones.
A nail file and buffer matter for smoothing rough edges, but they wear out. Replace files and buffers every few manicures rather than using the same one for months. A worn file is ineffective and can cause damage. Quality nail files aren’t expensive—you can buy packs of five or six for just a few dollars.
That’s really it. You don’t need a fancy cuticle remover gel or liquid, and honestly, many nail professionals have moved away from them. Liquid cuticle removers often require water soaking to deactivate them, which means you’re adding moisture to the process when you’re trying to work with dry cuticles. A dry cuticle is actually easier to work with because you can clearly see what’s dead skin versus living tissue.
The Dry Manicure Approach to Cuticle Prep
Professional nail technicians increasingly use what’s called a “dry manicure” for cuticle work, and this method is something you can absolutely do at home. The concept is straightforward: keep everything dry while you’re working on your cuticles. No soaking. No water. Minimal moisture.
This approach works because dry cuticles are visibly different from living skin. Dead cuticle skin becomes tough, dry, sometimes a slightly different color, and easy to distinguish from the soft, pink, living tissue beneath. When you soak cuticles, they hydrate and soften, making it difficult to tell where one ends and the other begins. You’re much more likely to accidentally cut living tissue when everything is soft and swollen from water.
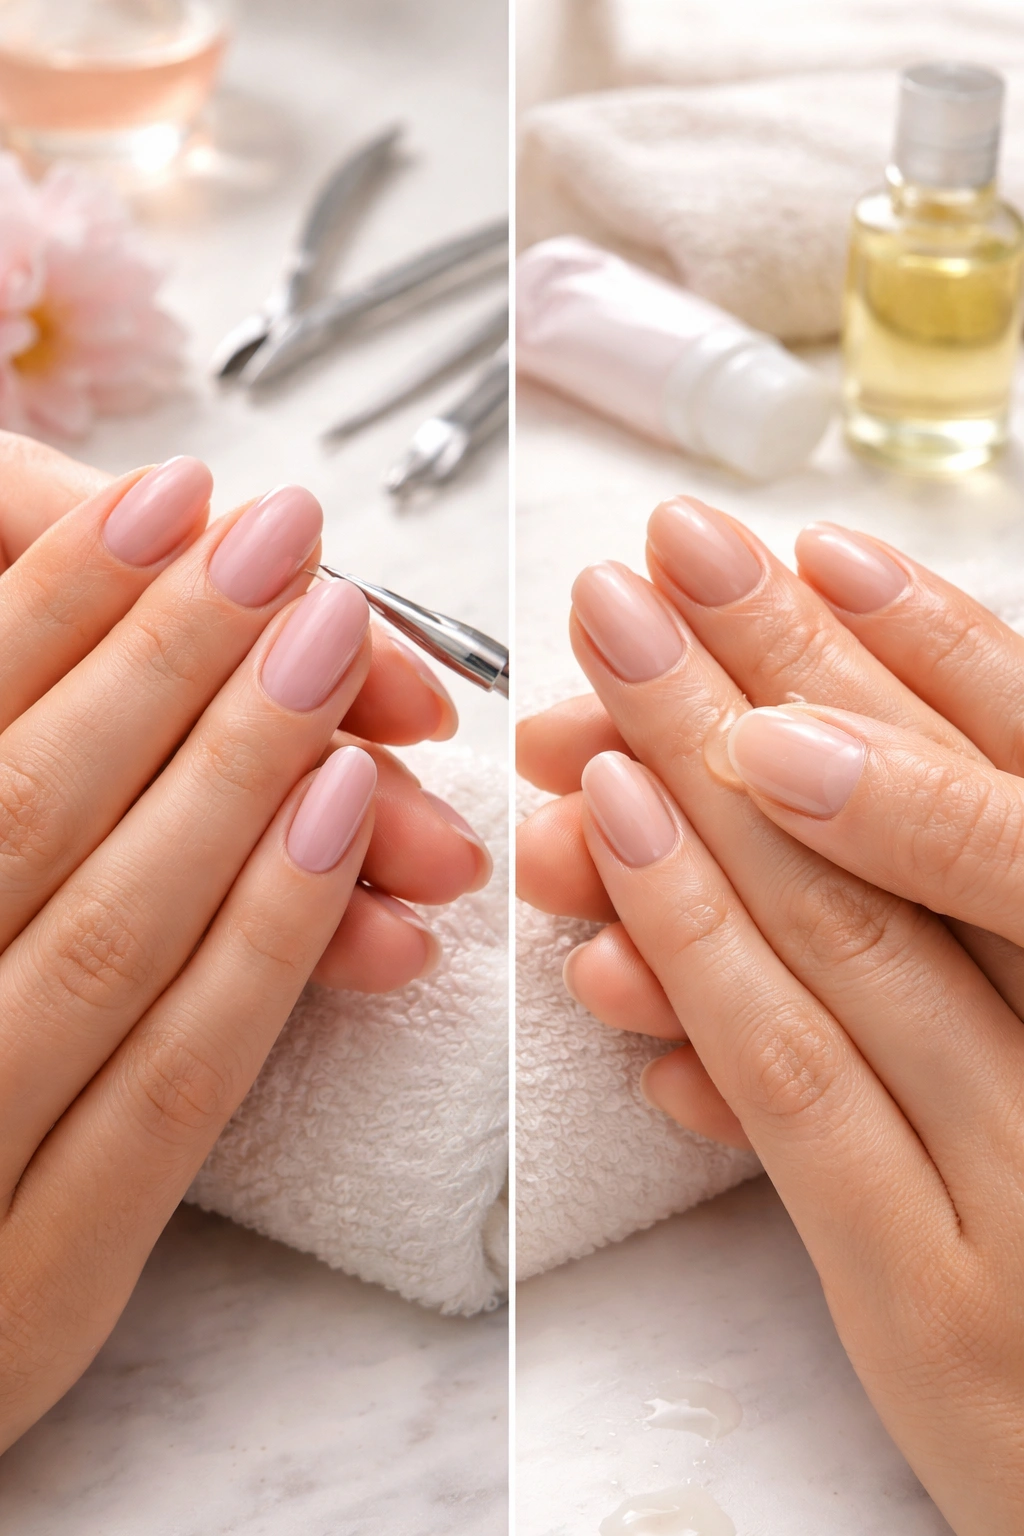
If you want to do a dry manicure approach at home, here’s the basic flow: Remove any old polish completely. Use alcohol (rubbing alcohol, 70% or higher concentration) to cleanse your nails and the cuticle area, which helps dry everything out. Use your cuticle pusher to gently push back the cuticles. As you do, you’ll notice dead skin starting to peel away. Now carefully nip off the dead skin that’s lifted or is clearly loose and ready to go.
The entire process takes about 10 to 15 minutes per hand once you get comfortable with it. You’ll know you’re done when your nail bed looks clean and exposed, with no visible overgrowth of cuticle at the base.
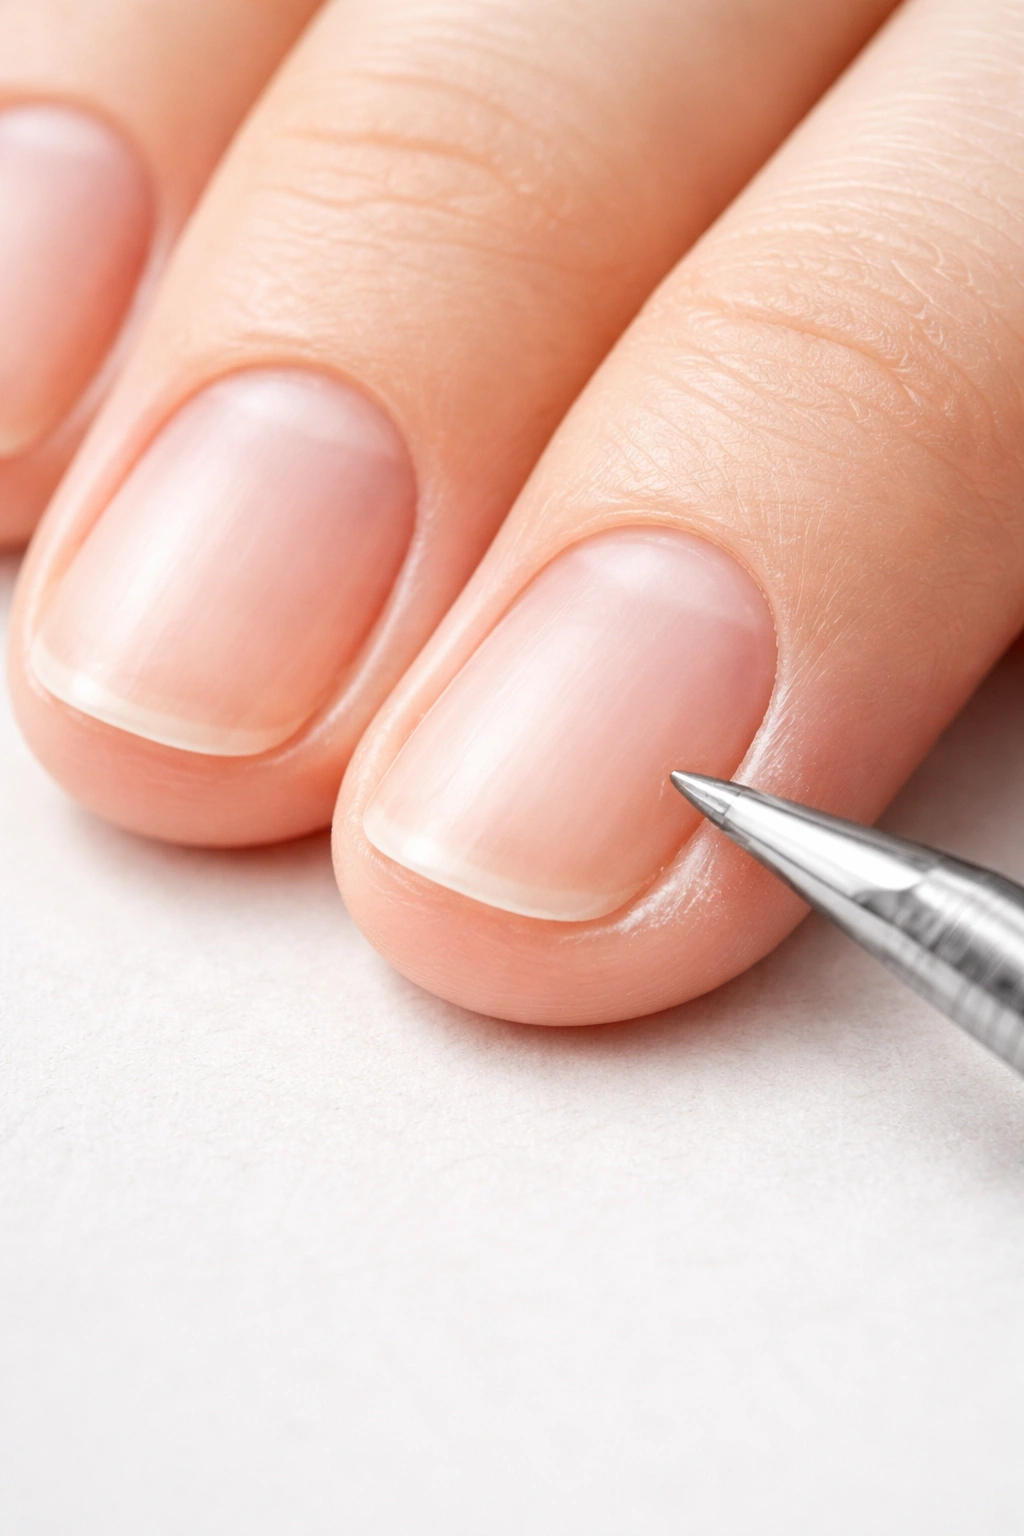
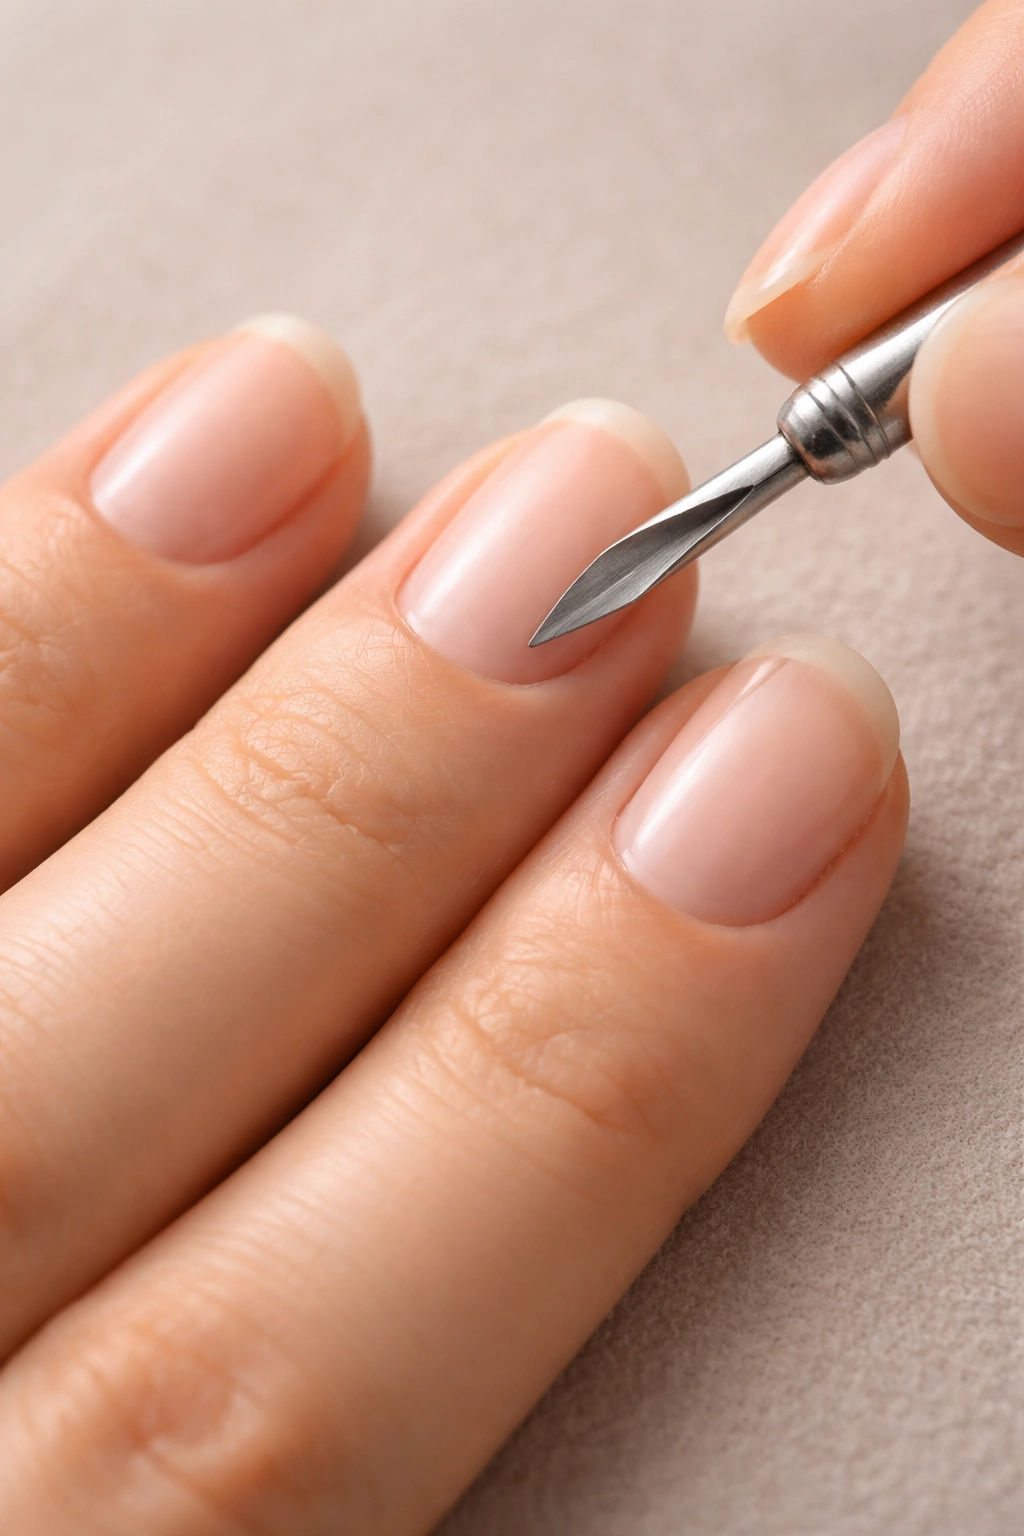
How to Safely Push Back Your Cuticles

Pushing back your cuticles is the gentlest intervention you can do and is universally recommended by dermatologists. You’re not removing anything; you’re simply pushing the cuticle back to where it should naturally sit.
Start with a soft cuticle pusher. Some people prefer wooden orange sticks, which are inexpensive and surprisingly effective if you use them gently. Place the pusher at the base of your nail where the cuticle meets the nail plate. Use very gentle pressure—you should barely be pressing at all. The pusher should glide back naturally with minimal force.
Push in one direction, moving the cuticle away from the nail and back toward your nail fold. Don’t push straight down into the nail matrix; that can cause damage. Instead, imagine you’re nudging the cuticle back and away, at roughly a 45-degree angle. Take your time with each nail. Rushing and applying heavy pressure is how people accidentally cause trauma to the nail bed.
If you notice pain or any resistance, stop. You’ve either hit a hard bit of cuticle that needs to be trimmed separately, or you’re starting to work with living tissue. Don’t push through it. Your cuticles don’t need to be perfectly pushed back for them to be healthy—they need to be moisturized and left relatively untouched.
When and How to Trim Dead Skin and Hangnails
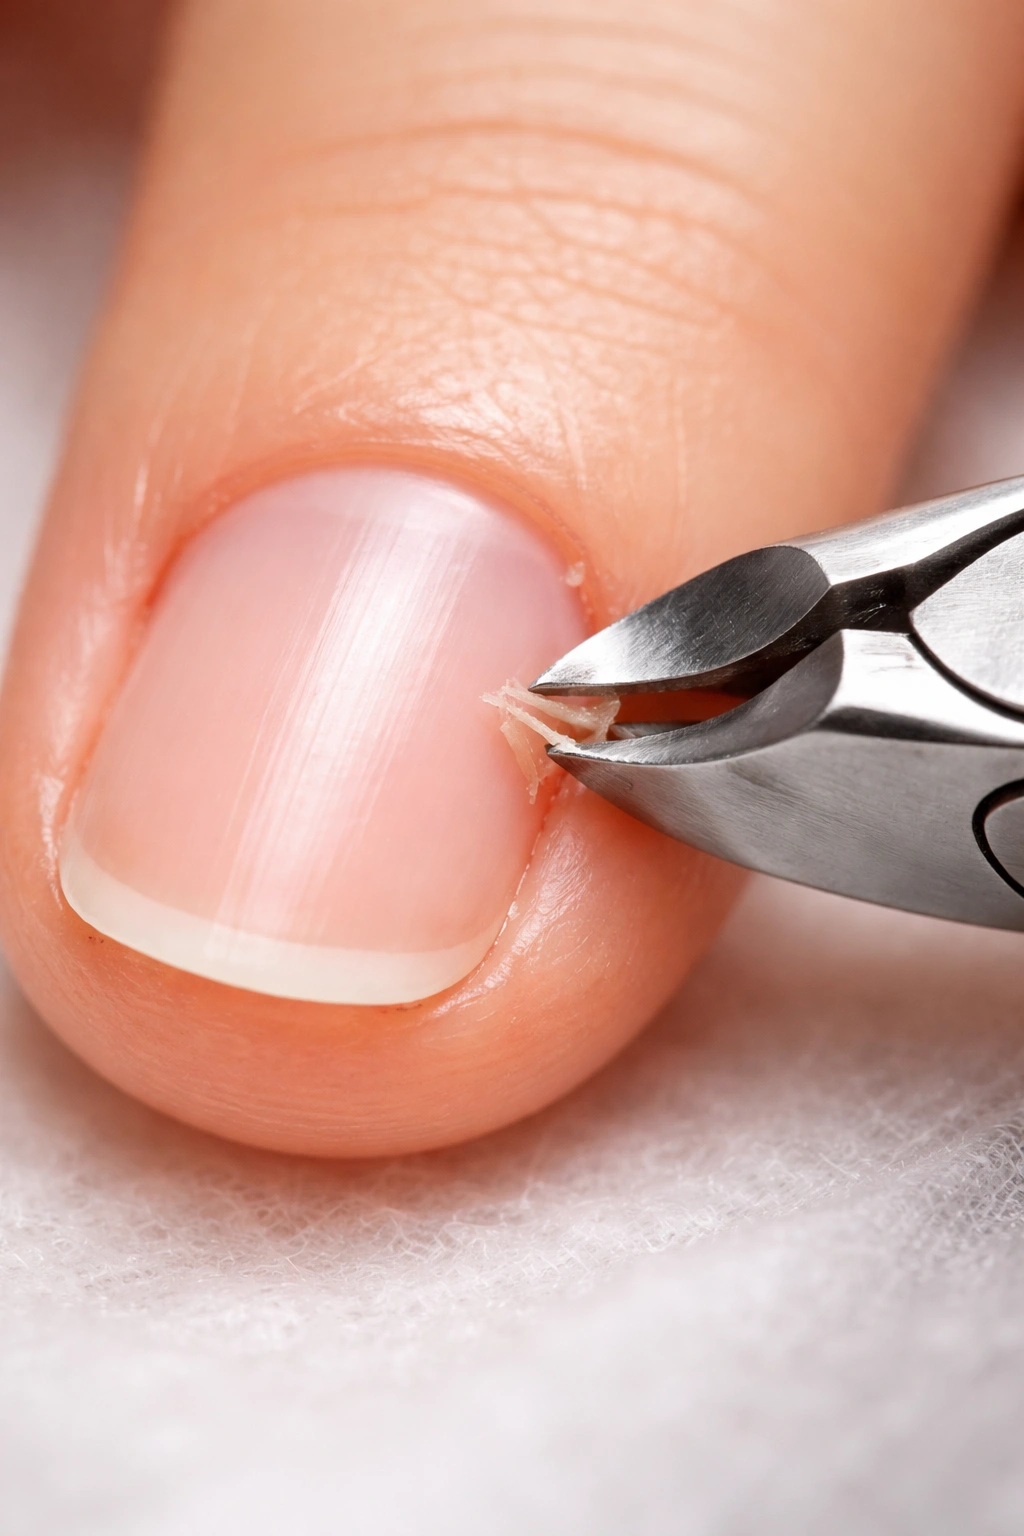
There’s debate in the nail community about whether you should ever trim cuticles. Dermatologists generally recommend against it. However, many professional nail technicians do trim cuticles safely when it’s done properly. The key word is properly.
If you decide to trim, only remove dead, loose skin that’s actually lifted away from your nail or is clearly ready to go. Use sharp, clean cuticle nippers. Hold the trimmer perpendicular to your skin and snip with quick, clean cuts. Never tear or rip—that causes bleeding and opens the door to infection.
Hangnails are the small pieces of skin that tear away from the side of your nail bed. They’re actually separated cuticle or nail fold skin, not an extension of your cuticle. If you have hangnails, remove them carefully with nippers or tweezers. Don’t bite or tear them off with your fingers—that introduces bacteria from your mouth and can lead to infection.
The golden rule: if you don’t feel completely confident that you’re cutting only dead skin, don’t cut at all. Just push back and moisturize. That approach is always safer, and you’ll still have beautiful-looking cuticles.
Protecting Your Cuticles from Drying Agents
Your cuticles face constant assault from drying elements throughout your day. Identifying and minimizing these exposures is just as important as actively moisturizing.
Hand sanitizer and frequent hand washing are huge culprits. Both are necessary, but they dramatically dry out cuticles. Apply cuticle oil immediately after washing or sanitizing to replenish lost moisture. If you’re going through particularly heavy hand washing or sanitizer use, consider applying oil before you wash as a protective barrier, then again afterward.
Acetone nail polish remover is another major drying agent. Many standard nail polish removers contain acetone, which strips moisture from nails and cuticles rapidly. If you’re regularly removing polish at home, switch to acetone-free remover or ask salons to use gentler formulas. This single switch can dramatically improve cuticle condition over a few weeks.
Exposure to harsh chemicals like household cleaners, dish soap, and laundry detergents dries cuticles significantly. Wear gloves whenever you’re washing dishes, cleaning, or doing laundry. This simple step keeps your hands—and specifically your cuticles—out of direct contact with these drying, sometimes irritating substances. Vinyl or latex gloves work best because they create a barrier while allowing some air circulation.
Prolonged exposure to hot water also dries cuticles. While the occasional hot bath or shower is fine, frequent exposure to very hot water—like when you’re soaking at a nail salon—can compromise cuticle health. If you’re going to soak your hands, use lukewarm water rather than hot.
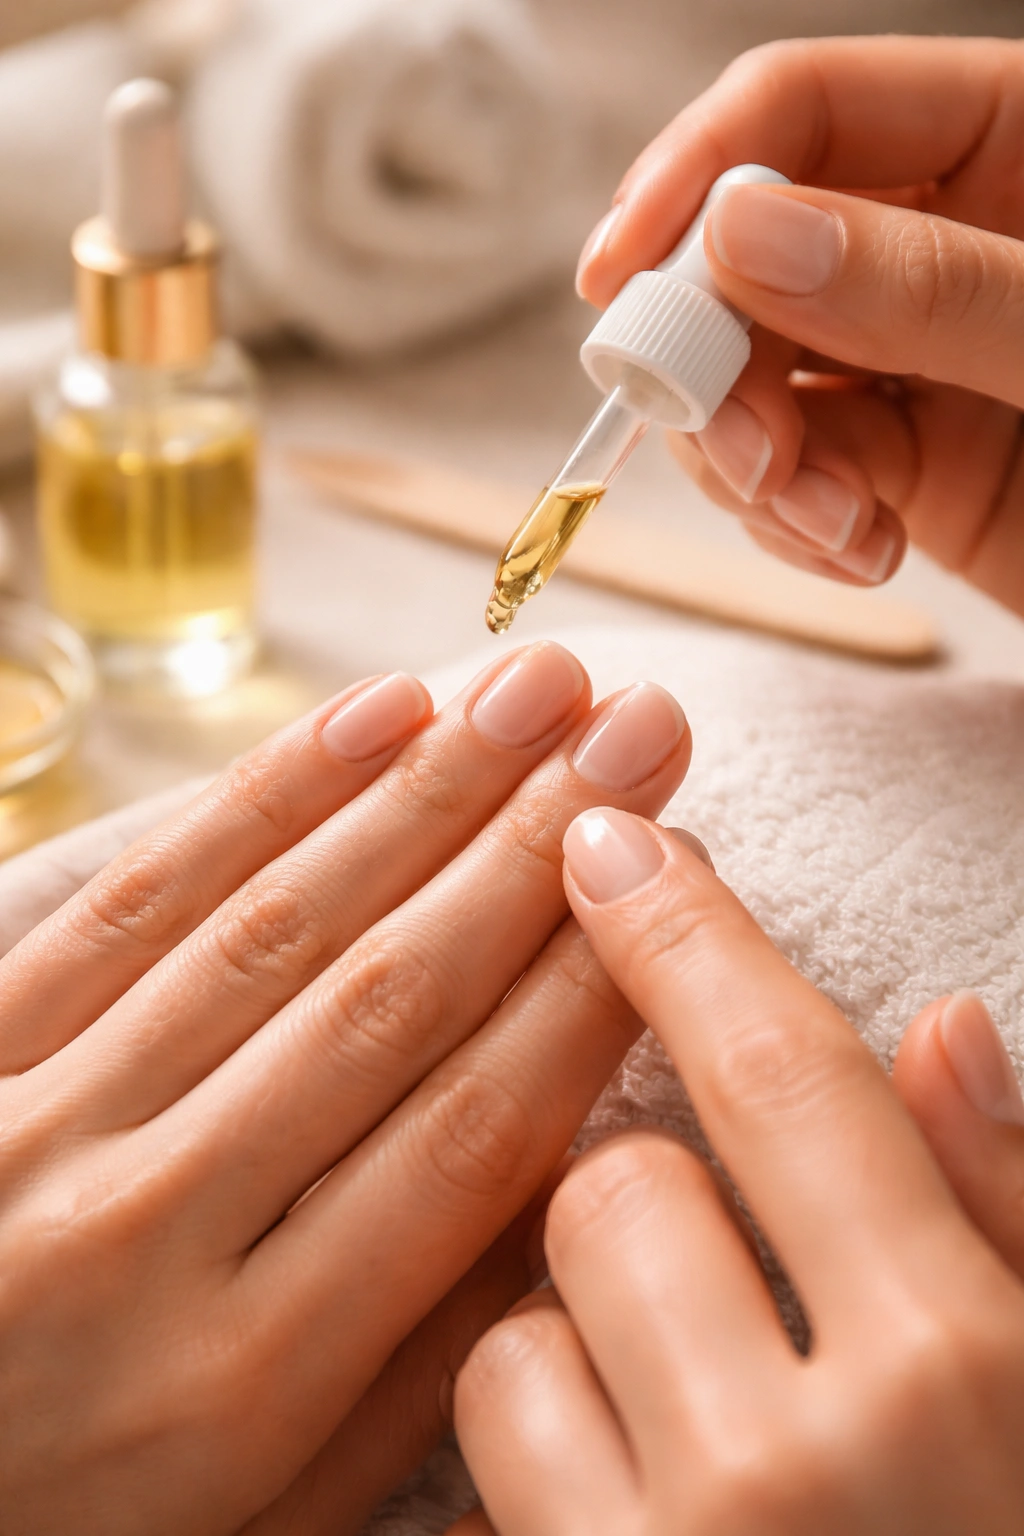
Using Cuticle Oil Effectively for Maximum Hydration
Not all cuticle oils are created equal, but honestly, any cuticle oil is better than none. Find one you enjoy using and actually will apply consistently. Some popular options include apricot cuticle oil, jojoba oil, vitamin E oil, sweet almond oil, or blended formulas with multiple nourishing ingredients.
The application technique matters more than the specific product. When you apply your cuticle oil, don’t just quickly wipe it on and move on. Take 30 to 60 seconds to massage the oil into your cuticles and around your nail beds. This massage does multiple things: it helps the oil absorb more effectively, it boosts circulation to the area (which supports healthy nail growth), and it ensures even coverage.
Apply oil at least once daily, ideally twice—morning and night. Keep a small bottle or rollerball at your desk, by your sink, and anywhere else you naturally remember to use it. The more accessible your cuticle oil is, the more likely you’ll actually use it consistently. Many people who struggle with dry cuticles simply aren’t applying moisturizer frequently enough.
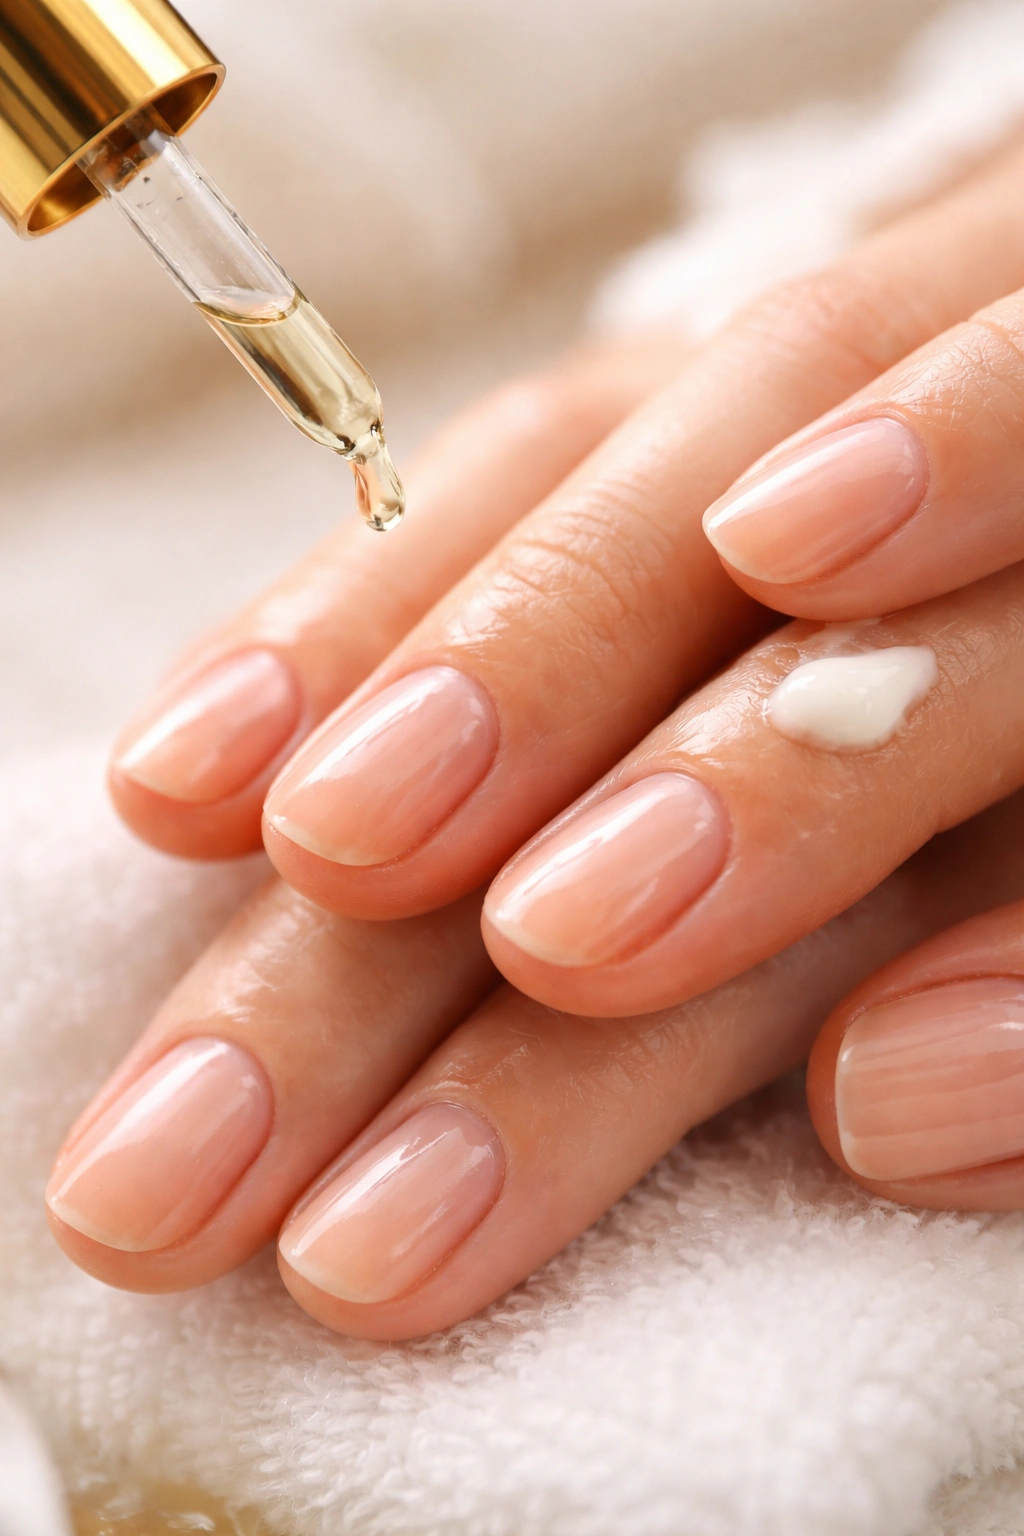
For extremely dry cuticles, try cuticle oil plus a thick ointment combination. Apply your cuticle oil first, let it sink in for a minute, then seal it in with a layer of thick ointment like Vaseline, Aquaphor, or a hand salve. This traps moisture and provides intense nourishment, especially effective at night or in very dry climates.
The Overnight Nail Slugging Technique

Nail slugging is exactly what it sounds like—the same occlusive moisturizing technique that works for skincare, applied to your nails and cuticles. It’s especially helpful during seasons when dryness is at its worst or when your cuticles are particularly damaged.
Apply your regular cuticle oil, allowing a minute for it to absorb. Then apply a thick occlusive ointment generously over your cuticles and nail beds. Vaseline is the classic choice, but Aquaphor, CeraVe Healing Ointment, or any thick petroleum jelly–based product works equally well.
For maximum results, put on a pair of cotton gloves or plastic gloves and wear them overnight. This traps all that moisture and ointment against your skin, giving it hours to deeply hydrate. You’ll wake up with noticeably softer, more supple cuticles. Do this two to four times per week, or nightly if your cuticles are seriously compromised.
The result is cuticles that are plump, hydrated, and far less prone to peeling, cracking, or developing hangnails.
Avoiding Habits That Damage Cuticles
Certain habits, however tempting, cause serious cuticle damage that undermines all your care efforts. Breaking these habits might be harder than any technique, but it’s worth it.
Biting or picking at your cuticles is the quickest way to cause infection. Your mouth contains bacteria that don’t belong in your nail beds. Even a tiny tear from picking can admit bacteria that causes paronychia—a painful infection of the skin around your nails. If you have a habit of nibbling at your cuticles or skin around your nails, the most effective solution is to keep them well moisturized so there’s no excess skin tempting you to pick.
Tearing or ripping at hangnails with your fingers causes the same problem. Always use nippers or tweezers instead. The clean cut of a proper tool is far safer than the ragged tear that happens when you rip with your fingers.
Aggressive buffing or filing of the cuticle area damages the nail matrix beneath. You don’t need to file or buff your cuticles into oblivion. Gentle does the job.
The easier habit to build: apply cuticle oil whenever you notice yourself tempted to pick. Often that urge comes from dry, flaky skin that begs for attention. Hydrated cuticles are less interesting to fidget with.
Professional Manicures Versus At-Home Cuticle Care
There’s absolutely a place for professional manicures. A skilled nail technician can do work on your cuticles that requires training and precision. The question is how to manage the gap between professional appointments while maintaining your cuticles at home.
If you get manicures professionally, ask your technician to be gentle with your cuticles. Explicitly tell them to push cuticles back gently and trim only obviously dead, loose skin. Tell them to avoid aggressive scraping or metal tools that can damage your nail bed. A good technician will appreciate the clear communication.
Between professional appointments, your at-home routine is essential. Keep your cuticles moisturized daily, gently push them back if they start to overgrow, and trim only the most obviously loose dead skin. This maintenance keeps your cuticles in good condition between salon visits and actually extends the time you can go between appointments.
If you’re not visiting a salon regularly, you have complete control over your cuticle care. This is actually an advantage—you can be as gentle as you want and never have the aggressive manipulation that causes problems.
Troubleshooting Common Cuticle Problems

Peeling and cracking cuticles are solved with consistent moisture. Apply oil or cream daily for at least two weeks, and you should see improvement. If peeling persists despite daily moisturizing, consider whether you’re exposing your hands to something particularly drying—harsh soaps, frequent hand washing without moisturizing afterward, or prolonged water exposure. Address the root cause while maintaining hydration.
Persistent hangnails that keep coming back usually signal that your cuticles are too dry. The skin separates and tears easily when it’s not properly hydrated. Increase your moisturizing frequency and consider adding the overnight slugging technique twice a week. Hangnails should decrease noticeably within one to two weeks of consistent care.
Redness or swelling around your nails might indicate infection or excessive trauma from aggressive cuticle work. Stop any trimming or pushing immediately and see a dermatologist if it doesn’t resolve in a few days. In the meantime, keep the area clean, avoid water exposure as much as possible, and apply a gentle moisturizer—no harsh products.
Nails that won’t grow or are ridged or thin can sometimes be traced back to damaged cuticles or nail matrix trauma. Switch to an extremely gentle approach: moisturize only, no trimming or pushing. Give your nails several months of gentle care to potentially recover from previous damage.
Building a Sustainable Daily Cuticle Care Routine
The best cuticle care routine is one you’ll actually maintain. That means making it simple and attaching it to something you already do.
Link your cuticle oil application to an existing habit. Apply oil right after you shower, or right after you wash your hands at the sink in the morning, or right before bed while you’re winding down. When the new behavior is attached to an existing routine, you’re far more likely to maintain it.
Keep cuticle oil accessible. Put a small bottle in your bathroom, at your desk, by your kitchen sink, and in your bag. The easier it is to reach for, the more often you’ll actually use it.
Refresh your cuticle care tools regularly. New files and buffers every few manicures isn’t just a recommendation—it actually makes a difference in results. Worn-out tools are frustrating and less effective.
Set a reminder on your phone if you need one. Some people thrive with reminders; others find them annoying. Experiment and see what actually helps you build consistency.
Final Thoughts
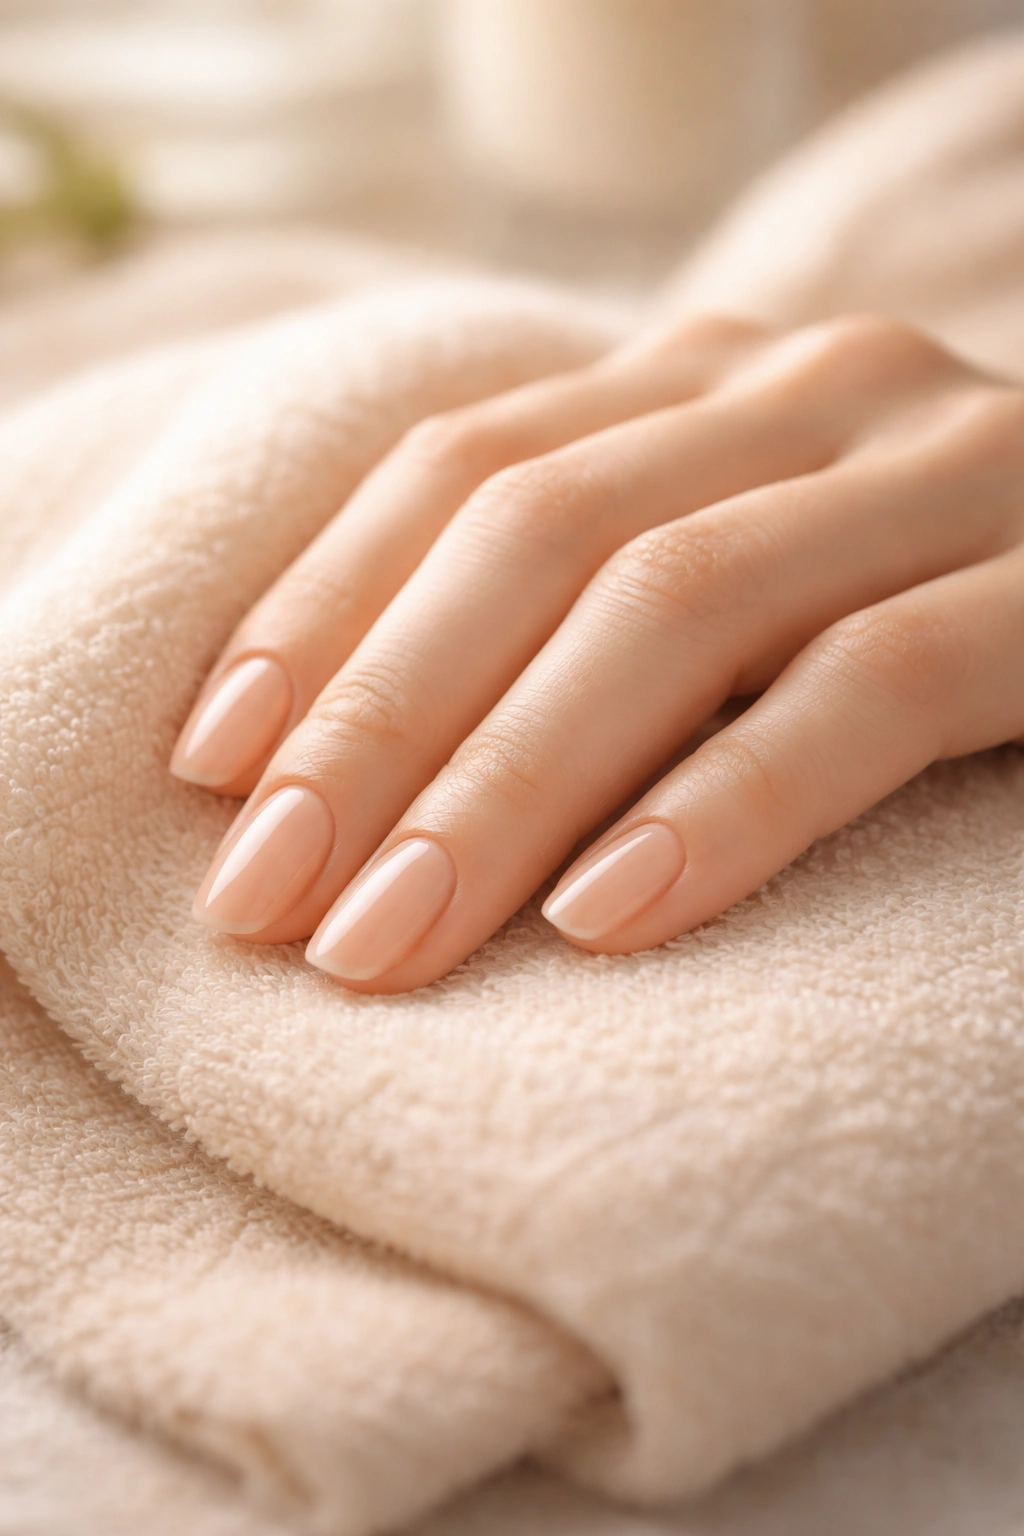
Healthy cuticles are the foundation of healthy nails and manicures that actually last. The work is simple—moisturize daily, push back gently, trim only obviously dead skin, and avoid trauma. What’s hard is maintaining consistency, especially when your cuticles look good and you forget why the care mattered in the first place.
The payoff is substantial. When your cuticles are properly cared for, your manicures look more professional, last significantly longer, and you stop dealing with hangnails, infection scares, and the frustration of peeling polish. Your nails grow stronger and faster. Your hands simply look healthier and more polished.
Start with daily moisturizing alone. Just that single habit, maintained for two to three weeks, will likely improve your cuticle appearance noticeably. Once that feels routine, add gentle pushing back once or twice a week. Build your routine gradually and let it become second nature rather than trying to overhaul everything at once. Your future self—and your cuticles—will thank you.
