

You’ve been staring at your nails for the past five minutes, file in hand, wondering why they never look quite as polished as when you leave the salon. Here’s the thing—shaping your nails isn’t some secret skill that only professionals possess. It’s actually one of the easiest parts of nail care to master at home, and once you understand a few key techniques, you’ll wonder why you ever stressed about it.
The shape of your nails sets the foundation for everything else. It doesn’t matter how gorgeous your polish color is or how steady your hand is with nail art—if the shape is uneven or doesn’t suit your hands, the whole manicure falls flat. But get the shape right, and suddenly everything else falls into place.
Why Your Nail Shape Actually Matters

Your nail shape does way more than you might think. It’s not just about following trends or picking whatever looks cool on Instagram. The right shape can actually make your fingers appear longer and more elegant, while the wrong one might make your hands look wider or your nails seem stubby.
Beyond aesthetics, your nail shape affects how durable your manicure will be. Some shapes are naturally stronger and less prone to breaking, while others require more maintenance and careful handling. If you’ve got an active lifestyle or work with your hands a lot, choosing a practical shape makes all the difference.
The shape you pick also determines how easy your nails are to maintain. Rounded shapes tend to be more forgiving and require less frequent filing, while dramatic pointed styles need regular touch-ups to keep them looking sharp. Think about your daily routine and how much time you’re willing to invest in upkeep.
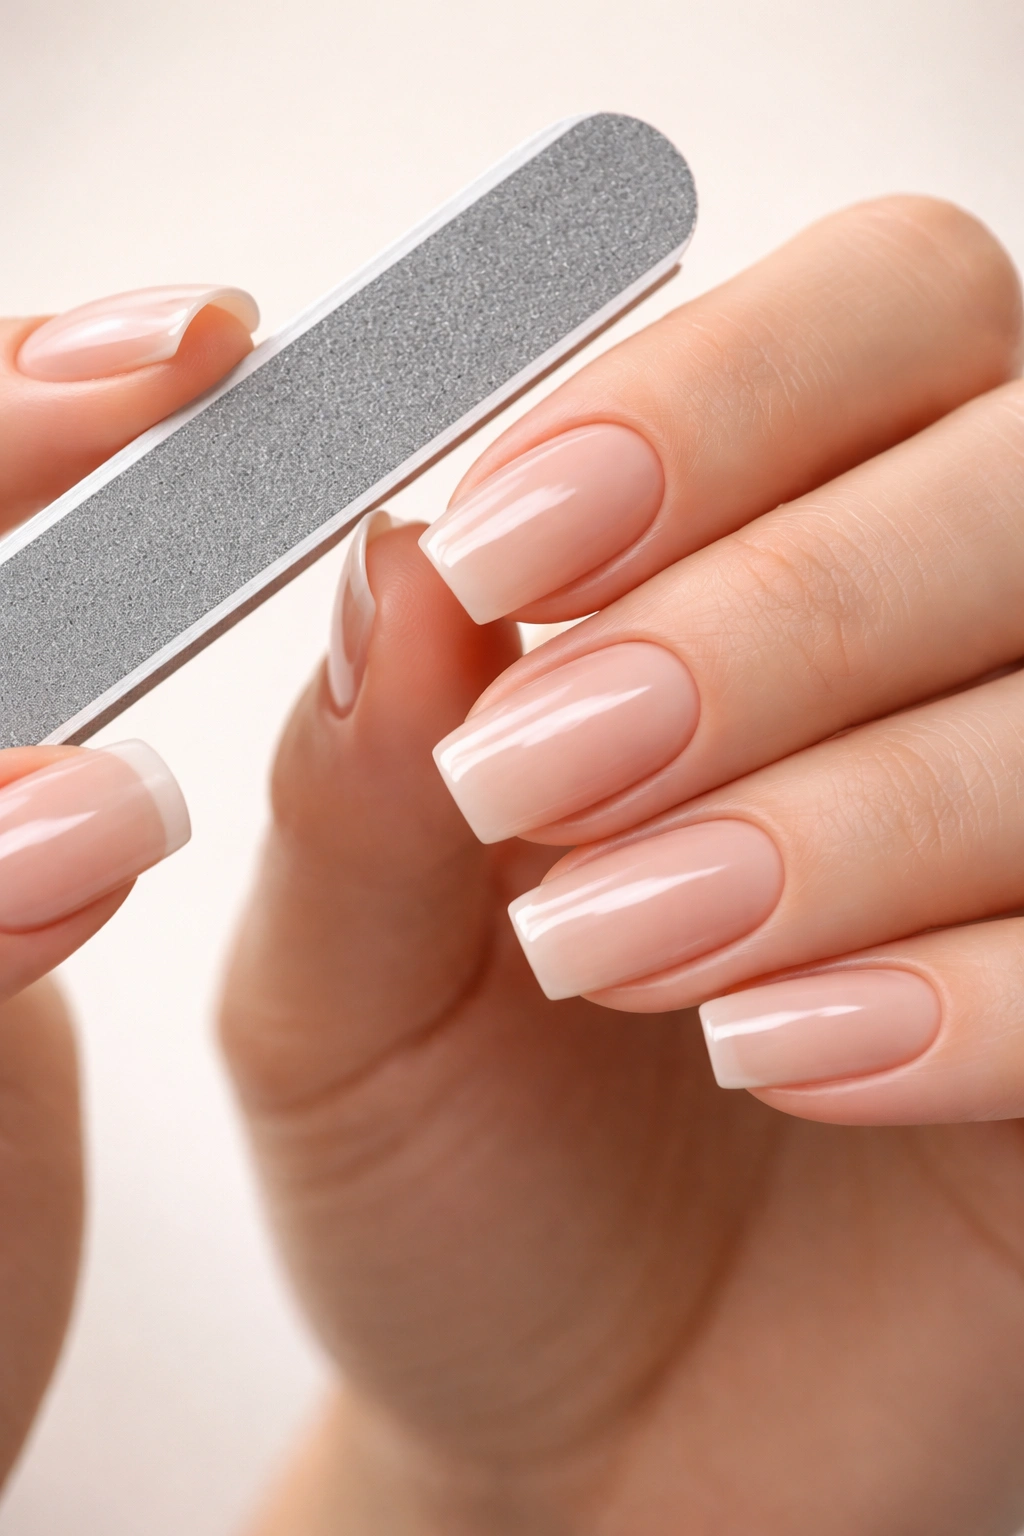
The Tools That Make All the Difference
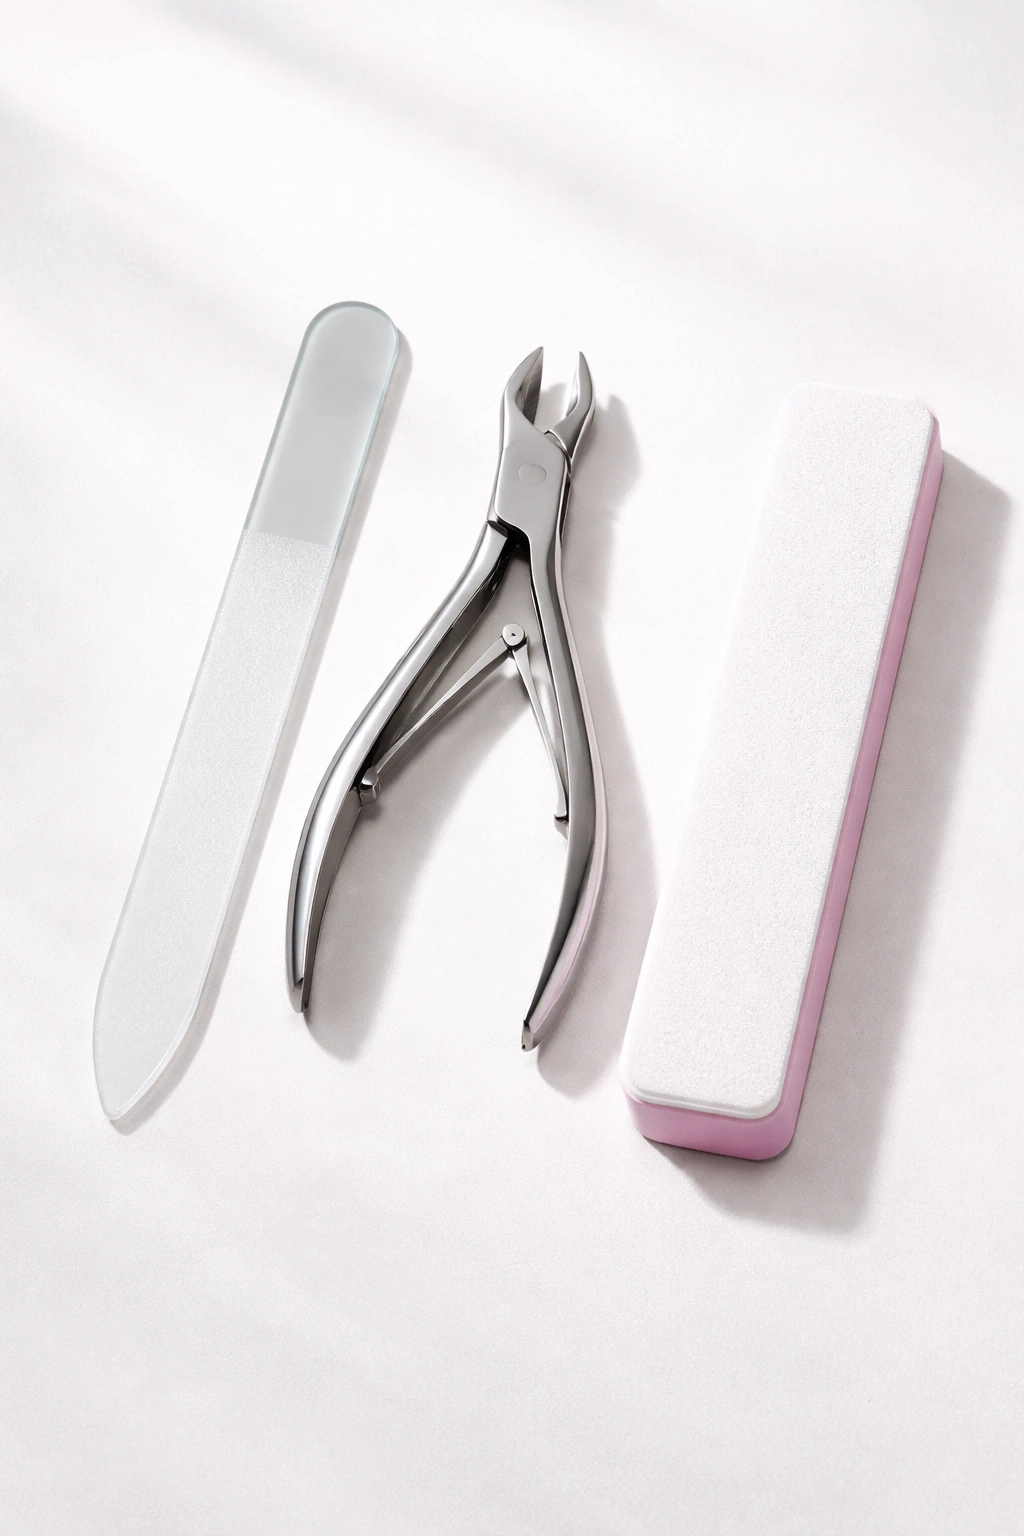
Before you touch a single nail, let’s talk about your tools. Using the wrong file can actually damage your nails, causing splitting and peeling that takes weeks to recover from. Metal files are too harsh for natural nails—they tear through the nail layers instead of smoothly shaping them.
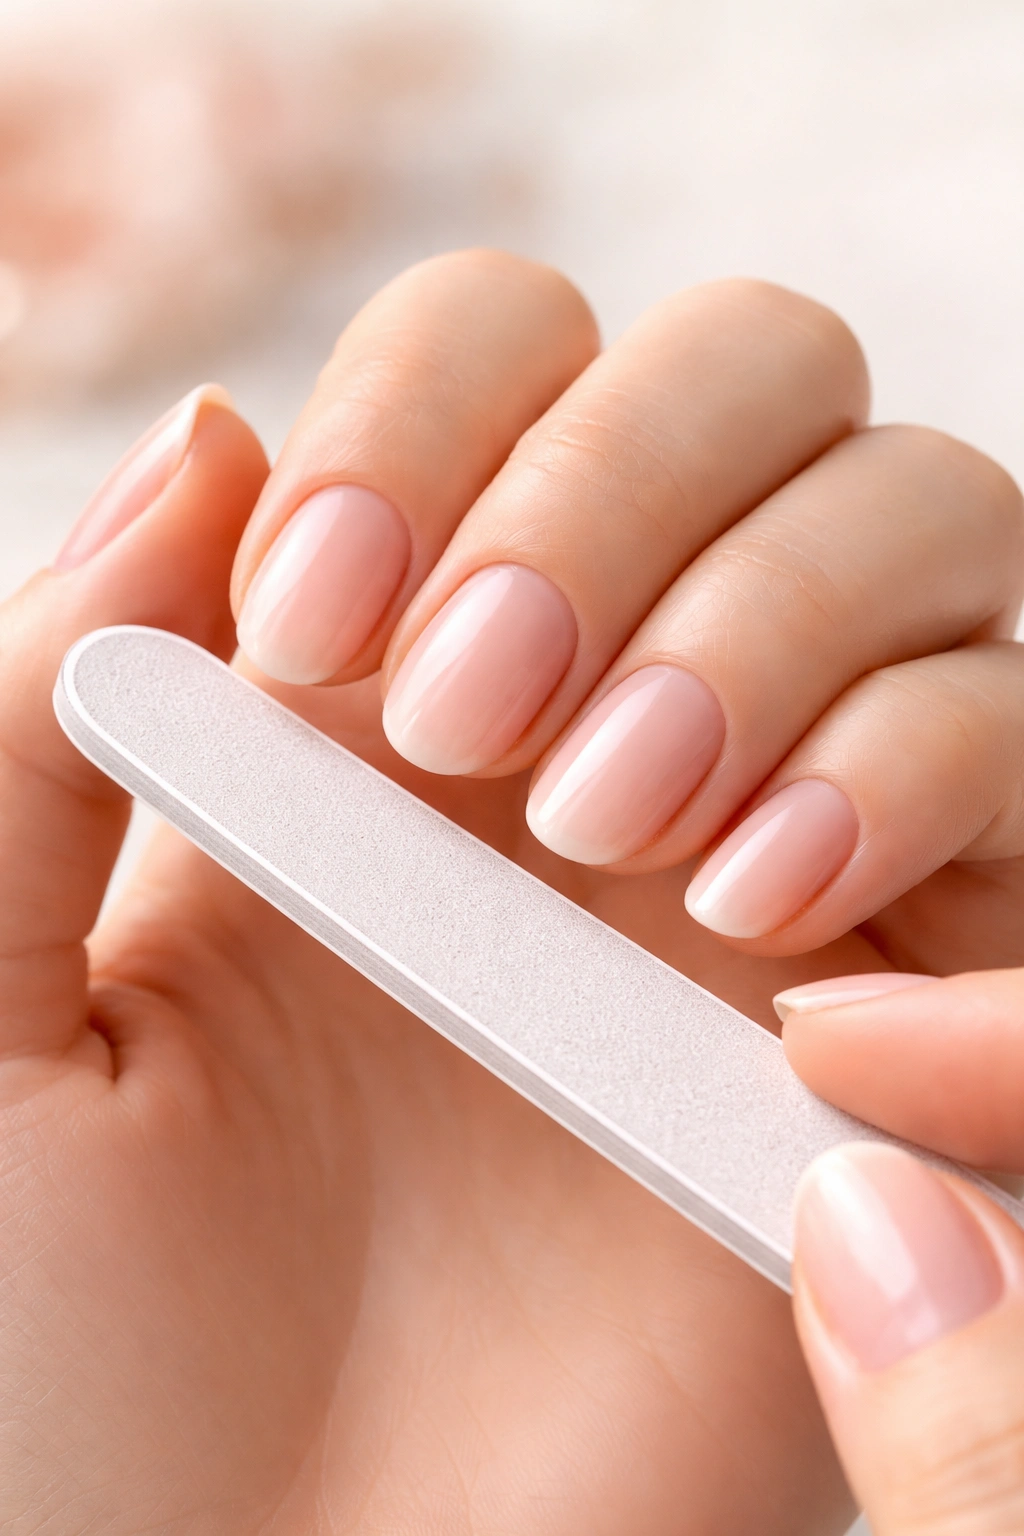
A glass or crystal nail file is your best friend for at-home shaping. These files have a fine grit that gently shapes without causing damage, and they seal the edge of your nail as you file, preventing those annoying splits. Plus, they last forever and can be easily sanitized between uses.
You’ll also want a decent pair of nail clippers for taking down length quickly. Look for sharp, curved-edge clippers that cut cleanly without crushing the nail. Straight-edge clippers work well if you prefer square shapes, but curved ones are more versatile for most styles.
A nail buffer is another tool worth having. After shaping, a quick buff smooths out any rough spots and creates a perfectly even surface for polish. Just don’t overdo it—buffing too much or too often can thin out your nails and make them weaker.
Prep Your Nails Before You Shape
Never, ever file wet nails. This is one of those rookie mistakes that can seriously damage your nail structure. When your nails are wet, they’re softer and more flexible, which means filing can cause splitting and peeling that you won’t even notice until later when they dry out.
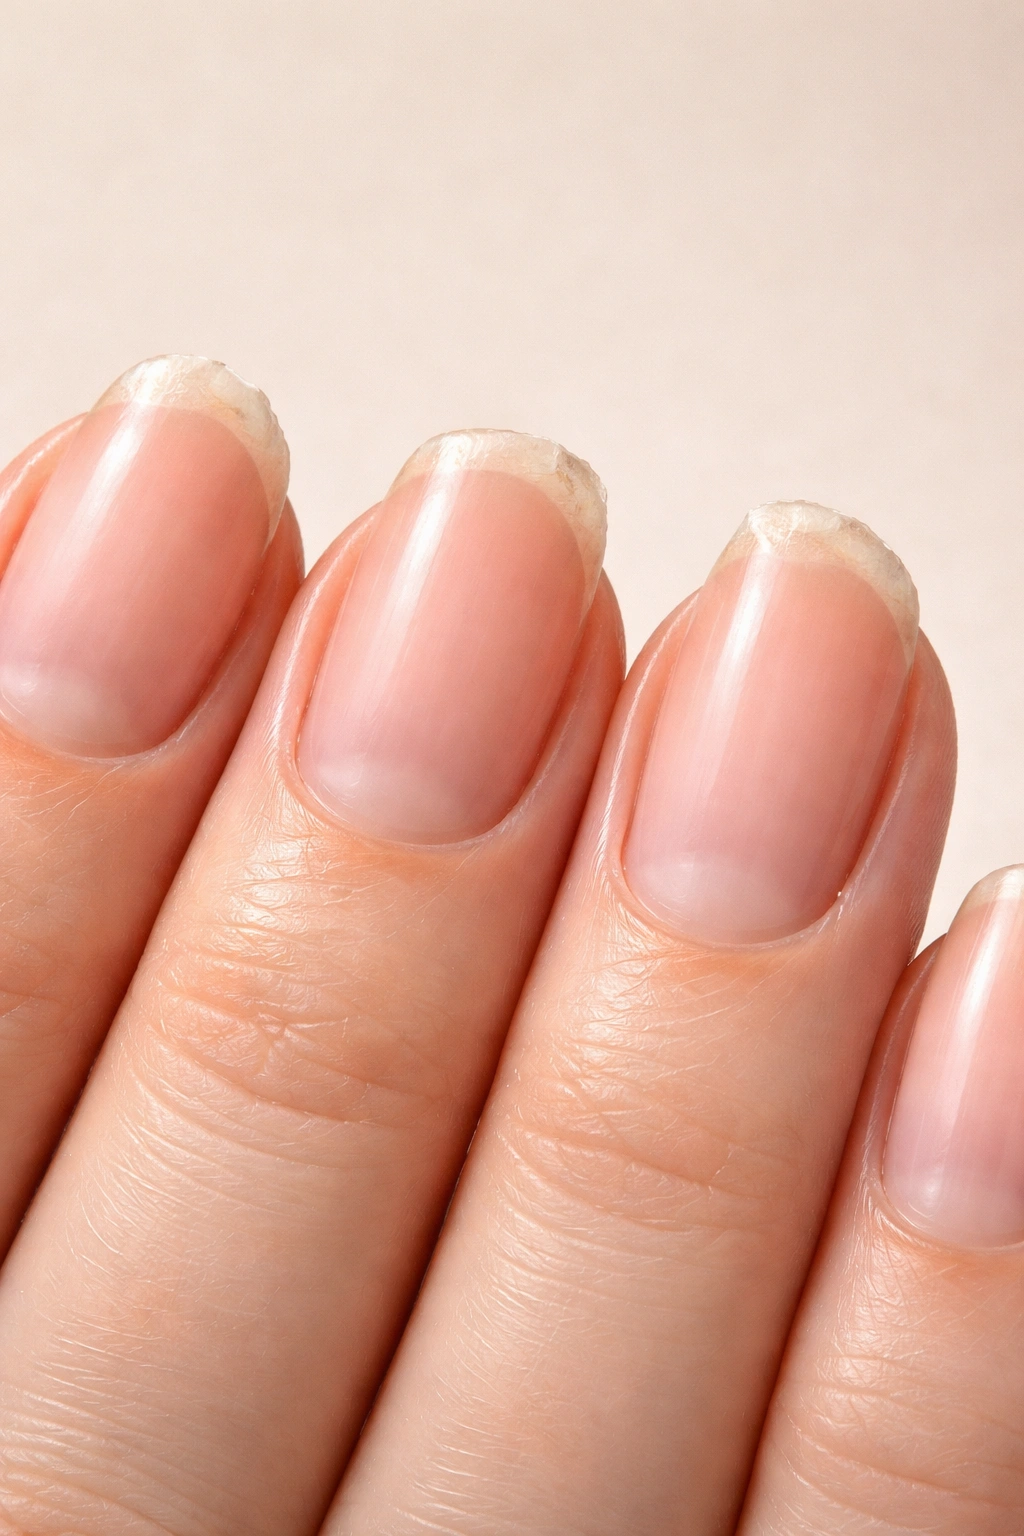
Start by removing any old polish completely. You need to see what you’re working with—the actual shape and length of your bare nails. Use a gentle, acetone-free remover if possible, as harsh removers can dry out your nails and make them more brittle.
Wash your hands thoroughly with soap and warm water, then dry them completely. Take a moment to really look at your nails from different angles. Check which ones are longer, where they’re uneven, and what their natural shape tends to be.
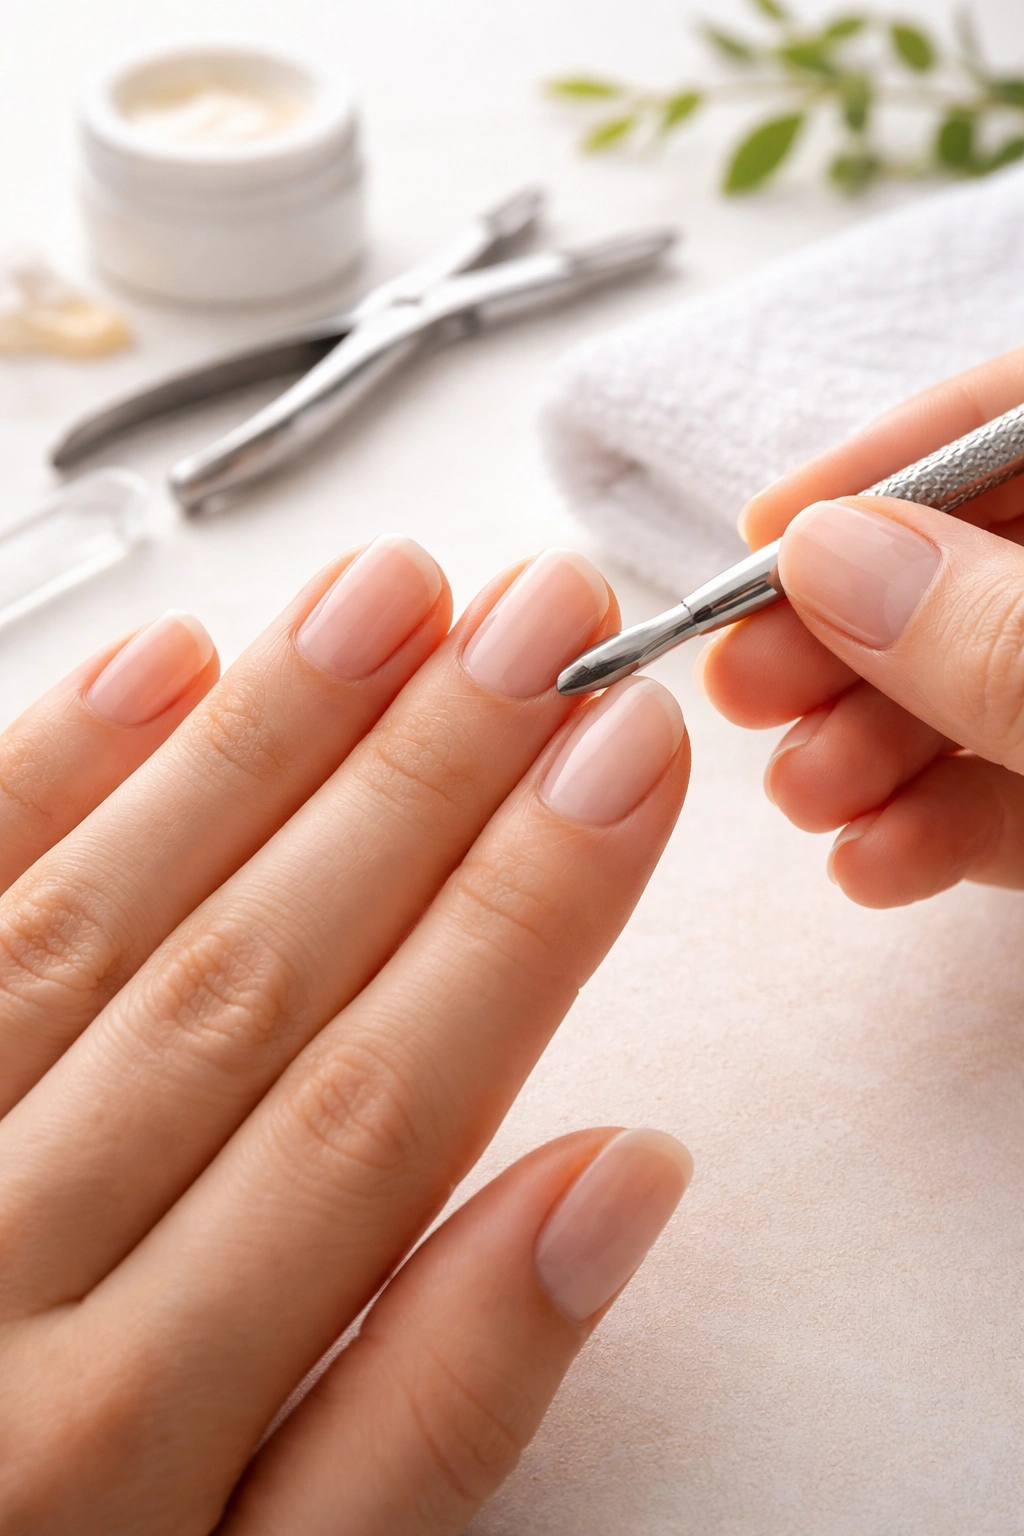
Push back your cuticles gently with a cuticle pusher or orange stick. This gives you a clear view of where your nail actually starts and helps you shape from the right starting point. Don’t cut your cuticles unless absolutely necessary—they protect your nail from infection.
The Right Way to File Your Nails
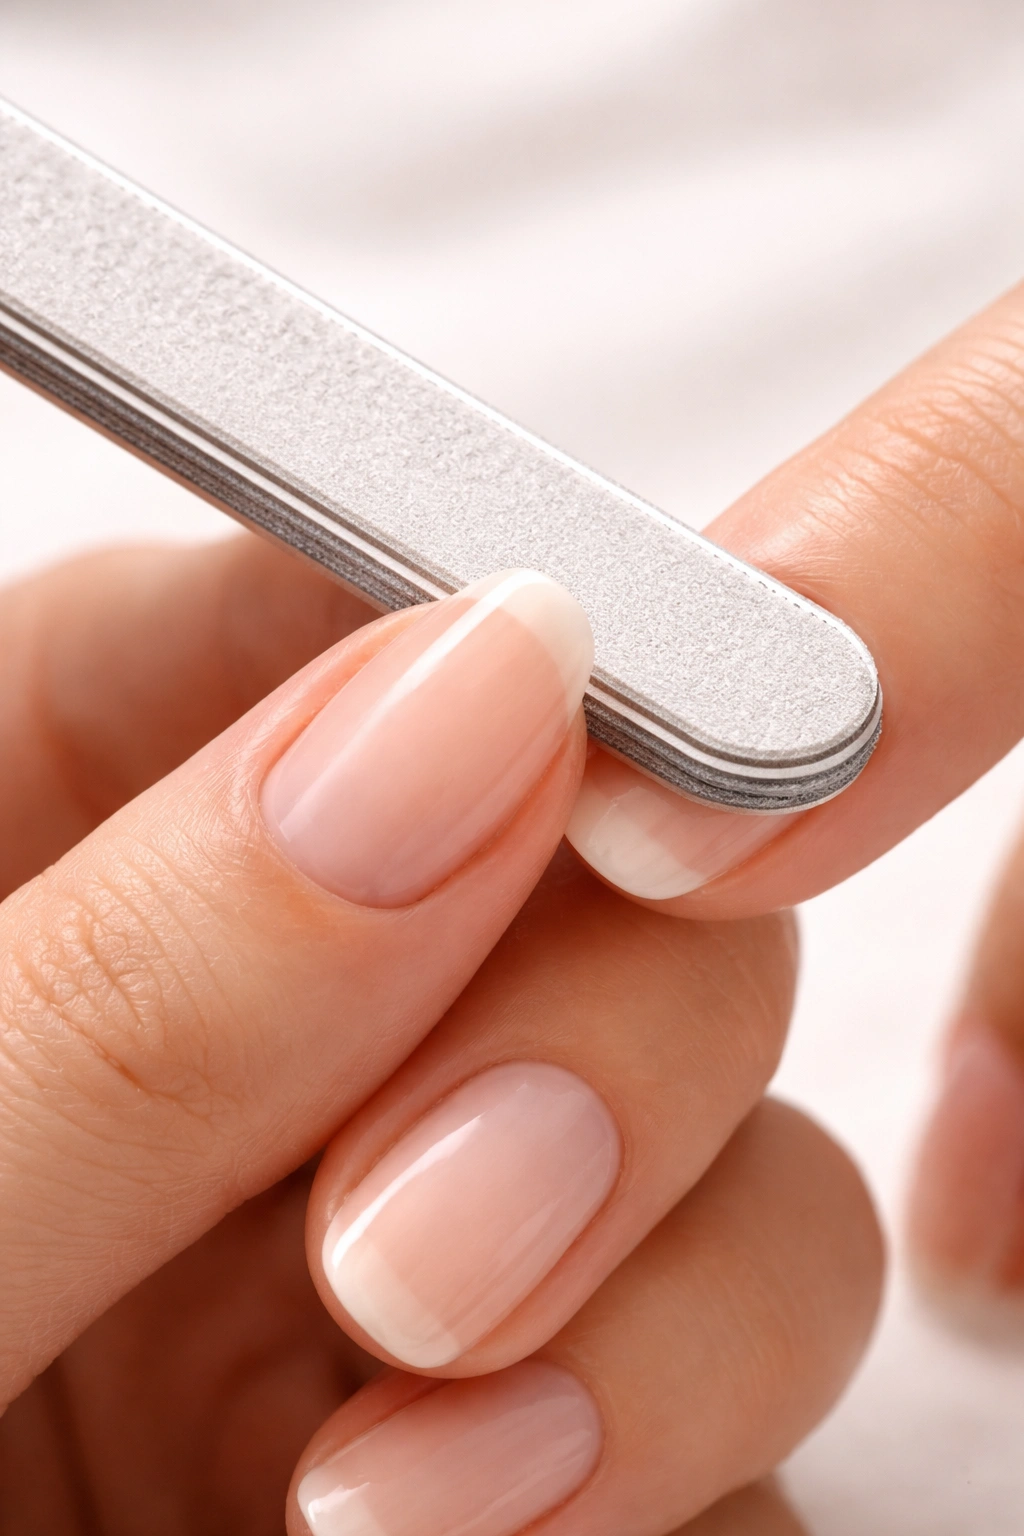
Here’s where most people mess up: they saw back and forth with their file like they’re trying to start a campfire. That sawing motion is exactly what causes splitting, peeling, and weak nails that break at the worst possible moments. Instead, file in one direction only.
Hold your file at a slight angle—not completely flat against the nail, but not super tilted either. You want to be gently smoothing the edge, not digging into the layers of the nail. Use light pressure and smooth, continuous strokes from one side toward the center.
File from the outer edge toward the center of the nail, lifting the file away after each stroke. Then do the same on the other side. This technique blends the nail layers together instead of separating them, which keeps your nails stronger and healthier.
Check your work constantly by looking at your nails from multiple angles. View them from the side, from above, and head-on to make sure both sides are symmetrical. It’s easier to fix unevenness as you go than to realize at the end that one side is way shorter than the other.
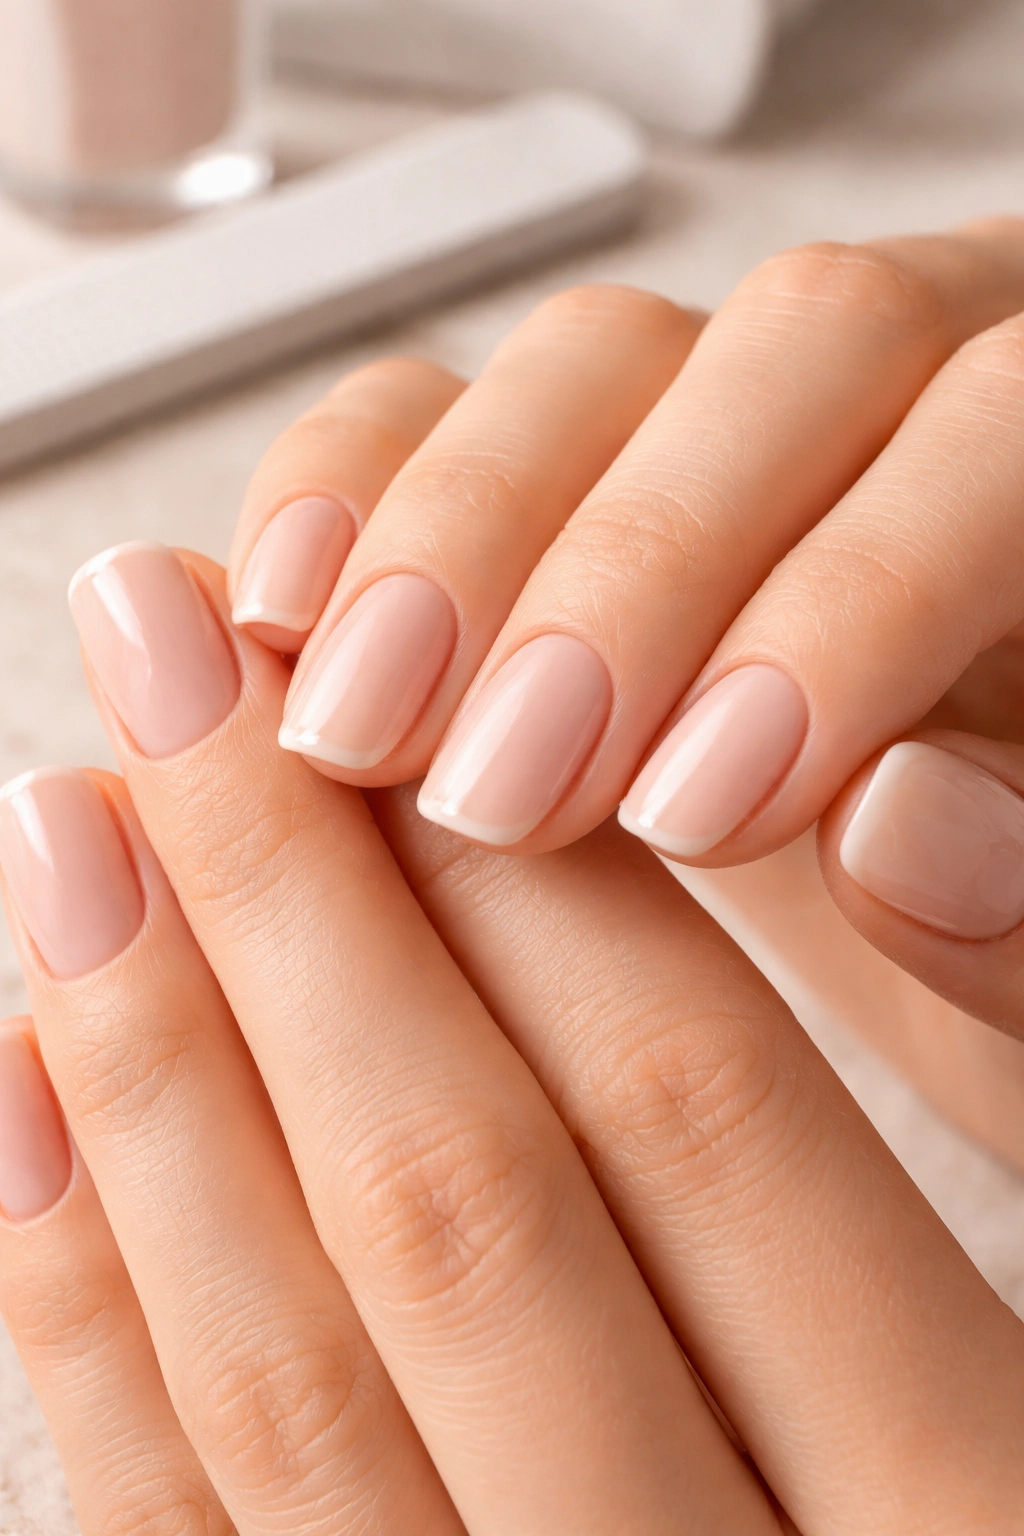
Shaping Round Nails for a Classic Look
Round nails are the most natural-looking shape and the easiest to achieve if you’re just starting out. This shape follows the natural curve of your fingertip, creating a soft, feminine look that works beautifully on short to medium length nails.
Start by trimming your nails to just past your fingertip using curved nail clippers. You want a bit of length to work with, but not so much that the shape becomes oval instead of round. File the sides of each nail gently, curving slightly as you move toward the tip.
The key to round nails is following your natural fingertip shape. Hold your finger up and look at the curve—your nail should mirror that same gentle arc. File in smooth strokes from each side toward the center, rotating your finger as you go to maintain that curved edge.
This shape is incredibly durable and low-maintenance, making it perfect for anyone who works with their hands or tends to be rough on their nails. It’s also less likely to snag on things, which means fewer annoying breaks and chips.
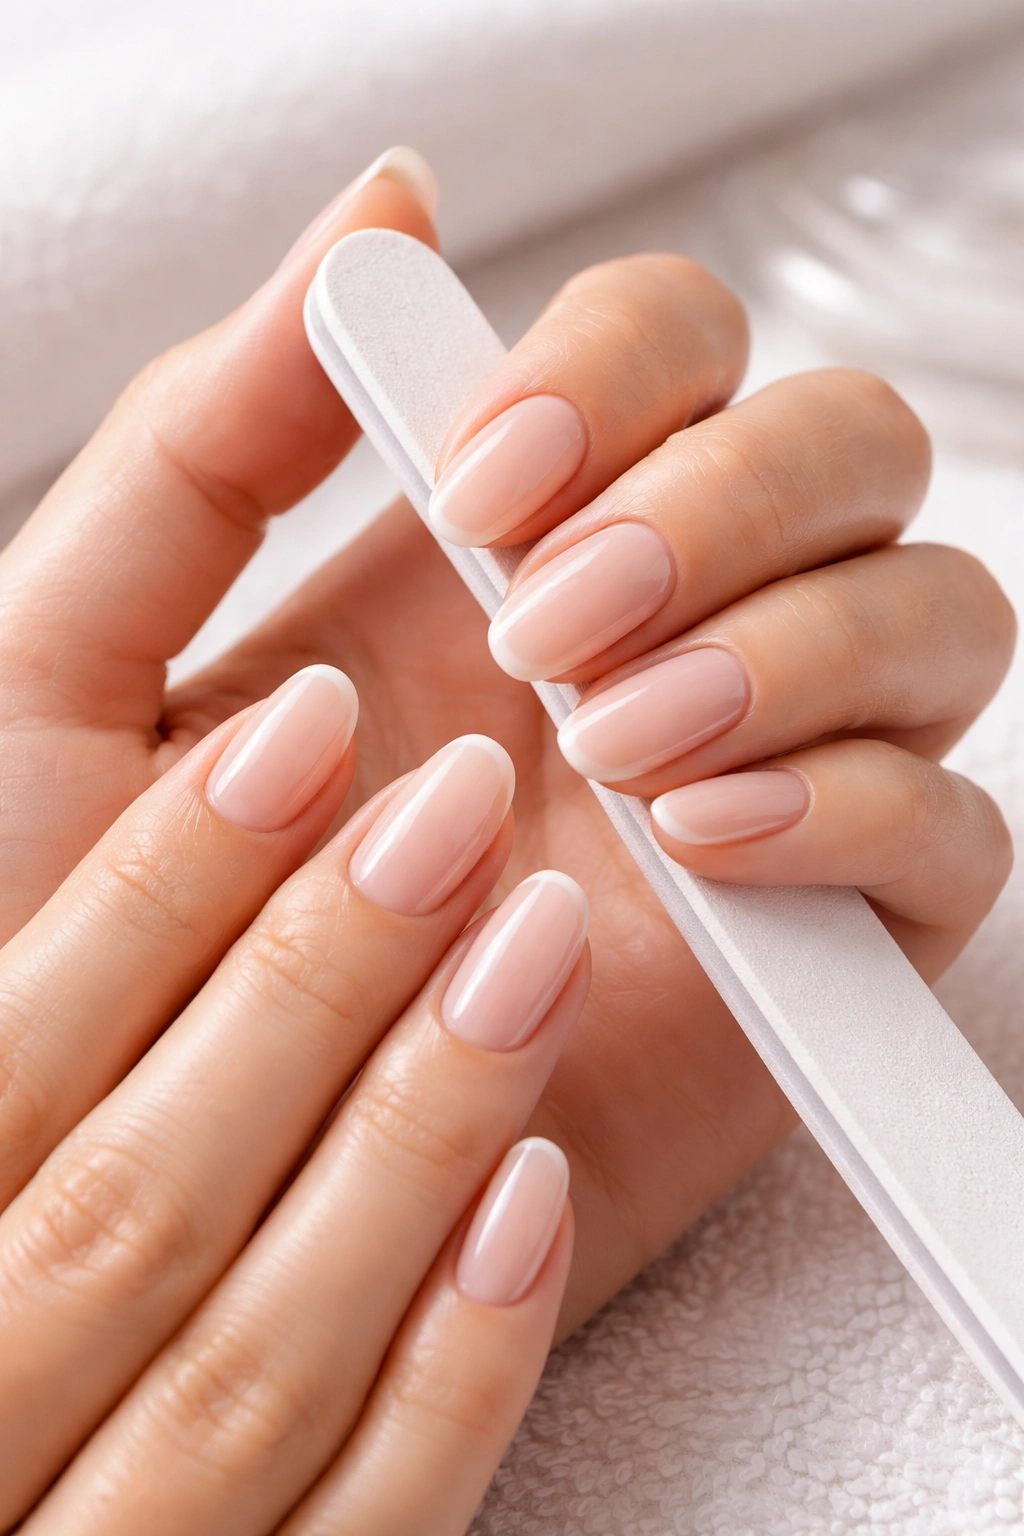
Creating the Perfect Oval Shape
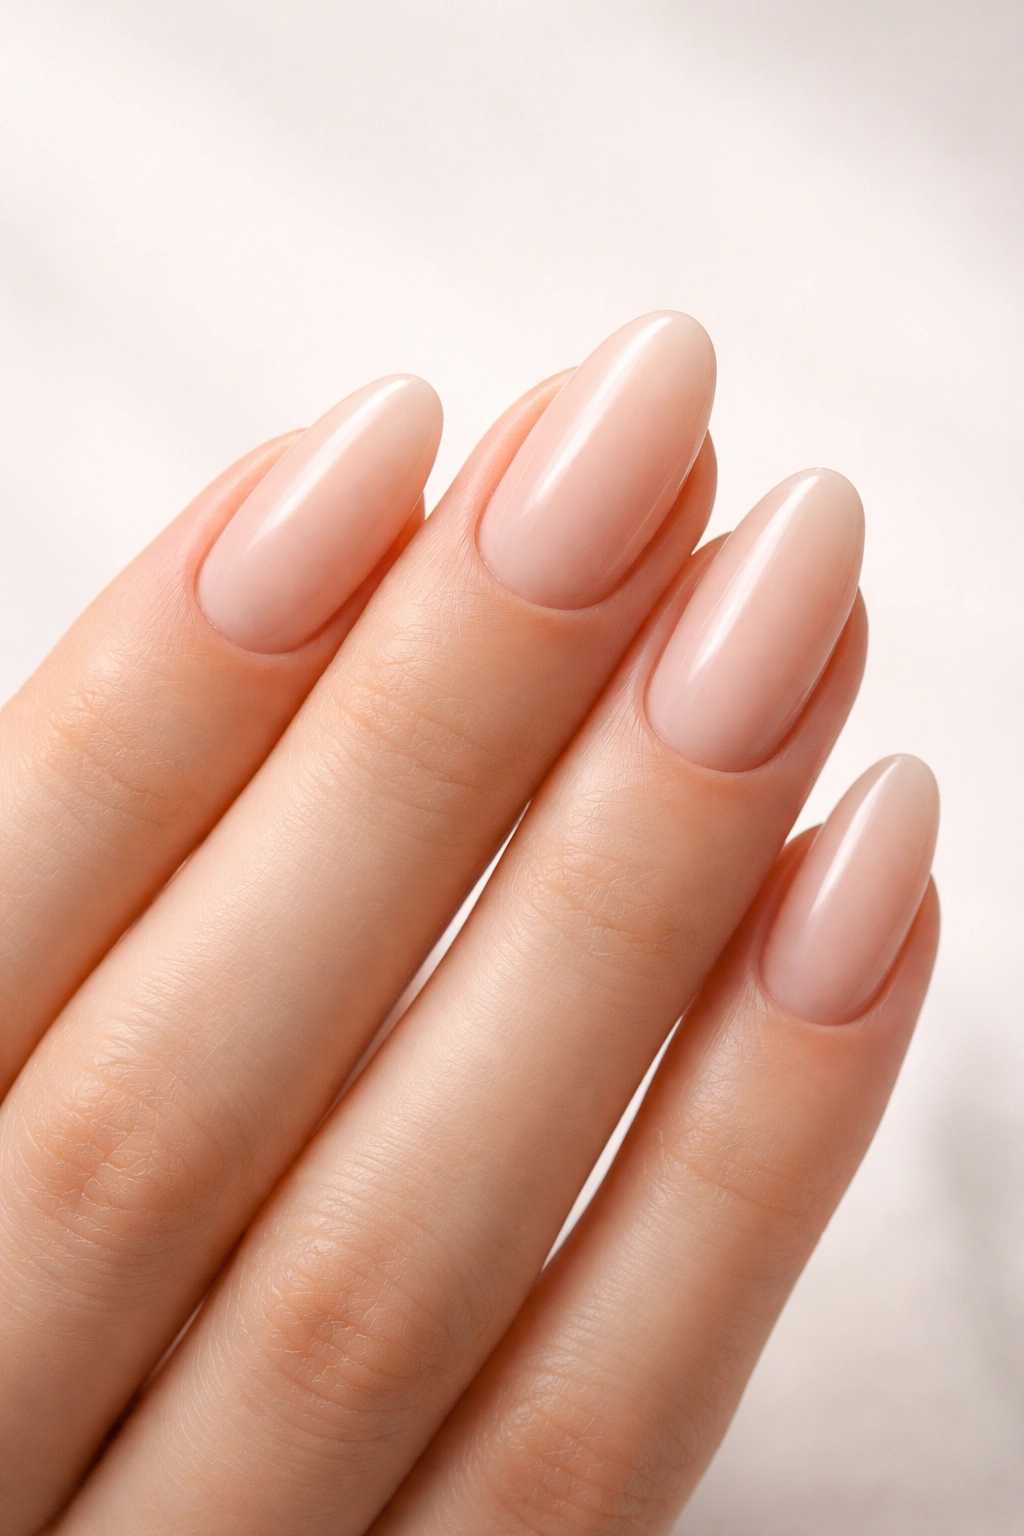
Oval nails are elegant and universally flattering, offering a slightly more polished look than round nails while still being practical. This shape works especially well if you have narrow nail beds or want to make your fingers appear longer and more slender.
You’ll need a bit more length for oval nails than you would for round—think medium length at minimum. Start by filing straight across the tip to establish your length, then move to the sides to create the tapered effect that defines the oval shape.
File each side of the nail at a slight angle, starting from the sidewall and moving toward the center of the tip. The goal is to create a gentle, symmetrical taper that ends in a softly rounded point. Think of it as an egg shape—wider at the base, narrowing toward the top, with a curved tip.
Keep checking both hands together to make sure your nails are the same length and shape. Oval nails show unevenness more than round nails do, so take your time and file small amounts at a time. You can always file more off, but you can’t put it back on.
Mastering the Squoval for Versatility
Squoval nails combine the structure of square nails with the softness of oval, and they’re hands-down one of the most versatile shapes you can choose. This shape gives you the best of both worlds—a modern, clean look that’s still practical and easy to maintain.
Begin by filing straight across the tip of your nail to create a flat edge, just like you would for a square shape. Keep your file perpendicular to your nail and use firm, even strokes. The tip should be completely flat with sharp corners at each side.
Here’s where the oval part comes in: gently round off those sharp corners. You’re not trying to make the nail round—just soften the edges enough that they won’t catch on things. File each corner with a few light strokes, creating a subtle curve that connects the straight sides to the flat tip.
Squoval is incredibly forgiving and works on most hand shapes and nail lengths. It’s less likely to break than a pure square because those rounded corners distribute pressure more evenly. Plus, it looks polished without being too formal or dramatic.
Filing Square Nails That Won’t Snag
Square nails make a bold statement with their clean, geometric lines and sharp angles. This shape has been having a moment lately, and it’s perfect if you love a modern, edgy look. Fair warning though—square nails require a bit more maintenance than softer shapes.
Use straight-edge nail clippers to trim your nails straight across, or if they’re already the right length, file straight across the tip. Hold your file completely flat and perpendicular to the nail, filing in one direction across the entire free edge. You want a straight line with crisp, defined corners.
The sides of your nails should be filed straight up and down, not tapered inward at all. This creates that signature boxy look. Be careful not to file too far down the sides though, or you’ll weaken the nail structure and make breaks more likely.
Those sharp corners can catch on fabric, hair, and pretty much everything else, so consider giving them the tiniest bit of rounding. Just a stroke or two with your file on each corner can prevent snagging without losing that square aesthetic. Always finish with a strengthening base coat to protect those vulnerable corners.
Achieving Elegant Almond Nails
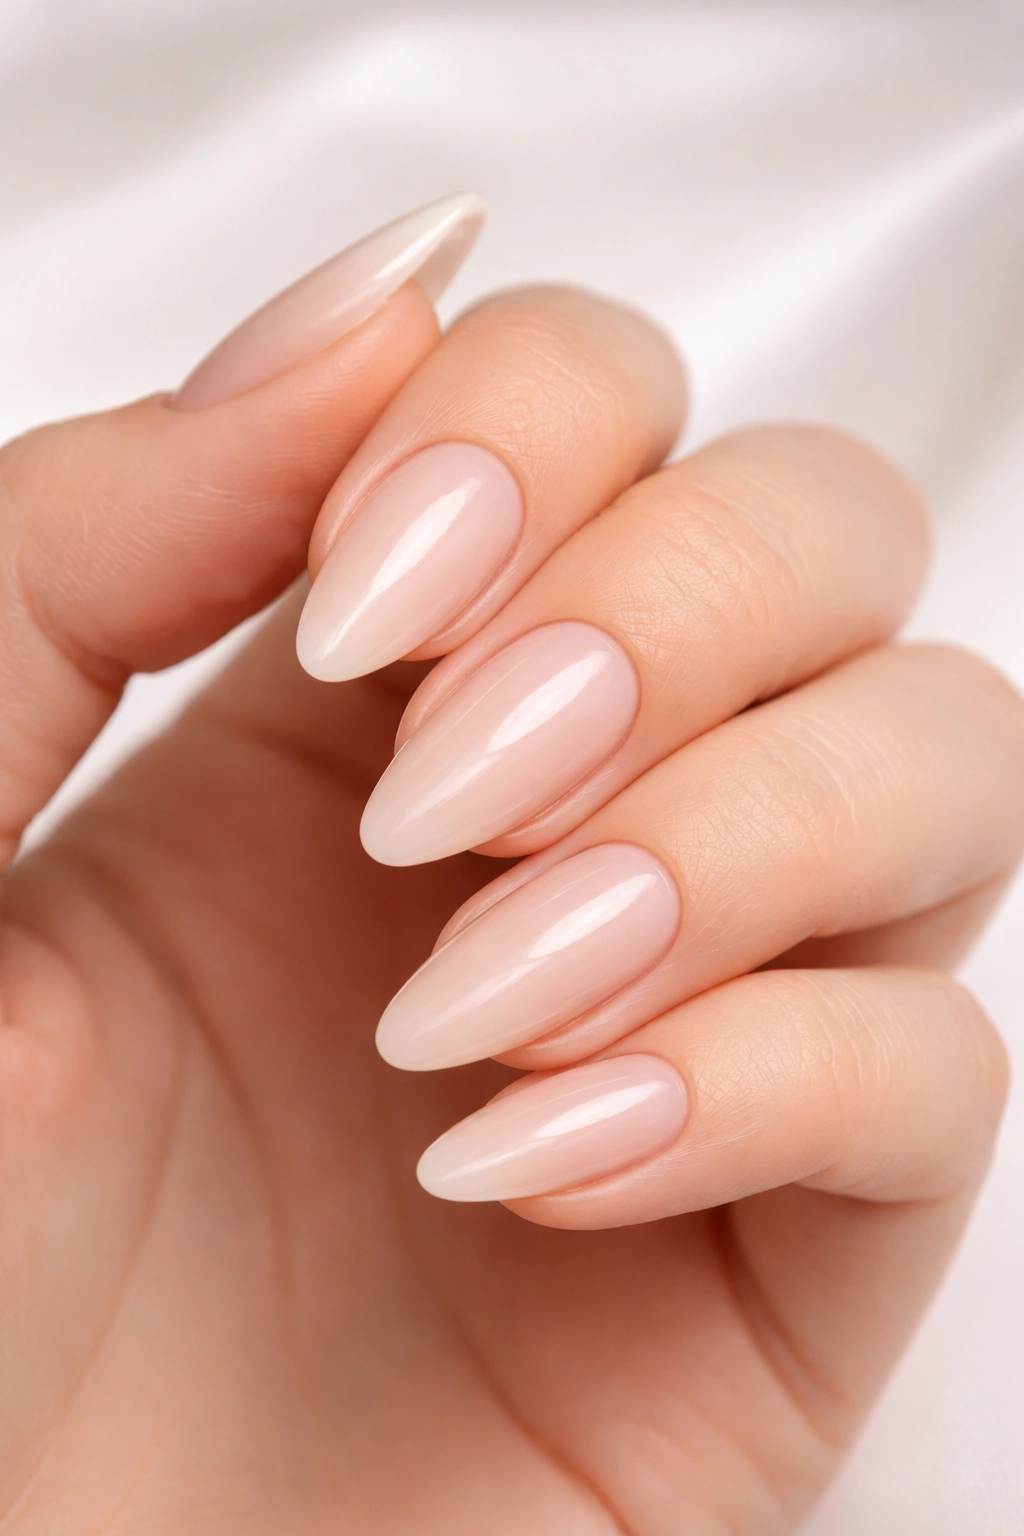
Almond nails are the ultimate elegant shape, tapered and pointed without being as dramatic as stiletto. This shape elongates your fingers beautifully and provides a gorgeous canvas for nail art, though it does require some length to pull off successfully.
Start with nails that are medium to long—you need enough length to create that signature taper without ending up with tiny nails. File each side of the nail at a sharper angle than you would for oval, working from the sidewall toward the center of the tip. The sides should be fairly straight, not curved.
Create the point by filing the tip into a gentle peak, like the top of an almond. The point shouldn’t be super sharp—just a soft, rounded peak that’s narrower than the base of your nail. File both sides evenly, switching back and forth frequently to maintain symmetry.
This shape looks absolutely stunning but can be more prone to breakage because of how narrow the tip becomes. Keep your nails strong with regular cuticle oil application and a good strengthening treatment. If your nails are naturally weak, consider building up to this shape gradually as your nails get stronger.
Going Bold with Coffin or Stiletto Shapes
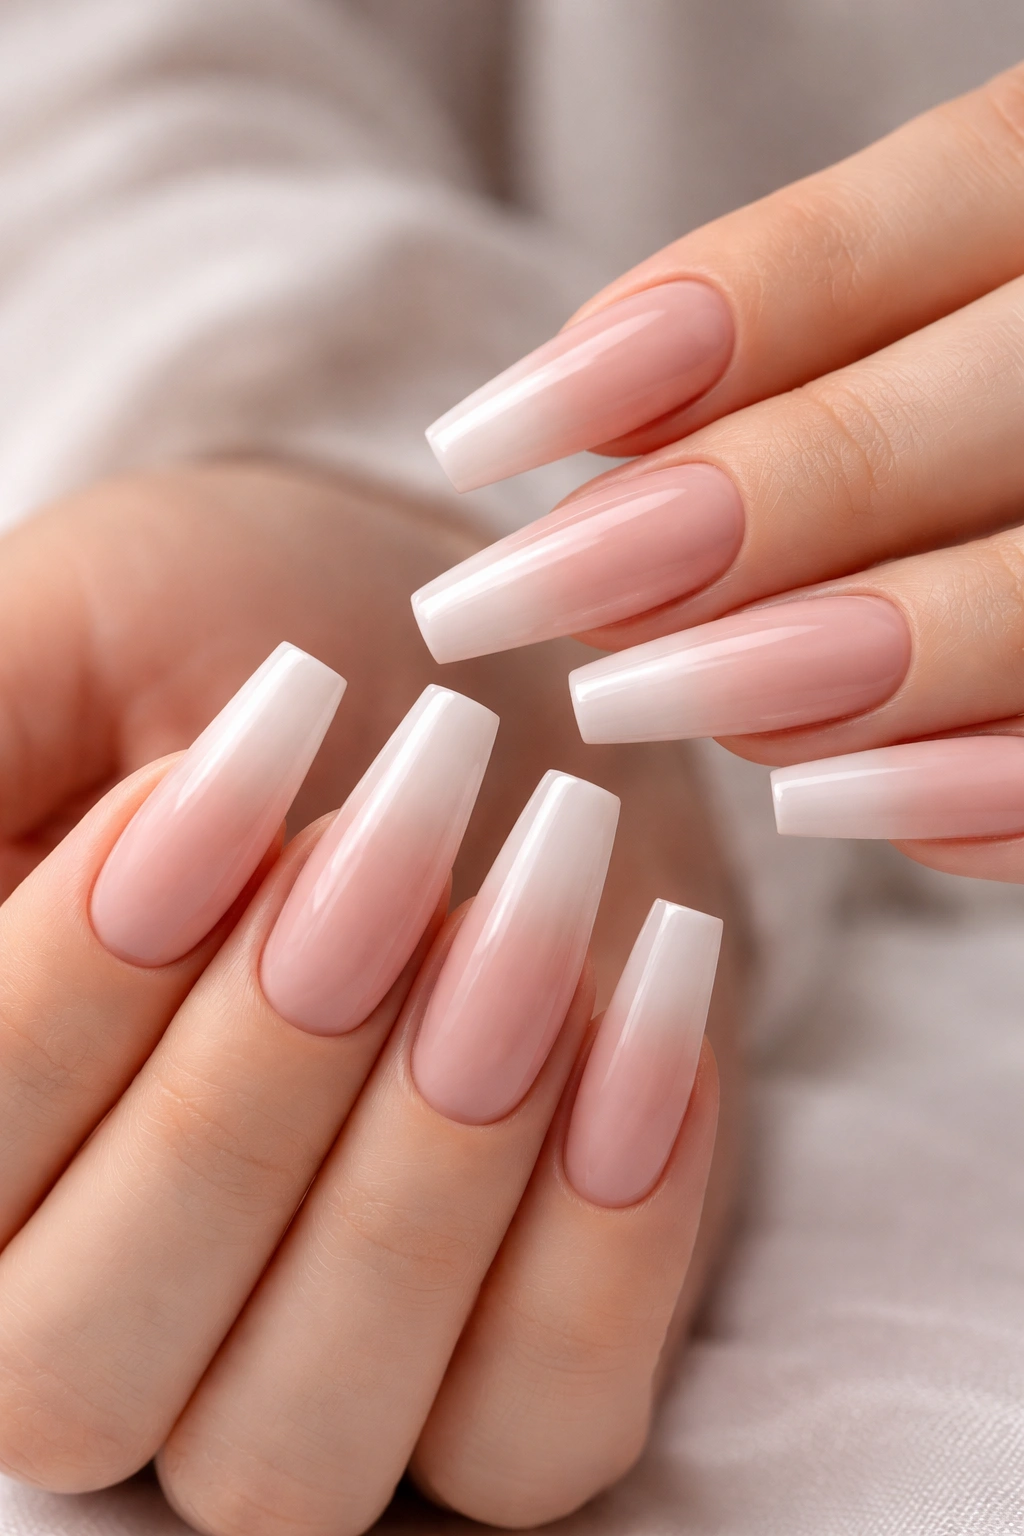
Coffin and stiletto nails are the drama queens of nail shapes—they’re eye-catching, fashion-forward, and definitely not for everyone. These shapes require serious length, either from patient growing or extensions, and they need regular maintenance to keep looking sharp.
Coffin nails, also called ballerina nails, taper inward from the base and end in a flat, squared-off tip. File the sides at an angle to create that narrow taper, then file straight across the tip to create the flat edge. The key is keeping the taper symmetrical on both sides while maintaining that characteristic flat top.
Stiletto nails take the taper even further, ending in a sharp point instead of a flat tip. File the sides at a steeper angle than you would for almond nails, bringing them to meet at a distinct point. This shape is honestly pretty challenging to maintain on natural nails—most people opt for acrylics or gel extensions for stiletto styles.
Both these shapes can make daily tasks trickier, from typing to opening cans. They’re stunning for special occasions or if you’re committed to that high-glam aesthetic, but think about your lifestyle before committing. These shapes also need touch-ups every few days to keep the edges clean and the points sharp.
Mistakes That Wreck Your Nail Shape
Filing back and forth in a sawing motion is the fastest way to damage your nails. This technique splits the layers of keratin that make up your nail, causing peeling, breaking, and overall weakness. Stick to that one-direction filing rule no matter how tempting it is to speed things up.
Over-filing is another common problem. When you file too much or too often, you thin out your nails and make them more vulnerable to damage. If you’ve filed your nails and they feel flexible or bendy, you’ve gone too far. File gently and stop once you’ve achieved your desired shape.
Using a file that’s too coarse will tear up your nails instead of smoothly shaping them. Those super rough files and metal files are meant for acrylic nails, not natural ones. Stick with a 180 to 240 grit file for natural nails—anything coarser is asking for trouble.
Ignoring your cuticles is a mistake that affects more than just your nail shape. Dry, ragged cuticles make even perfectly shaped nails look messy. Keep them moisturized with cuticle oil daily, and gently push them back before shaping to see where your nail actually starts.
Keeping Your Shape Fresh Between Sessions
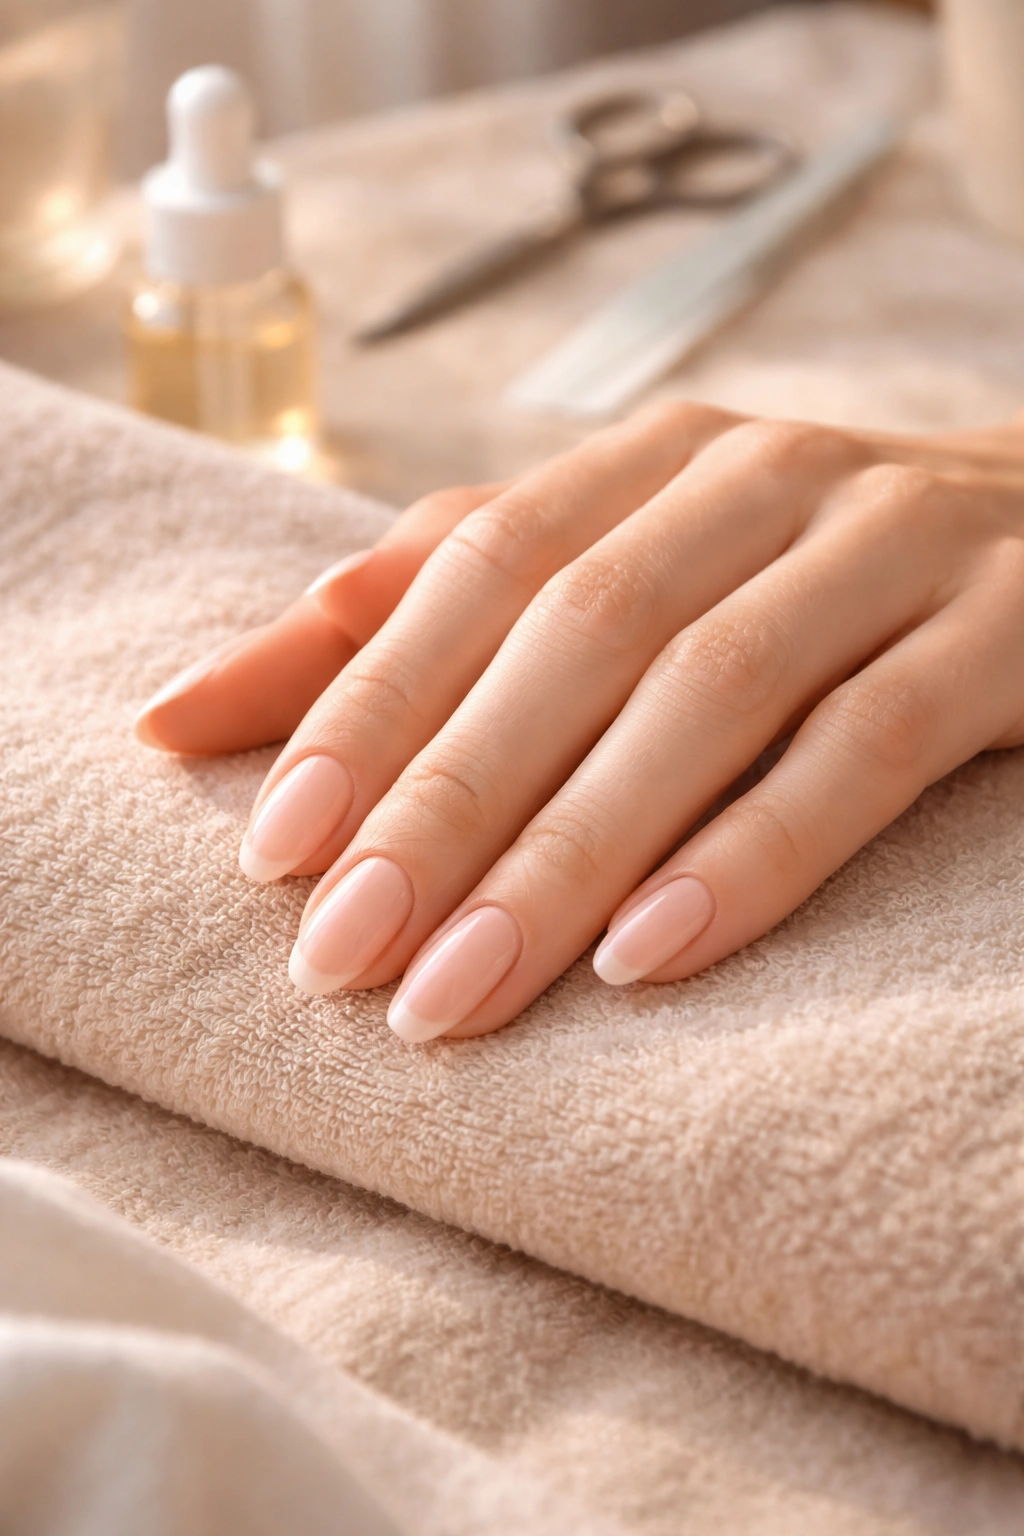
File your nails lightly once a week to maintain your chosen shape and prevent snags. You don’t need to do a full shaping session—just smooth out any rough edges and make sure the shape is still even. This prevents little imperfections from turning into major breaks.
Moisturize your nails and cuticles daily with cuticle oil or hand cream. Hydrated nails are stronger, more flexible, and less likely to break. Apply oil before bed and massage it into your cuticles and nail beds—this small habit makes a huge difference in nail health over time.
Wear gloves when you’re doing dishes, cleaning, or any activity that exposes your nails to water and chemicals. Prolonged water exposure softens nails and makes them more prone to peeling and breaking. Plus, harsh chemicals strip away natural oils that keep your nails strong.
If you notice your nails starting to weaken or peel, give them a break from polish and use a nail strengthener for a week or two. Sometimes nails just need a little breathing room to recover and rebuild their strength.
Wrapping Up
Shaping your nails at home doesn’t require professional skills or fancy equipment—just the right tools, proper technique, and a bit of patience. Start with a shape that suits your lifestyle and nail length, use a quality glass file, and remember to file in one direction only. Those three things alone will put you miles ahead of where you started.
The beauty of doing your nails at home is that you can experiment without pressure. Try different shapes, see what feels comfortable and looks flattering on your hands. Don’t stress about getting it perfect the first time—like anything else, shaping nails gets easier with practice.
Keep your tools clean, your nails moisturized, and your filing technique gentle. With these basics down, you’ll have salon-worthy nails without ever leaving your couch.
