

Remember when press-on nails were those obviously fake things you’d grab at the drugstore for a Halloween costume? Those days are long gone. Press-ons have completely transformed into a legitimate salon alternative that’ll have people asking for your nail tech’s number—and you can just smile knowing you did them yourself in your bathroom.
The beauty of press-ons isn’t just about saving money (though that’s definitely a perk). It’s the freedom to switch up your look whenever the mood strikes, without the commitment or the damage that can come with acrylics and gels. You can rock stiletto nails for a weekend event, then swap to something short and practical for your workweek. No appointments, no waiting, no awkward small talk while your hands are trapped under a UV lamp.
What makes press-ons look truly salon-quality comes down to a few key factors: the fit around your cuticles, the finish and shine, the thickness and flexibility of the material, and whether the design looks hand-painted rather than printed. The best sets nail all these elements, giving you a manicure that photographs beautifully and holds up through everything from typing emails to washing dishes. Let’s dive into the press-on styles that deliver that fresh-from-the-salon vibe.
1. Classic French Tips with a Twist
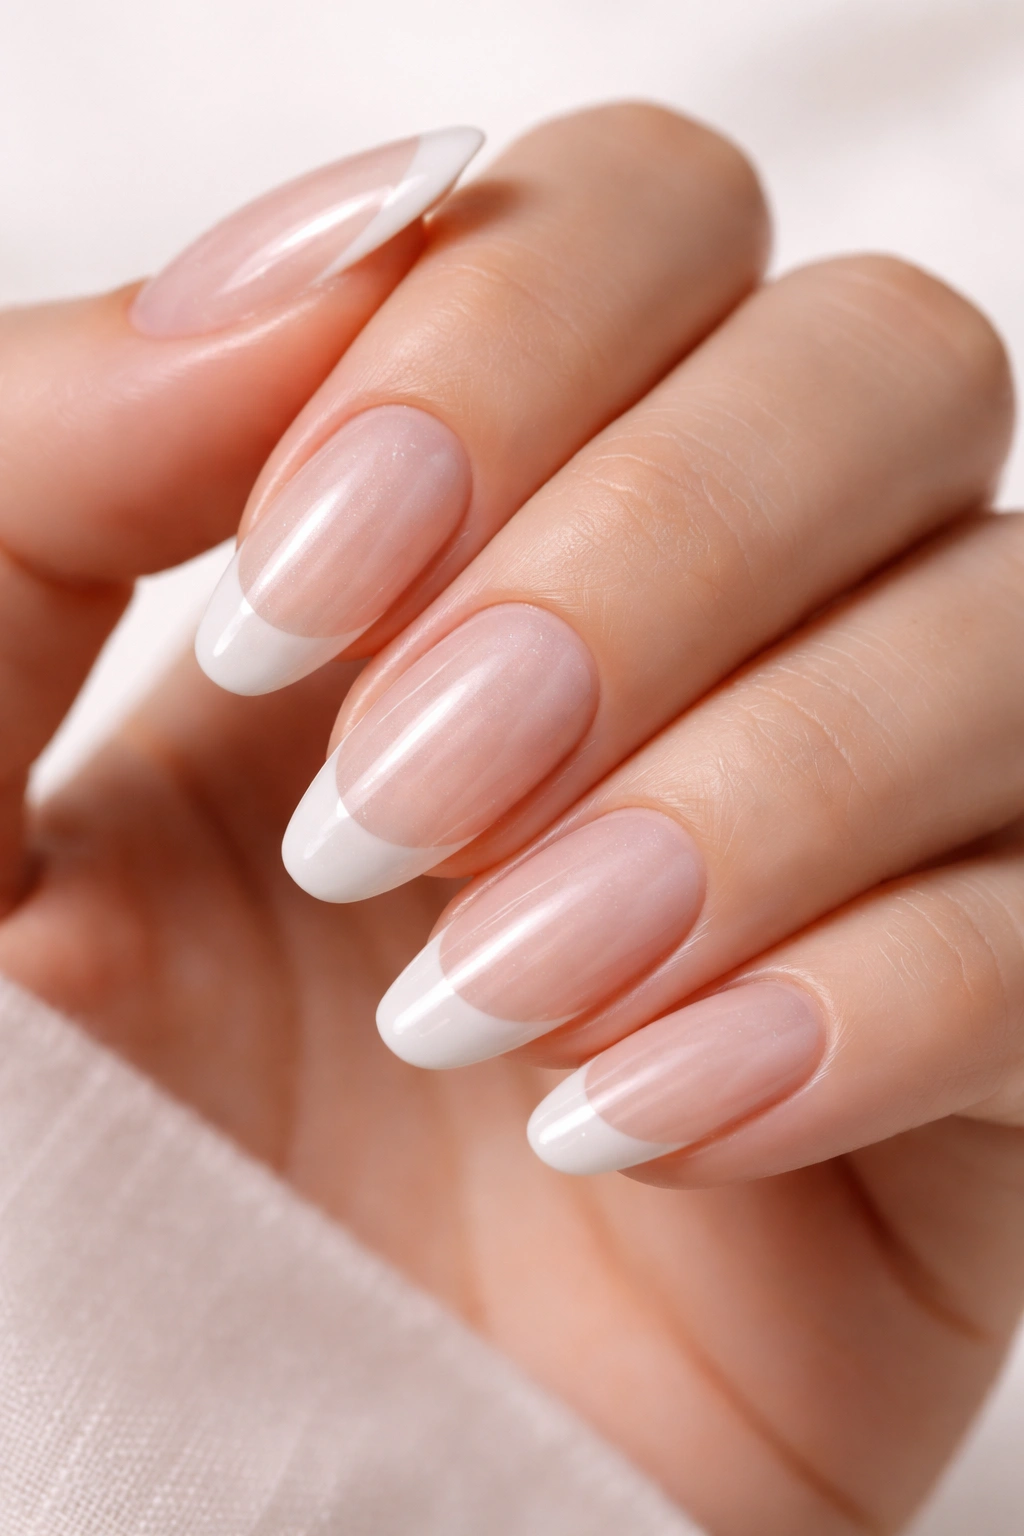
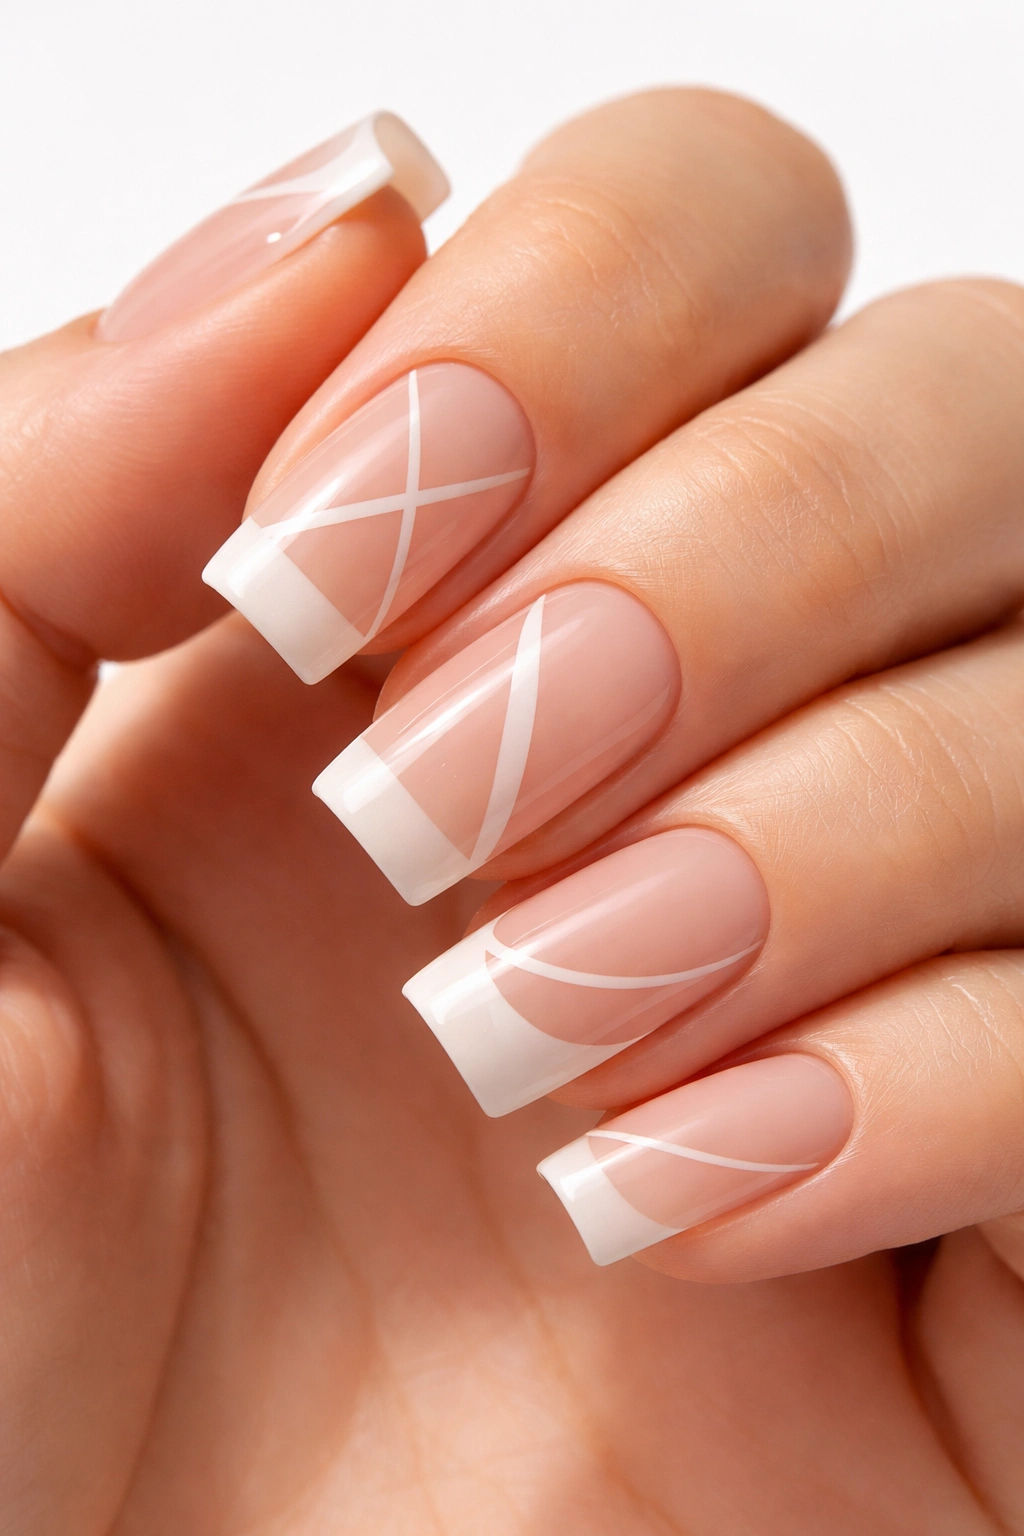
French manicures never go out of style, but the press-on versions available these days go way beyond the basic white tips your mom wore in the ’90s. The secret to salon-looking French tips is in the proportion—the white tip needs to be the right width for the nail length, and the base color should have that barely-there, natural tone that complements your skin.
Look for sets that offer a pearlescent or glazed finish on the base rather than stark white. This subtle shimmer catches the light like a professional gel manicure would, giving depth and dimension to what could otherwise look flat.
The best French tip press-ons have a semi-transparent base that mimics your natural nail bed underneath. This creates an illusion that they’re your real nails, just perfectly shaped and polished.
What Makes Them Salon-Quality
The cuticle area should taper smoothly without any visible line where the press-on meets your natural nail. Many premium French tip sets now include ultra-thin edges that virtually disappear when applied correctly.
Some sets feature hand-painted tips with slight variations in thickness, which actually makes them look more authentic than a perfectly uniform line. Real nail techs don’t paint identical tips on every finger, and neither should your press-ons.
Pro tip: Choose almond or oval shapes for French tips—they’re more forgiving than square shapes and tend to look more elegant and natural.
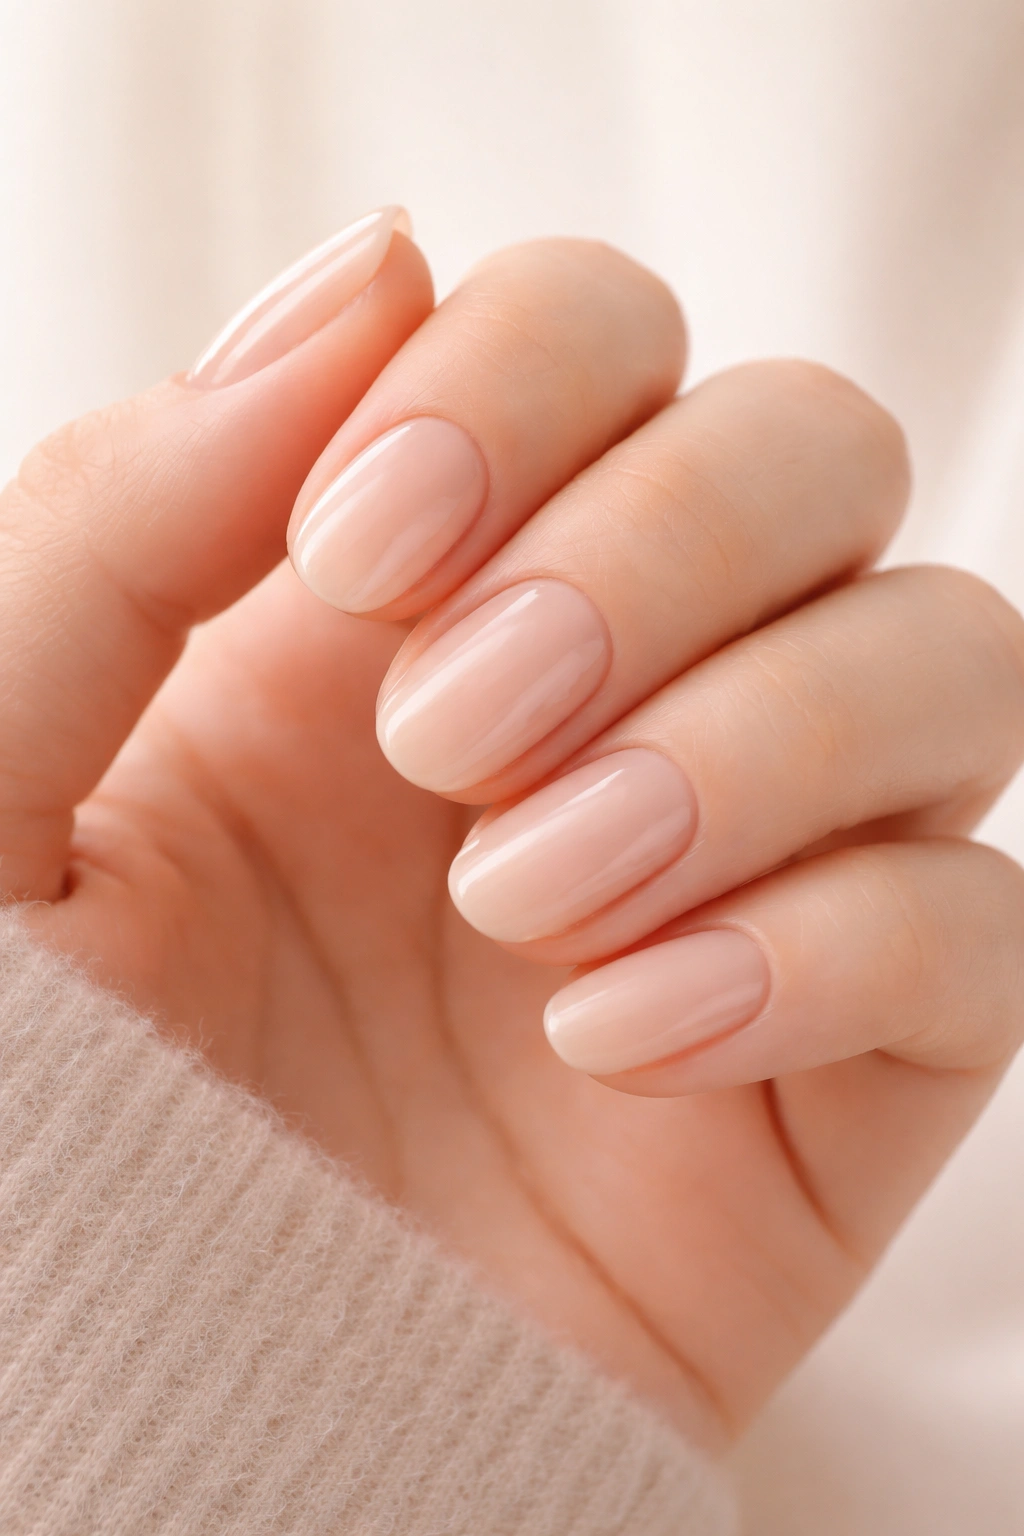
2. Glossy Solid Colors in Neutral Tones
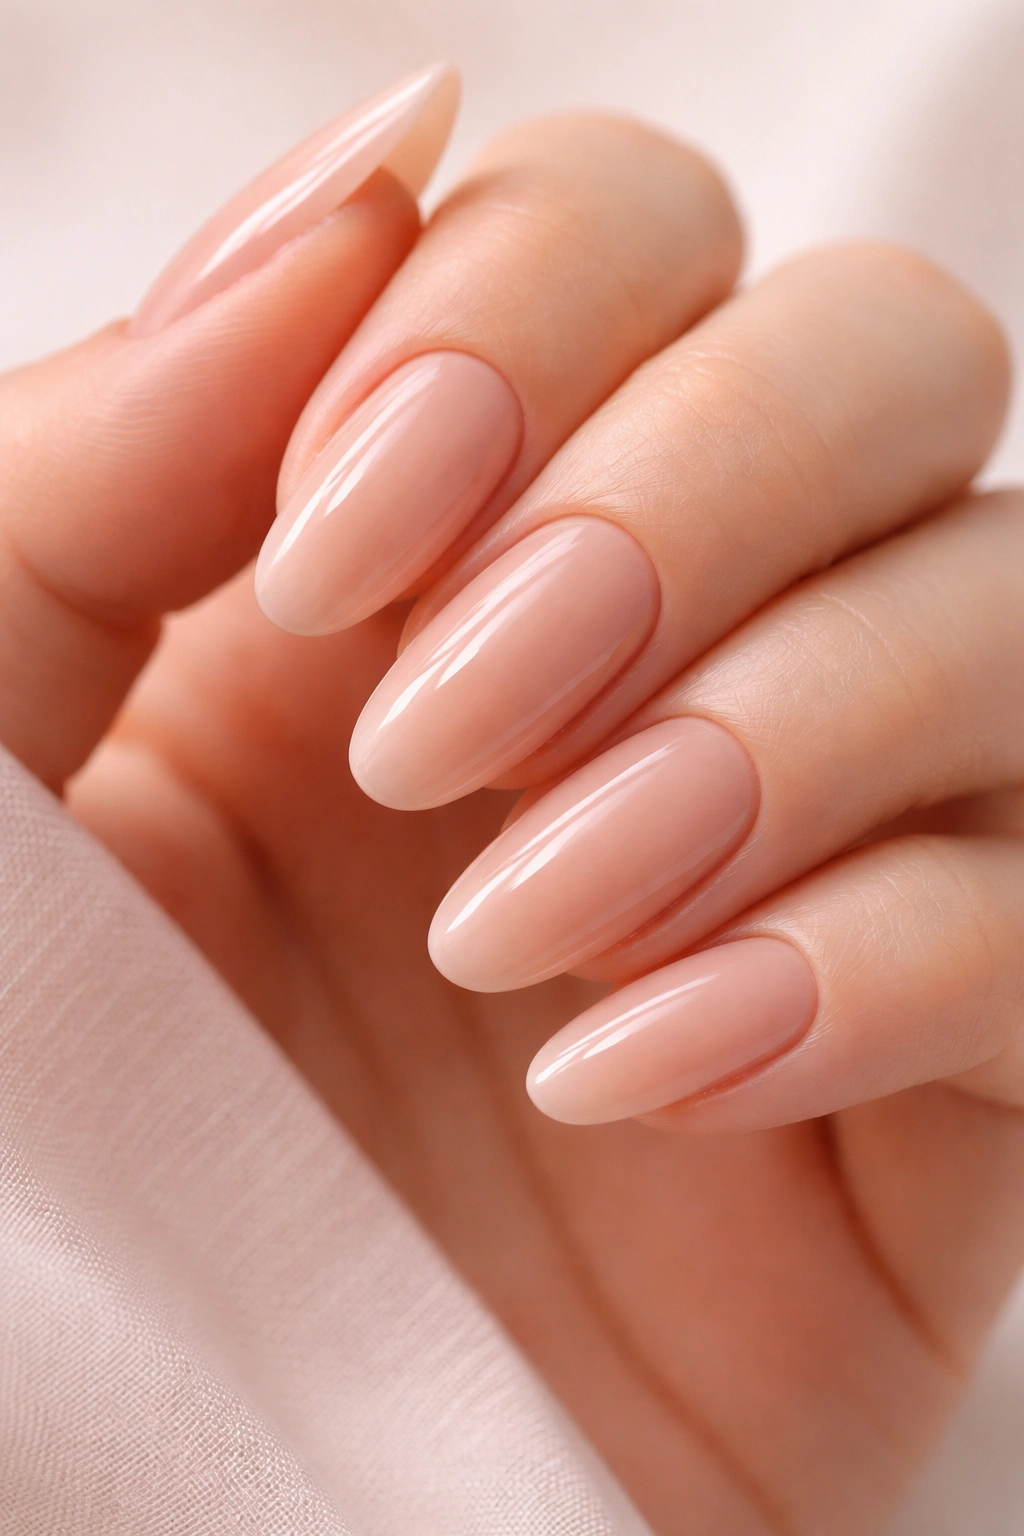
There’s something incredibly chic about a perfectly glossy, solid-color manicure in a sophisticated neutral. These are the press-ons that’ll fool absolutely everyone into thinking you just left an expensive salon.
The key is finding shades that have depth and richness rather than looking like a single flat coat of drugstore polish. Nude, beige, soft pink, and muted mauve tones work beautifully across different skin tones when they have the right undertones.
Quality solid-color press-ons use multiple layers of gel color topped with a thick, glossy finish that reflects light like a mirror. This creates that freshly-applied gel look that screams professional.
Choosing Your Perfect Neutral
Pay attention to whether a nude shade leans warm (peachy, yellow undertones) or cool (pink, mauve undertones). Warm skin tones typically look best in warm nudes, while cool skin tones shine in cooler shades.
Don’t shy away from slightly shorter lengths with solid neutrals. A short, glossy nude manicure in an oval or squoval shape is the ultimate understated elegance that works for literally any occasion.
The finish matters just as much as the color. Look for descriptions that mention “gel-like finish” or “high-gloss” to ensure you’re getting that professional shine.
3. Chrome and Metallic Finishes
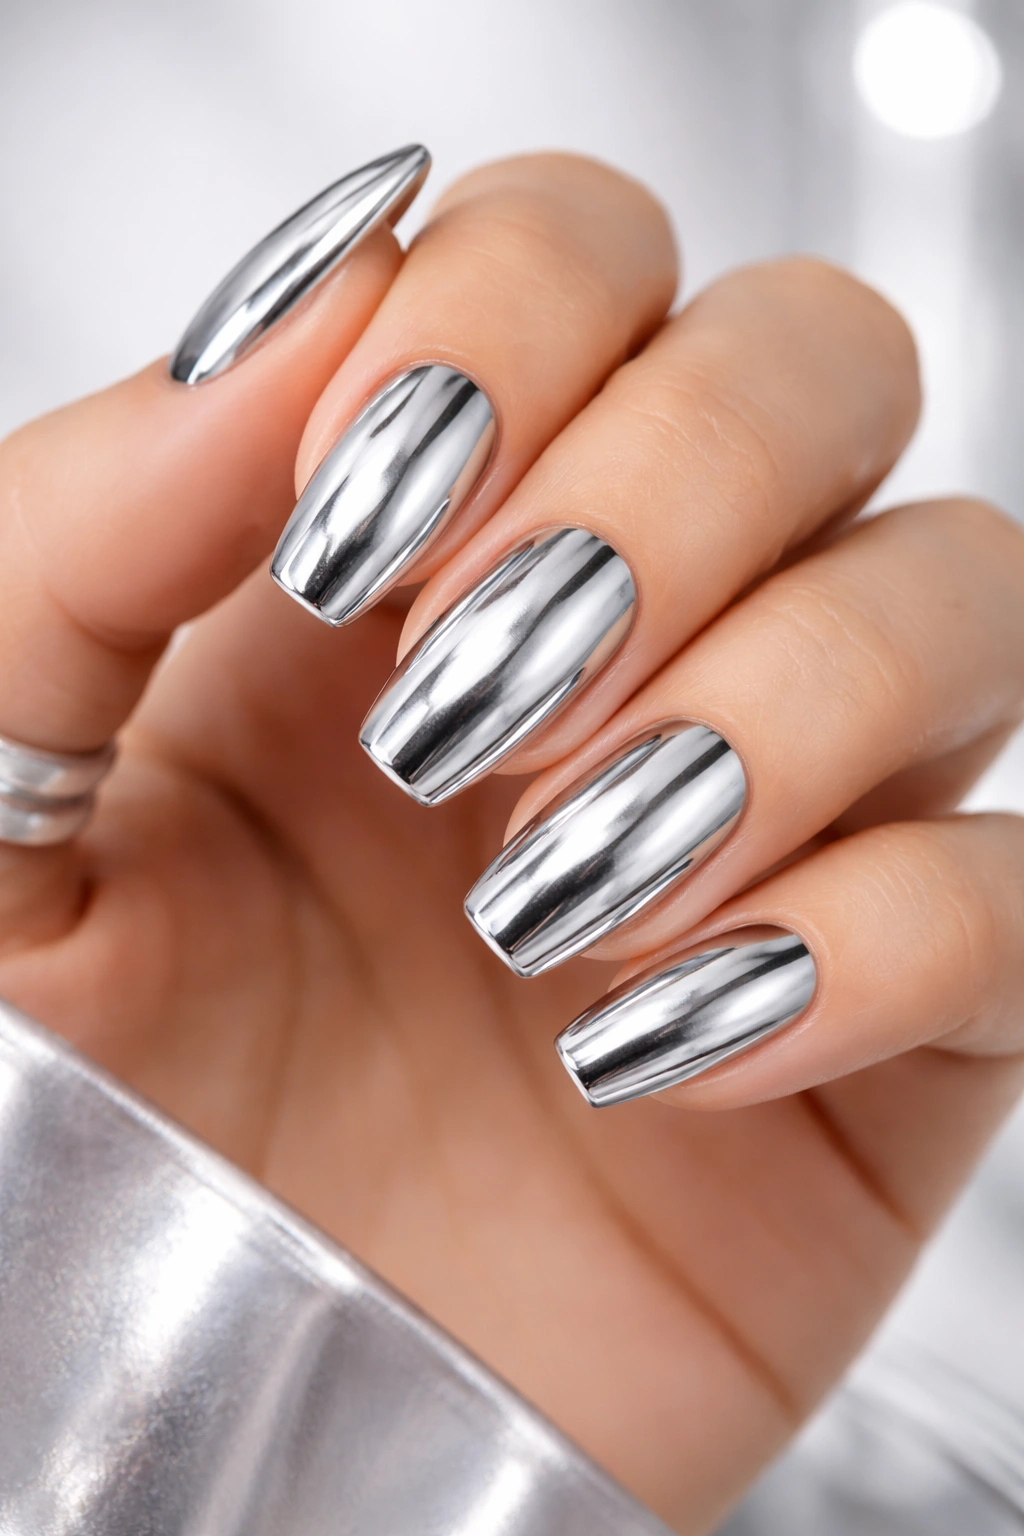
Chrome nails have that futuristic, mirror-like finish that’s nearly impossible to achieve at home with regular polish. Press-ons make this trendy look accessible without the special powders and technique required at a salon.
The reflective quality of chrome press-ons is what sells the salon vibe. They should have a smooth, almost liquid-metal appearance that shifts and changes as you move your hands.
Silver chrome tends to be the most versatile, working with virtually any outfit or season. Rose gold and champagne tones add warmth and sophistication, while bolder options like blue or green chrome make a statement.
Application Tips for Chrome Nails
Chrome finishes can show imperfections more readily than other styles, so nail prep is crucial. Make sure your natural nails are completely smooth and clean before application.
Press firmly but carefully when applying chrome press-ons to avoid fingerprints or smudges on the reflective surface. Some people find it helpful to use a cuticle stick or the back of a nail file to apply pressure rather than their fingers.
The right lighting makes chrome nails absolutely stunning. They photograph beautifully and catch light in a way that draws attention to your hands in the most flattering way possible.
4. Subtle Nail Art with Hand-Painted Details
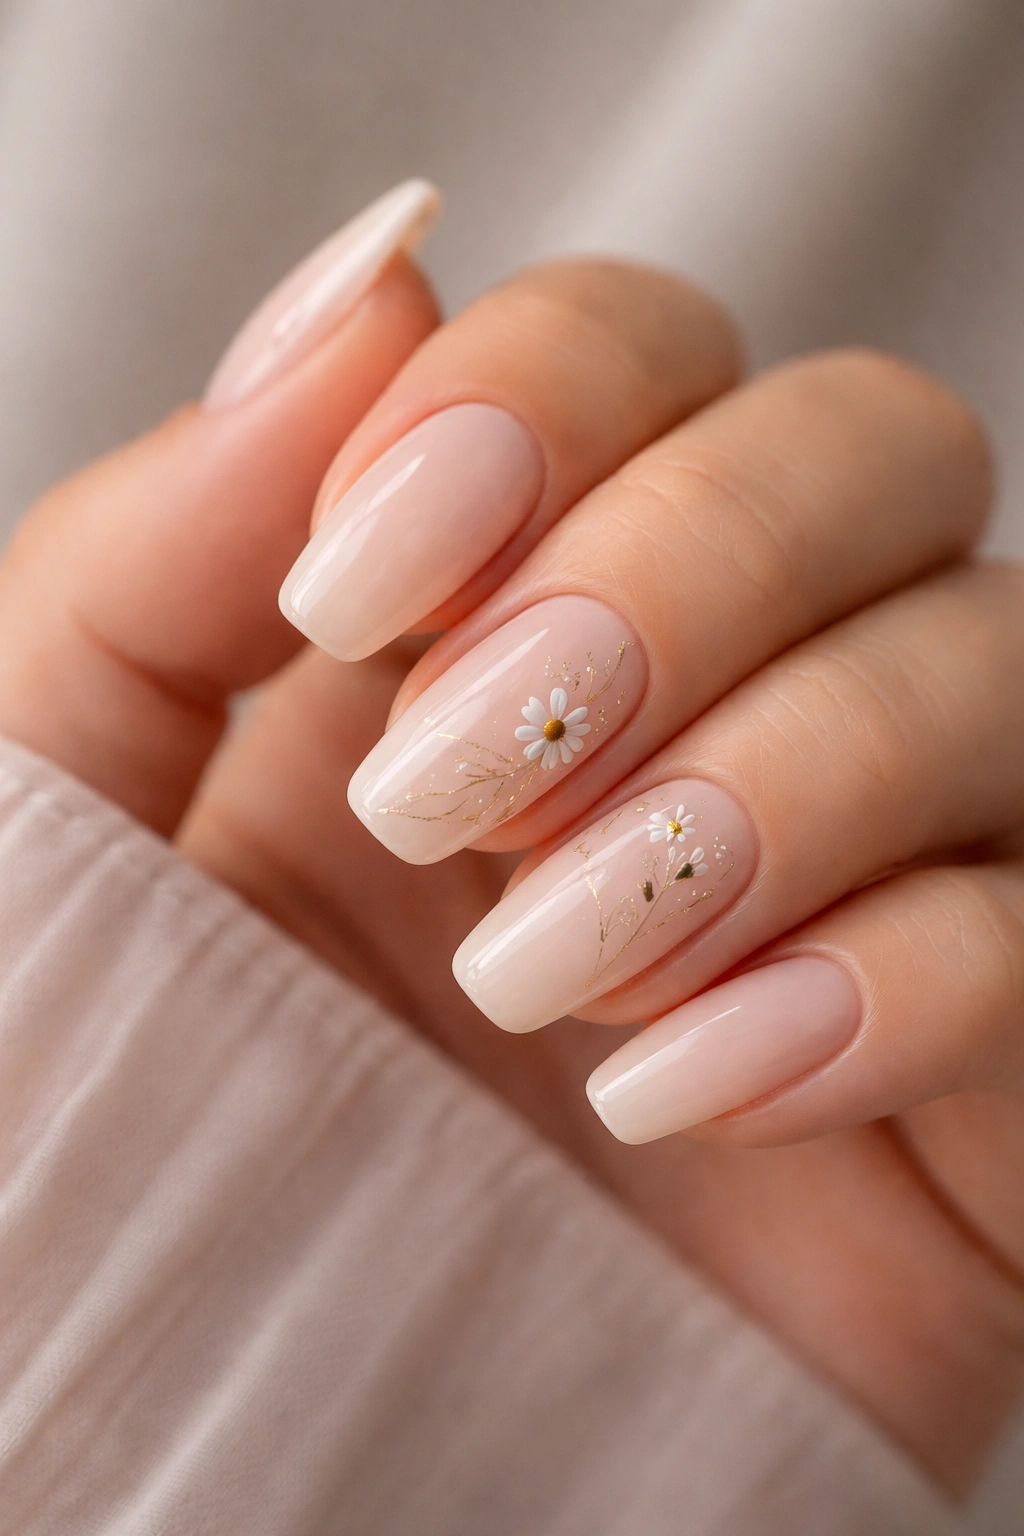
Simple nail art—think delicate florals, minimalist line designs, or tiny accent details—elevates a manicure from basic to boutique. The difference between salon-quality nail art press-ons and cheap-looking ones is whether the design appears hand-painted or obviously printed.
Look for sets where the artwork has slight texture or dimension rather than sitting completely flat. The best designs show brush strokes, layered colors, and small imperfections that prove they weren’t mass-produced with a printer.
Nail art press-ons work best when the design is concentrated on one or two accent nails rather than covering every finger. This mirrors how professional nail techs typically approach detailed artwork.
Popular Salon-Style Art Designs
Abstract swirls and marble effects have that expensive, artistic look without being too busy. The key is soft color transitions and organic shapes rather than harsh, geometric patterns.
Delicate floral designs with fine line work and subtle shading create an elegant, feminine vibe. Choose sets where flowers are painted in complementary tones rather than high-contrast colors.
Minimalist line art featuring gold or silver foil details adds just enough interest without overwhelming your overall look. These work especially well for special occasions or when you want something a bit elevated.
5. Natural-Looking Short Nails
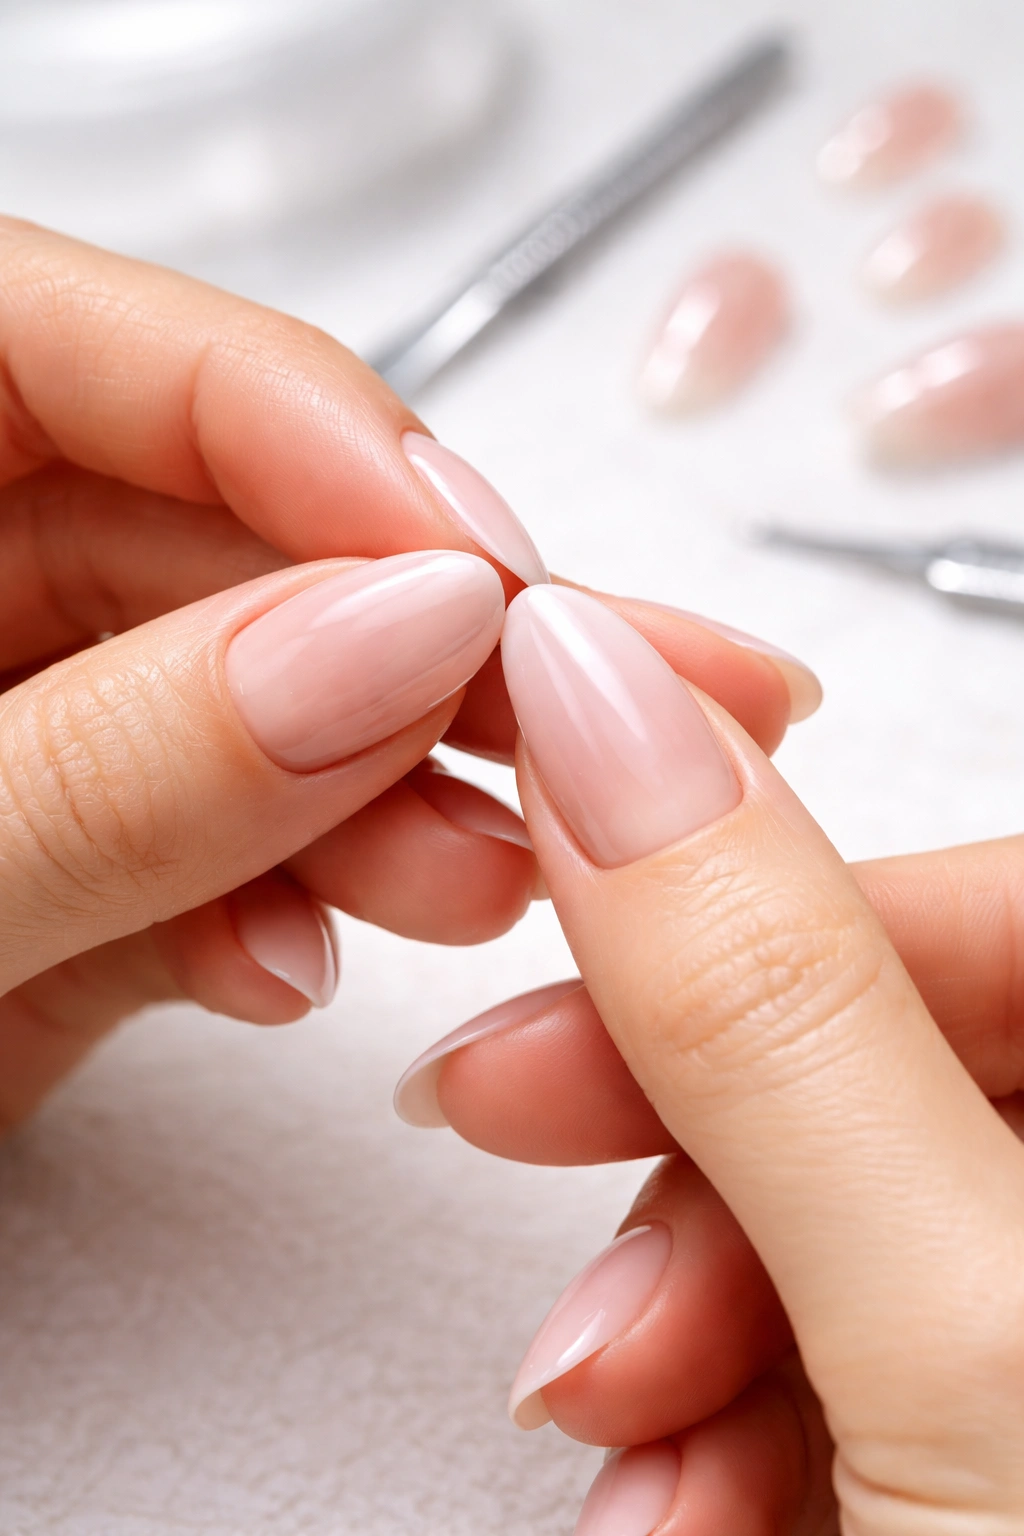
Short press-on nails might seem less impressive than dramatic long styles, but they’re actually harder to perfect. Getting a natural-looking short manicure requires precise sizing and shaping that hugs your nail bed without any gaps.
The best short press-ons are designed with a gentle curve that matches the natural arc of your nail. They should extend just slightly past your fingertip—enough to look polished but not so much that they interfere with daily tasks.
Oval and round shapes work best for short press-ons because they follow the natural contour of your fingertips. Square shapes can sometimes look too blunt and obvious when kept short.
Why Short Press-Ons Are Underrated
They’re incredibly practical for anyone who works with their hands, types frequently, or just isn’t used to having longer nails. You get the polished, finished look without the adjustment period.
Short nails in neutral tones or sheer finishes look remarkably natural—so much so that people often can’t tell they’re press-ons at all. The illusion is nearly perfect when properly fitted.
They also tend to last longer than longer press-ons because there’s less leverage for them to catch on things and pop off. You’ll get the full wear time without worrying about snags or breaks.
6. Almond Shape with Gradient or Ombre Effects
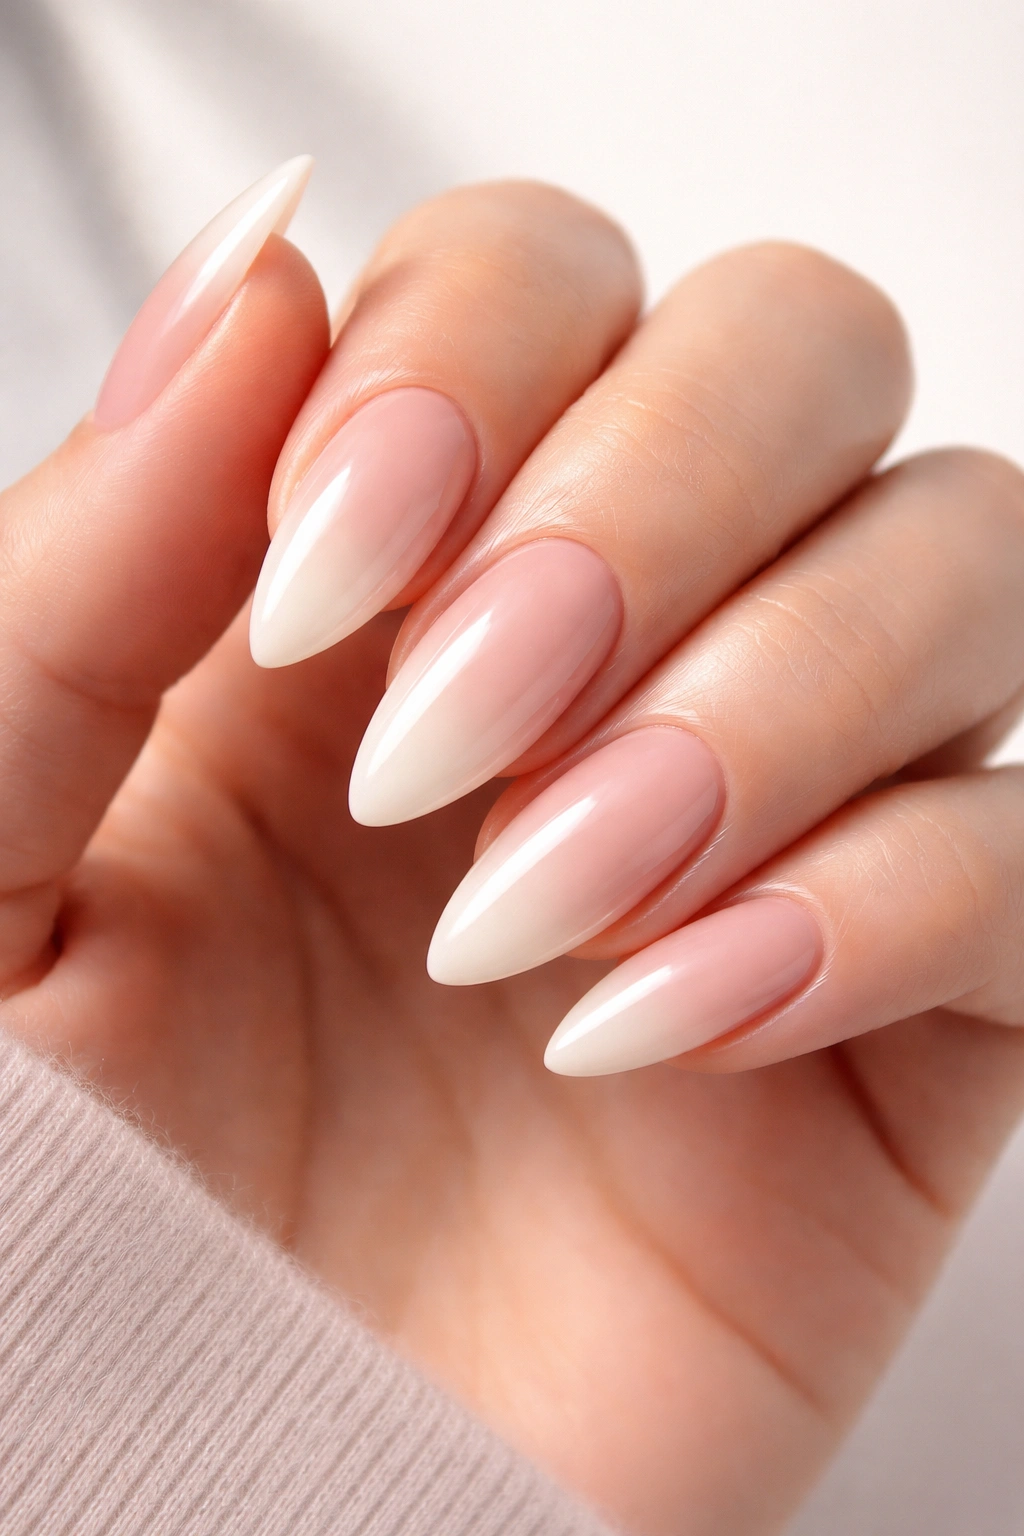
Almond-shaped nails are universally flattering, elongating the fingers and creating an elegant silhouette. When combined with a gradient or ombre effect, they look seriously high-end.
The gradient should be seamless, with colors blending into each other without harsh lines or visible transitions. Professional-looking ombre press-ons use several shades to create a smooth fade from base to tip.
Popular combinations include nude-to-white (modern French), pink-to-nude (soft and romantic), or darker-to-lighter versions of the same color family. The key is keeping the colors within a similar tonal range.
Achieving the Salon Gradient Look
The base of the nail near the cuticle should be the lightest or most transparent, creating that “growing out” effect that looks natural even after a week of wear.
Avoid sets where the gradient looks airbrushed or sprayed on with obvious color banding. The transition should be so smooth it’s almost imperceptible where one shade ends and another begins.
Almond shapes require proper sizing to look authentic. The nail should come to a gentle point that aligns with the center of your nail bed, not off to one side.
7. Coffin Nails with Matte Finish

Coffin (or ballerina) shaped nails are bold and fashion-forward, but a matte finish makes them feel more refined than flashy. This combination screams editorial photoshoot rather than costume party.
The coffin shape—long and tapered with a squared-off tip—requires a certain confidence to wear. But when done right with a sophisticated matte finish, it’s absolutely stunning.
Matte press-ons have a velvety, smooth texture that looks and feels expensive. Deep jewel tones, rich neutrals, and classic black all look particularly striking with a matte finish.
Styling Matte Coffin Nails
These nails make a statement, so keep the rest of your look relatively simple to let them shine. They pair beautifully with minimalist jewelry and sleek, modern outfits.
Matte finishes can sometimes show fingerprints or oils more readily than glossy nails. Keep them looking fresh by gently wiping them with a clean, dry cloth throughout the day.
Some sets offer a mix of matte and glossy nails in the same design, which adds visual interest and dimension. This technique is popular in high-end salons and translates beautifully to press-ons.
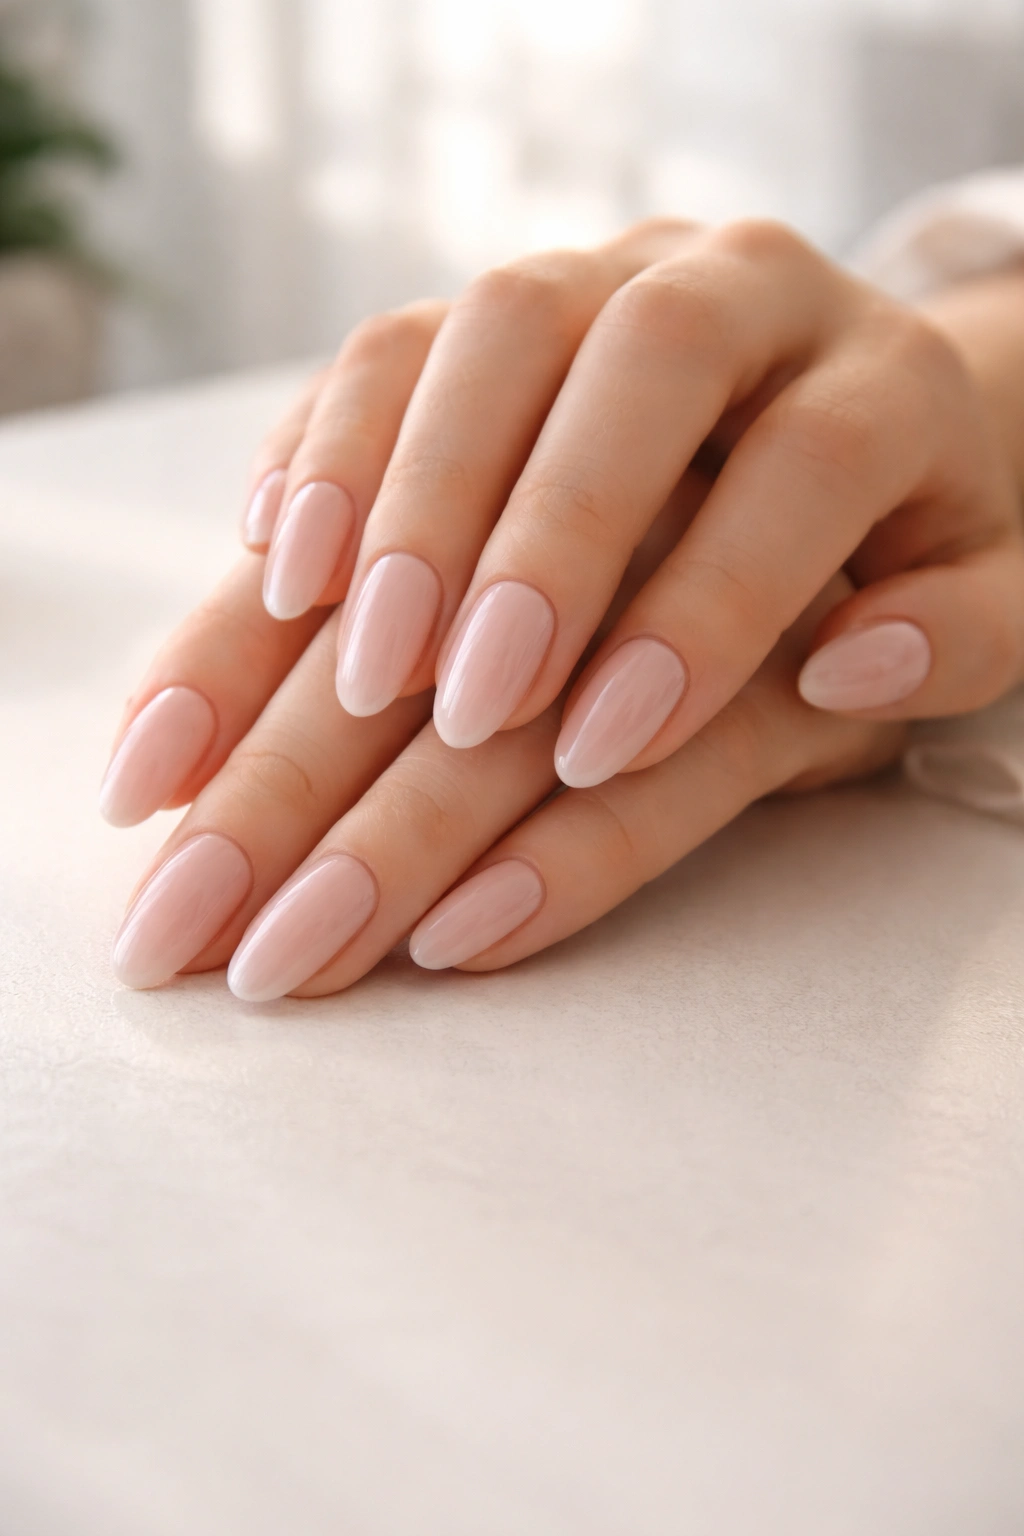
8. Sheer Pink with Subtle Shimmer
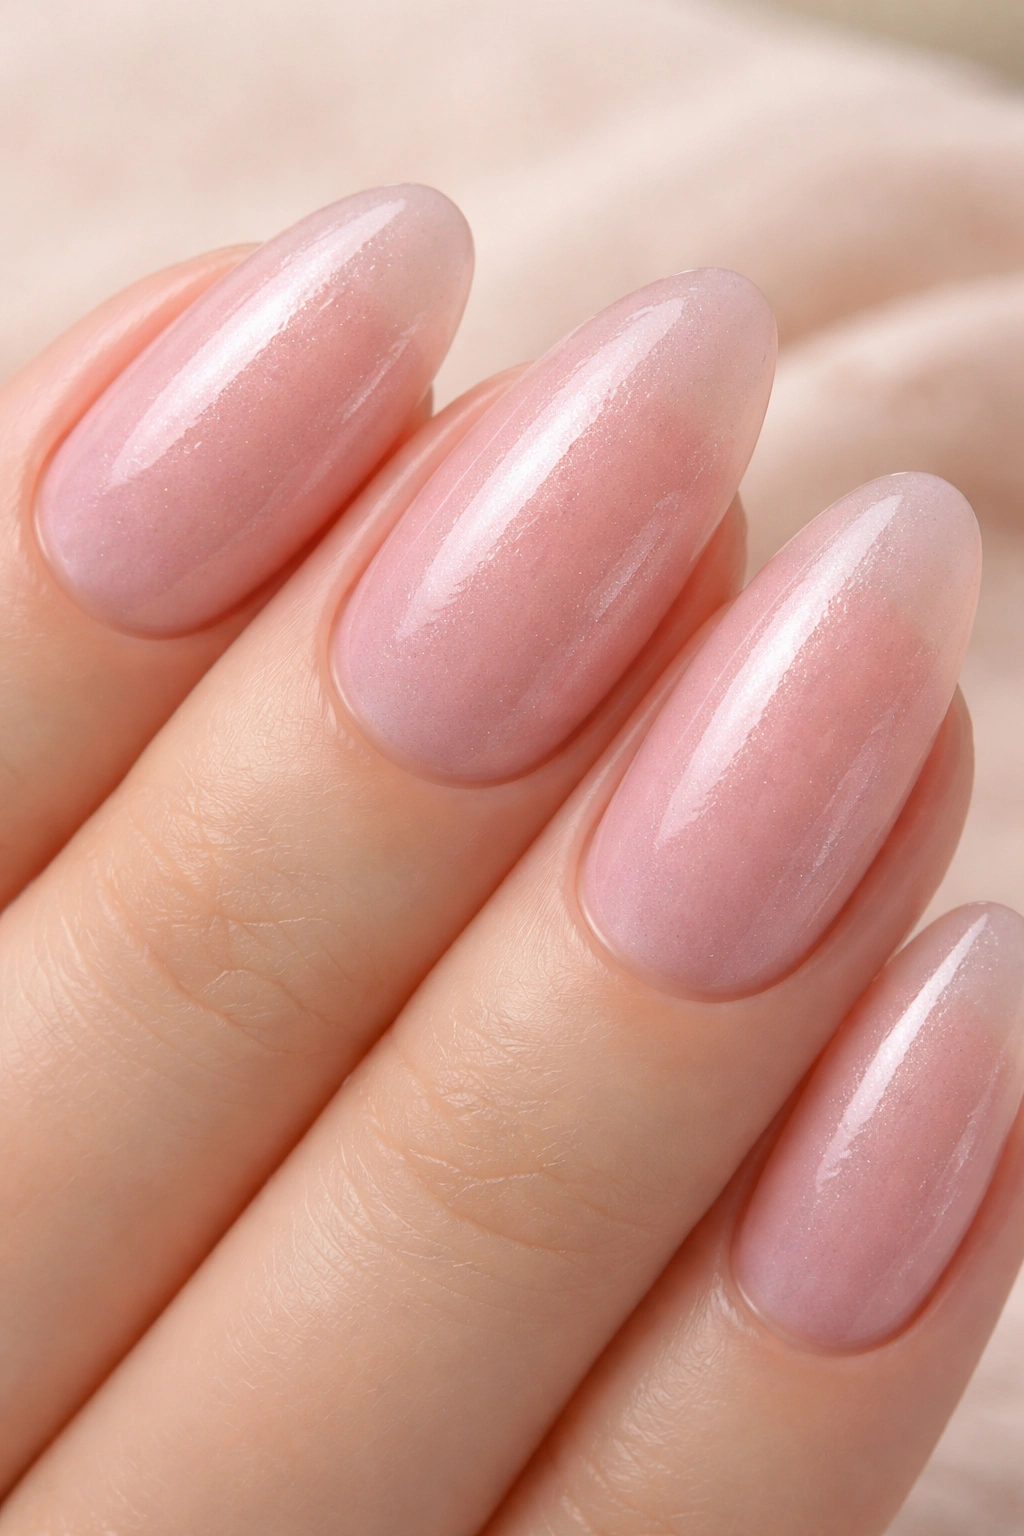
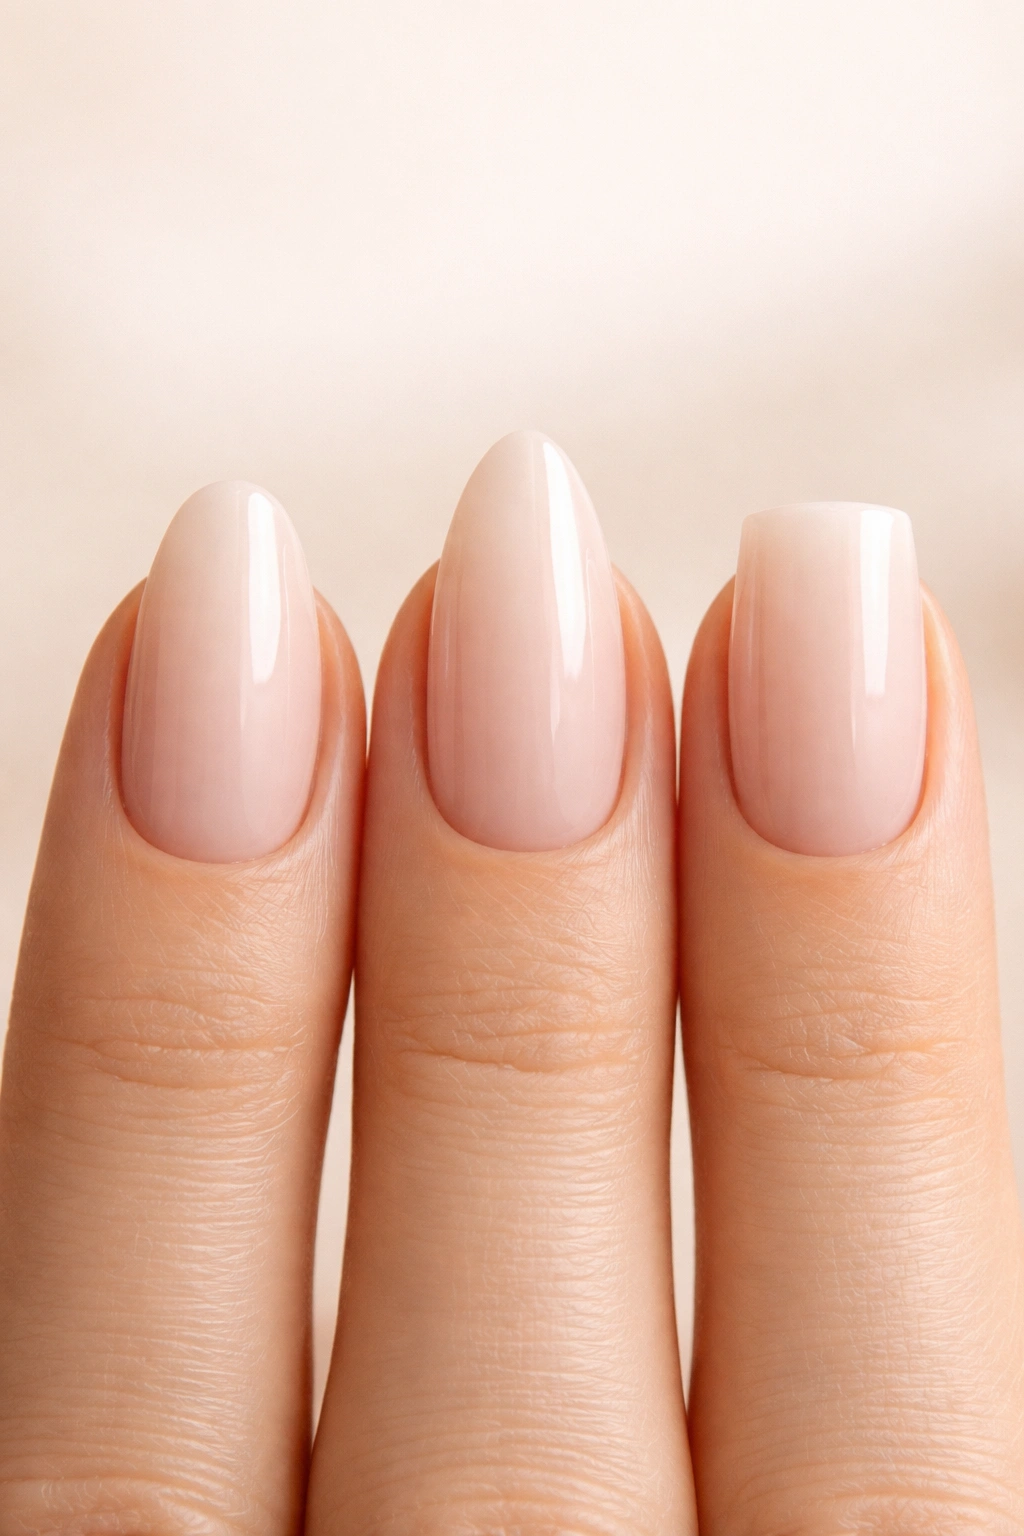
Nothing says “my nails but better” quite like a sheer pink with delicate shimmer. This style is the epitome of natural elegance and looks like you invested in an expensive gel manicure.
The sheer quality allows your natural nail to show through slightly, creating depth and realism that opaque colors can’t achieve. The shimmer should be fine and subtle—more of a glow than obvious glitter.
This style works across all nail lengths and shapes, making it incredibly versatile. It’s appropriate for literally any occasion, from job interviews to weddings to casual weekends.
The Appeal of Sheer Shimmer
These nails photograph beautifully, catching light without looking sparkly or costume-y. They have that lit-from-within quality that’s seriously flattering.
They’re forgiving of less-than-perfect application because the sheer nature helps blend the press-on edges with your natural nail. This makes them ideal for beginners still perfecting their technique.
Sheer pink shimmer is timeless. While other nail trends come and go, this classic look never feels dated or out of style.
9. Stiletto Nails with Bold Color
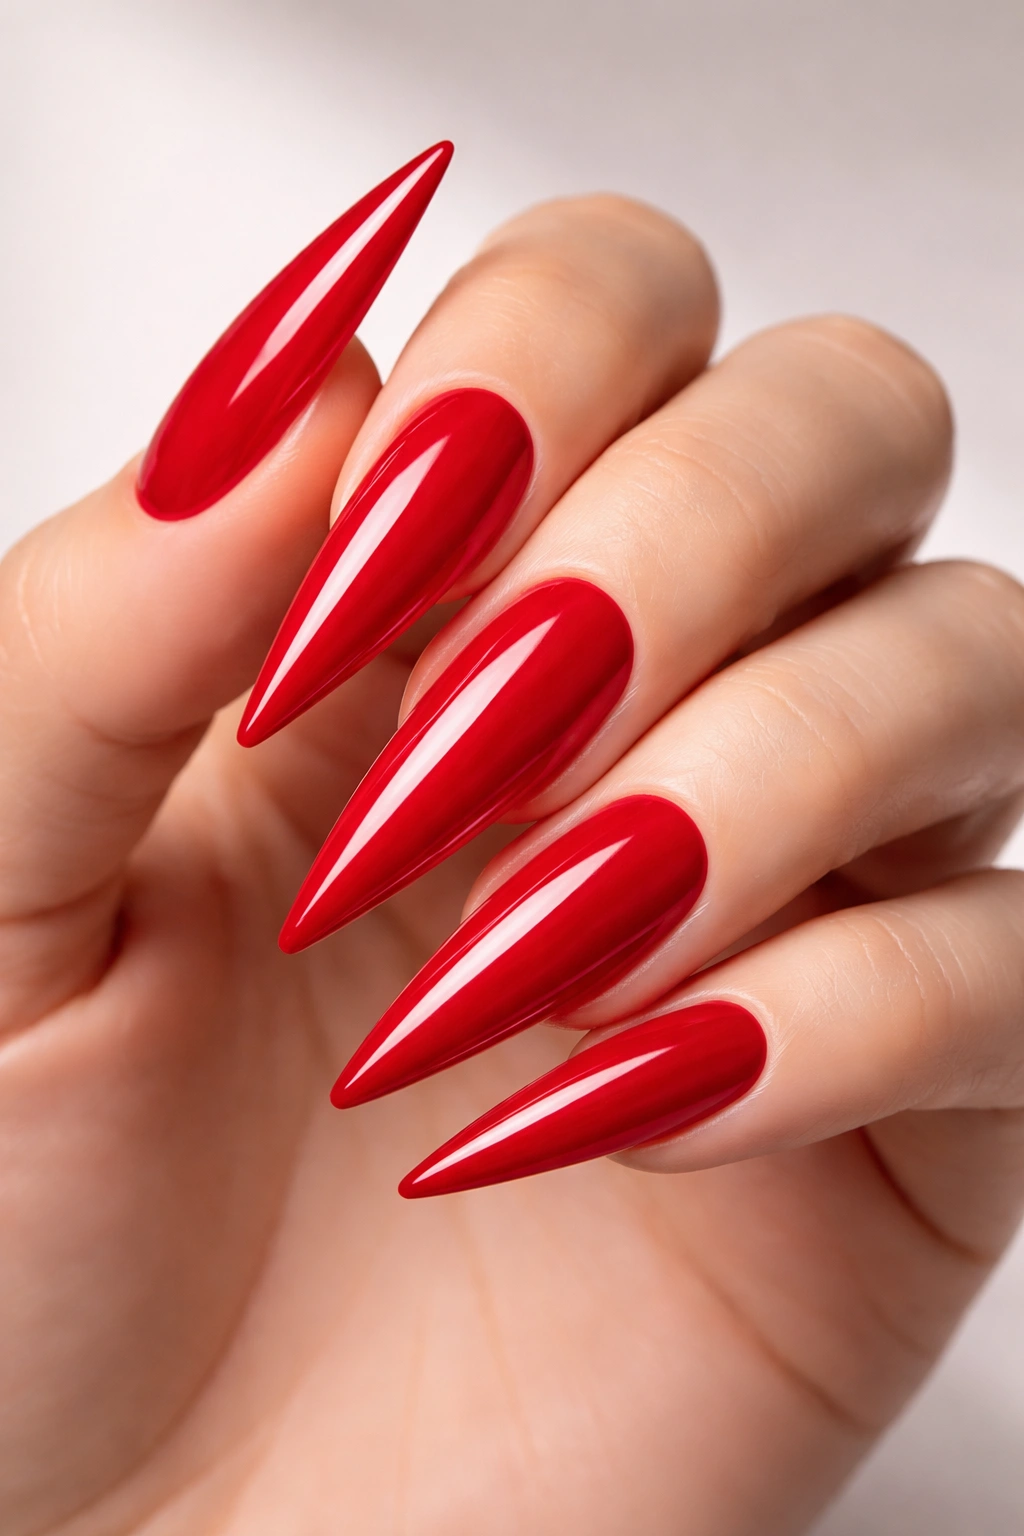
Stiletto nails—long and sharply pointed—are dramatic and eye-catching. When done in a bold, saturated color with a perfect finish, they look like they required serious professional skill.
The shape itself demands attention, so the color and finish need to be flawless to pull off the salon look. Deep reds, rich burgundies, classic black, or vibrant jewel tones work beautifully.
Quality stiletto press-ons have a sturdy construction that doesn’t bend or feel flimsy despite the dramatic length. They should feel substantial and well-made.
Wearing Stiletto Press-Ons Successfully
There’s definitely an adjustment period with stiletto nails if you’re not used to longer lengths. Give yourself a day or two to adapt to typing, buttoning clothes, and other everyday tasks.
The pointed tip should be perfectly centered and symmetrical on each nail. Any deviation makes the entire manicure look homemade rather than professional.
Despite their bold appearance, stiletto nails can actually be quite versatile in styling. They add edge to feminine outfits and complement bold, fashion-forward looks beautifully.
10. Square Nails with Negative Space Designs
Negative space nail art—where parts of your natural nail show through as part of the design—is incredibly chic and modern. Square nails provide the perfect canvas for these geometric, artistic looks.
The beauty of negative space designs is that they look complex and artistic while still maintaining a clean, minimalist vibe. They’re conversation starters that feel fresh and contemporary.
Look for designs where the negative space is intentional and well-planned, creating interesting shapes or patterns. The exposed nail areas should be precise and clean-edged, not sloppy or unfinished-looking.
Why Negative Space Works
These designs make press-ons easier to wear for extended periods because as your natural nail grows, the design still looks intentional rather than grown-out. You get more wear time before they start looking dated.
The combination of polish and bare nail creates visual interest without requiring rhinestones, glitter, or elaborate artwork. It’s sophisticated in its simplicity.
Square shapes work particularly well for negative space because the straight edges and corners allow for crisp, geometric designs that look architecturally interesting.
How to Make Any Press-Ons Look More Salon-Quality
Even the best press-ons in the world won’t look professional if they’re applied carelessly. The application technique makes a huge difference in the final result.
Start with completely clean, dry natural nails. Push back your cuticles gently and buff your nail surface lightly to create texture for better adhesion. Wipe with alcohol to remove any oils.
Size matters more than you might think. Take the time to find the perfect fit for each nail—not too big, not too small. When in doubt, go slightly larger and file the sides to fit.
The Secret to Seamless Application
Apply the press-on at a downward angle, starting at the cuticle and pressing firmly toward the tip. This eliminates air bubbles and ensures a flush fit against your natural nail.
Hold each nail firmly for at least 30 seconds after application. This gives the adhesive time to bond properly and creates a stronger, longer-lasting hold.
After application, use a fine-grit file to blend the edges of the press-on with your natural nail. This eliminates any ridge or line where the fake nail meets your real one.
Choosing the Right Nail Shape for Your Hands
Not every nail shape looks equally flattering on every hand. Understanding which shapes work best for your natural nail beds and finger length helps you choose press-ons that look custom-made.
Oval and almond shapes are the most universally flattering, working well with most nail beds and finger lengths. They elongate the fingers and create an elegant, feminine silhouette.
Square and squoval (square with rounded corners) shapes work best on wider nail beds. They can make short fingers appear shorter, so proceed with caution if that’s a concern for you.
Matching Shape to Lifestyle
Consider your daily activities when choosing a shape. Long stiletto or coffin nails look amazing but can be impractical if you type all day or work with your hands frequently.
Shorter shapes in oval or round are your best bet for active lifestyles. They give you that polished, finished look without interfering with your ability to function normally.
Don’t be afraid to experiment with different shapes. Press-ons make it risk-free to try something new without committing to growing out your natural nails or getting expensive salon extensions.
Maintaining That Fresh Salon Look
Press-ons that look salon-fresh on day one can start to look tired by day seven if you don’t take care of them properly. A few simple maintenance steps keep them looking professional throughout their entire wear time.
Avoid prolonged water exposure for the first few hours after application. This gives the adhesive time to fully bond without interference from moisture.
Be gentle with your nails, especially around the cuticle area where lifting typically starts. If you notice any edges beginning to lift, apply a tiny drop of nail glue and press firmly to reseal.
Daily Care Tips
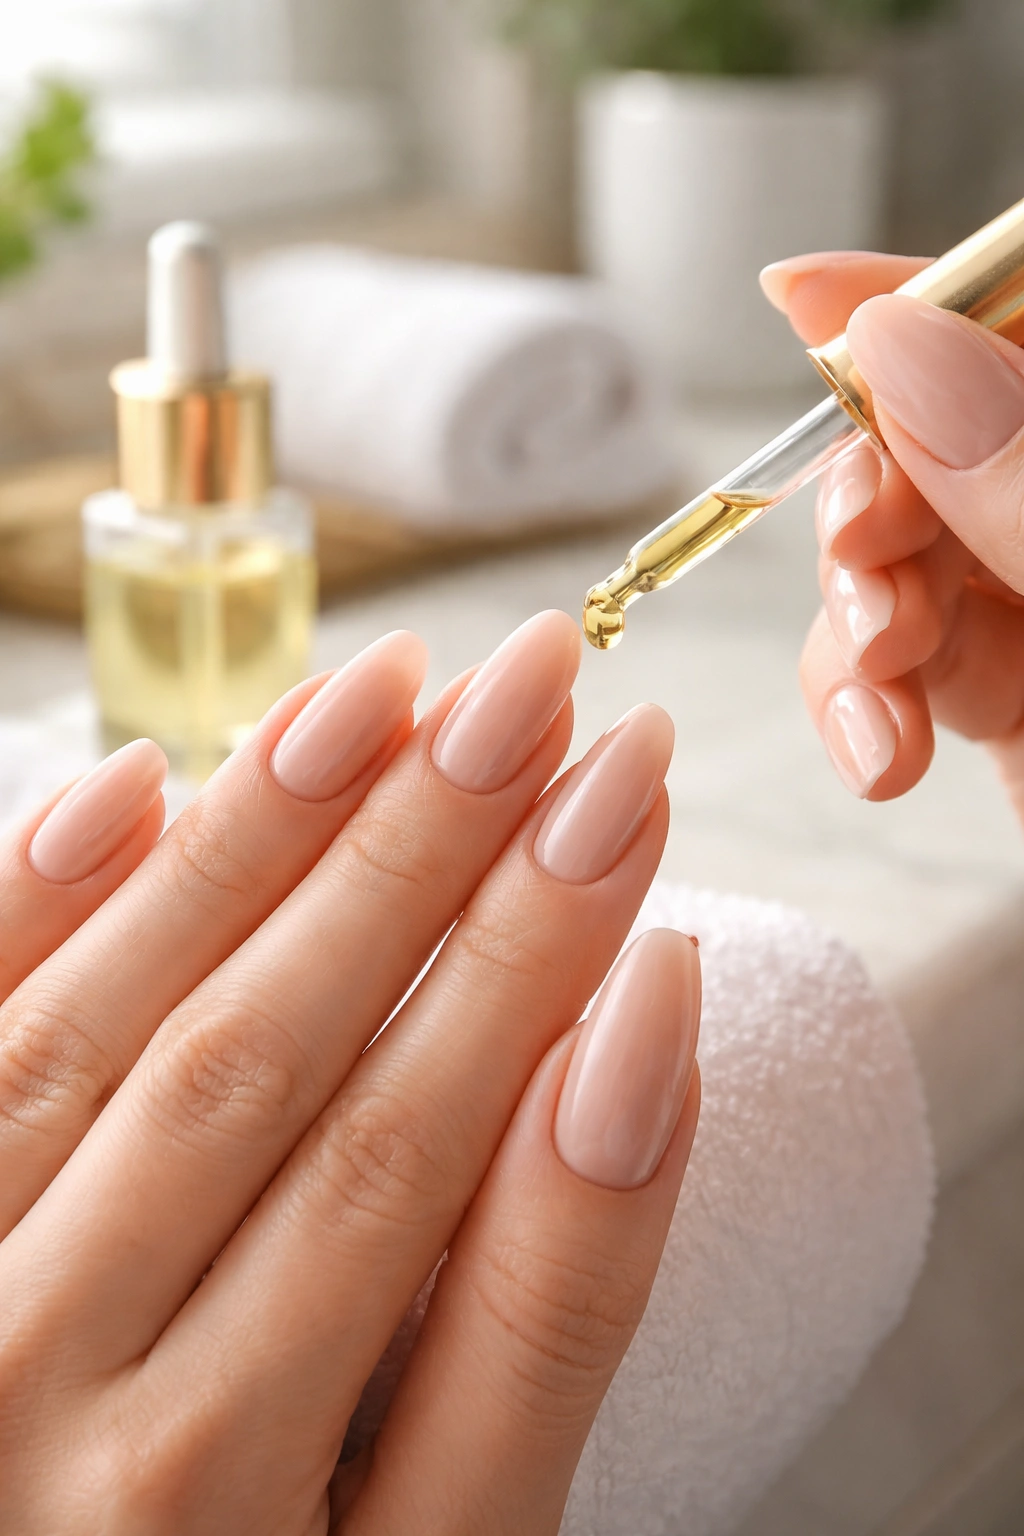
Moisturize your cuticles daily with cuticle oil or hand cream. This keeps the skin around your nails looking healthy and well-groomed, which enhances the overall professional appearance.
Wear gloves when doing dishes, cleaning, or any activity involving prolonged water exposure or harsh chemicals. This simple step dramatically extends the life of your press-on manicure.
If you get a chip or minor damage to one nail, you can often replace just that single nail rather than redoing your entire manicure. Keep your press-on packaging for quick fixes.
Removing Press-Ons Safely
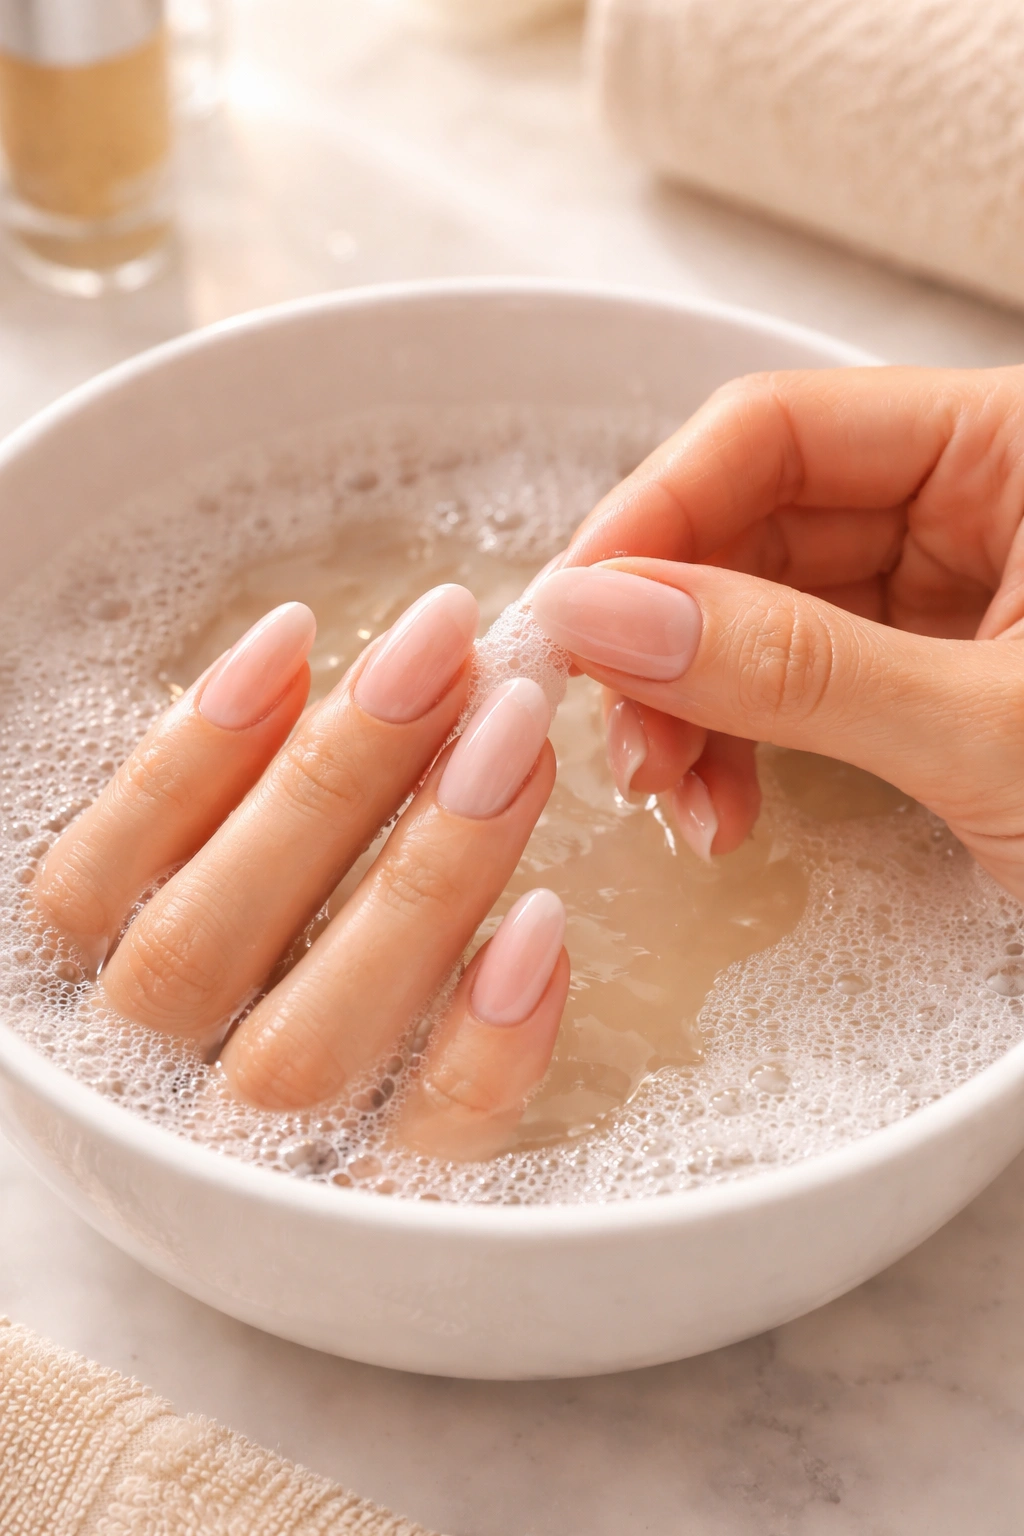
The difference between press-ons being gentle on your natural nails versus damaging comes down entirely to how you remove them. Never, ever peel or rip them off, no matter how tempting it might be.
Soak your nails in warm, soapy water for 10 to 15 minutes to soften the adhesive. You can also use pure acetone for faster results, though this can be more drying to your skin and nails.
Once the adhesive has softened, gently wiggle the press-on from side to side—don’t pull straight up. If it doesn’t come off easily, soak for a few more minutes rather than forcing it.
Post-Removal Nail Care
After removing press-ons, your natural nails might feel a bit soft or weak. This is normal and temporary. Give them some TLC with strengthening treatments and cuticle oil.
Buff away any remaining adhesive residue gently, then moisturize thoroughly. Your nails and cuticles will appreciate the extra hydration after being covered.
If you plan to apply a new set of press-ons immediately, make sure your nails are completely clean and dry first. Any residual oils or moisture will prevent proper adhesion.
Conclusion
Press-on nails have officially earned their place as a legitimate salon alternative. With the right selection, application, and care, they deliver a professional-looking manicure that saves you time, money, and potential damage to your natural nails. Whether you prefer understated elegance or bold drama, there’s a press-on style that’ll have everyone convinced you just stepped out of an expensive nail salon. The best part? Only you need to know your secret.
