

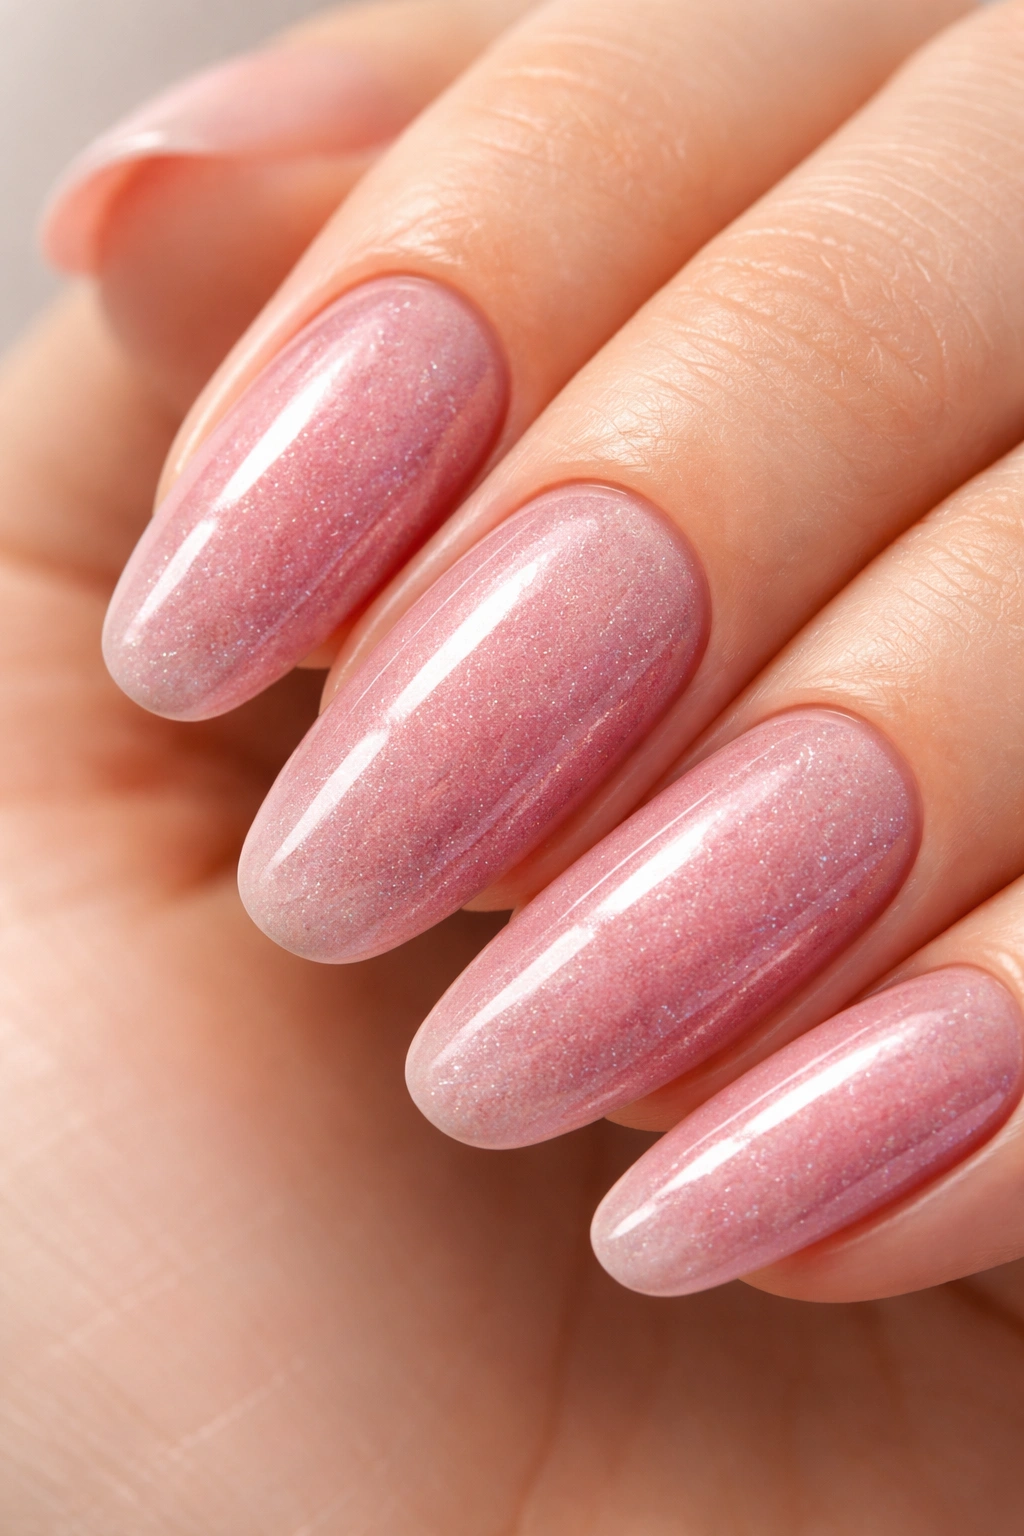
You’ve been rocking your dip powder manicure for weeks now, and it’s held up beautifully. But here’s the thing – those gorgeous, chip-free nails are starting to grow out, and it’s time for a change. The problem? Taking off dip nails isn’t quite as simple as swiping on some regular nail polish remover and calling it a day.
Here’s what makes this tricky: dip powder nails are made from layers of resin and acrylic powder that bond tightly to your natural nail. That’s why they last so long – sometimes up to four weeks. But that same durability means you can’t just peel them off without risking serious damage to your nail beds.
The good news? You don’t need to rush to the salon every time you want to remove your dip manicure. With the right technique and a bit of patience, you can safely take off dip nails at home without wrecking your natural nails in the process.
What Makes Dip Powder Different From Other Manicures
Before we get into removal, let’s talk about what you’re actually dealing with. Dip powder nails use a special resin-type adhesive that contains cyanoacrylate – yep, that’s basically super glue. This bonds with finely milled acrylic powder to create multiple hard layers on your nails.
Unlike gel polish that cures under UV light, dip powder hardens through a chemical reaction with an activator liquid. This creates an incredibly durable coating that’s actually stronger than most gel manicures. That’s why your dip mani can last three to five weeks without chipping.
The thickness also sets dip nails apart. You’re looking at several layers of base coat, powder, and sealant – sometimes up to four or five coats total. This creates that solid, protective shell everyone loves, but it also means there’s more product to break down during removal.
Why You Can’t Just Pick or Peel Them Off
We’ve all been there. You notice a tiny edge lifting, and that voice in your head says, “just pull it off real quick.” Don’t do it. Seriously.
When you peel or pick at dip powder, you’re not just removing the manicure. You’re ripping away layers of your actual nail plate along with it. This leaves your nails thin, weak, and prone to splitting or breaking.
Think of it like this: the dip powder has bonded with the top layers of your nail. Forcing it off takes those nail layers with it, kind of like peeling a sticker off paper and watching the paper tear. The damage isn’t always visible right away, but your nails will feel weaker and look rough.
Professional nail artist Syreeta Aaron puts it simply: improper removal causes more damage than the manicure itself. So yeah, those extra 20 minutes of proper removal time? Totally worth it.
Everything You’ll Need to Remove Dip Nails Safely
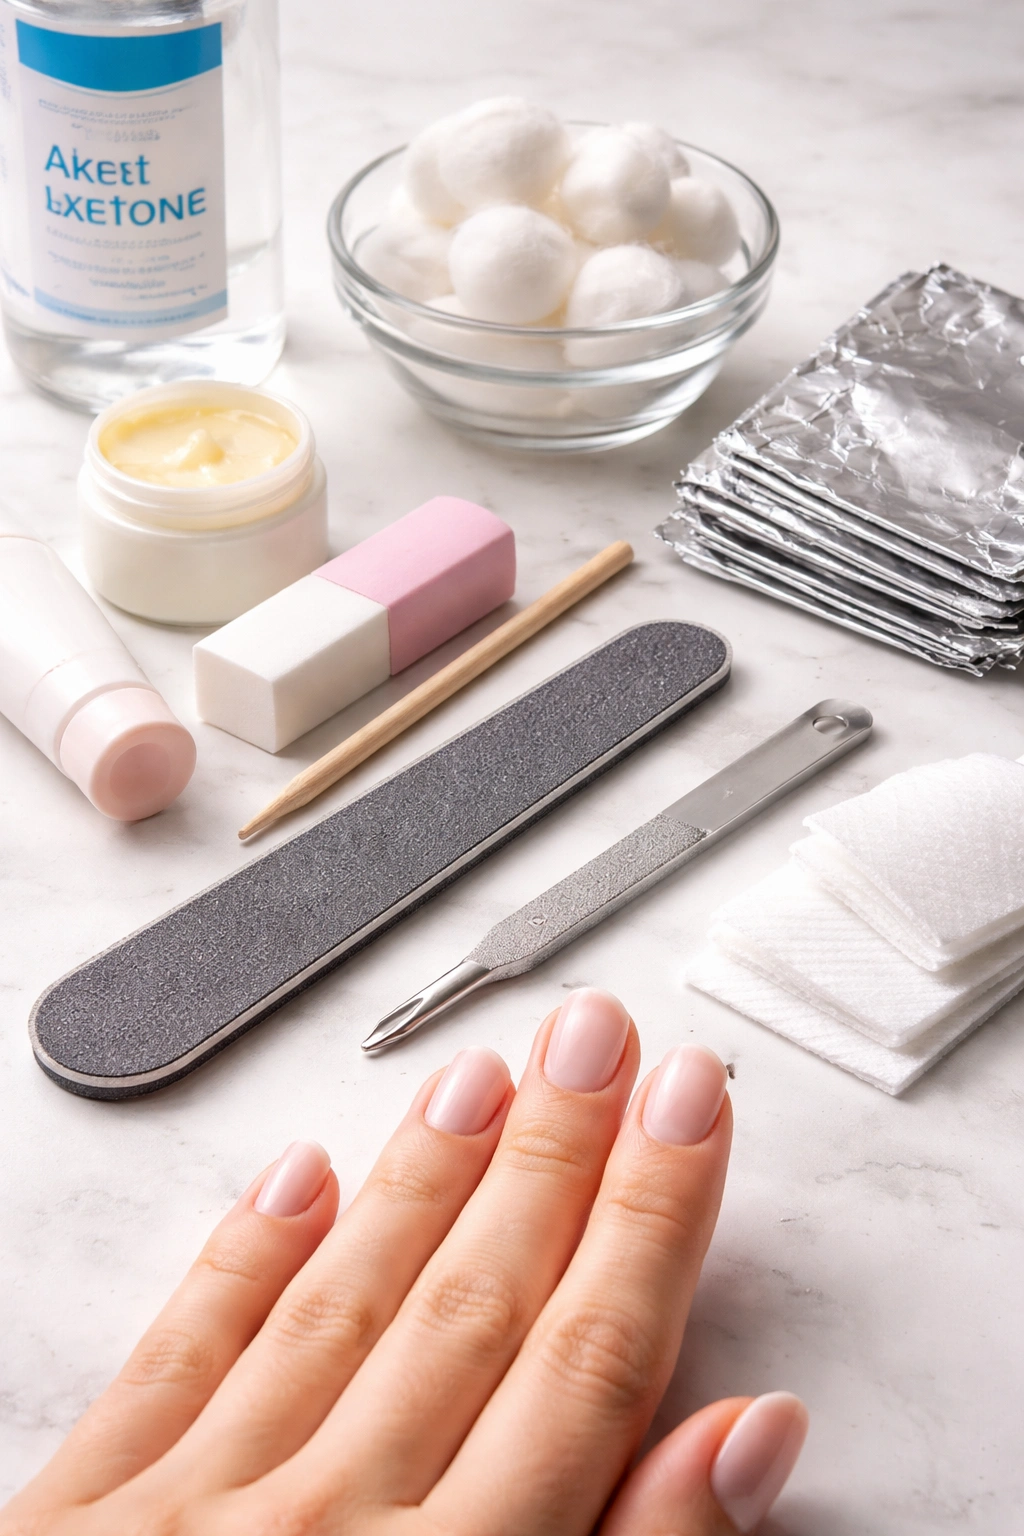
Let’s gather your supplies before you start. You probably have most of these things already, which makes this way more affordable than a salon visit.
Essential tools:
- Coarse nail file (100 or 180 grit works best)
- Pure acetone (not regular nail polish remover)
- Cotton balls or cotton pads
- Aluminum foil cut into 10 squares
- Cuticle pusher or orangewood stick
- Nail buffer
- Small bowl (optional, depending on your method)
Nice to have:
- Petroleum jelly or cuticle oil
- Hand cream or lotion
- Nail strengthener
- Warm towel
One quick note about acetone: you need the 100% pure stuff, not just any nail polish remover. Regular remover doesn’t have enough acetone to break down the dip powder effectively. You can find pure acetone at drugstores or beauty supply stores for just a few dollars.
The Foil Wrap Method: Step-by-Step
This is the most popular way to remove dip nails at home because it’s effective and you can control exactly how much acetone touches your skin. Here’s how to do it right.
Prep Your Nails First
Start by trimming your nails down if you’ve got extra length from the dip powder. Use regular nail clippers to cut them to your desired length – this speeds up the whole process.
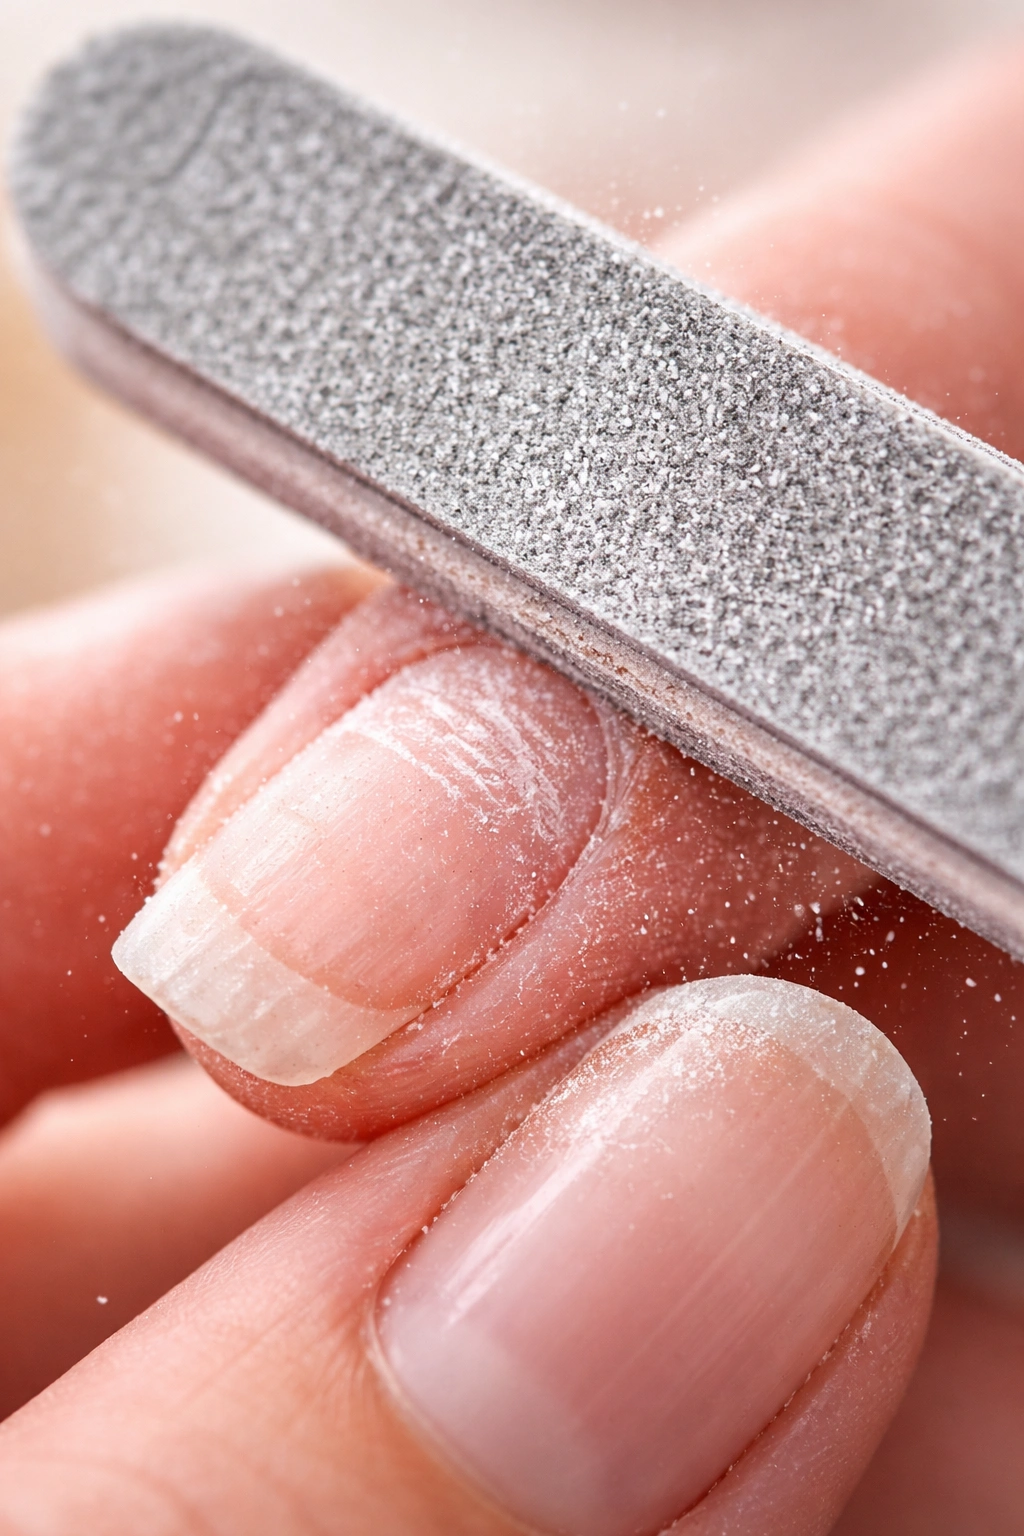
Next, grab your coarse nail file. You’re going to buff away the shiny top layer of your manicure using back-and-forth motions. Keep filing until you see a fine white dust covering the nail and that glossy seal is completely gone.
Don’t file all the way down to your natural nail. You should still see color from your dip powder. You’re just breaking the seal so the acetone can penetrate through all those layers.
Protect Your Skin
Before you break out the acetone, rub a thin layer of petroleum jelly around your cuticles and on the skin near your nails. This creates a barrier that prevents the acetone from drying out your skin.
Some people skip this step, but trust me – your cuticles will thank you later. Acetone is super dehydrating, and protecting that delicate skin makes a real difference.
Soak Each Nail
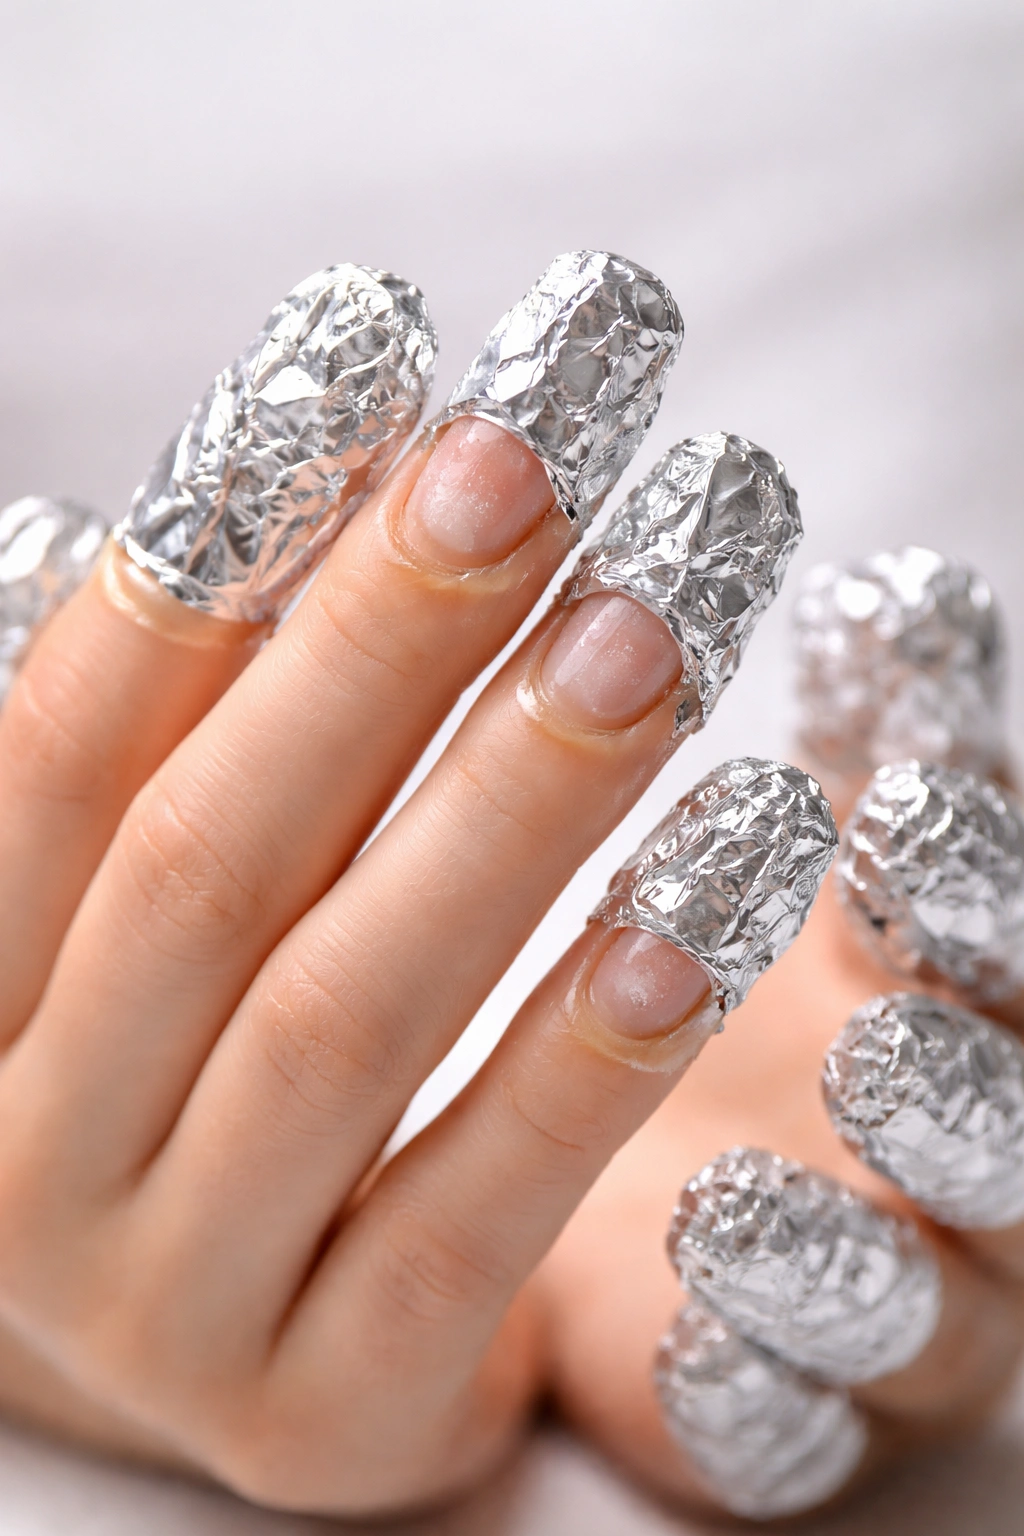
Saturate a cotton ball completely with pure acetone. You want it soaking wet, not just damp. Place the cotton ball directly on top of your nail, making sure it covers the entire nail bed.
Wrap a square of aluminum foil tightly around your fingertip, securing the cotton ball in place. The foil keeps the acetone from evaporating and helps it work faster. Repeat this for all 10 fingers.
Pro tip: Want to speed things up? Once all your nails are wrapped, cover your hands with a warm towel or heating pad. The gentle heat activates the acetone and helps it break down the dip powder more quickly.
Wait It Out
Now comes the hard part – waiting. Set a timer for 15 to 20 minutes and resist the urge to peek. Grab a book, queue up a show, or scroll through your phone (though typing might be challenging with foil fingers).
After 15 minutes, carefully unwrap one nail and check if the dip powder has softened. It should look gummy or flaky. If it’s still hard, rewrap that nail and wait another five minutes.
Remove the Softened Dip
Once the powder has softened, gently press down on the foil and twist as you remove it. This twisting motion helps wipe away the dissolved product without you having to scrape aggressively.
Use your cuticle pusher to gently scrape off any remaining dip powder, working from the cuticle area toward the tip of your nail. The key word here is gently. You shouldn’t need much pressure at all.
If you’re meeting resistance and have to push hard, the dip isn’t ready yet. Rewrap that nail and let it soak longer. Forcing it off will damage your natural nail.
Clean and Buff
Once all the dip powder is removed, wash your hands thoroughly with soap and water to get rid of any acetone residue. Pat your hands dry.
Use your nail buffer to lightly smooth out the surface of your nails. This evens out any rough spots or tiny bits of leftover product. Be gentle here – you’re just smoothing, not aggressively filing down your natural nail.
The Hot Rice Method: A Faster Alternative
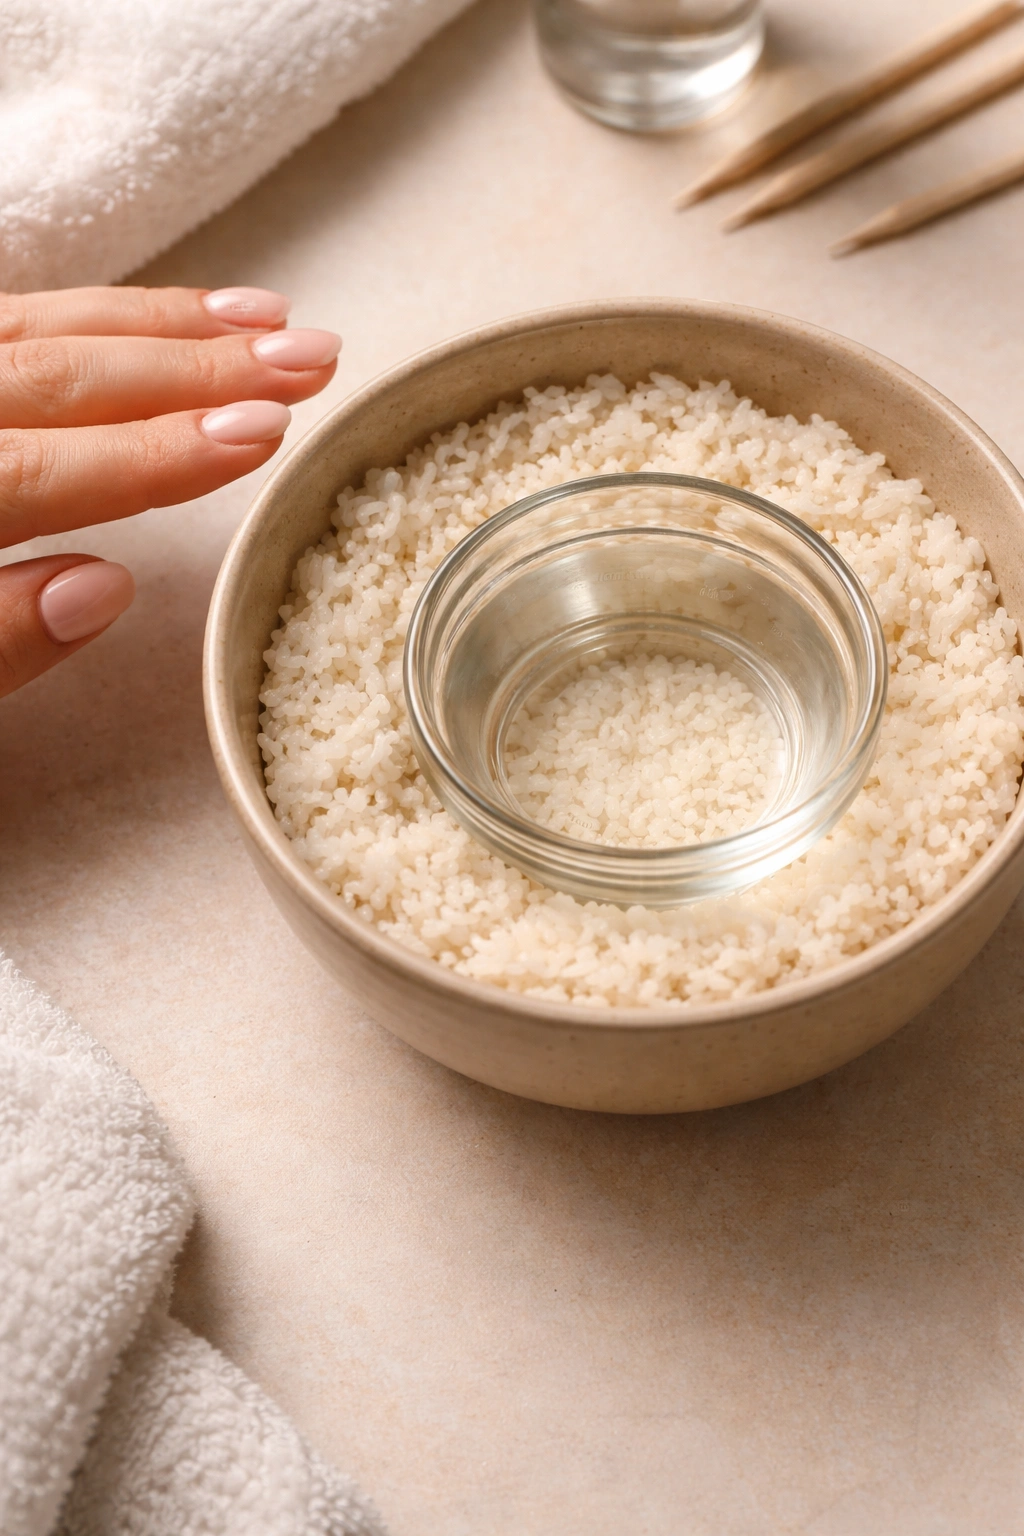
This technique has gone viral for good reason – it can cut your removal time by nearly half. The heat from rice helps activate the acetone without the fire hazard of directly heating flammable liquid.
Heat about two cups of uncooked rice in a microwave-safe bowl for one to two minutes. Check it every 30 seconds to make sure it doesn’t get so hot it could burn you or damage your bowl.
Fill a smaller, acetone-safe bowl or plastic baggie with pure acetone. Place this inside the larger bowl of hot rice, making sure no rice gets into your acetone. The heat transfers from the rice to the acetone, warming it gently.
After buffing the top layer of your nails, soak all your fingers in the warmed acetone along with a cotton pad or even a dryer sheet. The residual heat speeds up the breakdown process significantly.
Every few minutes, when the dip becomes gummy, rub your nails against the cotton to help the acetone work through the layers. You should be able to get your nails clean in about 15 minutes with this method.
Important safety note: Never heat acetone directly in the microwave or on the stove. It’s highly flammable and can cause an explosion. Always use the indirect heating method with rice or warm water.
The Simple Bowl Soak Method
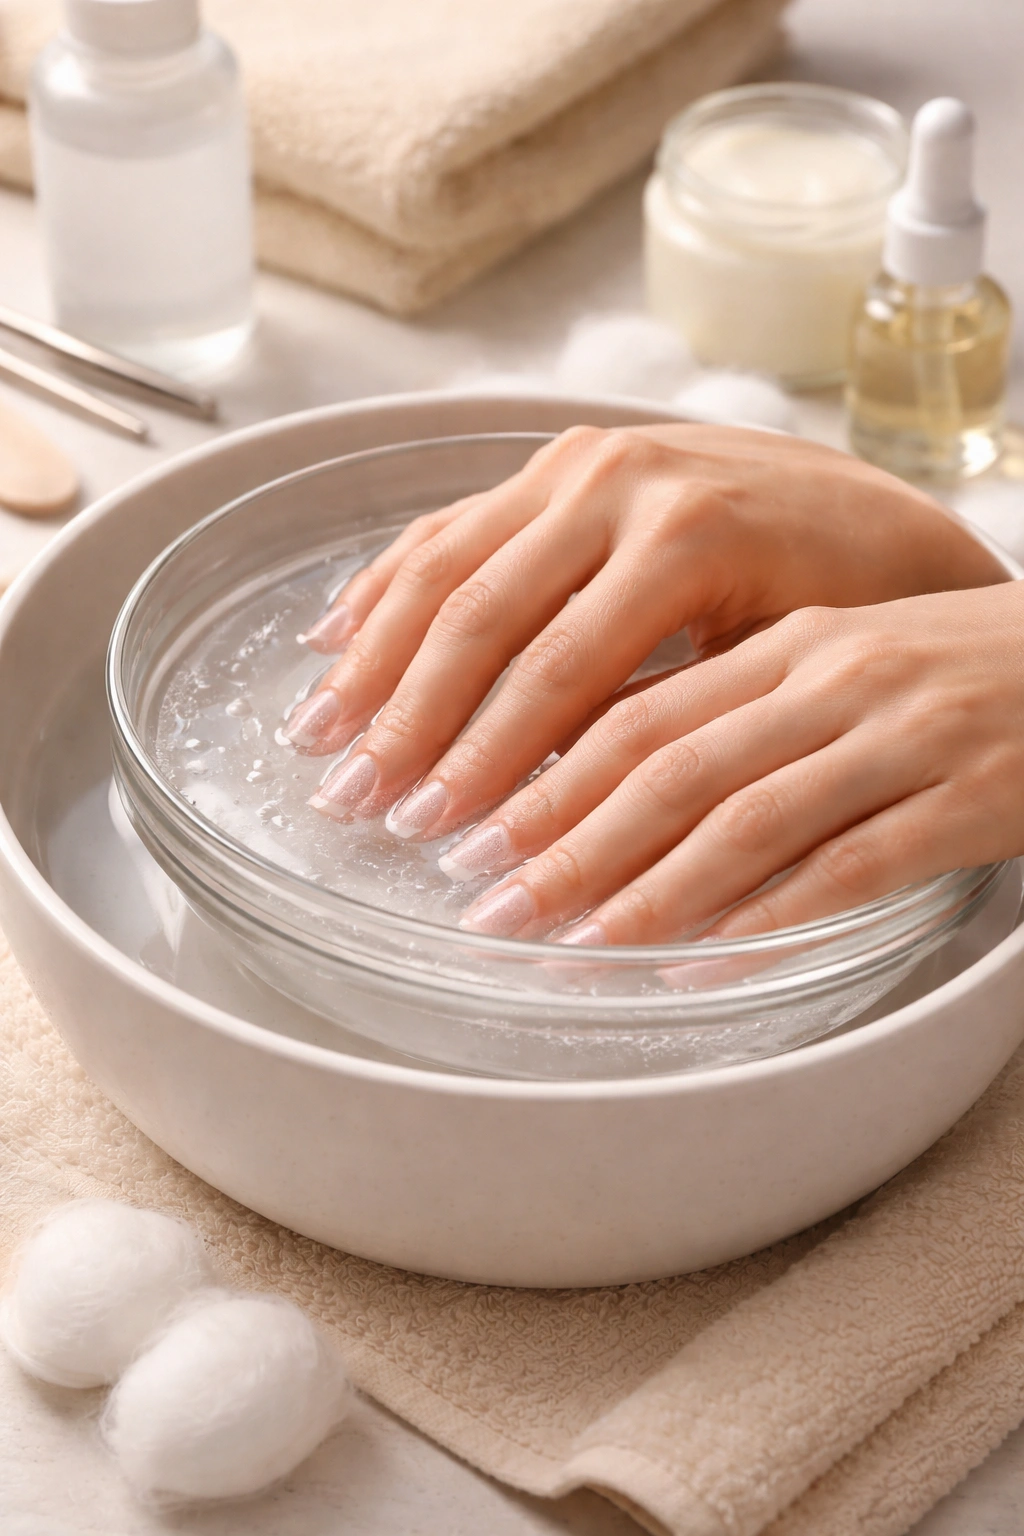
If wrapping each finger individually sounds like too much work, you can go with a full soak instead. This method is more straightforward but uses more acetone and can be tougher on your skin.
After buffing the top layer of your dip powder, fill a shallow bowl with enough pure acetone to submerge all your fingertips. Some people place this bowl inside a larger bowl of warm water to keep the acetone warm throughout the soaking process.
Place a folded paper towel or cotton pad at the bottom of the acetone bowl. As you soak your nails, move them back and forth against the cotton. This friction helps loosen the dip powder faster.
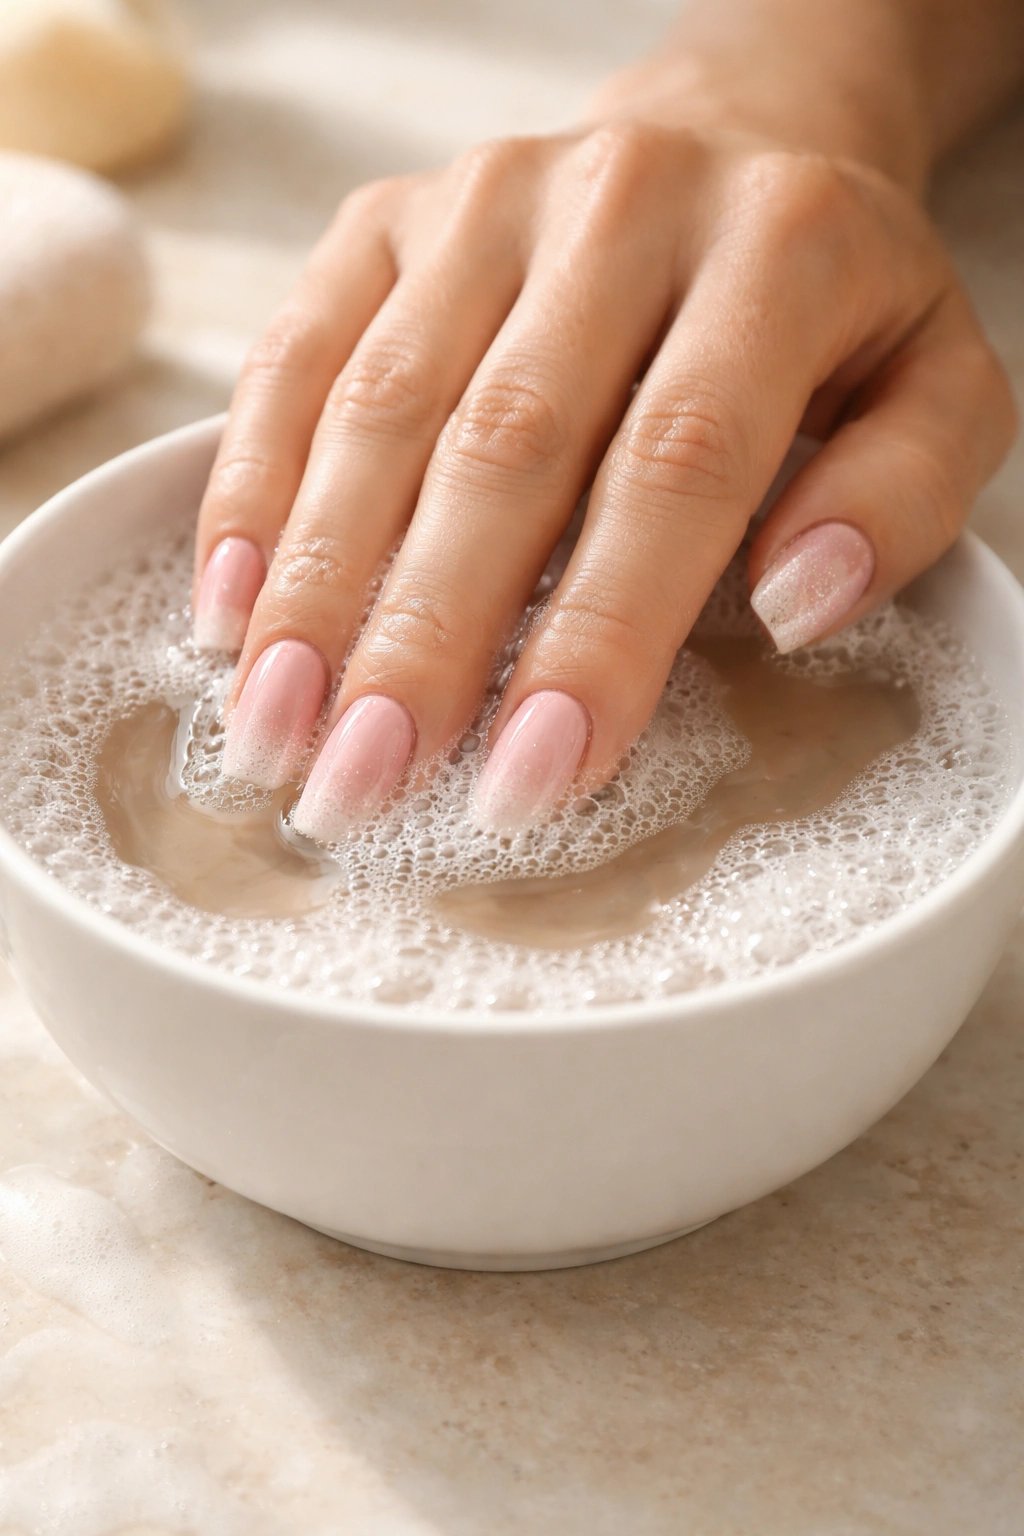
Soak for 15 to 20 minutes, checking occasionally to see if the powder has softened. Once it’s gummy, use a cotton ball soaked in fresh acetone to wipe away the dissolved product.
The downside? This method exposes more of your skin to acetone, which can leave your hands feeling really dry. Make sure you apply that petroleum jelly around your cuticles first, and plan to moisturize heavily afterward.
Can You Remove Dip Nails Without Acetone?
Let’s be real – acetone works best. But if you’ve got sensitive skin, eczema, or you’re dealing with cuts around your nails, you might want an alternative approach.
Warm Soapy Water Soak
This method only works if your dip manicure has been on for several weeks and is already starting to lift naturally. Fill a bowl with warm water and add a few drops of dish soap. Soak your nails for 20 to 30 minutes.
The warm water and soap can soften the edges of lifting dip powder, making it easier to gently push off with a cuticle stick. You’ll still need to be patient, and this won’t completely dissolve the manicure like acetone does.
Oil and Warm Water Mixture
Natural oils like coconut oil, olive oil, or cuticle oil can help soften dip powder when combined with heat. Mix oil with warm water in a bowl and soak your nails for about 30 minutes.
After soaking, use your cuticle pusher to lift the softened powder. This method takes significantly longer than acetone and requires more elbow grease, but it’s gentler on sensitive skin.
Isopropyl Alcohol
If you’ve got rubbing alcohol at 70% concentration or higher, it might weaken the bond of the dip powder. Soak your nails in alcohol for 20 to 30 minutes, then gently file and push off the product.
This isn’t as effective as acetone, and you’ll probably need to soak longer and work harder to get the dip off. But it’s an option if acetone isn’t available.
What Doesn’t Work
Don’t waste your time with these methods you might find online. Filing off the entire manicure with just a nail file will thin and damage your nail plate. Hot water alone won’t penetrate deep enough to dissolve the powder.
And whatever you do, don’t try soaking in vinegar, baking soda paste, or other “natural” remedies. These substances don’t have the chemical properties needed to break down acrylic powder, no matter what YouTube tells you.
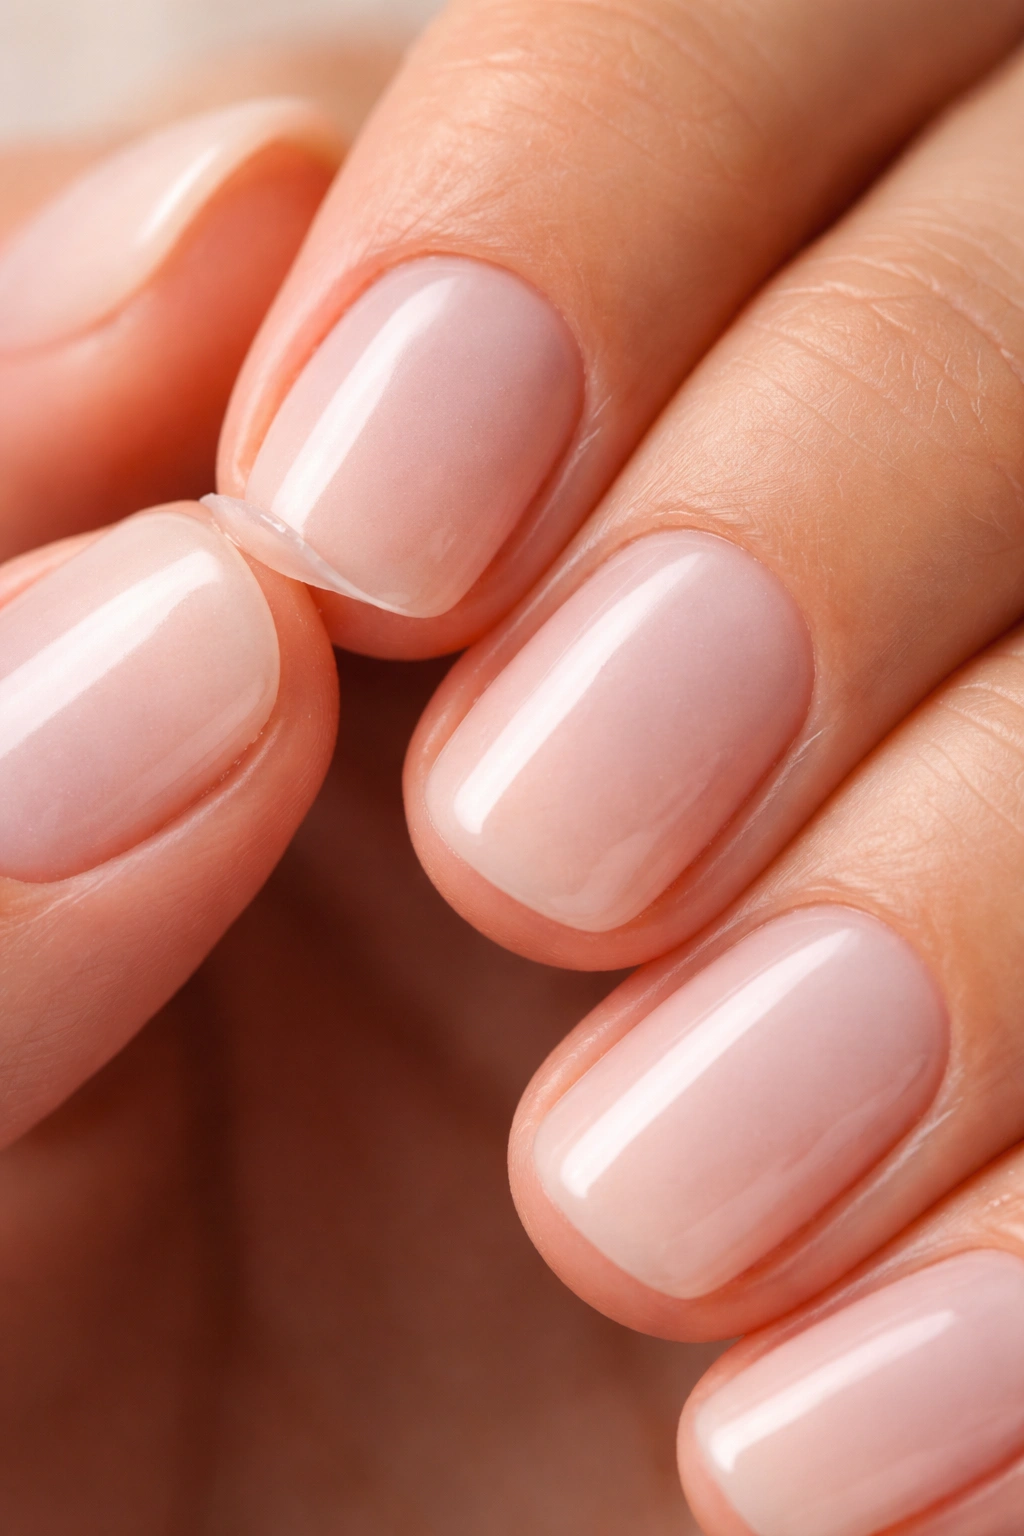
Aftercare: Healing Your Nails Post-Removal
Your nails have been through a lot – both from wearing the dip powder and from the removal process. Time to show them some love.
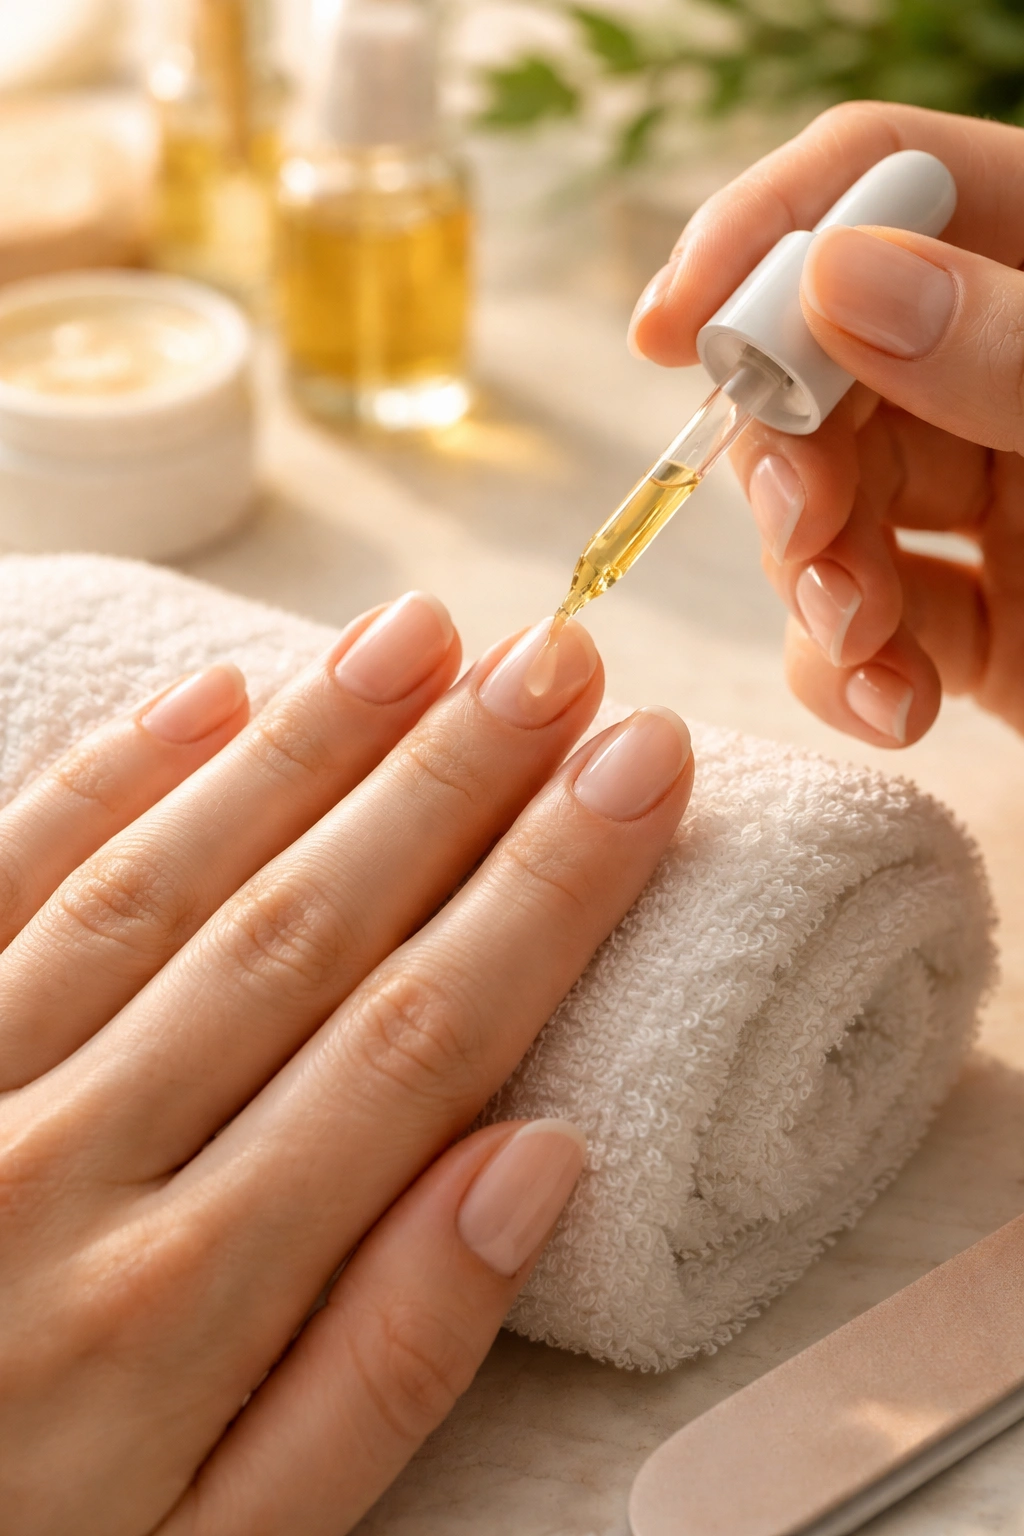
Hydrate Immediately
Right after removal, apply cuticle oil generously to each nail and the surrounding skin. Massage it in well, focusing on the nail bed and cuticle area. This replaces moisture that the acetone stripped away.
Follow up with a rich hand cream or lotion. Don’t skimp here – really slather it on. Your hands need that hydration after being exposed to acetone.
Reapply cuticle oil at least once daily, especially during the first few days after removal. This keeps your nails and cuticles from drying out and helps prevent peeling or hangnails.
Strengthen and Protect
Consider using a nail strengthening treatment for at least a week after removing dip powder. Products with keratin, calcium, or biotin can help fortify nails that might feel a bit weak or thin.
Keep your nails on the shorter side for a while. Weak nails are more prone to breaking or splitting, and shorter nails are less likely to catch on things and tear.
If you notice your nails feeling particularly brittle, take a longer break before your next dip manicure. Your nails need time to breathe and rebuild their natural strength.
Give Your Nails a Break
Nail experts recommend taking at least a week off between dip manicures. If you’ve been getting them regularly for several months, consider taking a two-week break every three applications.
During your break, go bare or use a simple nail polish. This gives your nail plate time to recover from the layers of resin and powder it’s been supporting.
Common Mistakes That Damage Your Nails
Even with the best intentions, it’s easy to mess up dip nail removal. Watch out for these rookie errors.
Filing Too Aggressively
When you buff the top layer, you only need to remove the shiny seal – not half the manicure. Over-filing means you’re removing too much product and possibly hitting your natural nail.
You should always see color remaining on your nail after buffing. If you’ve filed down to a nearly natural-looking nail, you’ve gone too far.
Not Soaking Long Enough
This is probably the most common mistake. You check after 10 minutes, see the dip powder hasn’t budged, and start scraping anyway. Don’t do this.
If the product isn’t softened and gummy, it’s not ready. Give it more time. Forcing off dip powder that hasn’t properly dissolved will rip up your natural nail layers.
Using Regular Nail Polish Remover
Regular remover doesn’t have enough acetone to effectively break down dip powder. You’ll sit there forever, get frustrated, and might resort to picking or peeling.
Spend the extra couple dollars on pure acetone. It makes the entire process faster and more effective, which actually protects your nails better.
Skipping the Moisturizing Step
Your nails and cuticles are completely dehydrated after acetone exposure. If you skip the oil and lotion, you’re setting yourself up for dry, brittle nails that peel and break easily.
Take those extra two minutes to properly hydrate. Your future manicures will go on smoother, and your nails will stay healthier overall.
When You Should See a Professional Instead
Sometimes DIY removal isn’t your best bet. Here are situations where booking a salon appointment makes more sense.
If this is your very first time removing dip powder, consider having it done professionally so you can watch the technique. Many nail techs are happy to walk you through the process.
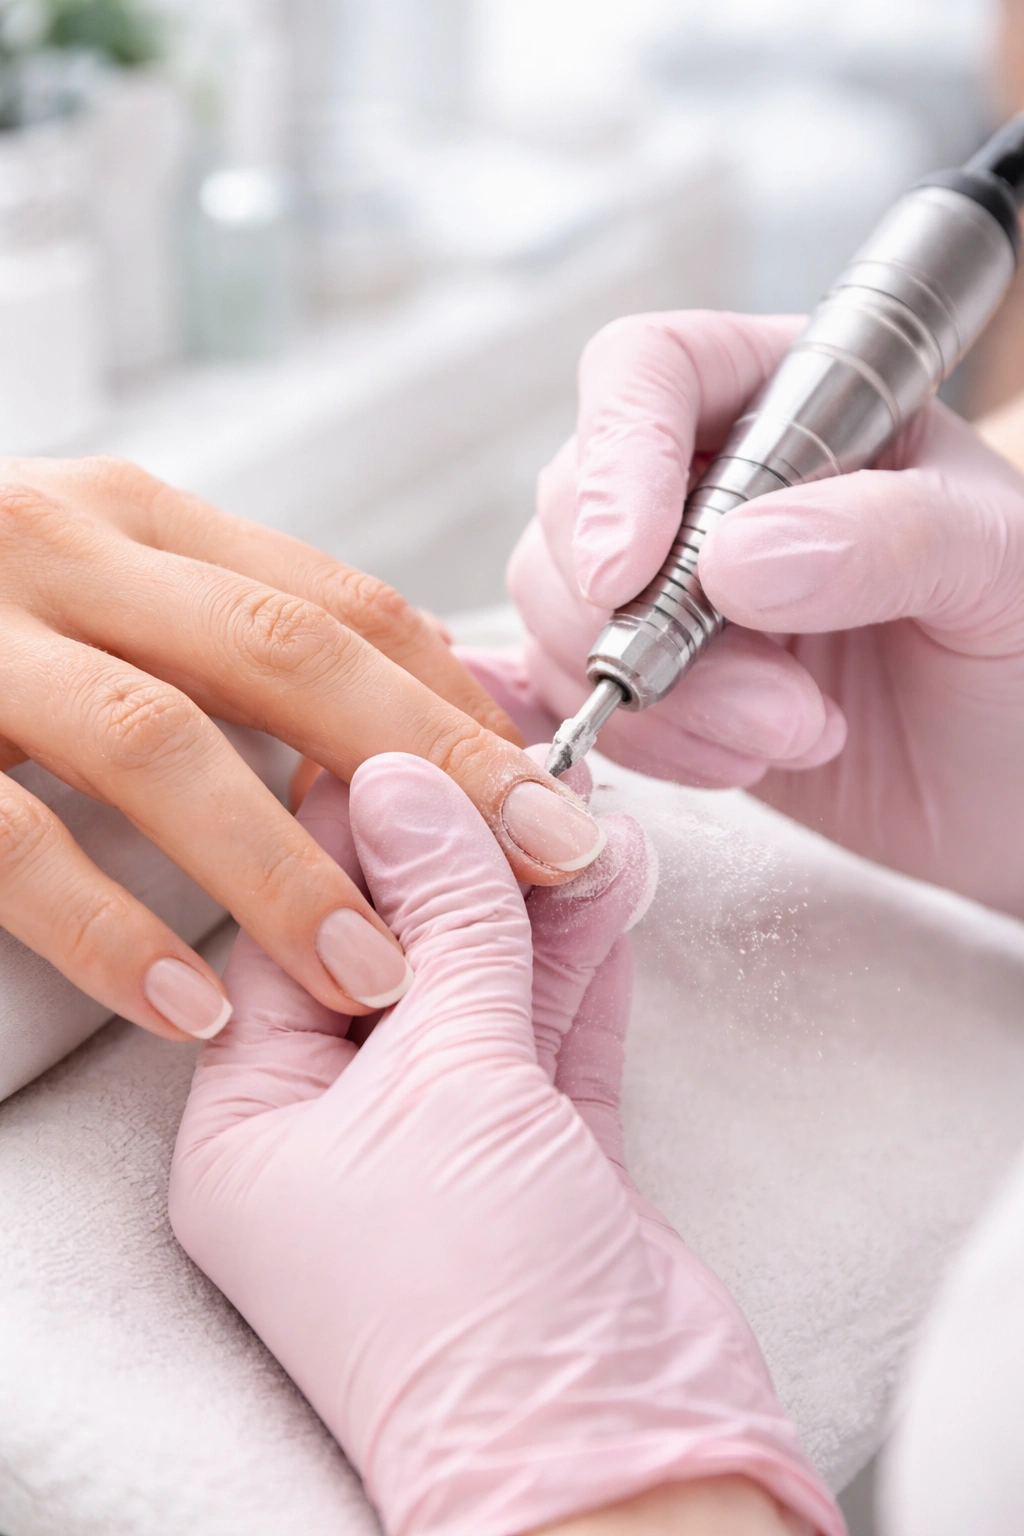
When your dip powder was applied extra thick or you’ve got intricate nail art encapsulated in the layers, professional removal with an e-file might be faster and safer. Techs know how to use those tools without damaging your natural nails.
If you notice any signs of infection – like redness, swelling, pain, or discharge around your nails – don’t attempt home removal. See a professional or even a doctor if it looks serious.
And if you’ve got a fungal infection or any open cuts near your nails, wait until those are completely healed before getting or removing any manicure.
Final Thoughts

Removing dip nails at home doesn’t have to be scary or damaging. The secret is really just patience and using the right technique. Whether you go with the classic foil wrap method, try the hot rice hack, or opt for a simple bowl soak, the key is giving the acetone enough time to break down those layers properly.
Skip the temptation to pick or peel, invest in pure acetone, and don’t rush the process. Your natural nails will stay healthy and strong, ready for whatever manicure you want to try next.
And remember – a little extra time spent on proper removal and aftercare means your nails stay in better shape for years to come. That’s a trade-off worth making every single time.
