

You’ve been rocking those gorgeous acrylic nails for weeks now, and they’ve served you well. But here’s the thing – they’re starting to grow out, maybe lifting at the edges, and you’re ready for a change. Before you even think about peeling them off (please don’t!), let’s talk about doing this the right way.
Removing acrylic nails at home doesn’t have to feel like you’re preparing for surgery. With a little patience and the right approach, you can get those acrylics off without turning your natural nails into a disaster zone. Your nail beds have been through enough already, so let’s make this process as gentle as possible.
Here’s the real talk: this isn’t a 10-minute job. You’ll need to set aside a solid hour, maybe more if you’re doing this for the first time. But trust me, it’s worth taking your time to avoid spending the next three months nursing weak, damaged nails back to health.
What You’ll Actually Need
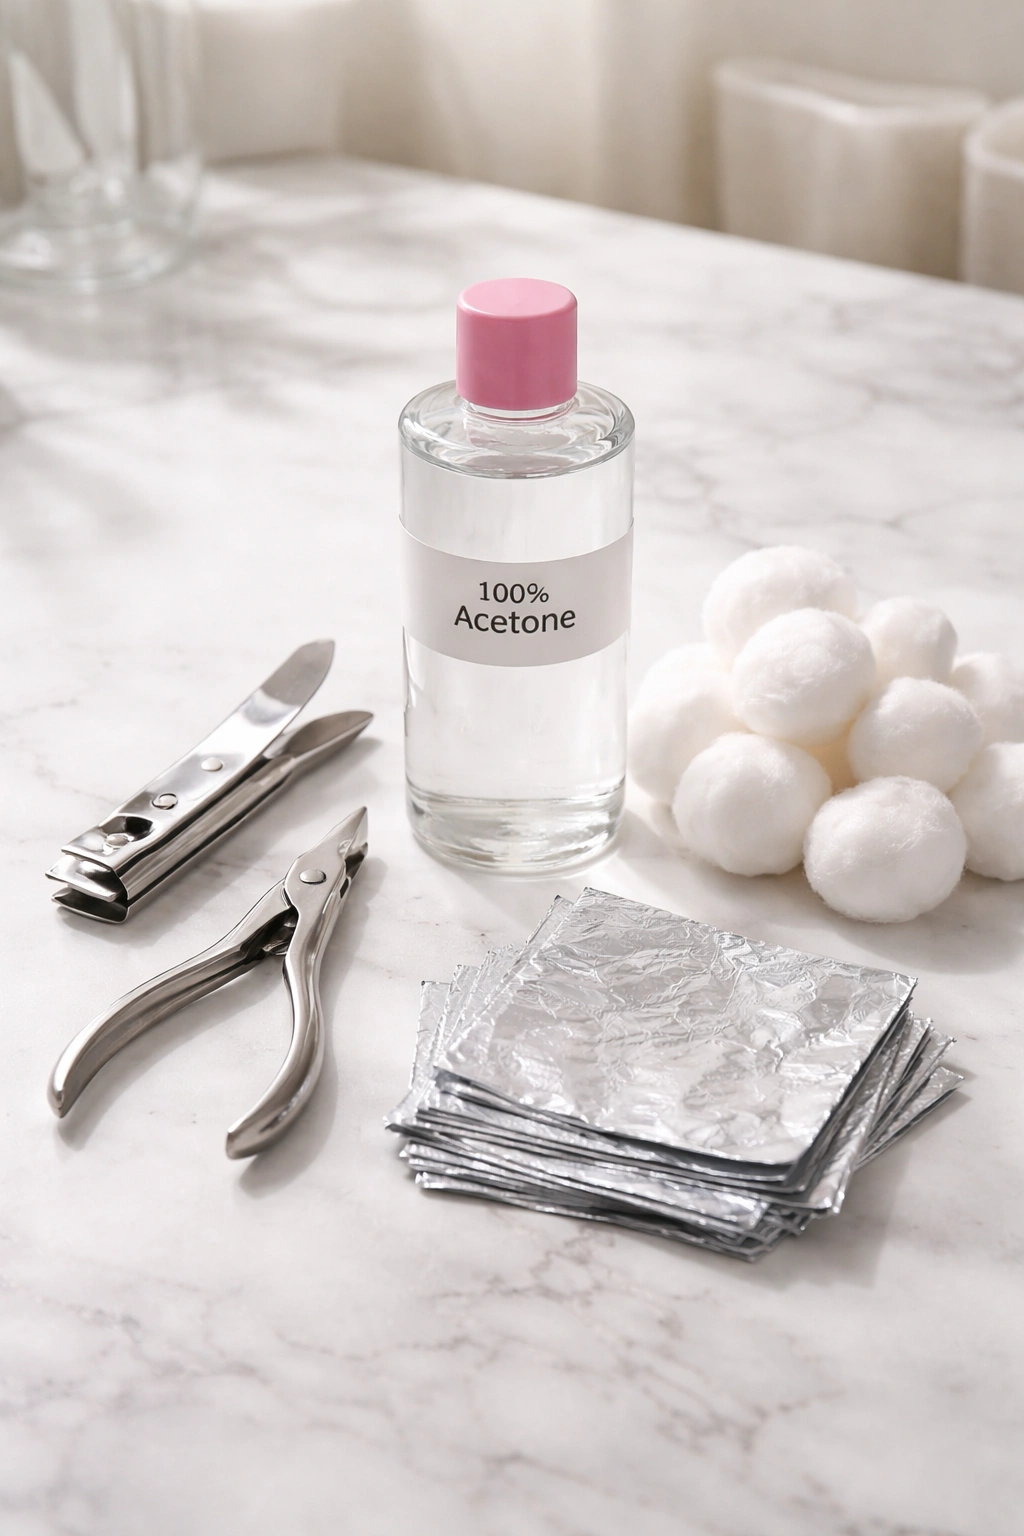
Before we dive into the removal process, let’s gather your supplies. You probably have most of these items already, and the ones you don’t have are easy to find at any drugstore.
Nail clippers are your first tool. You’ll use these to trim down the length of your acrylics before you start the removal process. The shorter your fake nails are, the faster acetone can penetrate and break down the acrylic material.
Pure acetone is non-negotiable here. Don’t grab your regular nail polish remover and expect it to work the same way. You need 100% acetone, which you can find at beauty supply stores or even some grocery stores. Those watered-down acetone removers from the drugstore? They’ll work eventually, but you’ll be sitting there forever.
Cotton balls or pads will hold the acetone against your nails. Some people prefer cutting cotton pads into small squares that fit perfectly over each nail. Either way works fine – just make sure you have enough to cover all ten fingers.
You’ll also need aluminum foil cut into small squares, about 3×3 inches each. These will wrap around your fingertips to keep the acetone-soaked cotton in place. If you’ve got nail polish remover clips lying around, those work even better and save you from wrestling with foil.
A nail file (preferably 100-180 grit) is essential for removing the shiny top layer of your acrylics. This step makes a huge difference in how quickly the acetone can do its job. Don’t skip this part.
Finally, grab a cuticle pusher or orangewood stick, some hand cream or cuticle oil, and maybe some petroleum jelly. The petroleum jelly is optional, but it helps protect the skin around your nails from getting too dry during the acetone soak.
The Main Event: Acetone Soak Method
This is the gold standard for removing acrylic nails at home. It’s the same basic method your nail tech uses at the salon, just done manually instead of with fancy equipment.
Trim Those Tips Down
Start by clipping your acrylic nails as short as you can without getting too close to your natural nail. There’s no point in trying to dissolve more acrylic than necessary. Use sturdy nail clippers and cut straight across, working your way around the nail in small sections if needed.
Be careful here. You want to clip the acrylic, not your actual nail underneath. When you feel resistance or if it starts to hurt even slightly, stop cutting. You’re close enough to your natural nail at that point.
File Away the Shine
Now comes the part that requires a bit of elbow grease. Take your nail file and work it across the surface of each acrylic nail until that glossy finish is completely gone. You’re not trying to file all the way down to your natural nail – just rough up that top layer enough to break the seal.
File in one direction if you can, but honestly, what matters most here is removing that shiny topcoat. Once the surface looks dull and slightly rough, you’re ready for the next step. This filing process might take 5-10 minutes depending on how thick your acrylics are.
Protect Your Skin
Before you start working with acetone, dab some petroleum jelly or thick hand cream around each nail, covering the cuticles and the skin on your fingertips. Acetone is incredibly drying, and this barrier helps minimize the damage to your skin during the soaking process.
Don’t worry about getting petroleum jelly on the nail itself. It won’t interfere with the acetone’s ability to break down the acrylic.
Set Up Your Soaks
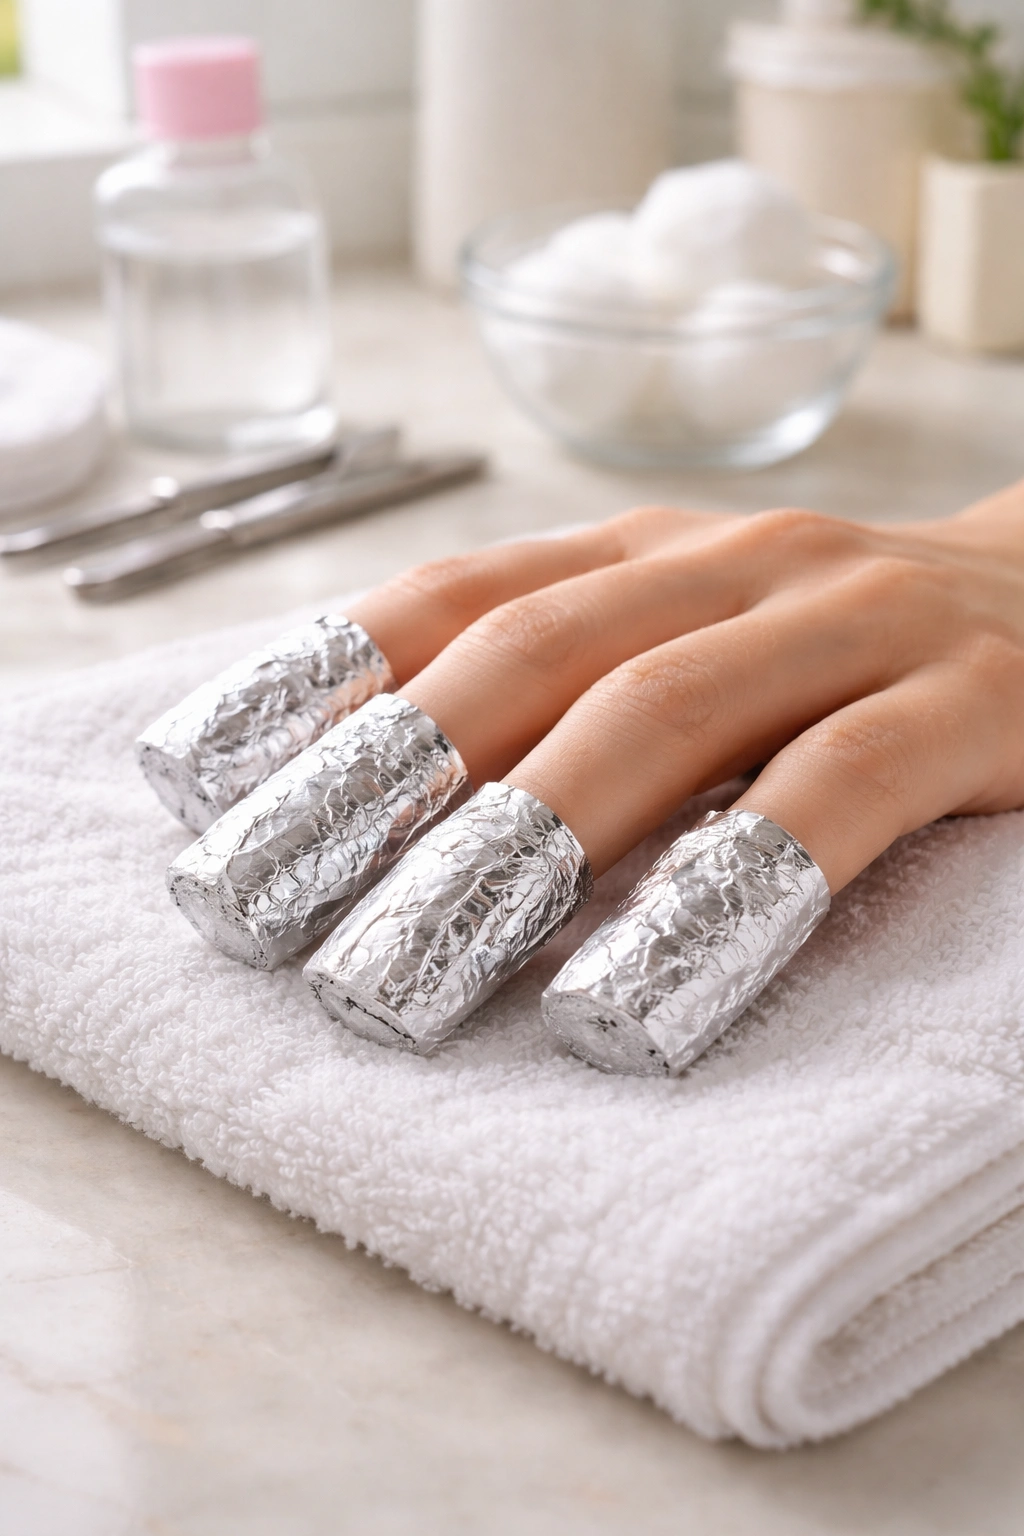
Soak your cotton balls or pads in acetone until they’re fully saturated. You want them dripping wet, not just damp. Place one soaked cotton ball on top of each nail, making sure it covers the entire nail surface.
Now wrap each fingertip with a piece of aluminum foil, securing the cotton ball against your nail. Wrap it snugly, but not so tight that you’re cutting off circulation. The foil serves two purposes: it keeps the cotton in place and creates a little greenhouse effect that helps the acetone work faster.
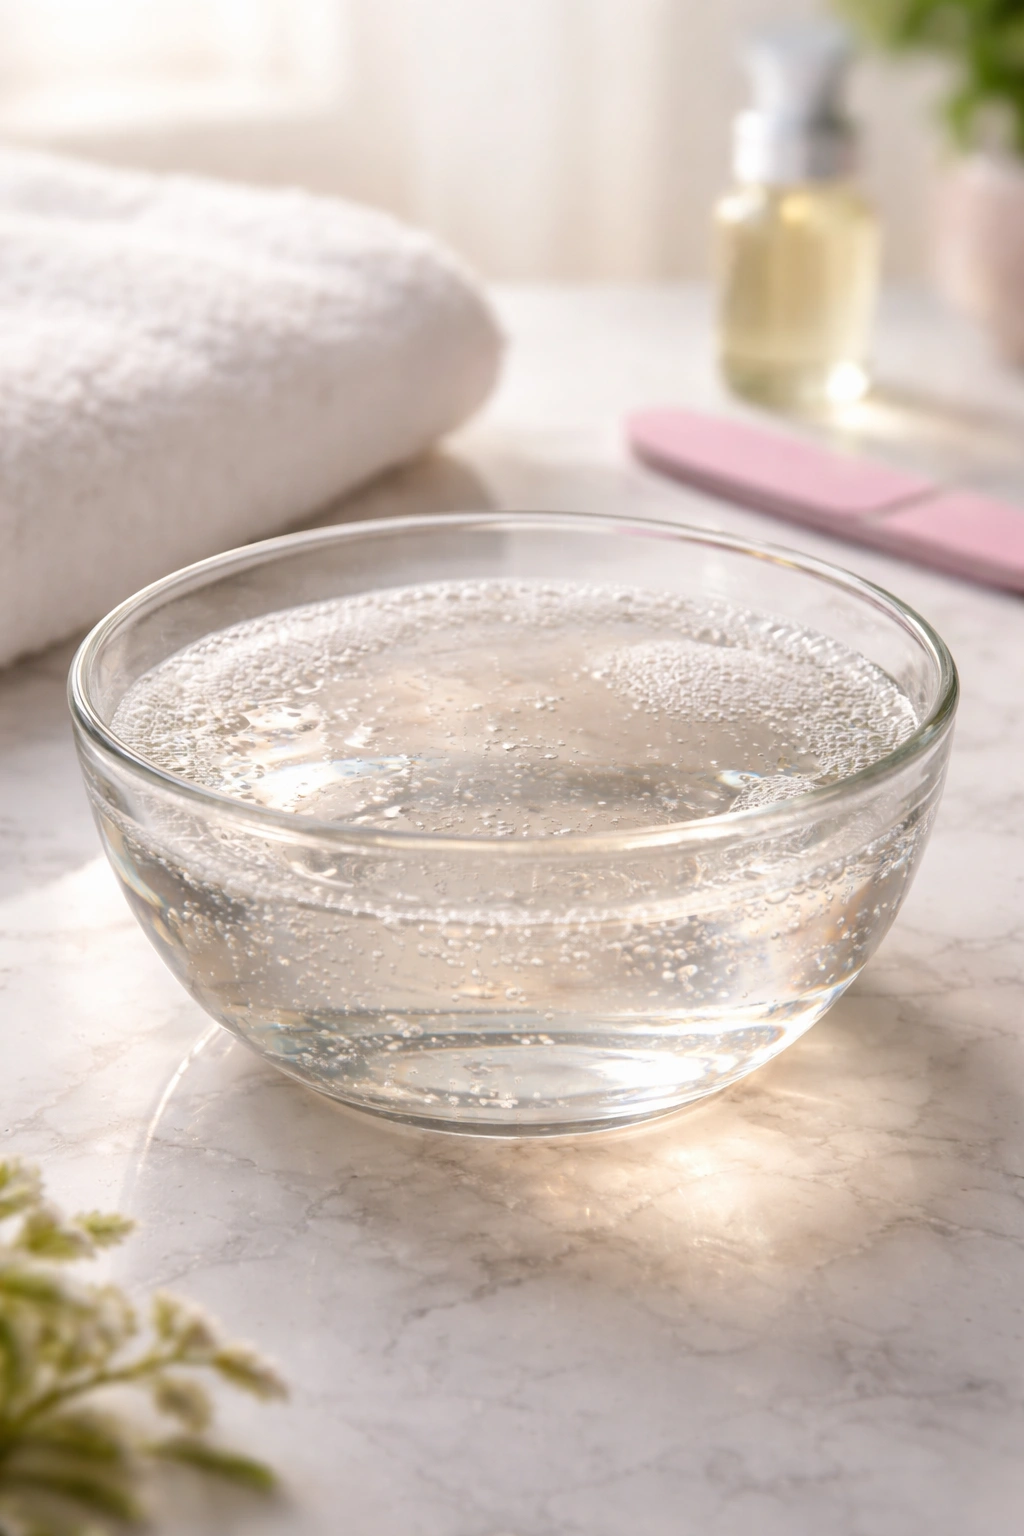
Some people prefer soaking their nails in a bowl of acetone instead of the foil wrap method. That works too, but you’ll end up with drier skin around your nails. If you go this route, fill a glass bowl (never plastic – acetone can dissolve it) with acetone and submerge your fingertips for 20-30 minutes.
Wait It Out
Here’s where patience becomes your best friend. Leave those foil wraps on for at least 20 minutes. Set a timer, put on a show, scroll through your phone with your knuckles – whatever keeps you from getting antsy and unwrapping too early.
After 20 minutes, remove one foil wrap and check if the acrylic has softened. It should look gooey and start lifting away from your natural nail. If it’s still rock hard, wrap it back up and give it another 10 minutes.
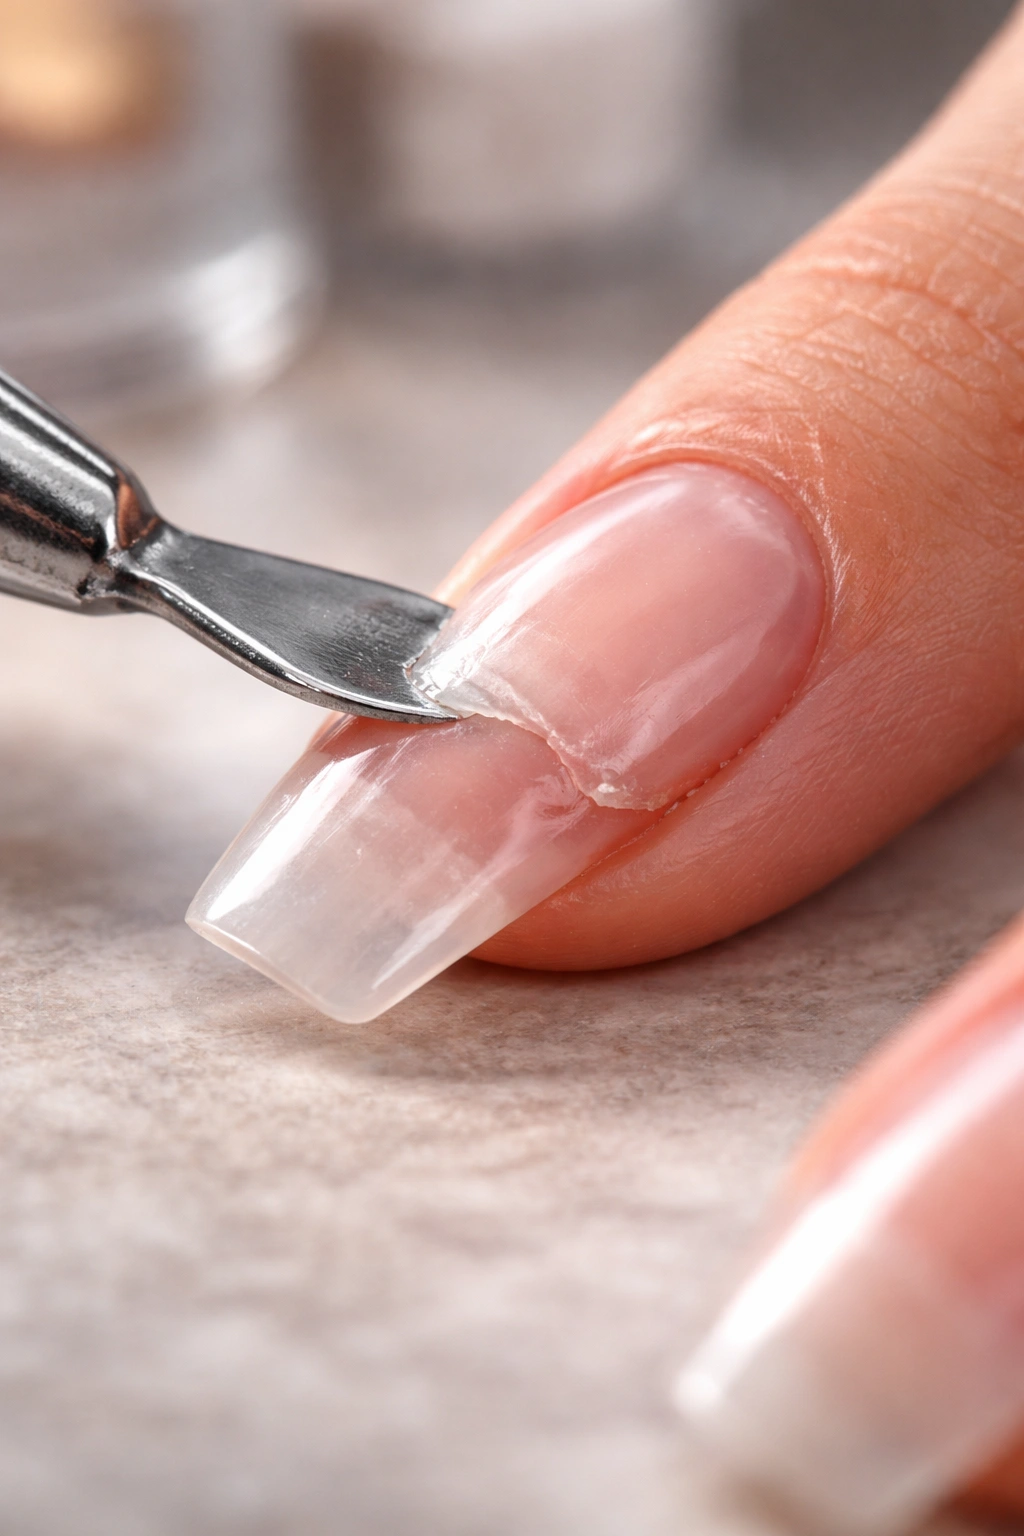
Gently Remove the Acrylic
Once the acrylic has softened, use your cuticle pusher or orangewood stick to gently scrape it off. Start at the cuticle area and push toward the tip of your nail. The acrylic should slide off in soft, gel-like pieces.
And here’s the most important part: if you meet resistance, don’t force it. Seriously. Forcing or prying at stubborn acrylic is how you end up with damaged nail beds. If it’s not budging easily, wrap that nail back up and soak it longer.
Work on one nail at a time, keeping the rest wrapped while you remove each one. This keeps the acrylic soft and makes the whole process smoother.
What If You Don’t Have Acetone?
Maybe you’re sensitive to acetone, or maybe you just don’t have any on hand right now. While acetone is definitely the most effective option, there are gentler alternatives that can work – though they’ll take longer.
The Warm Water Soak
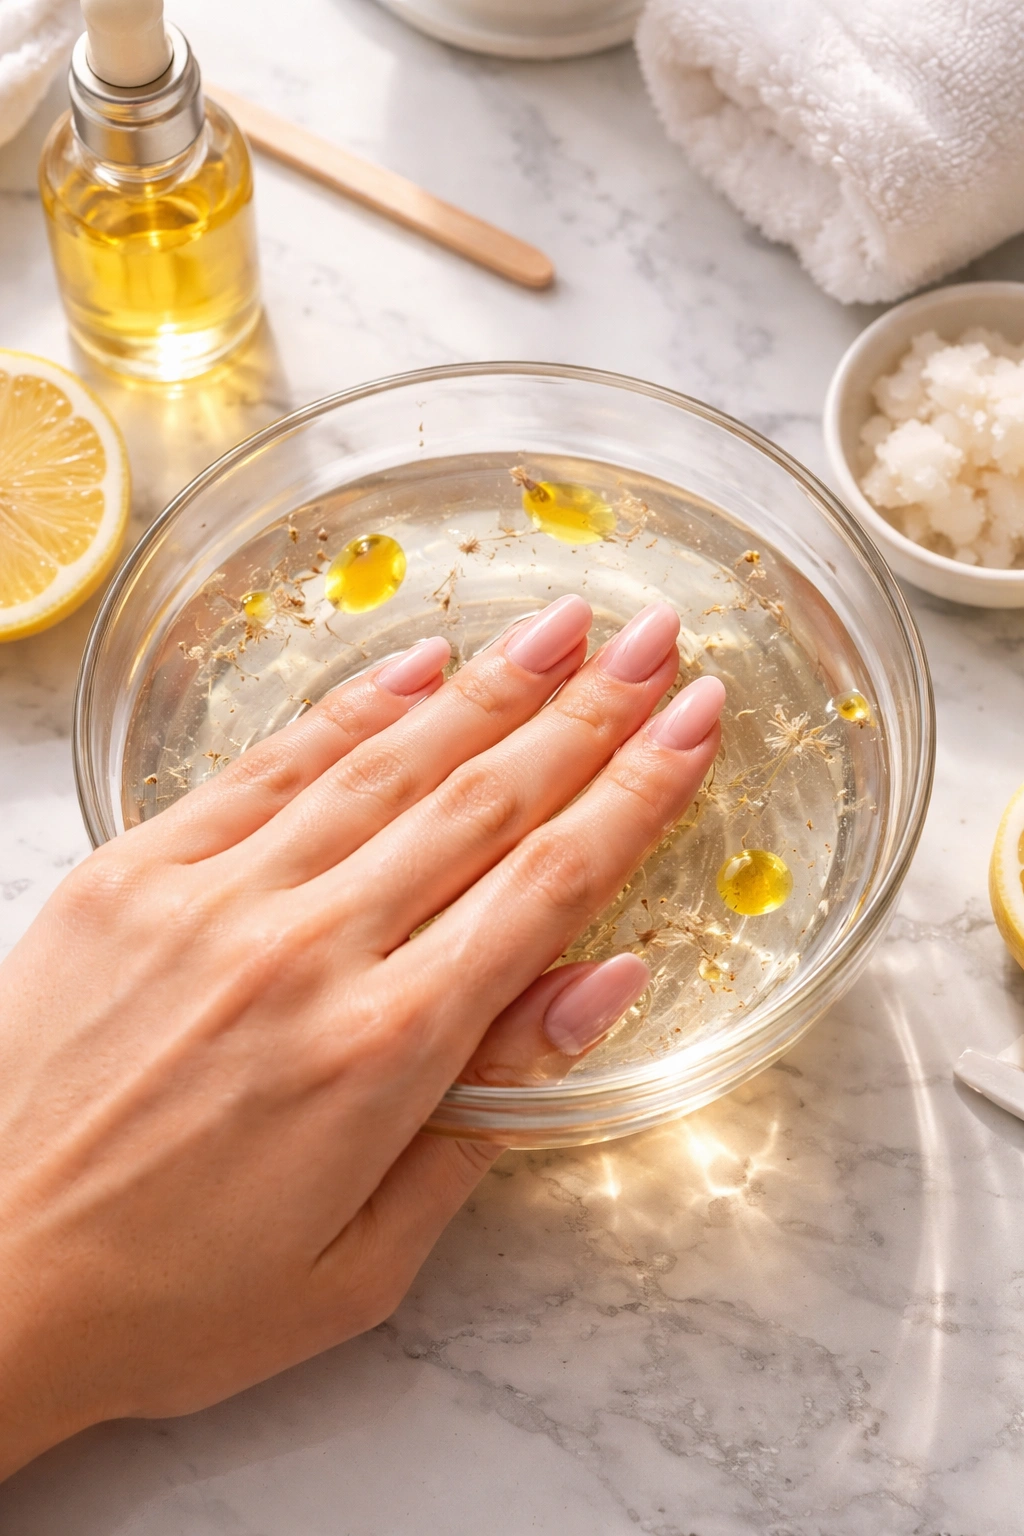
Fill a bowl with warm (not hot) water and add a generous squirt of dish soap and a couple tablespoons of olive oil or baby oil. Soak your nails in this mixture for 30-40 minutes. The combination of warmth and oil can help loosen the adhesive bond.
This method works best on acrylics that are already starting to lift or if you have gel-acrylic hybrid nails. For fresh, well-applied acrylics, you might need to soak for over an hour. Check periodically and try to gently lift the edges with your cuticle pusher.
Dental Floss Technique
If your acrylics are already lifting at the edges, you can try the dental floss method. Have someone help you slide a piece of dental floss under the lifted edge, then gently saw back and forth to separate the acrylic from your natural nail.
Fair warning – this method can be rough on your nails if not done carefully. It’s also nearly impossible to do by yourself on both hands. If the acrylic isn’t already lifting, don’t attempt this method at all.
Non-Acetone Polish Remover
You can use regular nail polish remover that contains other solvents like ethyl acetate. Follow the same foil wrap method described above, but expect to soak for 45-60 minutes or longer. This is gentler on your skin but significantly slower than pure acetone.
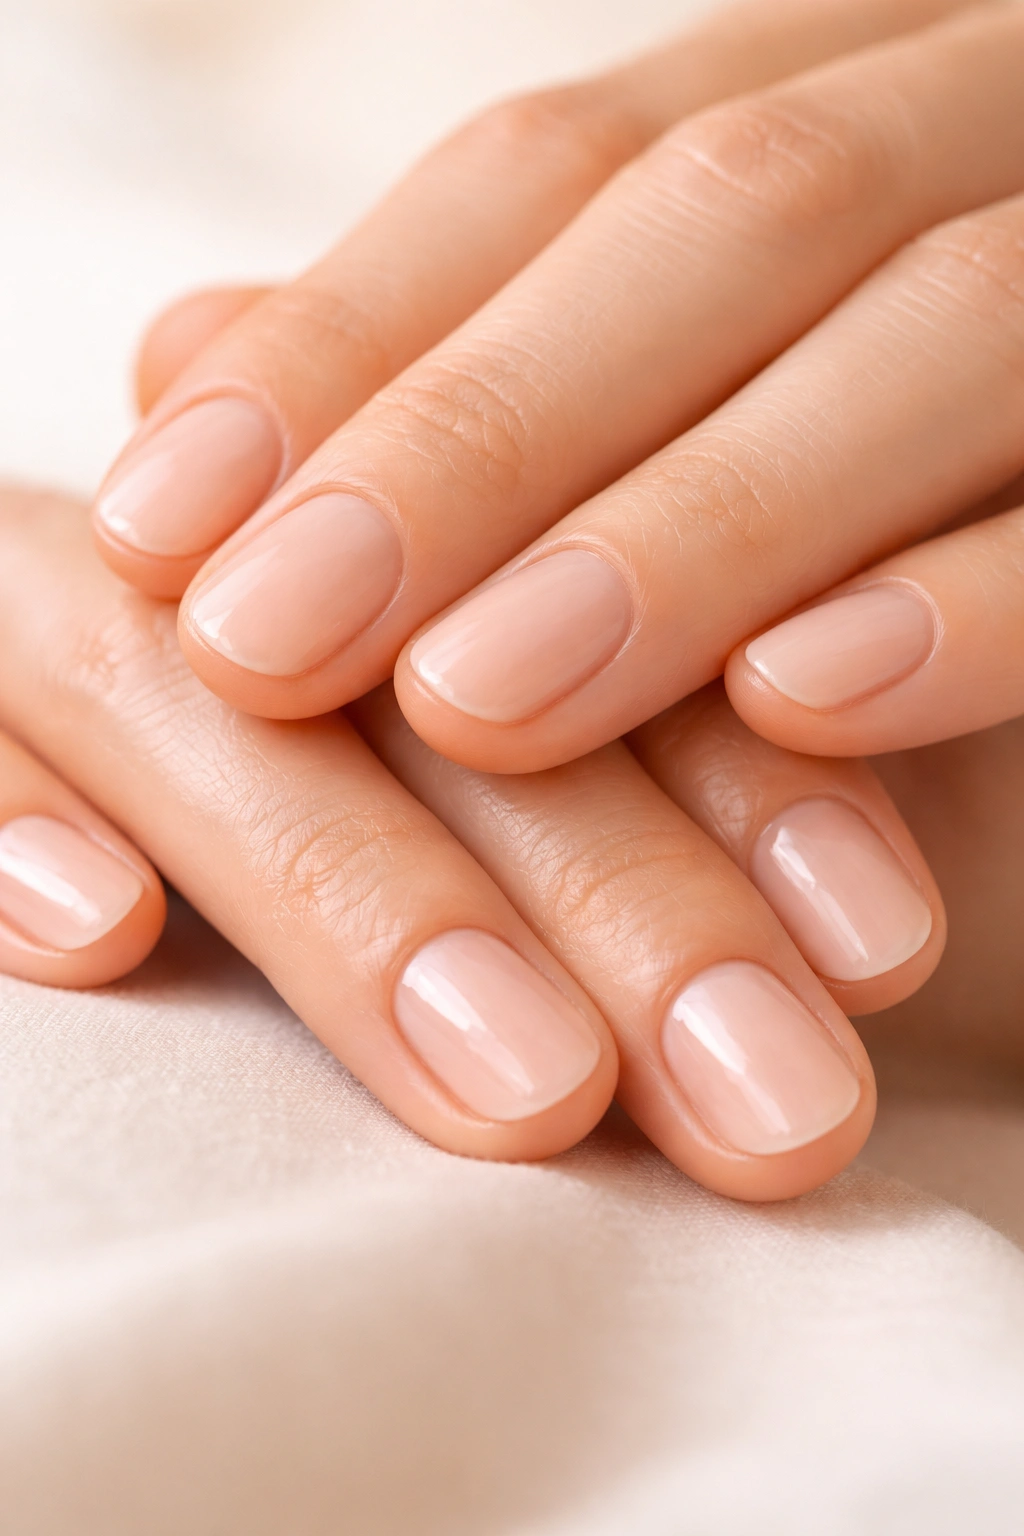
After the Acrylics Are Gone
Your natural nails are going to need some serious TLC after being covered in acrylic for weeks. They might look a bit rough, feel weak, or appear thinner than usual. That’s completely normal.
Immediate Aftercare
First things first: wash your hands thoroughly with gentle soap to remove any acetone residue. Pat them dry, then immediately apply cuticle oil to each nail and the surrounding skin. Massage it in and let it absorb for a few minutes.
Your nails might look a bit fuzzy or have some texture. Use a fine-grit nail buffer (not a file) to gently smooth the surface. Don’t go overboard here – just a few light passes to even things out.
Trim your natural nails to a short, manageable length. They’re going to be weaker than usual for a while, so keeping them short prevents breakage and snagging. File the edges smooth to prevent splits.
The Recovery Period
Your nails have been in hiding for weeks, maybe months. They’re going to need time to recover their strength. Apply cuticle oil or a nourishing nail treatment at least twice a day – morning and night, without fail.
Keep your nails and hands moisturized constantly. Every time you wash your hands, follow up with hand cream. Before bed, slather on a thick layer of hand cream or even petroleum jelly and put on cotton gloves if you really want to boost the hydration.
Consider using a nail strengthener for the first few weeks. Look for formulas with keratin or calcium. Apply it like a base coat every few days to give your nails some extra support as they grow out.
Mistakes That’ll Wreck Your Nails
Let’s talk about what not to do, because honestly, this is just as important as knowing the right steps.
Never, ever peel off acrylic nails. You might feel one starting to lift and think “I’ll just help it along a little.” Don’t. When you peel off acrylics, you’re not just removing the fake nail – you’re taking layers of your natural nail with it. The damage can take months to grow out.
Don’t use tools to pry them off forcefully. If the acrylic isn’t sliding off easily after soaking, it needs more time in acetone. Using metal tools to scrape and dig at stubborn acrylic damages your nail bed and can cause lasting harm.
Skip the e-file unless you’re trained. Some tutorials suggest using an electric file to remove acrylics at home. Unless you’re a professional who knows exactly how much pressure to use, you’ll end up filing right into your natural nail. The damage isn’t worth the time saved.
Don’t rush the process. Yes, sitting with foil-wrapped fingers for half an hour is boring. But trying to speed things up by removing the wraps too early just means you’ll end up sitting there longer while you soak them again anyway.
When To Call In the Pros
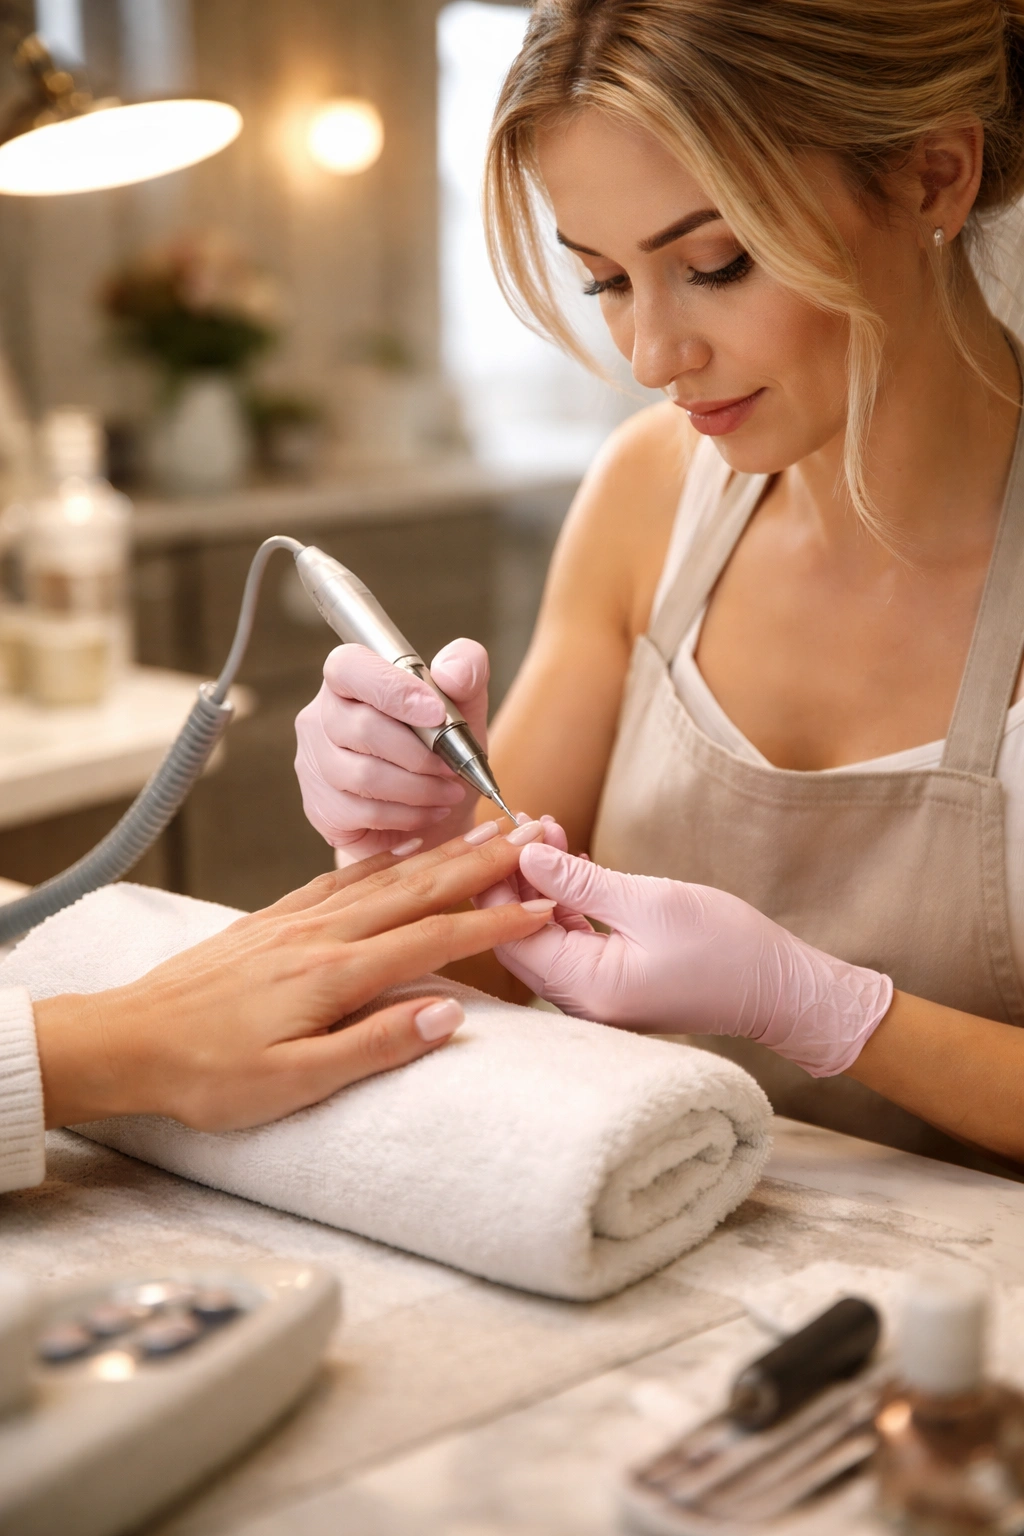
Sometimes, doing it yourself isn’t the right move. If your acrylics were applied recently and are still rock solid, a salon visit might be worth it. Professional nail techs have stronger products and electric files they know how to use safely.
If you notice any signs of infection – redness, swelling, pain, or discharge around your nails – don’t mess around with removal at home. See a professional or even a doctor if it looks concerning. Trying to remove acrylics when you have an infection can make things worse.
People with naturally thin or damaged nails might want professional removal too. A skilled nail tech can assess your natural nails during the removal process and take extra precautions to minimize damage.
And honestly? If you’re feeling nervous or unsure about doing it yourself, there’s no shame in paying someone else to handle it. Nail salons typically charge between $10 and $20 for acrylic removal, which is a small price to pay for peace of mind.
Keeping Your Nails Happy Long-Term
Once you’ve successfully removed your acrylics, you might be tempted to run right back to the salon for a new set. Hold up for a second – your nails could use a break.
Taking a few weeks off between acrylic applications gives your natural nails time to recover their strength and thickness. During this break, keep them short, moisturize religiously, and maybe experiment with regular polish or press-ons if you want some color.
When you do get acrylics again, make sure you’re going to a reputable salon that practices proper nail prep. Over-filing the natural nail before application is a major cause of damage, so find a nail tech who knows what they’re doing.
Between salon visits, keep up with regular fills every 2-3 weeks. Letting your acrylics grow out too much puts stress on your natural nail and increases the chances of lifting, which can lead to moisture getting trapped underneath and causing fungal infections.
Final Thoughts
Removing acrylic nails at home is totally doable when you’ve got the right supplies and realistic expectations about the time it takes. The acetone soak method remains the safest and most effective approach, even if it requires some patience.
Your natural nails might look rough immediately after removal, but with proper care and time, they’ll bounce back. Focus on hydration, keep them short while they recover, and resist the urge to hide them under a new set of acrylics right away.
Remember, the goal isn’t just getting those acrylics off – it’s doing it in a way that leaves your natural nails healthy and intact. Take your time, be gentle, and don’t hesitate to seek professional help if you run into trouble. Your nails (and your future manicures) will thank you for it.
