

You’ve been staring at your gel manicure for the past week, watching those edges lift and curl. That little voice whispers: just peel it off. Nobody’s watching. It’ll take two seconds.
Stop right there.
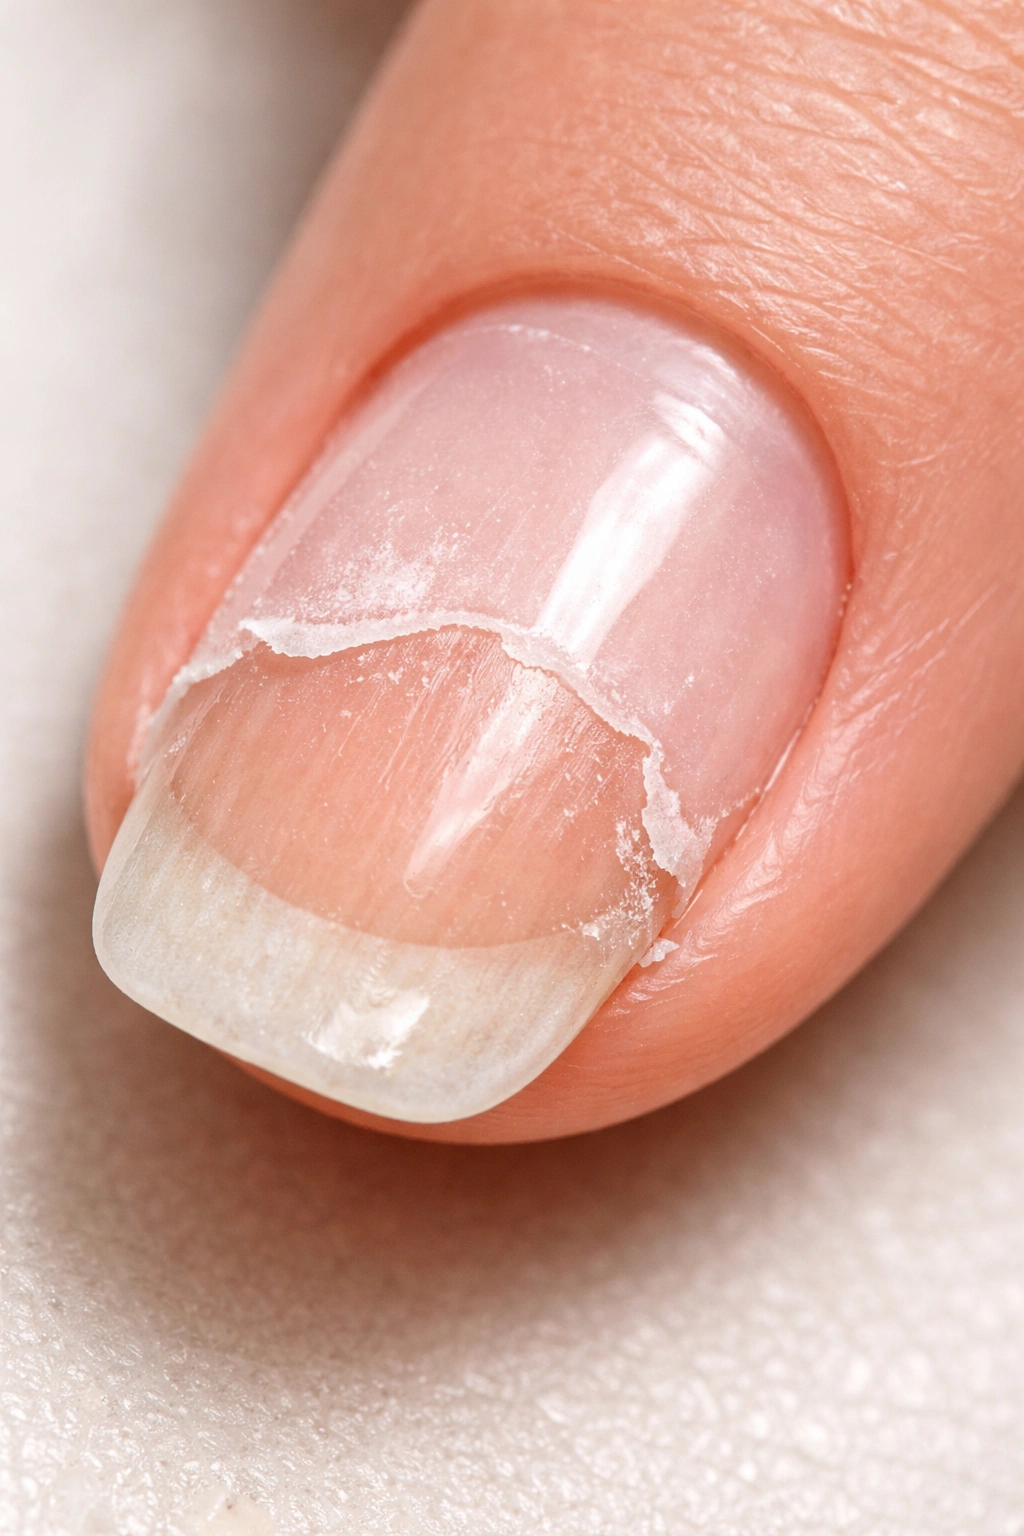
We need to talk about what’s really happening when you give in to that temptation. Each time you peel off gel polish, you’re not just removing color—you’re ripping away layers of your actual nail plate. Think of it like peeling tape off paper. Sometimes the paper comes with it, right? Same deal with your nails.
The good news? You don’t need a salon appointment to get those gels off safely. With the right approach and about 20 minutes of patience, you can remove gel polish at home without turning your nails into tissue paper. And honestly, once you know the trick, it’s pretty straightforward.
Why Gel Polish Gets Such a Bad Rap
Here’s something that might surprise you: gel polish isn’t actually the villain in this story. The damage everyone complains about? That’s almost always from improper removal.
Gel polish works by creating a super-strong bond with your nail plate through UV or LED curing. That’s what gives you those gorgeous, chip-free weeks of wear. But this same strength means you can’t just wipe it off like regular polish.
When dermatologists see patients with damaged nails after gels, the culprit is usually picking, peeling, or aggressive filing. Dr. Shari Lipner, a board-certified dermatologist, points out that the removal method matters way more than the polish itself. Your nails have multiple layers of keratin—that’s the protein giving them structure and strength. Forceful removal strips those layers away, leaving you with nails that split, peel, and break for months afterward.
Think about it this way: your fingernails take about six months to fully grow out. Toenails? A year to 18 months. That’s a long time to live with damage from one impatient moment.
What You Actually Need for Safe Removal
Forget fancy gadgets and expensive kits. The supplies are probably already in your bathroom cabinet or kitchen drawer.
The essentials:
- Pure acetone (100% works fastest—don’t bother with “acetone-free” removers for this job)
- Cotton balls or pads (you’ll cut these to fit each nail)
- Plastic wrap or aluminum foil (plastic actually works better, but both do the job)
- Petroleum jelly or cuticle oil (this protects your skin)
- A nail file (180 or 240 grit is perfect)
- An orangewood stick or cuticle pusher (no metal tools!)
- A washcloth
- Hand cream
Notice what’s not on this list? Metal scrapers, coarse files, or anything labeled “quick removal.” Those are nail wreckers disguised as helpers.
One quick note about acetone: yes, it’s strong, and yes, it can dry out your skin. But for gel removal, it’s your best friend. The key is using it strategically and moisturizing like crazy afterward.
The Step-by-Step Method That Actually Works
Alright, let’s walk through this. Grab your supplies and settle in somewhere comfortable—this isn’t a race.
Protect Your Cuticles First
Before acetone touches anything, you’re going to create a protective barrier. Take petroleum jelly (plain old Vaseline works great) or a thick cuticle oil and apply it generously around each nail. Get it on your cuticles, the sides of your nails, and the skin on your fingertips.
Why bother with this step? Acetone is incredibly drying. It’ll do its job on the gel polish, but it’ll also suck moisture out of your skin faster than you can say “manicure.” This protective layer keeps the acetone where you want it—on the polish, not soaking into your skin.
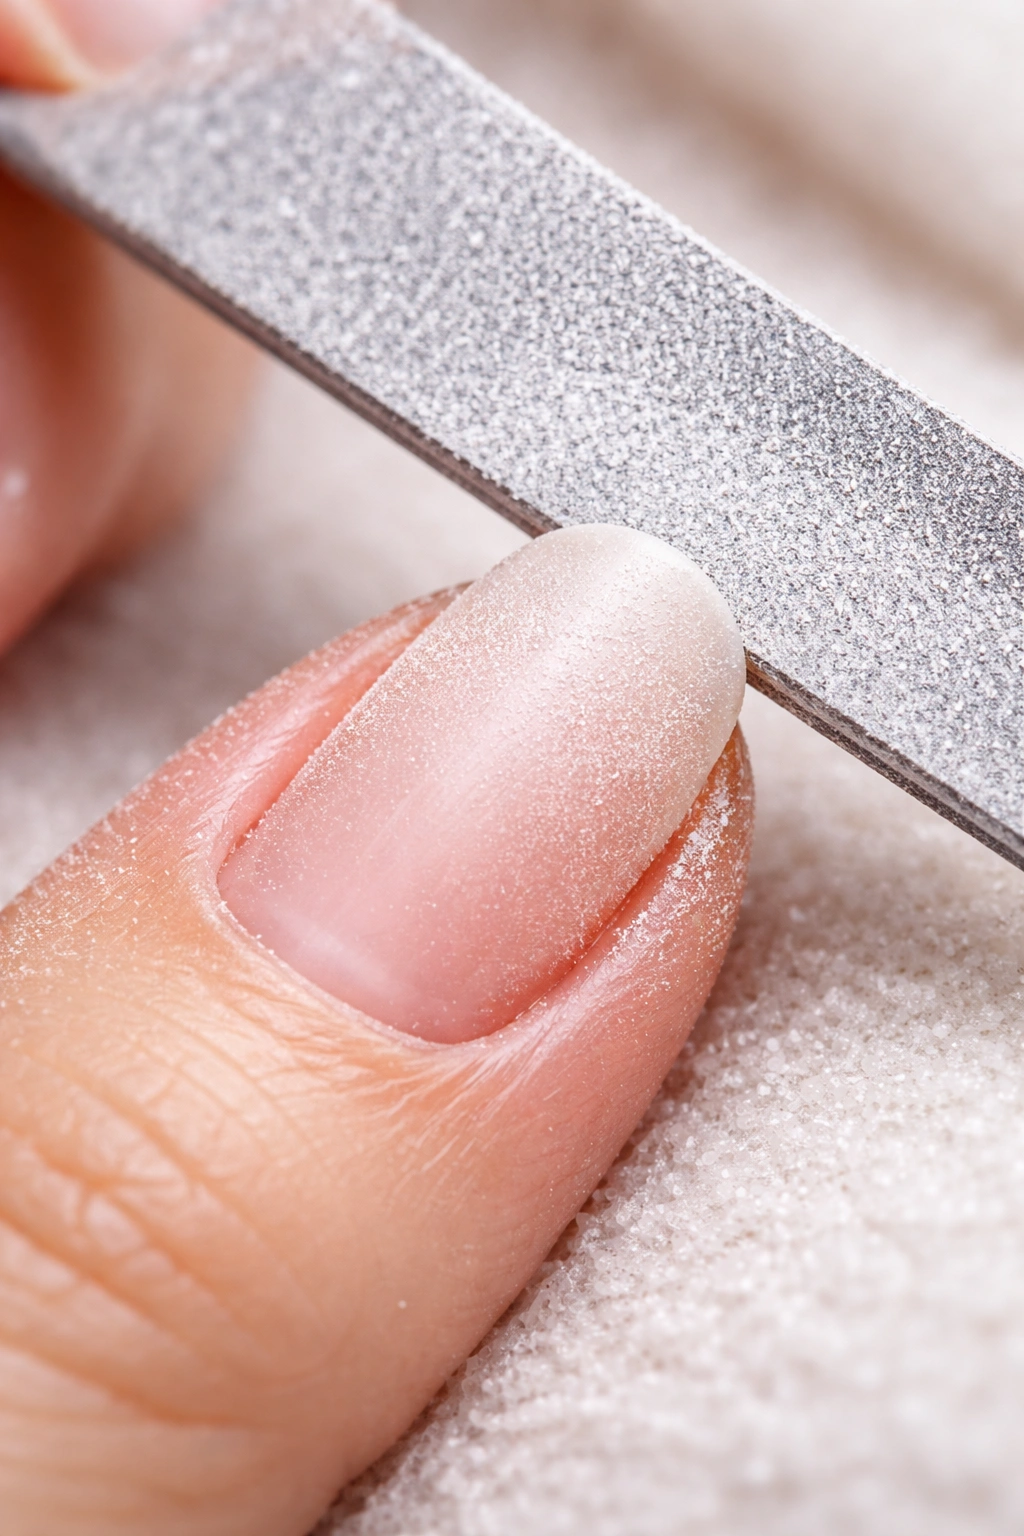
Break the Seal With Gentle Filing
Grab that nail file and lightly buff the shiny top coat of your gel polish. You’re not trying to file the color off completely—just remove that glossy seal so the acetone can penetrate.
Use light, sweeping strokes. The surface should look matte and dull when you’re done, but you should still see color on your nails. If you start seeing your natural nail or if anything feels warm or painful, stop immediately. You’ve gone too far.
This step makes everything else faster and easier. Skip it, and you’ll be sitting there with foil-wrapped fingers for ages, wondering why nothing’s happening.
Prep Your Cotton and Wraps
Cut your cotton balls or pads into pieces that’ll cover each nail completely. For your pinkie fingers, a quarter of a cotton ball usually does it. For the others, about half a cotton ball each.
Pour acetone into a small dish (glass or ceramic—acetone can damage some plastics) and saturate each piece of cotton. We’re talking dripping wet here, not just damp.
If you’re using plastic wrap, cut it into squares big enough to wrap around your fingertip. Aluminum foil works the same way—just cut pieces about three inches square.
The Soak That Changes Everything
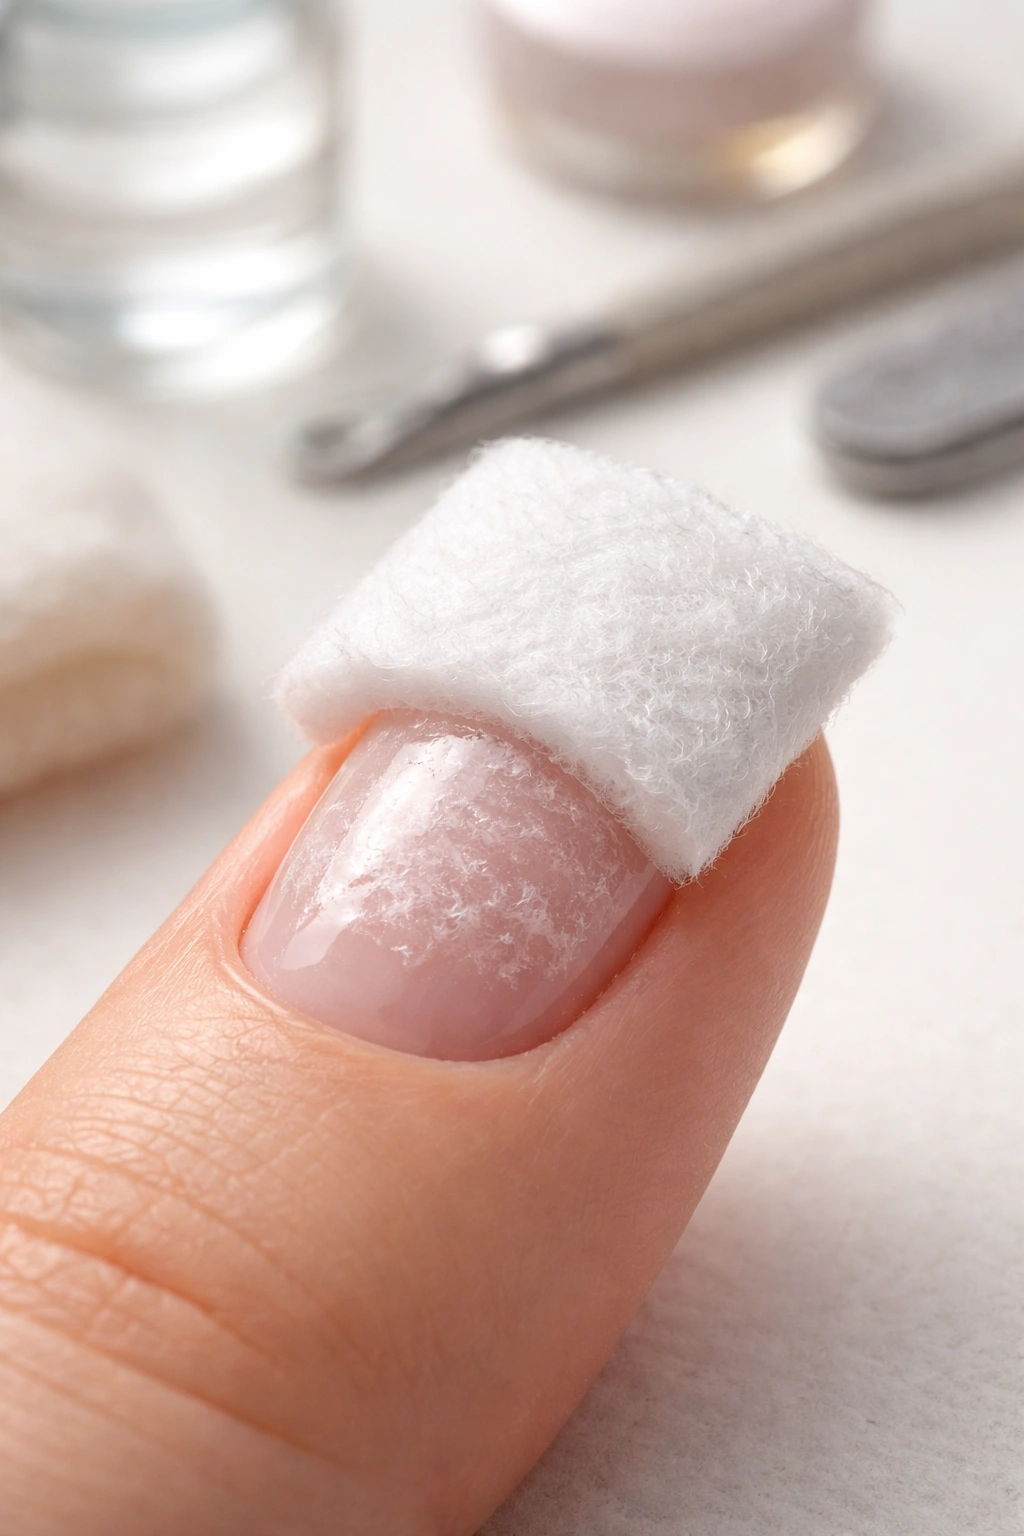
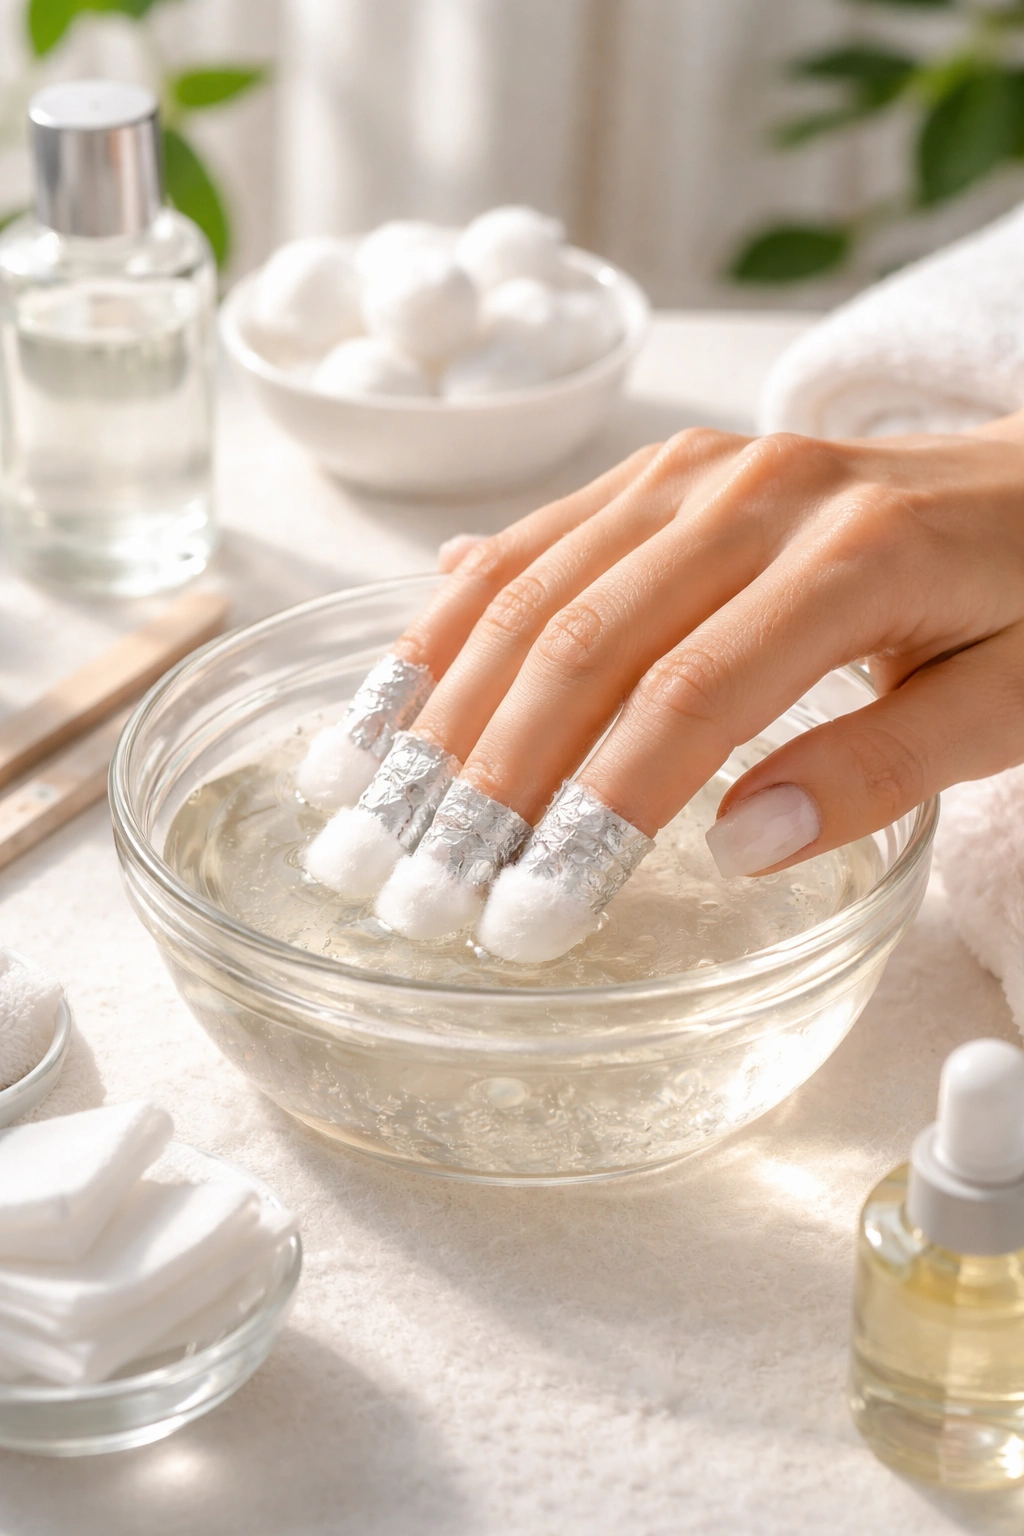
Place one saturated cotton piece on top of each nail, making sure it covers the entire surface. Then wrap it tightly with plastic wrap or foil. You want a snug seal—think of it like creating a little sauna for each nail.
Work on one hand at a time. Trust me on this. Trying to wrap all ten fingers solo is an exercise in frustration. Do five, wait, remove them, then move to the other hand.
Set a timer for 15 minutes. Don’t peek. Don’t unwrap early to check. Just wait.
Here’s where plastic wrap really shines over foil: it creates a tighter seal, so less acetone evaporates. Board-certified dermatologist Dr. Lipner specifically recommends plastic wrap for this reason. But honestly? Both work fine if you wrap them properly.
The Gentle Removal
When your timer goes off, unwrap one finger and check it. The gel should look wrinkled, bubbled, or flaky—like it’s ready to slide right off.
Take your orangewood stick or cuticle pusher and gently push the softened gel from your cuticle toward your nail tip. It should move easily with barely any pressure. If it doesn’t budge, the gel isn’t ready yet.
Rewrap that nail for another five minutes if needed. Some gel formulas are tougher than others—builder gels and hard gels especially need more time. There’s no shame in a second soak.
Never, ever scrape or dig. If you’re applying more than the lightest pressure, stop. Wait longer.
Clean Up and Smooth Out
Once all the gel is off, you might notice some slight residue or a bit of base coat still clinging to your nails. Soak a fresh cotton pad with acetone and gently wipe each nail clean.
If there are any rough spots, use a soft nail buffer (240 grit or higher) to smooth them out. Light passes only—you’re polishing, not sanding.
Wash your hands thoroughly with gentle soap and warm water. Get all that acetone off your skin.
What Comes After: The Recovery Phase
Your nails just went through a process. They’re clean, but they’re also temporarily more vulnerable than usual. This is where aftercare makes all the difference between nails that bounce back strong and nails that stay weak for weeks.
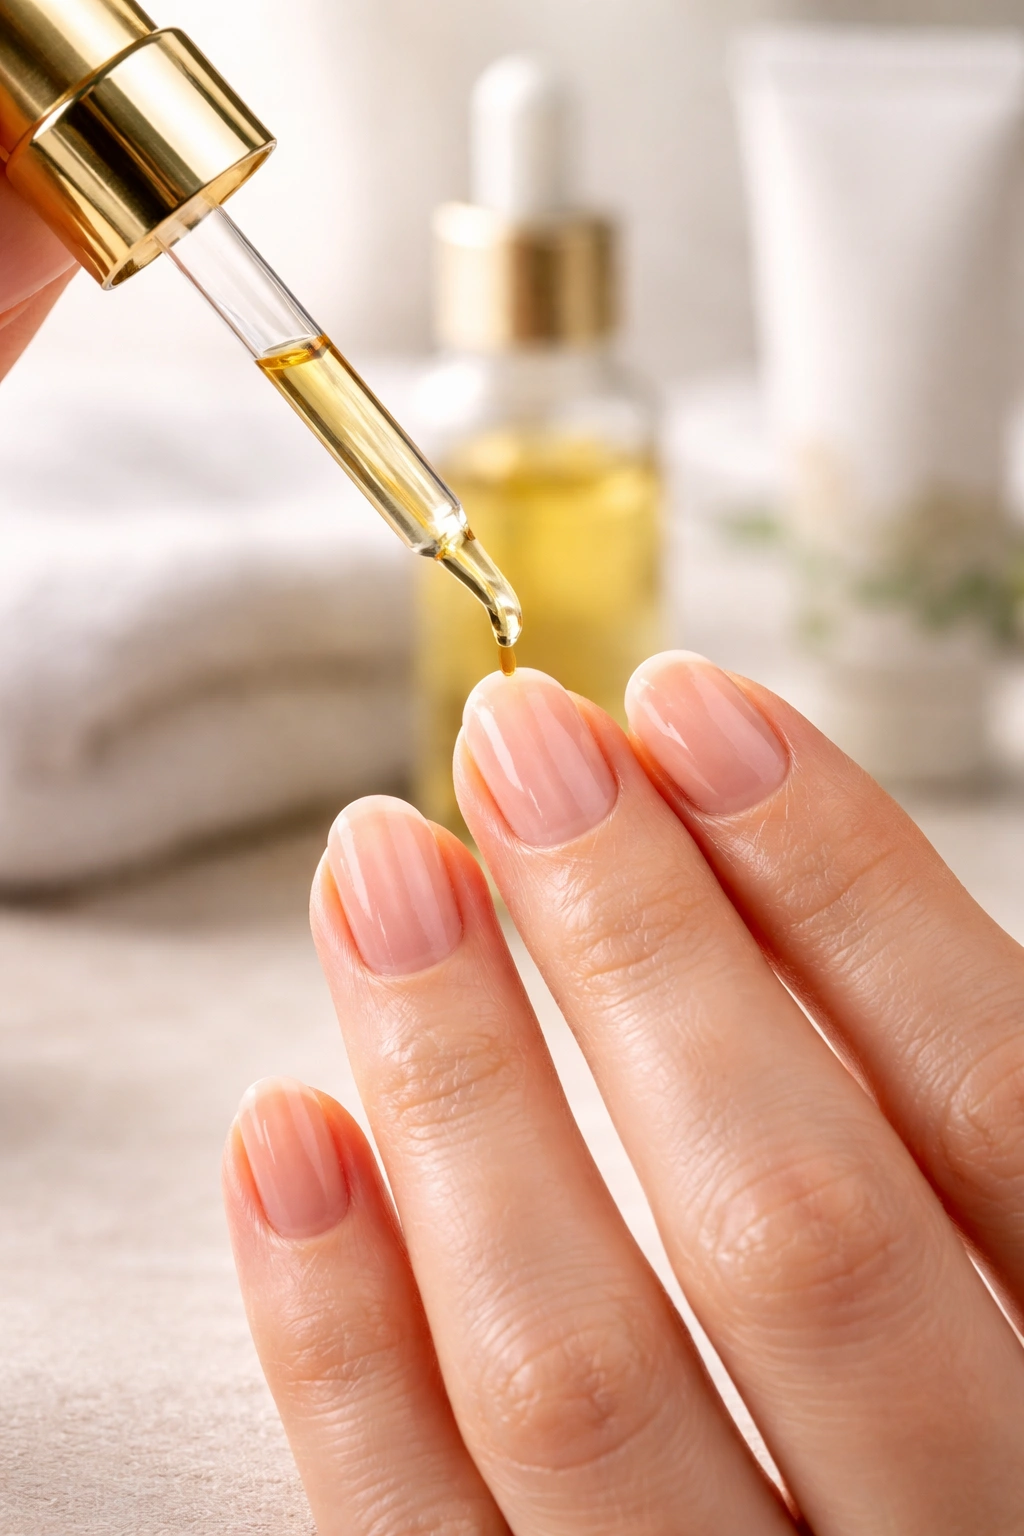
Hydration Is Non-Negotiable
Immediately after washing your hands, apply cuticle oil to each nail and the surrounding skin. Massage it in for at least 10 seconds per nail. Then follow up with a rich hand cream.
Do this twice a day for the next week—morning and night, minimum. Your nails don’t produce their own moisture, so they’re counting on you to provide it from the outside.
Look for cuticle oils with ingredients like vitamin E, jojoba oil, or squalane. For hand cream, anything with glycerin, ceramides, or hyaluronic acid will help lock in moisture and repair your skin’s barrier.
Give Your Nails a Break (Maybe)
If your nails feel thin, flexible, or sensitive after removal, they’re telling you something. Listen.
You don’t have to swear off gel polish forever, but consider giving your nails a breather before your next application. A week or two of bare nails (or just a strengthening treatment) can make a huge difference.
During this break, keep up with that hydration routine. You might also want to try a keratin-based nail strengthener to help rebuild what the gel and removal process temporarily weakened.
The Mistakes Everyone Makes (And How to Avoid Them)
Let’s talk about what not to do, because these mistakes are surprisingly common—even among people who think they’re being careful.
The Peeling Temptation
We covered this already, but it bears repeating because it’s the number-one nail wrecker out there. When gel starts lifting at the edges, it’s so tempting to just grab that loose piece and pull.
Don’t do it. Not even “just this one corner.” That lifted gel is still bonded to your nail plate underneath, and pulling it off takes layers of your nail with it. You might not see the damage immediately, but you’ll feel it days later when your nails are suddenly paper-thin and bendy.
If you’ve got lifting gel and can’t get to acetone right away, leave it alone. Seriously. A chipped gel mani looks way better than damaged nail beds.
The Over-Filing Trap
Some tutorials suggest filing off the entire gel manicure. File and file until it’s all gone, they say. This is terrible advice.
Filing should only break the topcoat seal—nothing more. When you file down through all the layers of gel, you inevitably file into your natural nail too. It’s nearly impossible to stop at exactly the right spot, especially on yourself.
The result? Thin, weak nails with visible ridges and grooves. These damage marks can last for months as your nail slowly grows out.
Skipping the Moisturizer
After you’ve finally gotten all that gel off, it’s tempting to just move on with your day. Big mistake.
Acetone strips away natural oils from your nails and skin. Without immediate rehydration, your nails become brittle and prone to splitting. Your cuticles dry out and might even crack or peel.
Two minutes of moisturizing now saves weeks of dealing with damaged nails later. It’s not optional—it’s part of the removal process.
Alternative Methods (And Whether They Actually Work)
Maybe you don’t have acetone on hand, or maybe you’ve got super sensitive skin that reacts badly to it. Are there other options?
The Non-Acetone Approach
Acetone-free nail polish removers do exist, and technically, you can use them for gel removal. But here’s the catch: they’re much slower and less effective.
You’ll need to soak longer—sometimes 30 minutes or more—and even then, the gel might not soften as completely. If you’ve got the patience and your skin truly can’t handle acetone, go for it. Just know you’re trading convenience for gentleness.
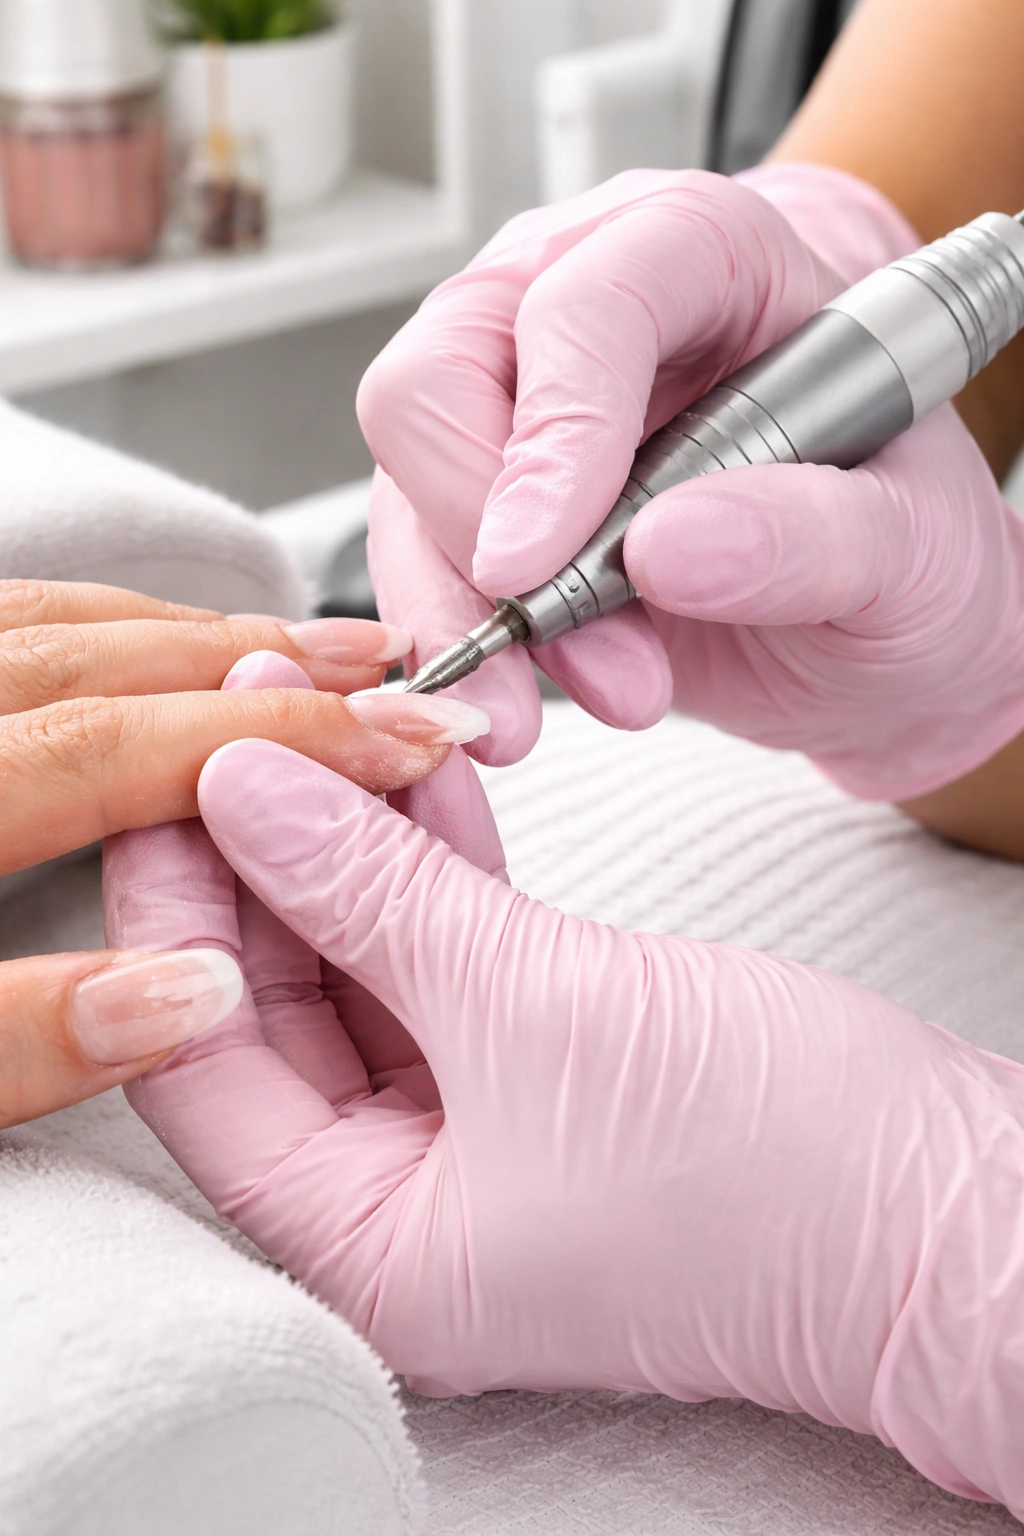
The E-File Method
Electric nail files can remove gel, but they require real skill to use safely. Professional nail techs make it look easy because they’ve done it thousands of times. For home use? The risk of over-filing and damaging your natural nail is high.
Unless you’re trained on an e-file and confident in your technique, stick with the acetone soak method. It’s more foolproof.
The “Just Let It Grow Out” Option
Honestly? This is the gentlest method of all. If you can live with gel polish at your cuticles and clear nail growth at the tips for a while, just let it grow and clip it away weekly.
Board-certified dermatologist Dr. Lipner mentions this as the safest option—it just requires patience. Fingernails take about six months to completely grow out, so you’ll be trimming away gel for several weeks.
The key is resisting the urge to pick at the gel while you wait. Keep your nails trimmed short to prevent catching and snagging.
When You Should Skip DIY and See a Pro
Sometimes, calling in a professional isn’t just easier—it’s smarter. Here are situations where a salon visit makes sense.
If you’ve got builder gel, hard gel, or gel extensions (like Aprex Gel X), home removal gets tricky. These products are much thicker and stronger than regular gel polish, and they often require more aggressive filing that’s best left to trained nail techs.
When your nails are already damaged—thin, peeling, or painful—attempting removal yourself might make things worse. A skilled manicurist can assess the situation and use techniques that minimize further damage.
If you’re honestly not sure what product is on your nails, don’t guess. Different gel systems require different removal approaches, and using the wrong method can be ineffective at best and harmful at worst.
The Bottom Line on Safe Gel Removal
Here’s what really matters: gel polish doesn’t have to destroy your nails. The removal process—when done right—is gentle, effective, and totally manageable at home.
The secret isn’t in expensive products or complicated techniques. It’s in patience, protection, and hydration. File gently to break the seal. Soak thoroughly with acetone. Remove carefully without force. Moisturize immediately and consistently.
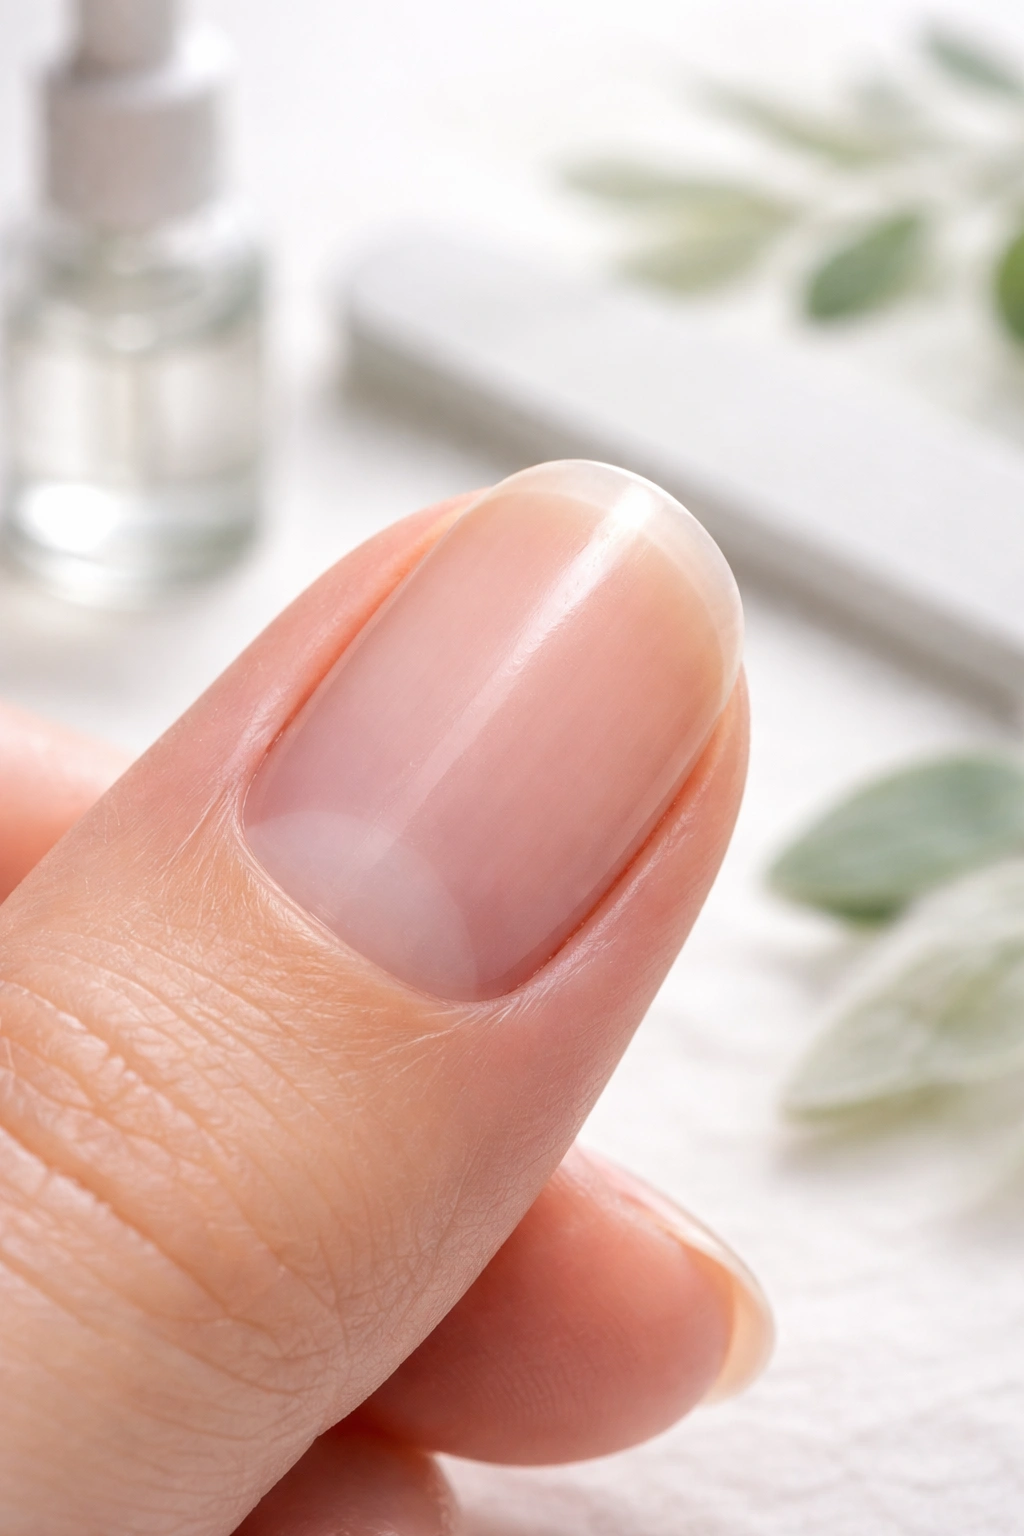
Your nails will thank you by staying strong, smooth, and ready for whatever comes next—whether that’s another gel manicure or just their natural, healthy glow.
The next time those gel edges start lifting and that little voice suggests just peeling them off, you’ll know better. You’ve got the knowledge and the method to do it right. Twenty minutes of proper removal beats months of damaged nails every single time.
