

Getting gel nails to last three full weeks at home might seem like a pipe dream compared to what you see in salons, but it’s absolutely achievable once you understand the science behind gel adhesion and the specific techniques that make the difference. The secret isn’t magic — it’s meticulous preparation, precise application, correct curing, and consistent aftercare. Most people who complain that their gel manicures fall apart within days are actually skipping or rushing through critical steps that directly impact longevity. The good news? Every single one of those steps is something you can master at home with the right knowledge and tools. The difference between a gel manicure that peels after five days and one that looks flawless at week three comes down to understanding exactly why each step matters and executing it with intention rather than just going through the motions.
Why Proper Preparation Is Everything
This is where the vast majority of premature gel failures actually begin. Your natural nail plate is covered in oils, dust, and sometimes moisture, and gel polish absolutely will not bond well to any of those. Think of it like trying to paint a glossy surface without primer — the paint will sit on top rather than truly adhere, which means it’s just waiting for an opportunity to lift. Professional technicians know that nail prep is arguably more important than application itself, and if you’re doing this at home, this is your biggest opportunity to match salon-quality results.
The nail plate isn’t uniform either. If you’ve been wearing regular polish, there’s a waxy residue. If you use hand lotion throughout the day, there’s an oily buildup. Even the natural oils your skin produces will migrate to your nails. All of this has to go. Many at-home attempts fail because people assume a quick file and a wipe-down is sufficient — it absolutely isn’t. You need to thoroughly cleanse and dehydrate your nails using a multi-step process before you ever touch gel polish.
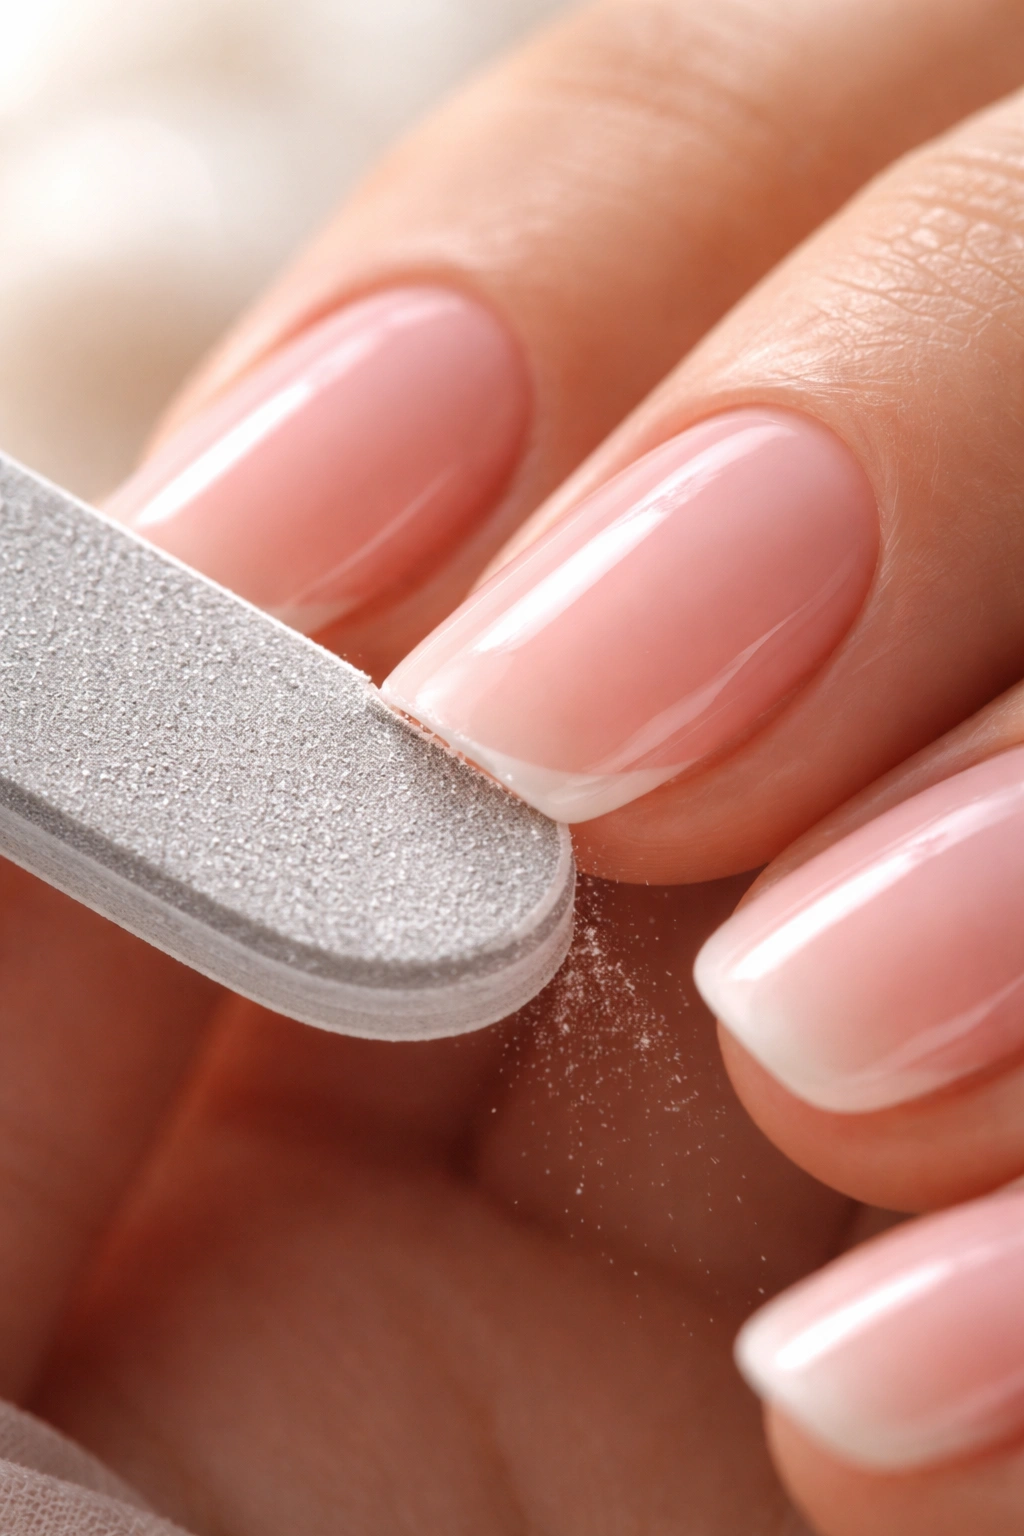
Removing Shine and Creating the Right Surface Texture
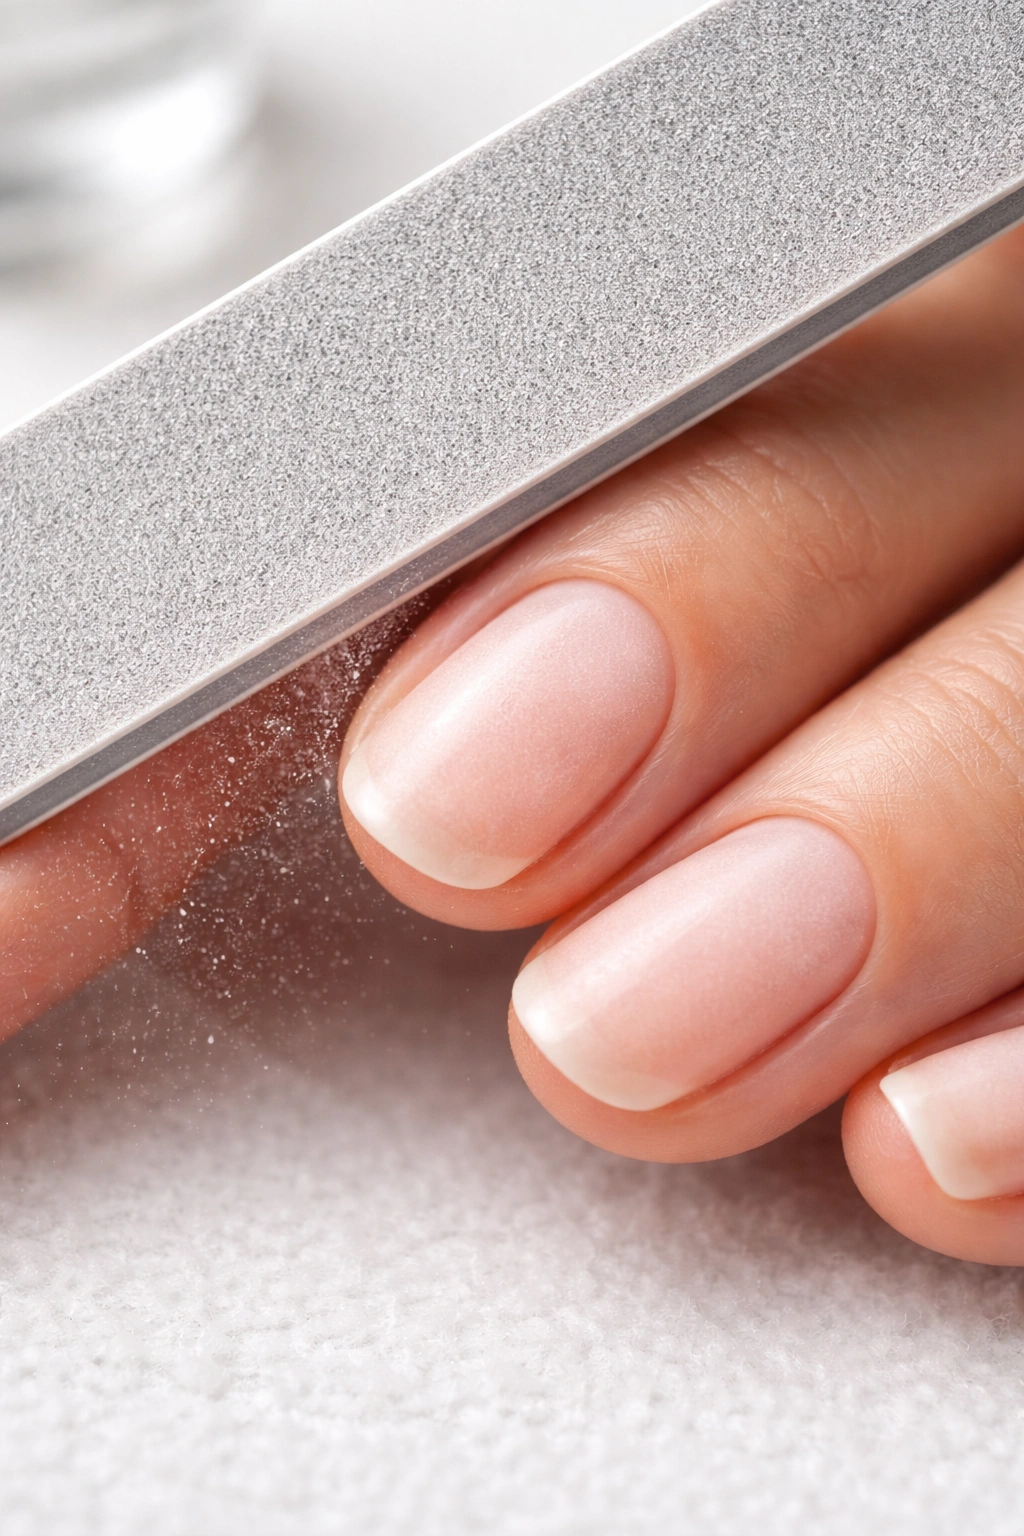
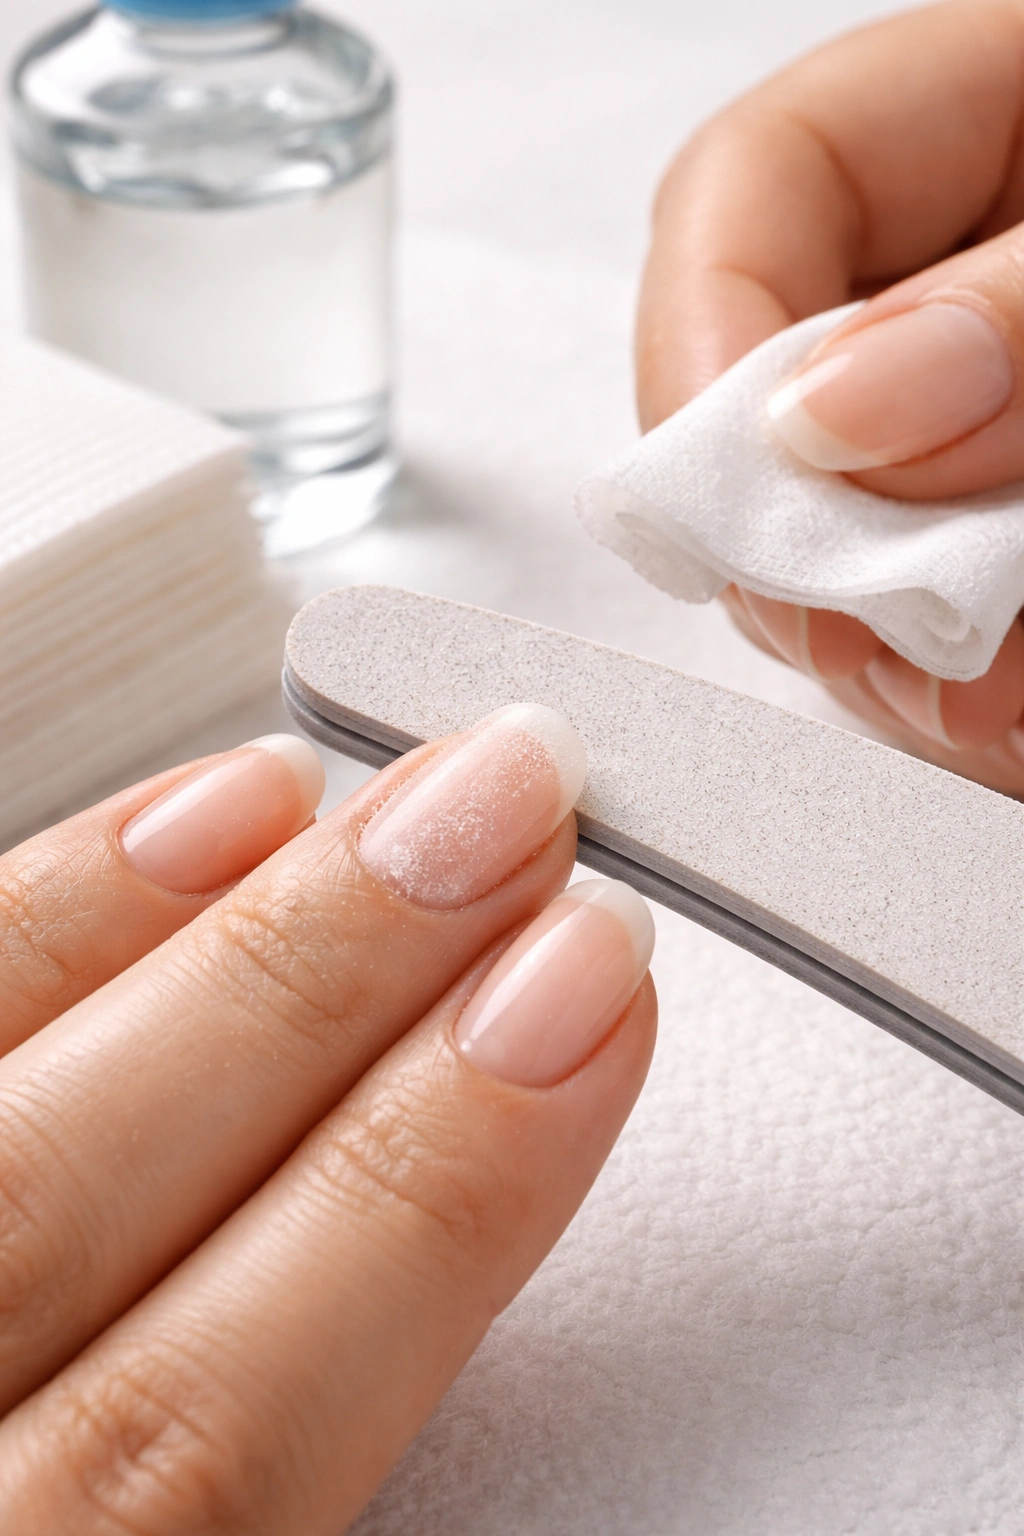
Start by using a medium-grit nail file (around 180-grit) to gently remove all shine from the surface of your nails. This step is absolutely critical — gel polish does not adhere well to a smooth, shiny surface. The shine on your nails indicates the presence of the protective keratin layer, and you need to disrupt it slightly to allow the gel to grip the nail plate.
The key word here is gently. Over-buffing is a real problem that people don’t talk about enough. If you buff too aggressively or use a file that’s too coarse, you’ll thin the nail plate and create micro-damage that actually causes lifting later. Your goal is to rough up the surface just enough to remove the shine and break up the oils — not to sand your nails down to paper-thin weakness. Aim for 6-8 light, circular motions per nail. You’ll see the shine disappear; that’s your signal that the prep is complete.
Be extra thorough around the edges and sidewalls of your nail. These areas are prone to lifting first because they catch on things throughout your day. A slightly dulled edge provides better grip for the gel to cling to. If you rush this step or don’t buff the entire nail uniformly, you’ll almost certainly see lifting start at the spots you missed.
Cleansing and Dehydrating for Perfect Adhesion
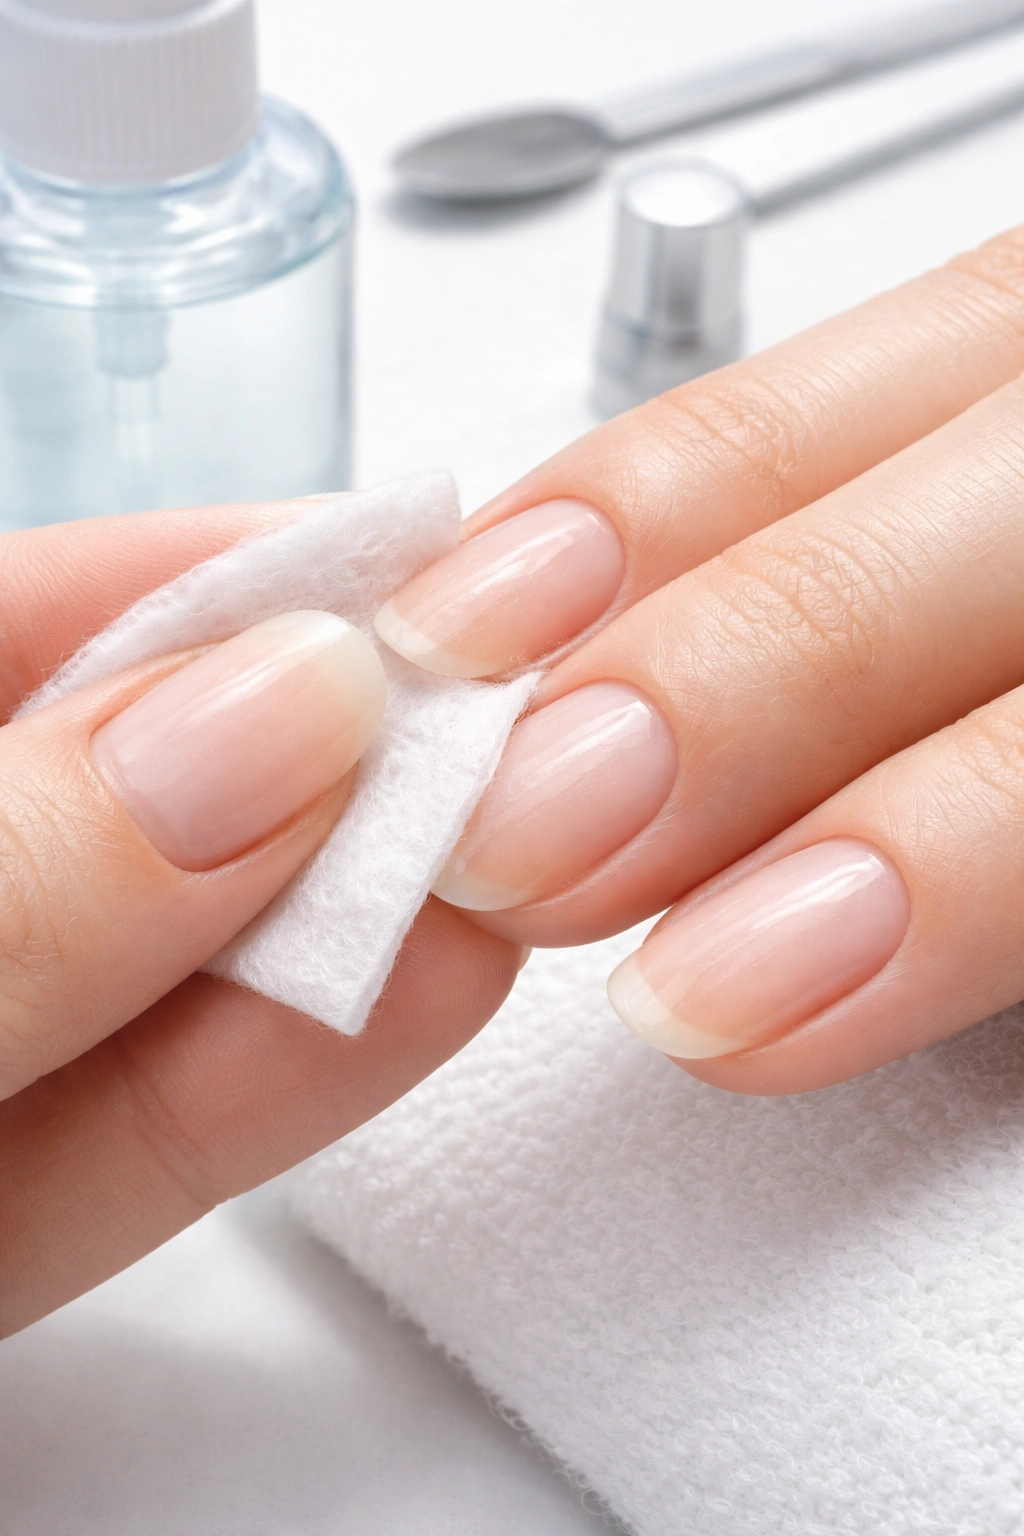
After buffing, use isopropyl alcohol (also called rubbing alcohol) on a lint-free wipe to cleanse your nails. This step removes all the dust from buffing, plus any remaining oils and contaminants. Saturate a cotton round or lint-free wipe with isopropyl alcohol and wipe each nail thoroughly, making sure to get the entire nail surface, the sides, and the cuticle area. Don’t skip this — any leftover dust particles will create tiny air pockets under your gel, which causes lifting.
Some people use acetone at this stage instead of alcohol, and that works too, but acetone is harsher and can over-dry your skin. Alcohol does the job without the extra harshness. After you’ve cleansed with alcohol, use a fresh lint-free wipe to do a second pass, removing any remaining moisture. Your nails should feel completely dry to the touch.
The dehydration step is what many home users miss or don’t understand. Your nail naturally absorbs water throughout the day — even just from humidity in the air or washing your hands. That moisture inside the nail plate will cause the gel to lift because water and the gel resin don’t bond properly. Some professionals use a special nail dehydrator product, but pure acetone on a cotton round works beautifully. Soak the cotton in acetone, press it against each nail for a few seconds, and let it dry. This removes any residual moisture from inside the nail plate itself. Your nails should feel completely dry and slightly sticky — that’s exactly what you want.
Pushing Back Cuticles and Cleaning the Nail Bed
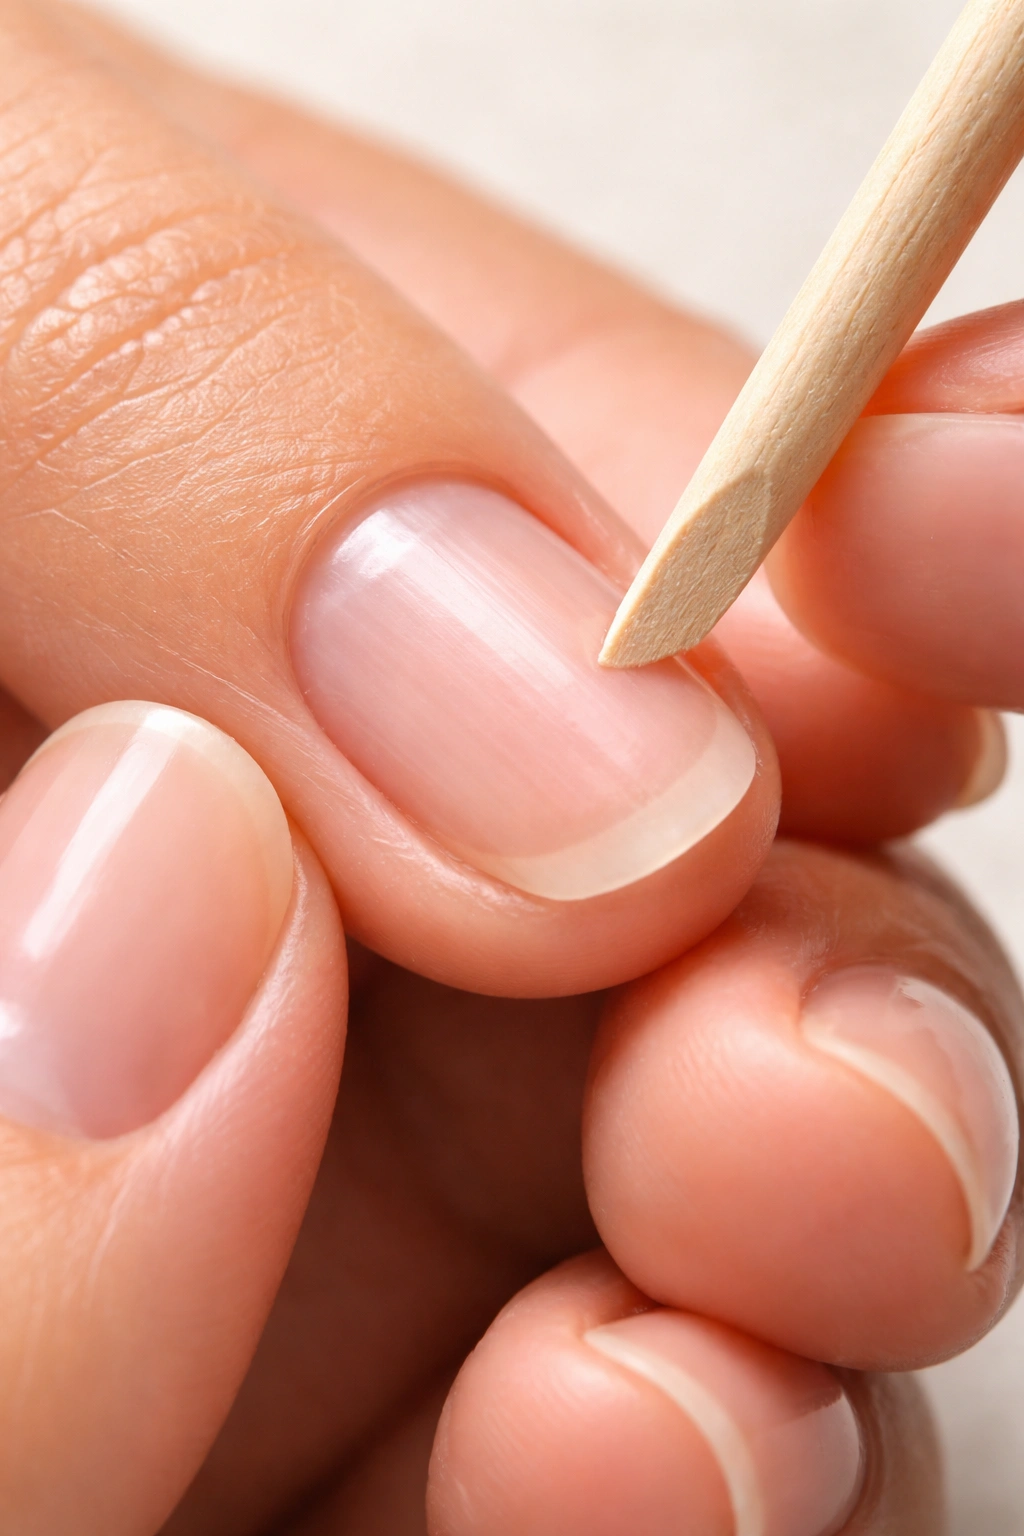
While your nails are drying from the acetone treatment, gently push back your cuticles using a wooden cuticle stick. Dead skin and cuticle material on the nail bed are primary causes of lifting — the gel will bond to that dead skin instead of to the healthy nail plate, and that bond is weak. Gently push the cuticle back, but don’t scrape aggressively. You’re removing the dead tissue, not traumatizing your cuticle line. If you make the cuticle area bleed or sore, you’ve gone too far.
Use the cuticle stick to also clean around the sidewalls and under the free edge of your nail, removing any debris. A clean, completely exposed nail plate is your foundation for everything that comes next.
Selecting Quality Products for Durability

The gel polish brand you choose genuinely matters for longevity. Budget gel brands from discount retailers sometimes work fine, but they’re inconsistent — adhesion can be weak, cure times vary, and the durability just isn’t there. You’re trying to get three weeks of wear, and that requires products that have been formulated to actually last.
Premium brands are formulated as systems, meaning the base coat, color, and top coat are engineered to work together. Using all products from the same brand gives you the best possible adhesion chain. Kokoist, Gelish, OPI GelColor, and Aprés are brands that consistently deliver three-week wear when applied correctly because they have strong adhesion chemistry and excellent curing properties.
Don’t compromise on base coat quality. A weak base coat means the rest of your manicure is sitting on a foundation that won’t hold. Look for base coats specifically designed to provide adhesion, and make sure they’re not expired — gel products that are past their expiration date (usually marked as PAO — Period After Opening, typically 24-30 months) can lose their adhesive properties and won’t cure properly.
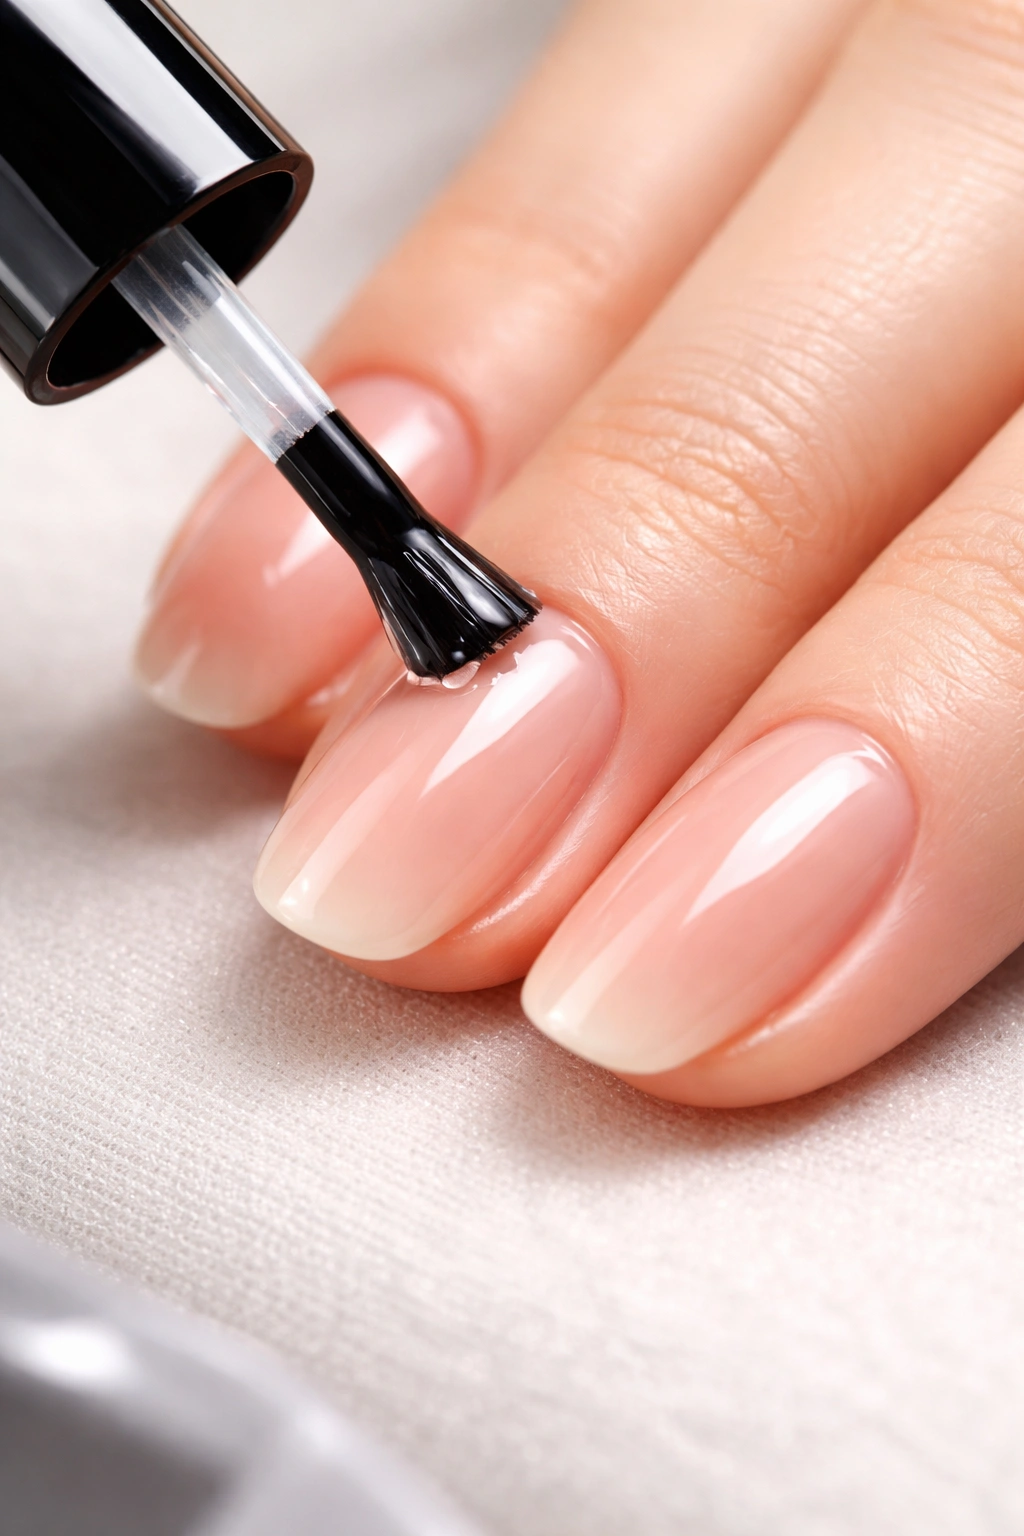
Applying the Base Coat Correctly
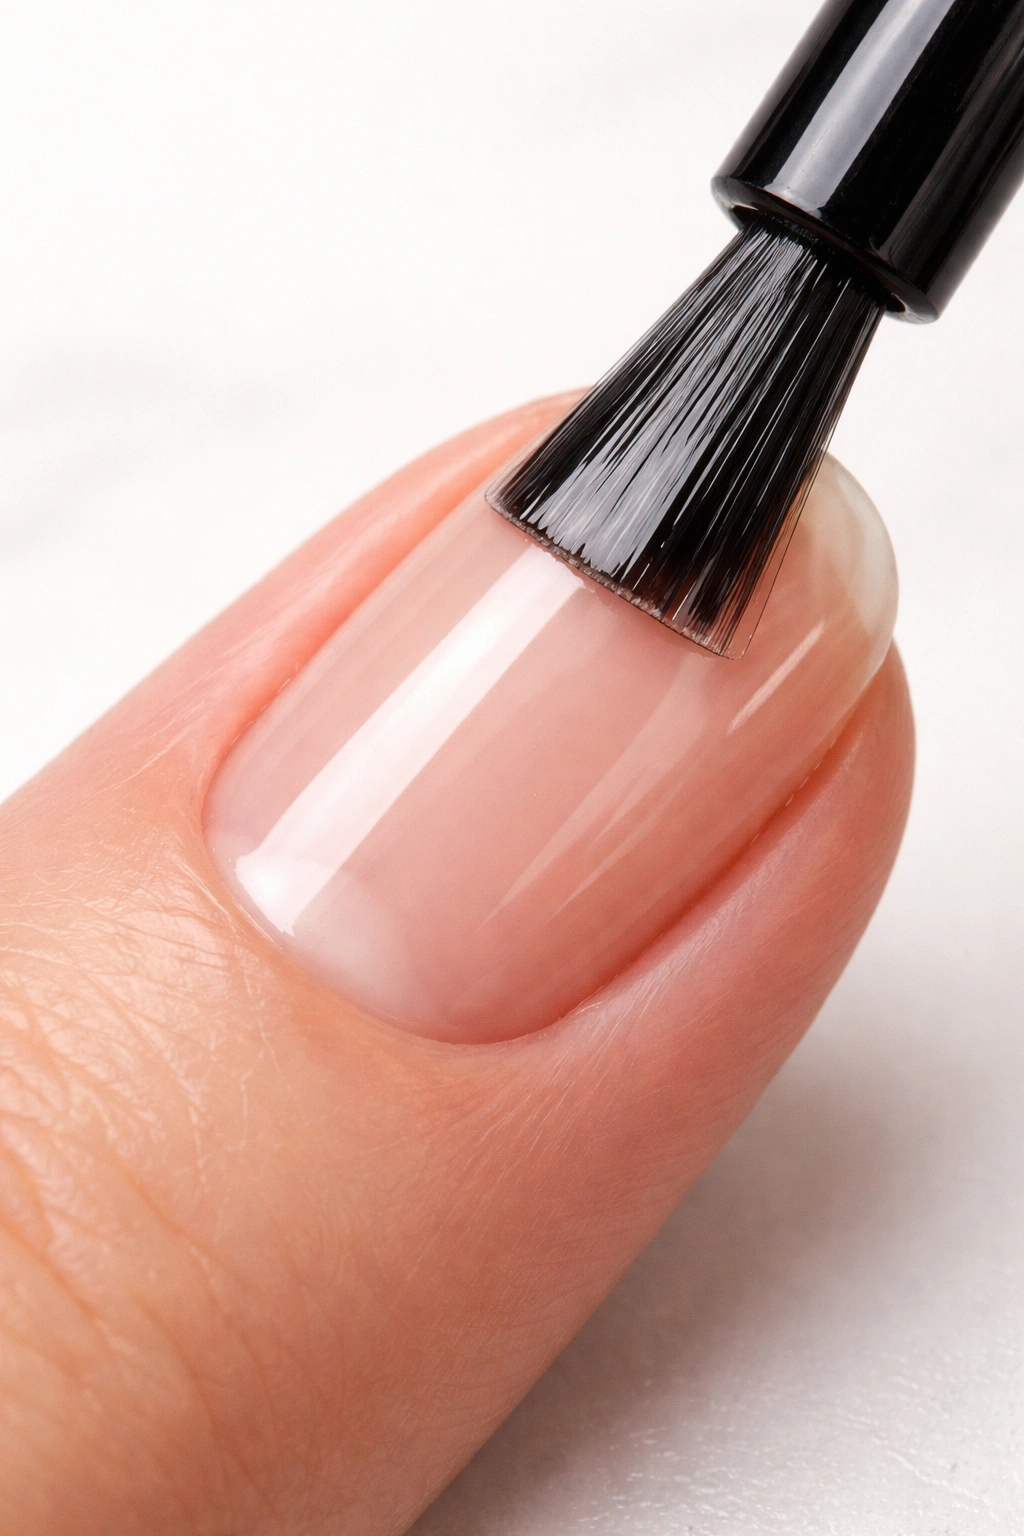
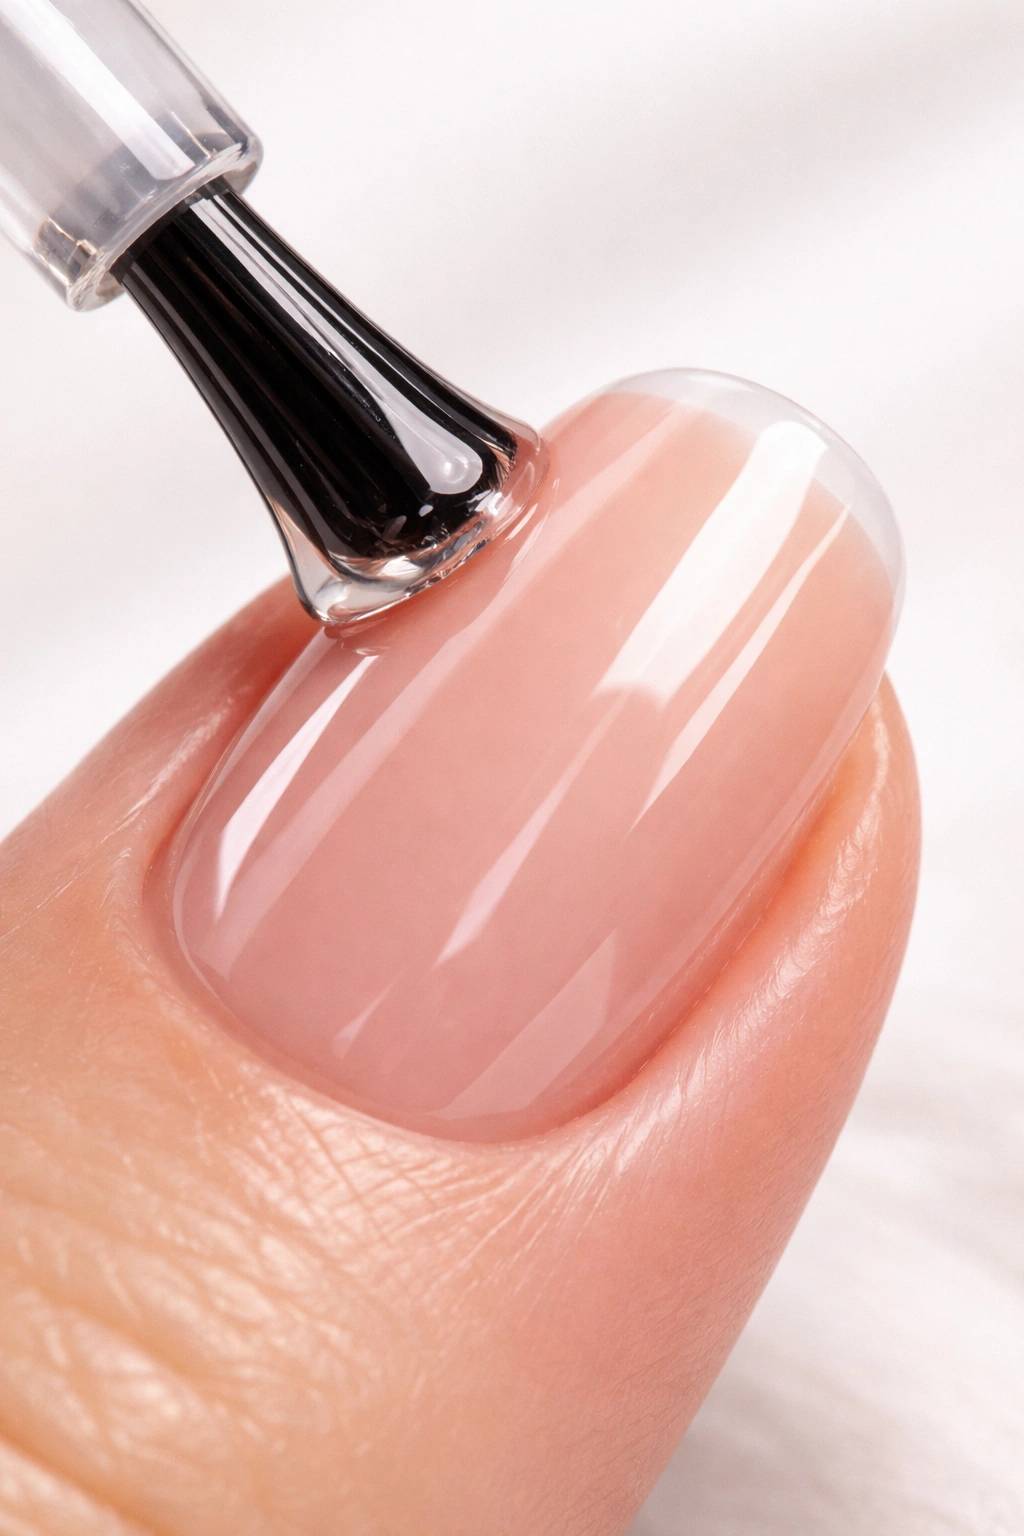
The base coat is your insurance policy against lifting. Pour a small amount into the lid or onto a dappen dish so you’re not putting your wet brush back into the bottle repeatedly — this can introduce contamination. Use smooth, even vertical brush strokes, starting in the middle of the nail and brushing toward the tip, then going back and pushing the product toward the cuticle.
This is where precision matters. You want complete coverage of the nail plate, but absolutely avoid getting the base coat on your cuticles or sidewalls. Gel on the skin prevents the gel on the nail from being fully sealed, and this is a direct cause of premature lifting. If you do accidentally paint on the skin, immediately clean it off with a wooden cuticle stick or a brush dipped in acetone before curing.
Cap the free edge of your nail with the base coat. This means running the brush along the underside of the tip to seal the edge. This prevents water from getting under the gel and protects against edge chipping. After applying the base coat to both hands, cure according to your lamp’s instructions — typically 30 seconds for LED lamps or 120-130 seconds for UV lamps.
Choosing and Using the Right Curing Lamp
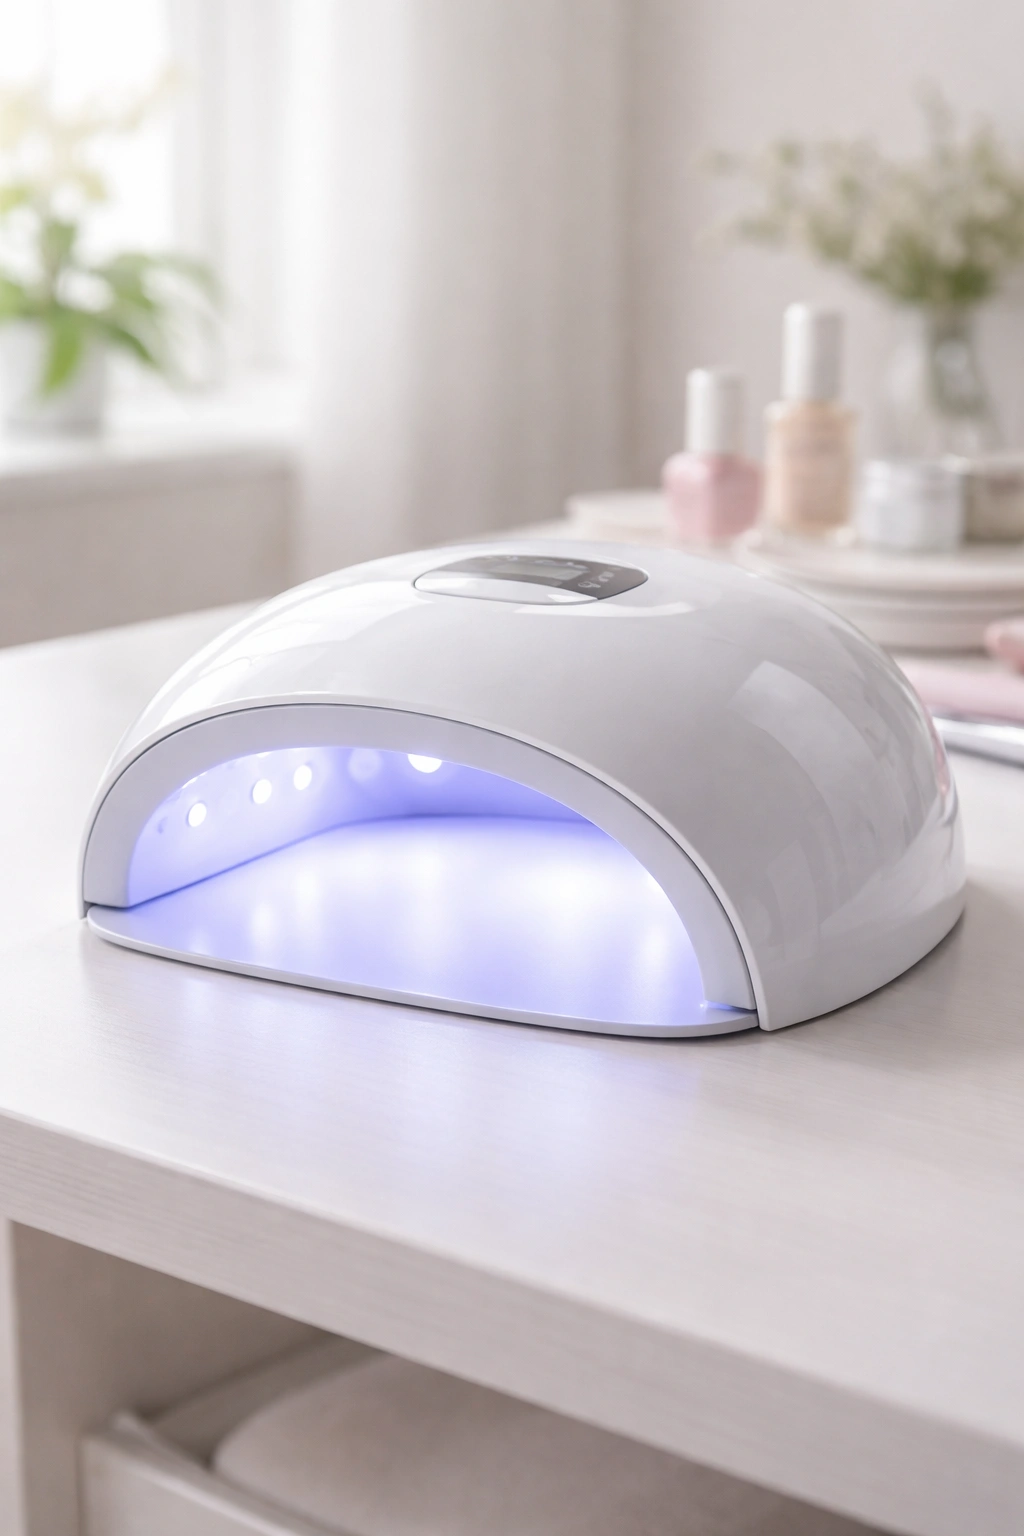
Your lamp is where many home manicures go wrong. A weak lamp will not fully cure the gel, which means the layers aren’t hardened completely, and they’ll peel rather than last. If you’re using an old UV lamp, the bulbs might be dimmed from age, and you probably don’t realize it. LED lamps are generally better for at-home use because they cure faster and the bulbs don’t degrade, but a high-quality UV lamp will work fine if it’s functioning properly.
The minimum wattage matters: LED lamps need at least 18 watts, and UV lamps need at least 36 watts to properly cure most gel polishes. If your lamp is weaker than that, it will never give you full cure, and your manicure will suffer. Some people buy cheap kits online with weak 6-watt lamps, and then wonder why their gel keeps lifting — the lamp literally isn’t powerful enough to cure the product.
When curing, place your hand flat with all fingertips under the light at the same distance. Finger placement matters because the light has to reach all surfaces of the nail. Don’t angle your fingers or hold them unevenly, or you’ll get uneven curing. Follow the manufacturer’s curing time exactly — more time doesn’t hurt, but significantly less time absolutely does.
Applying Color in Thin, Even Layers
Thick layers of gel are the enemy of longevity. This is a fundamental truth that many people don’t understand. When you apply gel too thickly, the UV or LED light can’t penetrate all the way through the layer, so the bottom doesn’t cure properly. You end up with a flexible, uncrosslinked layer that peels away easily.
Apply thin, even coats instead, even if it means using three layers of color instead of two. Thin layers cure evenly and completely, which means they’re fully hardened and don’t peel. Dip your brush into the gel color, wipe the excess on the sides of the pot (not on the rim, as that wastes product), and paint in smooth strokes from the middle of the nail outward, then push the color toward the cuticle, being careful to avoid the skin.
After each coat on both hands, cure completely. This might mean three or four total color applications if you’re using a dark shade, but that’s what you do for longevity. Each layer bonds with the layer below it when cured, and those multiple thin, fully-cured layers create durability that thick layers never will. Apply thin enough that you can see through the layer — if it’s opaque from one coat, you’ve applied too much.
Capping the Free Edge on Every Layer
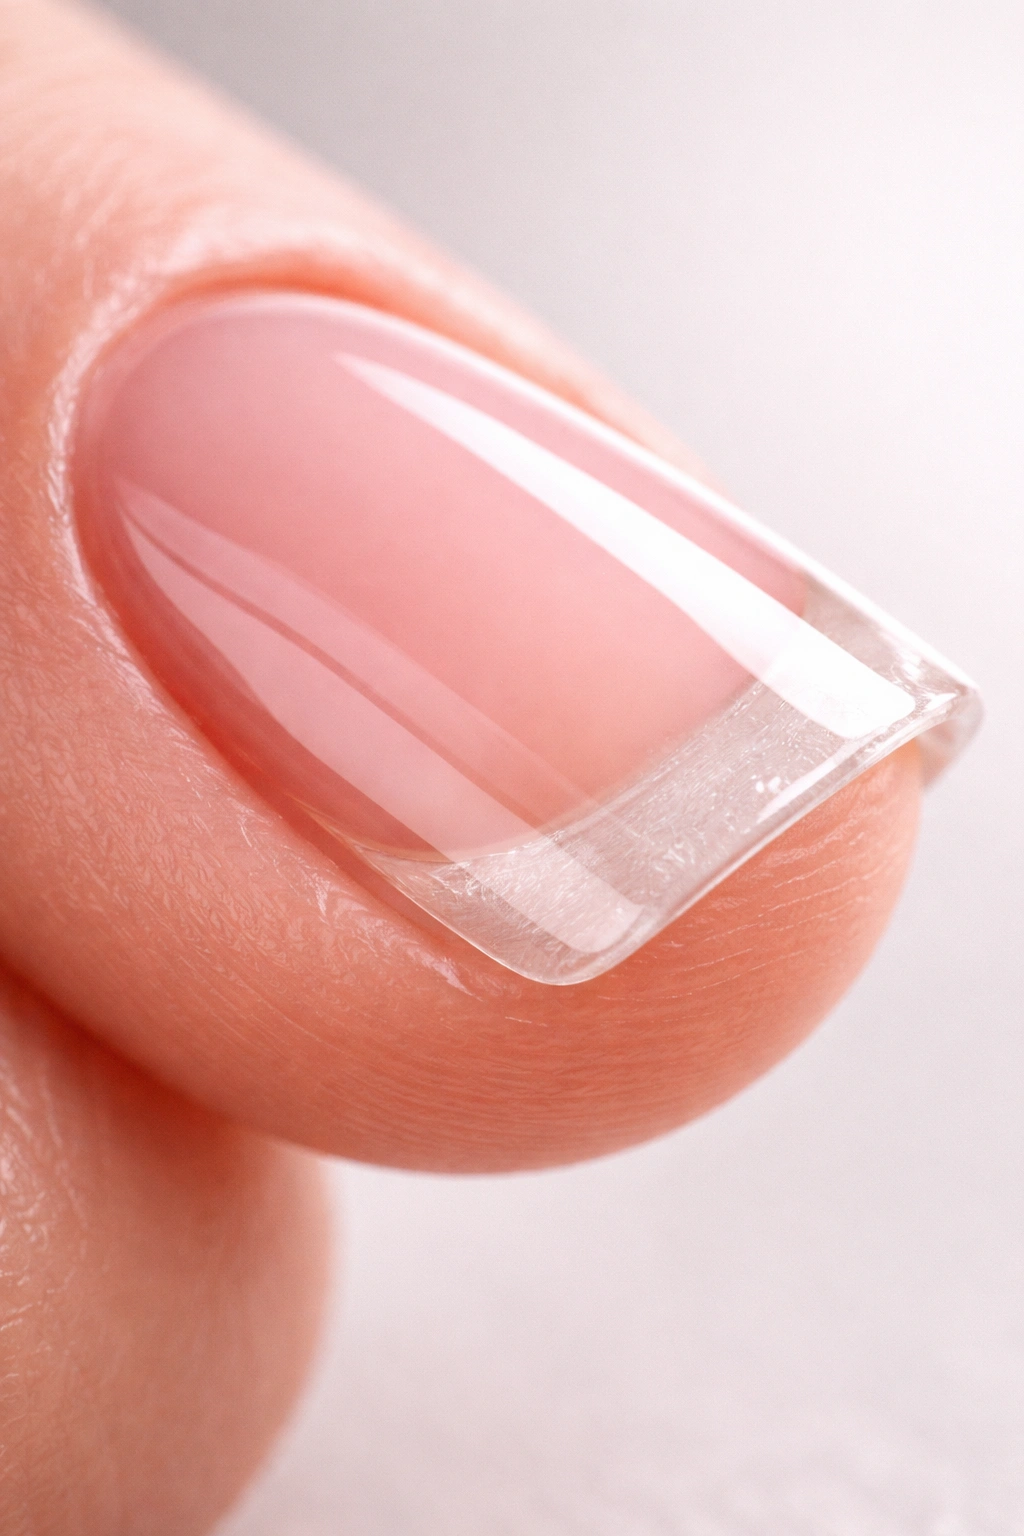
Capping the free edge is non-negotiable for extending the life of your manicure. This means, after you’ve applied your color coat to the nail bed, you run the brush along the underside of the tip to seal the edge with gel. Do this with every single coat — base, color, top coat. This is what prevents chipping at the tips, and it’s often the difference between a manicure that falls apart in a week and one that lasts three.
The cap doesn’t need to be thick; it just needs to be there. A thin seal of gel under the tip creates a barrier that prevents water and air from getting under the polish and prevents the tip from chipping and peeling back. Without capping, the edge is exposed and vulnerable to every bit of wear your nails experience.
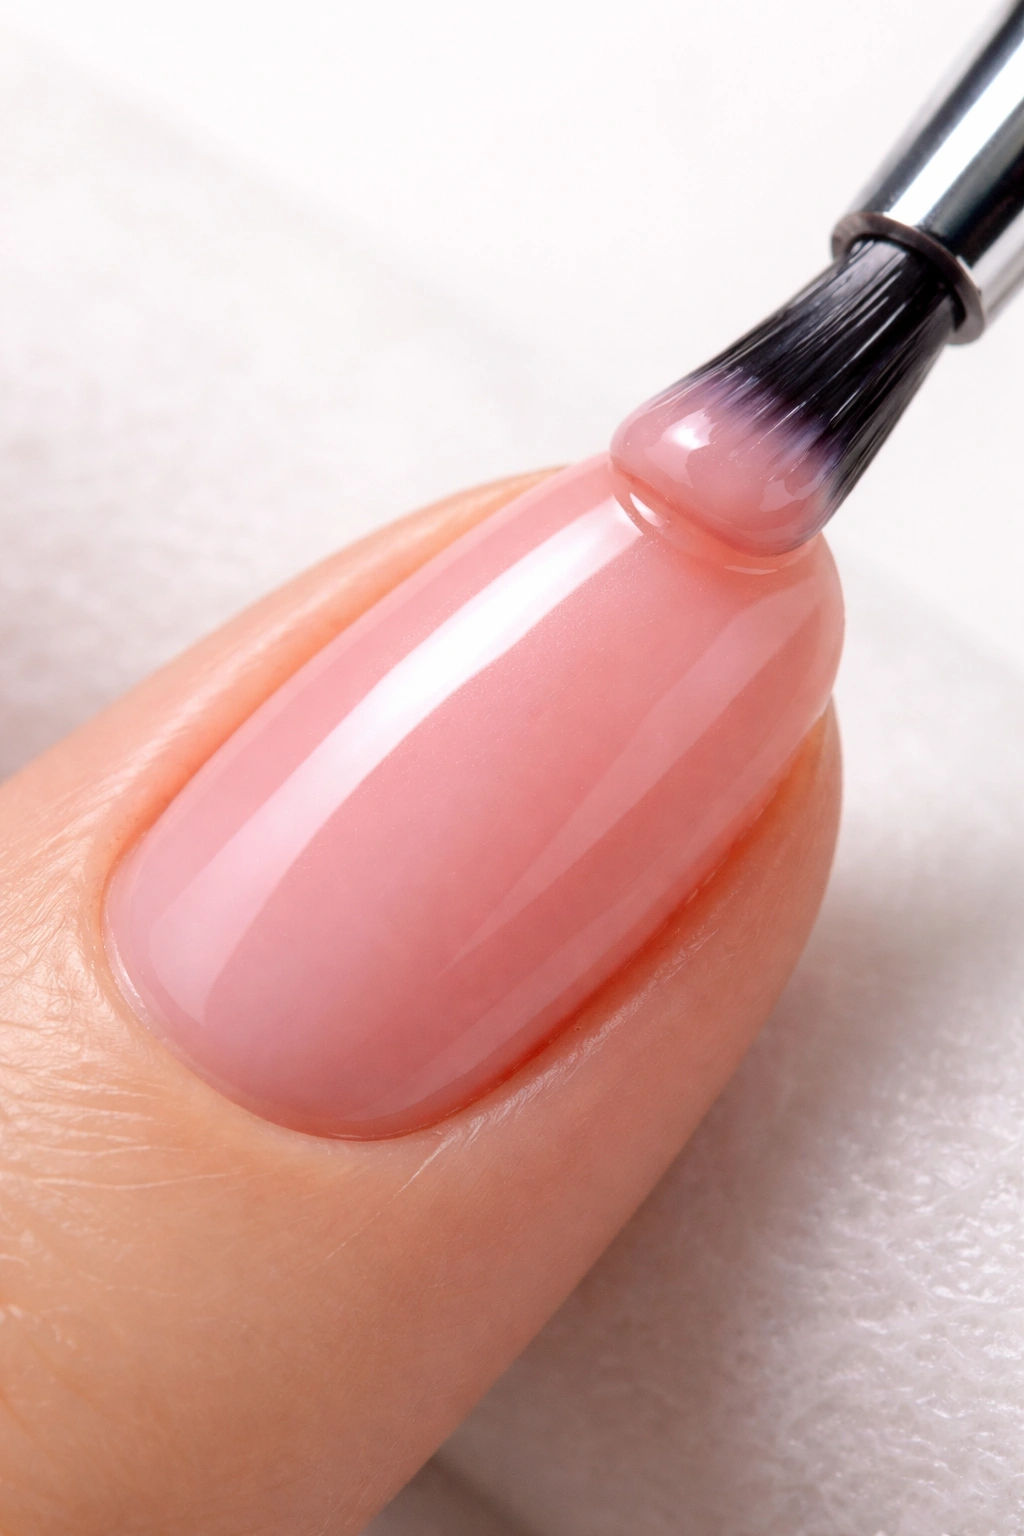
Applying the Top Coat for Seal and Shine
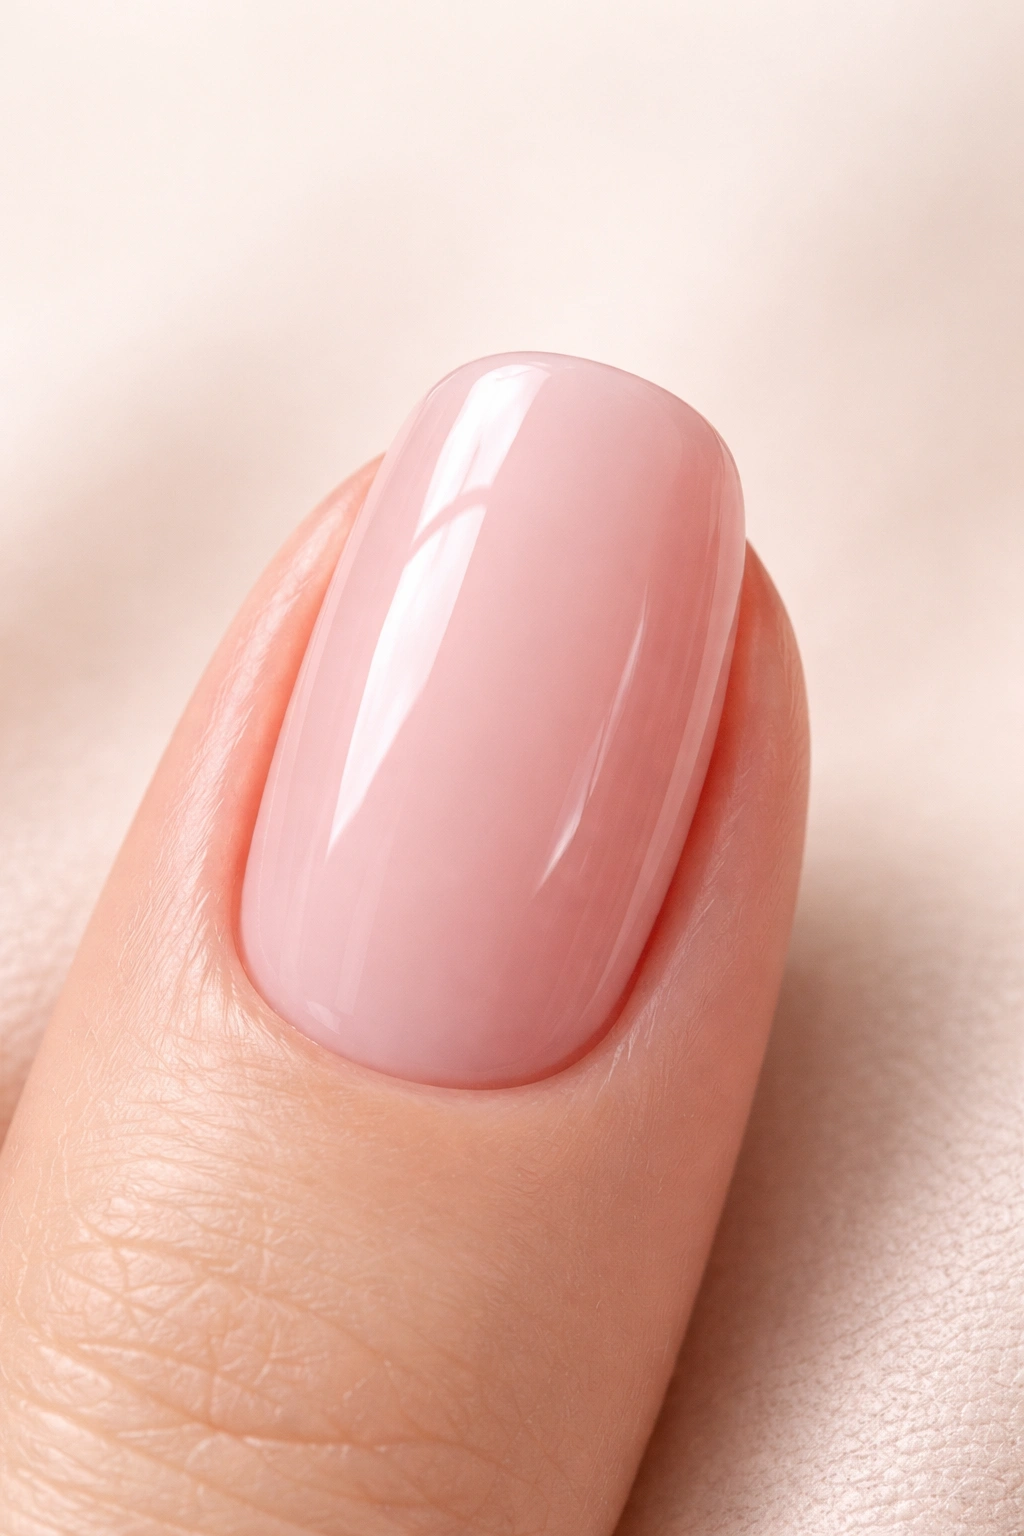
Your top coat is the final protective layer, and it matters as much as the base coat. Apply a generous layer of top coat, making sure it covers every inch of the nail and extends under the free edge to seal the cap. The top coat shouldn’t be thick, but it should be complete. This layer hardens into a protective shell that shields your manicure from wear and tear.
Most gel top coats are “no-wipe,” meaning they don’t leave a sticky residue when cured — they dry to a high-gloss finish. Some top coats do leave a wipe-off residue, and you’ll need to clean that with alcohol after curing. Check your product’s instructions. Cure the top coat for the full recommended time; this is the final seal of your manicure, and you want it completely hardened before you use your hands.
Immediately Protecting Your Fresh Manicure
The first few hours after your manicure are crucial. Your gel is cured solid, but the bond between the gel and your nail is still settling. Avoid submerging your hands in water for at least 4-6 hours after finishing your manicure. That means no dishes, no baths, no swimming pools. Even hand washing should be quick and dry — pat your hands dry immediately with a towel rather than letting them air dry or shaking water off.
Don’t apply hand lotion or cuticle oil during this period either. You want your nails to be as free from moisture and oils as possible as the gel fully sets. After the initial 4-6 hour window, your manicure is stable, but you still want to be mindful of moisture exposure throughout the three weeks.
Protecting Against Water Damage Throughout the Wear Period
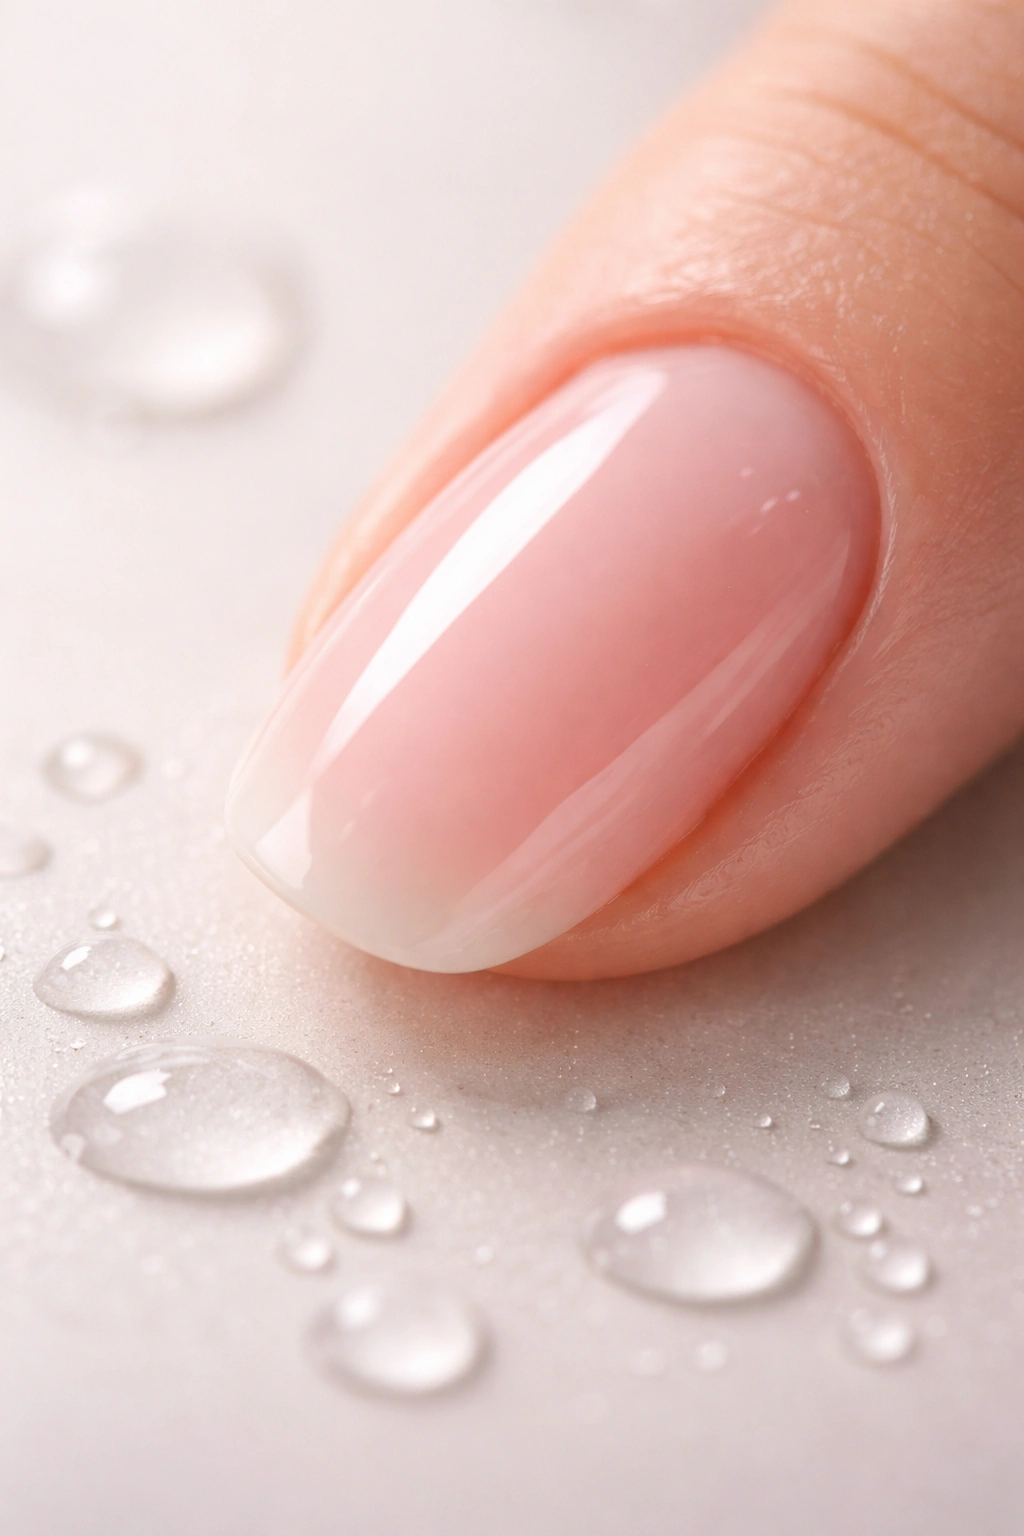
Water is gel polish’s primary enemy during the weeks you’re wearing it. Water penetrates between the gel and the nail plate, causing the gel to lift and peel. This is why wearing gloves when doing dishes, cleaning, or bathing is essential if you want your manicure to last three weeks. This isn’t optional — it’s a requirement.
Keep baths and hot tubs to a minimum. If you do take a bath, keep it short and pat your hands dry immediately afterward. The heat from hot water also causes your nail to expand, and when it cools and contracts, the gel doesn’t move with it — causing stress and lifting. Cold or room-temperature water is gentler on gel than hot water.
Swimming is particularly harsh on gel polish because chlorine and the prolonged soaking both break down the gel. If you’re going to swim, wear waterproof gloves if possible, or at least limit swimming. Even then, expect some potential damage. If swimming is a regular activity for you, you might need to accept that a three-week wear time is ambitious, or plan your manicure around your swimming schedule.
Avoiding Chemicals That Break Down Gel

Beyond water, harsh chemicals accelerate gel degradation. Cleaning products, hand sanitizers, and even some personal care products contain compounds that react with gel polish and cause it to break down. Always wear gloves when using cleaning products, and try to avoid strong hand sanitizers when you have fresh gel. If you need to sanitize your hands, use gentle versions and immediately follow with cuticle oil to add back moisture.
Nail polish remover (acetone) will strip your gel, so avoid this entirely unless you’re doing a removal or spot treatment. Some people use acetone to clean up cuticles during the wear period, and while a tiny bit is okay, excessive exposure will weaken your manicure.
Treating Your Nails Gently

Using your nails as tools is one of the fastest ways to end a gel manicure prematurely. Opening cans, scratching off labels, typing aggressively, or using your nails to pick at things all put stress on the gel. Use the pads of your fingers instead of your nails for everything possible. If you need to open a can, use a can opener. If you need to peel a sticker, use your finger pad or a tool. This isn’t being fragile — it’s just being smart about protecting your investment.
Typing is a particular culprit because you’re repeatedly hitting your nails against hard keys. If you do a lot of typing for work, be more conscious of using your fingers rather than your fingertips. Even small habit changes make a difference in longevity.
Daily Cuticle Oil Application for Flexibility
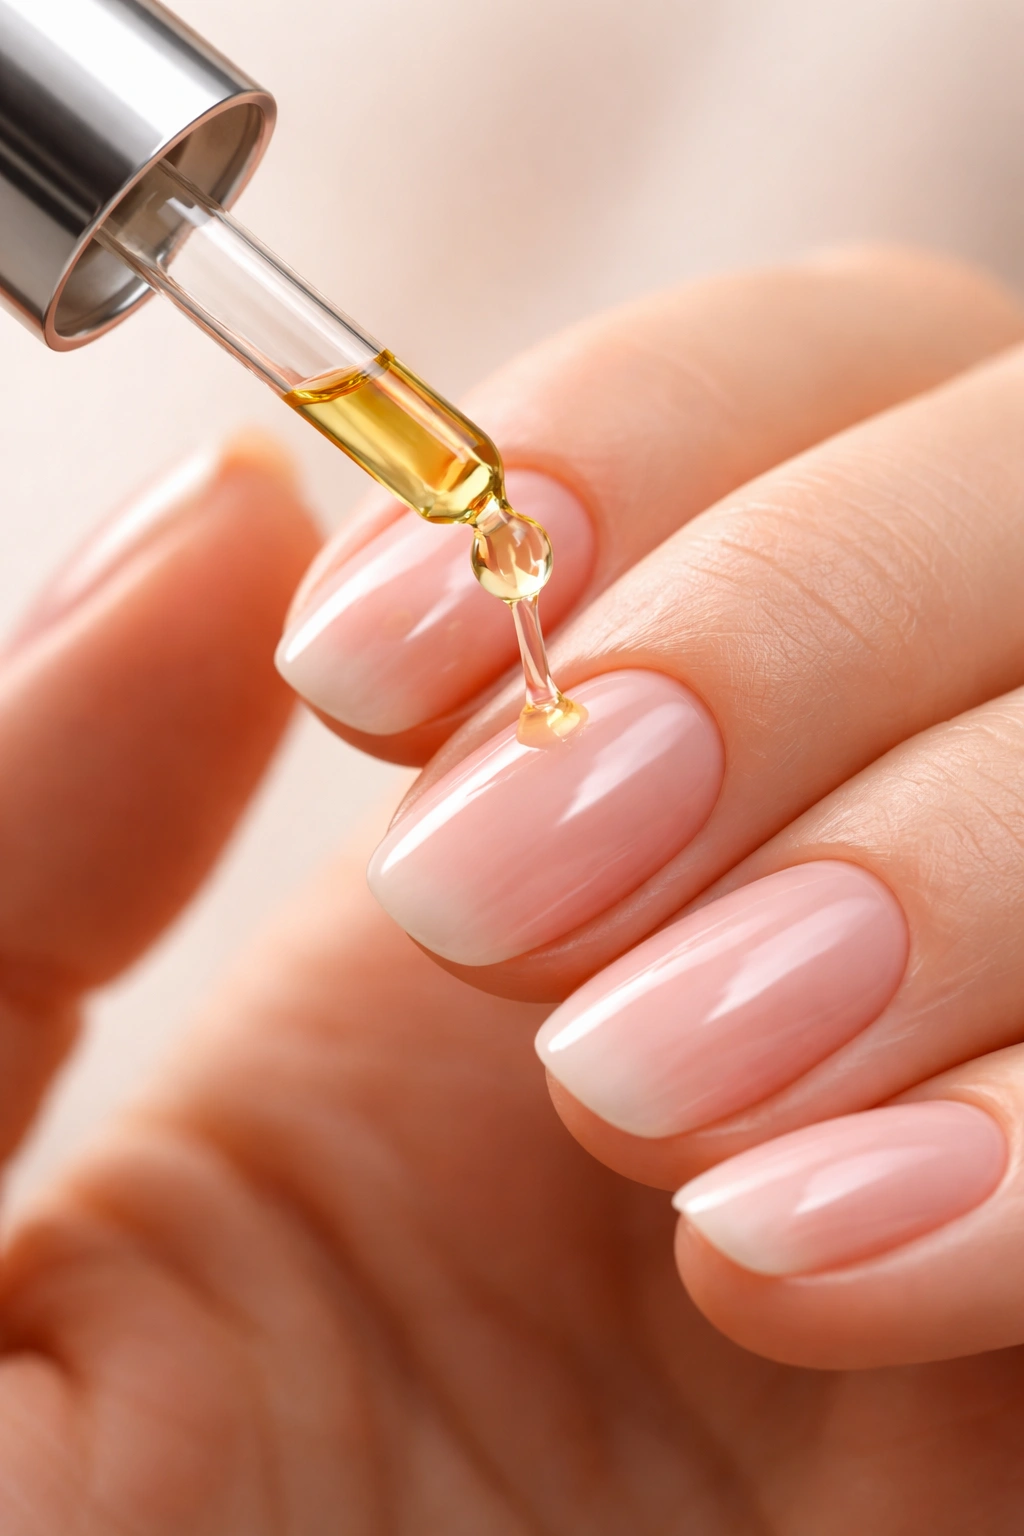
Apply cuticle oil daily to keep your nails flexible and your cuticles healthy. Use a cuticle oil that’s not too thick or greasy — you want something that absorbs reasonably quickly. Apply it all over the nail, focusing on the cuticle area and the free edge. This maintains moisture in the nail plate, which keeps it flexible and less prone to cracking.
Dry nails become brittle and are more likely to crack and lift. When you hydrate your nails regularly, they stay flexible, and they move slightly with your natural nail growth without putting stress on the gel. This is a simple step that people often skip, but it makes a genuine difference in longevity. Apply cuticle oil after washing your hands, after showering, and before bed.
Using a Weekly Top Coat Touch-Up
Around the one-week mark, your top coat has taken some wear. Apply a fresh, thin layer of gel top coat over your entire manicure and cure it. You don’t need to remove anything or do any prep — just brush on a new layer of topcoat and cure. This refreshes the shine and adds an extra protective layer that extends the life of your manicure.
Some people do this at two weeks as well, which is fine. It takes just a few minutes and significantly extends wear time. You can use your home lamp for this touch-up, or if you’re comfortable, you can use a gel topcoat that air-dries (these exist, though they’re less common and less durable than lamp-cured options).
Managing Minor Chips and Wear
If you get a small chip in your gel before the three-week mark, don’t panic and don’t peel the whole thing off. Gently file the chipped area smooth with a soft nail file, removing any jagged edges. Then apply a thin layer of gel topcoat over the chipped area and cure it. This temporarily fixes the problem and can keep your manicure wearable for another week or more.
If the chip is very small, the topcoat touch-up often makes it completely invisible. If it’s large, you might need to just keep that nail filed smooth and accept that particular nail has a slightly shorter wear time. The key is not to start peeling, because once you peel one spot, the whole manicure tends to unravel.
Knowing When It’s Actually Time to Remove
Your manicure isn’t a failure if it doesn’t make the full three weeks — the goal is three weeks, but anywhere from two to three weeks is excellent wear. You’ll know it’s time to remove when you see significant growth at the cuticle line (usually about 2-3mm of gap), multiple chips, or visible lifting in multiple spots. At that point, trying to extend it further usually just damages your natural nails more.
Professional removal with acetone soak is ideal, but if you’re doing it at home, use the soaking method: file the top to remove shine, soak in acetone-soaked cotton for 10-15 minutes per nail, and gently roll the gel off. Never peel or force it off — that damages the nail plate and weakens your nails for the next manicure.
Final Thoughts
The three-week gel manicure at home is absolutely within reach once you understand that every single step — from the initial prep to the daily cuticle oil application — plays a role in longevity. The most common reasons manicures fail early are weak nail preparation, improper application technique, insufficient curing, or lack of aftercare. You can’t skip any of these and expect salon-quality results. Start with meticulous prep, apply with precision and patience, cure completely, and maintain consistently. When you treat the process as a system where every step matters, you’ll achieve that coveted three-week wear time and realize you actually prefer the results you’re getting at home to rushing to a salon. The time investment on the front end pays off in weeks of beautiful, chip-free nails.
