

Press-on nails have transformed from flimsy drugstore finds to salon-quality manicures you can apply at home. The best part? You don’t need to spend hours at a nail salon or damage your natural nails with harsh chemicals.
But here’s the frustrating part: you carefully apply your press-ons, they look absolutely gorgeous, and then—pop!—one falls off while you’re washing dishes the next day. If you’ve been there, you’re not alone. Most people assume press-ons are meant to be temporary, lasting maybe a few days at most.
The truth is, with the right prep and application techniques, press-on nails can easily last two weeks or longer. The secret isn’t in expensive products or complicated tricks. It comes down to understanding how adhesive bonds work and giving your press-ons the best possible foundation to stick to.
Start With Completely Clean and Dry Nails
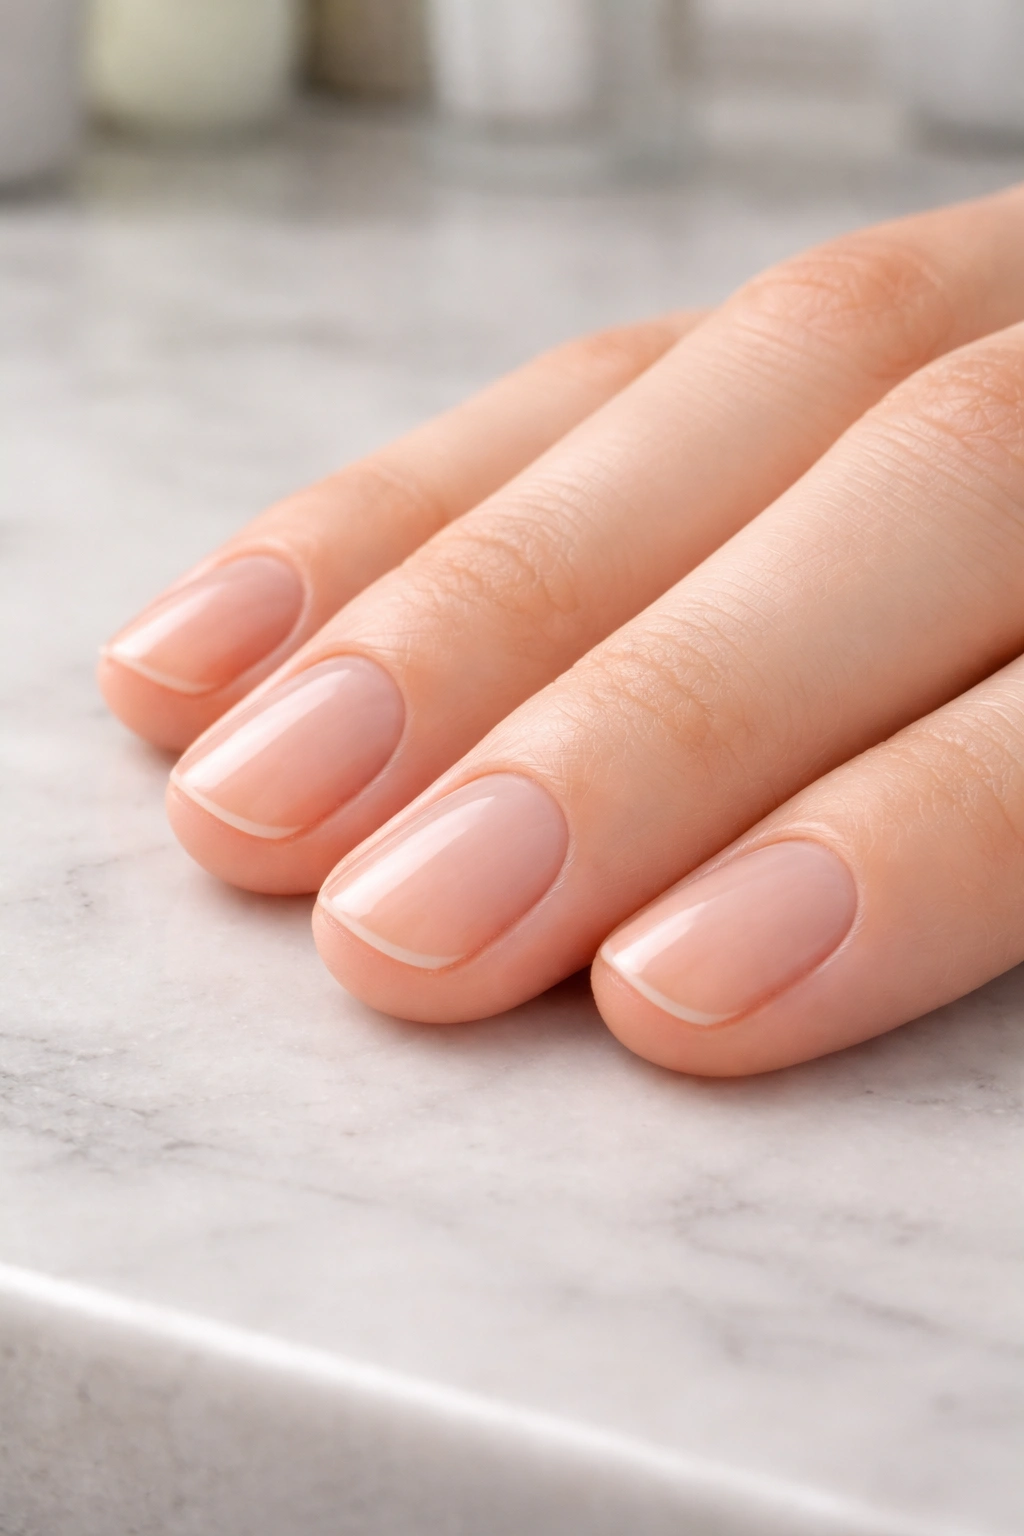
Think of your natural nails like a canvas. You wouldn’t paint over a dirty, oily surface and expect the paint to stick, right? The same principle applies to press-on nails.
Your nails naturally produce oils, and throughout the day, they pick up residue from lotions, soaps, and everything else you touch. This invisible layer of oil and grime creates a slippery barrier between your natural nail and the press-on, preventing the glue from forming a strong bond.
Wash your hands thoroughly with soap and warm water before you even think about opening your press-on nail kit. Dry them completely—and we mean completely. Any moisture left on your nails will compromise the adhesive.
Here’s where most people stop, but there’s one more crucial step. Grab an alcohol prep pad or a cotton round soaked in rubbing alcohol and wipe down each nail. This removes any lingering oils that soap might have missed. Think of it as the final degreasing step that creates the perfect surface for your press-ons to grip onto.
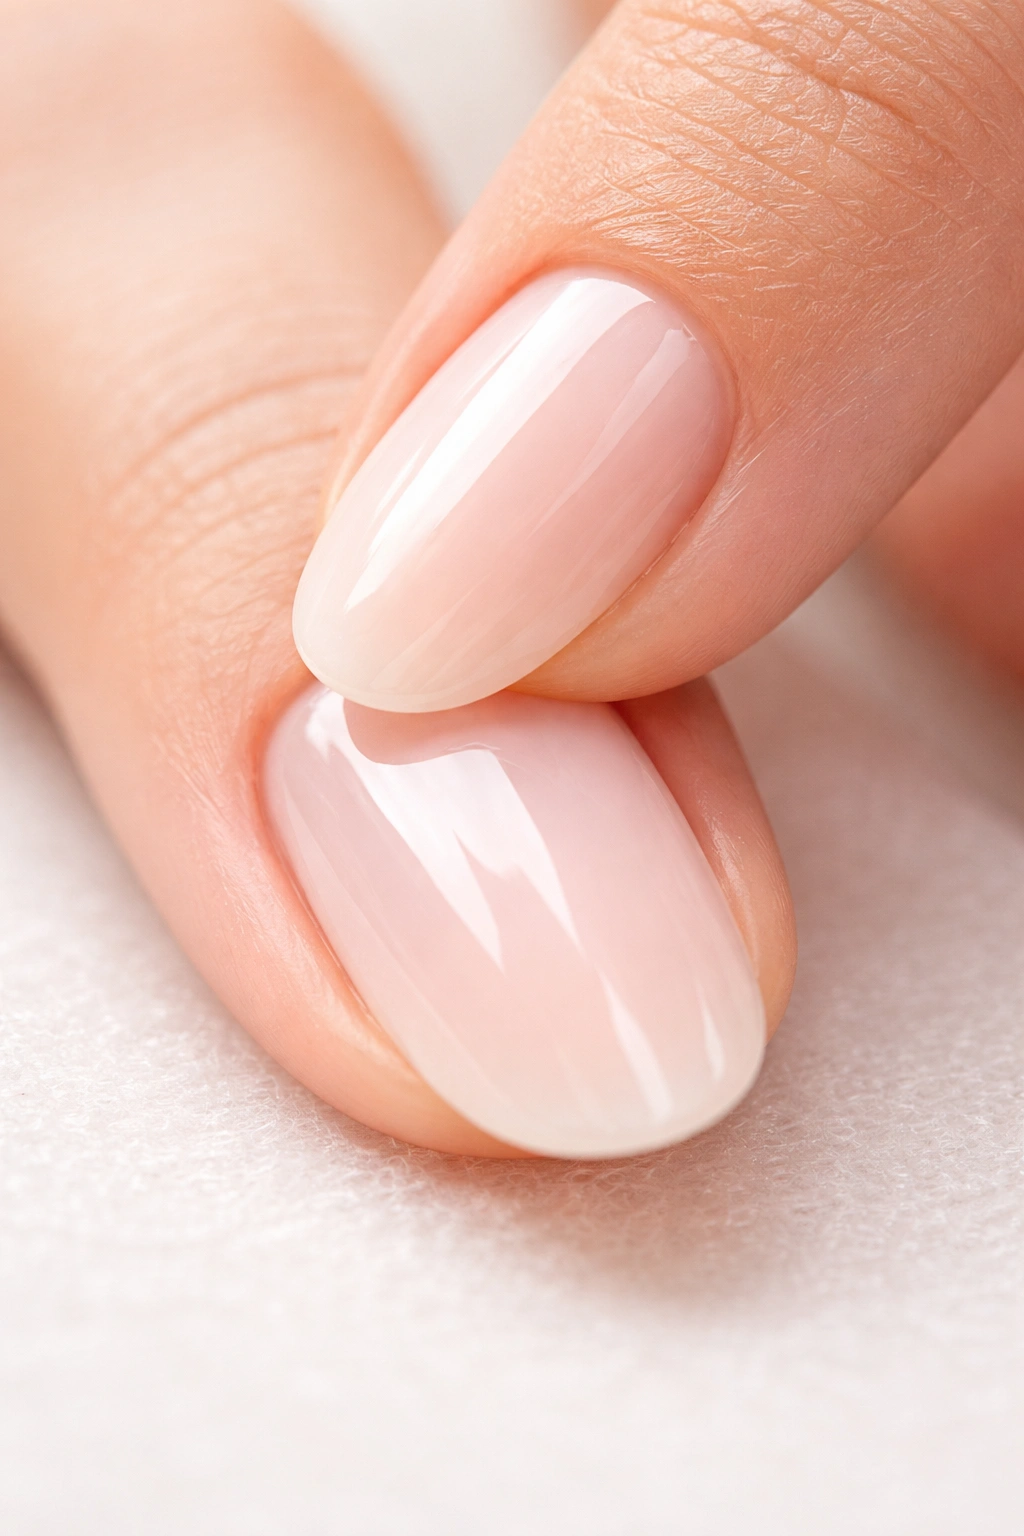
Buff Your Natural Nail Surface for Better Grip
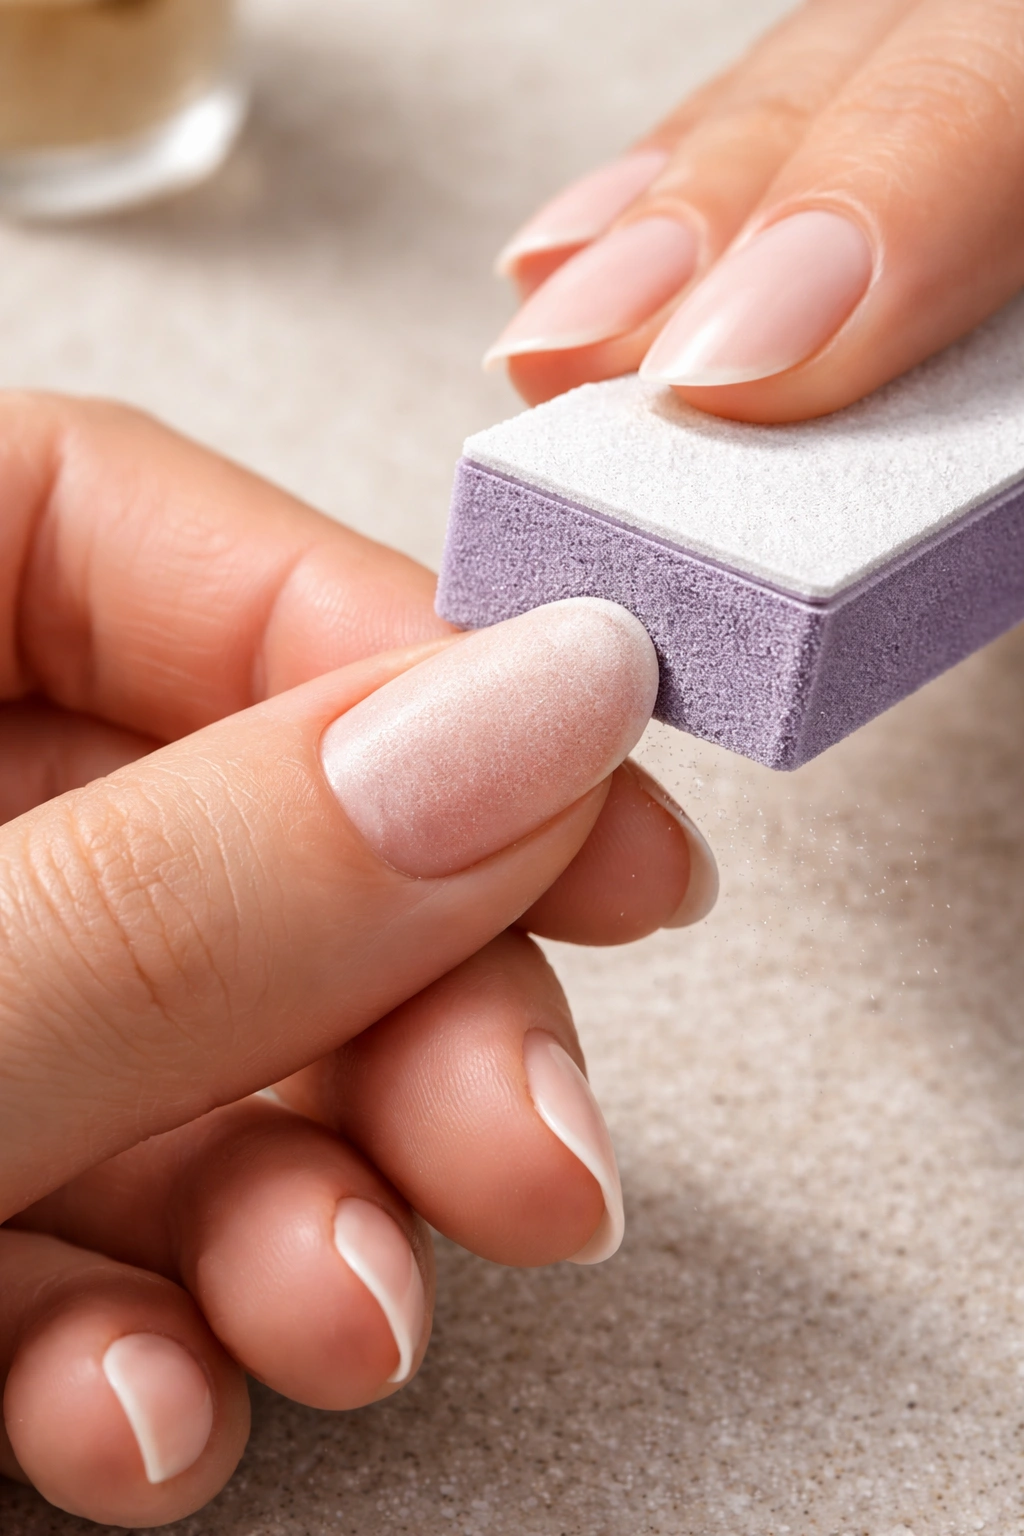
Smooth, shiny nails might look healthy, but they’re actually terrible for adhesion. Picture trying to stick something to a glass window versus a slightly rough wooden surface—the texture makes all the difference.
Buffing creates microscopic grooves in your nail surface that give the glue something to hold onto. Grab a nail buffer (a 100/180 grit works perfectly) and gently buff the entire surface of each nail. You’re not trying to file them down or cause damage—just remove that glossy shine.
You’ll know you’re done when your nails have a matte, slightly textured appearance. Don’t go overboard here. A light buffing session of about 10-15 seconds per nail is plenty. Over-buffing can thin out your natural nails and actually make them weaker.
After buffing, you’ll notice white dust on your nails. Brush this away completely before moving on. Any dust particles left behind will get trapped in the glue and create air pockets, which are basically little failure points waiting to make your press-ons pop off.
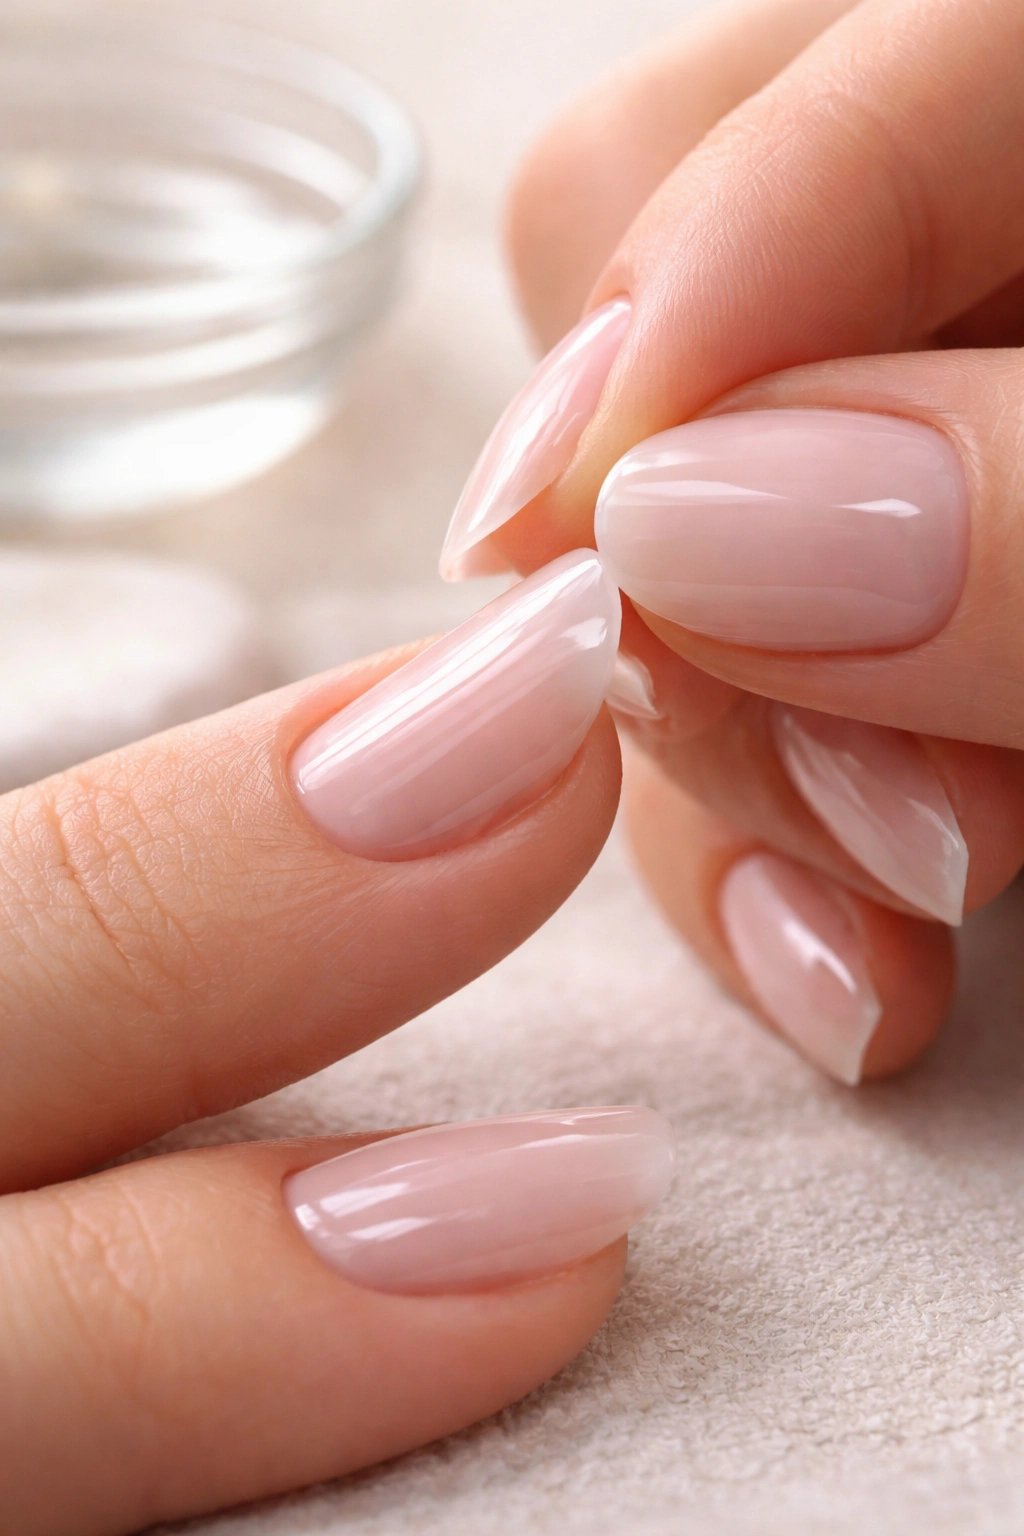
Choose Press-On Nails That Actually Fit Your Nail Beds
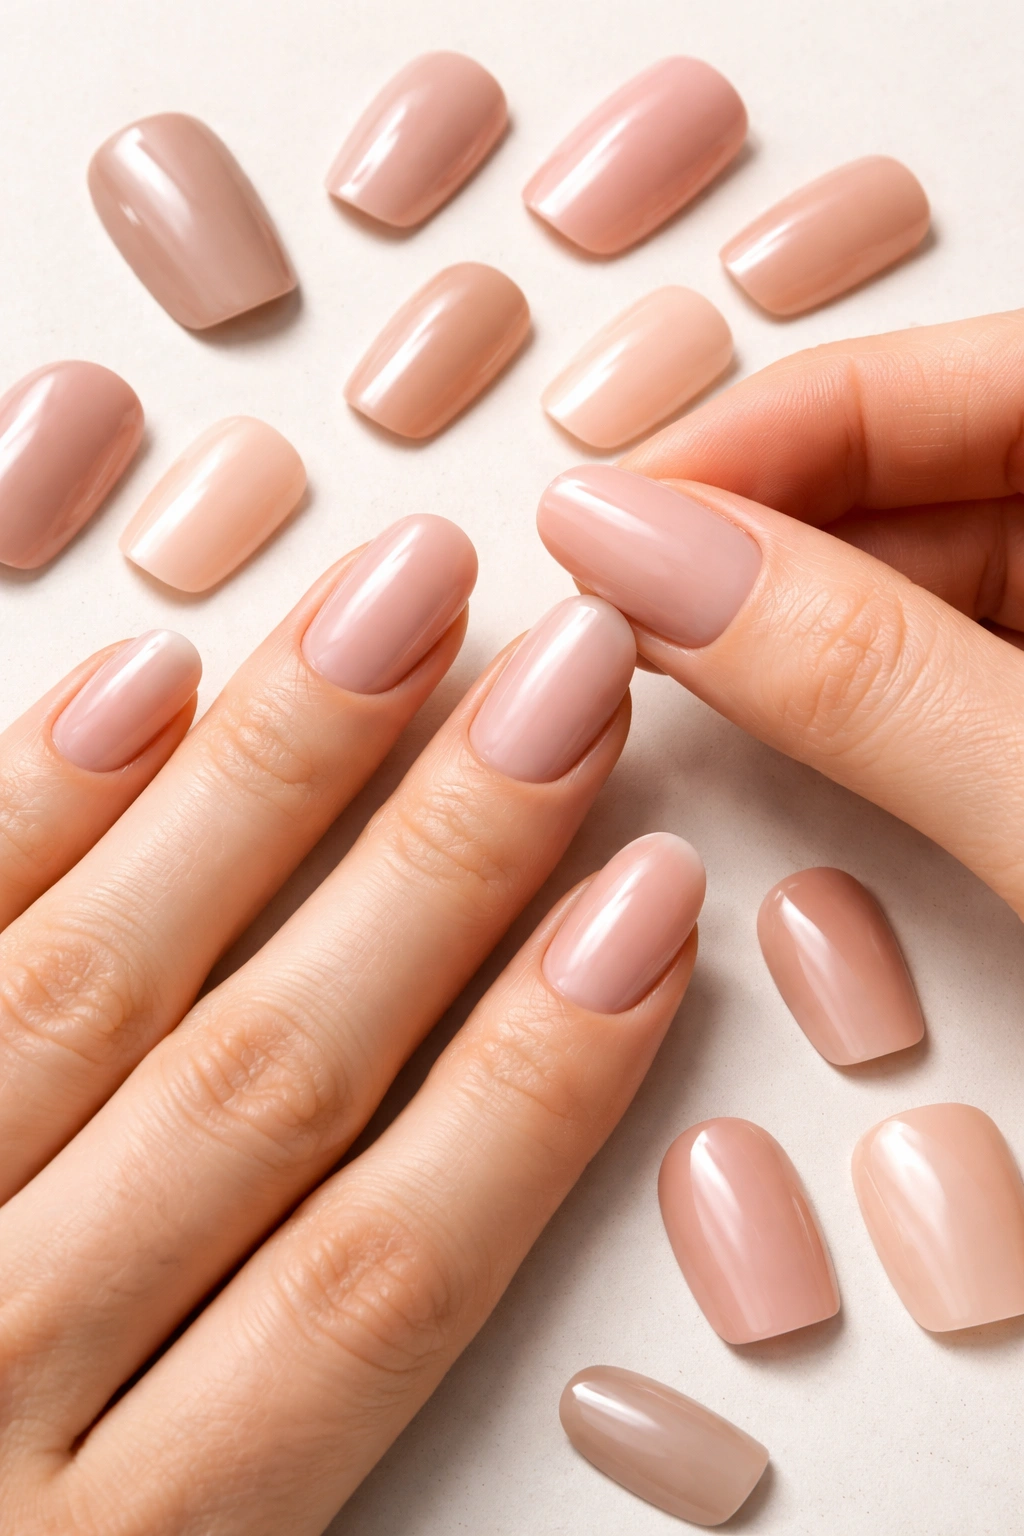
This step seems obvious, but it’s where so many people go wrong. Ill-fitting press-on nails won’t last, no matter how perfect your application technique is.
Press-on nails that are too big will overlap onto your skin and cuticles. Not only does this look unnatural, but the moment that edge lifts even slightly, water and dirt start sneaking underneath. That’s when the whole nail starts peeling away from your natural nail bed.
On the flip side, press-ons that are too small won’t cover your entire nail surface. You’ll have exposed nail on the sides, and the limited contact area means the adhesive has less surface to bond to. The result? Nails that pop off way too soon.
Take your time sizing each nail. Hold the press-on up to your natural nail without glue first. The press-on should cover your nail from side to side with just a tiny bit of space—maybe half a millimeter—on each edge. At the cuticle end, you want the press-on to sit close to your cuticle without actually touching your skin.
Most quality press-on sets come with multiple sizes. If you’re between sizes, go with the slightly larger option and file down the sides for a custom fit.
Apply High-Quality Nail Glue to Both Surfaces
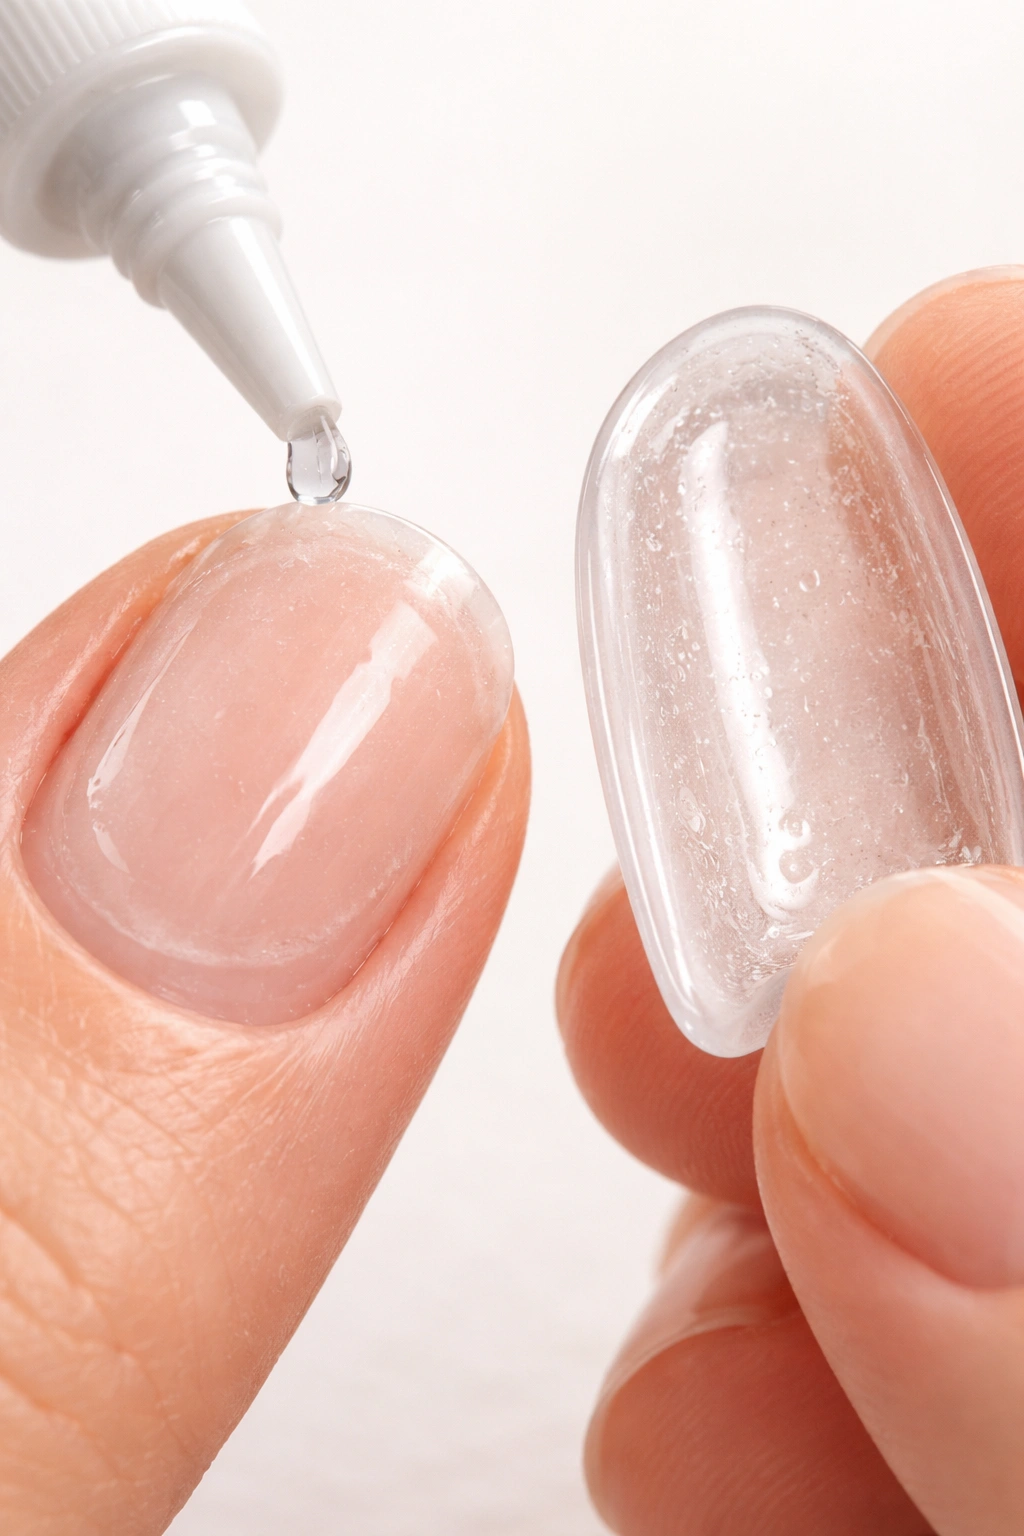
Let’s talk about glue, because this is hands-down the most important factor in whether your press-ons last two days or two weeks. Not all nail glues are created equal, and the tiny tube that comes free with a drugstore press-on kit usually isn’t strong enough for long-term wear.
Invest in a separate, high-quality nail glue with a brush tip applicator. The brush tip gives you way more control than those squeeze tubes that tend to glop out too much product at once. Look for formulas labeled as fast-drying and long-lasting.
Here’s the game-changing technique most people don’t know: apply glue to both surfaces. Put a thin, even layer of glue across your entire natural nail, making sure you get all the way to the edges. Then add a small drop of glue in the center of the press-on nail’s underside.
This double-glue method creates two sticky surfaces that bond together instead of one sticky and one dry surface. The result is a significantly stronger hold that can easily last two weeks or more.
Don’t be stingy with the glue on your natural nail, but don’t go overboard either. You want an even coating that covers the whole nail without pooling or running onto your skin. It takes a bit of practice to find that sweet spot.
Press Down Firmly for at Least 30 Seconds
Once you’ve positioned the press-on nail, this is not the time to rush. The way you apply pressure in these first moments determines how well that nail will adhere.
Start by placing the press-on at a slight angle, with the edge near your cuticle touching down first. Then press it down firmly, rolling it onto your nail bed so you avoid trapping air bubbles underneath. Think of it like applying a screen protector to your phone—same principle.
Now comes the crucial part: hold firm, steady pressure on that nail for a full 30 seconds. Count them out. Better yet, hold for 45 seconds to a minute. Your finger might feel cramped or tired, but this extended pressure is what allows the glue to create a proper bond with both surfaces.
Press down on the entire nail, not just the center. Use your thumb to apply even pressure across the whole surface, paying extra attention to the edges and the tip. These areas tend to lift first if they’re not properly sealed down.
While you’re holding pressure, make sure the press-on nail is positioned correctly. There should be a tiny gap—just a sliver—between the press-on and your cuticle. If the nail is touching your skin, it’ll adhere to that skin, and when your cuticle naturally shifts or grows, the nail will pop right off.
Seal Everything With a Clear Top Coat
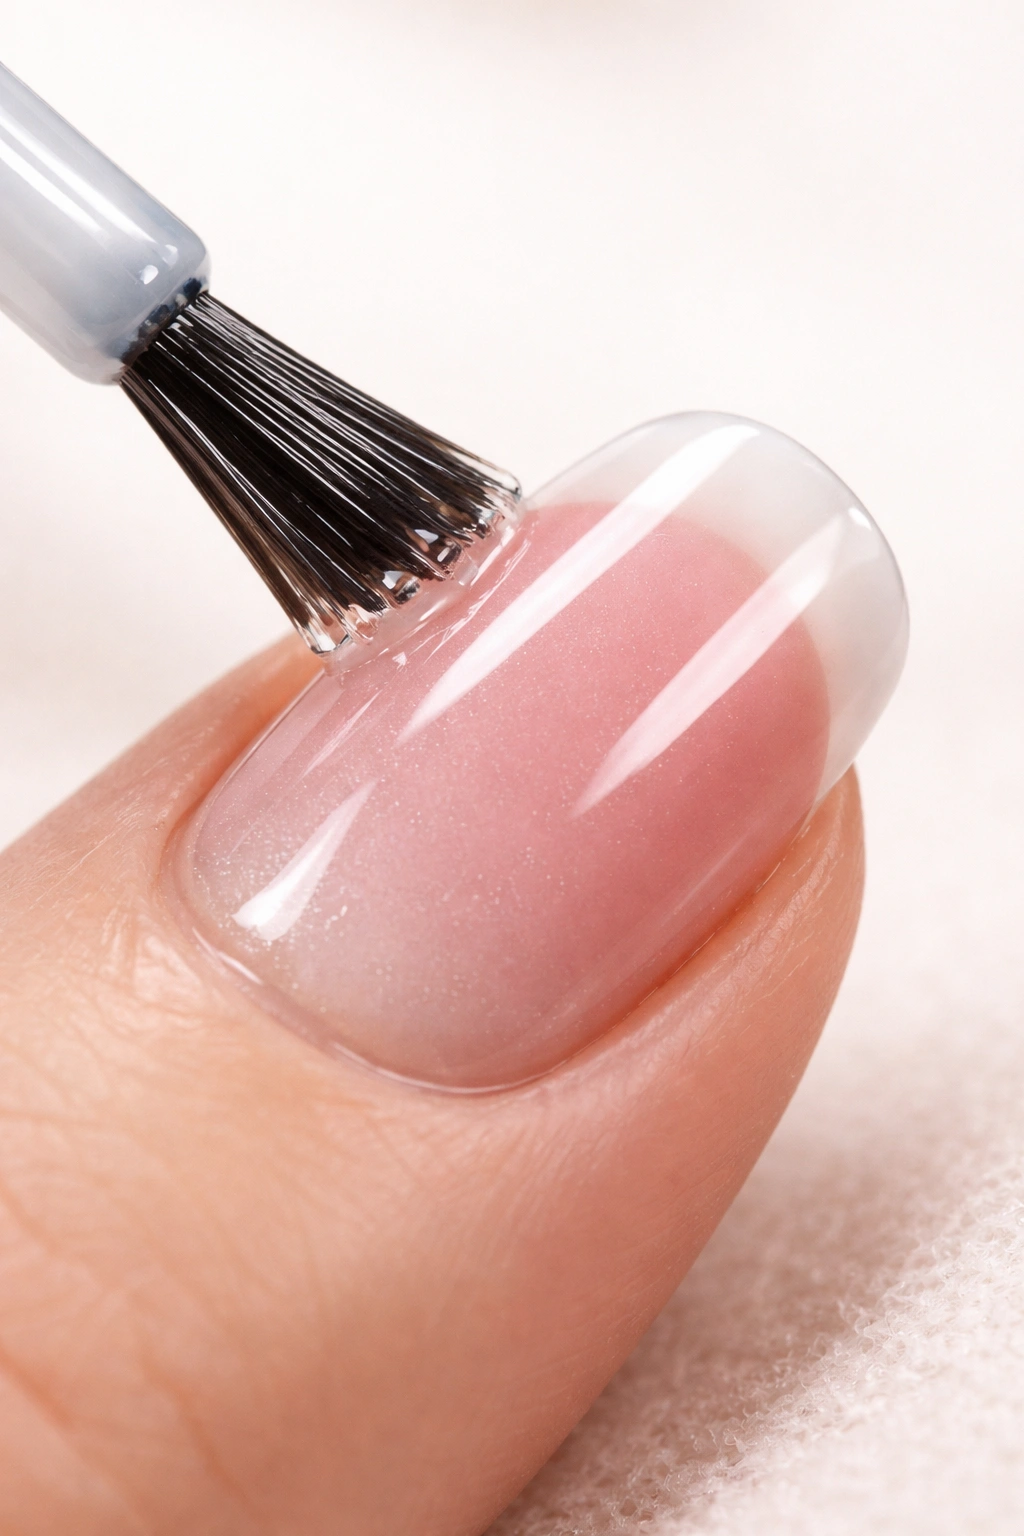
Most people think they’re done after the press-on is glued down. But adding a clear top coat is like adding a protective shield that extends the life of your manicure.
Apply a generous layer of top coat over the entire press-on nail, and here’s the key part: brush the top coat over the edges where the press-on meets your natural nail. This creates a seal that prevents water from sneaking underneath.
A good top coat also adds an extra layer of protection against everyday wear and tear. Scratches, bumps, and minor impacts will hit the top coat first instead of the press-on nail itself.
If you have gel top coat and a UV lamp, even better. Gel formulas create an incredibly durable finish. Just brush it on and cure it under the lamp for the recommended time. The gel bonds to the press-on and creates an almost indestructible seal.
Reapply your top coat every few days to maintain that protective barrier. It only takes a minute and can seriously extend how long your press-ons stay put.
Skip Water Exposure for the First Few Hours
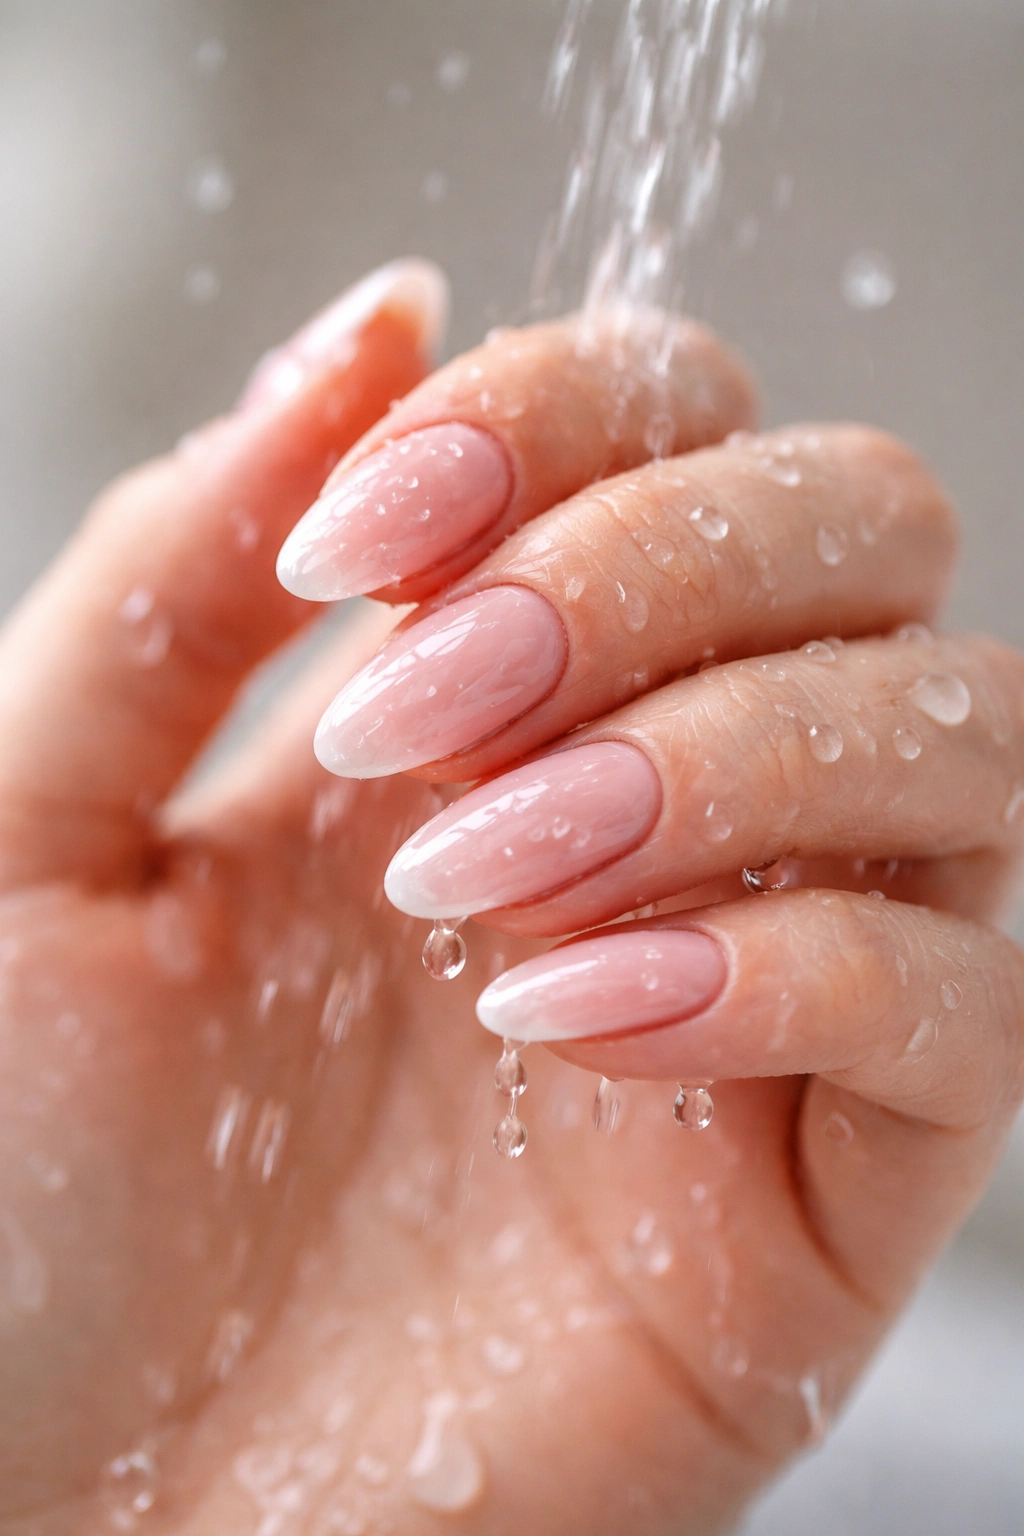
This is probably the hardest rule to follow, but it’s absolutely critical. Nail glue needs time to fully cure and reach its maximum strength. If you expose your freshly glued press-ons to water too soon, you’re basically sabotaging all your careful work.
Water weakens the adhesive bond before it has a chance to set properly. Even a quick hand wash can introduce moisture between the press-on and your natural nail, creating the perfect environment for lifting and premature pop-offs.
The best strategy? Apply your press-on nails right before bed. This gives the glue several hours of uninterrupted curing time while you sleep. You’re not washing your hands, doing dishes, or accidentally dunking your nails in anything.
When you wake up, the adhesive will be fully cured and ready to withstand normal water exposure. That said, even after the glue has set, prolonged water exposure isn’t your friend. Wear gloves when washing dishes, cleaning, or doing anything that involves submerging your hands for extended periods.
Hot water is especially problematic because it can soften the glue and cause the press-ons to loosen. Stick to lukewarm water when washing your hands, and dry your nails thoroughly afterward.
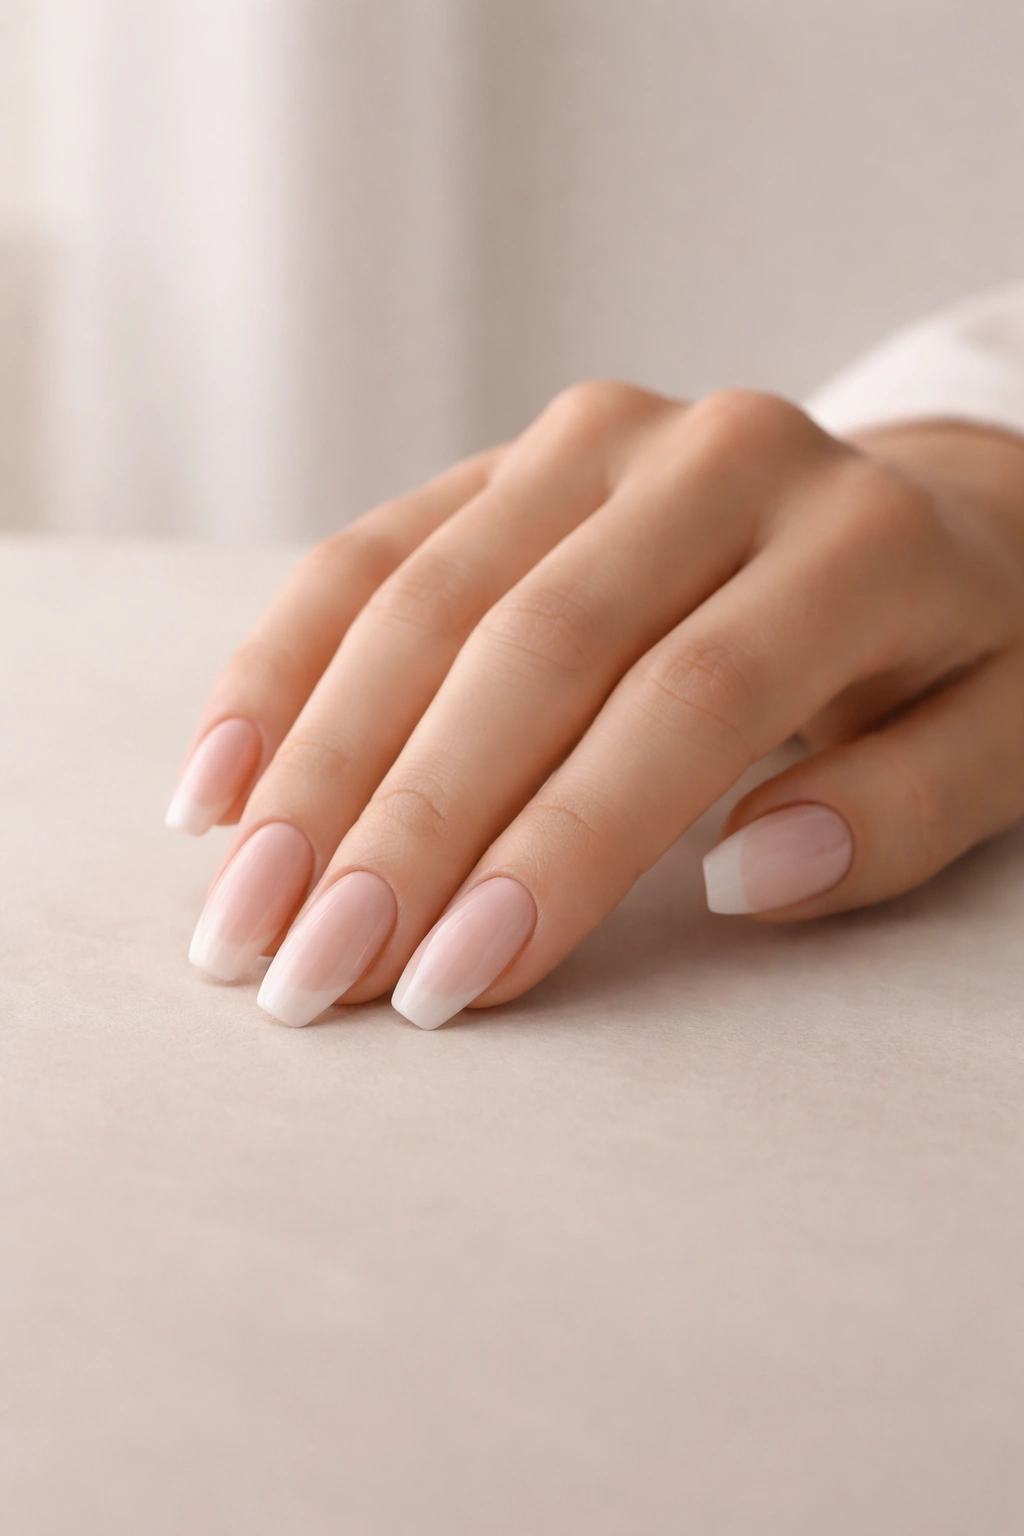
Handle Your Nails Gently During Daily Activities
Press-on nails are surprisingly durable, but they’re not tools. The way you use your hands throughout the day has a huge impact on how long your manicure lasts.
Opening soda cans, peeling off stickers, scraping labels, prying open containers—these everyday actions put enormous stress on your nails. When you use the edge or tip of your press-on as a tool, you’re creating leverage that can break the adhesive bond or even snap the nail.
Be mindful of how you’re using your hands. Open cans with the tab, not your nail. Use scissors to cut open packages instead of digging in with your fingertips. If you need to peel something, use the pads of your fingers instead of your nails.
Typing and texting are usually fine, but pay attention to how much force you’re using. If you’re an aggressive typer who pounds the keyboard, that repeated impact can gradually weaken the glue bond. A lighter touch helps your press-ons last longer.
Even something as simple as how you grab your phone or open a door matters. Get into the habit of using your knuckles or the palm of your hand for tasks that would normally put pressure on your nails. It feels awkward at first, but you’ll adjust quickly.
Push Back Your Cuticles Before Application
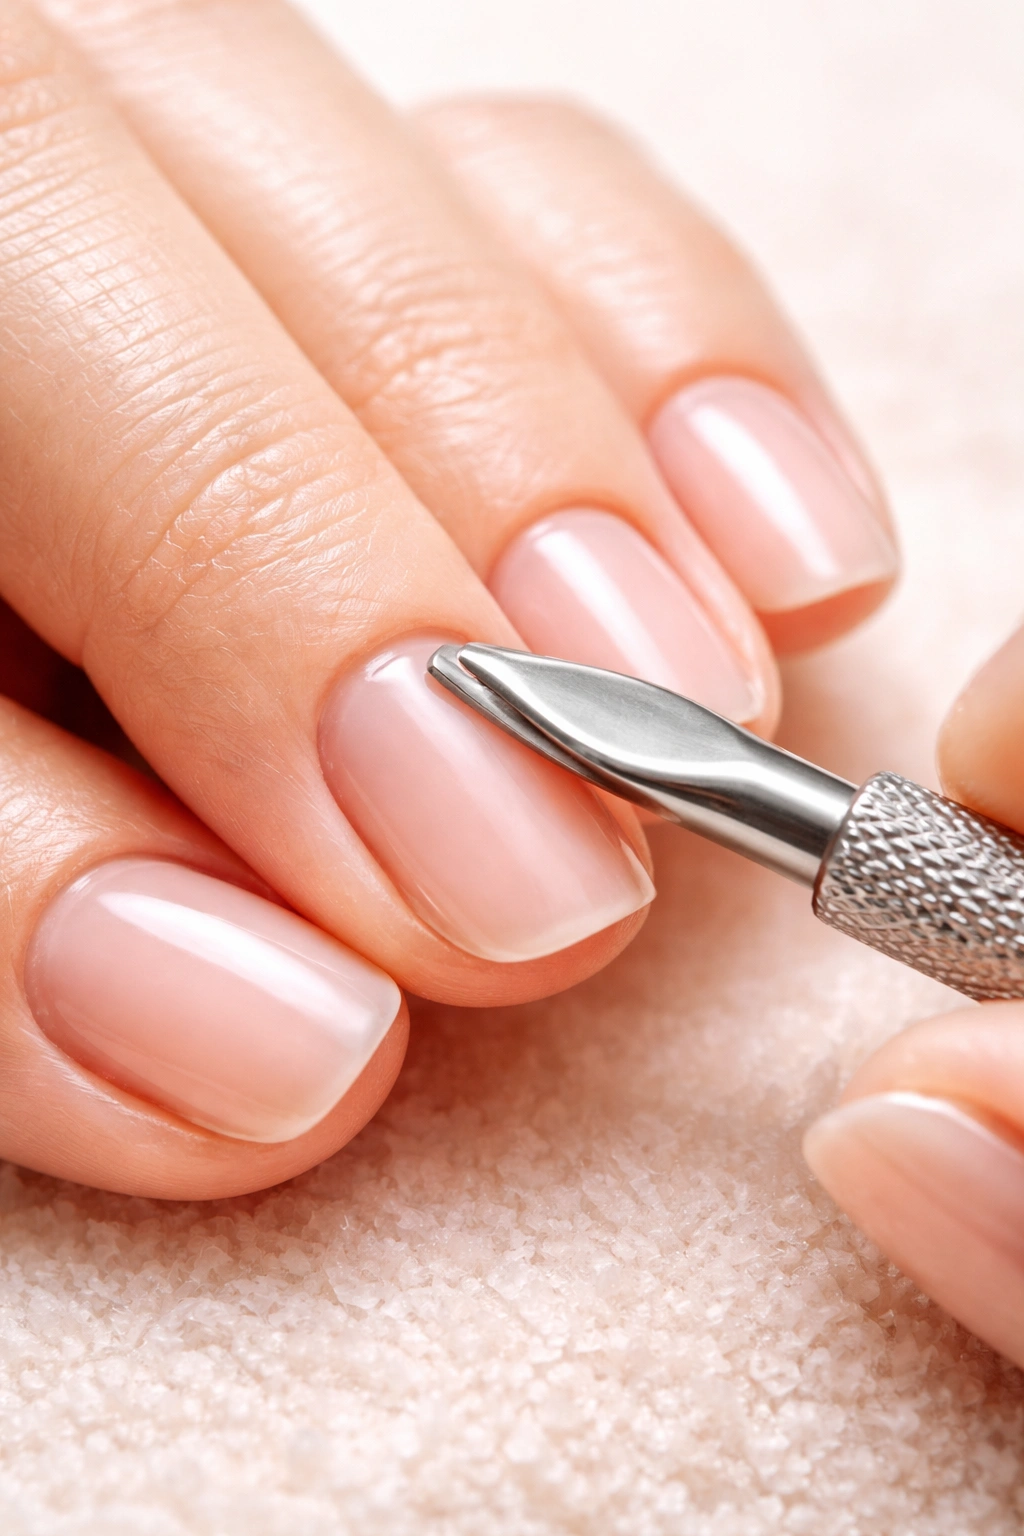
Your cuticles play a bigger role in press-on longevity than you might think. If you skip this step, you’re leaving dead skin and excess cuticle tissue that prevents the press-on from adhering properly to your nail bed.
Soak your hands in warm water for about five minutes to soften your cuticles. This makes them much easier to push back without causing damage or discomfort. You can add a drop of cuticle remover solution to the water for even better results.
Use a cuticle pusher or an orangewood stick to gently push your cuticles back. Work carefully and don’t force anything—you’re just moving the cuticle tissue back to expose more of your natural nail surface. This gives the press-on more area to bond to, which translates to better adhesion.
If you notice any loose, dead skin or hangnails, carefully trim them away with a cuticle nipper. Be conservative here. You only want to remove truly dead tissue, not cut into living skin.
Clean cuticles also make your press-on manicure look way more professional. When your cuticles are pushed back and tidy, the press-on sits flush against your nail without any visible gaps or bumps. The overall effect is much more natural and salon-quality.
Remove Press-Ons the Right Way for Healthier Nails
How you remove your press-ons is just as important as how you apply them. Ripping them off or peeling them away will strip layers from your natural nails, leaving them weak, thin, and damaged. Damaged nails won’t provide a good surface for your next set of press-ons, so you’re setting yourself up for poor adhesion in the future.
The safest removal method involves soaking your nails in warm, soapy water. Fill a bowl with warm water and add a generous squirt of dish soap and a tablespoon of olive oil. The soap helps break down the glue while the oil conditions your nails and cuticles.
Soak your nails for 10 to 20 minutes, depending on how strong your glue is. You’ll feel the press-ons start to loosen as the water works its way under the adhesive. Once they feel loose, gently wiggle them off. If they don’t come off easily, soak for a few more minutes rather than forcing them.
Another effective method uses acetone, which dissolves nail glue quickly. Soak cotton pads in acetone, place them on your nails, and wrap each finger in aluminum foil. After 10 to 15 minutes, the press-ons should slide right off. Just remember that acetone is drying, so moisturize your hands and cuticles well afterward.
Once your press-ons are off, give your natural nails a break. Apply cuticle oil daily and use a nail strengthener if your nails feel weak or brittle. Healthy natural nails are the foundation for your next long-lasting press-on manicure.
Conclusion
Press-on nails that last two weeks aren’t a myth or a marketing promise—they’re totally achievable with the right approach. The difference between a manicure that fails after two days and one that lasts two weeks comes down to preparation, quality products, and proper application technique.
Remember that every step matters. Skipping the buffing or rushing the pressure time might only save you a minute, but it can cost you a week of wear. Treat the application process as a mini ritual that deserves your full attention, and your nails will reward you with impressive staying power that rivals salon acrylics.
The beauty of press-on nails is that you can achieve professional-looking results at home, change your style whenever you want, and keep your natural nails healthier in the process. With these techniques in your toolkit, you’ll never have to deal with frustrating pop-offs again.
