

Soft square nails have become the go-to look for anyone wanting a polished, modern aesthetic without the harshness of sharp corners or the fragility of long stiletto shapes. Dip powder manicures offer the perfect solution — they’re stronger than traditional polish, longer-lasting than gel, and they don’t require the UV light exposure that concerns some people. The trick to achieving that coveted soft square shape with dip powder isn’t complicated, but it does require understanding your nail anatomy, choosing the right application technique, and knowing exactly how to shape and finish the manicure for that soft, rounded-square effect.
If you’ve tried dip powder before and ended up with nails that either looked too square and harsh, or started chipping before you wanted them to, you’re not alone. The difference between a dip manicure that looks rough and one that looks polished comes down to preparation, application method, and the finishing technique. Whether you’re applying dip powder at home or heading to a salon, this guide will walk you through every step of creating soft square nails that look expensive, feel smooth, and last for weeks without breaking.
Understanding Soft Square Nails and Why Dip Powder Works
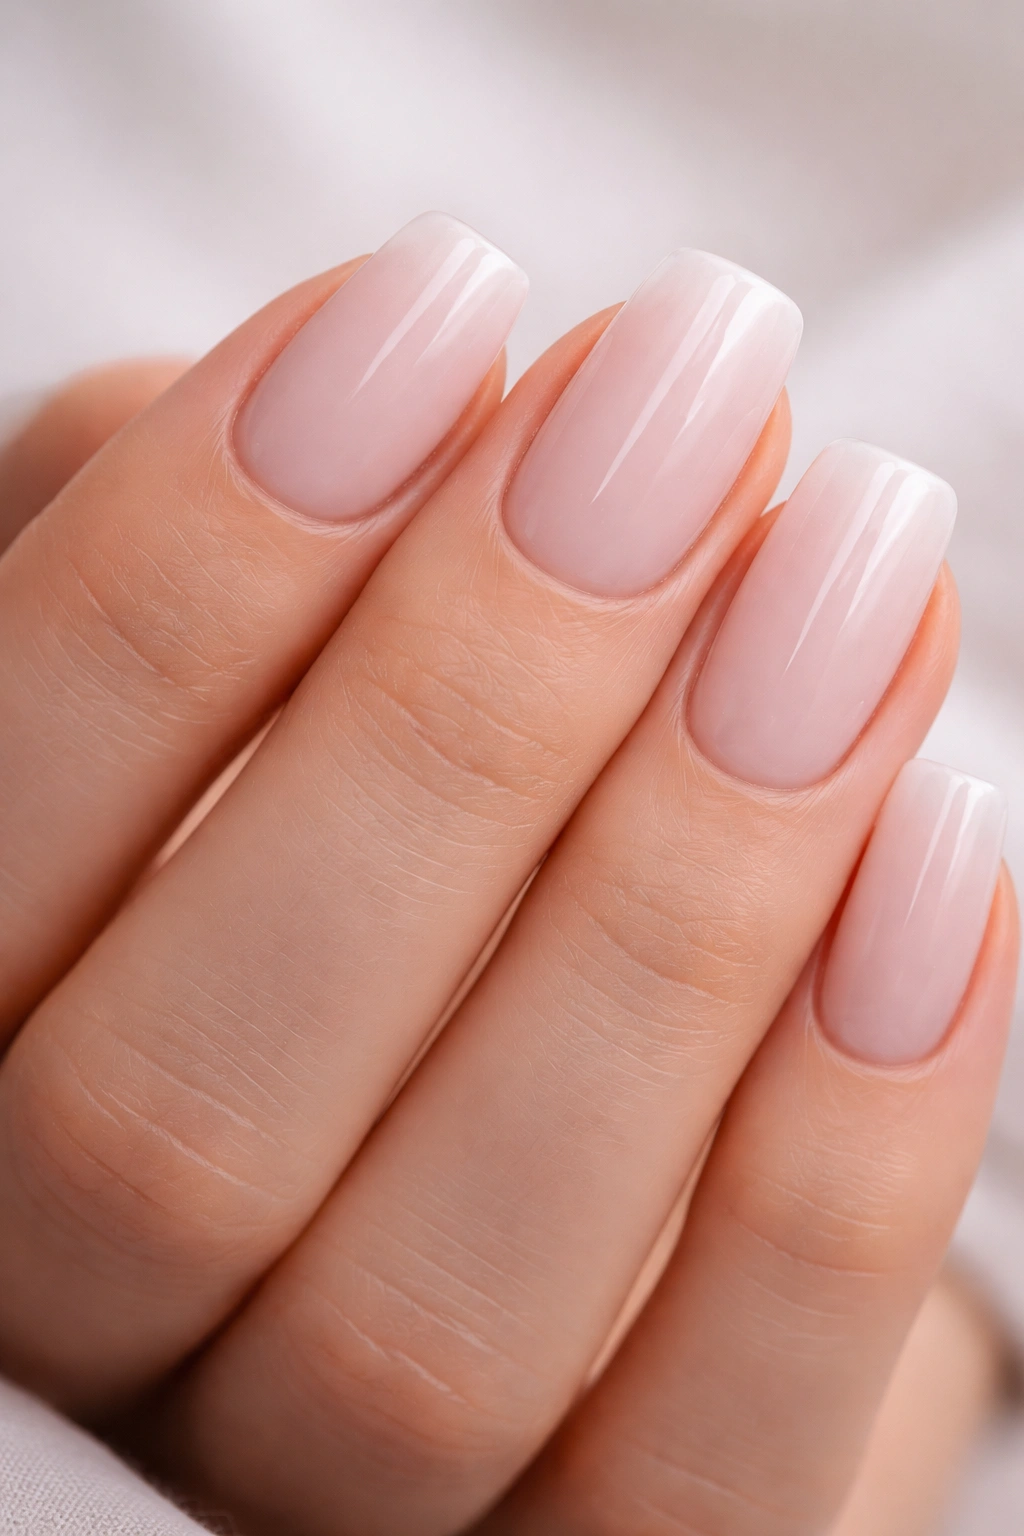
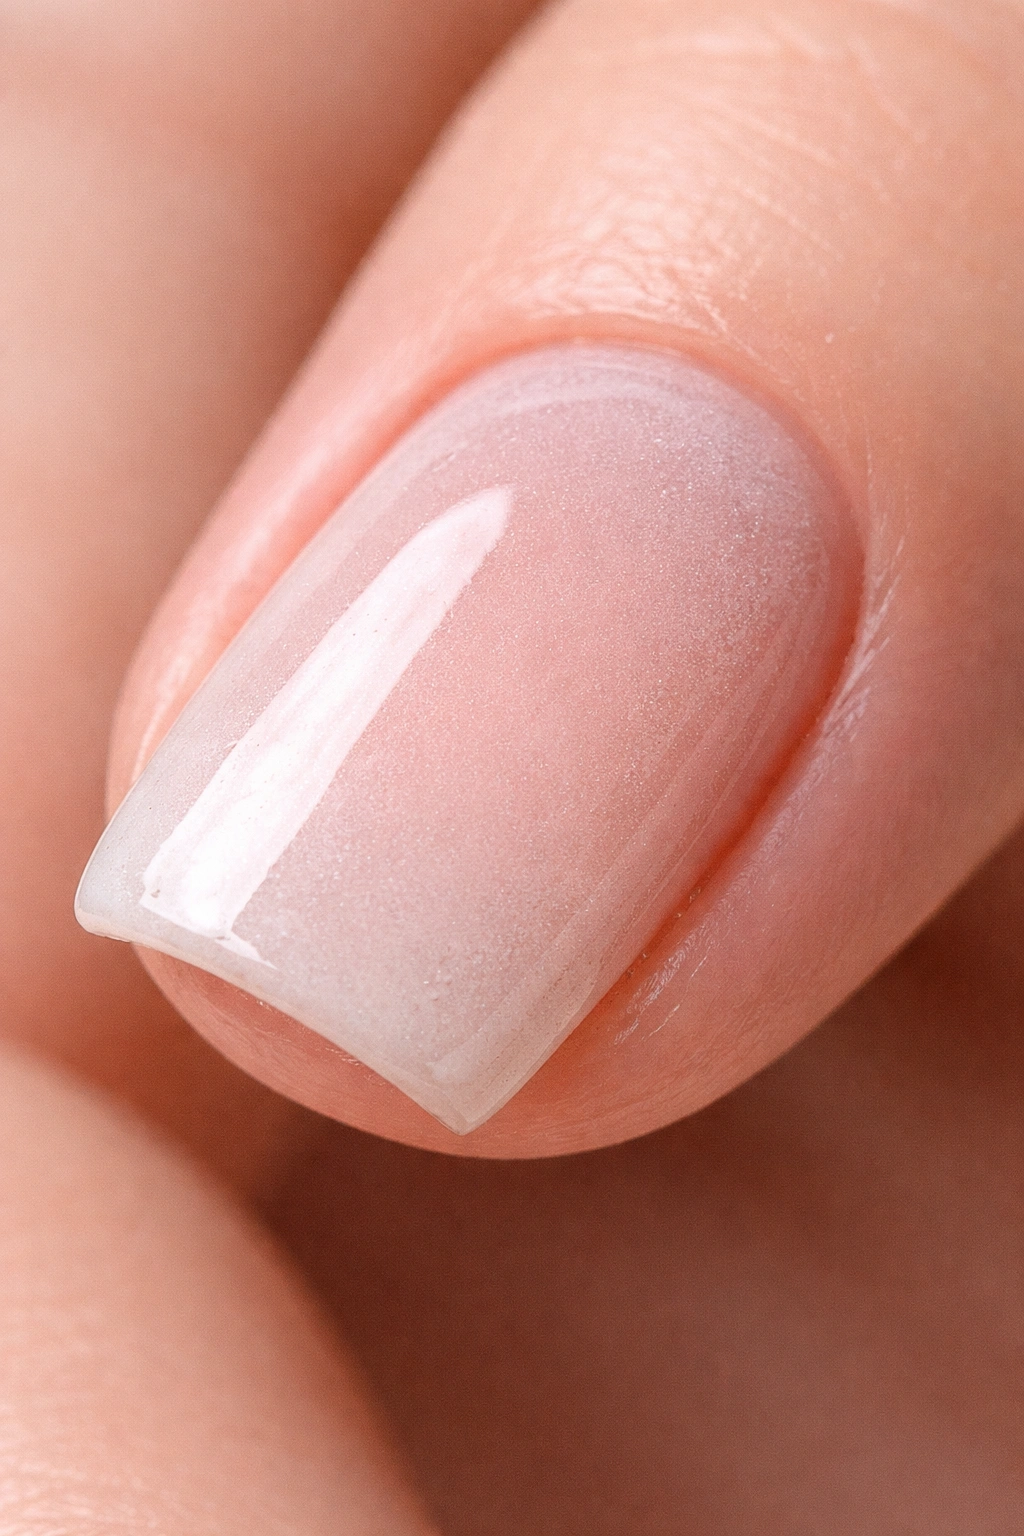
Soft square nails aren’t actually perfectly square — the name refers to a shape that has straight sides but rounded corners instead of sharp, pointed 90-degree angles. This hybrid shape combines the modern, clean look of a square nail with the durability and comfort of slightly softened edges. It’s flattering on most hand shapes, easier to maintain than pointed nails, and far less likely to catch on fabric or break unexpectedly.
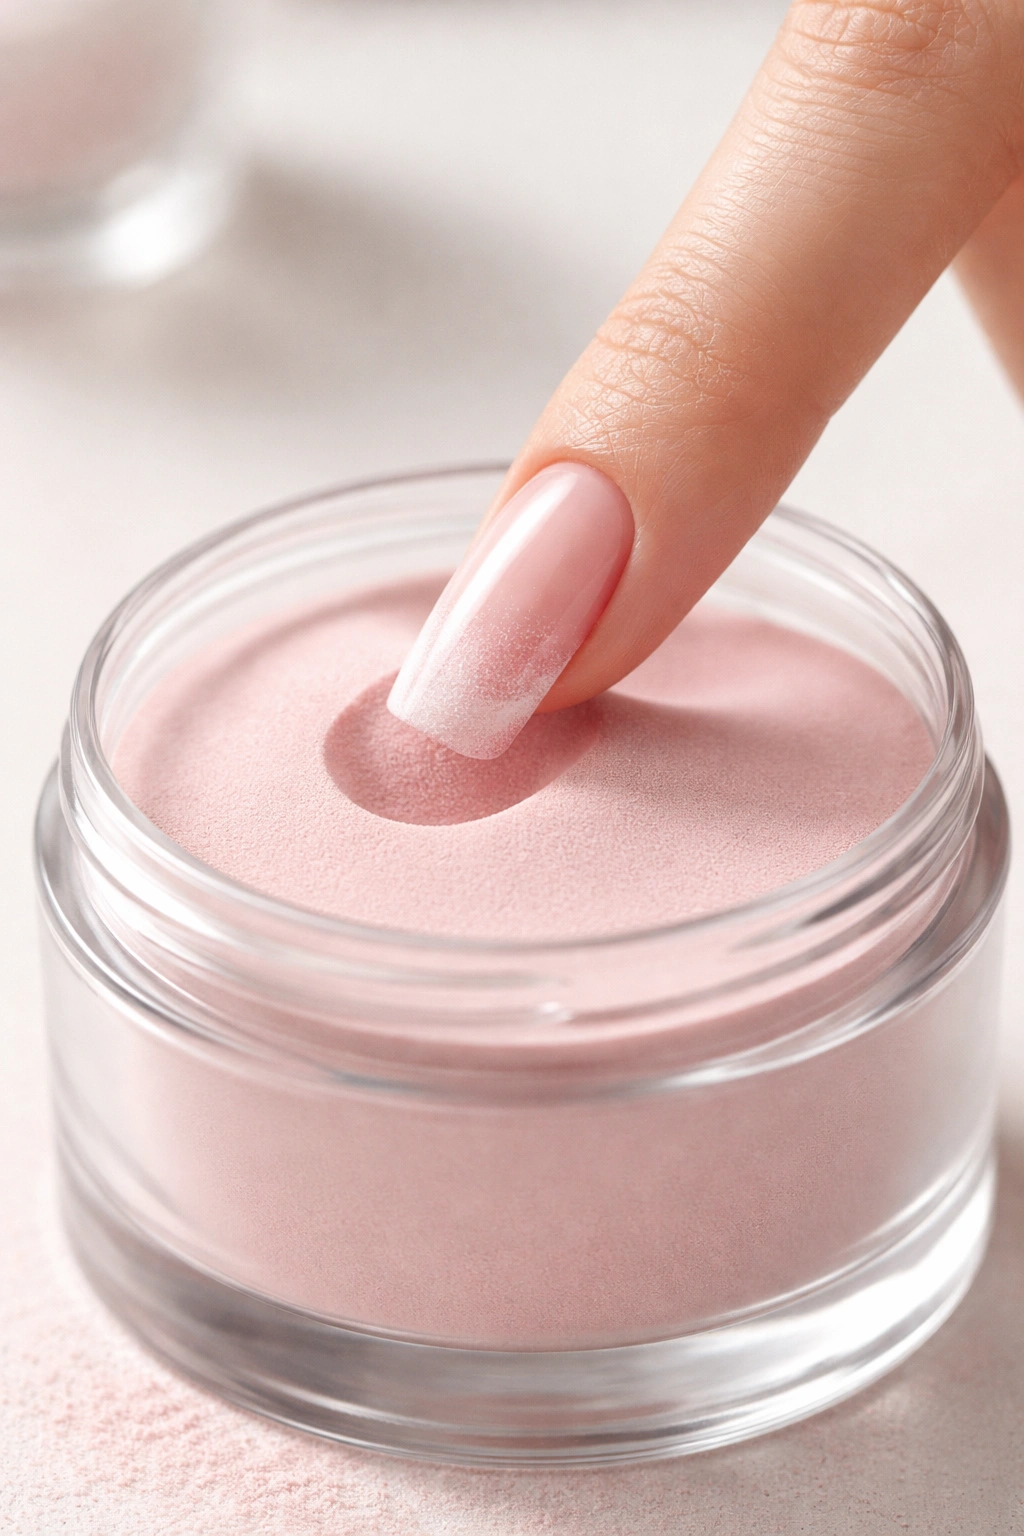
Dip powder is ideal for this shape because the product is thicker and more durable than regular nail polish, which means the edges stay intact longer without peeling or chipping. Unlike gel polish that requires UV light, dip powder hardens through air-dry technology — you dip your nails into colored powder and seal it with a clear topcoat. The result is a manicure that typically lasts 3 to 4 weeks, compared to regular polish lasting only a week or so.
The durability of dip powder also means your soft square shape holds up beautifully throughout the life of the manicure. The edges don’t break down, round out unexpectedly, or lose their definition the way softer finishes might. That said, dip powder does require proper application technique to avoid that overly thick, clumpy appearance that can make nails look heavy rather than soft and elegant.
Preparing Your Natural Nails for the Best Results
The foundation of any beautiful dip manicure starts with healthy, well-prepared nails. Before you even think about dipping into powder, your natural nails need to be clean, dry, and properly shaped.
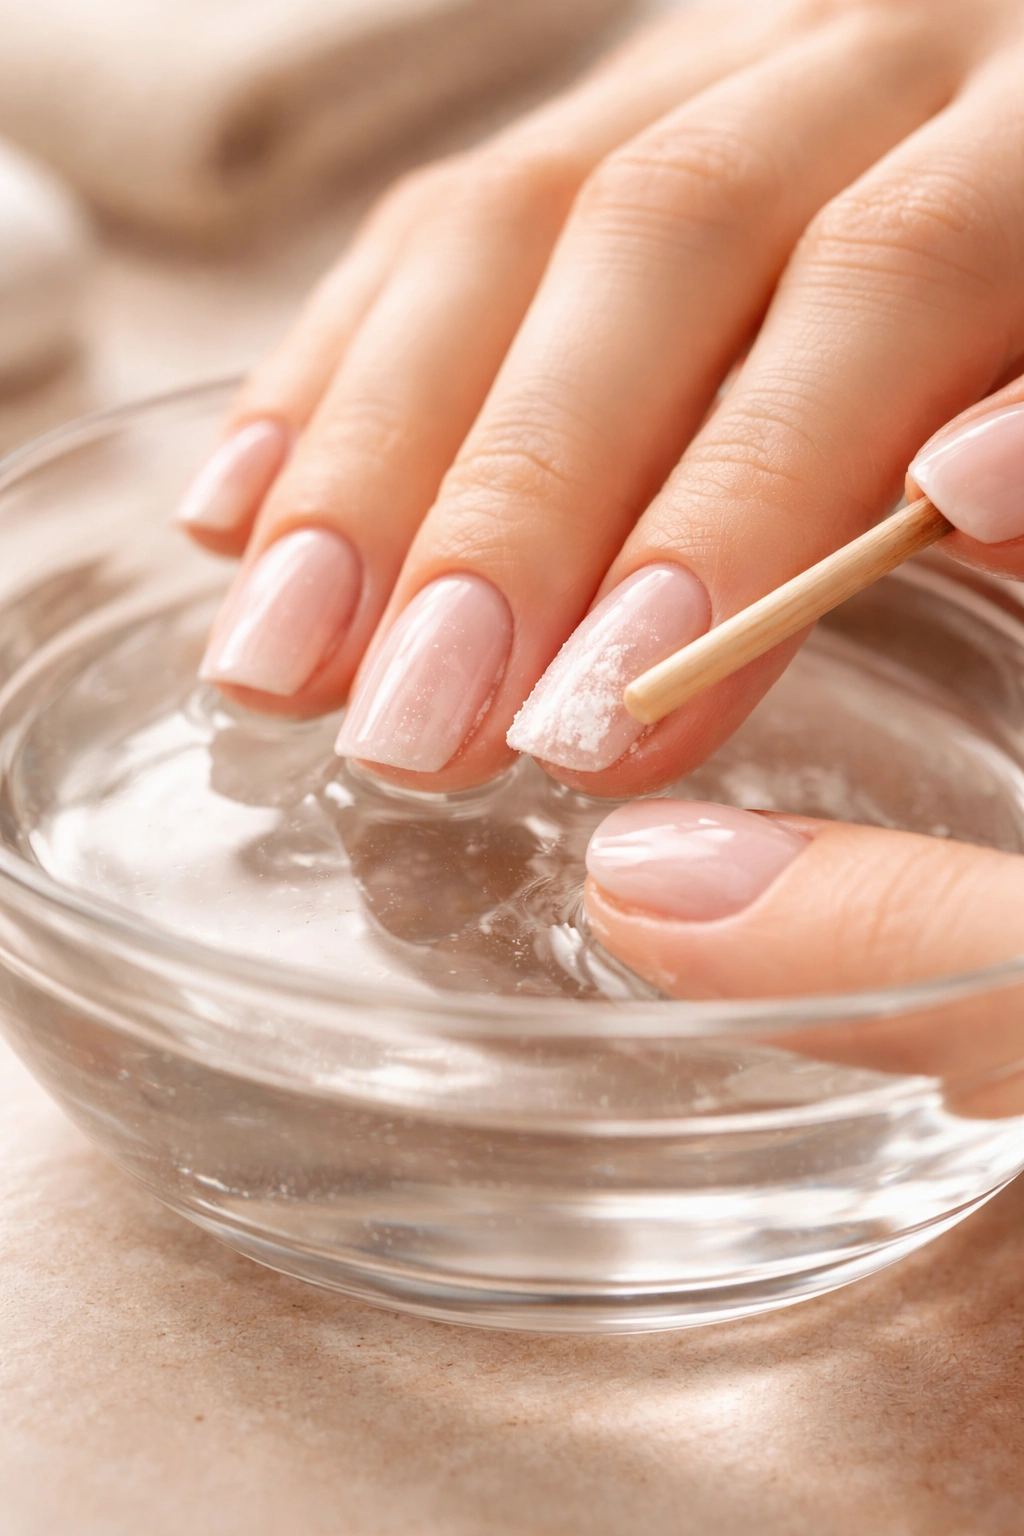
Start by soaking your hands in warm water for about five minutes. This softens the cuticles and makes them easier to push back without causing irritation or damage. Use a wooden or rubber cuticle pusher — never use metal tools, which can scratch the nail surface and create weak spots. Push the cuticles back gently but thoroughly, removing any that have grown onto the nail bed itself. This step is critical because cuticles on the nail surface prevent the dip powder from adhering properly, which leads to chipping.
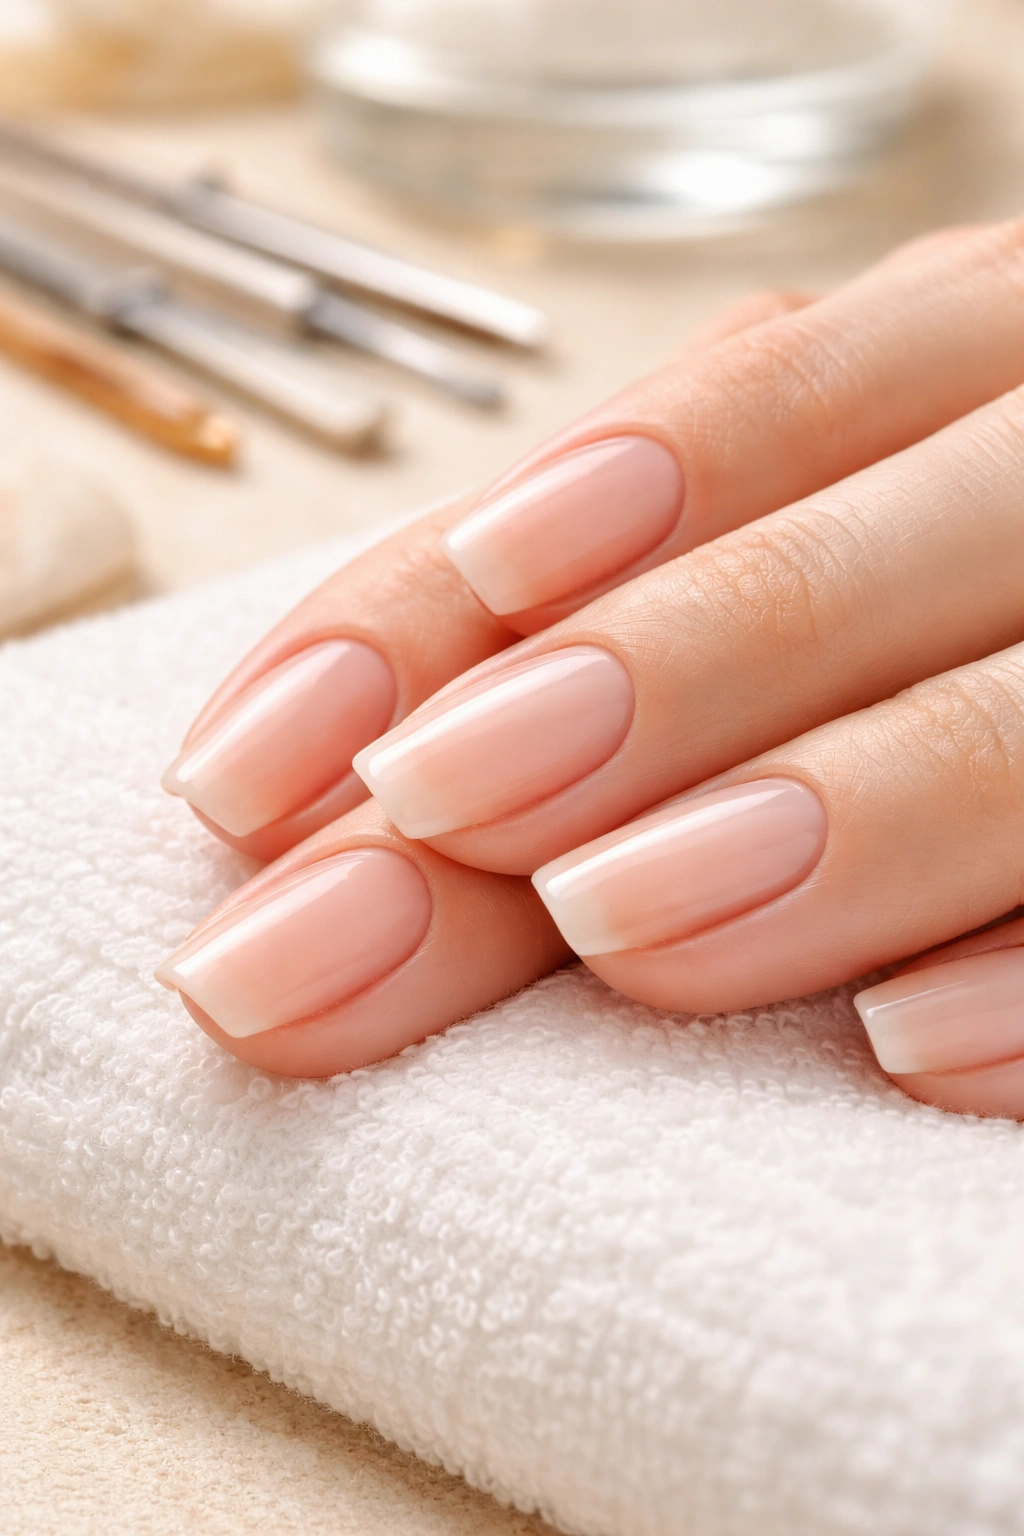
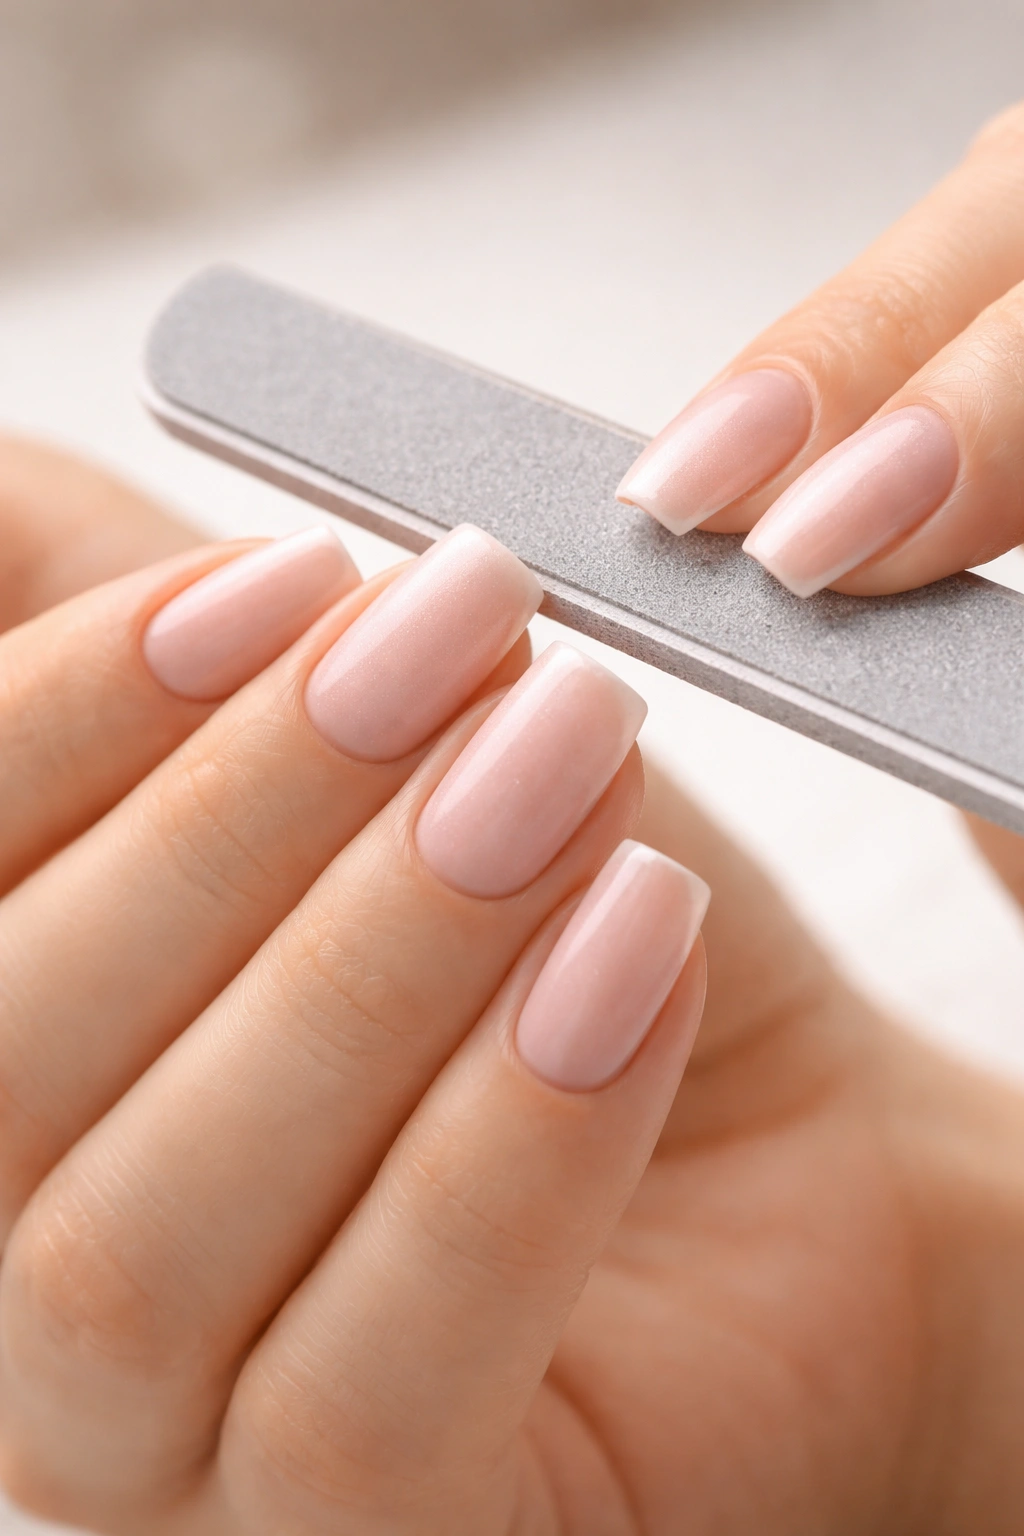
After pushing back cuticles, use a nail file to shape your natural nails. File at a 45-degree angle, moving from the outer corner toward the center of the nail — never use a back-and-forth sawing motion, which can cause peeling and splitting. If you’re starting from a longer length, trim your nails first with nail clippers or a nail cutter, then file to refine the shape. For soft square nails, you’ll want straight sides that run parallel to each other, with corners that are rounded rather than sharp. The ideal length depends on your lifestyle, but for soft square nails, something in the range of a quarter-inch past your fingertip looks modern and balanced.
Once your nails are shaped, wipe them thoroughly with rubbing alcohol or a nail dehydrator product. This removes oils, dust, and any remaining moisture that could interfere with powder adhesion. Make sure your nails are completely dry before moving to the next step — dampness is one of the most common reasons dip manicures fail prematurely.
Applying Base Coat Without Over-Application
The base coat is what makes or breaks a dip manicure. Too much base and you’re left with thick, clumpy nails that look unprofessional. Too little and the powder won’t adhere properly, leading to premature chipping. The goal is a thin, even layer that covers the entire nail without pooling around the edges or looking globby.
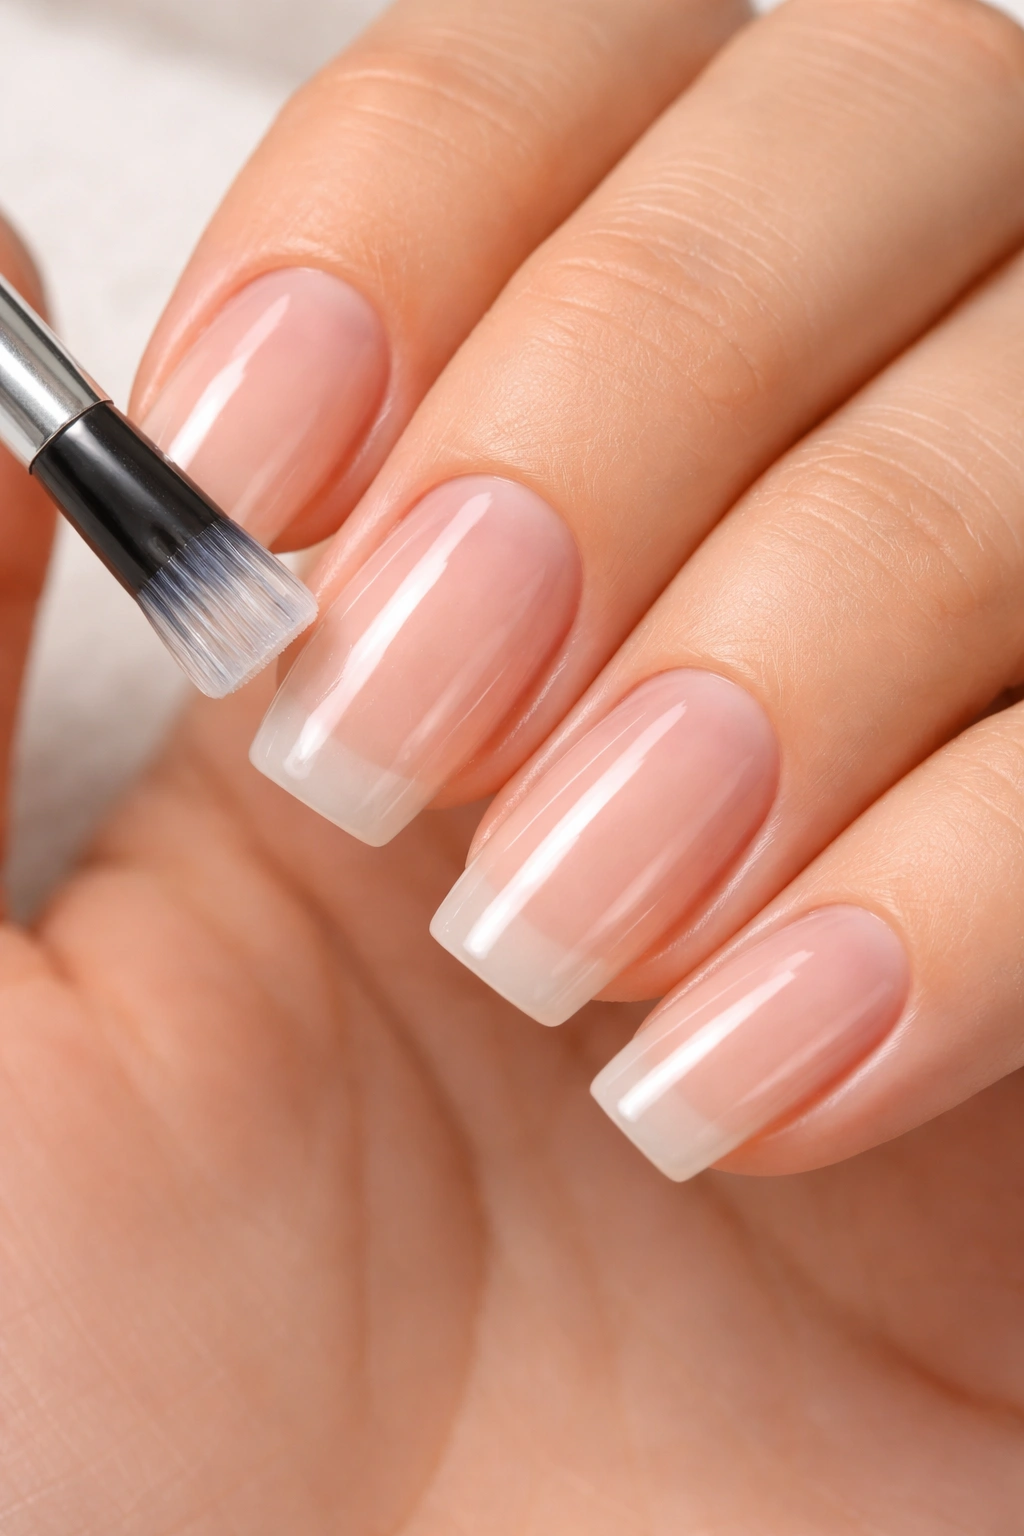
Apply your base coat in one smooth stroke down the center of the nail, then use the edge of the brush to spread it evenly toward the sides. Many people make the mistake of applying base coat too thickly or in multiple layers thinking it will create a stronger bond — the opposite is true. A single thin layer works better than multiple thick layers.
Once you’ve applied the base coat to all five nails on one hand, you’re ready to dip. Don’t wait too long — the base coat should still be slightly wet when you dip, but not so wet that it’s runny. The sweet spot is a few seconds after application. At this point, the base coat has set enough to hold the powder but remains tacky enough for proper adhesion.
The Dipping Technique That Creates Even Color
How you dip makes an enormous difference in the final appearance of your manicure. A sloppy dip technique results in uneven color, thick edges, and a sloppy look. A controlled technique gives you soft, even nails that look intentional and polished.
Hold your hand at a 45-degree angle and insert your nail into the powder at that same angle. This prevents air pockets from forming underneath the powder and helps the powder coat the entire nail surface evenly. Push your nail gently into the powder, then pause for two to three seconds to allow the powder to fully adhere to the base coat. You should feel a slight resistance — if the powder seems to slide around loosely, your base coat may not have been wet enough.
Once the powder has adhered, gently rotate your finger slightly as you remove it from the powder jar. This helps shake off excess powder from the edges and corners, preventing that thick, clumpy look that makes nails appear heavy. Tap your finger gently against the side of the jar or against your other hand to release any loose powder.
The amount of powder you use is more important than most people realize. You want enough to create solid color coverage in one dip, but not so much that your nails look like they’re wearing a thick coat of concrete. If your color doesn’t seem saturated after one dip, resist the urge to dip again immediately. Instead, apply a second thin coat of base and dip again. This creates more even color than multiple dips without re-basing.
Building Soft Square Shape Through Careful Shaping
The shape of your soft square nails develops during the manicure process, not before. While your natural nails have been pre-shaped, the dip powder actually slightly extends the nail and adds bulk, so you’ll need to refine the shape after the initial powder application.
After your color dips are complete and the powder has fully hardened, use a nail file to refine the soft square shape. File the sides of the nails to ensure they’re straight and parallel, maintaining consistent width from the cuticle to the tip. This is where the “square” part of soft square nails comes in — straight sides create clean lines that look modern and intentional.
For the corners, file them at a slight angle rather than creating a sharp 90-degree point. A soft square corner is filed with two gentle strokes — one on the top of the edge and one on the side — rather than a single sharp point. The corner should be rounded enough that it feels smooth when you run your finger across it, but defined enough that the nail still reads as “square” rather than oval or round.
The key is filing in one direction only, moving from the outer edge toward the center of the nail. Never use back-and-forth motions on dip powder nails, as this can cause the powder to peel or chip at the edges. A glass nail file works better than metal for dip powder, as it’s gentler on the finished surface and less likely to create rough edges.
Applying Multiple Layers for Depth and Dimension
For nails that look truly professional and polished, you typically need at least two coats of color powder, though many people do three for deeper, richer color. Each layer adds depth and makes the color look more intentional.
After your first color dip, apply a second thin coat of base powder and dip again in the same color. This second layer creates more saturated color without the thick, heavy appearance that comes from one huge dip. If you’re using a lighter or more sheer color, you might need a third layer to achieve the exact shade you’re going for.
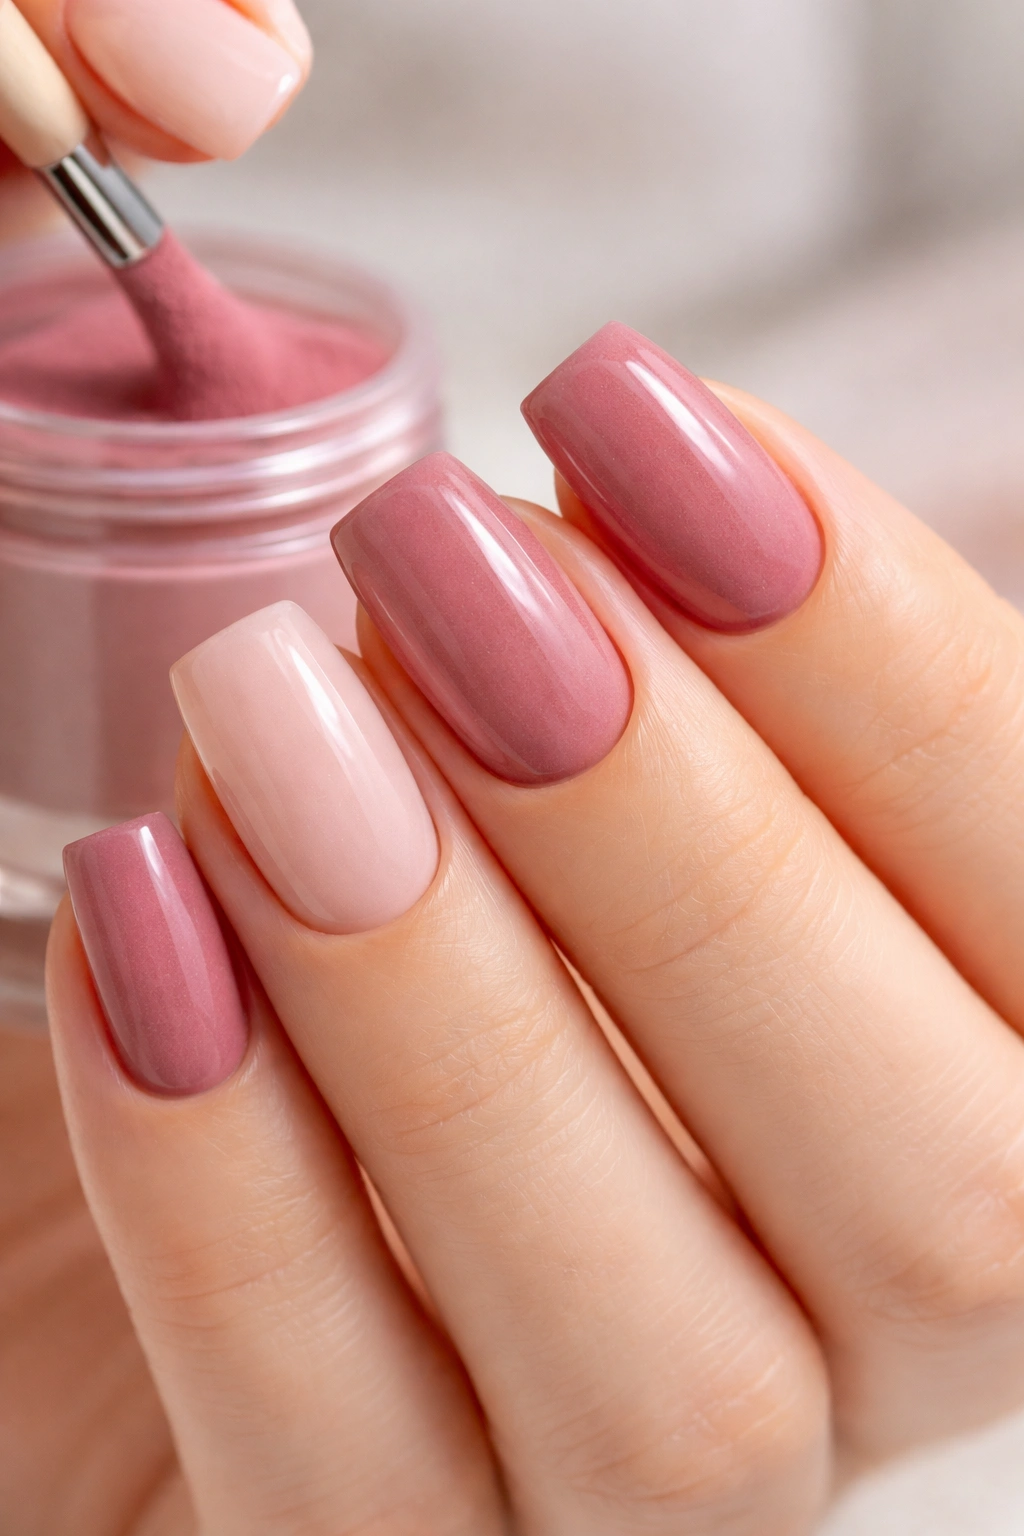
Some people choose to create subtle dimension by using slightly different shades of the same color for each layer — for example, a lighter shade first, then a medium shade, then a touch of a slightly deeper tone. This creates a multidimensional finish that looks expensive and intentional. The key is keeping the shades closely matched so the effect is subtle rather than obviously layered.
For softer nail finishes like pastel colors or nudes, this layering technique is especially important. A single layer of a light color often looks thin or patchy, but two or three layers create that smooth, creamy finish that makes the entire manicure look high-quality.
Sealing With Topcoat for Smooth, Protective Finish
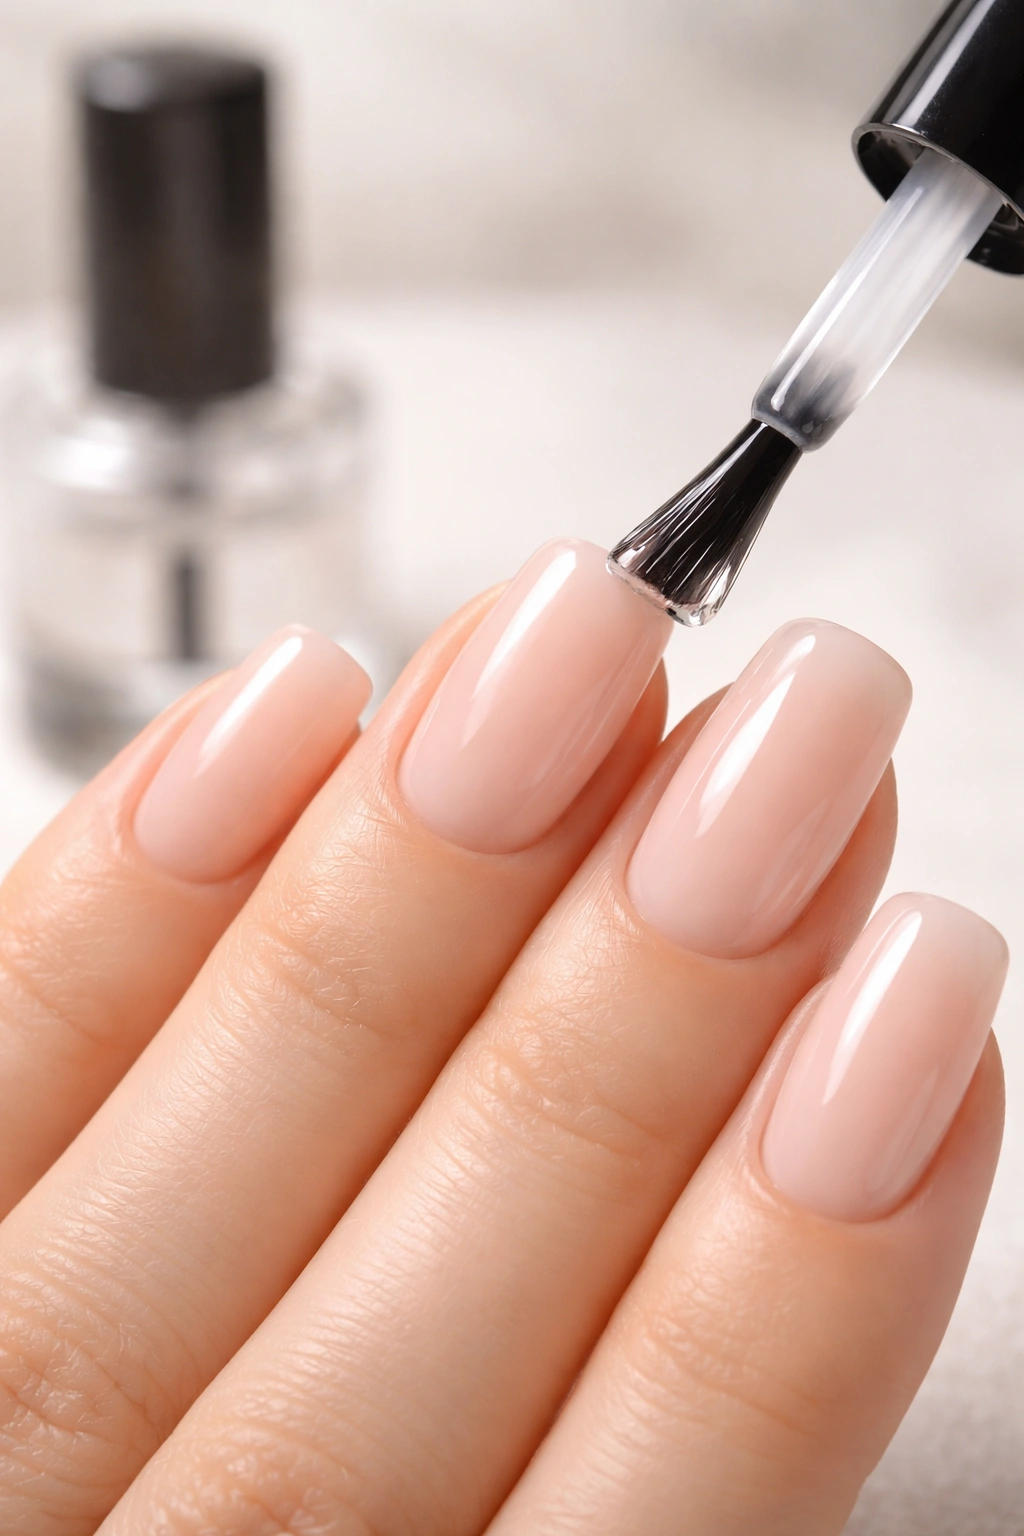
The topcoat is what transforms a dip manicure from pretty good to salon-quality. A good topcoat creates a smooth, glass-like finish and seals in your color so it lasts longer and resists chipping.
Apply topcoat in the same thin, careful way you applied your base coat. One smooth stroke down the center, then spread evenly toward the sides without overloading the brush. The topcoat should cover the entire nail surface, including the edges and tips, since these areas tend to experience the most wear and chipping.
Some topcoats are designed to be matte, creating a soft, velvety finish on your soft square nails. Others are glossy, creating a shiny, polished look. The choice is personal preference, but glossy topcoats tend to show off the color more vibrantly and make the manicure look more intentional and polished. Matte finishes are softer and more subtle, which pairs beautifully with pale, nude, or pastel colors.
After applying topcoat, resist the urge to touch anything for at least a few minutes. Even though dip powder dries quickly, the topcoat takes a bit longer to fully set. Touching your nails or getting them wet before the topcoat is completely dry can create dull spots or uneven finishes.
Using Acetone Wraps to Clean Edges Perfectly
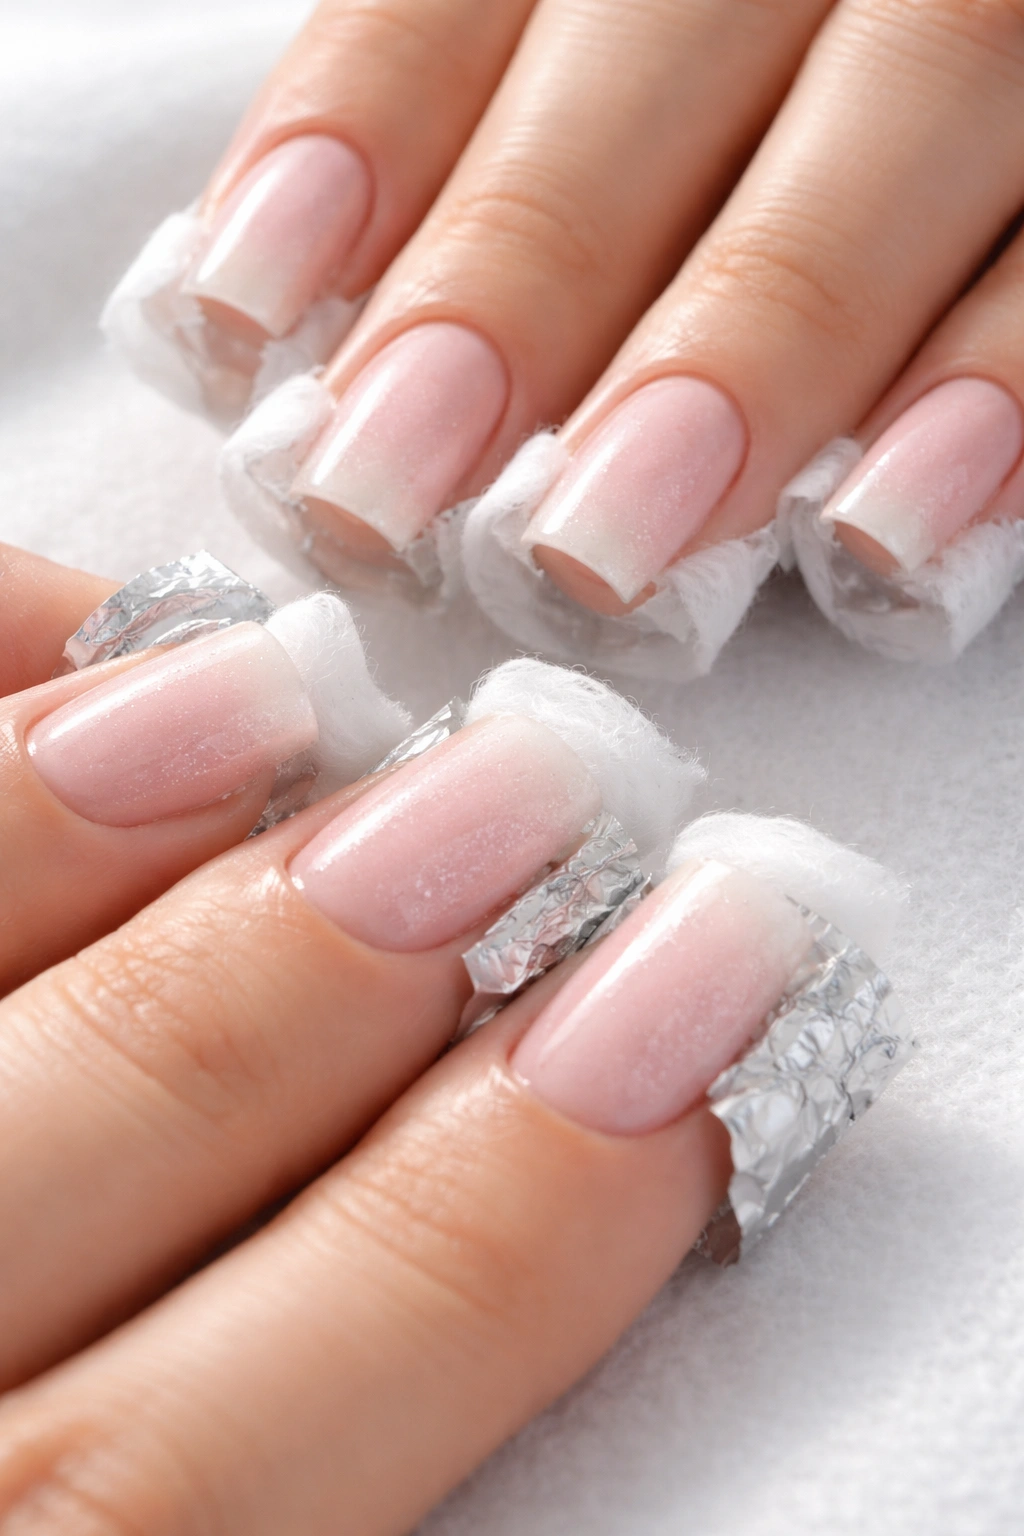
After all the powder and topcoat are applied, your nails likely have some excess powder residue around the edges, under the tip, and in the corners. This creates an unfinished, sloppy appearance. Acetone wraps are the professional solution.
Soak small cotton pads or pieces of cotton with 100% acetone. Wrap these around the edges of each nail, holding them in place for 10 to 15 seconds. The acetone dissolves the excess dip powder without affecting the topcoat, leaving clean, crisp edges that look intentional and polished.
Pay special attention to the underside of the tip and the edges near the cuticle, where excess powder tends to accumulate. Use a wooden stick or cuticle pusher to gently remove any loosened powder after the acetone soak. The goal is completely clean edges with no remnants of powder residue.
This step makes the difference between a manicure that looks homemade and one that looks professionally done. Salon manicures always include this cleanup step, and it’s worth the extra few minutes to get it right.
Aftercare Routine That Keeps Nails Soft and Pristine
How you care for your nails after the manicure is applied matters just as much as the application itself. Proper aftercare extends the life of your manicure and keeps your nails looking smooth and soft throughout the entire wear period.
Avoid getting your hands in water for at least a few hours after your manicure is complete — the longer you wait before exposing dip powder to water, the better the adhesion becomes. When you do wash your hands or get them wet, use warm water rather than hot, as heat can cause the powder to soften and chip prematurely.
Wear gloves when cleaning, doing dishes, or gardening. Water exposure combined with chemicals or rough handling is the main reason dip manicures chip before the three to four-week mark. Cotton-lined gloves protect both your manicure and your hands.
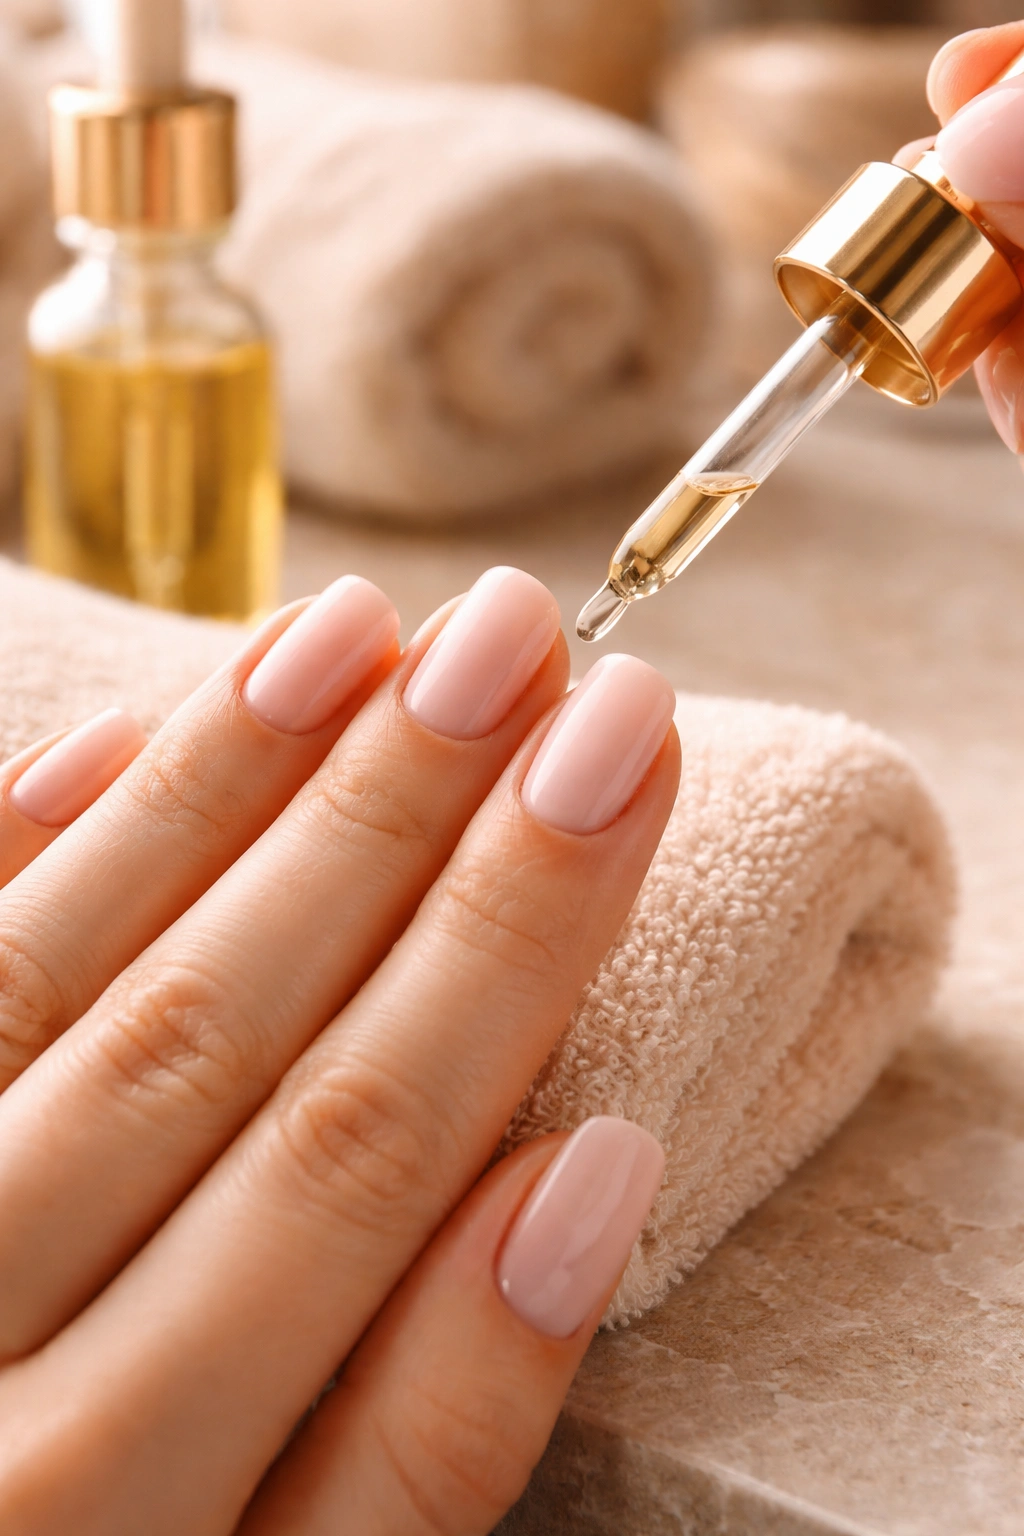
Apply cuticle oil or hand moisturizer daily, especially around the cuticles and the free edge (the part of the nail extending past your fingertip). Dip powder can be slightly drying to the surrounding skin, and keeping that area moisturized prevents cracking, peeling, and the kind of rough cuticles that make your entire manicure look less polished.
Choosing Colors and Finishes for the Softest Look
The color and finish you choose dramatically affect how soft and polished your manicure appears. Some colors and finishes naturally emphasize the softness of the soft square shape, while others can make it look harsh or less elegant.
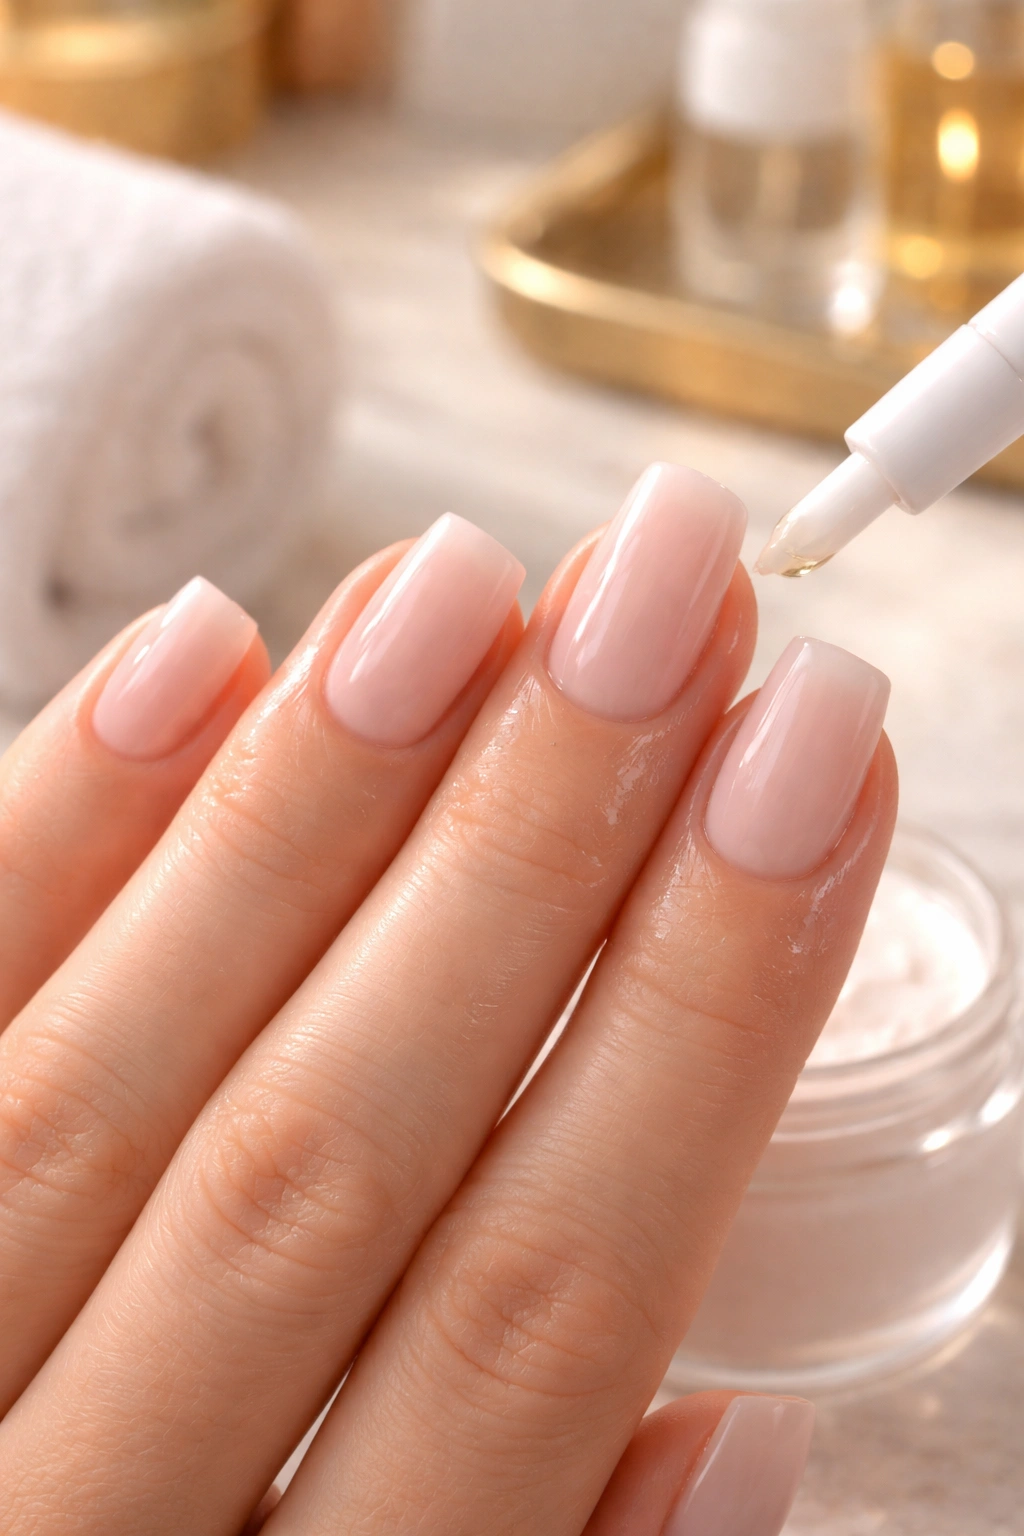
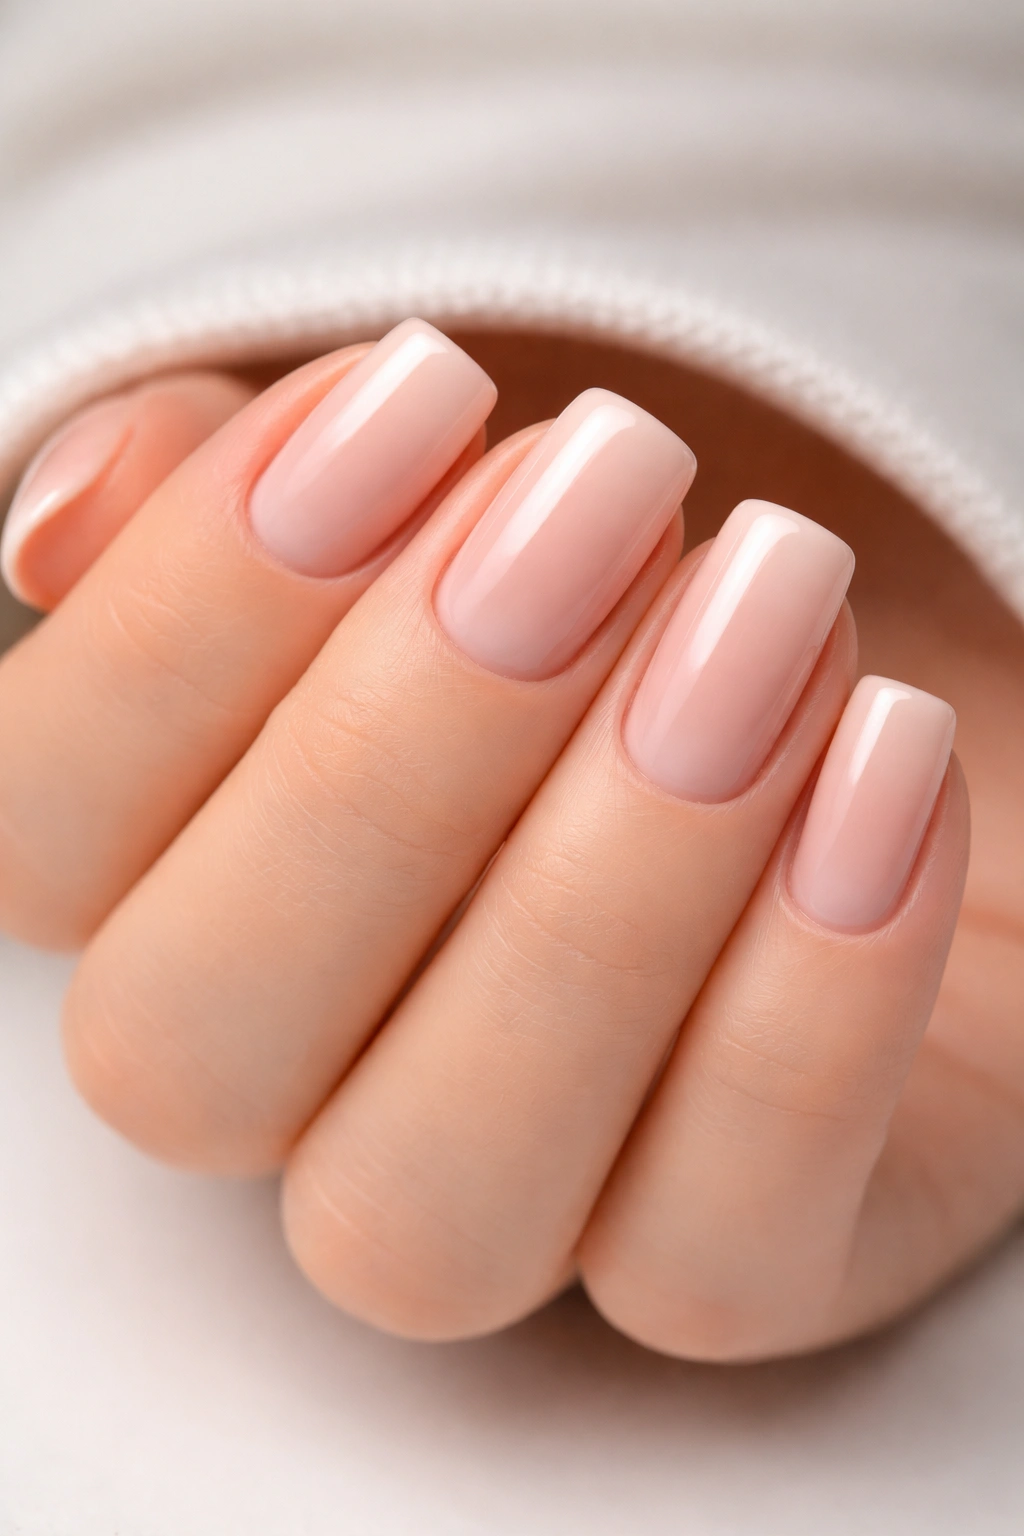
Soft, warm nudes and skin-tone shades are classic choices for soft square nails because they create a subtle, elongated appearance and emphasize the shape itself rather than overwhelming it with color. Pale pinks, warm beiges, and soft browns all create that understated elegance that makes soft square nails look effortlessly sophisticated.
If you prefer color, pastels and muted tones work beautifully with soft square nails — think soft sage green, pale blush pink, or muted mauve. These colors complement the softness of the shape without making the overall look feel heavy or dramatic. Bright or highly saturated colors can sometimes make soft square nails look a bit juvenile, though this is purely personal preference.
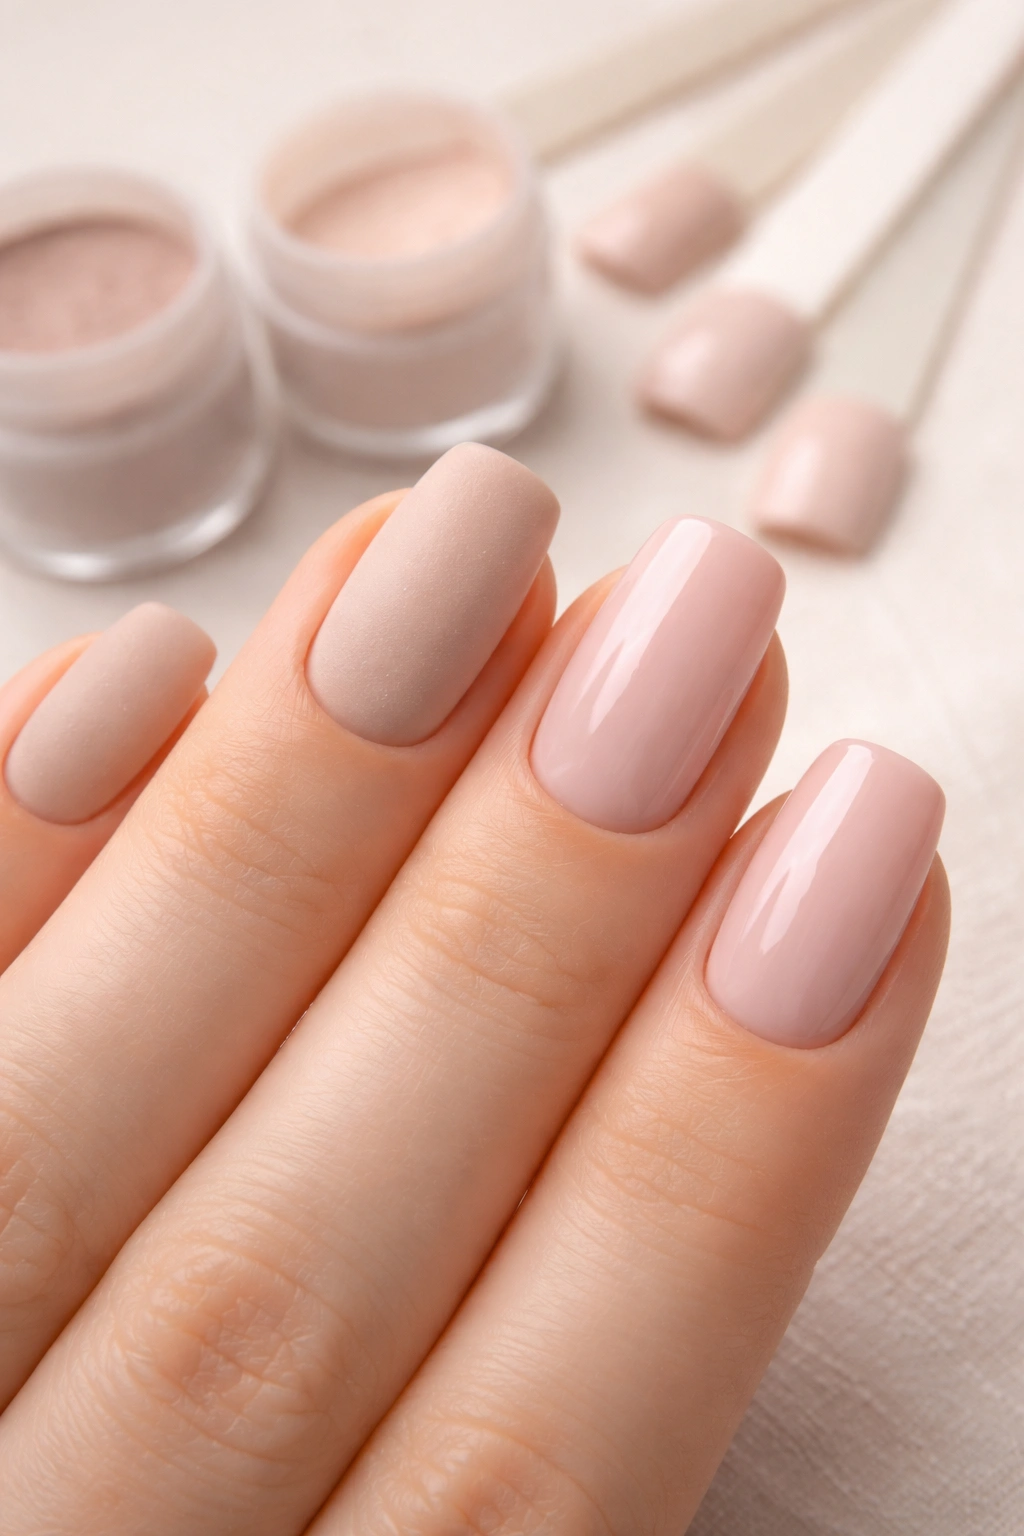
Matte finishes create an especially soft, velvety appearance that pairs beautifully with the soft square shape. If you’re going for maximum softness and subtlety, a matte nude or matte pastel is an excellent choice. Glossy finishes work equally well but create a shinier, more statement-making look.
Common Mistakes That Ruin Soft Square Nails
Understanding what goes wrong helps you avoid making the same mistakes. The most common errors that sabotage soft square dip manicures are also the easiest to prevent once you know what to look for.
Applying base coat too thickly is mistake number one. This leads to clumpy nails that don’t look soft or elegant — they look heavy and poorly done. Thin, even layers always outperform thick single layers. If you’re tempted to apply more base coat because you’re worried about adhesion, resist that urge. One thin coat is all you need.
Shaping the corners too sharply is another common error. Sharp corners look harsh on soft square nails and actually defeat the entire purpose of choosing this shape. Take extra time during the shaping phase to ensure your corners are genuinely soft and rounded, not just slightly rounded.
Skipping the acetone wrap cleanup makes even a well-executed manicure look amateur and unfinished. No matter how perfect your application, excess powder residue around the edges and underside makes the entire look sloppy. Never skip this step.
Not allowing adequate curing time between layers can cause the layers to separate or chip prematurely. Each layer of base coat and color powder needs a few seconds to set and adhere properly. Rushing this process to save time always backfires.
Extending the Life of Your Soft Square Manicure
A well-maintained dip manicure should last three to four weeks, but with proper care, you can extend that timeframe and keep your soft square nails looking pristine throughout.
The moment you notice even the smallest chip, file it immediately rather than letting it expand. A tiny chip can quickly become a larger break if left unaddressed, especially at the tips and edges where wear is most intense. Keep a nail file with you and take 30 seconds to smooth any rough spots as soon as you notice them.
Moisturize your hands and cuticles daily. This prevents the skin around your nails from becoming dry and cracked, which can create the appearance of your manicure deteriorating faster than it actually is. Happy, moisturized skin makes your entire manicure look better for longer.
Protect your hands from excessive wear. While dip powder is more durable than regular polish, it’s not indestructible. Avoid using your nails as tools — use a pen instead of your nail to punch holes, use a bottle opener instead of your nail, and handle sharp objects carefully. This conscious care adds days or even weeks to the life of your manicure.
Removing Dip Powder Without Damage
Eventually, it’s time to remove your dip manicure and apply a fresh one. Removal technique matters because improper removal can leave your natural nails brittle, thin, and damaged.
The proper removal method involves soaking, not scraping. File away the topcoat layer until it’s dull and no longer shiny, then soak your nails in 100% acetone for 10 to 15 minutes. The acetone softens the dip powder, allowing it to gently flake away without force or scraping.
Use a wooden or rubber stick to gently push off the softened powder — never use metal tools or scrape forcefully. The powder should come away relatively easily if you’ve soaked long enough. If it’s still clinging stubbornly, soak for another five minutes rather than forcing it off.
After removal, soak your hands in warm water with a few drops of nourishing oil to rehydrate your nails and hands. Your natural nails might look slightly weak or thin after removal — this is normal. They’ll regain their strength within a week or two with proper care and moisturizing.
Variations and Creative Applications

Once you’ve mastered the basic soft square shape, there are many ways to customize and personalize your dip manicure.
Ombre or gradient effects create subtle dimension by layering different shades of the same color. Apply a lighter shade to the base, then use a sponge or careful layering technique to transition to a deeper shade at the tips. This works beautifully with soft square nails and creates a sophisticated, editorial look.
French tips with soft square nails create a timeless, polished appearance. Apply your base color first, then apply white powder to just the very tips. The white creates a subtle contrast that elongates the nail and draws attention to the soft square shape.
Accent nails offer another way to personalize your soft square manicure. Keep four nails in a neutral or solid color and make your ring finger or pinky a bolder color, glitter, or pattern. This adds visual interest without overwhelming the clean lines of the soft square shape.
Glitter and sparkle additions can be incorporated by sprinkling loose glitter over wet topcoat or by using pre-mixed glitter dip powders. A light sprinkle of fine glitter on otherwise solid soft square nails adds understated glamour.
Final Thoughts
Soft square nails created with dip powder represent the perfect balance between durability, aesthetic appeal, and wearability. The shape flatters almost every hand type, the finish lasts significantly longer than regular polish, and the technique itself is approachable for both salon professionals and home manicure enthusiasts.
The secret to achieving truly soft square nails with dip powder comes down to understanding the importance of preparation, applying thin even layers, taking extra care during the shaping phase to ensure your corners are genuinely soft rather than sharp, and finishing with meticulous cleanup. Each of these steps builds on the previous one, creating a finished manicure that looks intentional, expensive, and professionally executed.
Whether you’re doing your nails at home or visiting a salon, you now have the knowledge to guide the process and ensure the results meet your expectations. Start with a solid natural nail foundation, apply your base coat thinly, dip carefully and thoughtfully, shape with precision, clean up thoroughly, and care for your manicure throughout its wear. Follow these steps and you’ll have soft square nails that look salon-quality and last through weeks of daily wear.
