

Grown-out gel nails catch everyone off guard at some point. You look down at your hands one morning and notice that distinct white or translucent line at the base where your natural nail has grown in beneath the gel polish — sometimes it’s a subtle gap, and sometimes it’s a full quarter-inch of exposed nail that makes your manicure look like it’s been months since you touched it up. The thing is, you don’t always need to book a salon appointment to fix it. With the right approach, some patience, and a few key tools, you can extend the life of your gel manicure at home and keep your nails looking polished and put-together.
The key difference between a DIY fix and a botched at-home job is understanding exactly what you’re dealing with and knowing which techniques actually work without damaging the nail bed underneath. This isn’t about just painting over the problem — it’s about making thoughtful decisions about whether to fill the gap, touch up the polish, trim strategically, or ultimately remove and start fresh. Each situation is different, and the right solution depends on how far the nails have grown out, the condition of the remaining gel, your comfort level with the tools involved, and how much time you’re willing to invest.
The bonus? Once you understand the process, you’ll save a significant amount of money on manicure appointments and gain real confidence in managing your own nails between professional visits. Let’s walk through exactly how to assess your situation, gather what you need, and execute a fix that actually looks intentional and professional.
Understanding the Growth Cycle and When You’re Overdue for Maintenance
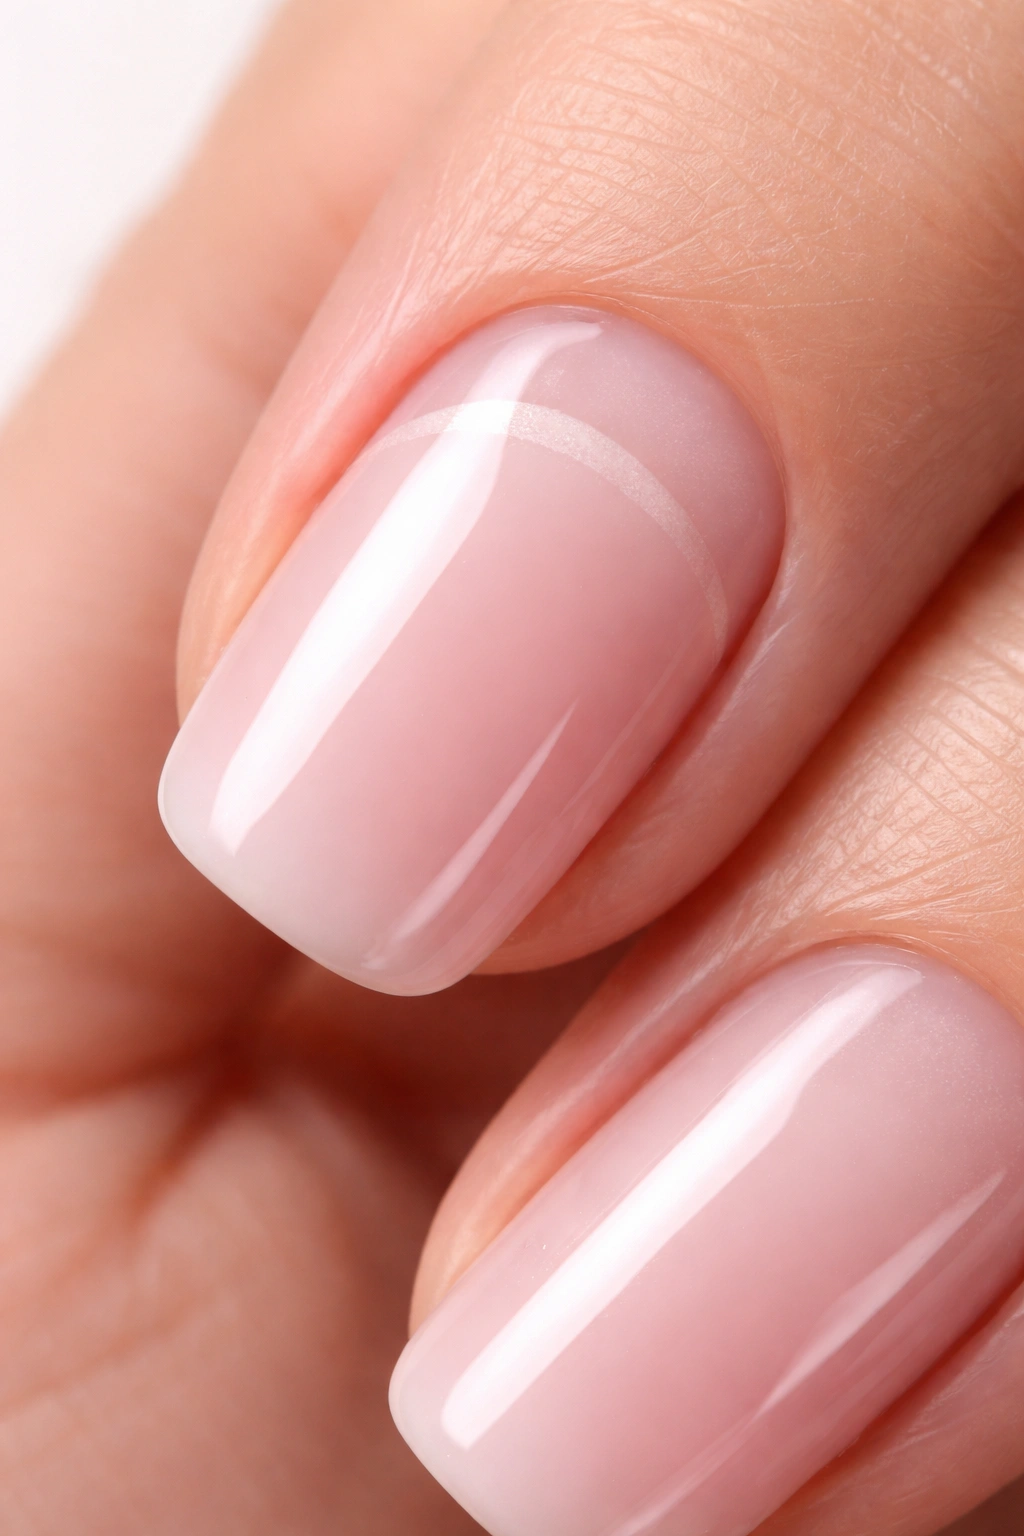
Gel nails don’t grow out the way regular polish does. With traditional nail lacquer, you get a clean break at the edge, and the whole thing naturally fails. Gel polish adheres to the nail surface and stays put as your natural nail grows underneath — which is why gel manicures last so long, but also why that regrowth becomes visually obvious.
Most people notice the gap between the gel and the natural nail growth somewhere between two and four weeks after their initial application. This is totally normal and expected. The visible line happens because your natural nail is continuously growing (roughly 2-3 millimeters per month on average), while the gel polish stays exactly where it was applied. That gap isn’t just cosmetic — it also means the exposed natural nail at the base is unprotected and more prone to breaking or peeling.
The real question isn’t whether you should fix it, but when and how. Some people prefer to wait until they can get a professional fill, while others try to extend their manicure as long as possible through at-home touch-ups. There’s no single “right” timeline — it depends on your schedule, budget, and how much the regrowth bothers you visually. But here’s what matters: the longer you wait without addressing it, the harder it becomes to fix at home, and the greater the risk of damage to the nail underneath.
Assessing Your Current Gel Nail Condition
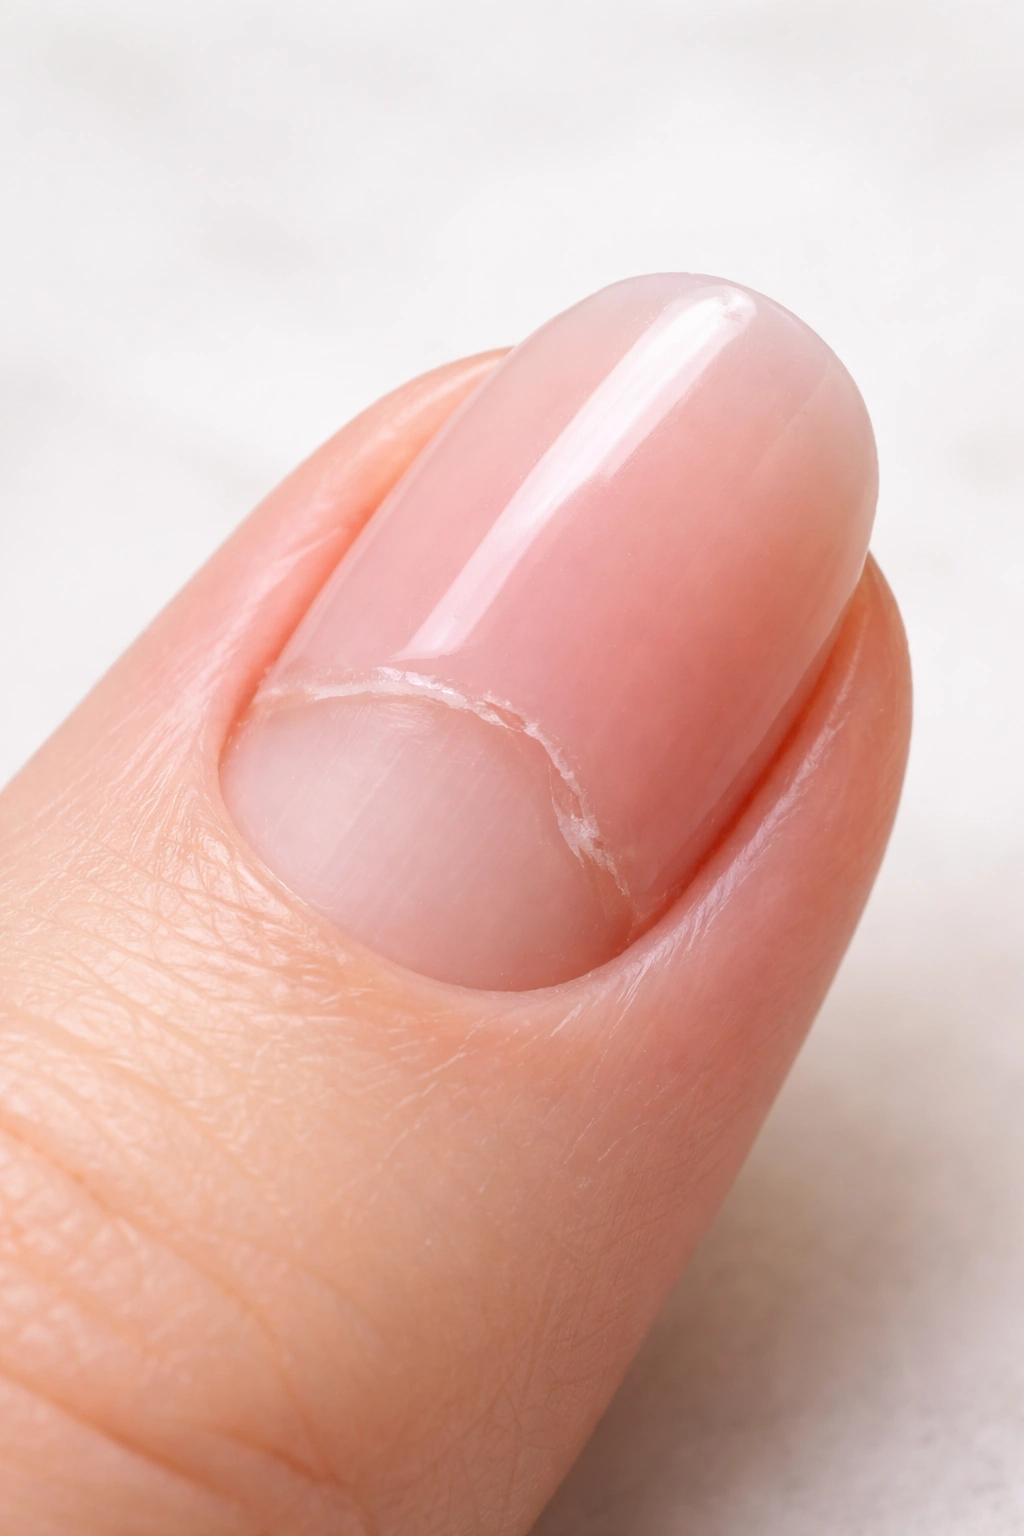
Before you do anything, take an honest look at what you’re working with. This assessment determines whether you can actually extend your current manicure or whether you need to start from scratch. Pull your hands into good light and examine both the regrowth at the base and the overall condition of the gel coating.
Start by measuring the gap. Use a ruler or even just your eye to estimate how far the natural nail has grown out from under the gel. If the gap is less than an eighth of an inch, you’re in good shape for a simple touch-up or fill. If it’s closer to a quarter-inch or more, you’re looking at a situation where the gel is clinging to less and less of your actual nail, which makes it weaker and more prone to lifting or breaking.
Next, check the condition of the remaining gel. Look for any areas where the gel is lifting, peeling, or pulling away from the nail edge. Gel that’s lifting is a dead giveaway that moisture has gotten underneath, and moisture is the enemy of gel polish longevity. Even small lifted areas will expand over time and are impossible to repair at home without professional equipment. If you see lifting, you’re looking at removal and reapplication rather than a fill.
Run your fingers over the top surface of the gel to feel for texture changes, dullness, or separation. Healthy gel should feel smooth and uniformly slick. If it feels rough in spots, or if you notice the shine is gone in certain areas, the gel is breaking down. This is also a sign that removal and reapplication is your better option than trying to stretch the manicure further.
Gathering the Right Tools and Materials for At-Home Maintenance
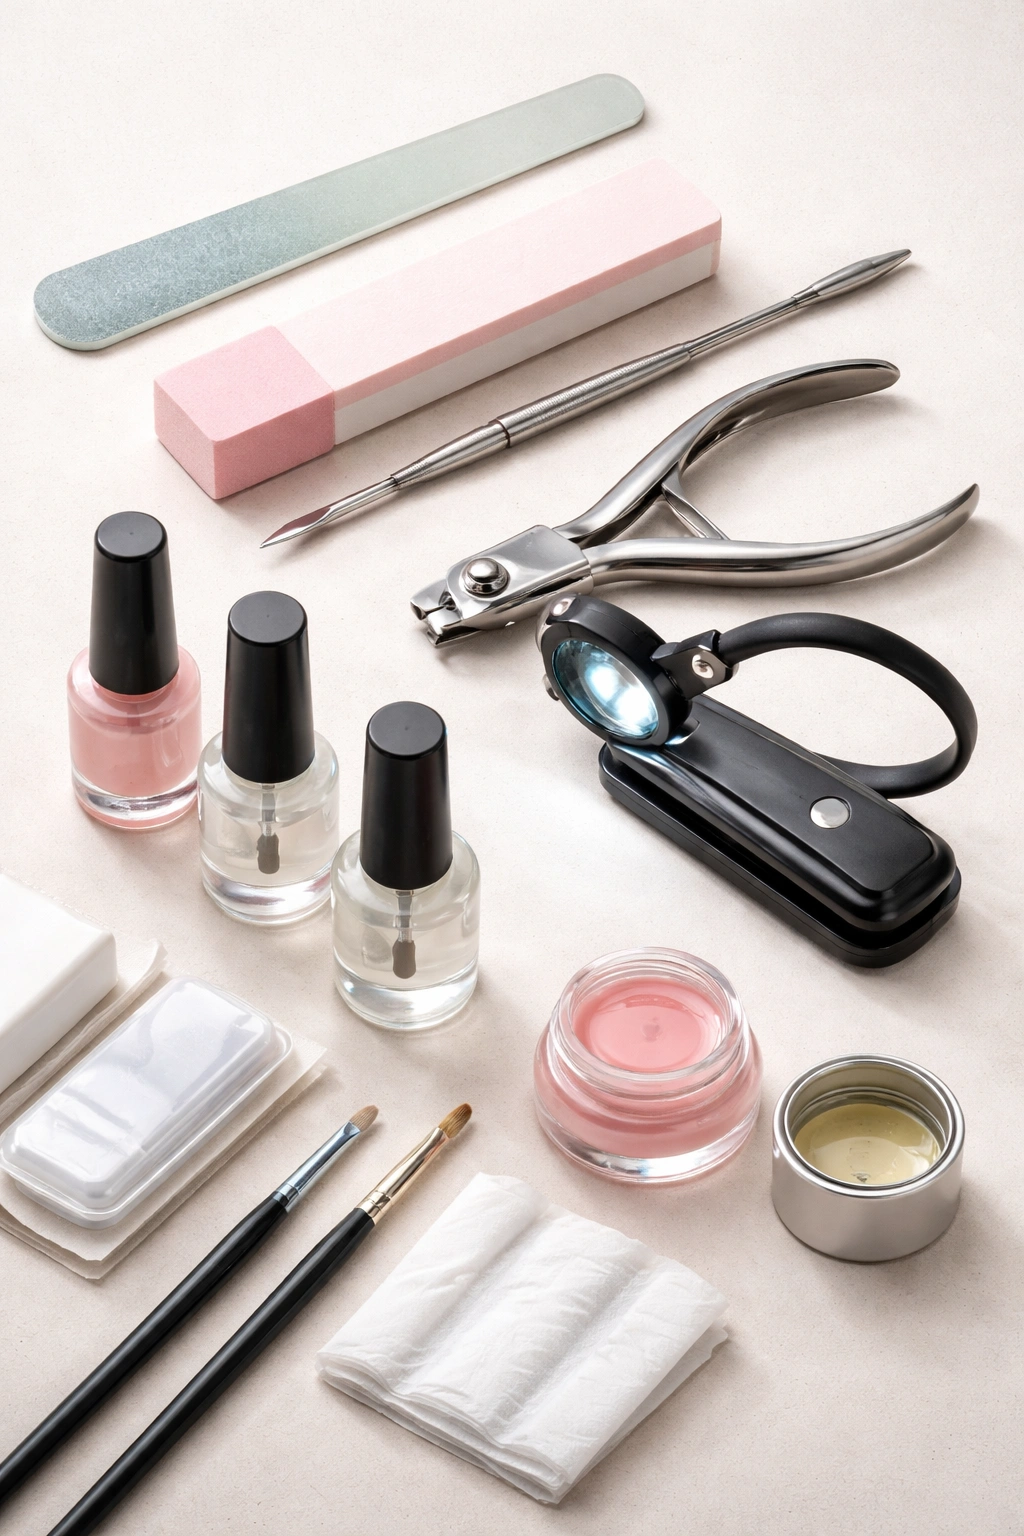
You don’t need a full professional setup, but you do need the right specific items. Skimping on tools here is a guarantee that you’ll either damage your nails or create a worse-looking result than you started with.
For assessing and preparing, grab a nail file (a glass or crystal file is gentlest on gel and natural nails — metal files create micro-damage), a buffer or nail buffer block, cuticle pusher or wooden stick, nail clippers (for trimming any broken edges), and a good magnifying glass or clip-on ring light. Honestly, the magnification is non-negotiable — you can’t see what you’re working with at nail scale without it.
For filling the gap, you have options depending on how far the nails have grown out. If you’re just doing a simple polish refresh and the gap is small, you’ll want base coat, gel polish in your chosen color (the exact same shade you used before if possible, or a fresh new color), and top coat designed for gel. Look for gel products labeled “soak-off” if you want the flexibility to remove them at home later. These typically come with a UV or LED lamp requirement for curing.
If you’re removing the gel entirely, you’ll need pure acetone (not nail polish remover, which won’t cut it), lint-free wipes or cotton rounds, a nail file, a cuticle pusher, and ideally some cuticle oil or hand cream to use afterward since acetone is incredibly drying. Foil wraps or gel removal caps make the acetone soak process more efficient and less messy than soaking your whole hand.
For maintaining healthy nails throughout the process, invest in cuticle oil and a good hand cream. These aren’t luxuries — they’re essential for protecting your nails during the growth and maintenance cycle.
Preparing Your Nails for Work Before You Touch Anything
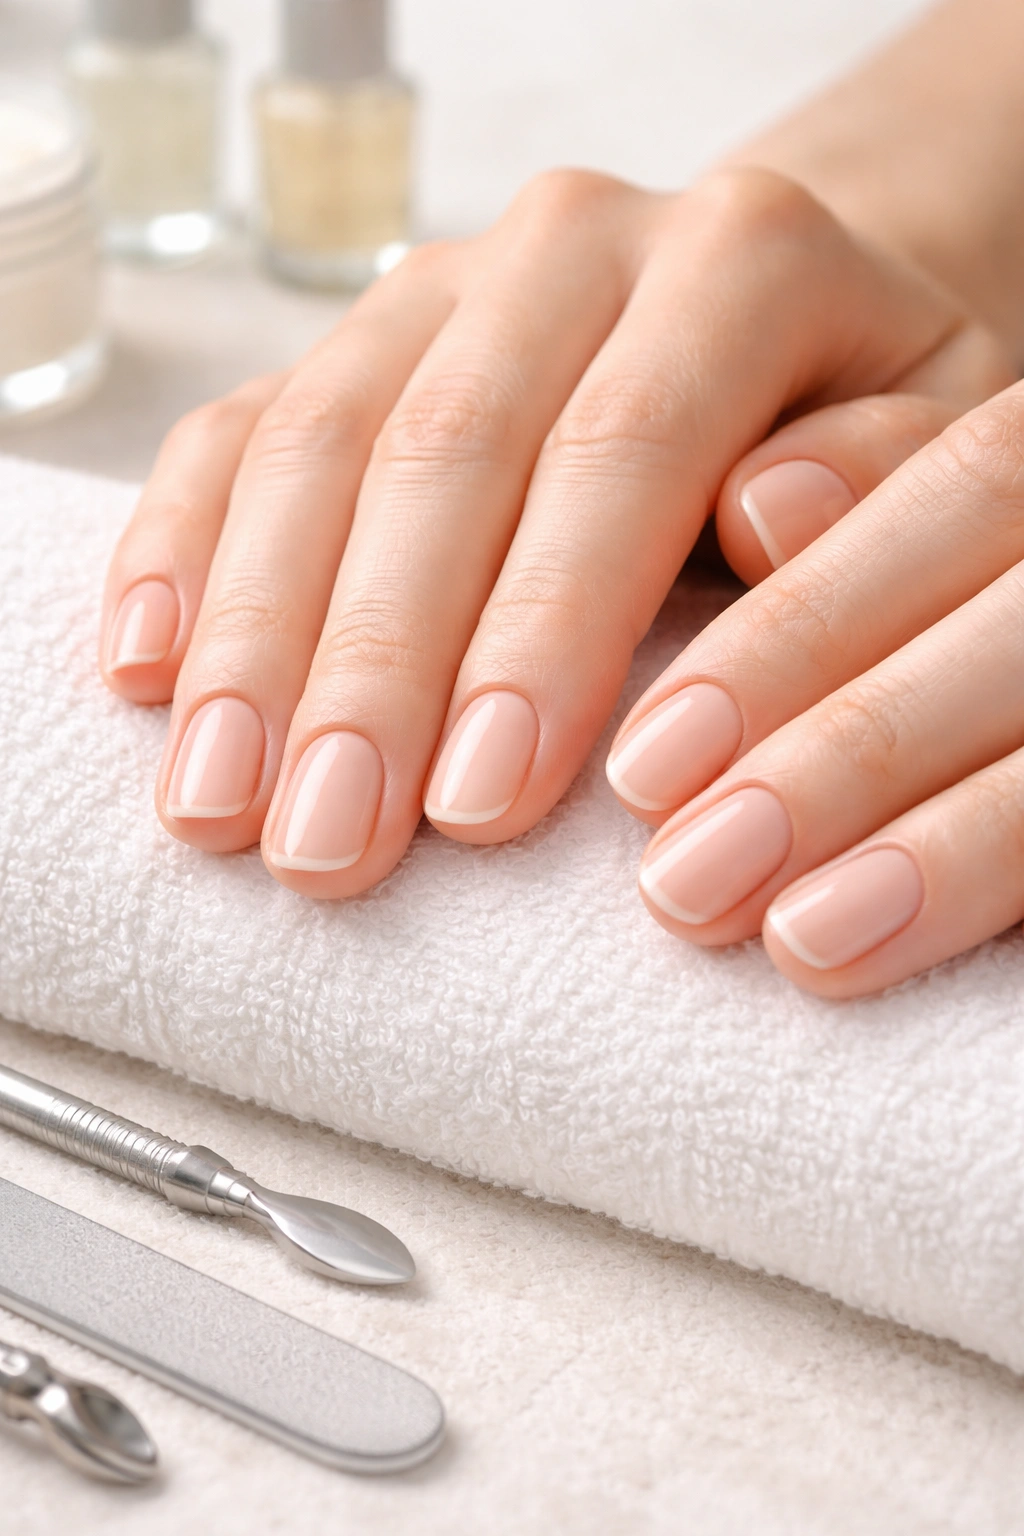
How you prepare your nails determines whether your fix looks intentional or like you tried something that went sideways. This step takes 5-10 minutes and makes an enormous difference.
Wash your hands thoroughly with warm water and soap, then dry them completely. Water left on your nails will interfere with everything you’re about to do — gel polish won’t adhere properly to wet nails, and you won’t be able to see what you’re actually working with. Dry between your fingers and under your nails carefully.
Once your hands are dry, push back your cuticles gently using a wooden cuticle pusher or the edge of a cuticle stick. Don’t be aggressive here — you’re trying to reveal the base of the nail and create a clean line, not damage the cuticle tissue. Work slowly around the base of each nail. If your cuticles are particularly dry or stubborn, warm them slightly with a damp cloth first, then push back. The whole point is that when the gel has grown out, there’s often a bit of cuticle overlap that makes the gap look even more dramatic. Pushing back the cuticle gives a cleaner look to whatever you’re about to do next.
With a soft buffer or nail file, very gently smooth the edges of the gel where it meets your natural nail. You’re not trying to remove the gel — just soften any rough edges or chips. The edge is often the first place where gel starts to fail, so smoothing it out prevents it from catching on things and lifting further.
Removing Old Gel Polish if You’re Starting Fresh
If your assessment determined that the gel is lifting, breaking down, or too far gone to extend, removal is your best path. Yes, it’s tedious, but it’s faster than you might think, and removal at home is entirely doable with acetone.
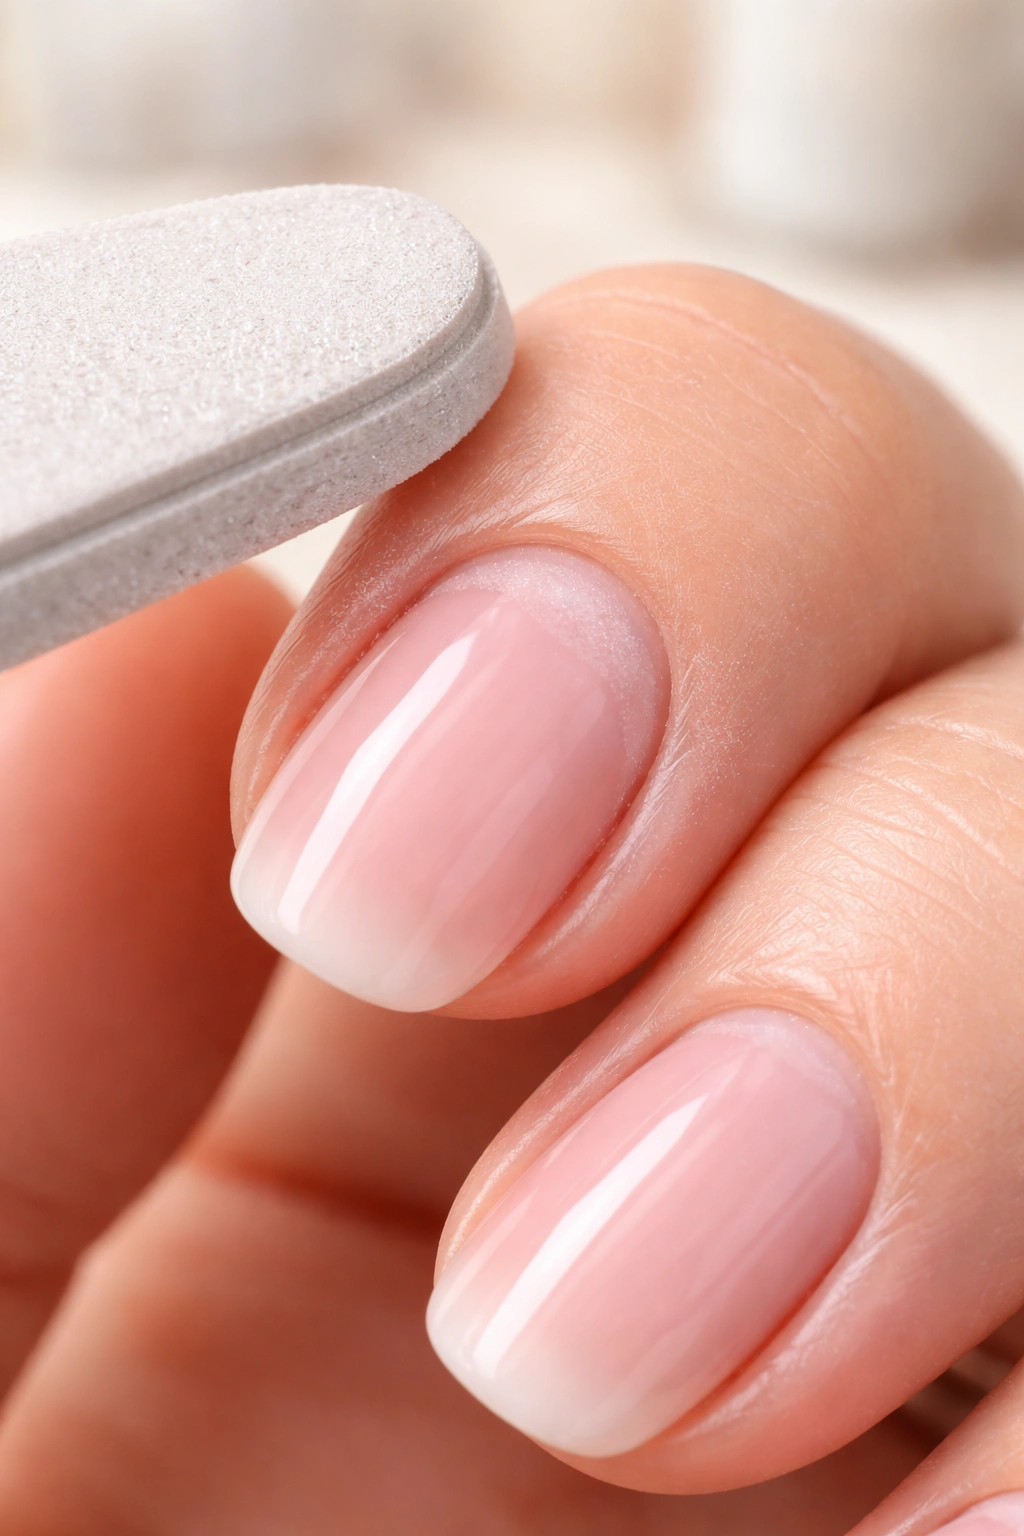
Start by filing the top shine off the gel. This isn’t about removing all the gel — just about breaking the seal of that shiny top coat. Use your nail file to buff the surface until it looks dull instead of glossy. You’re looking for the gel to go from shiny to matte. This step matters because the sealed surface of gel polish actually repels acetone. Without breaking that seal, the acetone won’t penetrate and your soak will take forever.
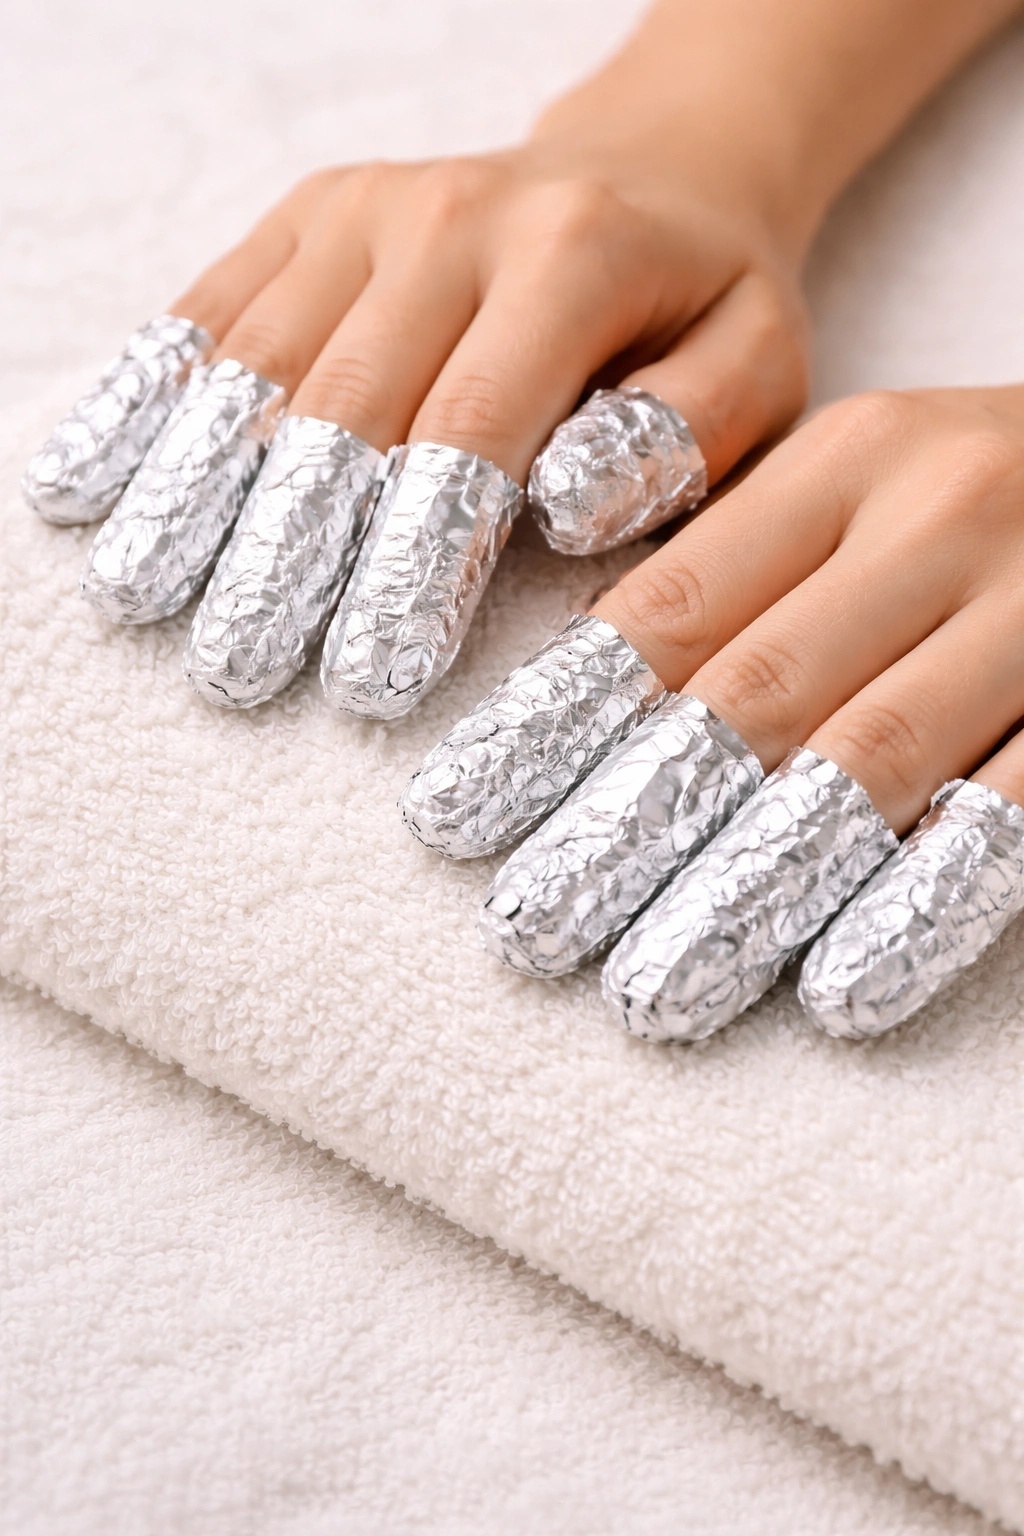
Cut small squares of lint-free wipe or cotton and soak them in pure acetone. Press a soaked square onto each nail, then wrap the tip of your finger with aluminum foil to hold the cotton in place and trap the acetone vapor against your nail. If you have gel removal wraps or caps, use those instead — they’re specifically designed for this and work better. Let the acetone work for 10-15 minutes. You’ll feel the gel softening; you might even see it loosening at the edges.
After the soak time, gently push at the softened gel with a cuticle pusher or orange stick. The gel should lift away pretty easily at this point. If it’s not budging, soak for another few minutes. Never scrape or dig aggressively — this is how you damage the nail bed underneath. Patience here prevents permanent damage.
Once all the gel is off, you’ll likely have some residue. A second brief acetone soak and gentle pushing should take care of it. Finish by filing your bare nails into the shape you want, then immediately apply cuticle oil and hand cream. Acetone strips your nails and skin of natural oils, so hydration right after removal is essential.
Shaping and Trimming Your Natural Nails for Optimal Length

Once you can see your actual natural nails, decide on the length and shape you want going forward. This decision affects everything else you do next.
If the regrowth is significant and the remaining gel is only clinging to the tips of your nails, you might have nails that are functionally longer than they should be because of all that gel. Trim them to a manageable length using nail clippers or a file. Start with small adjustments — you can always trim more, but you can’t add length back. A good guideline is to trim so that roughly two-thirds of your nail is on the nail bed and one-third extends past your fingertip. This gives you enough length to look intentional without being so long that they’re fragile or impractical.
File the shape next. File from the outer edge toward the center, never sawing back and forth — this prevents splitting and creates a cleaner edge. Choose a shape that works with your natural nail width and hand shape. Square and slightly rounded shapes tend to be the most forgiving and durable for natural nails. Once you’ve got the length and shape you want, file the corners smooth. Rough edges catch on things and lead to breaks.
The top edge needs attention too. If your nails have gone without a fill for a while, that edge has been exposed to daily wear and tear. File it smooth, seal it with a light buff, and if there are any white spots or brittleness at the edge, trim those away. A clean, smooth edge is your foundation for whatever comes next.
Filling the Gap: The Buff-and-Polish Refresh Method
If you’ve decided to extend your current manicure rather than remove it completely, a buff-and-polish refresh can buy you time and look surprisingly good. This method works best when the gap is small (less than a quarter-inch) and the remaining gel is in decent condition.
Start by buffing the exposed natural nail at the base so it’s slightly dulled. Just a light buff — you’re not trying to remove anything, just to break the shine so polish sticks to it. Wipe away any dust with a lint-free cloth.
Apply a thin layer of base coat to that exposed area. This protects your natural nail and provides a good surface for the color to adhere to. Let it cure according to your product’s instructions (usually 30-60 seconds under a UV or LED lamp).
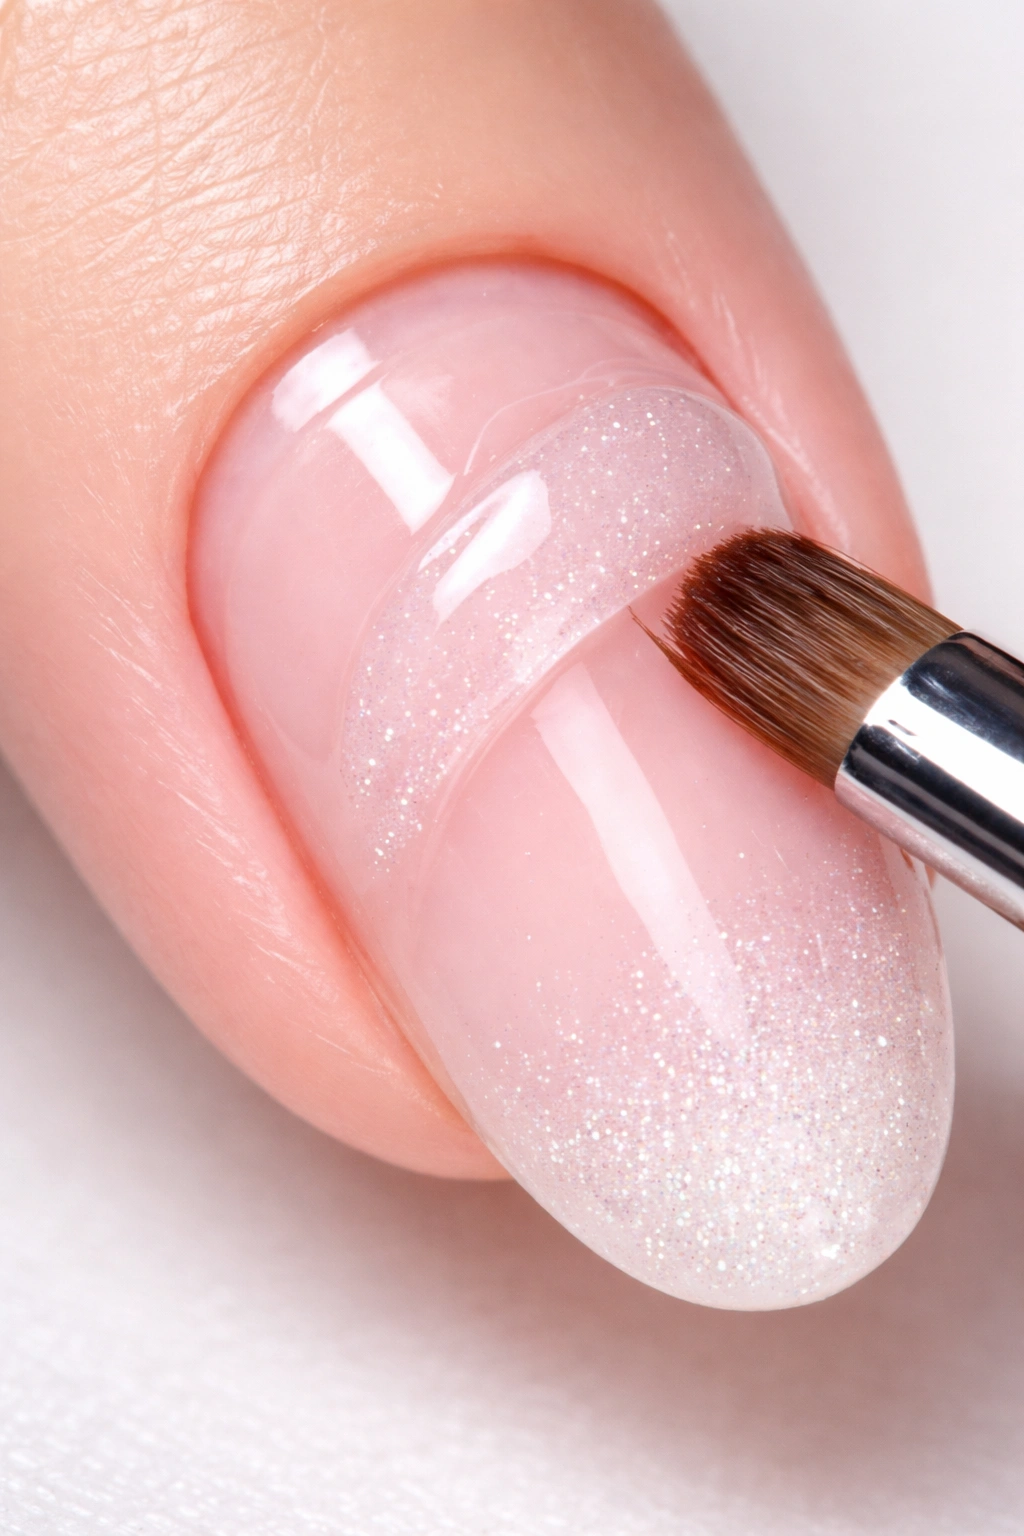
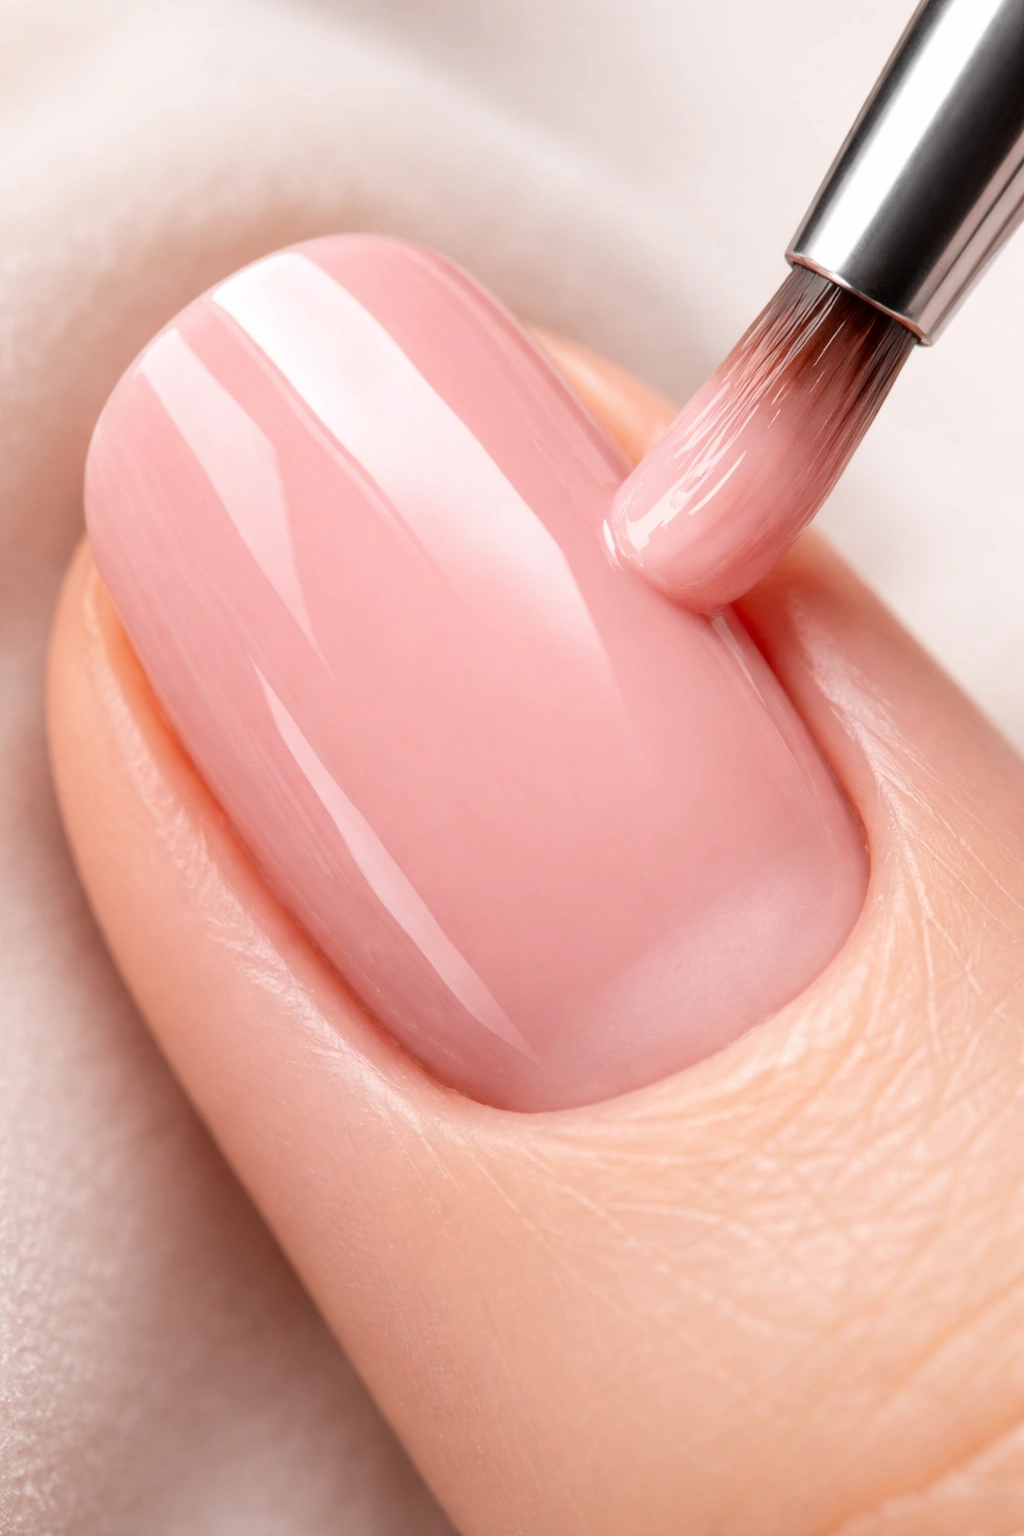
Apply your gel color in thin, even coats. Start at the exposed natural nail and work the brush toward the tip, covering any previous polish that’s looking tired or dull. You might need two coats to get full coverage and color depth, depending on the shade. Each coat should cure before you apply the next one. The key is thin coats rather than one thick glob — thick applications don’t cure properly and end up gummy or cloudy.
Finish with a gel top coat, cured according to product instructions. This seal protects your refresh and gives you that glossy, polished look. The result won’t be indistinguishable from a fresh manicure, but it will look intentional and well-maintained.
The Ombré or Gradient Approach for More Visible Growth
If you want to be more creative and actually lean into the regrowth rather than trying to hide it, an ombré or gradient approach can look stunning. This method is particularly good for nails where the gap is already visible and you want to make it an intentional part of the design.
File and buff the exposed natural nail area the same way as above. Apply base coat to that area. Once cured, you’re going to intentionally blend two shades: your original gel color and a lighter shade or a complementary contrast shade. The idea is to create a gradient where the color transitions from light at the base (where the natural nail is exposed) to darker at the tips (where the original gel is).
Use a gradient sponge or a regular makeup sponge to dab and blend the two shades together on the exposed nail area. Apply the lighter shade first, then the darker shade, then use the sponge to blend where they meet. It takes a couple of tries to get the blending right, but once you do, it looks intentional and trendy rather than like your nails are in disrepair. Cure each layer, and finish with top coat.
The Builder Gel or Polygel Approach for Structural Fill
If you’re comfortable with slightly more advanced techniques, builder gel or polygel can actually extend the structural integrity of your nails while covering that growth line. These products are thicker than standard gel polish and actually build up, which makes them good for creating a fill that covers the gap and extends onto your natural nail growth.
File and buff your nails as usual. Apply a thin base coat and cure it. Using a builder gel or polygel, apply a layer across the exposed natural nail area, blending it into the existing gel polish on your nail. You can use the gel itself to create shape and dimension, or simply use it as a filler. Cure the layer.
Apply a second thin layer if needed to cover any unevenness. This creates a unified structure across your whole nail that doesn’t show the gap as dramatically. Once you’re happy with the coverage, apply your color (if using clear builder gel, you can color over it now, or if your builder gel is already tinted, you can skip straight to top coat). Finish with a gel top coat.
The benefit of this approach is that you’ve actually strengthened your nails and created a more cohesive structure. The downside is that it requires more skill to apply evenly and some familiarity with how builder gels behave. It’s worth trying if you’ve done basic gel nail work before.
Repainting and Perfecting Your Color Application
Whether you’ve filled the gap or removed and reapplied entirely, this is where your manicure either looks professional or like you tried. Application technique matters more than product.
Make sure your base coat is fully cured before you apply color. A tacky base coat (not fully cured) will cause your color to wrinkle or become uneven. If there’s any doubt, give it another 30 seconds under the lamp.
Apply your gel color in thin, smooth strokes from base to tip. Start each stroke a tiny bit away from the cuticle (leaving a micro-gap so the polish doesn’t touch skin), then brush steadily toward the tip. The goal is an even, opaque layer without pooling or thickness variation. It’s better to do three thin coats than one thick one.
On your second coat, take extra care to feather the edges and make sure you’re not leaving any uncovered natural nail visible. This is what separates a sloppy look from a polished one. The color should fully cover from the cuticle area down to the tips with clean, even edges.
If you’re doing a design or using multiple colors, let each color layer cure fully before applying the next. Wet gel on wet gel gets muddy and blends in ways you don’t want. Patience during the curing step is the secret to designs that actually look crisp.
Finish with your gel top coat in thin, even layers. The top coat does more than just seal — it gives you that glossy, wet-looking finish that reads as “professional manicure” instantly. Don’t skimp on the top coat, and make sure it cures fully.
Sealing and Protecting Your Nails After Application
Once your manicure is complete and fully cured, you’re not quite done. The few minutes you spend protecting and conditioning your nails will extend how long your polish lasts and keep your actual nail underneath healthy.
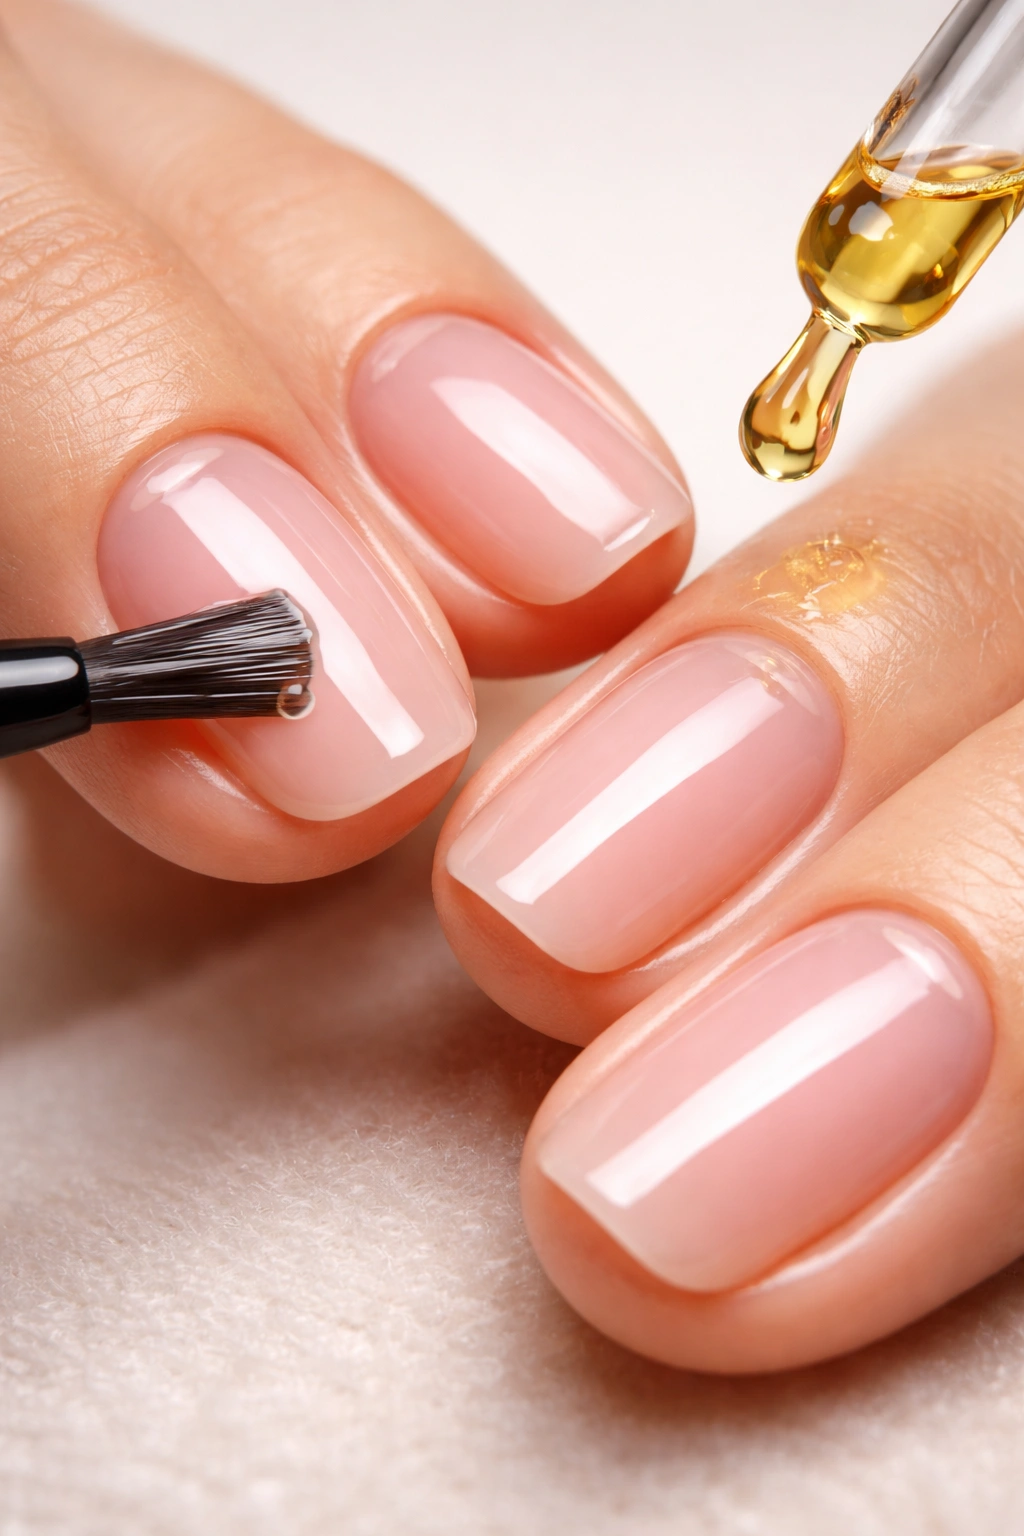
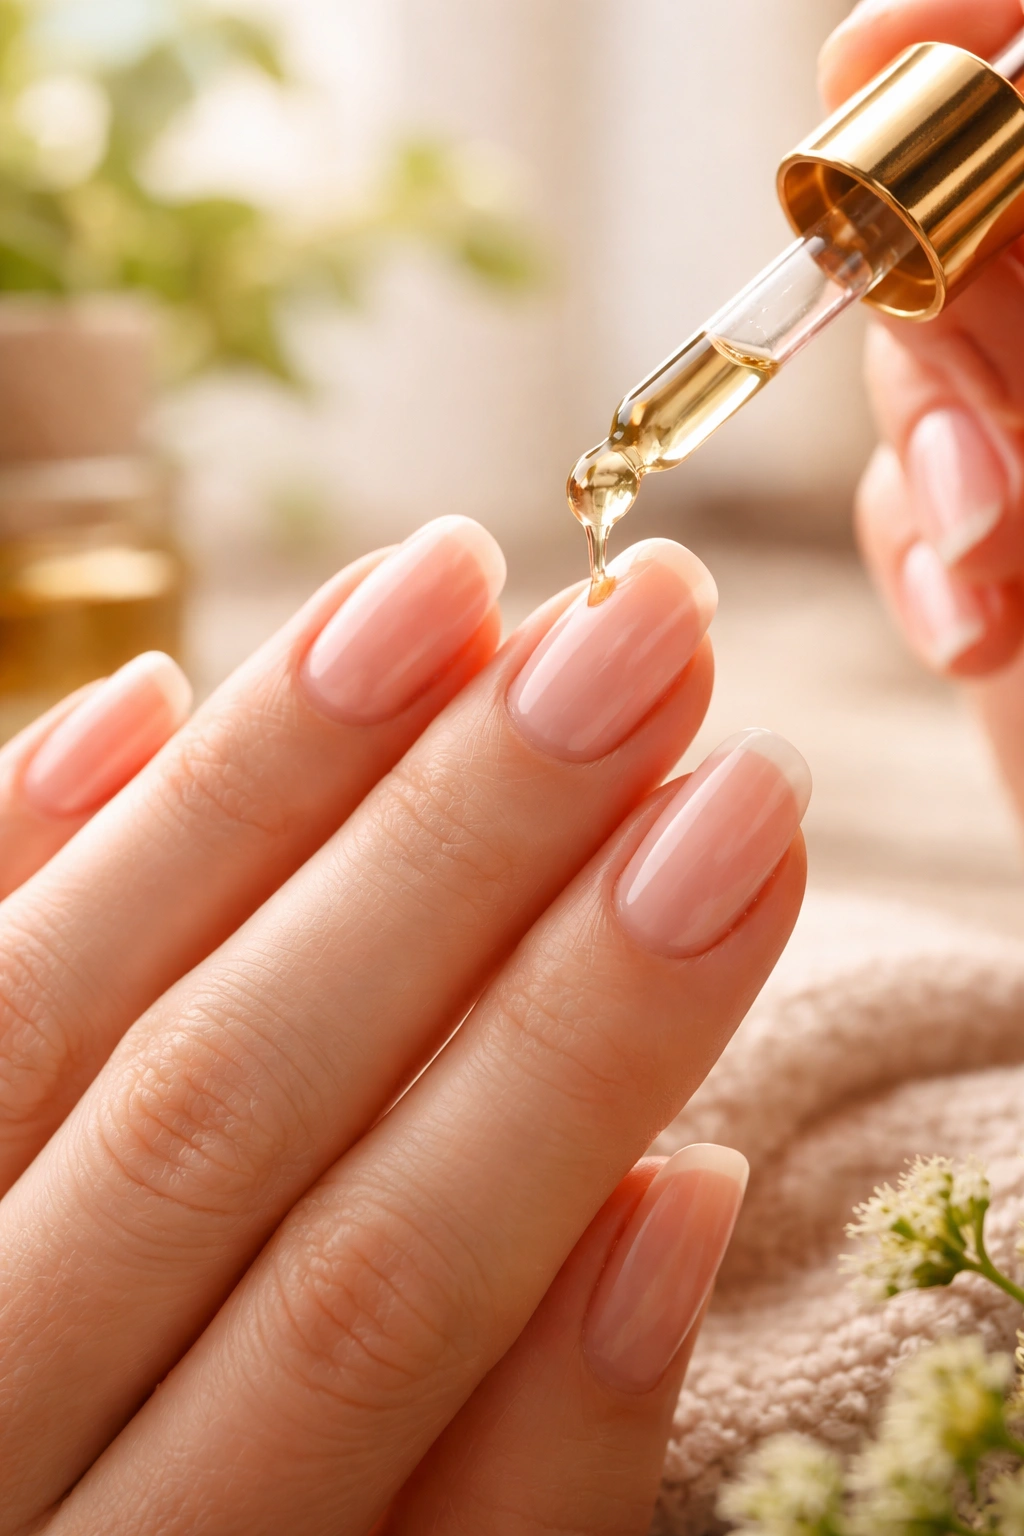
While your nails are still warm from the lamp, apply cuticle oil around the cuticle line and massage it in gently. This hydrates your cuticles (which have taken a beating from buffing and acetone) and also pushes the oil into the edge of your nails where the gel meets your skin. This area is vulnerable to moisture creeping underneath and causing lifting, and oil creates a protective barrier.
For the first 24 hours after application, avoid getting your nails very wet. Gel is technically cured, but it continues to harden over the next day, and excess water exposure during that window can create tiny gaps where water can get underneath. Keep your nails dry during dishwashing, hand washing, and showers if possible. Wear gloves when you know you’ll be in water.
After that first 24 hours, your nails are ready for daily life. That said, protect them. Wear gloves when cleaning, gardening, or doing anything rough. Avoid using your nails as tools — crack open things with an actual tool, not your nails. And keep them hydrated. Apply cuticle oil or hand cream daily, especially around the cuticle line and the base of your nails where they meet your skin.
Maintaining Your Nails Between Fills or Touch-Ups
Once you’ve fixed your grown-out gel nails, the goal is to keep them looking good as long as possible. The maintenance timeline depends on whether you did a full refresh, a simple fill, or a complete removal and reapplication.
If you did a simple buff-and-polish touch-up on existing gel, you can typically extend that manicure another week or two before it starts looking tired or the regrowth becomes obvious again. If you did a full fill with builder gel or a complete removal and new application, you’re looking at 2-3 weeks before noticeable regrowth happens, and 3-4 weeks before it looks like it needs maintenance.
The thing that determines longevity most is how well you treat your nails during this time. Keep your cuticles pushed back and hydrated — this prevents them from overlapping your nail and making the base look messy. Apply cuticle oil daily, especially before bed. Avoid harsh chemicals and excessive water. Wear gloves when cleaning. Don’t pick at your cuticles or use your nails as tools.
Watch for signs that your manicure is breaking down: dulling of the shine, lifting at the edges, chips in the color, or that white regrowth gap becoming too prominent for your taste. Any of these is your cue to either do a simple touch-up or plan a removal and fresh application depending on how much damage you see.
When to Recognize It’s Time for Professional Help

Here’s the honest truth: some situations call for a professional. Knowing when to wave the white flag and book a salon appointment saves you frustration and prevents actual damage to your nails.
If you notice gel that’s lifting or peeling in multiple spots, stop trying to extend it. Moisture has gotten underneath, and trying to fix it at home will trap that moisture and cause more damage. A professional with proper equipment can remove it safely and assess any damage to your nail bed underneath.
If the gel has been on your nails for more than 4-5 weeks and you’re trying to fill a huge gap, you’re reaching the point where the structural integrity is compromised. The gel clinging to less and less of your nail makes it fragile, and even a small catch can cause a break. A professional application is worth the investment at this point rather than risking damage you can’t undo.
If you’ve tried a fill or touch-up and it didn’t turn out the way you wanted — if the application is uneven, cloudy, or the colors didn’t blend the way you hoped — a professional can fix it, and it’s worth the cost rather than trying to layer fix on top of fix until your nails are thick and damaged.
If you’re feeling uncertain at any point in the process, trust that instinct. Nail damage can take months to grow out, and prevention is always easier than dealing with broken, peeling, or weakened nails. A professional fill or removal usually costs between $20-40, which is a small price compared to the time and frustration of trying to rescue a manicure at home when you’re not confident.
Final Thoughts
Fixing grown-out gel nails at home is absolutely doable, and doing it successfully is genuinely satisfying. You save money, you gain real knowledge about how your nails work, and you develop the confidence to maintain your manicures on your own timeline rather than being dependent on salon appointments.
The key is matching the method to your situation. A small regrowth with stable gel means you can get away with a simple refresh. Bigger growth or questionable gel integrity calls for either a more involved fill method or complete removal and restart. And knowing when to hand it off to a professional prevents the kind of damage that takes months to recover from.
Between fixes, hydration is your best friend. Cuticle oil, hand cream, and keeping your hands out of excessive water make an enormous difference in how long your manicure looks good and how healthy your actual nails stay underneath. Your natural nails are constantly growing, and treating them well during the time you have gel on them means you’re not starting from a damaged foundation when you eventually remove it.
The confidence to touch up your own nails is a small thing that makes a big difference in how polished you look and feel day to day. Start with small, simple refreshes if you’re new to this, practice the techniques, and you’ll find yourself spending less time and money at the salon while your nails look consistently great.
