

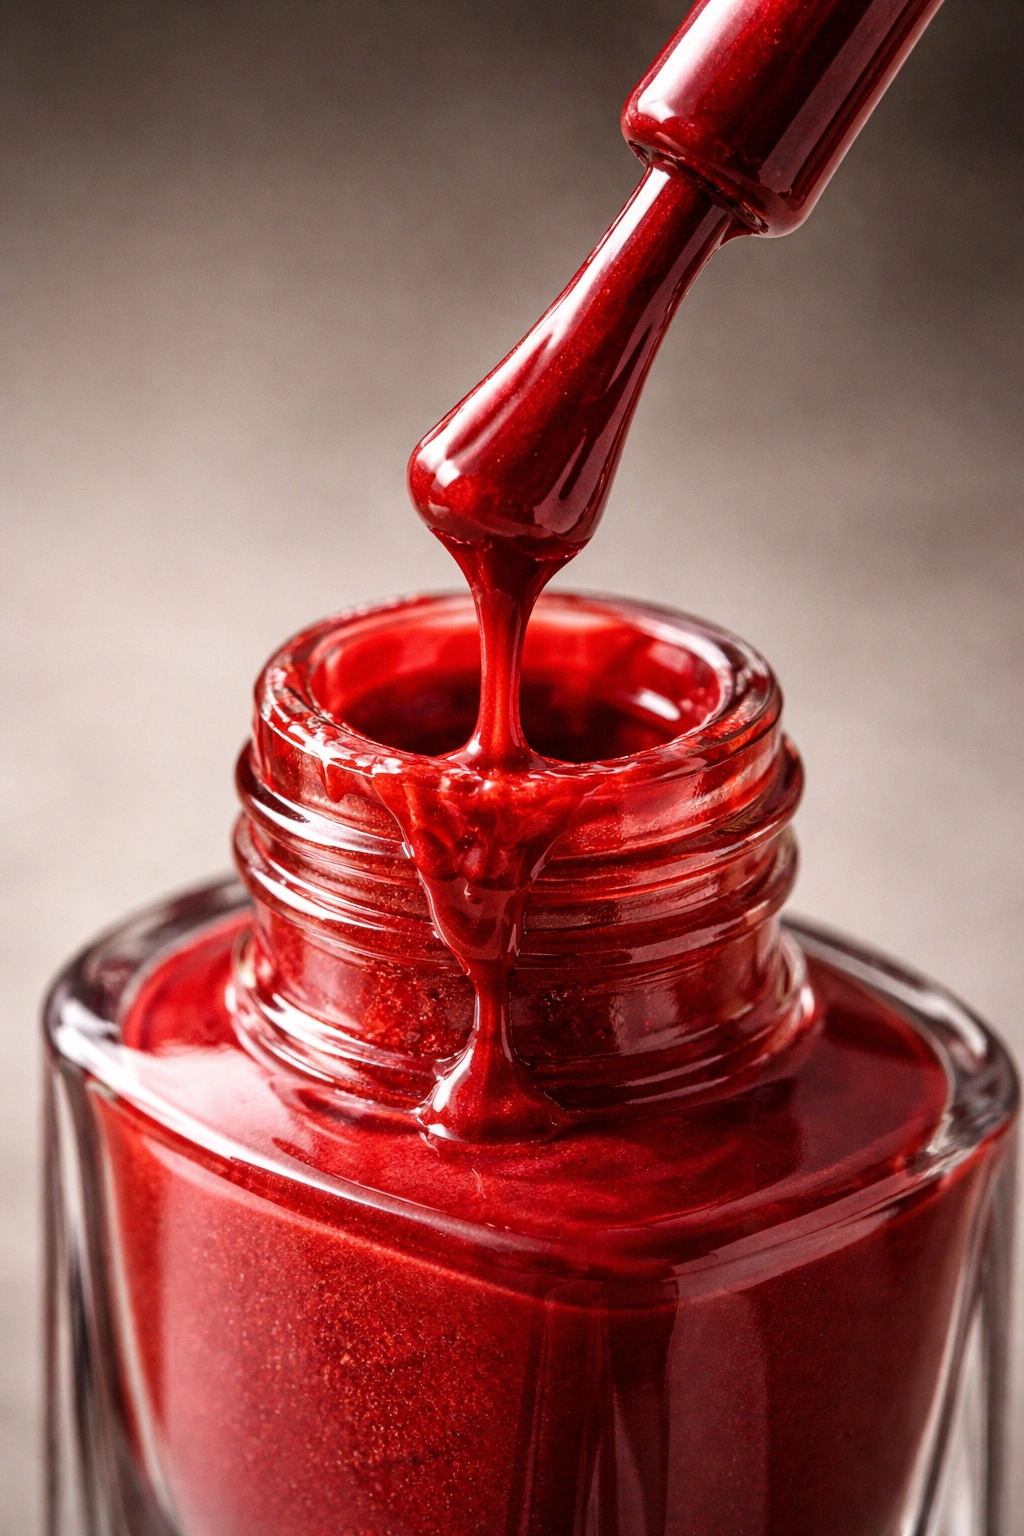
We’ve all been there—you reach for that gorgeous bottle of nail polish you haven’t worn in months, unscrew the cap with anticipation, and discover a thick, goopy mess that looks more like sludge than lacquer. It’s frustrating, especially when it’s a shade you love or one that’s been discontinued. The good news? You don’t have to toss it. Your beloved polish isn’t dead; it’s just thirsty.
The truth is, thick nail polish is one of the most common beauty frustrations, and it happens to everyone—whether you’re a professional nail technician or someone who just enjoys painting their nails at home. The silver lining is that bringing that clumpy bottle back to life is genuinely simple. With the right approach and a few drops of the right product, you can restore your polish to its original, smooth, glide-on-like-butter consistency in minutes.
In this guide, you’ll learn the three most effective and accessible methods for thinning thick nail polish, plus insider tips from professionals about preventing the problem altogether. You’ll understand exactly why your polish thickened in the first place, what actually works (and what doesn’t), and how to make sure you never waste another bottle again. Let’s dive in.
Why Nail Polish Gets Thick and Goopy
Before you can fix the problem, it helps to understand what’s actually happening inside that bottle. Nail polish thickens because of one simple reason: solvents evaporate. Most conventional nail polishes are formulated with specific solvents—primarily ethyl acetate and butyl acetate—that evaporate once the polish is applied to your nails, leaving behind that hard, shiny finish you love.
The trouble starts when the bottle sits open in the air, or when the cap isn’t sealed tightly enough. Those key solvents start escaping into the atmosphere, and the polish that remains becomes increasingly concentrated and dense. Over time, what was once a liquid you could brush on smoothly turns into a gummy, stringy mess that’s nearly impossible to apply evenly.
Exposure to air is the primary culprit, but temperature and humidity play roles too. If you store your polish in a warm bathroom where it’s exposed to steam from hot showers, or in direct sunlight on a windowsill, the evaporation process accelerates dramatically. Even a bottle stored in a warm closet thickens faster than one kept in a cool, dark drawer. The warmer the environment, the faster the solvents disappear.
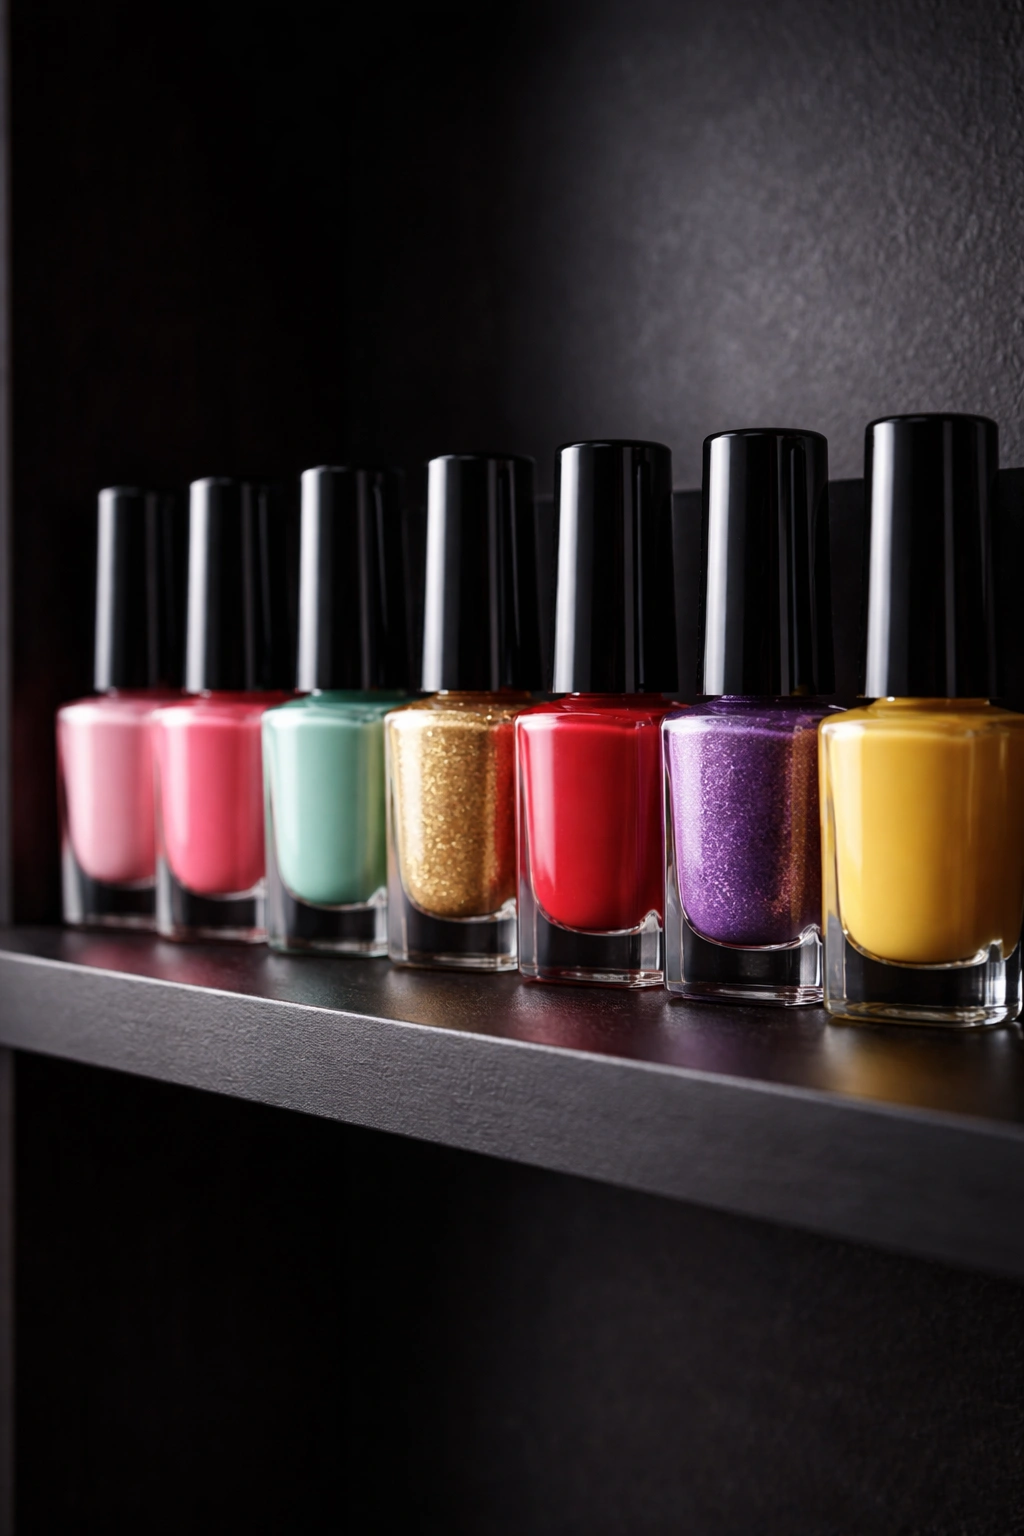
Some polishes—particularly those with lots of glitter, metallics, or pigments—thicken more quickly than others. Dark colors tend to clump faster than light or clear shades because they contain more pigmentation, which settles and consolidates over time. The ingredients that give a polish its color or sparkle are heavier and sink, leaving less fluid polish at the top of the bottle.
The longer a bottle sits unopened, the more likely it is to separate and thicken. Even unopened polish can develop issues if stored improperly, though opened bottles are far more vulnerable. Think of sealed nail polish like a balloon—once you pop it, the air inside starts escaping, and eventually, there’s nothing left to keep it inflated and light.
The Chemistry Behind Polish Separation
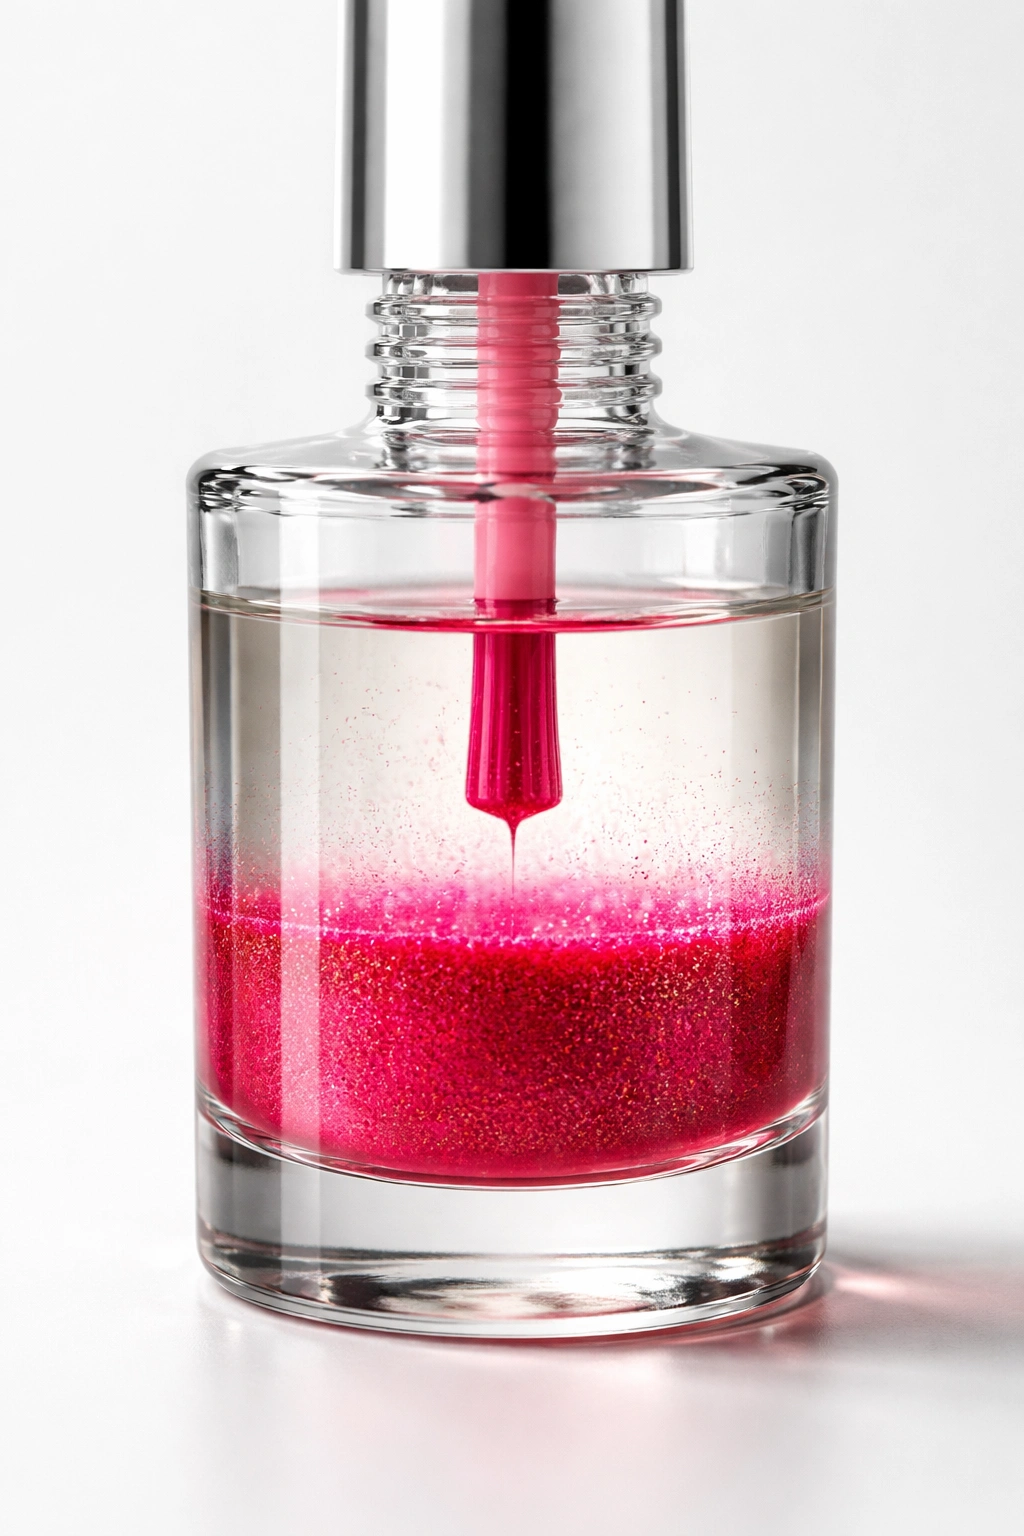
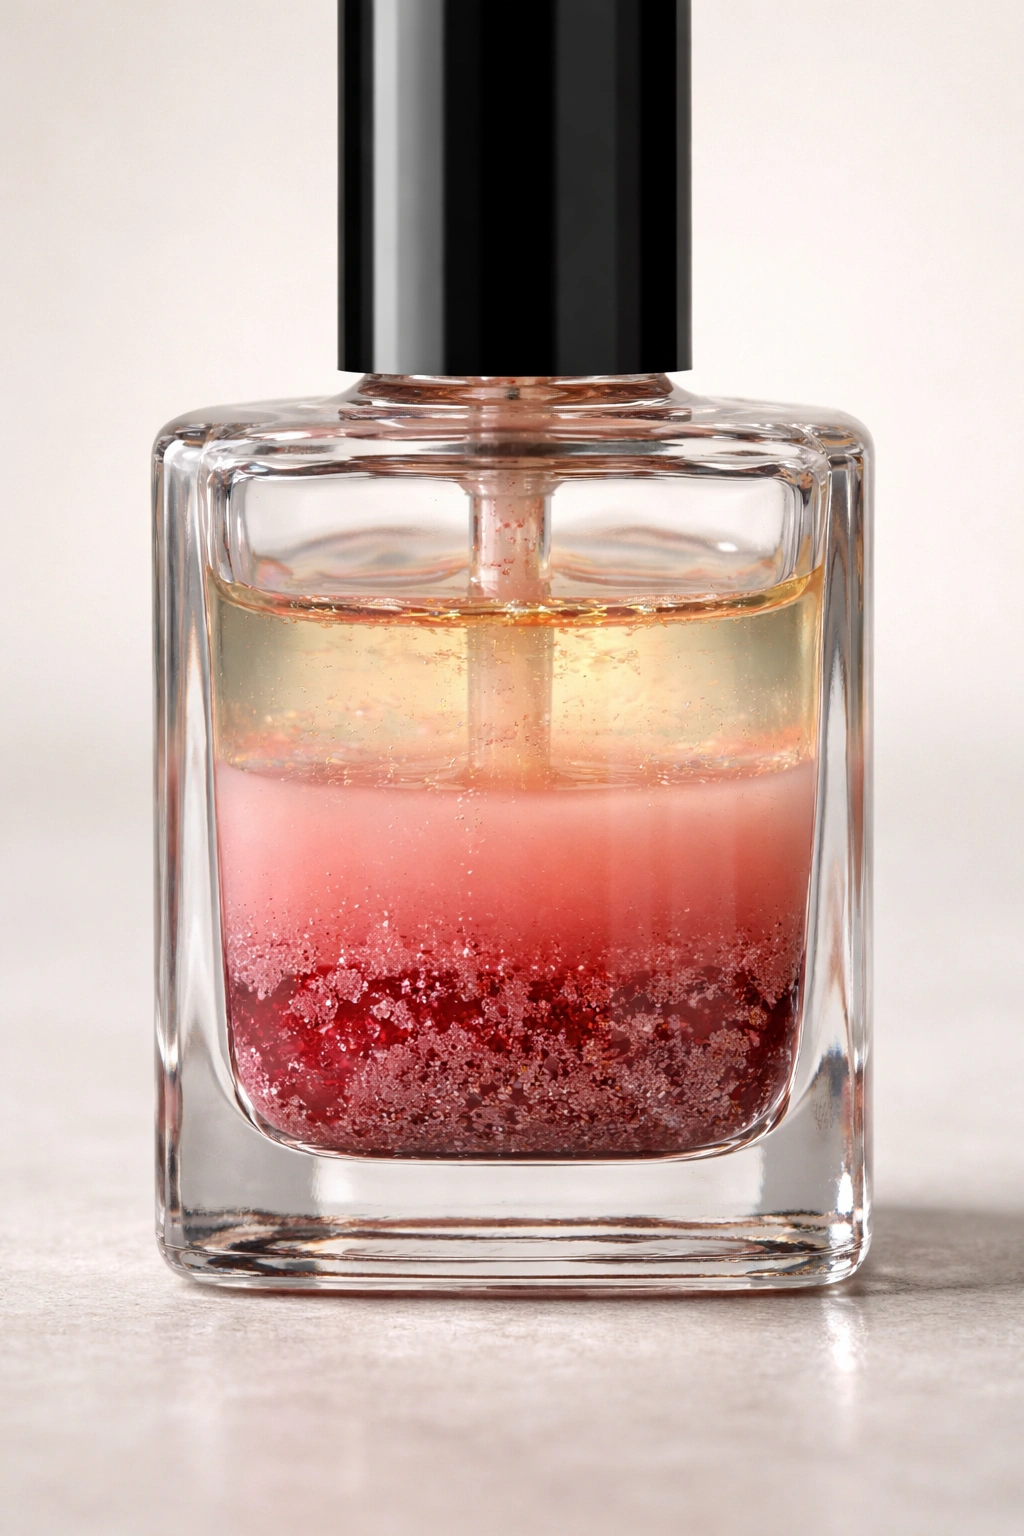
Nail polish is a complex formulation designed to work as a balanced system. Beyond the solvents, it contains pigments (for color), resins (for adhesion and hardness), plasticizers (for flexibility), and other additives that work together in harmony. When solvents evaporate, this balance breaks down, and the heavier ingredients that were suspended in the liquid begin to separate and settle.
This is why old polish often looks streaky or uneven when you finally use it—the pigments have sunk to the bottom, and you’re essentially painting with a much thinner, less pigmented version of the original formula. The polish you use first from the bottle looks different from what comes out toward the end, and by the time you’ve painted a few nails, you might notice variations in color and opacity.
Understanding this chemistry is important because it explains why certain “fixes” don’t work. Water won’t thin polish because oil and water fundamentally don’t mix, and rubbing alcohol can actually break down the delicate balance of ingredients in the formula, making things worse rather than better. You need a solvent that’s compatible with the polish’s existing chemistry—something designed specifically to work with nail lacquer.
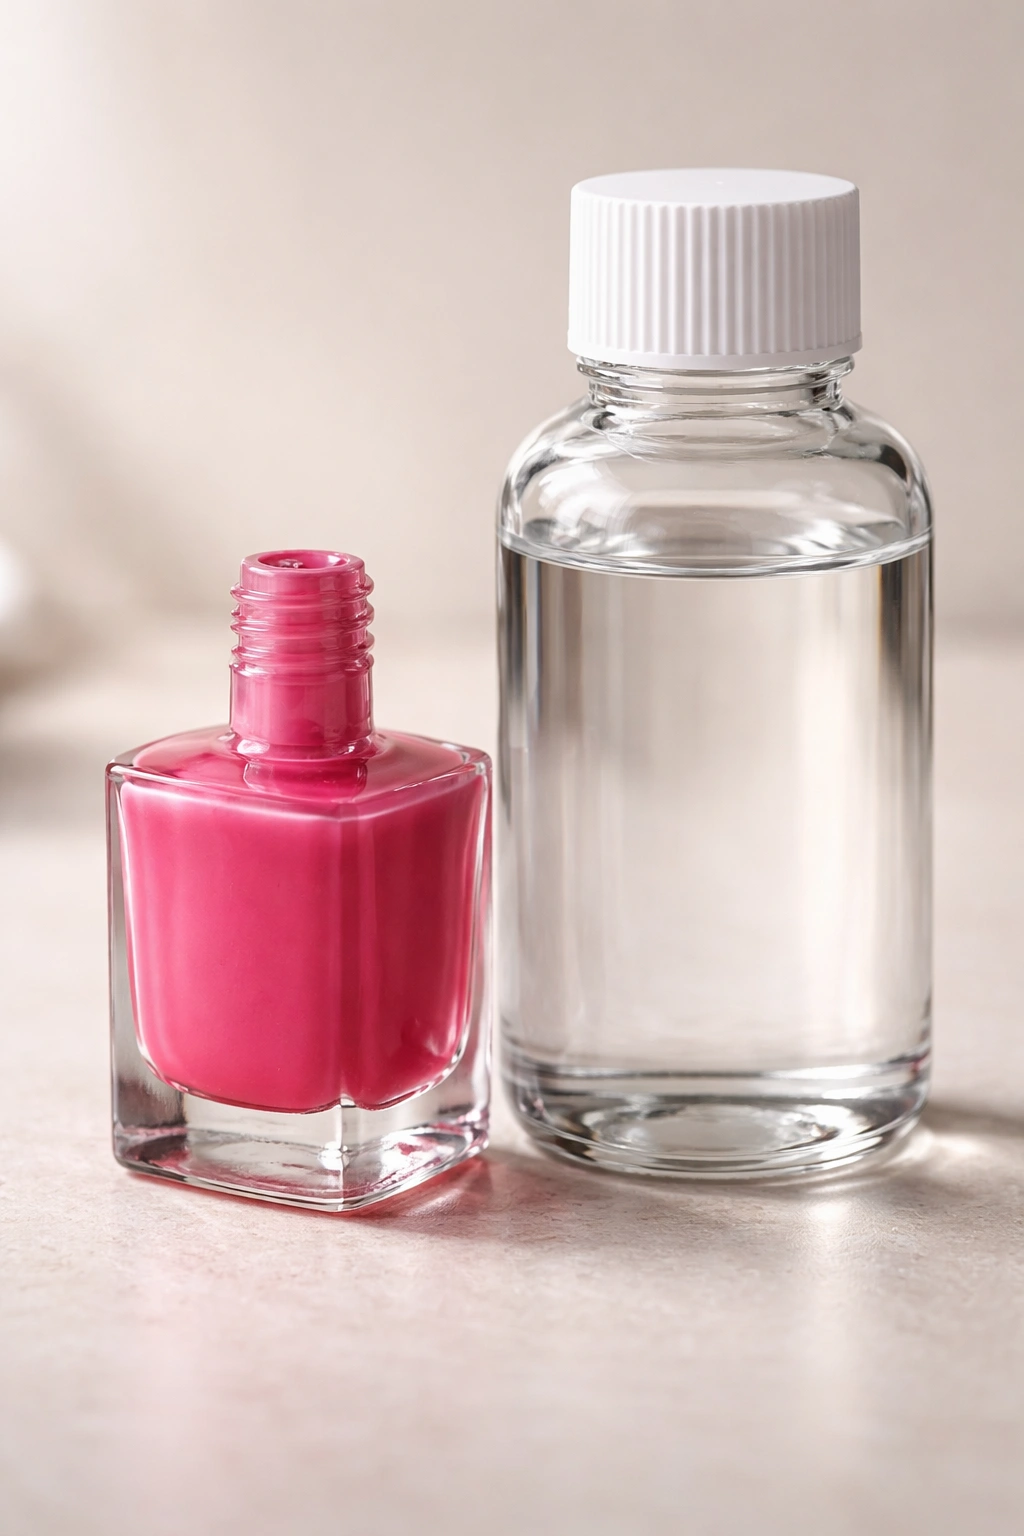
Method 1: Using Professional Nail Polish Thinner
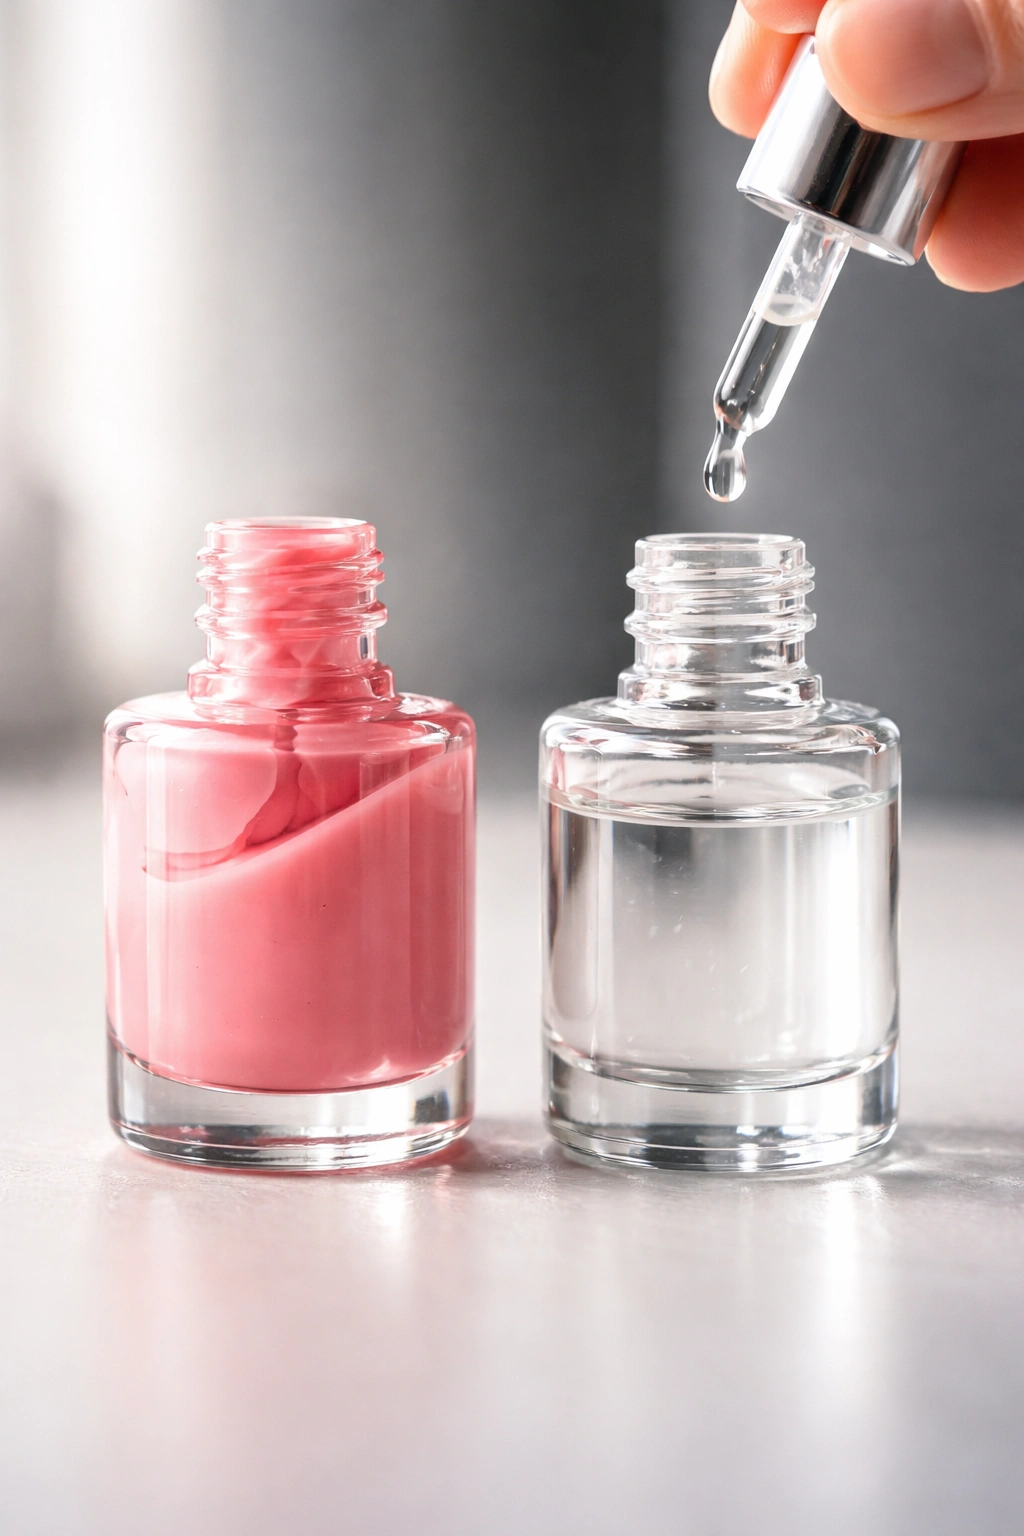
This is hands-down the most effective and safest way to restore thick nail polish, and it’s what professional nail technicians rely on. Nail polish thinner isn’t complicated or mysterious—it’s simply a solvent or blend of solvents formulated to re-integrate with dried-out polish without compromising the formula’s color, finish, or durability.
Brands like Beauty Secrets Nail Polish Thinner, Mavala Thinner, and most professional-grade thinners contain compatible solvents that work like a key fitting into a lock. When you add thinner to your polish, it doesn’t break down the formula like acetone would; instead, it replenishes the evaporated solvents and restores the polish to a workable consistency while keeping everything else intact.
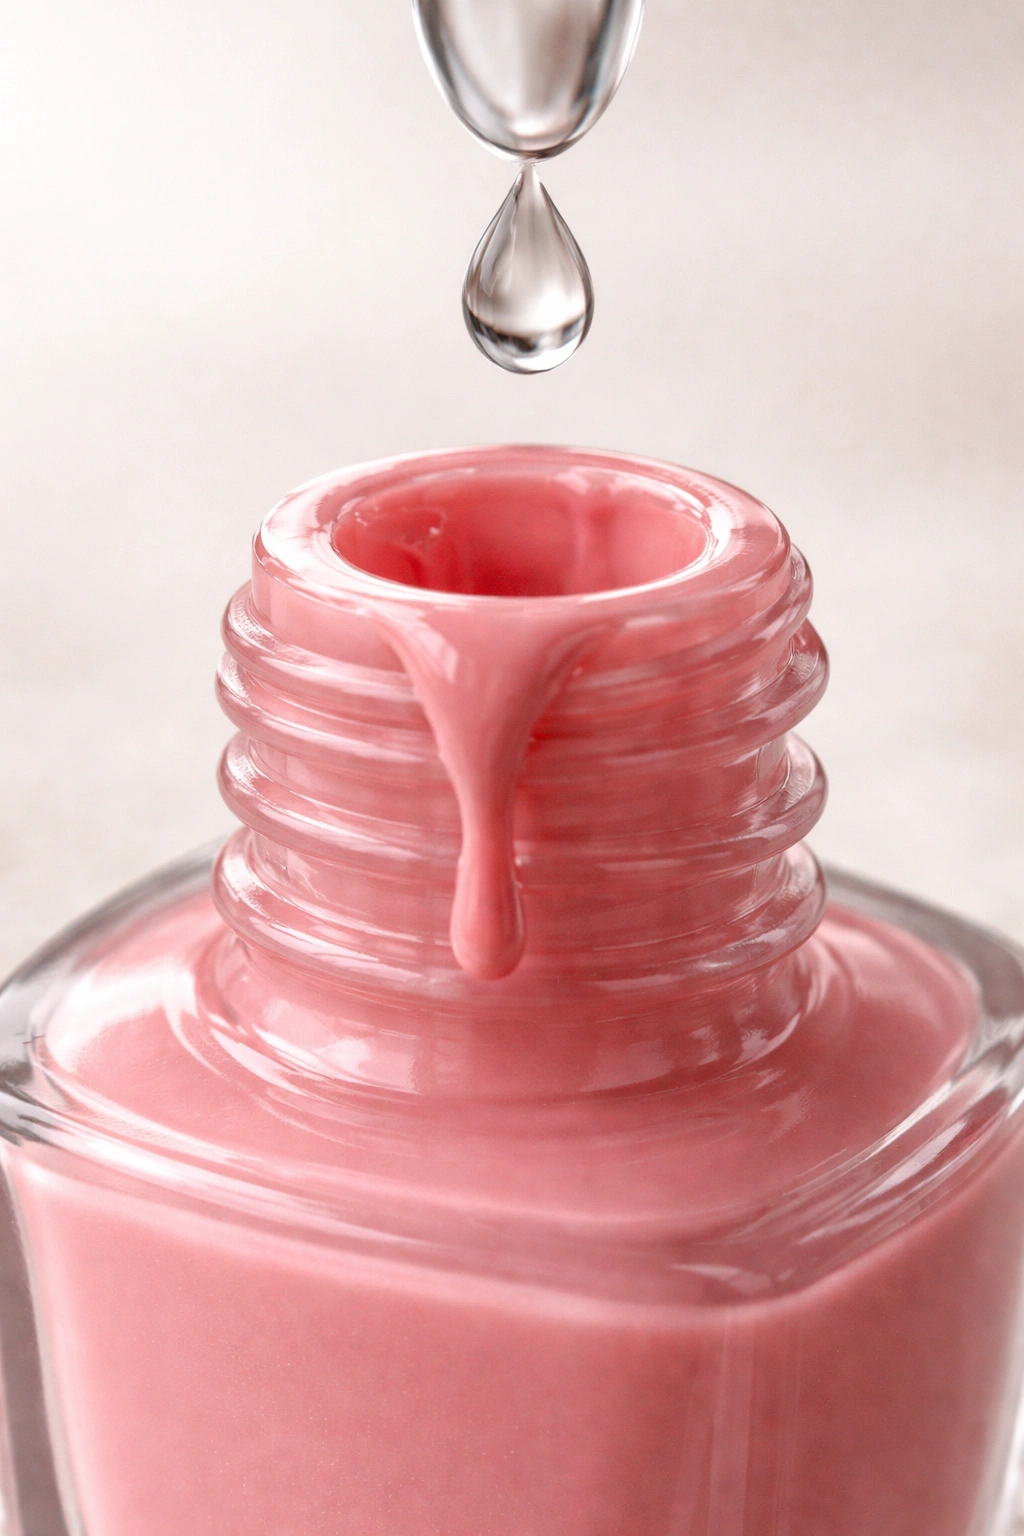
The process is straightforward and takes about two minutes. Begin by gathering your supplies: your bottle of thick polish, a bottle of quality nail polish thinner, and ideally an eyedropper or the built-in dropper that comes with many thinner bottles. Eyedroppers matter because you need precision—adding too much thinner is just as problematic as having polish that’s too thick.
Carefully open your thick polish bottle and add exactly 2 to 3 drops of thinner directly into the polish. This is the critical part: start small. You can always add more, but you can’t easily remove thinner once it’s in the bottle. Close the cap tightly and roll the bottle gently between your palms for 30 to 60 seconds. The rolling motion ensures the thinner distributes evenly throughout the polish without introducing air bubbles that shaking would create.
After rolling, open the bottle and test the consistency. Paint a tiny swatch on your nail, a piece of scrap paper, or even your palm to see if the polish now has that smooth, effortless glide you’re after. If it’s still thicker than you’d like, add one more drop of thinner, close the cap, and roll again. Repeat this process, testing after each addition, until you achieve the perfect consistency.
Most polishes need only 2 to 5 drops total to return to usable condition. Once you’ve got it right, make sure the cap is sealed tightly and store the bottle properly so you don’t end up back where you started. The beauty of this method is that it doesn’t damage the polish in any way—the finish, color, and durability all remain intact, and your polish will perform just like it did when it was fresh.
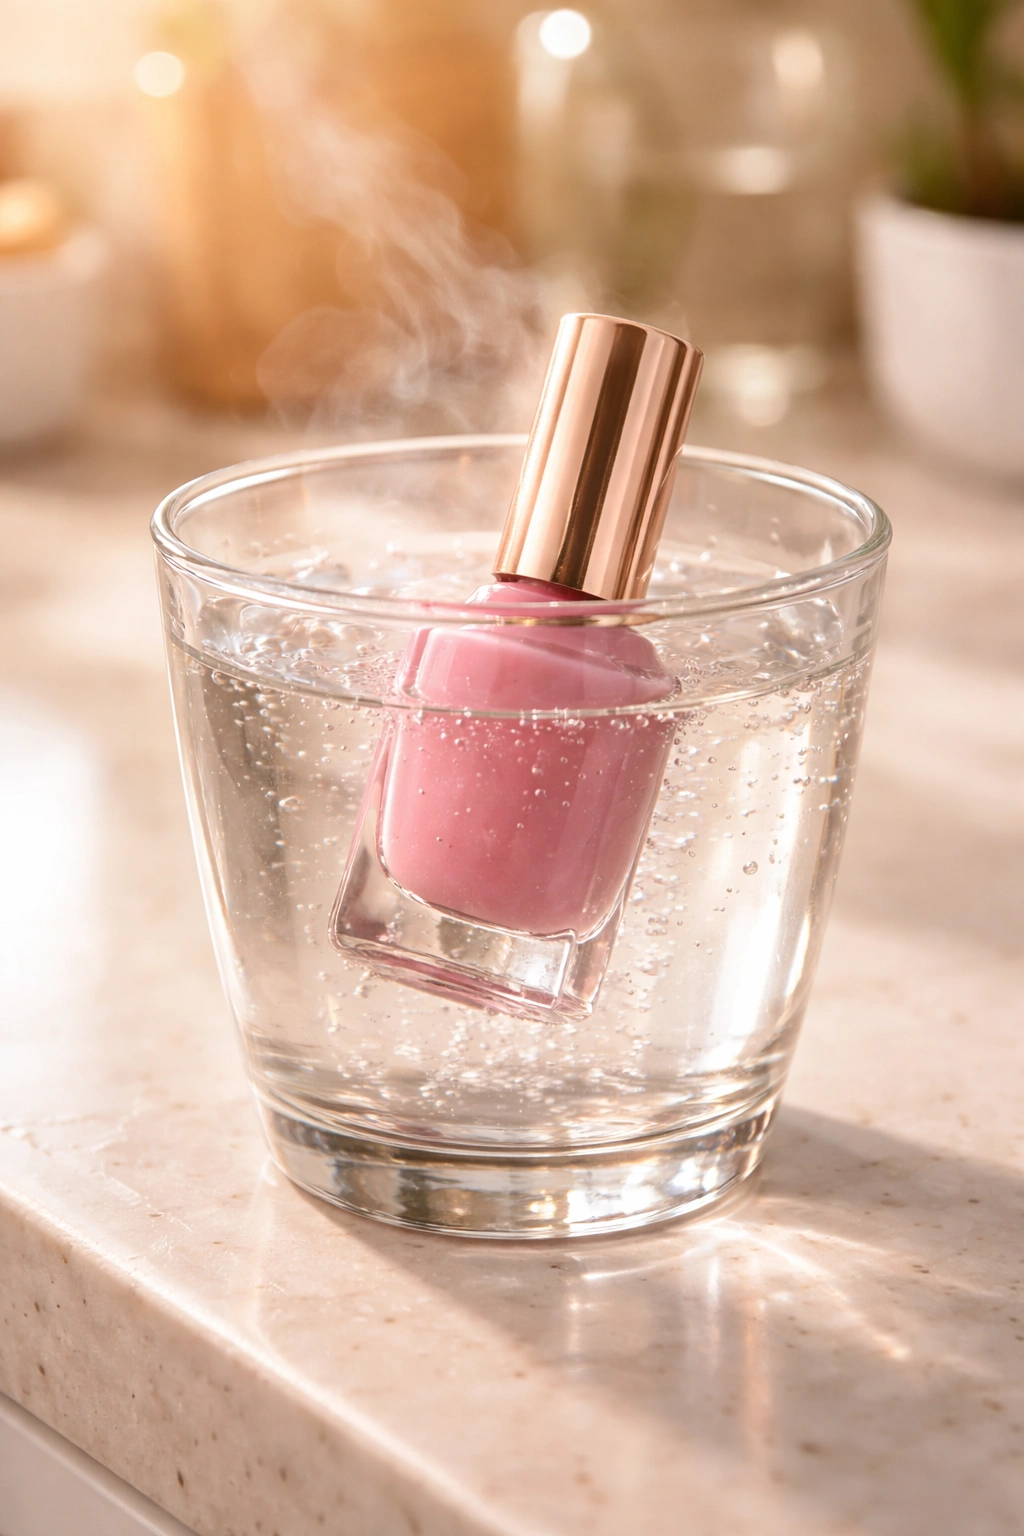
Method 2: The Warm Water Technique
If you don’t have nail polish thinner on hand and need a quick fix, the warm water method is a surprisingly effective temporary solution. This approach works best for polish that has just recently started to thicken, rather than polish that’s been sitting for years and is completely hardened.
The principle is simple: heat makes the polish more fluid. When you warm the bottle, the remaining solvents inside become slightly more volatile and mobile, and the overall consistency loosens up. This is a temporary fix—the polish will thicken again once it cools—but it’s perfect if you need to use your favorite shade today and can’t wait for a thinner delivery.
Fill a bowl or cup with hot water—water that’s hot to the touch but not boiling. If the water is too hot, the glass bottle can crack, which defeats the purpose entirely. Boiling water is unnecessary and potentially dangerous. Water that’s around 100-110°F (38-43°C) is ideal—comfortable to hold for a few seconds but definitely warm.
Place your sealed nail polish bottle into the hot water and let it sit for 2 to 5 minutes. The heat will gradually warm the polish inside without overheating it to the point of damage. After a few minutes, remove the bottle (carefully, as the glass will be hot), and gently roll it between your palms for about a minute. The combination of warmth and rolling helps loosen the thickened formula and redistribute the remaining solvents more evenly.
Test the polish immediately after rolling. If it’s still thicker than you’d like, you can repeat the process by placing the bottle back in warm water for another 2 to 3 minutes. This method works best when you use the polish right away while it’s still warm. As the bottle cools, the polish will gradually thicken again, which is why it’s not a permanent solution. If you need the polish to stay thin longer, combine this method with a drop or two of professional thinner for lasting results.
One important caveat: never submerge the bottle cap or allow hot water to enter the bottle itself. Keep the bottle tightly sealed at all times. Water inside the polish bottle would cause separation, cloudiness, and ruin the formula completely. The goal is to warm the polish from the outside, not to introduce water into the system.
Method 3: Pure Acetone as a Last Resort
Pure acetone can thin nail polish, but it should only be used when you’ve exhausted other options and are willing to accept that it’s a temporary fix that may compromise the polish’s quality. Acetone is the active ingredient in nail polish remover, and it works by breaking down the chemical bonds that hold polish together. Using it to thin polish is like using a sledgehammer when you need a scalpel—it works, but the collateral damage can be significant.
When you add acetone to nail polish, it doesn’t simply replenish solvents the way professional thinner does. Instead, it dissolves the existing formula to some degree, which can alter the color intensity, dull the shine, cause the finish to become gummy or uneven, and make the polish more prone to chipping once it’s applied. If you have a holographic, metallic, magnetic, or color-shifting polish, acetone will absolutely wreck the special effects that make that polish unique. The vibrant multichrome finish you paid premium prices for can become muddy and lifeless.
That said, if you have a bottle of polish that’s nearly empty and you just want to squeeze out a few more manicures before you toss it, acetone is an option. Add exactly one small drop of pure acetone (not nail polish remover, which contains additional ingredients that are even worse for polish—just acetone) and roll gently to mix. This is truly a “less is more” situation. Too much acetone will turn your polish into an unusable gummy mess that’s worse than it was when it was thick.
Use acetone only if you have no other choice, and understand that you’re probably on borrowed time with that particular bottle. Once you’ve thinned it with acetone, use it up fairly quickly and plan to replace it. The polish won’t last nearly as long, and the results won’t be as flawless as they would be with proper thinner. Think of acetone as an emergency measure, not a solution.
How to Properly Mix Your Thinned Polish
The mixing method matters just as much as what you’re adding. Most people instinctively shake their polish bottles, but this is actually the worst thing you can do when you’re trying to thin polish or restore it to working condition. Vigorous shaking introduces countless tiny air bubbles into the formula, and these bubbles cause real problems.
Those air bubbles create uneven application, leading to streaky polish that doesn’t look smooth. Bubbles can also affect how the polish dries and can contribute to chipping because the integrity of the polish film is compromised by all those trapped air pockets. Once bubbles are introduced through shaking, they’re difficult to get rid of, even if you wait for the polish to sit.
Instead, roll the bottle gently between your palms for 30 to 90 seconds. Place the sealed bottle horizontally between your hands and slowly roll it back and forth, as if you’re rolling a piece of clay or warming your hands on a cold day. This gentle motion mixes the thinner (or whatever you’ve added) evenly throughout the polish without trapping air. If the polish is particularly thick, you can also try turning the bottle upside down and right-side-up repeatedly, about 10 to 15 times, which helps blend the ingredients without the aggressive air-trapping that shaking causes.
For very thick or nearly solidified polish, consider letting the thinner sit in the bottle for 30 minutes to an hour before mixing. The thinner will slowly seep into and soften the dried polish, making mixing easier and more effective. After letting it sit, gently roll the bottle to distribute everything evenly. This is especially helpful for polish that’s been sitting for years.
If you’re working with polish that has a thick layer of separated pigment at the bottom, you might need to gently stir it. Use a solvent-safe tool like a wooden coffee stirrer or a metal paper clip—never use plastic, which will dissolve in the polish. Carefully break up the settled layer at the bottom, then roll the bottle to remix. This helps ensure that the pigments are evenly distributed throughout before you start painting.
What NOT to Use When Thinning Polish
This is just as important as knowing what does work. There are several household items that seem like they might thin polish but absolutely should not be used, no matter how tempting or convenient they seem.
Water is the enemy of nail polish. Standard nail polish is oil-based, and oil and water don’t mix. If you add water to polish, it will immediately separate, becoming cloudy and streaky. The water won’t incorporate into the formula—it will sit there as droplets suspended in the polish, and your manicure will look terrible. Even a tiny splash of water, like if you accidentally knock a drop of water into an open bottle, can ruin the entire contents. Once water has mixed with polish, the damage is done and irreversible. You can’t fix it, so don’t try.
Rubbing alcohol is equally problematic. While alcohol might seem like a good option because it’s a solvent, it breaks down the delicate balance of ingredients in nail polish in a different way than acetone does. Rubbing alcohol can disrupt the formula’s chemistry, leading to inconsistent drying time, brittleness, excessive chipping, and compromised color. The finish won’t look right, and the polish won’t behave properly on your nails.
Non-acetone nail polish remover is also off-limits. These products contain additional ingredients beyond the solvents in pure acetone—often moisturizers, emollients, and other compounds designed to be gentle on skin and cuticles. These extra ingredients have no place in your nail polish formula. They’ll create a weird, gummy texture and interfere with how the polish adheres to and dries on your nails.
Even pure acetone, while it technically works, should only be used as a true last resort. The damage it does to the polish formula is real, and if you’re trying to preserve a shade you love, acetone should be your final option, not your first choice. Always exhaust your better options—professional thinner or the warm water method—before reaching for acetone.
Nail polish remover designed for gel polish should definitely never be used on standard nail polish. Gel removers contain additional solvents and ingredients specific to breaking down gel formulas, and they’ll wreak havoc on traditional lacquer.
Testing Your Polish for the Right Consistency
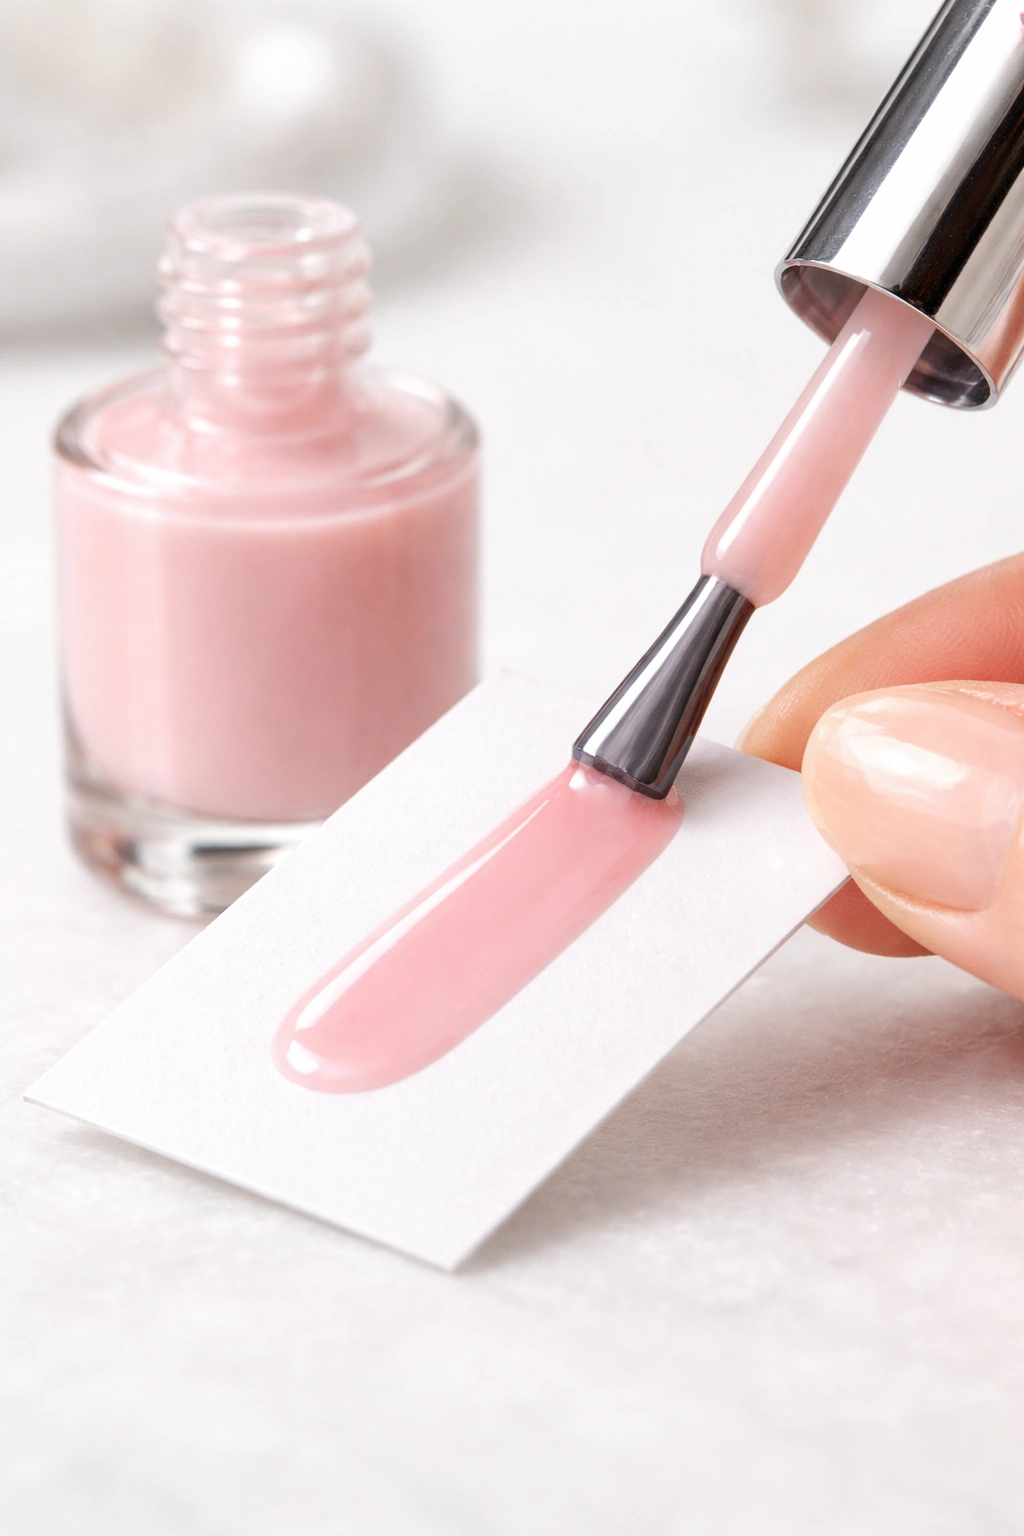
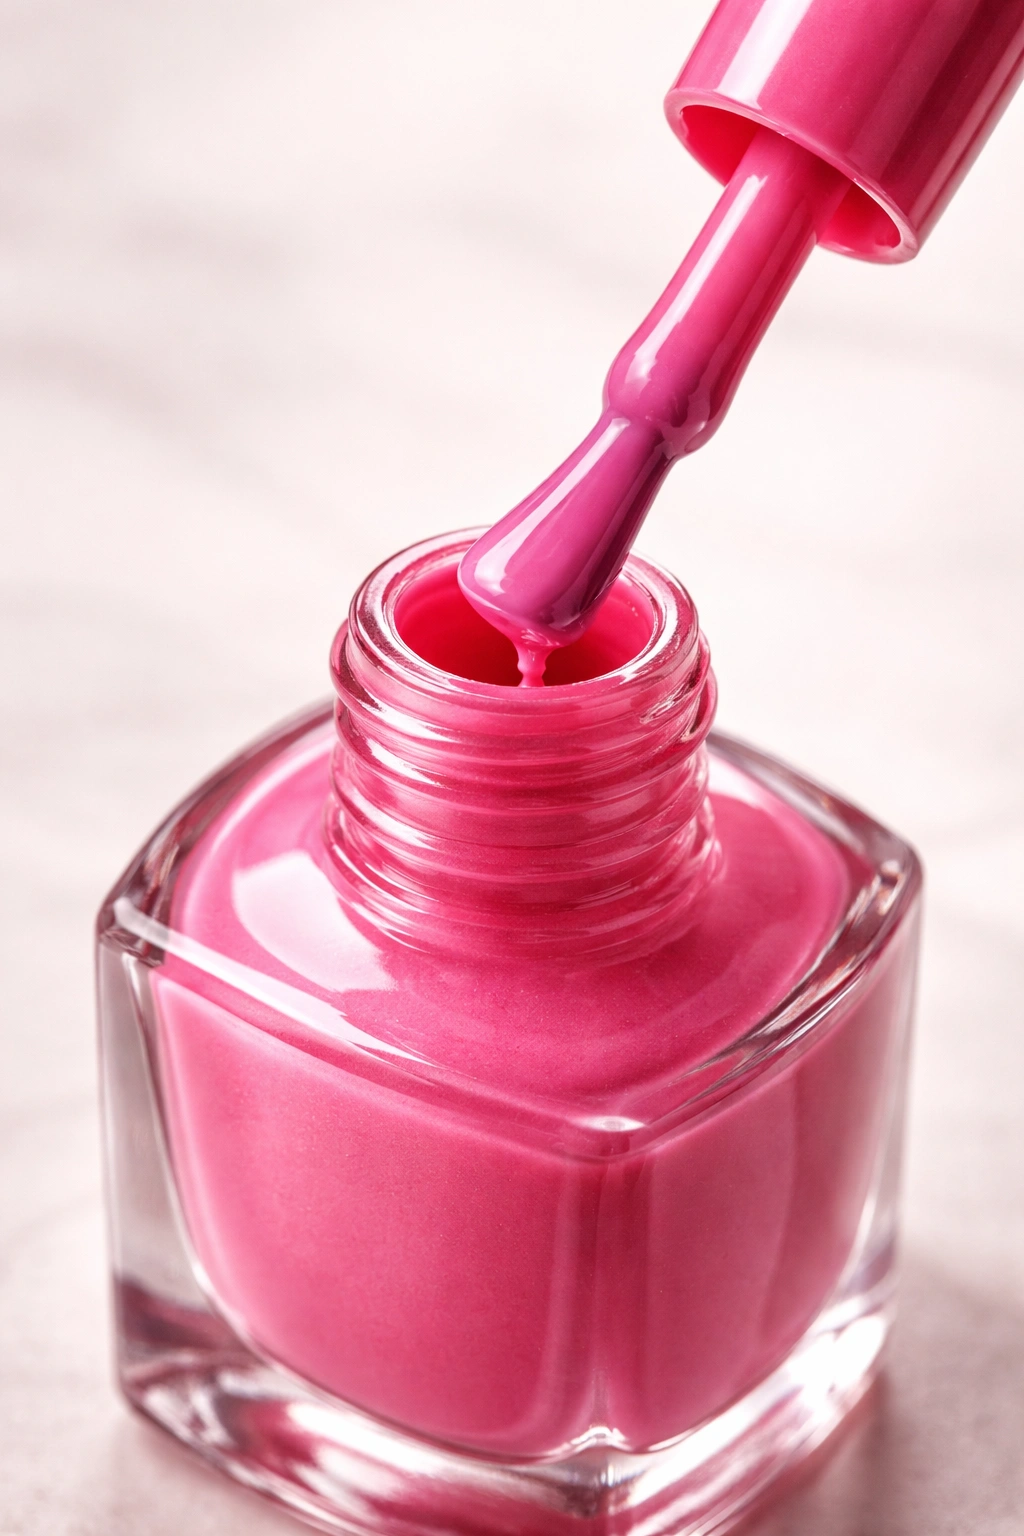
Once you’ve added your chosen thinner and mixed, you need to actually test the polish before you commit to a full manicure. This step saves so much frustration. The right consistency feels smooth and effortless when you brush it on—it should flow onto your nail without dragging, and it should level out on its own without you having to struggle to spread it.
Apply a small test swatch to your nail, a piece of white paper, or even your palm. Does it glide on smoothly with gentle brush pressure, or does it still feel thick and require you to push? Can you see brush strokes, or does it level out into a smooth, even coat? Does it feel gummy or does it feel right? These are the questions that tell you whether you’ve achieved the perfect consistency or need to add more thinner.
If the polish still feels thick after your first addition of thinner, add just one more drop, roll gently, and test again. Keep this incremental approach—add drops one at a time and test after each addition. It’s much easier to add more thinner than to somehow remove it if you’ve overdone it.
There’s also such a thing as polish that’s too thin. If you’ve added too much thinner, the polish becomes runny and won’t apply evenly. It might drip off your brush, spread unevenly across the nail, and take forever to dry. If you’ve accidentally over-thinned your polish, don’t panic. You can’t remove the thinner, but you can let some of the solvents evaporate naturally. Leave the bottle open in a safe, well-ventilated space (not in your bedroom—nail polish fumes aren’t something you want to breathe all night) and check it every few hours. As the solvents evaporate, the polish will gradually thicken. Once it reaches the right consistency, cap it tightly and store it properly to prevent further evaporation.
Storage Secrets to Prevent Future Thickening
Once you’ve successfully revived your polish, the best strategy is to prevent the problem from happening again. Proper storage is honestly more important than any of the thinning methods. A bottle that’s stored correctly might never need thinning at all.
The ideal storage environment is cool, dark, and has a consistent temperature. Room temperature, around 60-75°F (15-24°C), is perfect. Never store polish in your bathroom, despite the convenience. Bathrooms experience dramatic temperature and humidity fluctuations from hot showers, which accelerates solvent evaporation. Similarly, avoid storing polish on a windowsill, near a heat source, or in direct sunlight. UV light can actually break down the polish formula over time, causing discoloration and thickening.
Keep your polish bottles standing upright, not on their side or upside down. When a bottle lies on its side, the polish can flow into the neck and cap area, where it’s exposed to more air and can dry out and harden at the bottle’s opening. This makes the bottle difficult or impossible to open next time. Upright storage keeps the bulk of the polish away from the cap and neck, minimizing contact with air.
After every use, immediately wipe the neck of the bottle with a cotton swab slightly dampened with nail polish remover before you replace the cap. This removes any excess dried polish that’s accumulated around the opening. If dried polish builds up on the bottle’s neck, it prevents the cap from sealing tightly, which allows air to seep in and the solvents inside to evaporate more rapidly. A tight seal is everything—even a slightly loose cap will gradually compromise your polish over time.
Make sure your caps are screwed on firmly and completely. Don’t leave your polish open while you’re waiting for your nails to dry. Yes, it’s tempting to keep the brush out and the bottle open while you’re applying multiple coats, but every second the bottle is open, solvents are escaping into the air. Close it between coats. It takes two seconds to unscrew and rescrew the cap, and it makes a significant difference in the polish’s longevity.
Consider storing your most precious polishes—limited editions, discontinued shades, colors you paid premium prices for—in the refrigerator. The cold, stable temperature inside a fridge is actually ideal for nail polish preservation. Just make sure the bottles are sealed in a small container so there’s no risk of spills, and never store polish in the freezer where temperature fluctuations can cause damage. The fridge keeps the solvents from evaporating as quickly and can significantly extend a polish’s usable lifespan.
Signs Your Polish Is Beyond Saving
Not every bottle of thick polish is worth reviving. Sometimes, your polish has genuinely reached the end of its life and needs to be discarded, no matter how much you loved that shade. Knowing when to move on is important because using compromised polish just leads to frustration and a mediocre manicure.
If your polish has separated into distinct layers that won’t remix together, it’s probably done. When you roll the bottle, the pigments should blend back into the liquid. If they stubbornly stay separated despite rolling and even the warm water method, the formula has broken down too severely. The ingredients have become incompatible, which means thinning won’t fix the fundamental problem.
Check the smell. Old polish develops a distinctly unpleasant, chemical odor that’s different from the normal solvent smell of fresh polish. If your polish smells strongly acidic, rotten, or just wrong, trust your nose. The formula has degraded and won’t perform properly.
Look at the color and consistency of the separated material. If there’s a hard, gummy layer at the bottom that’s a different color from the rest of the polish, or if what you’re seeing looks more like plastic gunk than polish, the bottle is compromised. Some polishes, especially those with lots of glitter or metallic particles, can separate in ways that make them essentially unusable even if thinning helps temporarily.
Polish typically has a shelf life of one to two years after opening, though unopened bottles last longer. If you can’t remember when you opened a particular bottle and it’s been years, it’s probably wise to replace it rather than spend time trying to revive it. The formula has likely degraded beyond what thinning can fix. Invest in a new bottle of that color and vow to use it more frequently so you don’t end up in this situation again.
Pro Tips From Nail Technicians
Professional nail technicians work with polish every single day, and they’ve developed some clever tricks for keeping their collections in perfect condition and thinning polish when necessary. Their insights can save you time and frustration.
Never shake your polish, even when it’s fresh. Get in the habit of rolling it from the very first use. This prevents you from ever introducing bubbles into a bottle, which is especially important for polishes with special finishes like magnetics or thermals that are already prone to settling. Start good habits early.
If you have polish that’s only slightly thick and you’re about to use it, the warm water method combined with rolling works faster than waiting for thinner to fully incorporate. While your thin soaks, assemble your polish and prepare your nails. By the time you’re ready to paint, the polish is at the right consistency and you’re ready to go. This is the “pro move” for quick fixes before a manicure.
Label your bottles with the purchase date, especially if you have a large collection. Professionals often use a small label maker or just write the date on the bottom of the cap with a permanent marker. When you’re deciding which polish to use, you naturally reach for the ones you bought more recently first, which ensures nothing sits untouched long enough to become problematic.
Keep your nail polish thinner in the same drawer or container as your polish. This removes the excuse of “I don’t have thinner on hand” and makes it easy to grab both when you need them. Professional nail salons have thinner accessible at all times because it’s part of regular maintenance.
Rotate which polishes you use. Professionals deliberately use different shades throughout their collections rather than relying on their absolute favorites. This keeps all your polish relatively fresh and prevents any one bottle from sitting untouched so long that it thickens significantly.
Final Thoughts
Thick, clumpy nail polish doesn’t have to mean the end of the line for your beloved shade. With the right thinner, a little patience, and the proper technique, you can restore almost any polish to its original, effortless consistency. Professional nail polish thinner is your best friend—it’s inexpensive, specifically formulated for this exact purpose, and keeps your polish quality intact while bringing it back to life.
Remember that prevention is genuinely easier than rescue. Store your polish properly in a cool, dark place with the cap sealed tightly. Wipe the bottle’s neck after each use. Close the bottle between coats. Rotate which shades you use so nothing sits gathering dust for years. These simple habits eliminate the thick polish problem before it ever starts.
But when you do end up with a bottle that’s thickened despite your best efforts, don’t panic or toss it. Grab your thinner, add a few drops, roll gently, and test. Within minutes, that gooey mess can become polish that glides on like it did the day you bought it. Your favorite shades deserve a second chance, and with these three methods, you can give it to them.
