

Nail polish removal doesn’t have to mean sacrificing the health of your nails. If you’ve ever noticed your nails becoming brittle, peeling, or weakened after removing polish, you’ve experienced firsthand how harsh traditional acetone removers can be. The good news is that gentler, damage-free alternatives actually work—and many of them are probably already sitting in your bathroom or kitchen cabinet right now. The key is understanding which methods preserve nail integrity while effectively dissolving stubborn polish, and how to properly care for your nails throughout the removal process.
The problem with standard nail polish removers goes deeper than just the lingering chemical smell. Acetone, the primary ingredient in most commercial removers, strips away the natural lipid layer that protects your nails and keeps them flexible and strong. Over time, this dehydration weakens the nail plate, making it more prone to breakage, peeling, and splitting. If you’re someone who changes your polish frequently, using acetone repeatedly can compound these issues, leaving you with nails that look dull and feel papery. The solution isn’t to go without polish altogether—it’s to remove it using methods that actually respect your nail health.
1. The Alcohol-Based Gentle Method
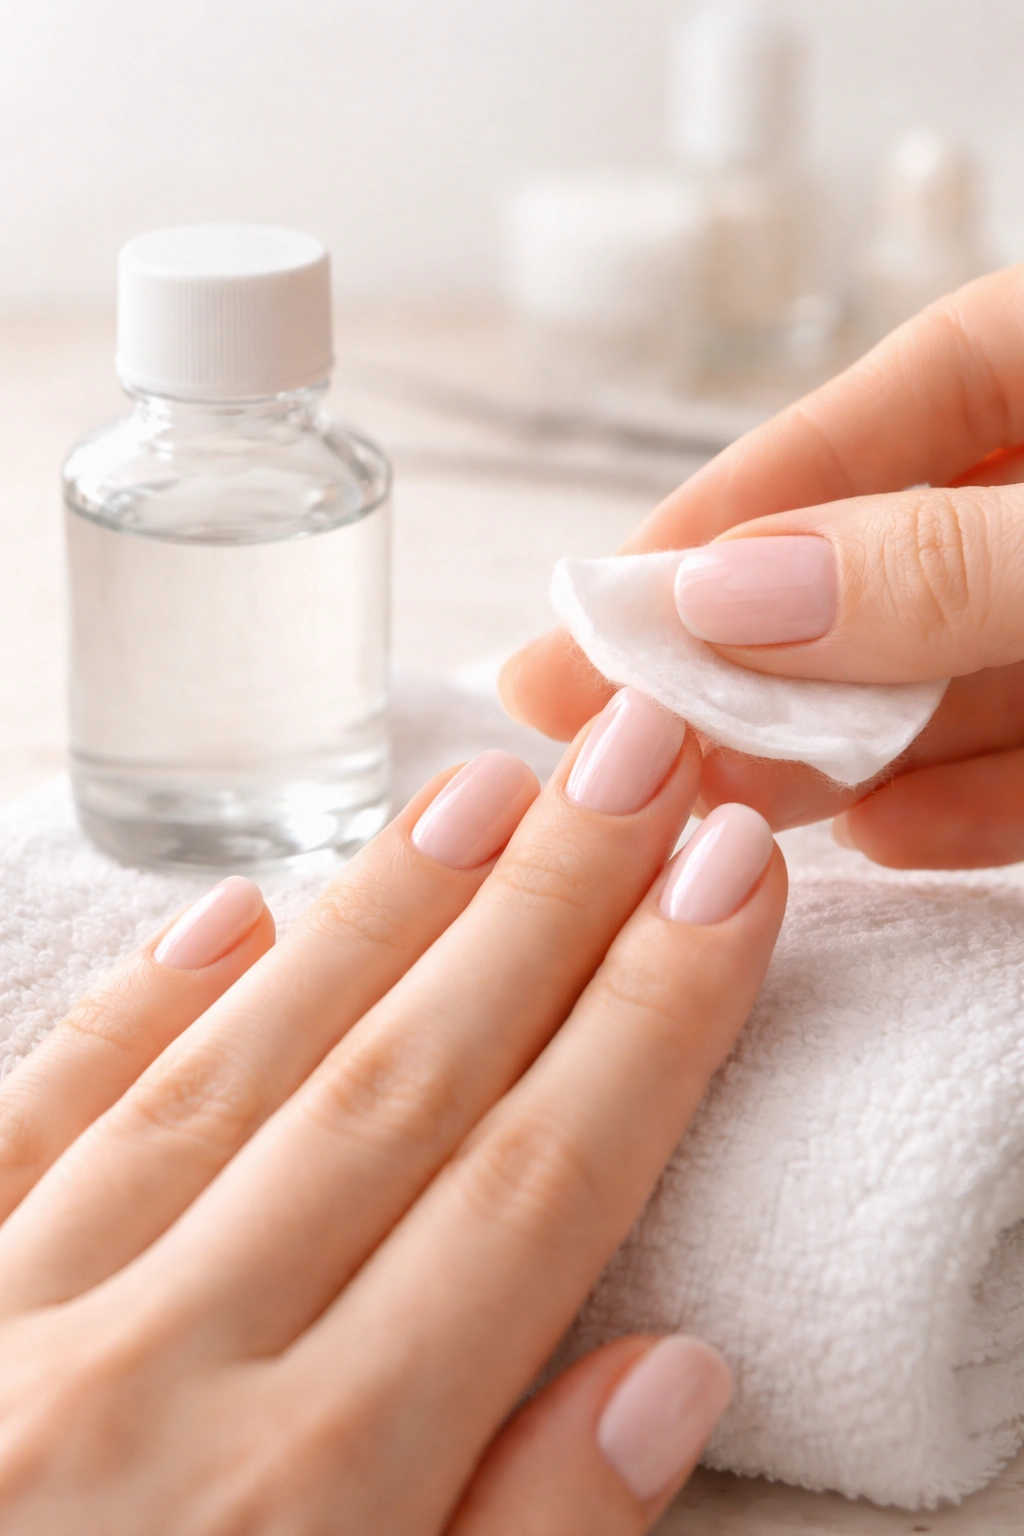
Rubbing alcohol removes nail polish without the harsh stripping effects of acetone because it works differently at a molecular level. While acetone aggressively dissolves the polish’s binding agents, isopropyl alcohol (rubbing alcohol) gradually softens the polish, giving you more control over the removal process and less trauma to the nail surface. This method takes a bit longer than acetone removal, but the trade-off is absolutely worth it for nail health.
Why Rubbing Alcohol Works Better Than Acetone
The reason rubbing alcohol is gentler comes down to its chemical properties. Acetone is a ketone solvent that’s incredibly powerful—almost too powerful for regular use. Rubbing alcohol, typically found in concentrations of 70-90% isopropyl alcohol, is still effective at dissolving polish but does so more gradually and less aggressively. This means less dehydration of the nail plate and surrounding skin. Celebrity nail artist Brittney Boyce, founder of Nails of LA, confirms this approach works, explaining that the alcohol gradually softens the polish rather than dissolving it completely, which allows for gentler removal without scrubbing excessively.
Step-by-Step Application
Start by soaking a cotton ball or pad in rubbing alcohol. Press it directly onto your nail and let it sit for about 10 seconds—don’t rush this step, as patience is what makes this method effective. After the brief soak, gently rub the cotton ball back and forth across the nail in one direction. You’ll notice the polish beginning to soften and peel away. For each nail, you may need to repeat this process two or three times, especially with darker or thicker polishes. Unlike acetone removal, which often requires just one aggressive wipe, this method’s strength lies in its gentleness combined with multiple light applications.
Protecting Your Skin While Removing Polish
One crucial detail when using rubbing alcohol is moisture management. While it’s less drying than acetone, isopropyl alcohol can still dehydrate skin and cuticles if you’re not intentional about protection. Before you start, apply a thin layer of cuticle oil or petroleum jelly to the skin surrounding your nails. This creates a barrier that prevents the alcohol from drying out your cuticles while you work. Once you’ve finished removing all the polish, wash your hands thoroughly with soap and water to remove any remaining alcohol residue.
Best for Which Polish Types
This method works particularly well on regular cream or sheer nail polishes. If you’re removing a thick glitter polish or highly pigmented color, you may need to extend the soaking time or repeat the process more times than you would with acetone. The trade-off is worth it—your nails won’t suffer the weakening and peeling that comes with harsher chemicals.
2. The Acidic Solution Approach
Acidic solutions like vinegar combined with citrus juice represent one of the most accessible and effective damage-free nail polish removal methods. The acidity naturally breaks down polish without stripping the protective oils from your nails, making this approach especially valuable for people with sensitive, already-compromised, or naturally weak nails. This method has been validated by nail experts and used successfully for years, proving that effective removal doesn’t require harsh chemicals.
How Vinegar and Citrus Acid Work Together
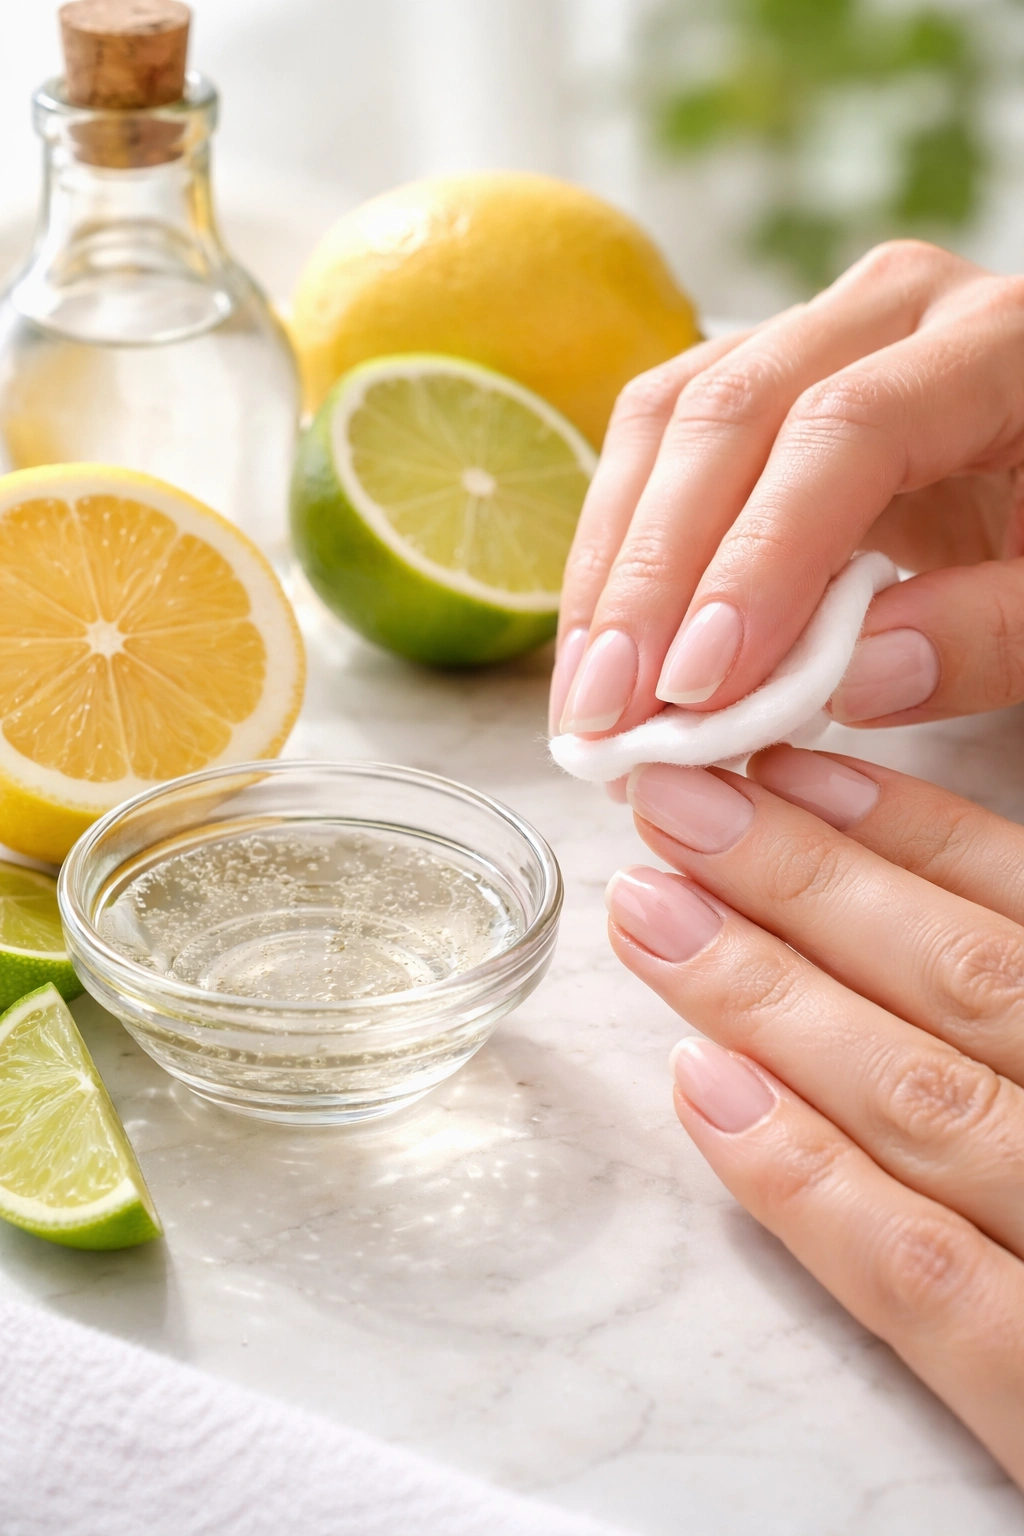
White vinegar and fresh lemon juice or orange juice both contain organic acids that dissolve nail polish pigments without the aggressive solvent action of acetone. When combined, their acidic power is amplified, creating a solution that’s strong enough to remove polish in 10-20 minutes but gentle enough to use repeatedly without damaging the nail structure. The beauty of this combination is that both ingredients are non-toxic, food-grade substances that your skin can safely contact without irritation (though you should still avoid getting the solution in cuts or on cracked cuticles, as the acidity can sting).
Preparing the Solution and Application Process
To make your removal solution, combine equal parts white vinegar and fresh lemon juice or orange juice in a small bowl—roughly 2 tablespoons of each works well for both hands. Mix thoroughly to ensure the ingredients are fully combined. Soak a cotton ball or pad generously in the mixture and press it directly onto one nail, holding it in place for 10-15 seconds. The polish will begin visibly softening during this time. Once you feel the polish starting to give, gently rub the cotton pad downward over the nail to lift away the softened polish. You may need to repeat this process 2-3 times per nail, especially if you’re working with darker or more heavily applied polish.
Why This Method Suits Sensitive Nails
If you have nails that are already peeling, splitting, or showing signs of damage from previous acetone use, this method is ideal. The natural acids are significantly less harsh than chemical solvents, and the solution actually leaves your nails slightly moisturized rather than parched. Your cuticles benefit too—the citrus and vinegar are gentler on the delicate skin surrounding your nails, reducing the irritation and peeling that commonly follows standard polish removal.
Variations and Adjustments
For lighter-colored polishes like pinks, nudes, or pastels, this method typically works within 10 minutes per nail. For deeper colors, jewel tones, or blacks, extend your soaking time to 15-20 minutes. If you find the solution is working more slowly than you’d prefer, you can increase the ratio of lemon juice slightly, as citric acid is the stronger of the two acids. Some people add a small amount of vitamin E oil to the mixture for added nourishment, though this slows the removal slightly—a worthwhile trade-off if your nails are particularly compromised.
3. Non-Acetone Commercial Removers with Nourishing Ingredients
If you prefer a commercial product but want to avoid acetone, non-acetone removers formulated with plant-based ingredients offer the best of both worlds—effective polish removal with added nail care benefits. These products have become increasingly popular as awareness of acetone’s damaging effects has spread, and brands now offer soy-based, oil-enriched, and plant-derived formulas that actually support nail health rather than compromise it.
Understanding Soy-Based and Plant-Based Alternatives
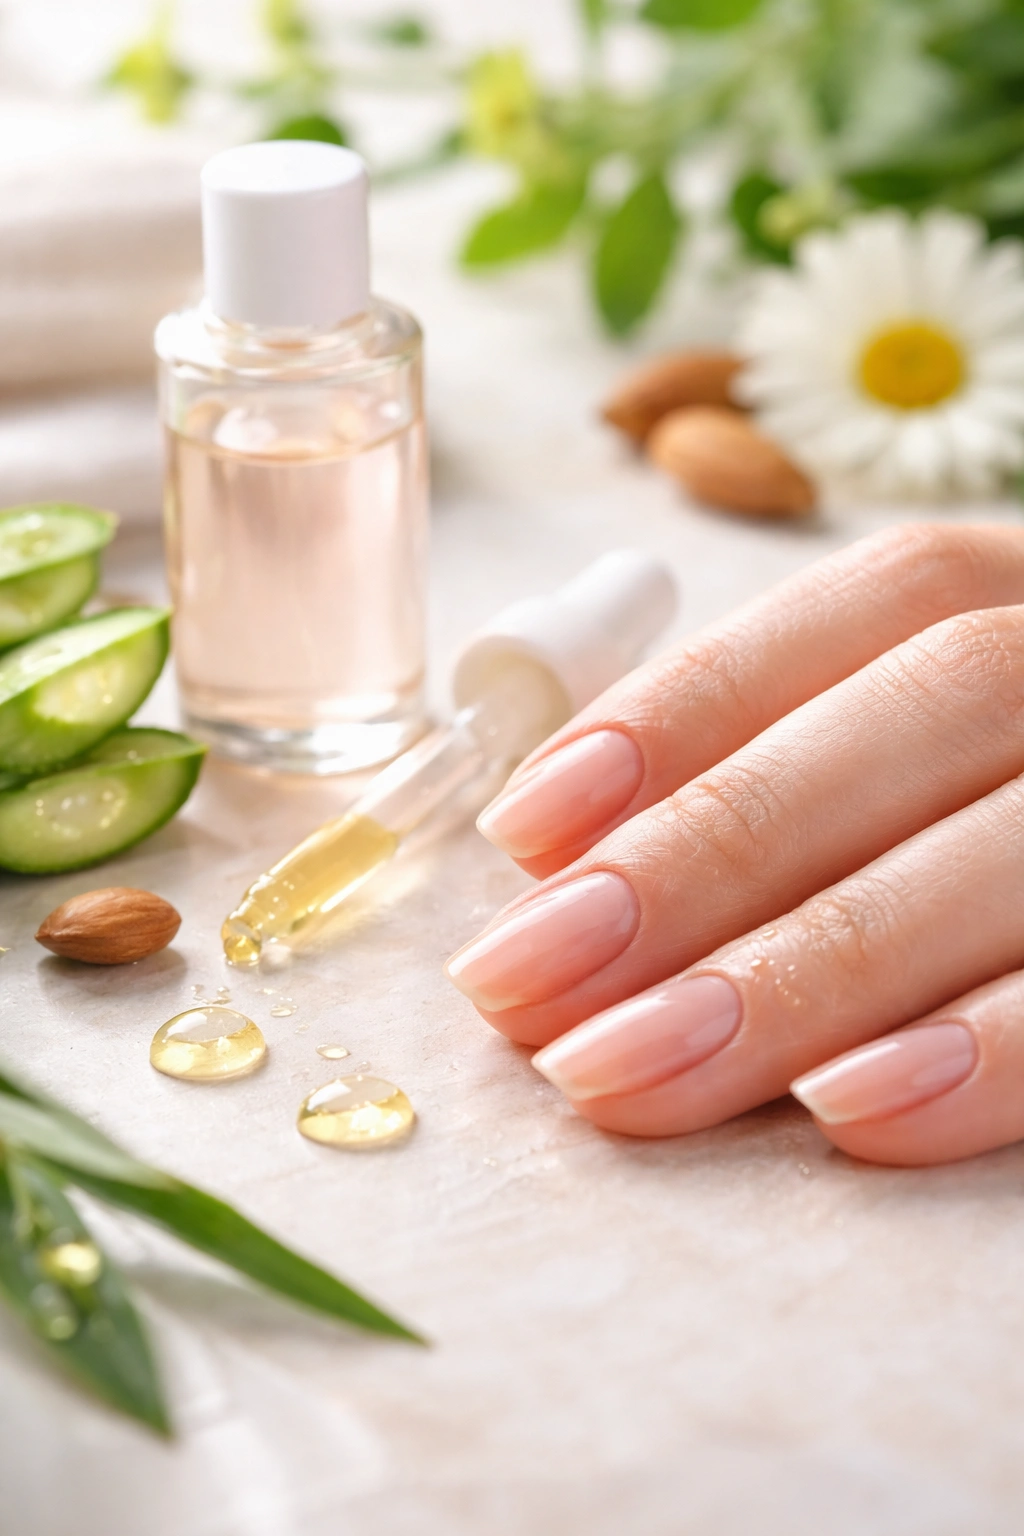
Soy-based removers work by using gentler solvents derived from soybean oil and other plant sources rather than harsh petroleum-based chemicals. These formulas dissolve nail polish effectively but at a slower pace than acetone—usually requiring 45 seconds to 1 minute of application before the polish softens enough to remove. While this sounds slower, it’s actually preferable because it means less aggressive action on your nails and less dehydration of the nail plate. Additionally, plant-based removers often include nourishing ingredients like sweet almond oil, vitamin E, castor oil, or essential plant extracts that actively condition your nails as they remove polish.
How to Use Non-Acetone Removers Effectively
The application technique matters more with gentler removers than with acetone. Cut cotton squares to roughly the size of each individual nail—this reduces product waste and prevents excess remover from contacting surrounding skin. Soak each cotton square thoroughly in the remover and place it directly on the nail, then secure it with either a plastic wrap or foil for a tight seal. Let it sit for the full recommended time—usually 45 seconds to 1 minute—before removing the wrap. This contact time allows the gentler formula to properly penetrate the polish layers and dissolve the bond between polish and nail.
Recommended Product Categories
Look for removers labeled as “acetone-free,” “soy-based,” “plant-derived,” or “non-toxic.” Brands increasingly offer formulas enriched with oils like argan, jojoba, coconut, or almond oil. Some premium options include botanical extracts and vitamins that make removal feel more like a treatment than a chore. Professional nail technicians often recommend these gentler alternatives for clients with sensitive nails or those who remove polish frequently, which tells you something about their effectiveness and reliability.
Cost Considerations
Non-acetone commercial removers typically cost slightly more than traditional acetone-based options—usually in the $6-$12 range per bottle versus $3-$5 for basic acetone. However, you’ll use less product per application since the formula is more concentrated, and the benefit to your nail health makes the modest price difference worthwhile. Many brands also sell individual removal pads or pre-soaked towels, which offer maximum convenience and portion control at a slightly higher per-use cost.
Understanding the Damage Acetone Causes to Nails
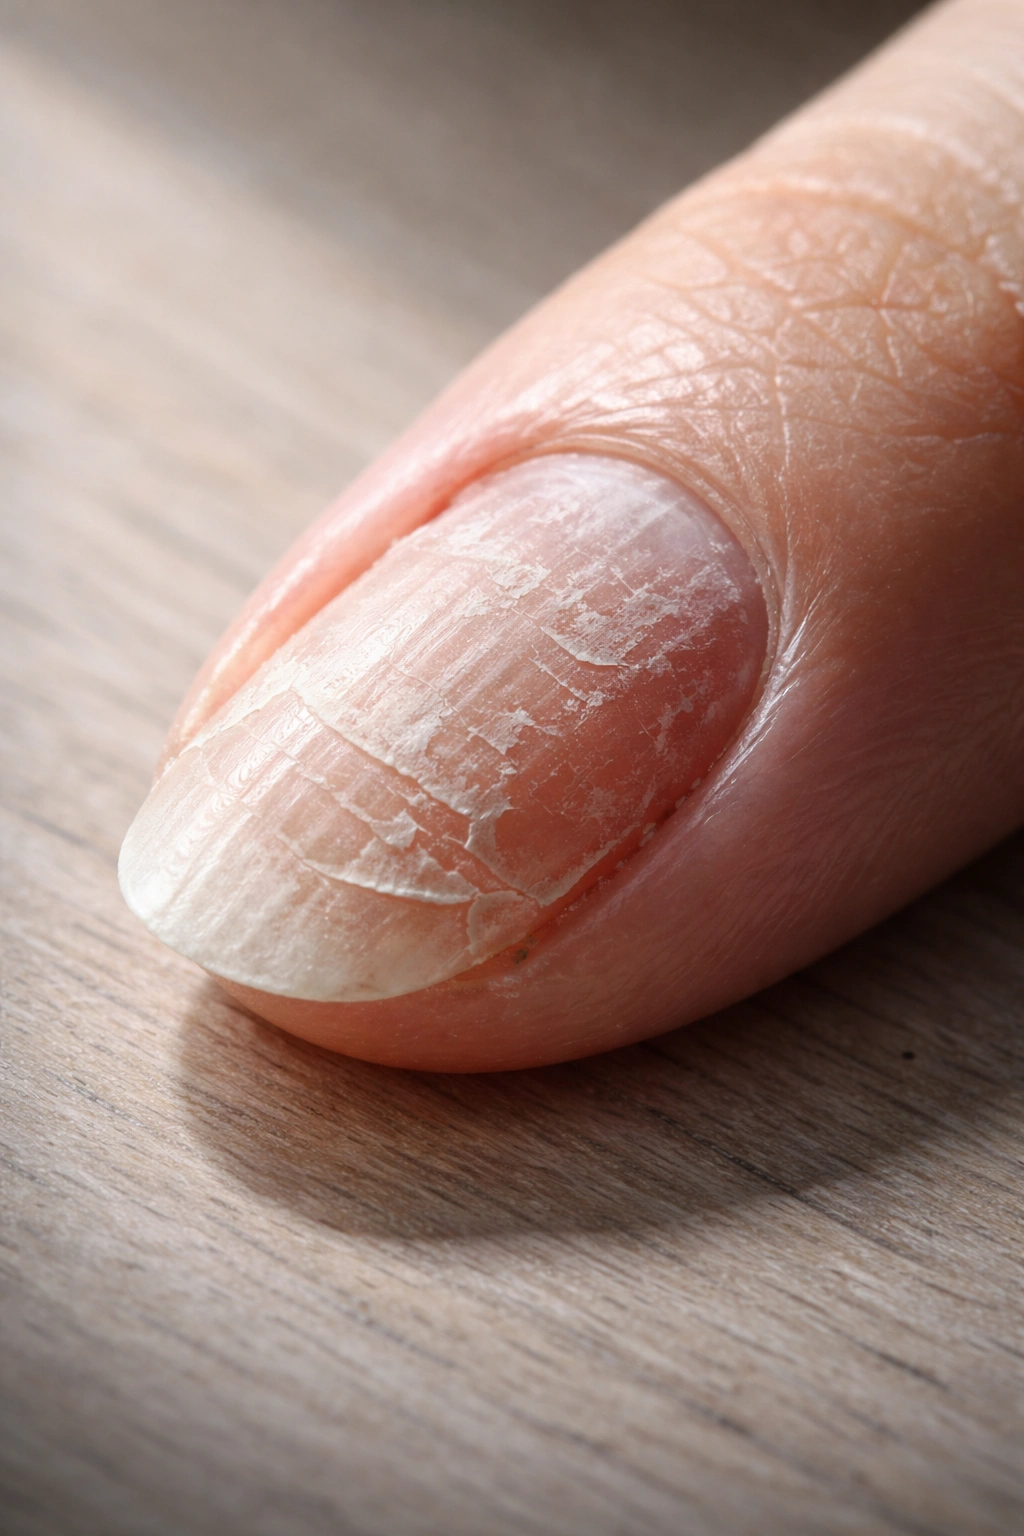
To truly appreciate why these damage-free methods matter, it’s worth understanding exactly what acetone does to your nails. Acetone is a powerful solvent that doesn’t just remove polish—it strips away the nail plate’s natural protective lipid layer, which acts like a moisture barrier. This lipid layer keeps your nails flexible, hydrated, and resilient. When acetone removes it, your nails lose their protective coating and become vulnerable to dehydration, breakage, and weakening.
With repeated acetone exposure, you’ll likely notice your nails becoming increasingly brittle. They may develop white spots, peel in thin layers, or break more easily when they would have been flexible before. Your cuticles can become dry, irritated, and inflamed. The nail beds themselves may develop a temporary whitening or cloudiness. These aren’t permanent changes—nails do grow out and recover—but they’re signs that your removal method is harming your nail health. The good news is that switching to gentler removal methods immediately stops this damage and allows your nails to recover as new, healthier nail growth replaces the damaged portion.
Post-Removal Care and Recovery
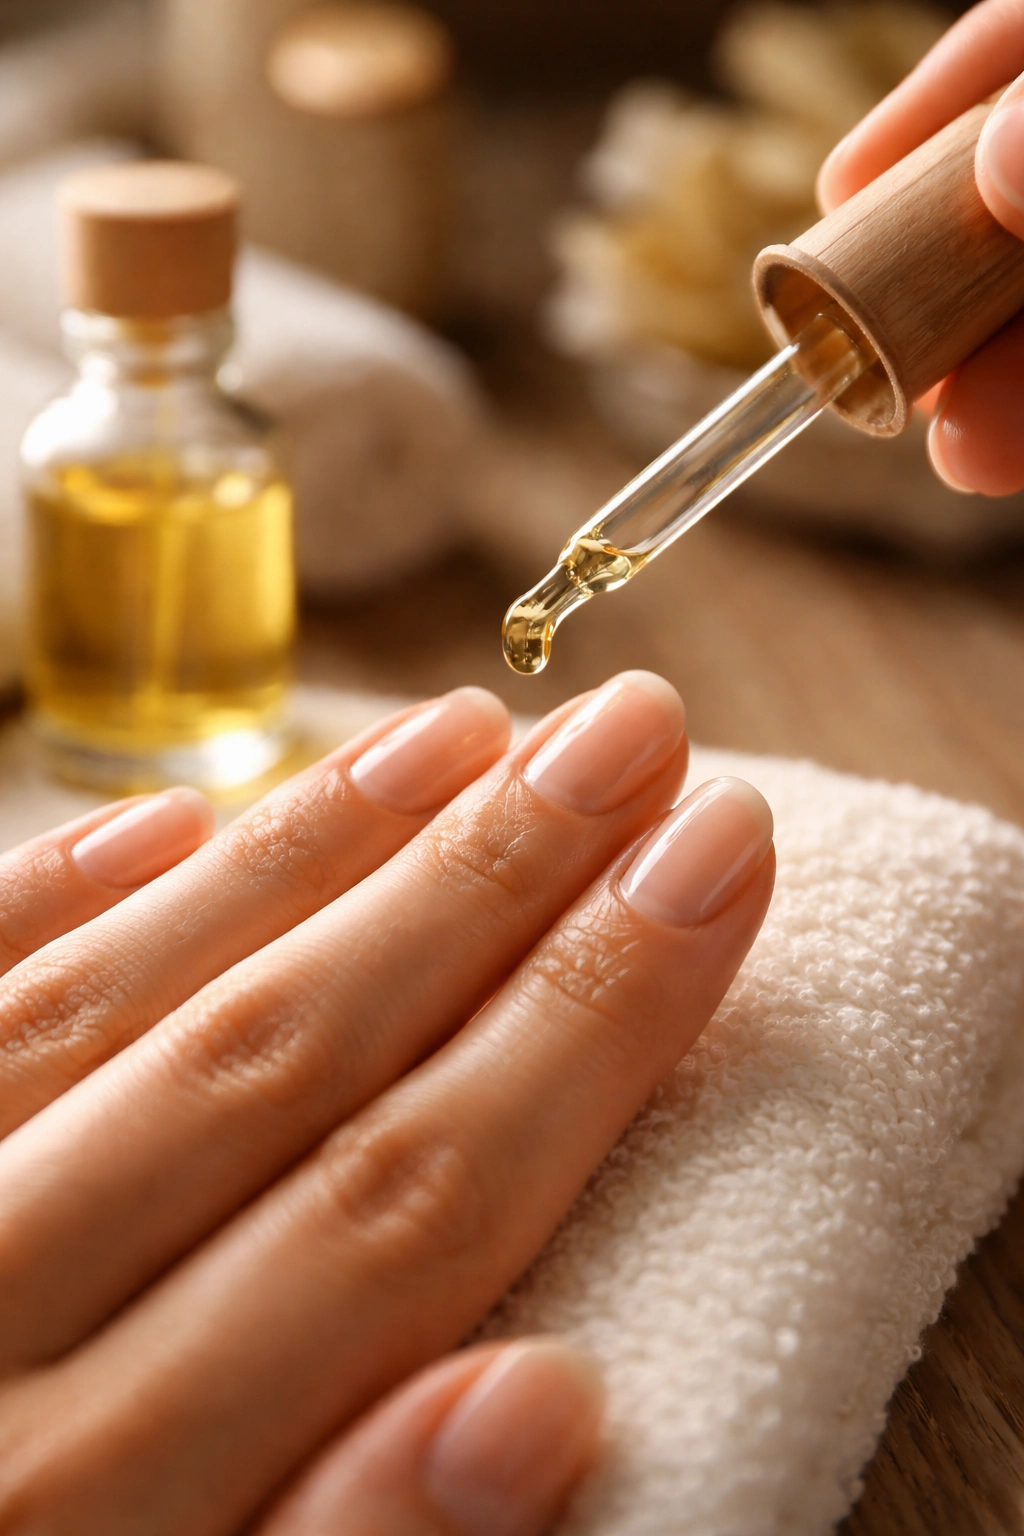
No matter which damage-free method you choose, what you do immediately after removal significantly impacts your nail recovery. The removal process, even with gentle methods, opens up the nail plate slightly and leaves it temporarily more porous and vulnerable. This is the critical window when proper hydration and nourishment make the biggest difference.
Immediately after finishing polish removal, wash your hands with gentle soap and lukewarm water to remove any residual remover or solution. Pat your hands dry gently—don’t rub aggressively. Within minutes, apply a nourishing cuticle oil or nail serum to both your nails and the surrounding skin. Look for products containing vitamin E, argan oil, jojoba oil, or other plant-based nourishing ingredients. Massage the oil into your nails and cuticles using gentle circular motions, paying special attention to the cuticle area where the most damage typically occurs.
For the next few days after removal, repeat this oil application 2-3 times daily. This consistent hydration allows your nails to recover their flexibility and strength. If your nails are particularly damaged from previous acetone use, you might also consider taking a 3-5 day break between polish applications to allow fuller recovery. This breaks the cycle that many people get into—applying new polish before their nails have fully recovered from the previous removal, which compounds damage over time.
Why Nail Damage Prevention Matters Long-Term
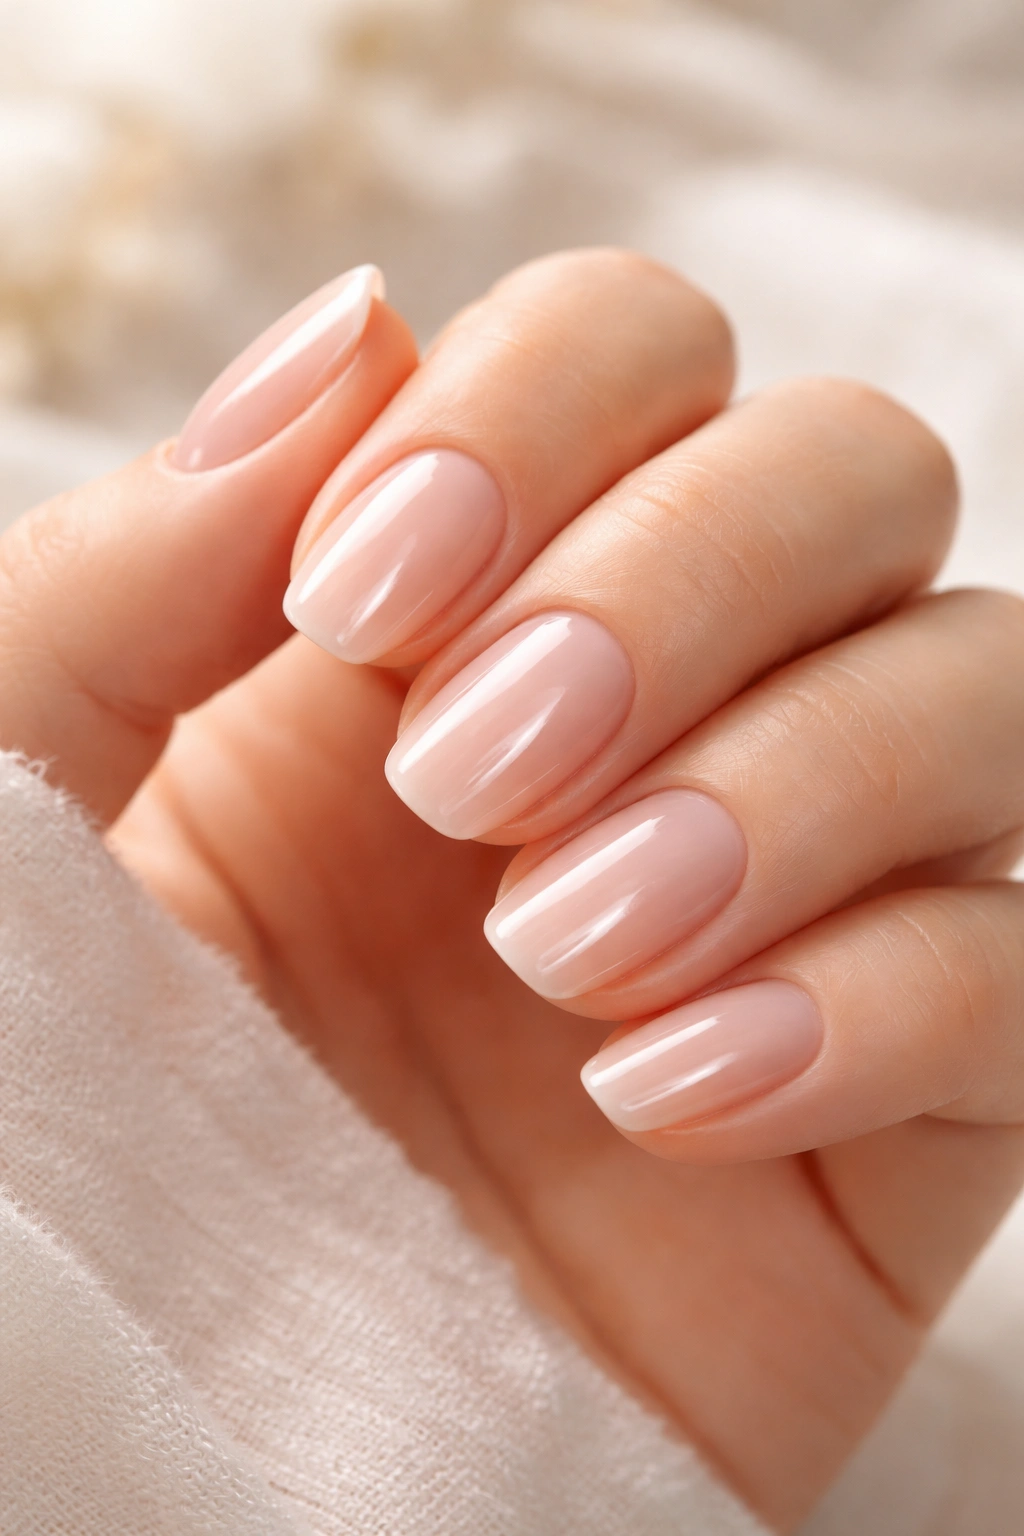
Many people dismiss nail damage as a cosmetic concern, but it actually affects the health and function of your nails. Weakened, brittle nails are more prone to breaking, splitting, peeling, and developing infections. If a nail breaks below the quick (the living part under the nail), it can be painful and take months to fully grow out. Preventing damage through gentler removal methods means you’ll have stronger, healthier nails that grow faster, look shinier, and are less prone to breaking.
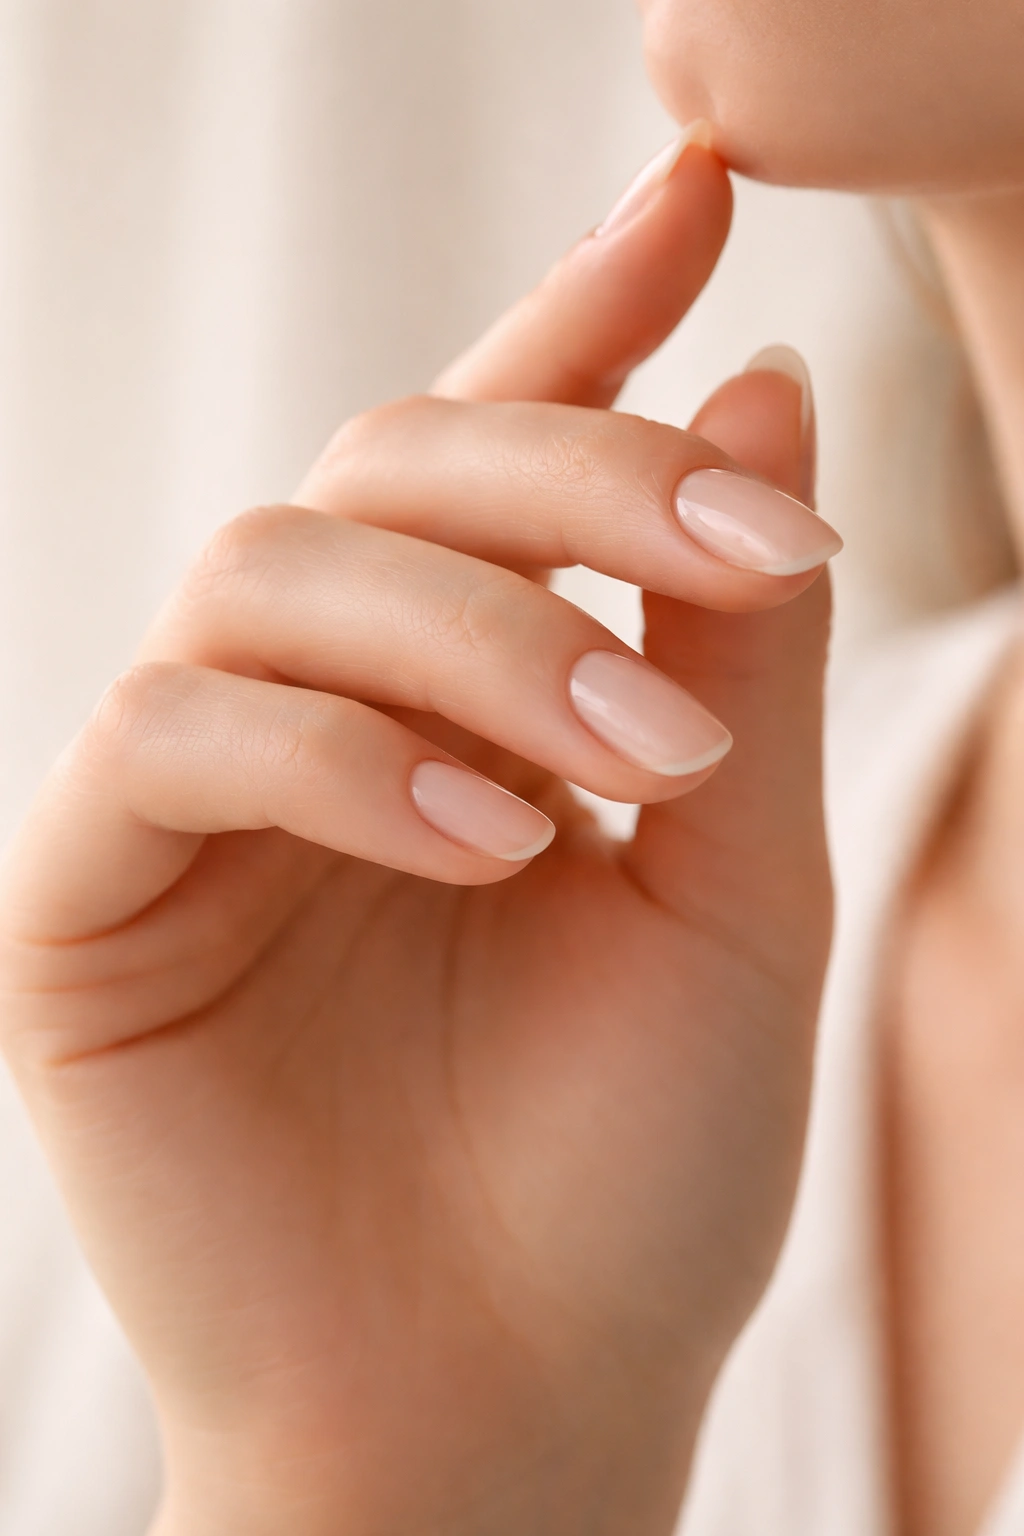
Additionally, damaged nails create a compounding problem. When your nails are weak and peeling, you’re more tempted to pick at them or file them down, which causes further damage. This can create a cycle where your nails never have a chance to recover and return to their natural strength and appearance. By removing polish gently from the start, you prevent this cycle from developing and maintain healthy nails that you actually enjoy showing off.
Final Thoughts
The most effective approach to nail polish removal isn’t about choosing between effectiveness and gentleness—it’s about recognizing that truly effective removal is gentle removal. Using rubbing alcohol, acidic citrus and vinegar solutions, or plant-based non-acetone removers gives you proven methods that work just as well as acetone while actually protecting your nail health. Your nails are living tissue that deserve care, not punishment, and switching to damage-free removal methods is one of the single most important decisions you can make for long-term nail health.
The next time you’re ready to remove your polish, skip the harsh chemicals and reach for one of these gentler alternatives instead. Your nails will thank you with improved strength, flexibility, and appearance that becomes visible within just a few weeks of using kinder removal methods consistently.
