

Your nails tell a story. They’re one of the first things people notice, and unfortunately, they’re also among the first things to suffer when life gets hectic. Weak, brittle nails that break at the slightest bump don’t just look disappointing—they signal that your nails are crying out for serious nourishment. If you’ve been relying on salon treatments or expensive commercial strengtheners without addressing the root issue, you’re likely throwing money at a problem that kitchen ingredients can actually solve.
The good news? You don’t need a dermatologist appointment or a trip to the salon to transform your nails. The strongest, healthiest nails often come from consistent at-home care using simple, natural ingredients. A nail soak is one of the most underrated tools in nail care, yet it’s remarkably effective. When you immerse your nails in a nourishing soak, you’re giving them extended contact with conditioning oils, minerals, and nutrients that penetrate deep into the nail bed and cuticles. This isn’t a quick fix—it’s a reset button for nails that have been damaged by polish, harsh chemicals, or simple neglect.
What makes DIY nail soaks so powerful is that you control exactly what touches your nails. No mystery chemicals, no parabens, no toxins hiding in ingredient lists. You’re working with olive oil, honey, lemon, eggs, and herbs that actually work. People who commit to a weekly nail soak routine typically see visible improvement within two to four weeks: nails become noticeably stronger, grow faster, and develop a healthier shine. Let’s dive into five nail soaks that target different nail problems and show you exactly how to use them.
1. Olive Oil and Lemon Juice Soak for Brightening and Strengthening
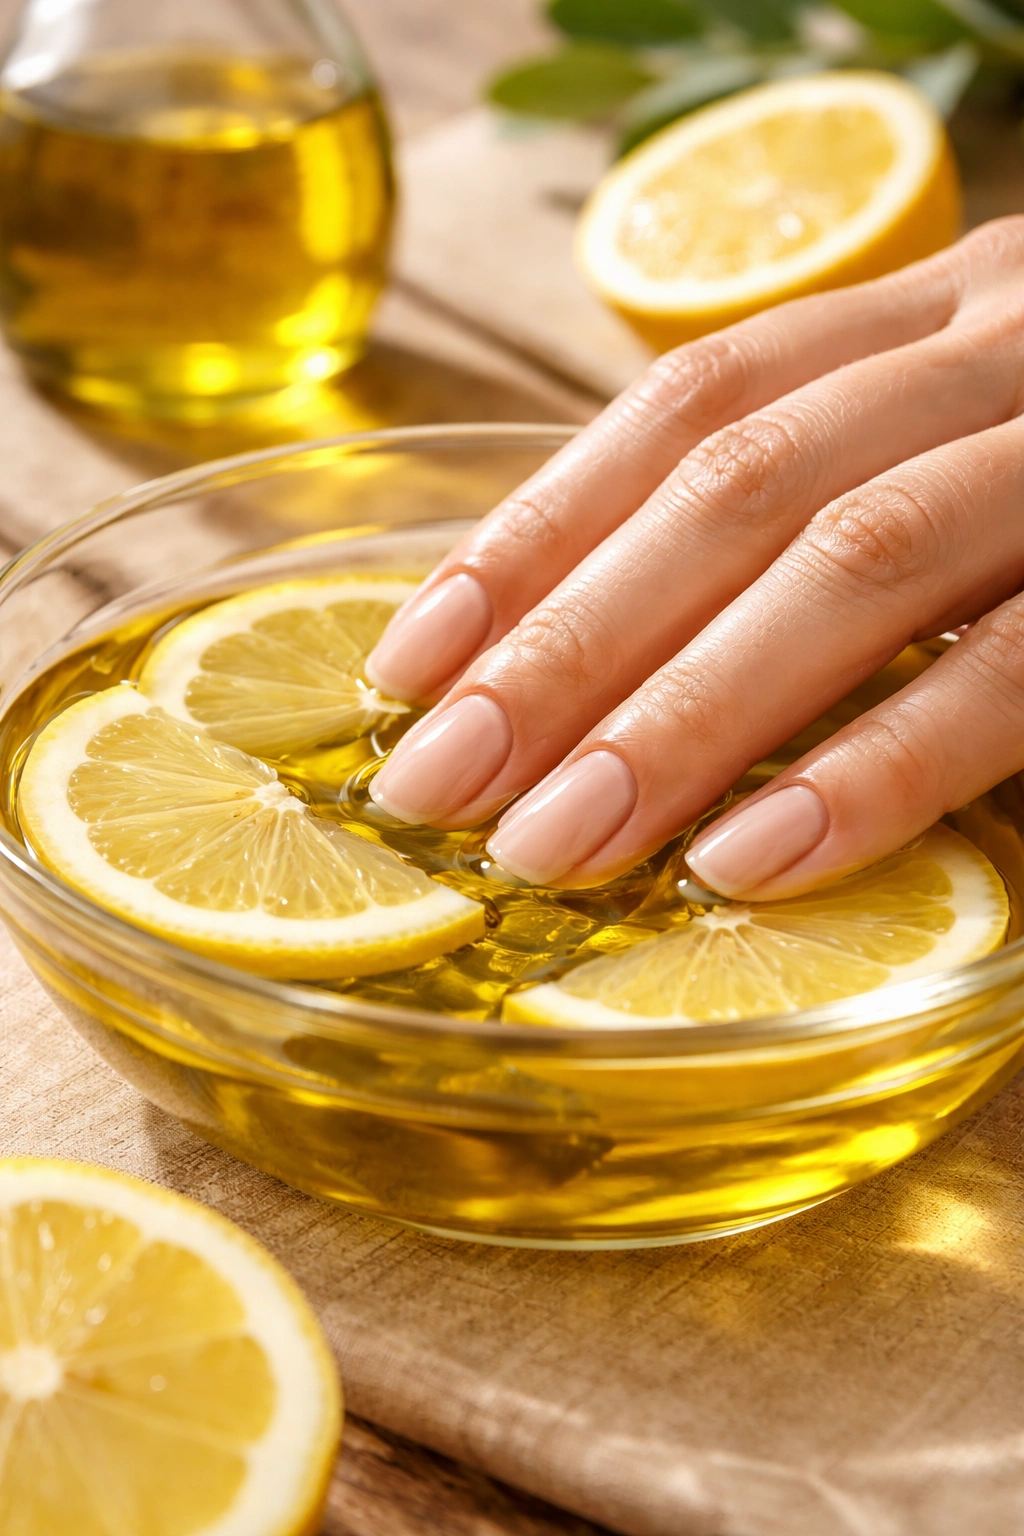
If your nails have a dull, yellowed appearance or feel dry and weak, this soak is your answer. Olive oil is one of the most underrated nail-care ingredients, packed with monounsaturated fats and vitamin E that penetrate the nail keratin and restore moisture from the inside out. Lemon juice adds a completely different benefit: it acts as a natural bleach that lifts stains and discoloration while also providing vitamin C, which supports collagen production in your nail beds. Together, these two ingredients address both the structural weakness and the cosmetic issues that often plague nails.
Why This Combination Works So Well
Olive oil doesn’t just sit on top of your nails the way many store-bought products do—it actually absorbs into the nail structure. Lemon juice simultaneously works to remove the yellowing that polish remover, staining foods, and environmental factors cause over time. The acidity of lemon helps balance your nails’ pH, which creates an environment where nails naturally grow stronger. You’ll notice that your nails feel softer and more flexible immediately after soaking, which means the keratin fibers aren’t brittle and prone to splitting.
How to Prepare and Use
- Warm ¼ cup of olive oil gently (not hot—you want it comfortable to the touch, around 100-110°F)
- Mix in 1 tablespoon of fresh lemon juice (bottled works, but fresh is more effective)
- Soak your fingertips for 15 to 20 minutes, allowing your nails and surrounding cuticles to absorb the mixture fully
- Gently massage the remaining oil into your cuticles and nail beds before rinsing with lukewarm water
- Use this soak 2-3 times per week for best results—daily soaking can sometimes over-dry the cuticles
Pro tip: If you find your cuticles becoming too dry from the lemon, reduce the lemon juice to ½ tablespoon and increase the soak time slightly. Everyone’s nails are different, so adjust the ratio based on how your nails respond.
2. Milk and Honey Strengthening Soak for Brittle Nails
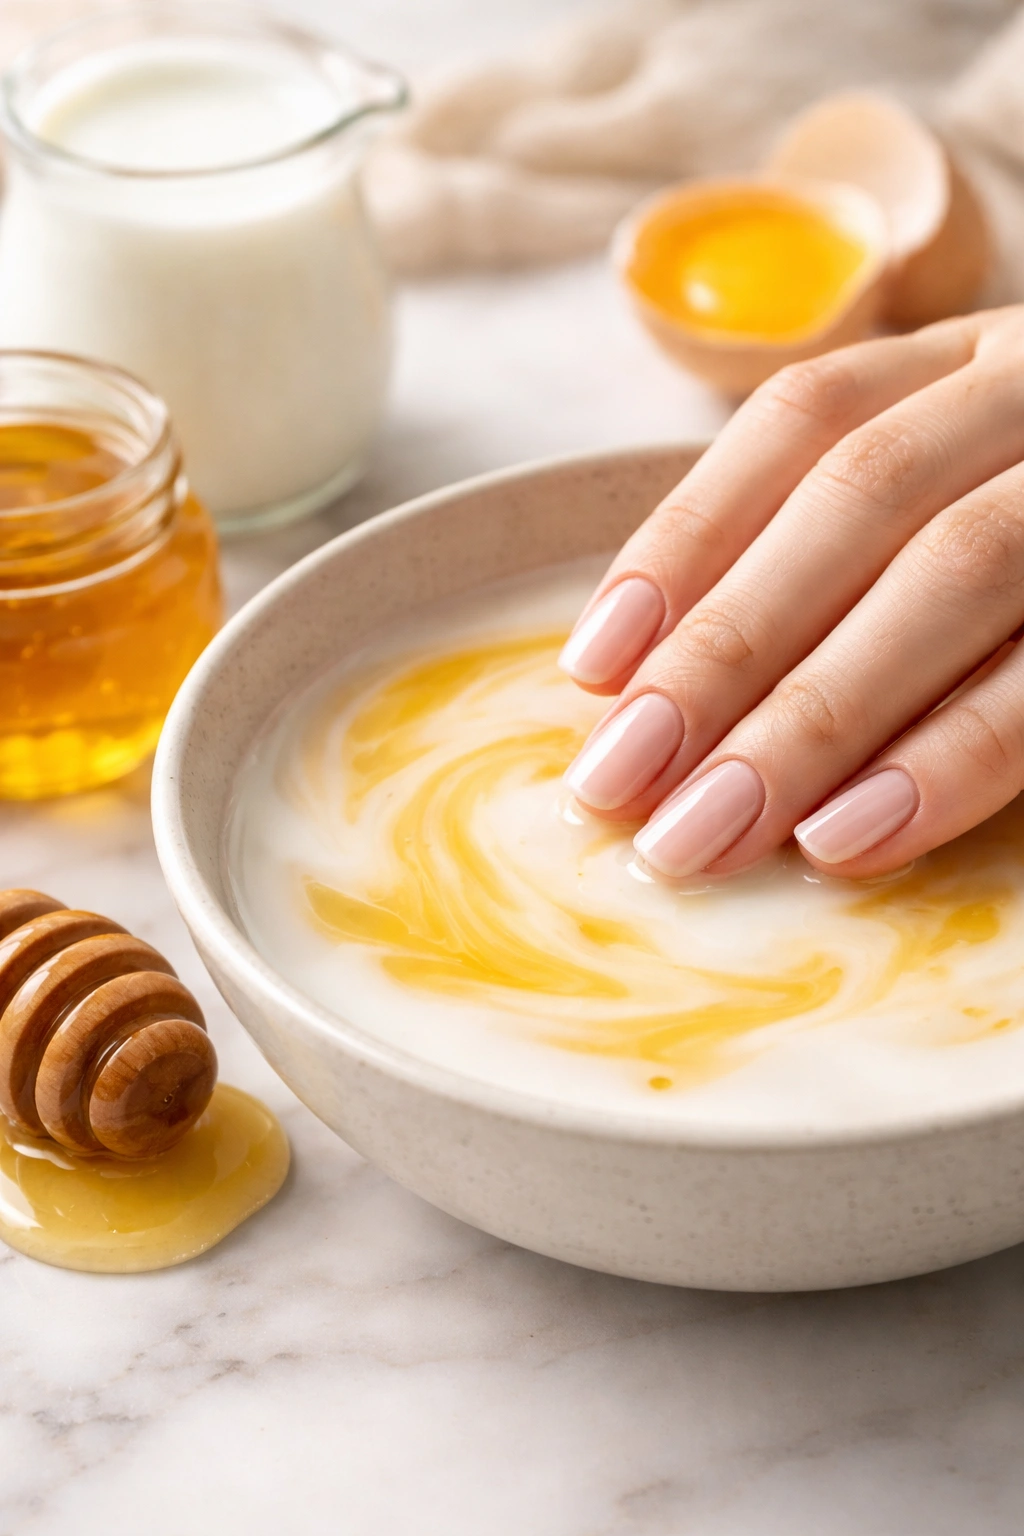
Brittle nails that snap before they have a chance to grow long are usually signaling a protein deficiency at the nail bed. This soak goes straight to the source by combining two deeply nourishing ingredients that work synergistically. Egg yolks and milk are packed with protein and calcium, two minerals essential for nail structure. Honey brings antibacterial and humectant properties, which means it draws moisture into the nail and holds it there. This isn’t just a surface treatment—it’s a deep nutritional infusion that changes how your nails grow.
Why Protein Matters for Nail Growth
Your nails are made almost entirely of a protein called alpha-keratin. When nails become brittle, it’s because the keratin structure is depleted or damaged. Raw egg yolks contain high-quality protein in a form that your skin and nails can readily absorb. Milk provides both protein and bioavailable calcium, which stabilizes the nail structure. Honey acts as a delivery system, helping these nutrients penetrate and moisturize simultaneously. The result is nails that don’t snap as easily and that grow visibly faster.
How to Prepare and Use
- Beat 2 egg yolks thoroughly in a small bowl until smooth
- Add ¼ cup of whole milk or plant-based milk (whole milk works best due to fat content)
- Stir in 1 tablespoon of raw honey until fully incorporated
- Soak your nails for 10-15 minutes, allowing the mixture to coat and nourish each nail
- Rinse thoroughly with cool water (cold water helps keep the proteins intact)
- Dry completely before applying any polish
- Use this soak once a week for best results—the protein richness means weekly application is ideal, but daily use isn’t necessary
Worth knowing: This soak works best when you use it consistently for at least 4 weeks. Nails grow slowly, so you won’t see dramatic changes overnight, but clients who stick with it report significantly stronger, longer nails.
3. Sea Salt and Essential Oil Soak for Nail Bed Health
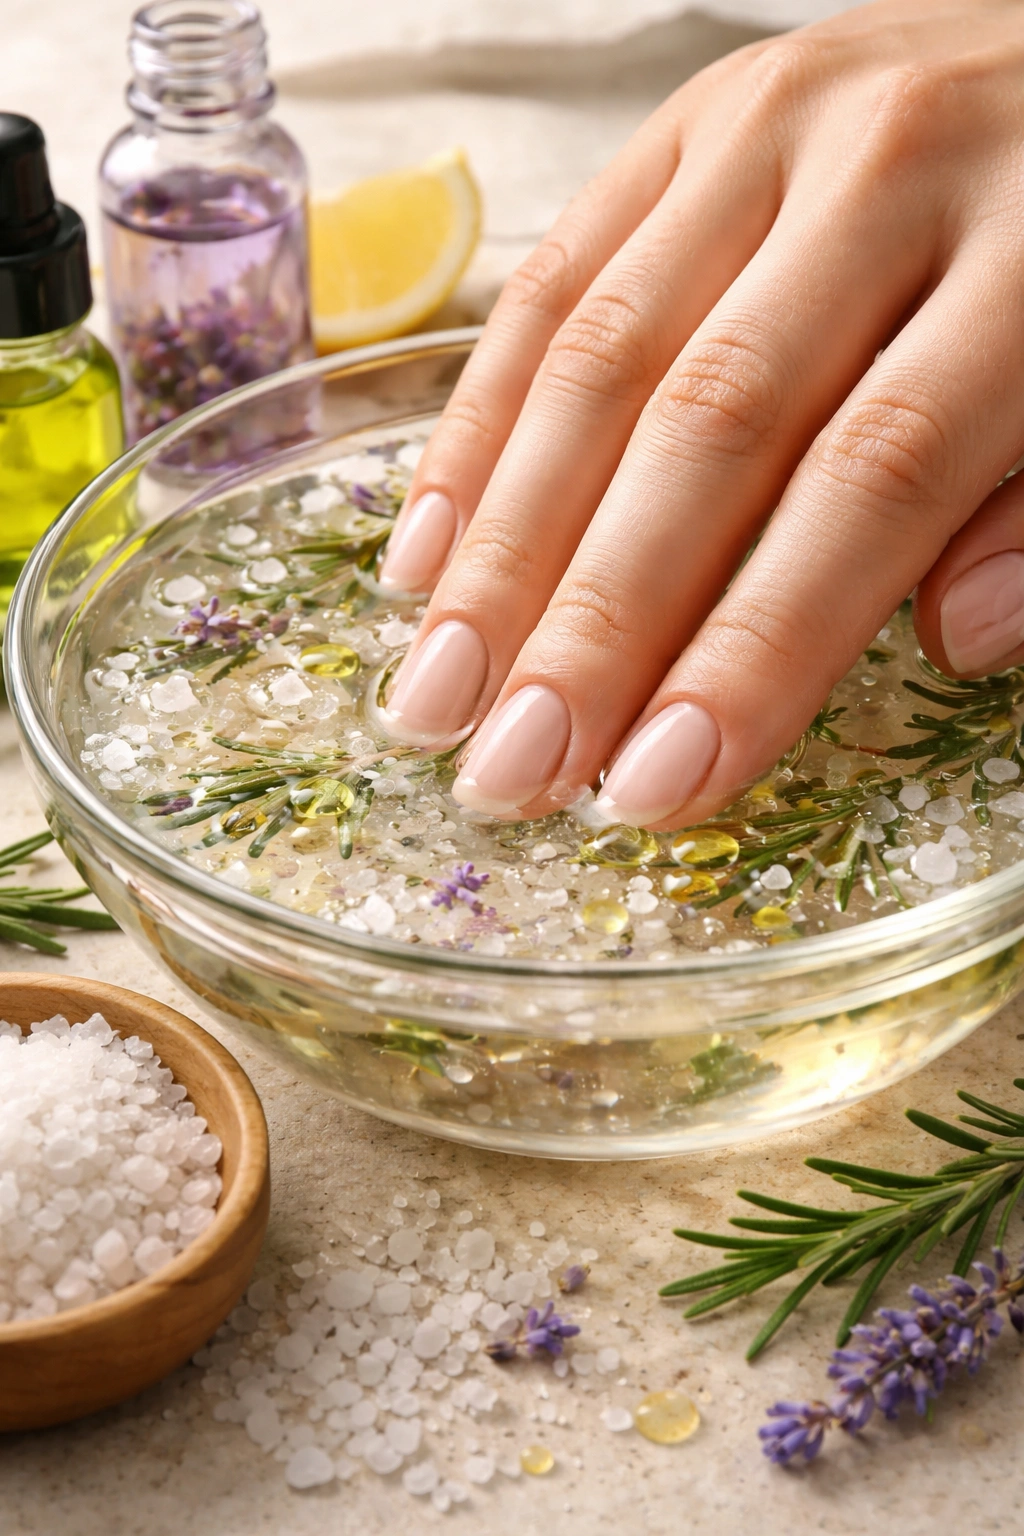
This soak targets nail health at the deepest level by using minerals and antifungal compounds that actually reach the nail bed where new growth happens. Sea salt contains calcium, magnesium, and potassium—minerals that nails need to grow strong and healthy. Tea tree oil provides antifungal and antibacterial protection, which matters more than people realize, because weak nails are often vulnerable to fungal infections that make matters worse. Lavender oil adds a soothing, anti-inflammatory component that calms irritated cuticles and promotes circulation.
The Science Behind This Mineral-Rich Soak
Sea salt doesn’t just soften cuticles; it actually provides minerals that are absorbed through the skin and into the nail matrix. The magnesium in sea salt plays a crucial role in keratin formation, the protein that gives nails their structure. Tea tree oil’s antifungal properties prevent the infections that often cause nails to become thick, discolored, or brittle. Lavender oil increases blood flow to the nail bed, which means more oxygen and nutrients reach the growing cells. This is a preventative soak that keeps minor issues from becoming major problems.
How to Prepare and Use
- Dissolve 2 tablespoons of sea salt in 1 cup of warm water, stirring until fully dissolved
- Add 5 drops of tea tree oil and 5 drops of lavender essential oil
- Stir gently to distribute the oils throughout the water
- Soak your nails for 10-15 minutes, allowing the warm water to open your cuticles and maximize absorption
- You may notice the water turning slightly milky—that’s the oils dispersing, which is exactly what you want
- Rinse with warm water and pat dry
- Apply a cuticle oil or moisturizer immediately after to seal in hydration
- Use this soak once per week as part of your regular maintenance routine
Insider note: This soak is especially helpful for people who frequently have hangnails or cuticle irritation, because the combination actively prevents the inflammation that causes those problems.
4. Apple Cider Vinegar and Oil Soak for pH Balance and Fungal Prevention
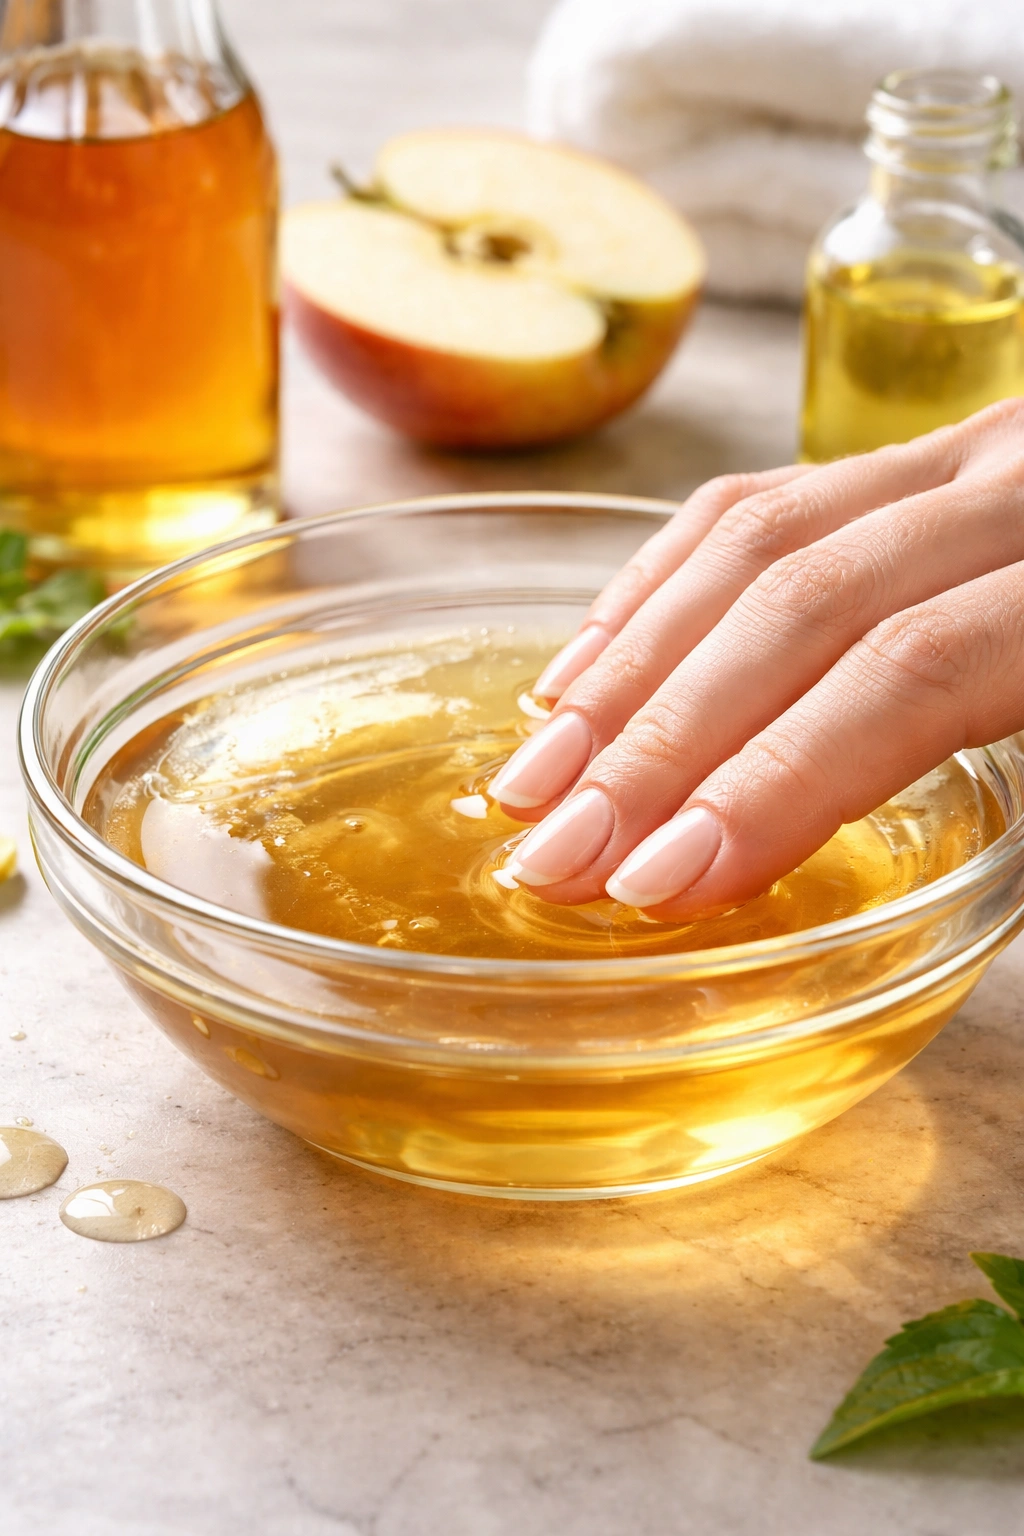
If your nails are prone to yellowing, discoloration, or have a slightly raised or thick texture, this soak addresses the underlying pH imbalance that allows these problems to develop. Apple cider vinegar is acidic in a way that helps rebalance your nails’ natural pH, which naturally resists fungal growth and staining. When combined with a nourishing oil like vegetable oil or almond oil, you get both the therapeutic acidity and the moisturizing benefits. This soak is particularly effective for people who frequent public pools, wear tight shoes, or have a history of toenail issues.
How Apple Cider Vinegar Restores Nail Health
Nails have a slightly acidic pH that protects them from fungal invasion and discoloration. When you use harsh soaps, removers, or even just wear dark polish frequently, your nails’ pH can shift toward neutral or alkaline, which creates an environment where fungus and staining thrive. Apple cider vinegar (typically around 5% acidity) restores that protective acidic environment. The acetic acid also has mild antiseptic properties that prevent infections before they start. Combined with oil for moisture, you get a complete reset that addresses both the chemical environment and the hydration level of your nails.
How to Prepare and Use
- Mix ½ cup of warm water with 2 tablespoons of apple cider vinegar in a glass or ceramic bowl
- Add 1 teaspoon of vegetable oil, almond oil, or jojoba oil
- Stir gently to combine
- Soak your fingertips or toenails for 10 minutes—don’t exceed 15 minutes, as prolonged exposure to vinegar can irritate sensitive skin
- Rinse thoroughly with lukewarm water and pat dry completely
- Follow up with a good cuticle oil or hand moisturizer
- Use this soak 2-3 times per week for nail issues, or once weekly for maintenance
Quick fact: Apple cider vinegar soaks are particularly popular among people with toenail concerns, but they work equally well on fingernails. If you have any cuts or hangnails, skip this soak until those heal, as the vinegar will sting.
5. Gelatin and Fruit Juice Soak for Deep Nail Repair
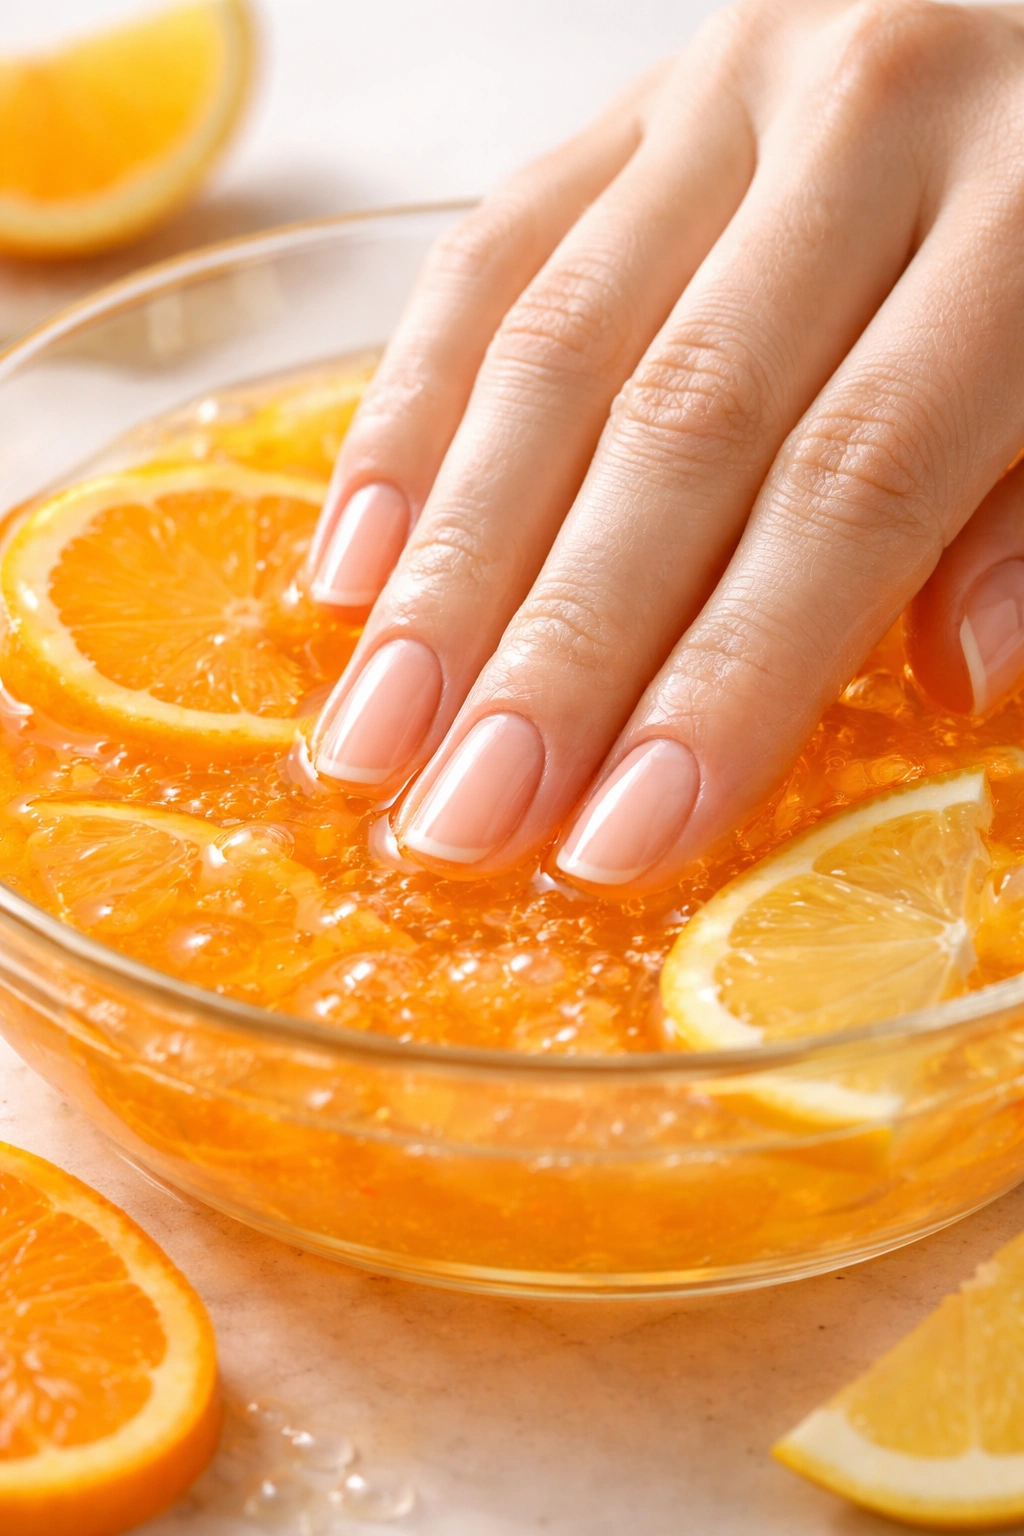
This soak is your heavy-duty option for severely damaged, peeling, or weak nails that need intensive repair. Gelatin is essentially concentrated collagen, and when you soak your nails in it, that collagen is absorbed directly into your nail structure. Gelatin also contains amino acids like glycine and proline, which are building blocks for keratin formation. Fruit juice (orange juice or any citrus) provides natural sugars and vitamins that nourish while the gelatin rebuilds. This is the soak to use when your nails have taken a beating from acrylics, gel polish, or harsh environmental conditions.
Why Gelatin Actually Works for Structural Repair
Most nail products just coat the surface. Gelatin actually works on a cellular level because the collagen molecules are small enough to be absorbed into the nail matrix. Your nails are made of keratin, which is a protein that requires amino acids to repair and rebuild. Gelatin provides those amino acids in a bioavailable form. The gelatin creates a gel-like consistency that clings to your nails, extending the contact time and ensuring maximum absorption. You’ll notice your nails feel noticeably stronger and less likely to peel after even one use.
How to Prepare and Use
- Pour 1 packet (about 2.5 teaspoons) of unflavored gelatin into a small bowl
- Add 1 teaspoon of warm fruit juice (orange juice is ideal for vitamin C content)
- Stir until you have a thick paste consistency—it should be spreadable but not runny
- Apply the paste directly to your nails, coating them generously, or soak your nails in the mixture if you can get the consistency right
- Leave on for 10-15 minutes, allowing the gelatin to set and absorb
- Rinse thoroughly with warm water (the gelatin will dissolve completely)
- Pat dry and apply cuticle oil
- Use this soak once a month as an intensive treatment, or twice monthly if your nails are severely damaged
Real talk: This soak smells a bit like unflavored gelatin (because it is), and the consistency takes getting used to. But the results are worth it—people with peeling nails often see a dramatic improvement after just two applications.
Maximizing Your Results
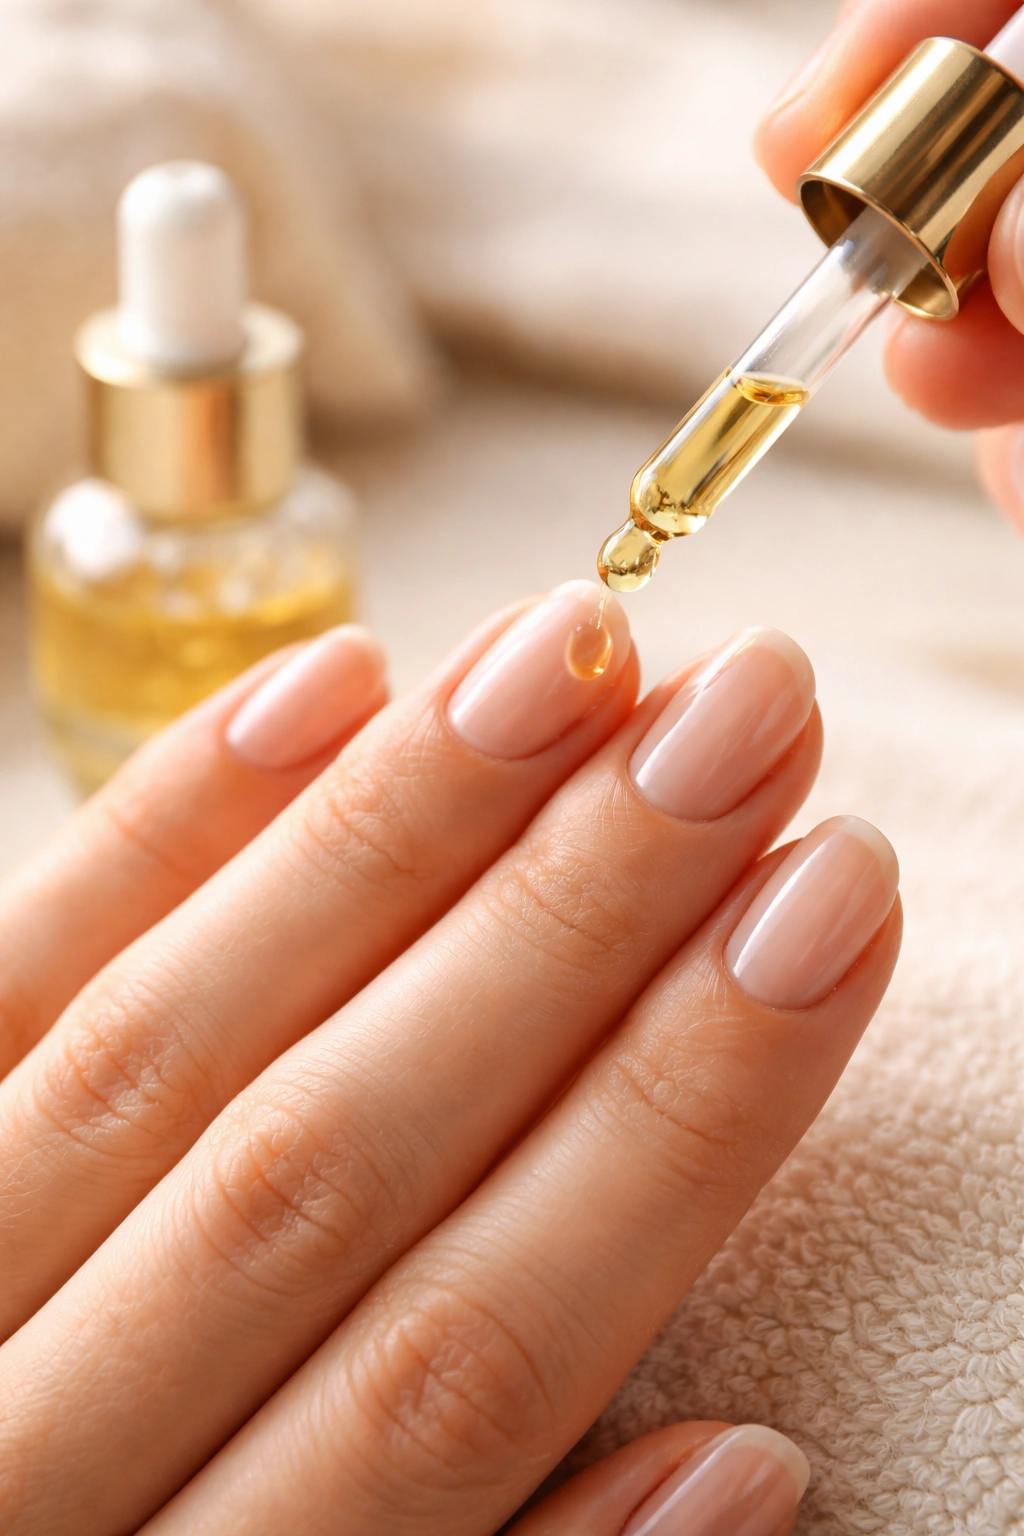
Using these soaks is only half the battle. To truly transform your nails, you need to support these treatments with daily habits that protect and nourish your nails between soaks. Always follow a soak with a cuticle oil or hand moisturizer—the soak opens up your nails and makes them receptive to moisture, so sealing that in immediately makes a huge difference. Try soaking before bed so the nourishing ingredients have time to work overnight without being washed away.
Consistency matters more than intensity with nail care. Someone who does one nail soak every single week will see far better results than someone who does three different soaks in one day and then never again. Pick one or two soaks that address your specific nail concerns and commit to using them weekly for at least four weeks. You’ll start seeing changes in how your nails feel after just a few soaks, and visible improvements in strength and appearance typically appear within two to four weeks.
Avoid painting your nails immediately after a soak if possible. Give your nails at least a few hours—ideally overnight—to fully absorb the treatment before applying polish. When you do use polish, always use a quality base coat to protect your nails from staining and drying. Between soaks and between polishes, use a nourishing cuticle oil daily. This habit alone will accelerate your results dramatically because you’re providing consistent moisture and nutrients rather than sporadic intensive treatments.
The Bottom Line
Strong, healthy nails aren’t a luxury or a genetic gift—they’re the result of consistent, intentional care. These five soaks give you targeted solutions for every common nail problem, whether you’re dealing with brittleness, yellowing, weakness, or damage from previous treatments. The best part is that you probably already have most of these ingredients in your kitchen, which means you can start tonight. Pick the soak that best matches your current nail concern, commit to a weekly routine, and prepare to be surprised by how quickly your nails transform. Your hands deserve this kind of attention, and your nails will thank you for finally giving them what they actually need to thrive.
