

Square nails have ruled the aesthetic landscape for years—sharp edges, geometric precision, bold and architectural. But lately, more people are recognizing that soft square nails offer the best of both worlds: the structure and longevity of a square with the softness and wearability that actually works with your hands in real life. The question is: how do you actually make that transition without damaging your nails or waiting months for them to grow out?
The truth is, switching from sharp square to soft square doesn’t require starting from scratch. Your nails don’t need to be filed down to nothing or left alone for months to recover. With the right understanding of the geometry involved, the correct tools, and a deliberate technique, you can reshape existing nails into soft squares in just a few sessions. The transformation is faster than most people think, and once you understand what’s happening at each stage, you’ll be able to maintain the shape yourself going forward.
This guide walks you through exactly how that transition works—from the specific angles and filing techniques to the tools that actually deliver results, the timeline to expect, and how to keep your nails healthy throughout the process. Whether you’re reshaping natural nails or managing extensions, the principles are the same.
Understanding the Difference Between Square and Soft Square
Before you start filing, you need to understand exactly what separates these two shapes—because the difference lies in subtle geometry that makes a huge practical impact.
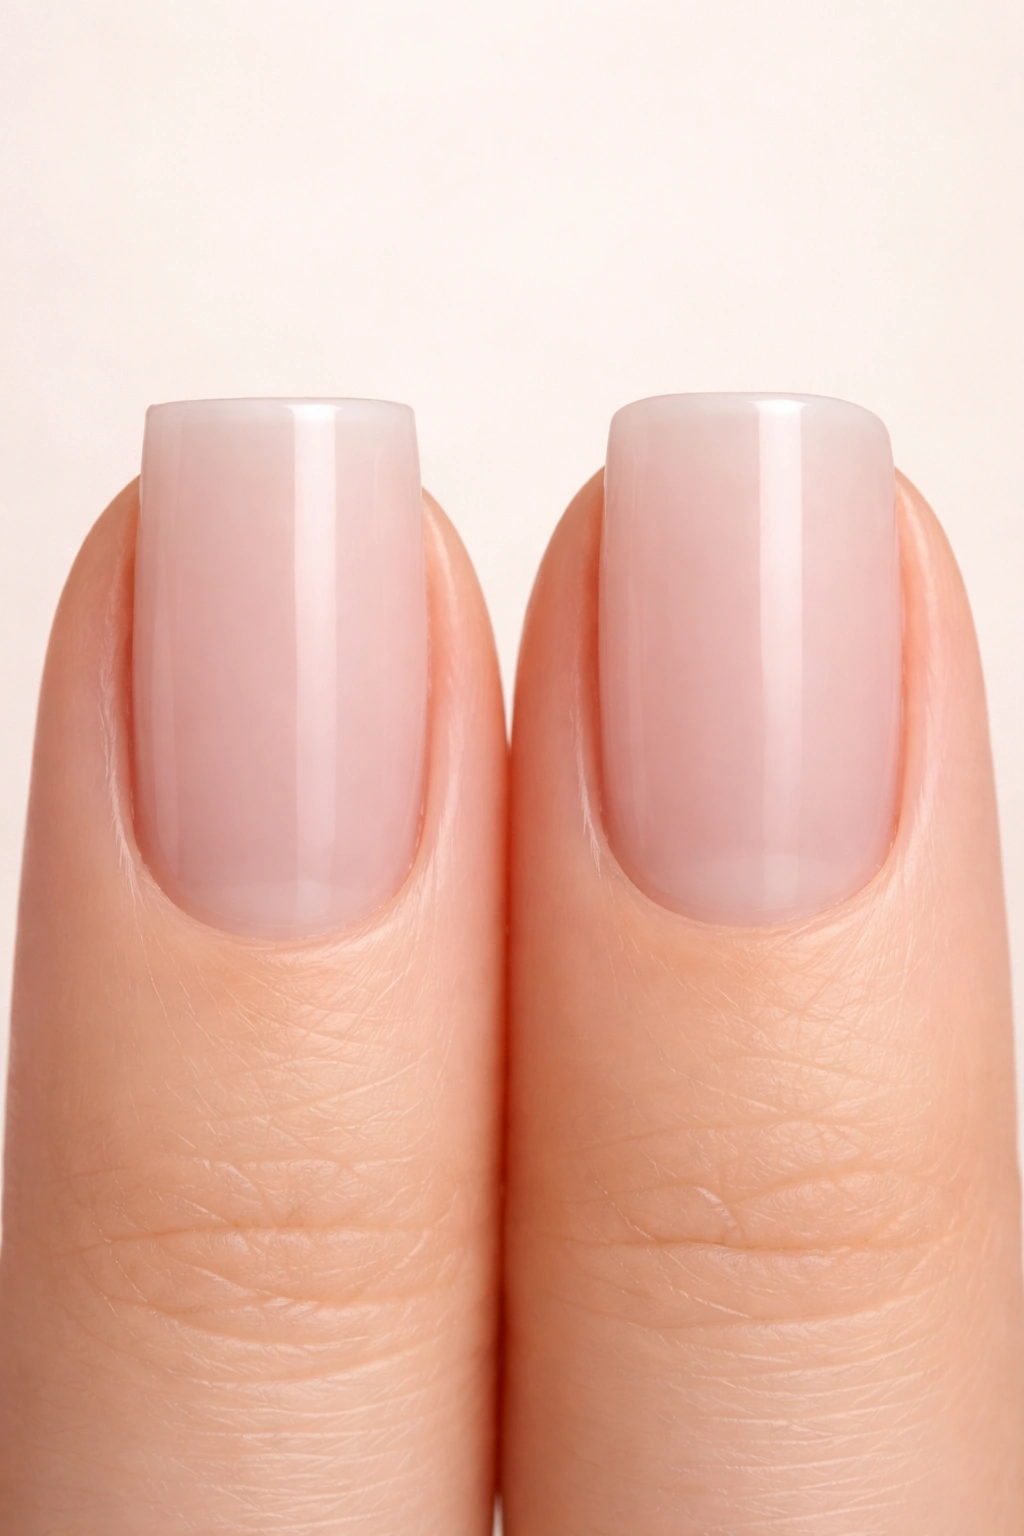
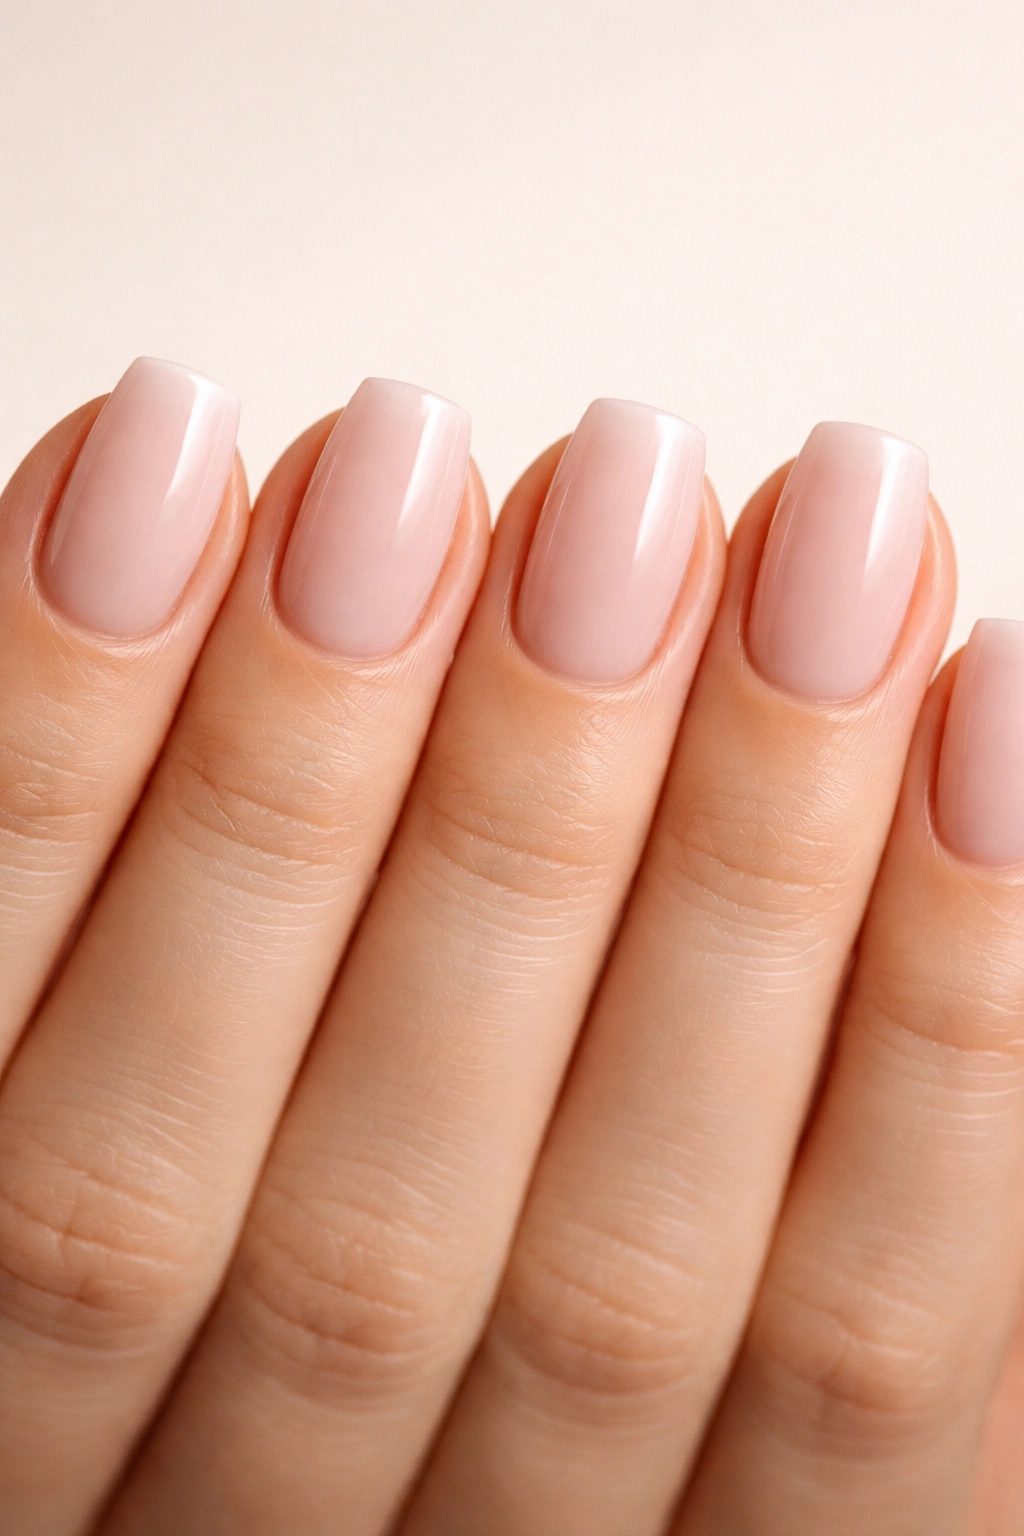
Square nails have sharp 90-degree corners where the side walls of the nail meet the free edge. This corner is crisp and angular, almost like the corner of a box. It looks striking and modern, but those sharp corners are also load-bearing stress points. When you use your hands normally—typing, opening bottles, grabbing things—pressure hits that corner first, and over time those corners break, chip, or peel because they’re thin, unsupported edges.
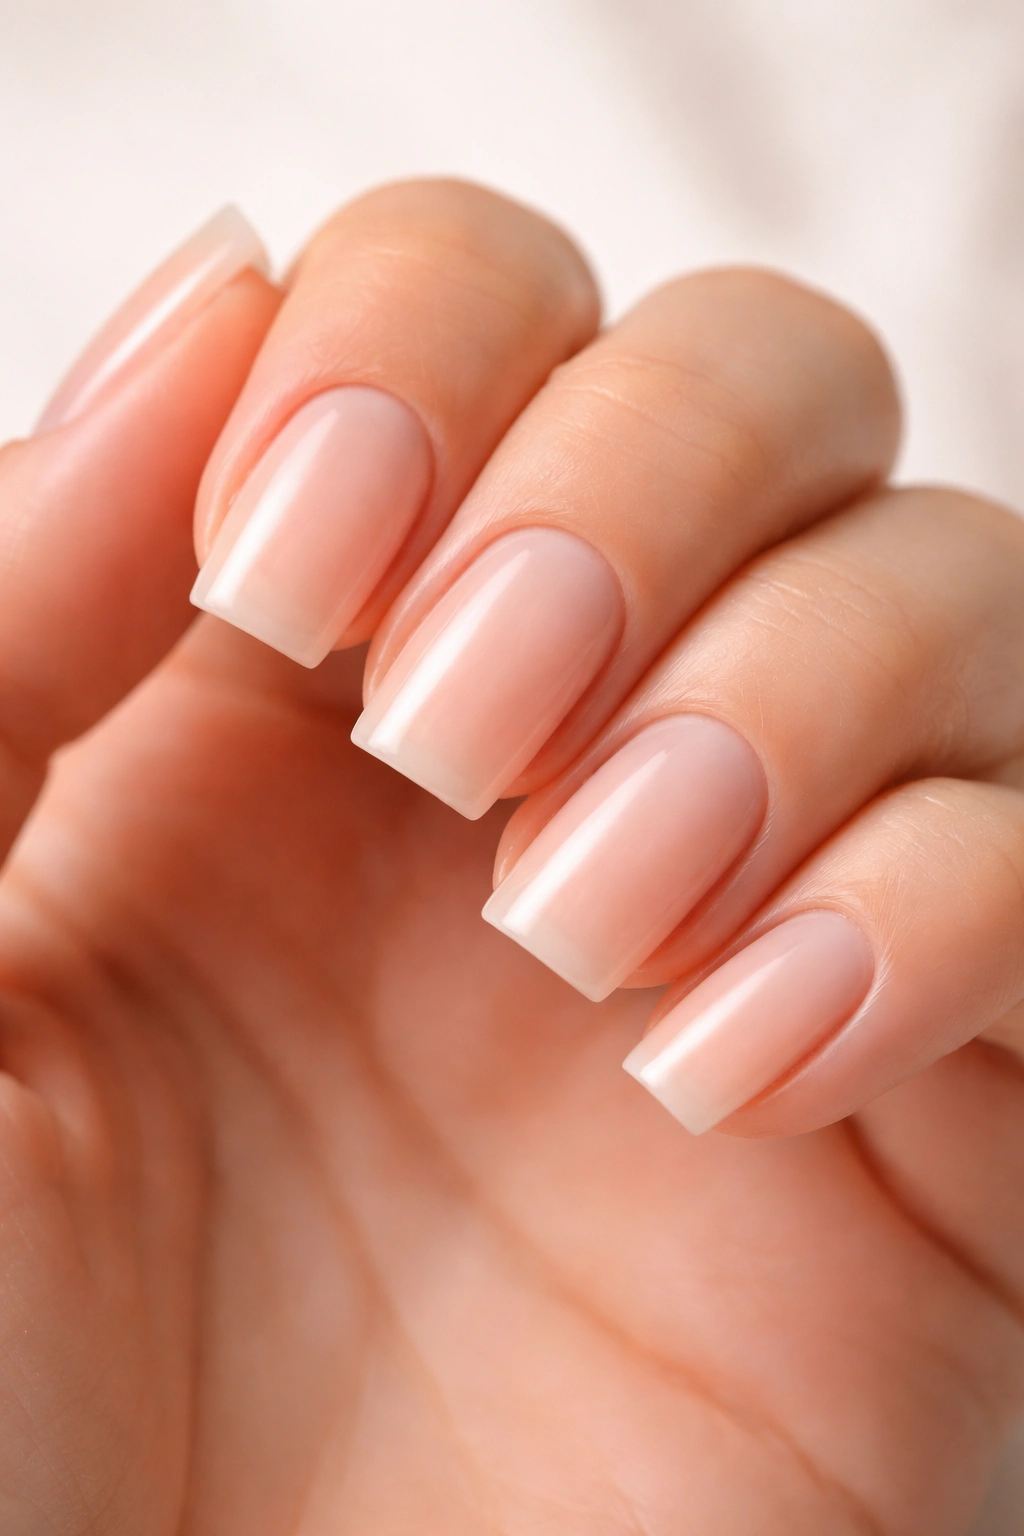
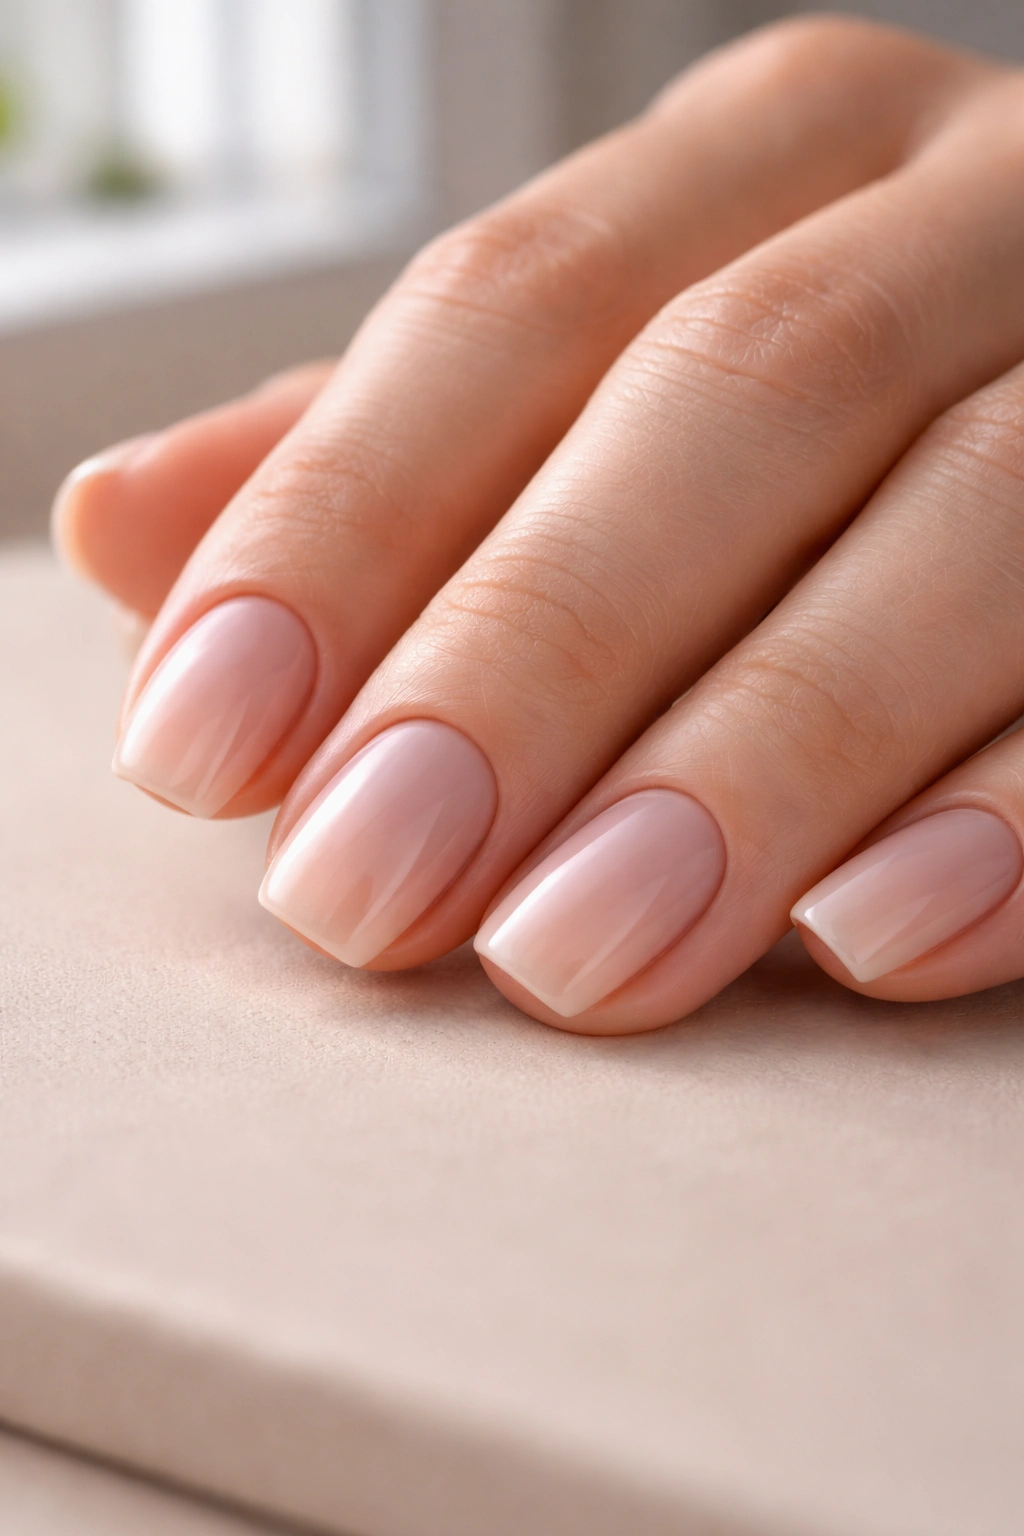
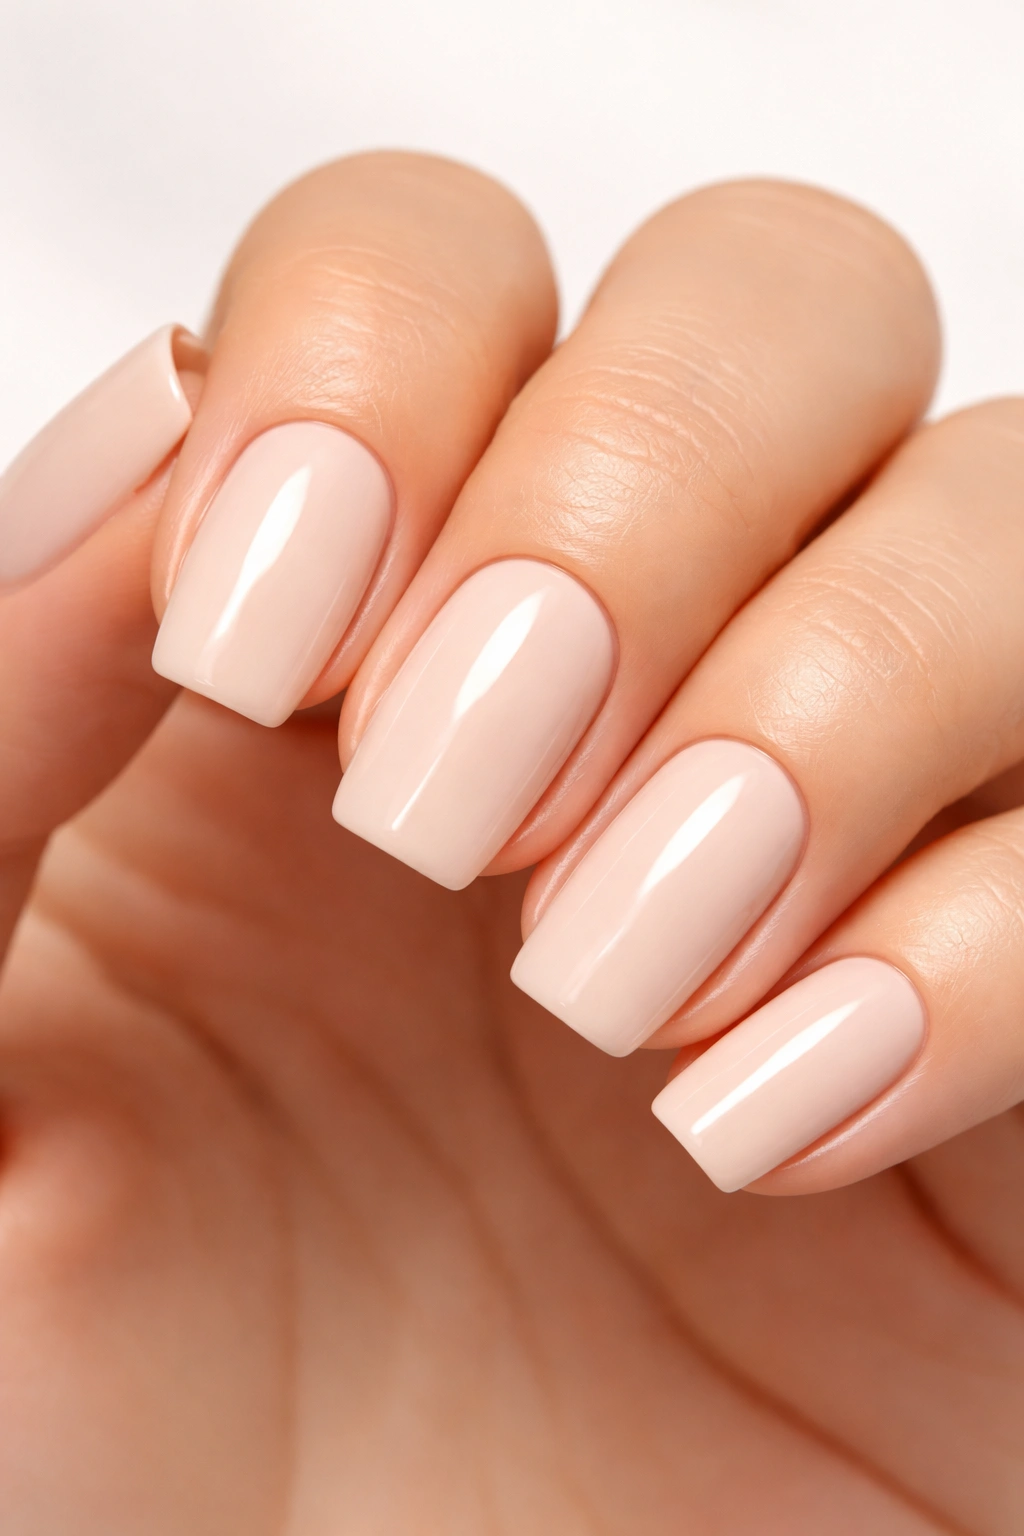
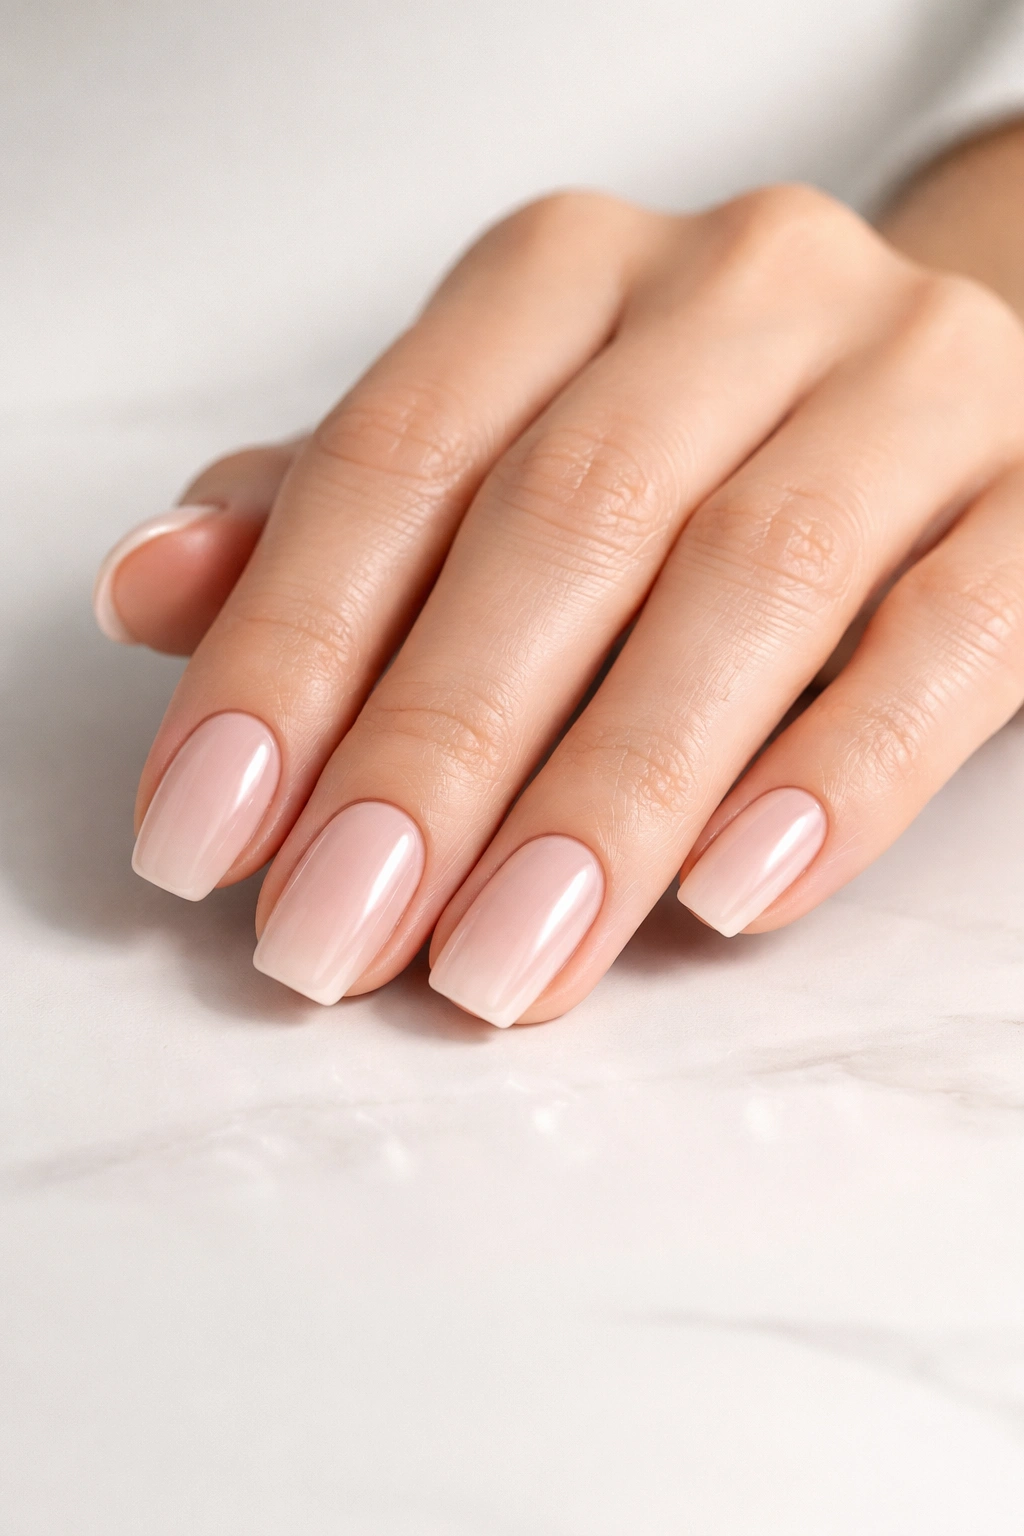
Soft square nails keep the straight sides and the relatively square overall silhouette, but instead of a sharp 90-degree corner, the edges are gently rounded. The transition from the side wall to the free edge curves smoothly inward, creating a softer corner that actually distributes pressure more evenly. This rounded corner is much less likely to catch or break, which is why soft squares last longer in real-world use.
The difference looks subtle in a photo, but your nails feel it immediately. A sharp square feels architectural and defined. A soft square feels softer in your hand (you literally won’t snag yourself on the edge) while still maintaining that squared-off aesthetic when you look at your hands. It’s the practical shape—still fashionable, still structural, but actually wearable.
The psychological shift matters too. Square nails demand perfection because imperfection shows immediately—one chipped corner ruins the whole effect. Soft square nails forgive minor wear because the softness absorbs it visually. You get the style without the constant worry about damage.
Assessing Your Current Nail Shape and Condition
You can’t reshape your nails effectively without understanding exactly what you’re starting with. Take five minutes to really look at your nails—not just a glance, but a genuine assessment.
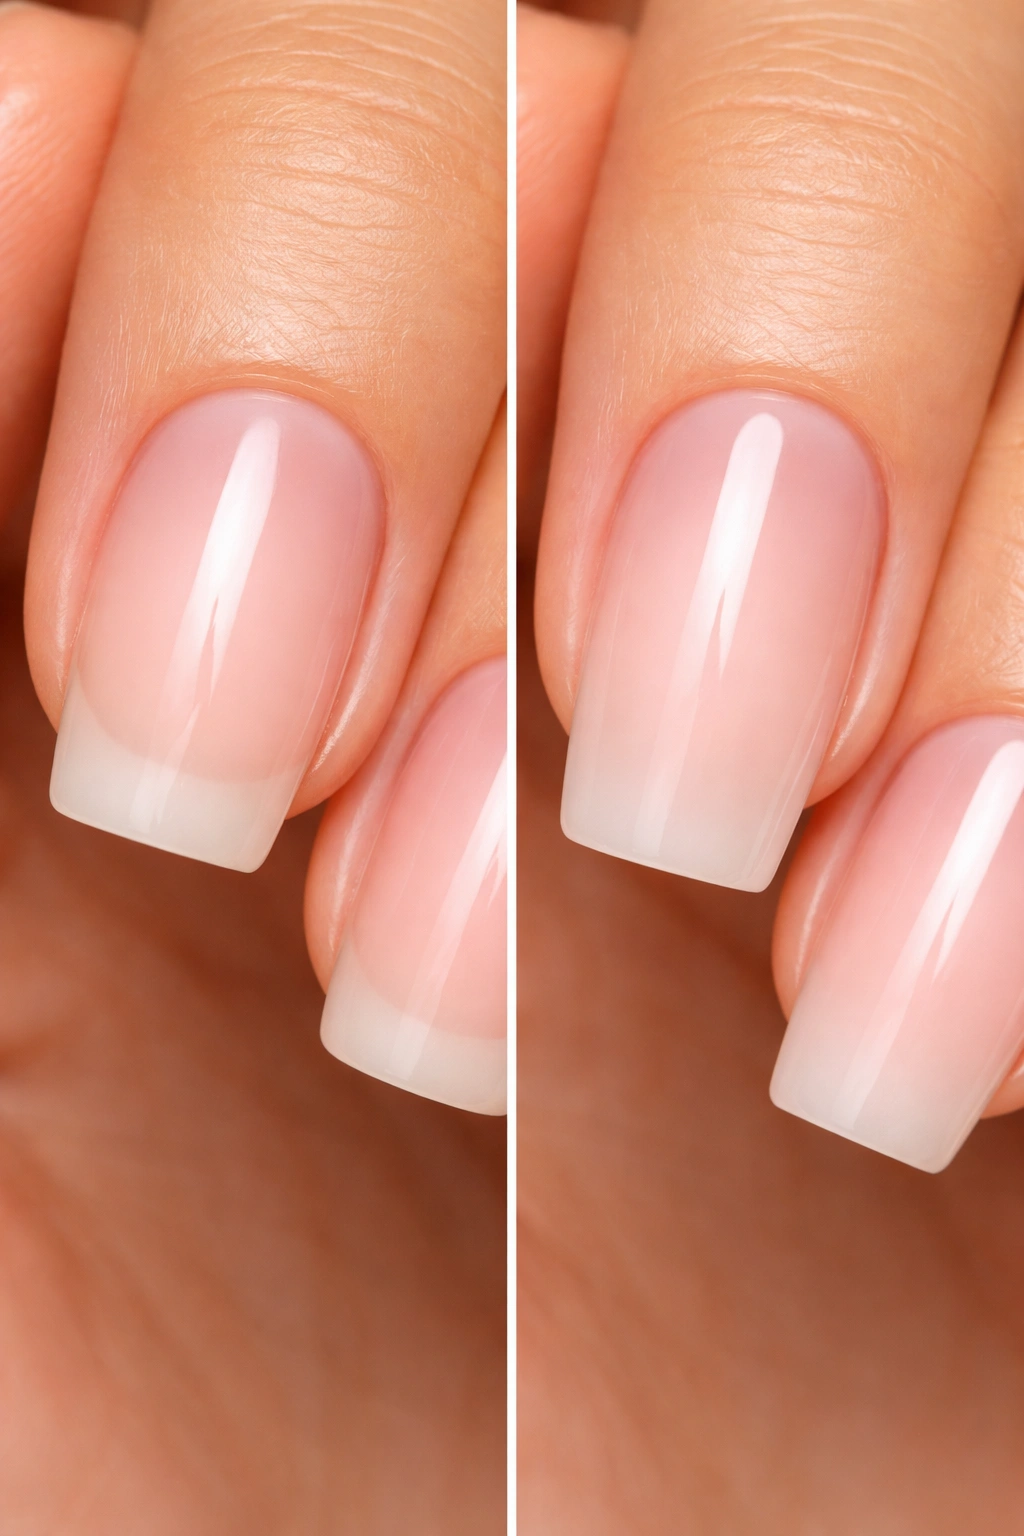
Look at your free edge (the white part that extends past your fingertip). Is it already soft and rounded, or is it sharp? If your corners are already somewhat rounded, you’re starting from a better position than someone with very sharp nails—you’ll need less aggressive reshaping. If your corners are crisp and geometric, you have more dramatic rounding ahead.
Next, examine the overall length of your free edge. Soft square nails work best with a certain proportion—usually about as long as your nail is wide, or just slightly longer. If your free edges are very short (barely visible), you might not have enough nail to work with right now. If they’re very long, you’ll be removing a fair amount of length during the transition, which can feel like a step backward visually (it’s not—it’s necessary for the new shape to sit correctly).
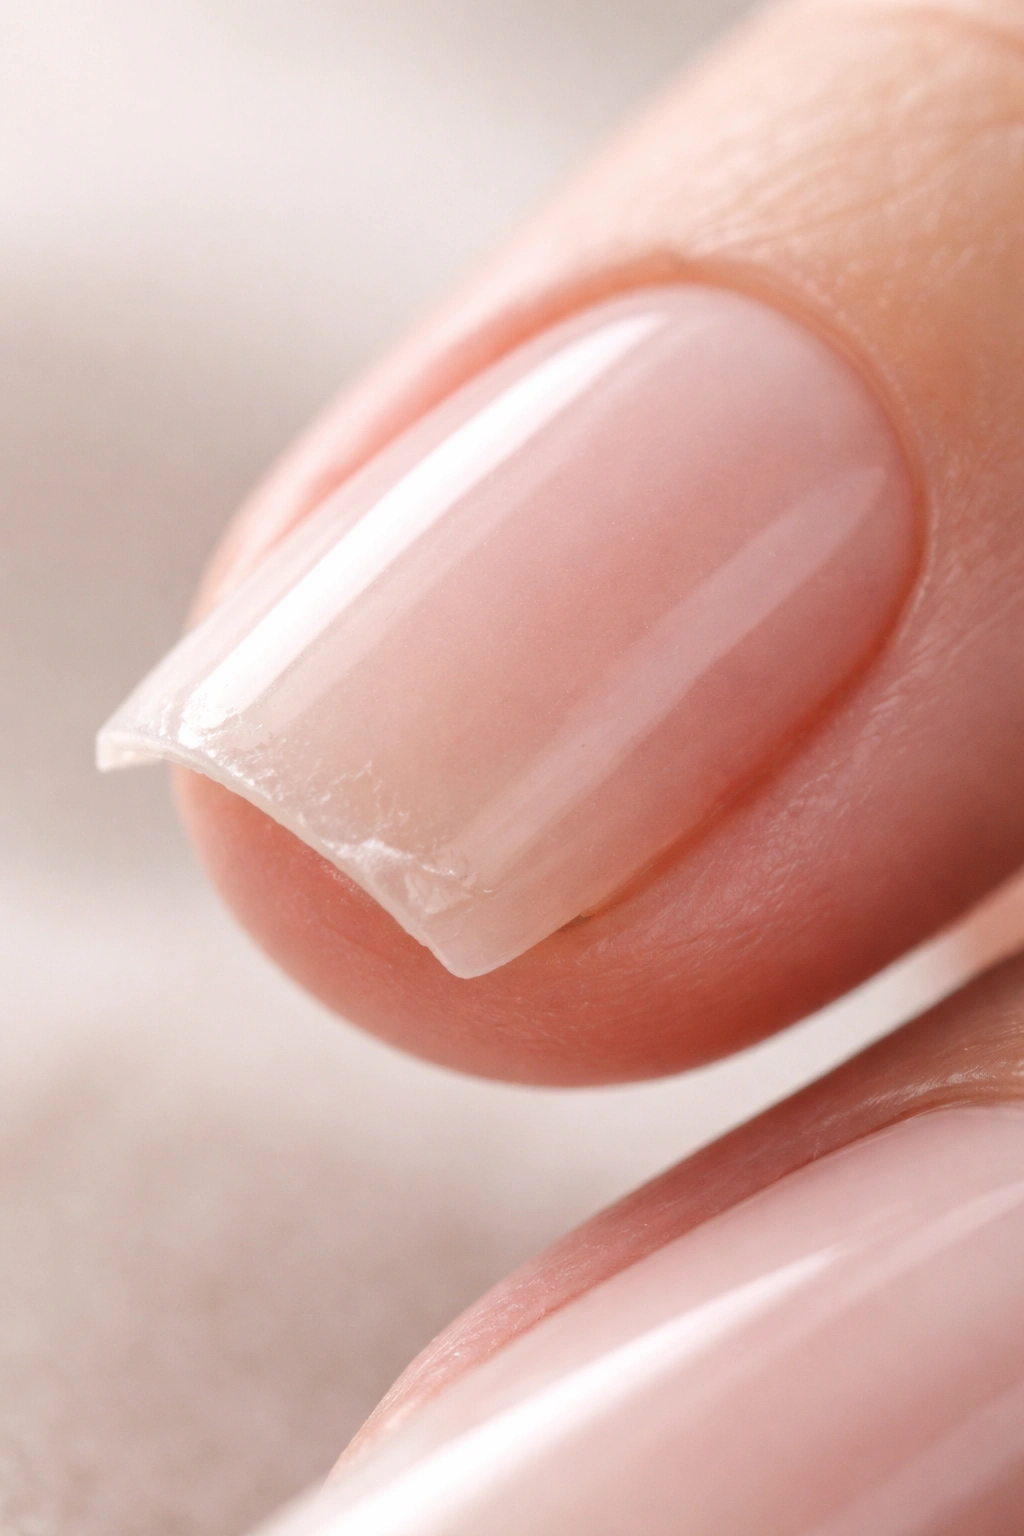
Check the condition of your nail edges too. Are they smooth or do they have peeling layers along the edge? Are there ridges running lengthwise or a wavy texture? These conditions matter because damaged or peeling edges will look worse during the reshaping process. If your edges are peeling, you might spend the first week or two just sealing the edge—filing and buffing to create a clean, sealed perimeter—before you start reshaping. This is especially important if you’ve been keeping very sharp edges for a long time.
Also notice whether your nails are naturally strong or brittle. If you tend to break nails easily, or if they peel in layers, the soft square shape is actually ideal for you because the rounded corners are gentler. But you’ll want to go slower with the reshaping process to avoid creating additional stress on already-compromised nail structure.
Gathering the Right Tools for Reshaping
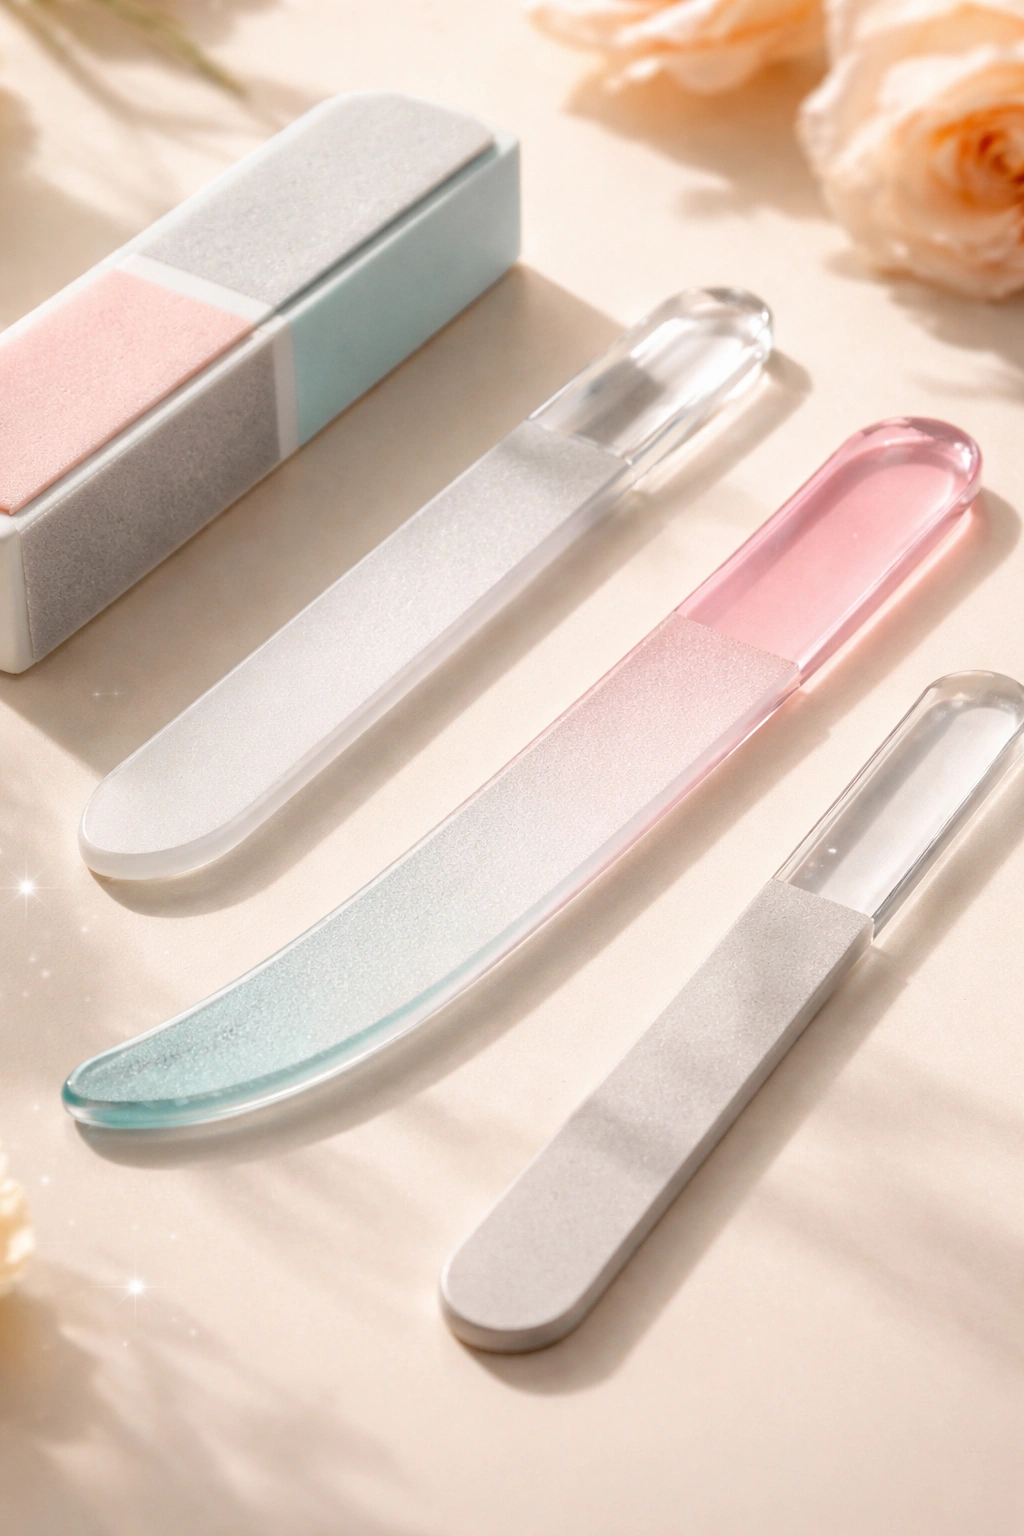
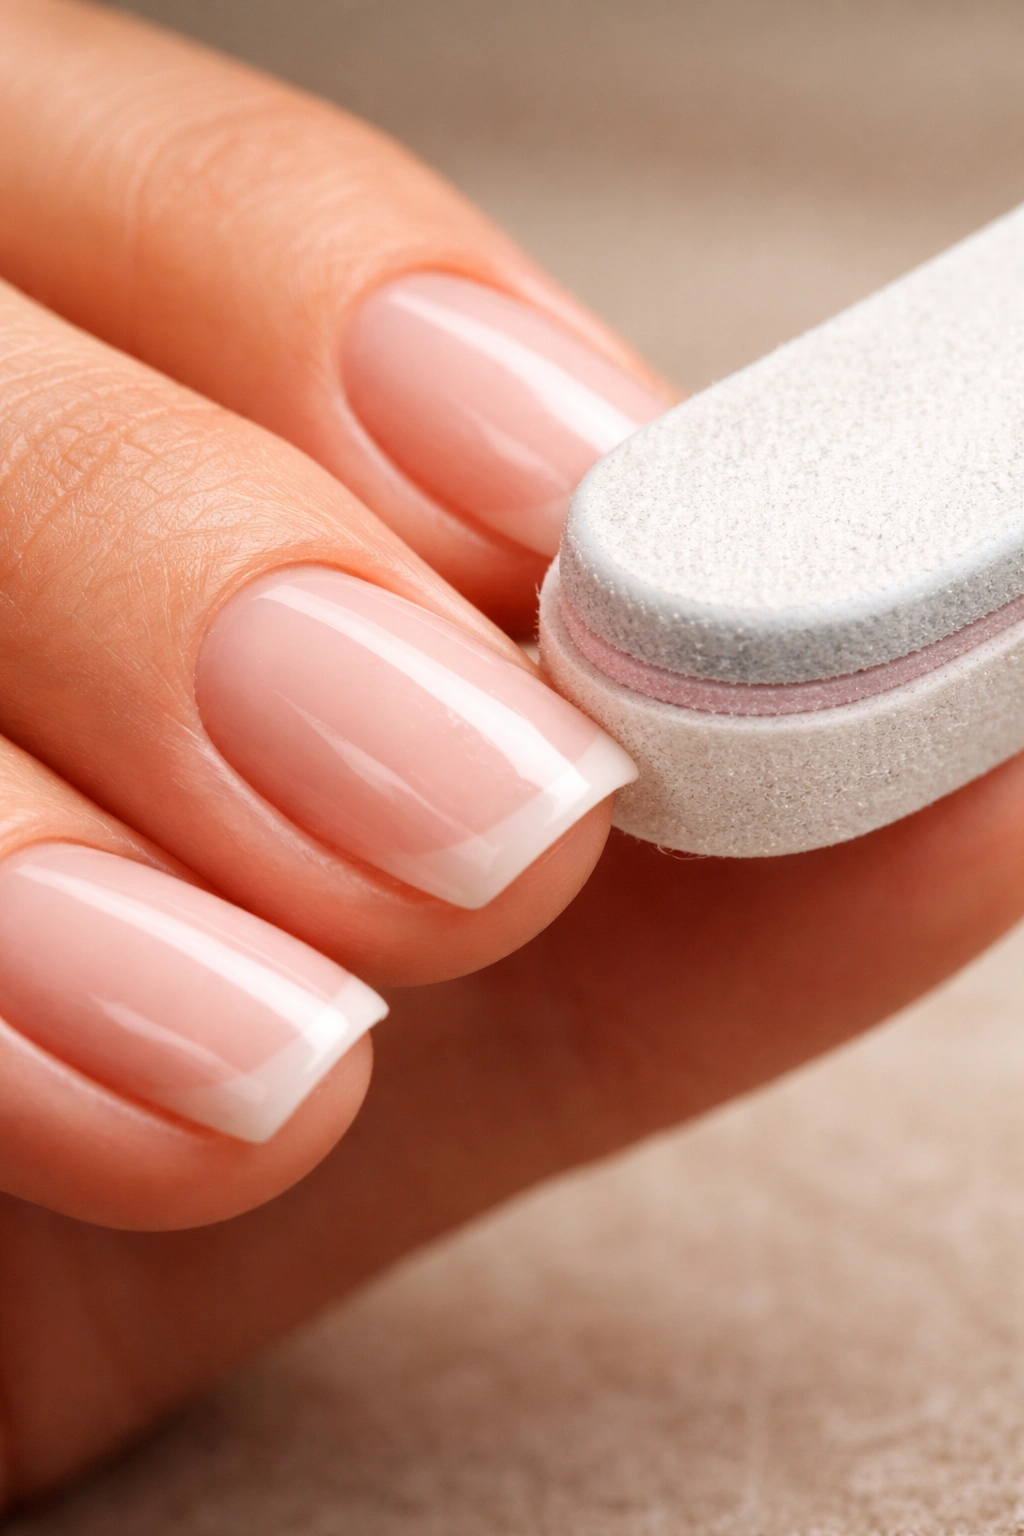
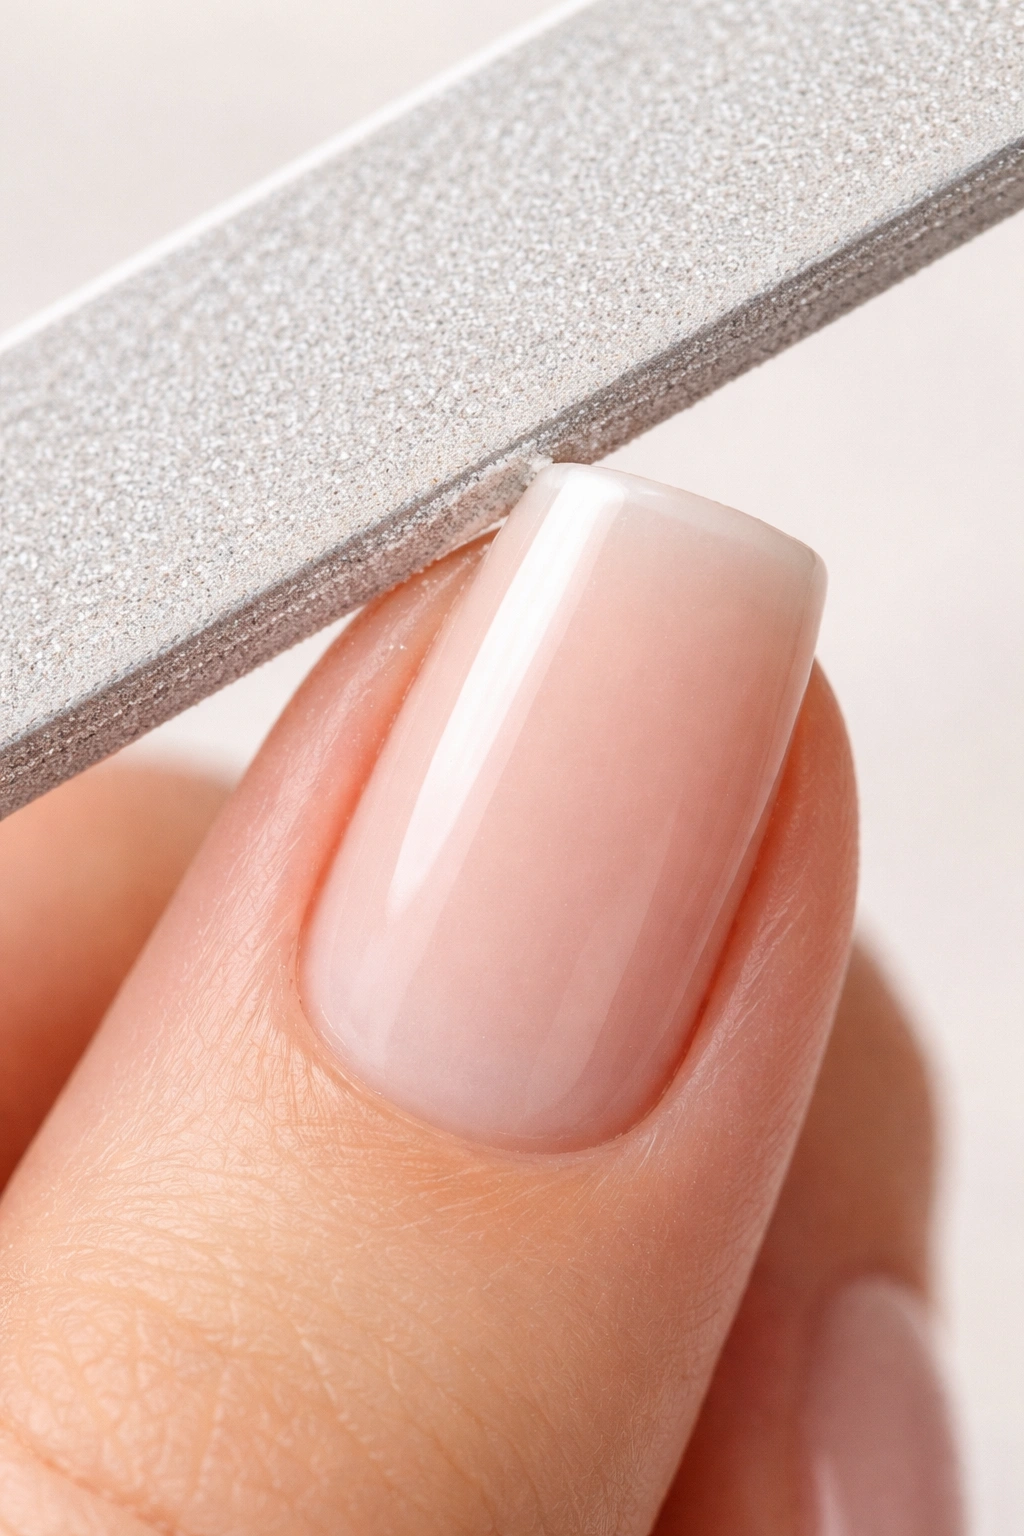
You cannot achieve soft square nails with the wrong tools, and this is where many people fail. A regular metal nail file will work, but it’s not optimal. A glass file or crystal file is categorically better for this task—these files have a much finer surface that seals the keratin at the edge of the nail rather than creating micro-tears. This sealed edge is what prevents peeling and allows you to create a smoother transition from straight sides to rounded corner.
Specific grit matters. For reshaping, you want something in the 220-240 grit range—fine enough that it doesn’t create damage, but active enough to actually change the shape in a reasonable timeframe. Anything finer (like 400 grit) will take forever. Anything coarser will cause peeling and damage to the edge.
A curved file, also called a barrel file or curved crystal file, is genuinely useful for soft square work because the curved edge makes it easier to create a smooth, rounded transition at the corners. You’re not working with a flat edge against a curved surface—the curve of the file complements the curve you’re trying to create.
You’ll also want a buffer—specifically a four-way buffer or a separate fine buffer (400+ grit). This comes after you’ve shaped the nail and seals the edge, smooths out file marks, and adds shine. This step is what makes your reshaped nails look finished rather than just filed.
Beyond files, gather a nail brush and some hand cream. You’ll be working on your nails frequently enough that the area around your nails will get dry. Keep cuticles and surrounding skin moisturized so the whole manicure presentation stays cohesive.
If you’re planning to reshape nails weekly over several weeks, consider investing in a nail care set that includes multiple files—you’ll want a couple of finer files so you can rotate them, and because files do gradually wear out with use. A worn file takes longer to work and can create drag that damages edges.
The Core Technique: Filing for Soft Square Shape
The actual mechanics of creating soft square shape come down to three distinct filing directions and understanding the order in which you apply them.
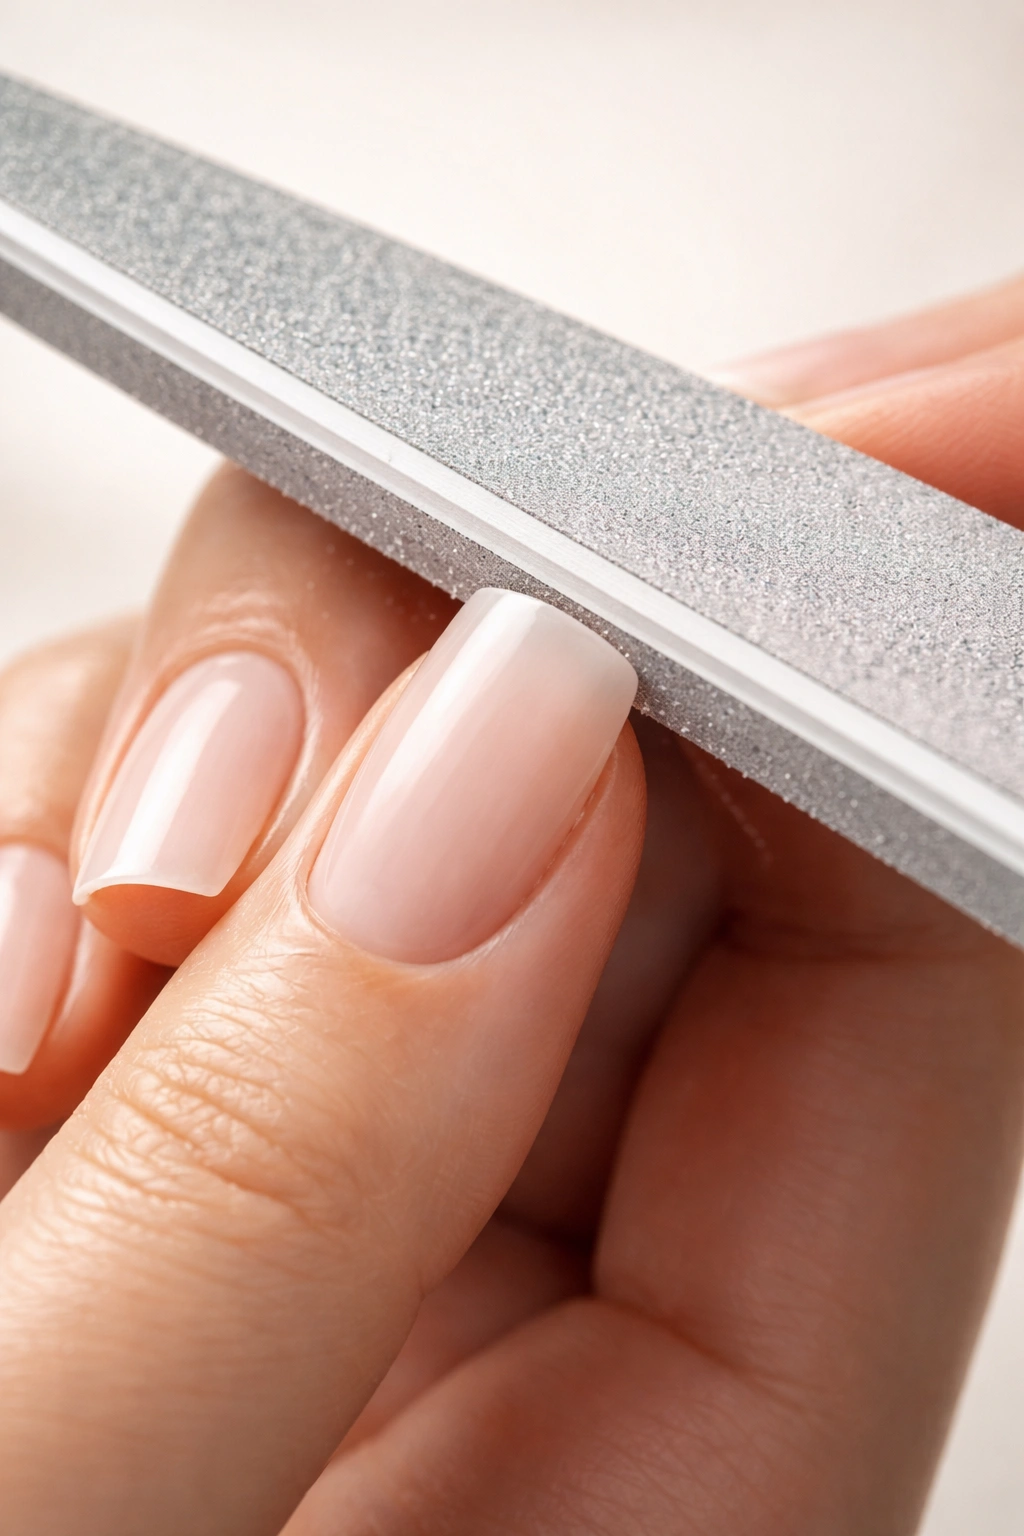
Start with the sides of the nail. Hold your file at a 45-degree angle to the nail bed, and file from the outer edge of the nail inward toward the center of the free edge. You’re not filing straight across—you’re angling in. Do this on both sides, creating a slight roof-like angle down the center of your free edge. This is what gives soft square nails their signature look: straight sides that converge slightly toward a soft center point, rather than a completely flat top.
File with long, purposeful strokes in one direction. Don’t saw back and forth—this creates drag and heat that can damage the nail edge. One direction, lift the file, reset, repeat. This directional filing is what keeps the edge intact.
After you’ve created those angled sides, you need to soften the corners. Hold the file at approximately 45 degrees to both the side wall and the free edge simultaneously—basically creating a diagonal line from the outer corner inward. Use light, gentle strokes to round that corner. You’re not trying to create a completely rounded edge like an oval—you’re just breaking the sharp 90-degree corner so it transitions smoothly from flat to slightly rounded.
The angle and pressure here determine whether your corners end up soft enough or still too sharp. If you’re barely touching the nail with the file and using feather-light pressure, you’re rounding too gradually. You need visible contact—enough pressure that you’re actually removing material, but not so much that you’re creating heat or drag. Think of it as confident, controlled pressure rather than light touching.
The third filing direction is across the width of the nail, parallel to the edge. This smooths out the roof-like angle you created in step one and blends the overall shape together. This final cross-filing creates the cohesion between the angled sides and the soft corners, so the nail looks like one unified shape rather than several filing directions glued together.
How Long It Takes and What to Expect Weekly
Reshaping from sharp square to soft square is not an instant process, and understanding the realistic timeline will keep you patient and consistent.
For natural nails that are already a reasonable length (at least half an inch of free edge), expect the visible transformation to take 3 to 4 weeks of weekly filing. That doesn’t mean filing constantly—it means one focused filing session per week, about 10 to 15 minutes per hand, where you apply this technique to all ten nails. The gradual nature of the reshaping is actually protective; you’re not traumatizing the nail structure all at once.
By week two, you’ll start seeing the change. The corners will noticeably soften, and the overall silhouette will shift from purely geometric to slightly more organic. By week four, the shape should be well-established and look intentional rather than in-progress.
If your nails are very short to begin with (less than a quarter inch of free edge), you’ll need to give them a growth period before you aggressively reshape. Spend the first 2 to 3 weeks just filing very gently—creating a slightly softer edge but not yet attempting the full soft square shape. Once the free edge grows out to half an inch or more, then you can begin the focused reshaping.
For nails that are very long (over an inch of free edge) or very sharp, the first week of filing might feel intense because you’re removing visible length. This is necessary—the new shape requires a certain proportion, and your nails are currently out of proportion for soft square. Trust that the shortened length combined with the new rounded corners will actually look better than the previous length-to-shape ratio.
Between weekly filing sessions, protect your nails from additional trauma. You’re in the middle of reshaping them, so every catch or break sets you back a week. Wear gloves when doing dishes, be mindful when opening packages, and avoid using your nails as tools. This is especially important during weeks two and three, when the new shape is forming but not yet strong.
Working With Natural Nails vs. Extensions
The technique stays the same whether you’re reshaping natural nails or extensions, but the timeline and some practical considerations differ significantly.
With natural nails, you’re working within the limits of your nail growth rate—about one-tenth of an inch per week. This natural growth rate actually helps the reshaping process because new, undamaged nail is constantly emerging from the nail bed. Each week, you get fresh keratin in the matrix that’s never been shaped before, so your filing becomes progressively easier. By week four, you’re mostly filing on new growth rather than on nails that have been reshaped multiple times.
With extensions—whether gel, acrylics, or press-ons—you’re working with static length that doesn’t grow out. This means every aspect of the shape you create needs to be protected because there’s no fresh growth to rely on. On the flip side, the hardness of extensions actually makes the reshaping go faster. You can apply more confident pressure without fear of damaging living nail, and the file makes more visible progress with each stroke.
If you’re switching from sharp square extensions to soft square extensions, you have two options: reshape your existing extensions, or remove them and start fresh. Reshaping takes about two to three focused filing sessions and lasts as long as your extensions hold (typically 2 to 4 weeks before you need a fill). Starting fresh means scheduling removal and new application, which guarantees the shape is perfect but costs more and requires a bit of downtime if you’re sensitive to removal solutions.
For natural nails, the soft square transition is actually less dramatic than it might seem because you’re not constrained by the maintenance schedule of extensions. You can file, wait, file again, and take your time. This gentler approach often results in healthier nails long-term.
The Importance of Sealing the Edge After Reshaping
Once you’ve filed your nails into the soft square shape, an often-skipped step determines whether they’ll last or start peeling: sealing the edge.
After you’ve completed all your filing (the 45-degree sides, the rounded corners, and the cross-filing), use a buffer—ideally a 400-grit or finer buffer—to smooth out file marks and create a sealed edge. Buffing does two critical things: it smooths the microscopic texture that the file created (which is why reshaped nails often look slightly dull immediately after filing), and it fuses the exposed keratin cells together into a cohesive layer rather than leaving them standing up like exposed fibers.
An unsealed edge is an invitation to peeling. Water gets in between the layers, environmental exposure frays those fibers, and within days your beautifully shaped soft square nails start deteriorating along the edge. A properly sealed edge resists this because the keratin cells are physically bound together rather than separated.
Buffing takes about two minutes per hand. Use light pressure and circular motions, moving around the edge of the nail in all directions to ensure you’re catching the entire perimeter. You’ll notice the nails look shinier and feel smoother after buffing. That’s the seal working—the surface is now more cohesive and more protective.
If you’re someone who wears nail polish, this is where you’d apply a clear base coat or a strengthening polish. If you prefer naked nails, the buffed edge is sufficient protection as long as you’re moisturizing your hands regularly and being mindful of harsh chemicals and extended water exposure.
For extensions, this buffing step is less critical because the extension material itself is already sealed by the builder process. But buffing still improves the appearance by removing file marks and making the shape look more polished.
Maintaining Soft Square Shape Between Filing Sessions
Once you’ve reshaped your nails into soft square, the work doesn’t end—you now have a shape to maintain.
Between your weekly filing sessions, your nails will naturally start rounding out slightly more as they grow and as the sharp corners from your filing gradually soften. This is completely normal and is actually part of why soft square is so practical—even if you miss a week of maintenance, the shape degrades gracefully rather than looking immediately disheveled.
The most important maintenance habit is catching any snags or broken corners immediately. The moment you feel a corner catch on something or you notice a chip, file it immediately. Don’t wait for your weekly session. A fresh chip takes about 90 seconds to file smooth, but left alone for a week it can develop into peeling or further damage. Quick intervention prevents cascading damage.
Weekly maintenance filing is gentler than the initial reshaping. You’re not trying to dramatically change the shape anymore—you’re just refreshing the corners and maintaining the soft square silhouette. This usually takes 5 to 10 minutes total and involves gentle passes with your file around the corners and across the edges, followed by a quick buffer to reseal.
Keep your nails moisturized throughout this maintenance period. Use a cuticle oil or a hand cream with specific moisturizing ingredients (glycerin, hyaluronic acid, or ceramides work well) and apply it a few times per week. Moisturized nails are stronger nails, and stronger nails hold a shape better.
Avoid exposure to harsh chemicals and prolonged water submersion whenever possible. Both of these things swell the nail temporarily, which disrupts the shape, and repeated exposure weakens the keratin structure. Wear gloves for cleaning and dishwashing, and keep hand-washing sessions relatively brief. This is especially important during the first month of reshaping while your nails are still adjusting to the new shape.
Common Mistakes During the Transition
Several missteps derail the soft square transition, and knowing them in advance lets you avoid the frustration.
Filing too aggressively is the most common error. People see their square corners and think they need to remove them completely in one or two sessions. Aggressive filing creates heat, which damages the edge and often causes the new growth to come in with peeling or weakness. The lesson here is simple: less pressure, more sessions. Light pressure, once a week, consistently outperforms heavy pressure in fewer sessions.
Using the wrong file type also sabotages the process. A metal file—even a fine one—creates micro-tears along the edge. Glass, crystal, and ceramic files seal the edge as they file, which is why they’re worth the investment. If you’re using a metal file and your nails are peeling after reshaping, that’s why.
Not sealing the edge turns beautiful reshaping into a frustrating experience. You file, your nails look great for 24 hours, and then the edges start peeling. A proper sealing with buffing (or with polish if you use it) prevents this completely.
Attempting the full reshaping on very short nails sets you up for disappointment. Soft square requires a certain minimum length to look intentional rather than odd. If your free edge is less than half an inch, give yourself a growth period first, then reshape.
Filing across the edge back-and-forth (sawing motions) instead of in one direction weakens the edge and makes the transition take much longer. One-direction filing is gentler and more effective.
Ignoring other nail health issues during reshaping compounds problems. If your nails are splitting vertically, or if you have active fungal concerns, or if your cuticles are extremely dry and damaged, addressing these issues first makes the reshaping process go much more smoothly. You can reshape compromised nails, but it takes longer and the results are less dramatic because the baseline is less healthy.
Styling and Care Tips for Newly Shaped Soft Square Nails
Once your nails are reshaped into soft square, the shape actually becomes easier to work with and easier to keep beautiful, which is part of why making the transition is worth the effort.
Soft square nails look stunning with certain polish applications. A single-color cream or gel polish shows the shape beautifully without added visual complexity. A classic French manicure actually looks less striking on soft squares than on sharp squares because the softness blunts the graphic contrast—but the look is classier and more wearable because of it. Ombre or gradient effects follow the shape naturally and tend to look more refined than on sharp corners.
If you prefer naked nails, soft square provides excellent canvas for a nice sealing oil or a lightweight hand cream. The shape is attractive on its own, and the softness gives the whole hand a more approachable appearance than sharp square does.
The soft square shape also accommodates nail art better than sharp square. Designs don’t get visually cut off by harsh corners, and the rounded edge means your nail wraps art more gracefully around the perimeter of your finger.
Practically speaking, soft square nails are the right shape for anyone who uses their hands actively. They catch less on clothing, they break less frequently, and they’re less likely to scratch yourself or other people. If you work in healthcare, education, childcare, or any profession where you’re in close contact with others, soft square is genuinely preferable to sharp square.
How to Adjust the Shape If It’s Not Quite Right
Sometimes after a few weeks of filing, you realize your soft square isn’t quite what you envisioned. Maybe the corners are too rounded (leaning toward oval territory), or maybe they’re still slightly too sharp for your liking. The good news is that adjustment is straightforward.
If your corners need more rounding, increase the angle of your corner filing slightly. Instead of a very gentle 45-degree angle, try a slightly steeper angle—something closer to 50 or 55 degrees. This more aggressive angle removes more material from the corner, creating a rounder transition. Do this gradually—just a few passes with increased angle per week—rather than trying to change the shape dramatically in one session.
If your corners are too rounded (meaning the overall shape is starting to look more oval than soft square), the issue is usually that you’ve been buffing too aggressively or your growth is creating rounder corners naturally. Solution: emphasize the straight sides more in your next filing. File the sides with your 45-degree angled approach to create that roof-like peak down the center of the free edge. This visual peak makes the nails read as “square” even with soft corners. You’re essentially creating definition that counteracts excessive rounding.
If the overall length seems wrong—too short or not proportional to the width of your nail bed—just let them grow and adjust your filing maintenance to work with the emerging new length. The shape will look more balanced once the proportion aligns better.
The beauty of soft square is that it’s incredibly forgiving. It’s genuinely hard to make it look “wrong” because soft, rounded edges accommodate a fair range of proportions and corner radii. If your soft square isn’t perfect, it’s still likely more flattering and more practical than your original sharp square was.
Final Thoughts
Transitioning from sharp square to soft square is one of those changes that looks small but feels significant once it’s done. You gain a shape that works better in real life, breaks less frequently, and actually looks more sophisticated because the softness conveys polish rather than harshness.
The process is simple: understand the geometry, gather the right tools, commit to weekly filing sessions for 3 to 4 weeks, and maintain the shape consistently afterward. There’s nothing complicated about it, but there is a difference between rushed, aggressive reshaping and patient, methodical transformation. The patient approach wins every time—your nails will be healthier, stronger, and the shape will look more intentional and beautiful.
Once you’ve made this transition, you’ll probably never go back to sharp square. The soft square shape becomes second nature, and the maintenance becomes a quick weekly ritual rather than a source of frustration. Your nails will thank you, and you’ll wonder why it took you so long to make the switch.
