

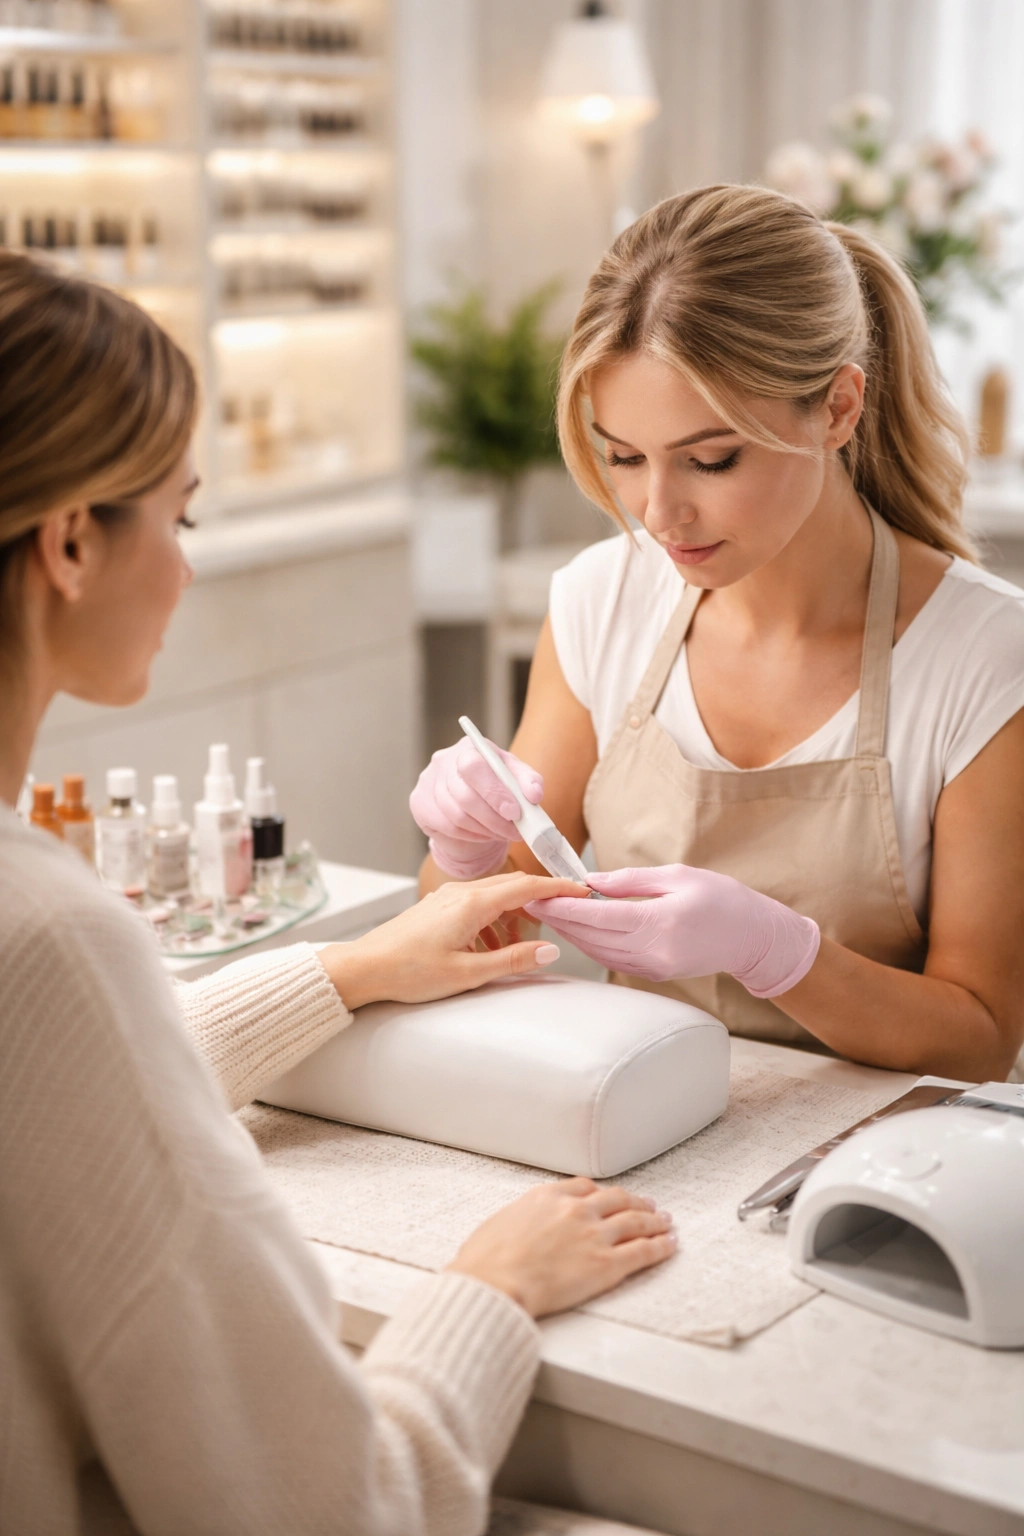
A broken acrylic nail doesn’t have to mean a trip to the salon and waiting days for an appointment. If you know what you’re doing, you can fix most minor to moderate acrylic nail breaks right at home with basic supplies and about 20-30 minutes of your time. The key is understanding the severity of the break, having the right materials on hand, and following a systematic approach that keeps your nail healthy while restoring its strength and appearance.
Acrylic nails break for a variety of reasons — from catching them on clothing or a door to simply hitting them against a hard surface during everyday activities. The good news is that many breaks are entirely fixable without professional help. The bad news is that if you try to rush the repair or use the wrong technique, you can end up with an even worse problem: infection, further damage to your natural nail, or a repair that doesn’t hold. This guide walks you through exactly how to assess your broken acrylic nail, repair it properly, and prevent breaks from happening in the future.
Understanding the difference between a quick fix and a situation that needs professional attention is crucial. Some breaks require you to remove the entire nail and start fresh, while others simply need a bit of reinforcement and reshaping. By the time you finish reading this article, you’ll know which category your break falls into and how to handle it with confidence.
Understanding When You Can Fix Your Acrylic Nail at Home
Not every acrylic nail break is a candidate for home repair. The first and most important step is honestly assessing whether this is something you can realistically fix yourself or whether you should bite the bullet and book a professional appointment.
A clean break near the tip or a small crack that hasn’t penetrated all the way through the acrylic is typically fixable at home. These breaks are usually the result of impact or catching on something, and they often don’t involve damage to your natural nail underneath. The repair involves gluing the broken piece back on, reinforcing it with new acrylic material, or filing away the damaged section and rebuilding the shape from scratch — all doable in your kitchen or bathroom.
However, if the break occurred near the nail bed or the acrylic has lifted away from your natural nail, creating a separation or an obvious gap, this is more complicated. A lifted acrylic nail can trap moisture and bacteria between the acrylic and your natural nail, which creates a perfect environment for infection. If you attempt to glue it back on without properly drying and cleaning that gap, you’re inviting fungal or bacterial issues that could damage your nail bed for months.
Similarly, if your acrylic nail has broken so far down that less than half the nail remains, or if the break is angled in a way that makes it nearly impossible to reshape into a wearable form, a professional removal and full set replacement is genuinely the better option. Trying to salvage a nail that’s broken 75% of the way down will likely frustrate you, take longer than a salon visit, and look rough.
The golden rule: if the break is in the top two-thirds of your nail and your natural nail underneath is intact and dry, you can handle it at home. If the break is near the base, if there’s separation or visible moisture, or if the damage is so extensive that only a sliver of nail remains, go to a professional.
What You’ll Need to Gather Before You Start
Having all your supplies ready before you start your repair prevents frustration and means you’re not wandering around your house mid-repair looking for a file. Here’s exactly what to have on hand.
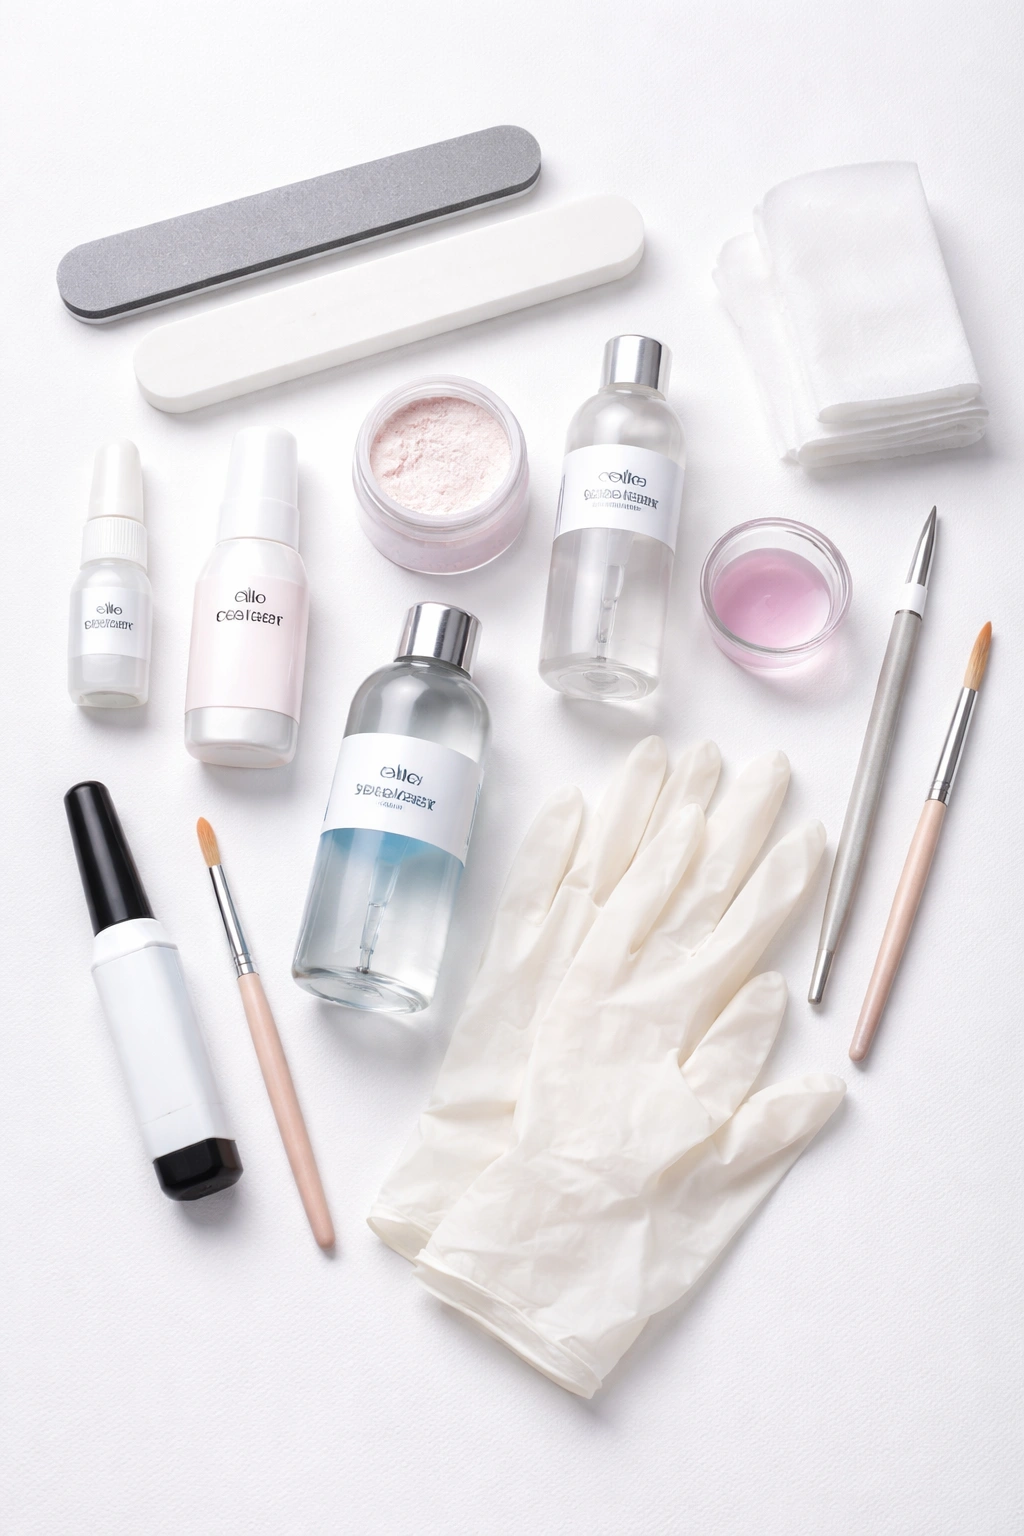
Essential supplies for acrylic nail repair:
- A nail file (150-220 grit is ideal for acrylic nails — not the gentle emery boards you’d use on natural nails)
- A buffer block or fine-grit buffer (400 grit or higher)
- Nail glue (cyanoacrylate-based, specifically formulated for nails — not superglue or craft glue)
- Acrylic powder and acrylic liquid (if you’re doing a full reinforcement), or a UV acrylic repair pen (a faster alternative for small breaks)
- A small brush for applying acrylic (if using powder and liquid)
- Isopropyl alcohol (70% concentration) or a nail dehydrator
- Lint-free wipes or cotton pads (not regular cotton balls, which shed fibers)
- A nail polish remover or acetone (optional but helpful for cleaning the break site)
- A cuticle pusher or orange stick (for clearing debris)
- Protective gloves or a barrier cream to keep acrylic powder off your skin
If this is your first time doing a home repair, consider buying a dedicated acrylic repair kit, which bundles most of these supplies together. These kits typically cost between $15-30 and save you from purchasing individual items, many of which you might not use frequently.
Optional but genuinely helpful supplies:
- A UV light or LED lamp (if using UV acrylic products)
- A dust mask (acrylic powder can irritate your lungs if you’re sensitive, and a light mask prevents inhalation)
- Nail forms or nail tips in various sizes (helpful if you’re rebuilding a significant portion of the nail)
- A gel top coat for sealing (adds protection and shine after your repair)
Assessing the Type and Location of the Break

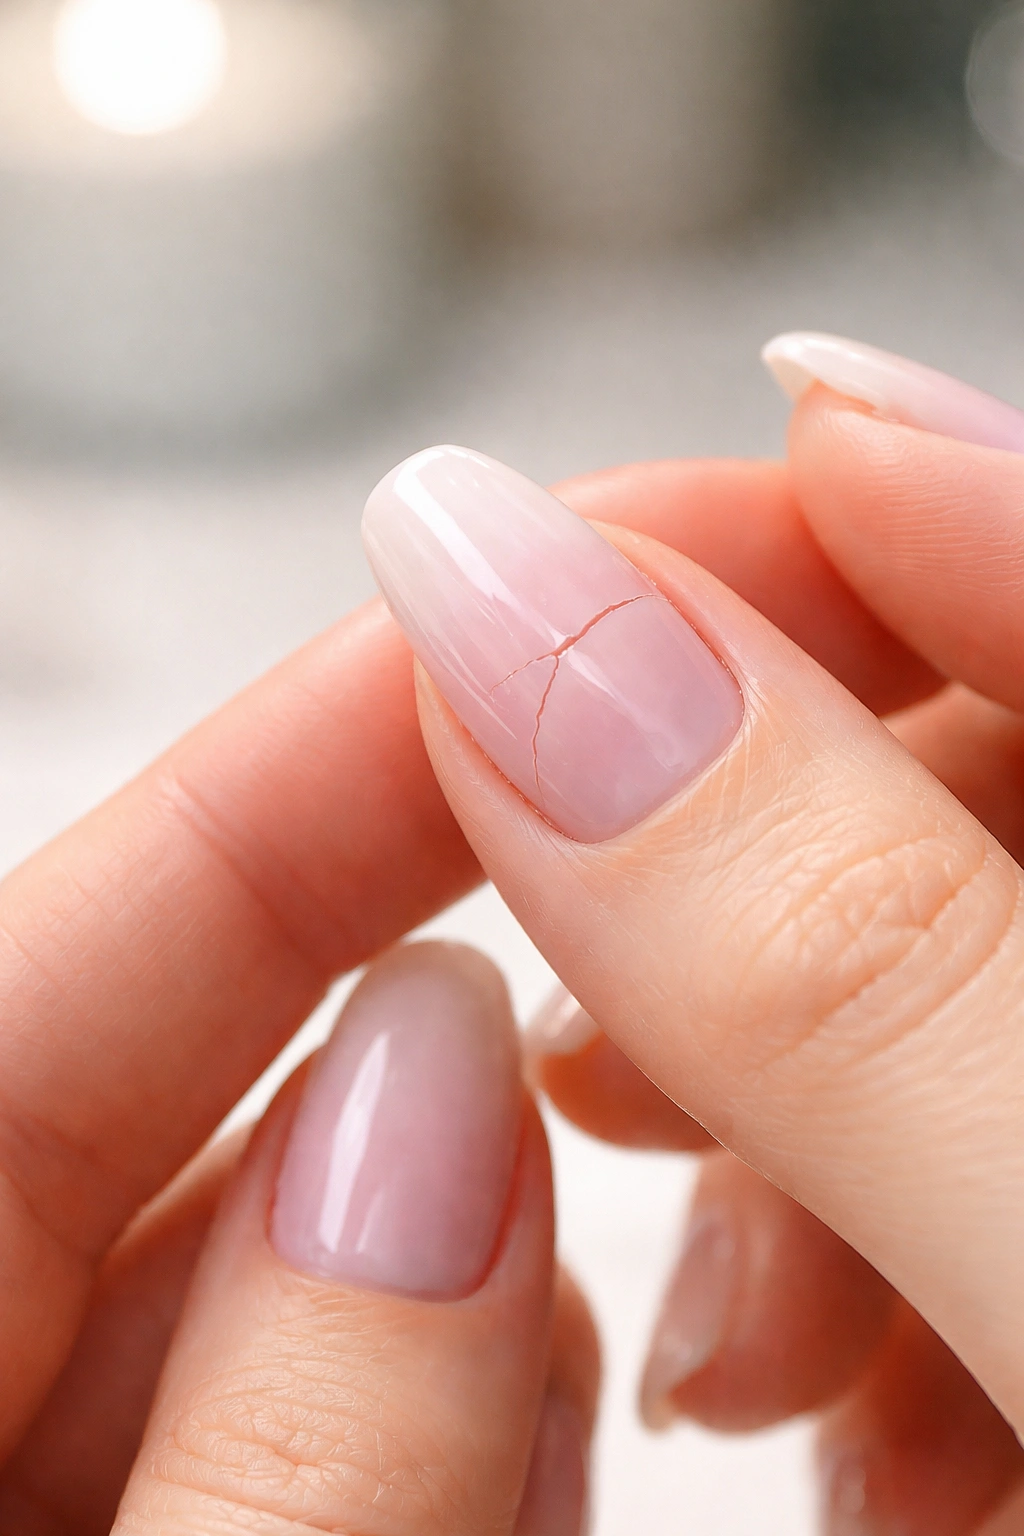
Before you touch your nail with any tool or product, spend a minute actually examining what you’re working with. Different breaks require different solutions, and treating the wrong break with the wrong method wastes time and materials.
A clean break is when the acrylic has split or snapped, usually at an angle, but the two pieces are both still present and could theoretically be glued back together. These are often the easiest breaks to fix because you’re essentially just reattaching what was already there. The key is that both pieces fit together without gaps and that your natural nail underneath is intact.
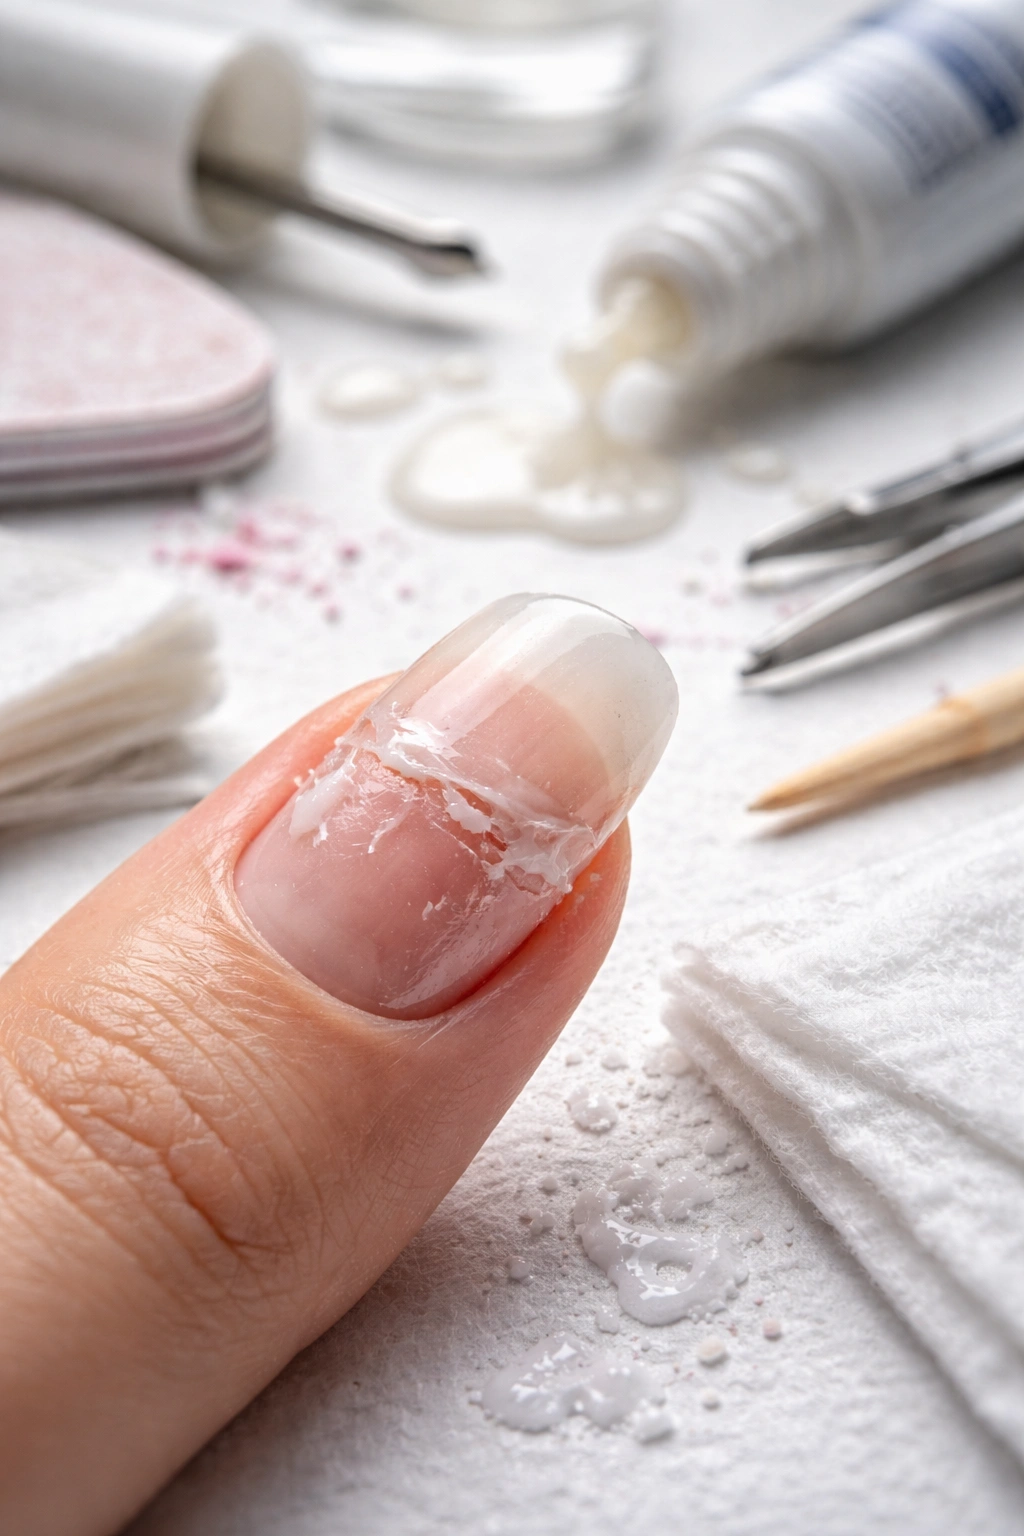
A brittle break or splintering break is when the acrylic has cracked and splintered into multiple fragments or broken in a way that leaves sharp, jagged edges. These breaks usually require filing away the damaged material and rebuilding the shape rather than trying to reattach pieces. Splinters often indicate that the acrylic was too dry or that there was too much stress on that particular nail.
A break with separation is when the acrylic has not only cracked but also lifted away from your natural nail, creating a visible gap or hollow space underneath. You’ll often see a darker shadow or a visible line where the acrylic has separated. This is the trickiest type because moisture and bacteria can hide under there. If the separation is minor (less than an eighth of an inch), you might be able to clean it out and fill it with fresh acrylic. If it’s significant or if you notice any discoloration of your natural nail, skip the home repair.
Location matters too. A break on the side of your nail is generally easier to repair because the structural integrity of the tip remains intact. A break straight down the middle of your nail or across the tip is more challenging because you’re dealing with a compromised shape that’s harder to rebuild convincingly. A break near the cuticle or nail bed is a red flag — that’s usually professional territory because the risk of damaging your natural nail growth is higher.
Look carefully at your natural nail underneath the break. It should be smooth, dry, and its natural pink color. If it’s white or discolored, soft or spongy-feeling, or if there’s visible moisture, fungus, or separation, your natural nail needs treatment before you cover it with acrylic again. A broken acrylic nail that needs the natural nail underneath to heal requires a professional assessment.
How to Safely Remove and Prep a Broken Acrylic Nail
The foundation of any successful repair is proper preparation. If you skip this step or do it carelessly, your repair won’t stick, won’t last, and you’ll wonder why it didn’t work. The prep work is genuinely the most important part of the entire process.
Start by washing your hands with soap and warm water. This removes oils, lotion, and debris from your hands and nails. Dry thoroughly — any moisture on your nail surface will weaken the bond of your glue or acrylic. Moisture is the enemy of acrylic nail adhesion, so don’t skip this.
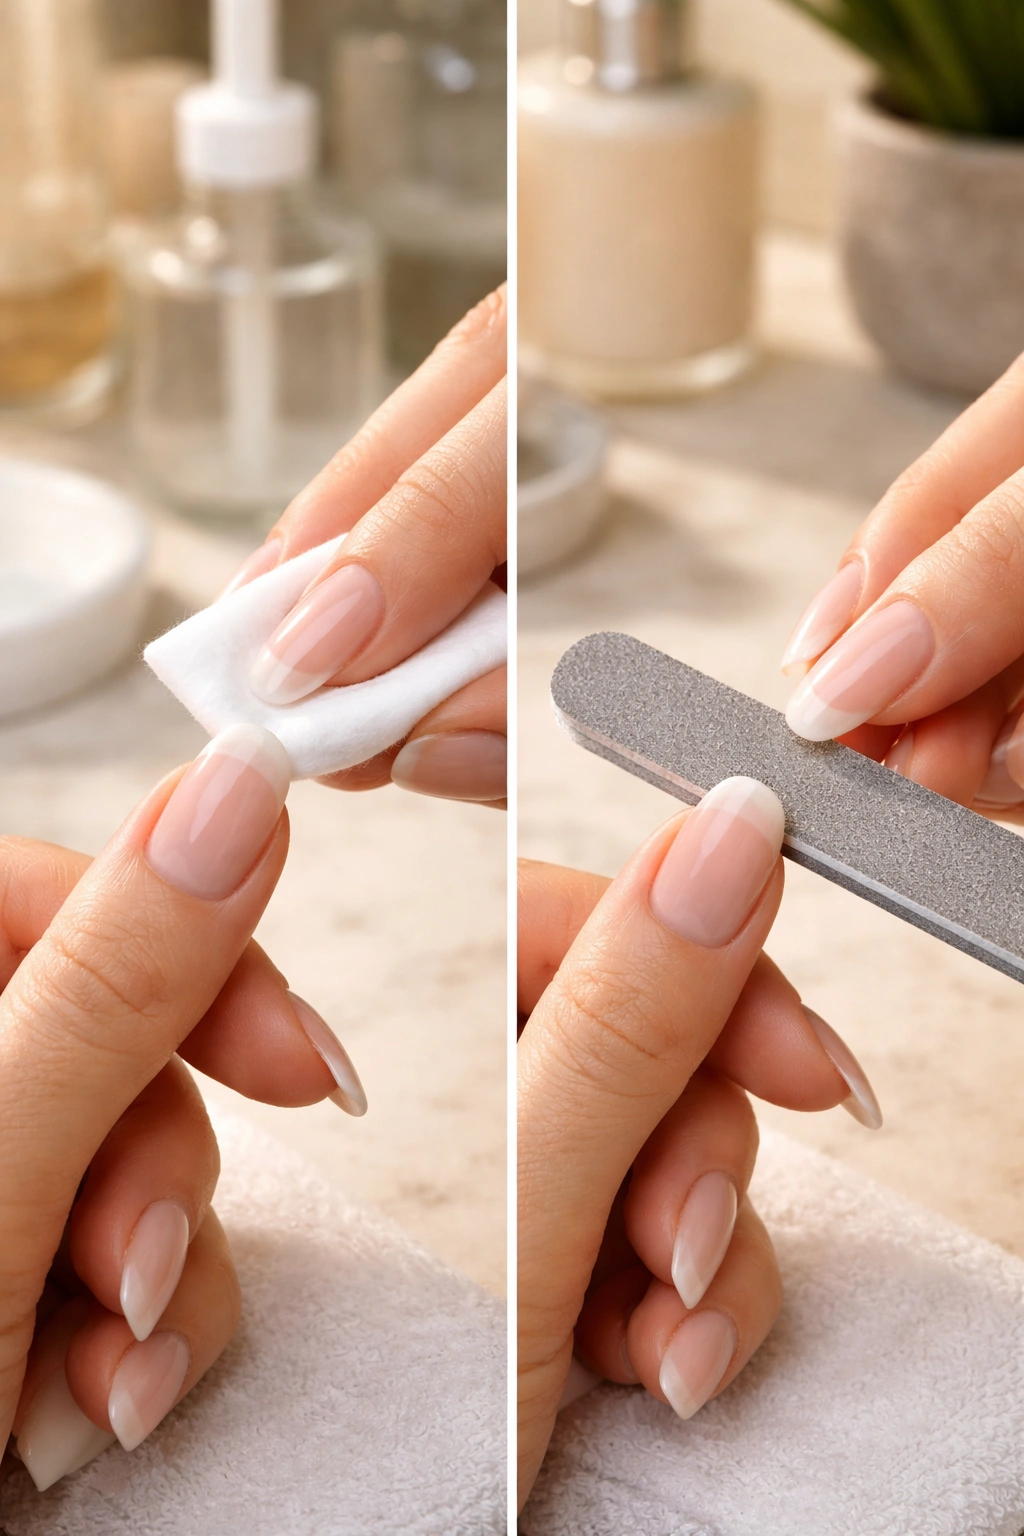
If the break has left sharp, jagged edges, use your nail file to gently smooth them down. You’re not filing off all the acrylic at this point — you’re just making it safe to handle. File in one direction rather than using a back-and-forth sawing motion, as the sawing motion can cause additional cracking. Be gentle; acrylic can crack further if you’re too aggressive.
Next, if you’re reattaching a broken piece or if there are loose fragments, clean the entire break area with isopropyl alcohol on a lint-free wipe. This removes oils, residue, and any dirt that’s accumulated in the crack. Let it air dry completely — this usually takes 30 seconds to a minute. If you have a nail dehydrator spray, use it according to the package directions; it accelerates moisture removal and primes the nail surface for better adhesion.
Use your buffer block to gently buff the surface of the acrylic around the break. You’re not trying to remove all the shine or create a matte surface everywhere — you’re just scuffing it slightly to help new acrylic or glue adhere better. This is a light touch; maybe 2-3 gentle passes over each area. An overly buffed nail can weaken the existing acrylic structure.
If you’re working with a break that has a gap or separation, use a cuticle pusher or orange stick to gently clear out any loose acrylic, dust, or debris trapped inside the gap. Be careful not to push hard enough to damage your natural nail, but do get as much debris out as possible. A clean gap will seal much better than one filled with dust.
Use your lint-free wipe with fresh isopropyl alcohol one more time to wipe away any acrylic dust created by your filing and buffing. This final clean is crucial — acrylic dust left on the surface is one of the top reasons why glue or acrylic doesn’t adhere properly.
Using an Acrylic Repair Kit for Quick Fixes
If your break is clean and you have both pieces, or if you’re dealing with a small crack rather than a major break, an acrylic repair kit or UV acrylic repair pen is often the fastest solution. These are formulated specifically for quick fixes and they don’t require mixing or advanced technique.
Most UV acrylic repair pens work this way: the pen contains a thick, glossy acrylic-like gel that hardens under UV light. You apply it directly to the break, sculpt it slightly if needed with a brush or applicator, then cure it under a UV lamp for 30-60 seconds (depending on the brand). The result is a durable, glossy finish that actually looks pretty polished if you’re careful with application.
If you’re reattaching a broken piece, apply a tiny amount of the acrylic repair pen to the broken edge, press the piece back into place, hold it steady for 10-15 seconds, then cure under the light. Once it’s cured, you can file and shape the seam between the two pieces until it’s seamless.
For a crack without separation, fill the crack with the repair pen material, smooth it with a slightly damp brush, and cure. The nice thing about these pens is that they’re more forgiving than traditional acrylic powder and liquid — if you don’t like how it looks, you can file it off and try again without much waste.
The downside is that if you don’t have a UV light already, buying one ($20-50) might not be worth it just for one repair. If you regularly do your own nails or anticipate fixing more breaks in the future, a UV light is a good investment. If this is a one-time thing, you might be better off with traditional acrylic powder and liquid or a simple glue-based repair.
The Gluing Method for Minor Breaks
For small breaks, surface cracks, or if you’re reattaching a broken piece that fits back together perfectly, good old nail glue is often the simplest and most effective solution. This method is the fastest and requires the fewest supplies.
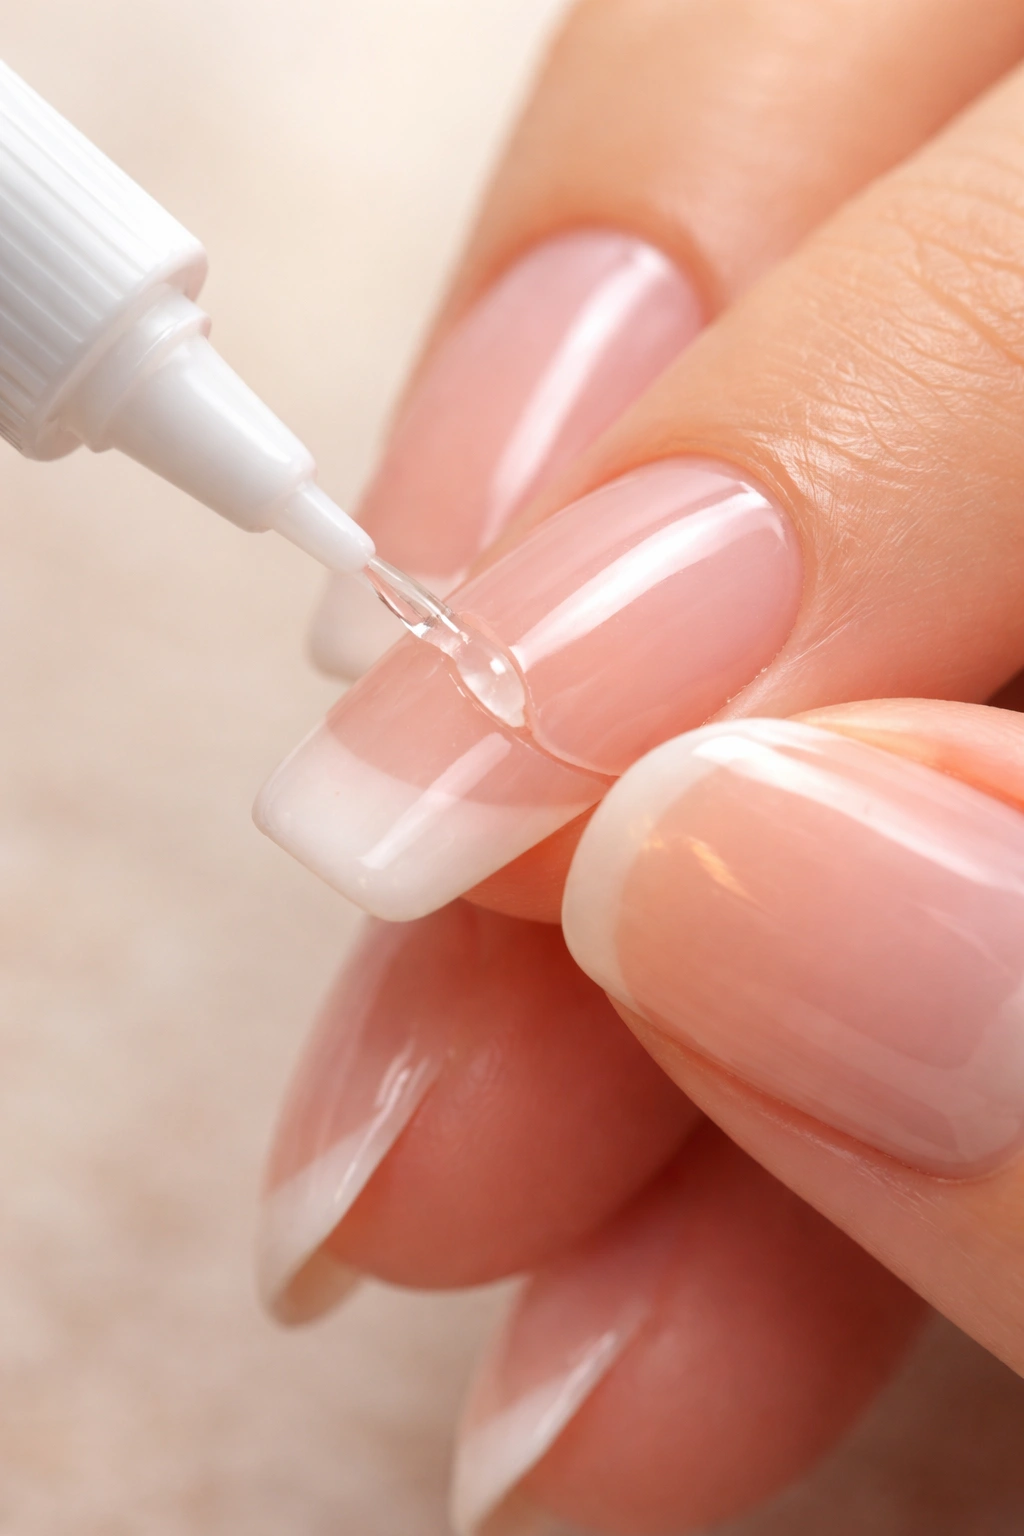
Start with a fresh tube or container of nail glue. Old nail glue that’s been sitting around gets thick and doesn’t bond as well. Nail glue has a relatively short shelf life after opening — usually 3-6 months before it starts to thicken — so if you’re not sure when you bought yours, buy a fresh bottle for this repair.
Apply a tiny drop of glue to the broken edge of the acrylic. “Tiny” really means it — a drop the size of a pencil point. More glue doesn’t mean a stronger bond; excess glue can be messy and can actually weaken the repair by preventing the two pieces from fitting together cleanly. If you’re reattaching a piece, apply a small drop to both the acrylic nail and the broken piece.
Press the two pieces together firmly and hold steady for 30-60 seconds. During this time, the glue is setting and bonding the pieces together. If you move or let go too early, the bond won’t be complete and the repair will fail within hours. Set a timer on your phone if you need to — 60 seconds is longer than you think, and it’s easy to underestimate.
Once the glue has set, examine the seam where the two pieces joined. If there’s excess glue oozing out, gently wipe it away with a lint-free cloth while it’s still slightly wet. If it’s already hardened, you can soften it slightly with a very tiny amount of acetone on a wipe, then wipe it away.
The glued joint will be strong, but the seam might be visible as a thin line. File and buff along the seam to blend it and make it less noticeable. Once you apply nail color, the seam typically becomes invisible.
Here’s the honest limitation of the glue-only method: it works great for keeping the two pieces attached, but if the break extends across a load-bearing part of your nail (like directly across the width where you’ll be putting pressure when you type or grab things), the repair might not hold long-term. The glued joint is only as strong as the acrylic on either side of it. If you regularly stress that area, the repair could fail again within a week or two.
Building Up the Nail with Acrylic Powder
If your break is more extensive, if you’ve had to file away damaged material and the nail is now shorter or thinner than it should be, or if you want a repair that lasts indefinitely, building up with acrylic powder is the more robust solution. This is what nail technicians use, and it creates a genuinely durable repair.
If you’ve never worked with acrylic powder and liquid before, know that the learning curve is real. Your first attempt might look imperfect, and that’s completely normal. The technique requires practice, but once you’ve done it a couple of times, it becomes much faster and easier.
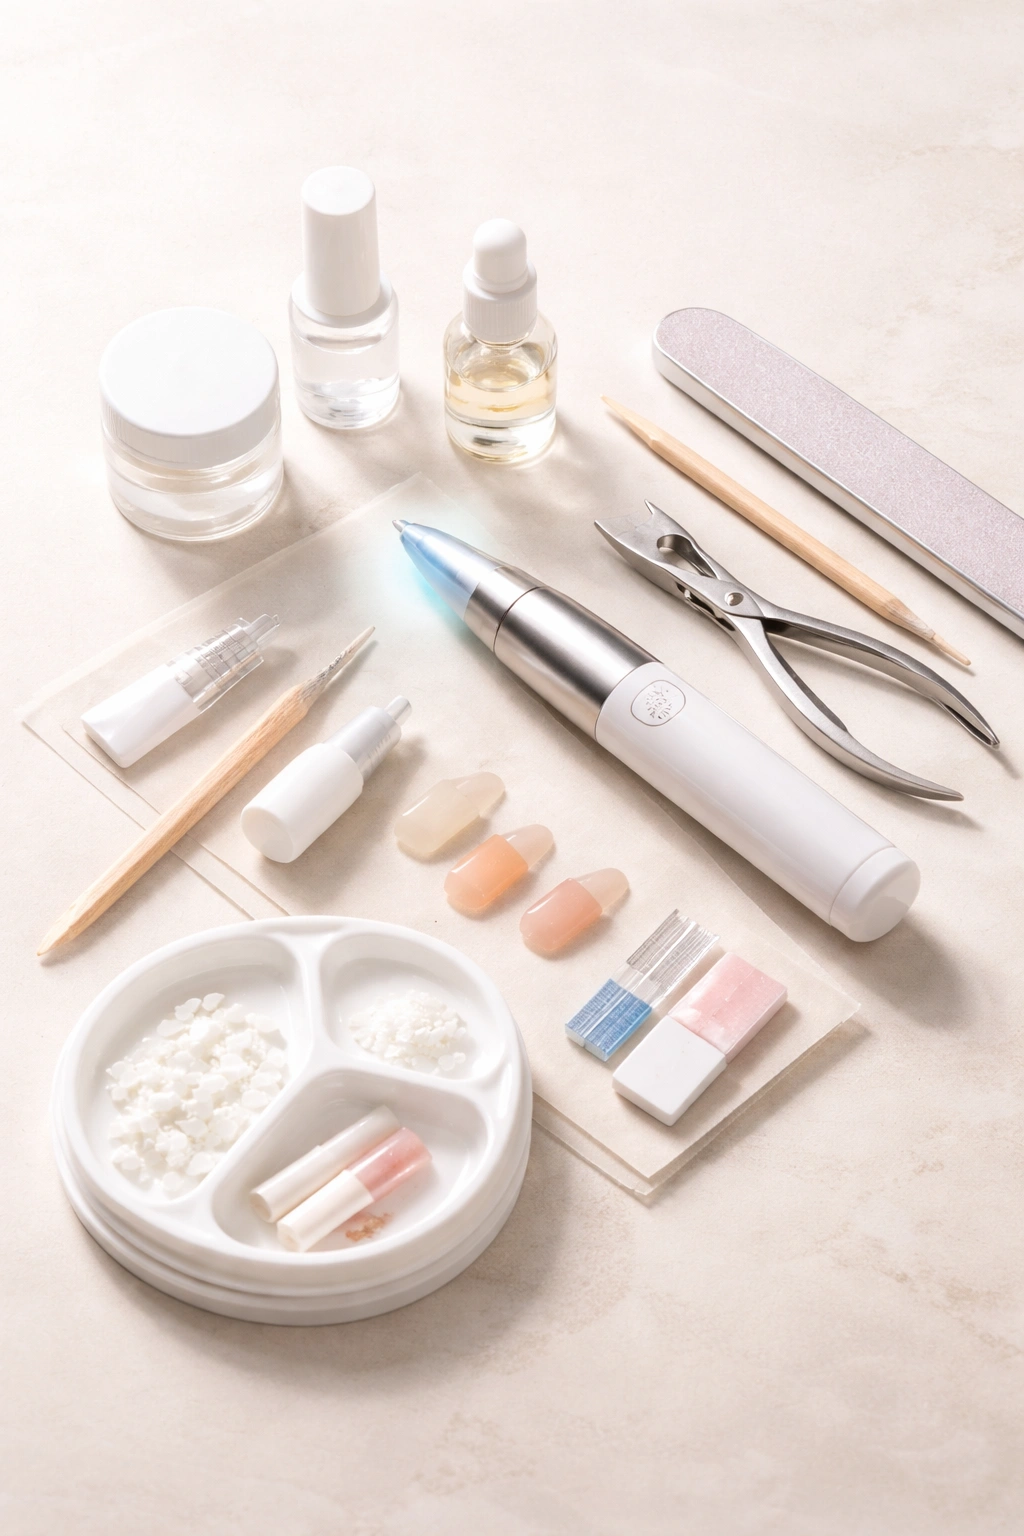
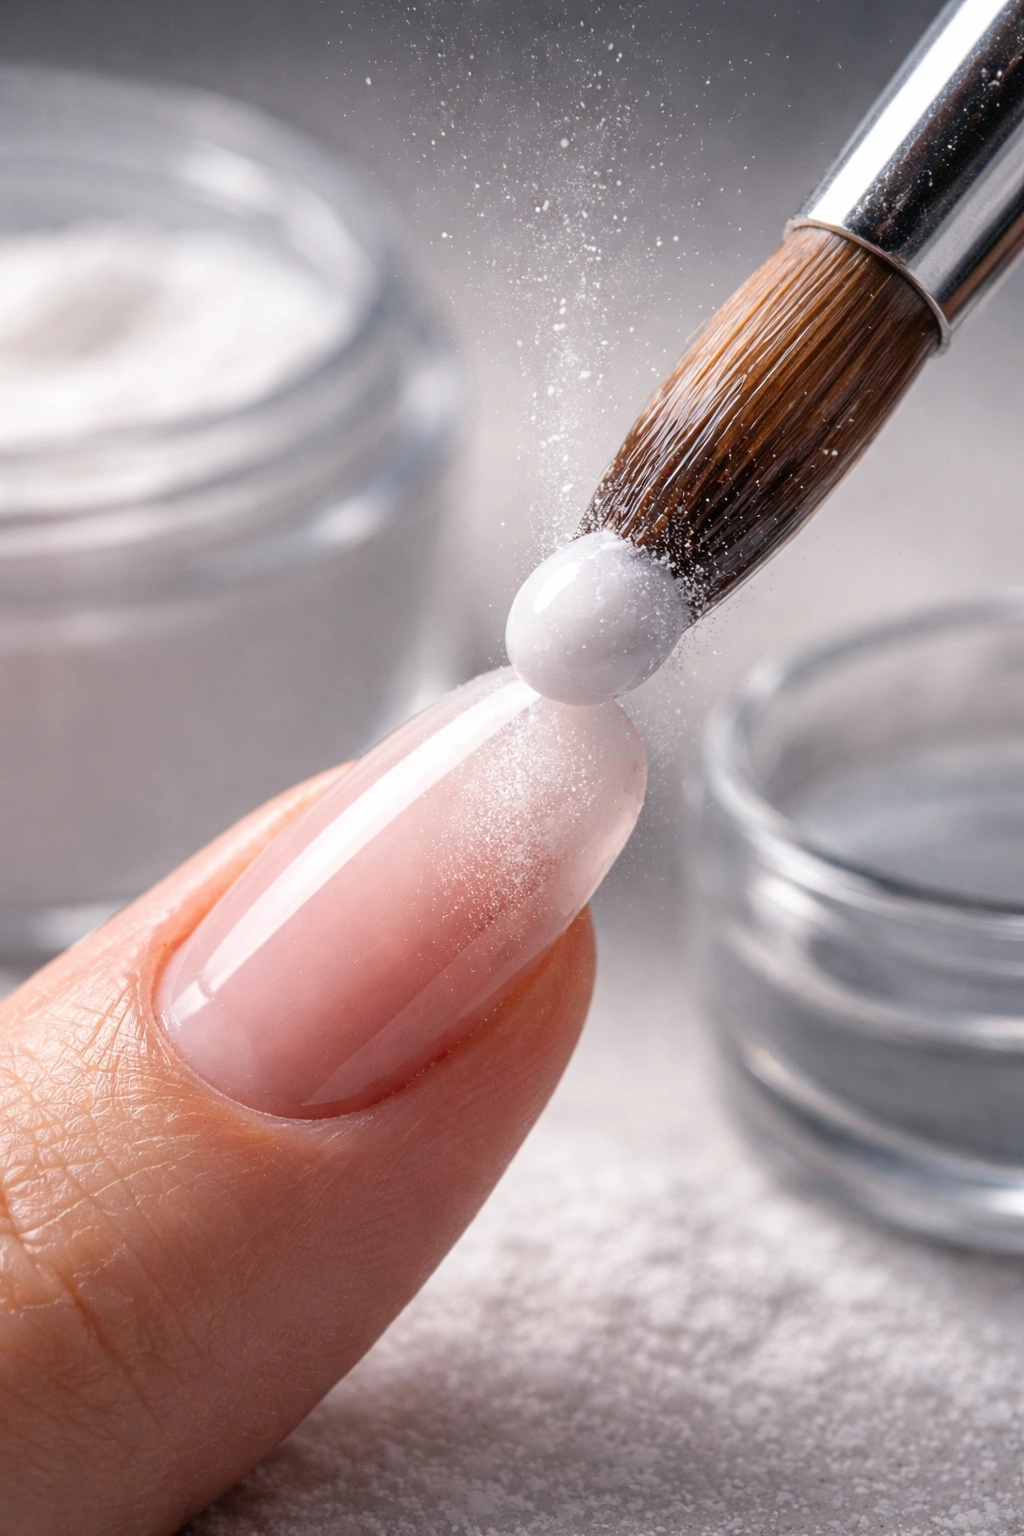
First, you need acrylic powder in a shade that matches your nail color. Most people use natural pink or clear acrylic powder. You’ll also need acrylic liquid (sometimes called monomer), which is a chemical solution that activates the powder and allows you to sculpt it. Pour a small amount of liquid into a dappen dish (a tiny glass or ceramic dish, usually included in acrylic kits) and keep your powder in its original container.
Dip a small acrylic brush into the liquid, then into the powder, creating a small acrylic ball on the brush. This is your “bead” — it’s the bit of material you’ll apply to your nail. The consistency should be like a thick paste, not runny and not completely dry. This takes practice to get right; too wet and it runs everywhere, too dry and it won’t stick together or sculpt smoothly.
Apply the bead to the break area on your nail, positioning it to fill in the damaged section and create the shape you want. Use your brush to smooth and sculpt the acrylic into place, working it so it blends seamlessly with the existing acrylic. The acrylic will feel slightly sticky and moldable at first; this is the application window. You have about 2-3 minutes to get it where you want it before it hardens completely.
The key technique here is feathering the acrylic edges so the new material blends with the old. Don’t create a visible ridge or bump; smooth the edges out gradually so it’s one continuous surface. This is easier said than done on your first try, but it gets better with practice.
Let the acrylic fully cure and harden. Unlike UV acrylic, traditional acrylic powder cures through a chemical reaction and doesn’t require a light — it just hardens on its own over a few minutes. You’ll know it’s fully hardened when it’s no longer soft or tacky to the touch and feels completely solid.
Once hardened, file and shape the acrylic to match your desired nail length and shape. This is your chance to create a perfect repair — file it smooth, blend the seams completely, and create a shape that looks intentional and polished.
Filing and Shaping Your Repaired Acrylic Nail
After your repair has fully set — whether you used glue, acrylic powder, or a repair pen — filing and shaping is what transforms it from a lumpy repair into something that actually looks good. This step determines whether your repair is invisible or obviously DIY.
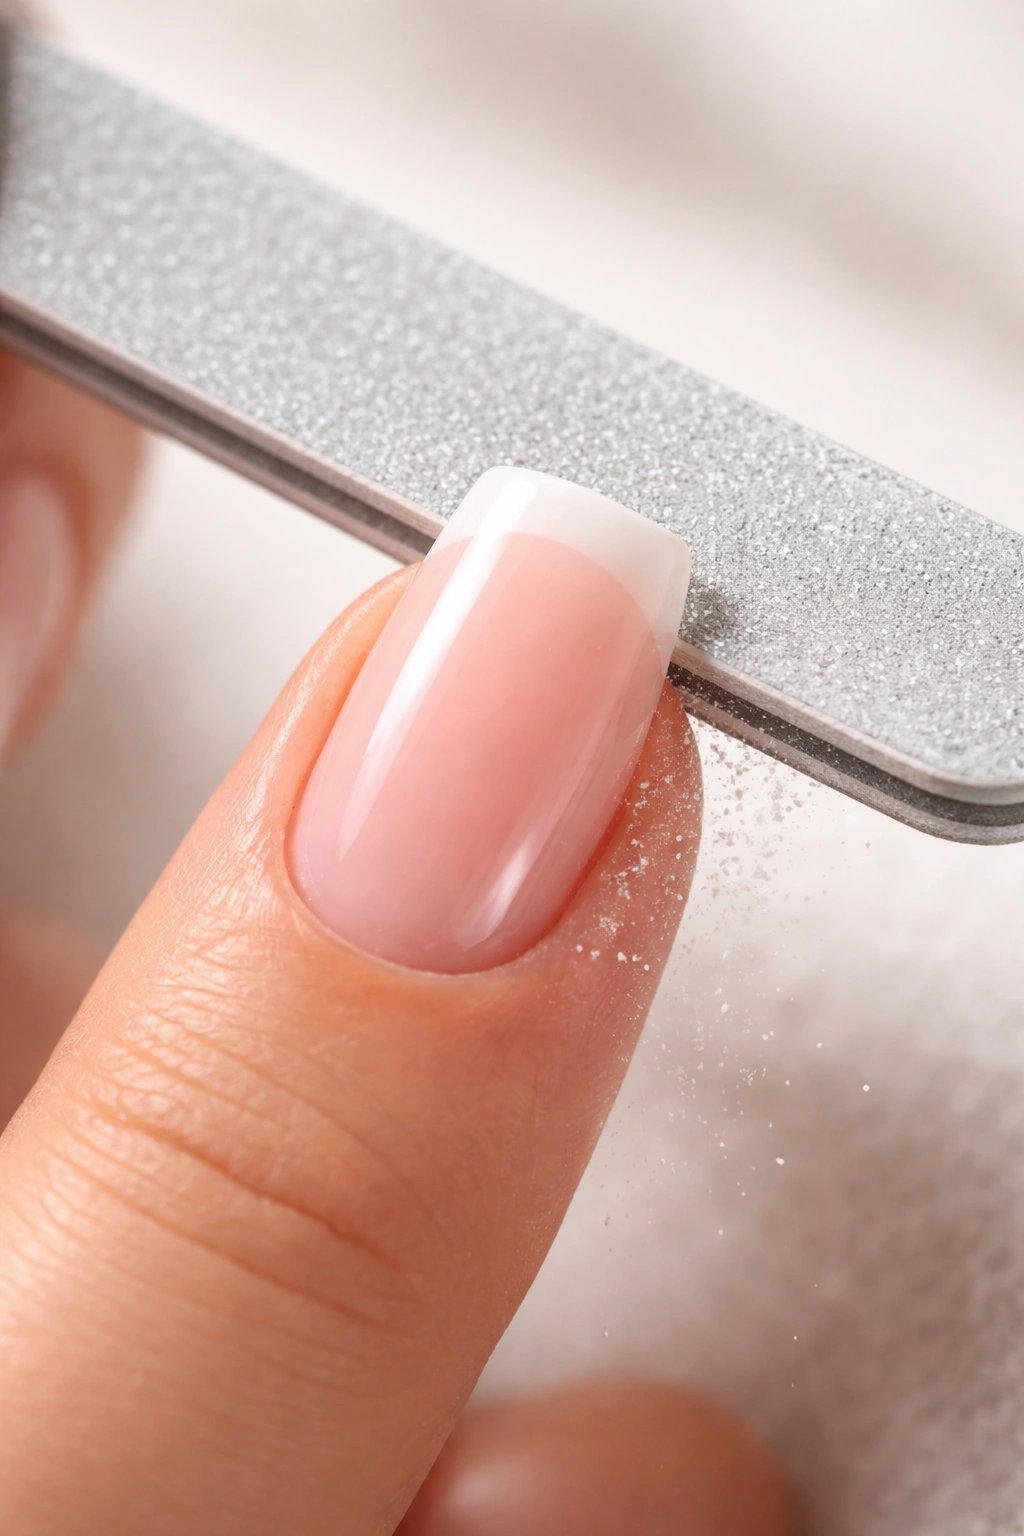
Use your 150-220 grit nail file to establish the basic shape you want. If your nail was originally a square shape, shape it square. If it was rounded, shape it rounded. Use long, even strokes in one direction, filing from the edge toward the center of the nail rather than using a back-and-forth sawing motion. The sawing motion can cause additional cracking and makes it harder to create clean edges.
Pay special attention to any seams or bumps where your repair meets the original acrylic. File these areas with extra care, using light pressure and frequent checking to avoid removing too much material. You want the surface to be completely smooth and uniform; if you run your finger across it, it shouldn’t catch on any ridge or bump.
Once the shape is established, switch to a finer-grit file (280 grit or higher) to smooth out any scratches or imperfections left by the coarser file. This is where the nail starts to look more refined.
Check the tip thickness as you file. Your nail should be thicker toward the base and gradually taper to a thinner point at the very tip. If your repair has created an area that’s too thick or too thin, you can adjust this with filing. A nail that’s too thin in the middle will be weak; one that’s too thick will look clunky.
Sealing and Buffing for a Professional Finish
The final step that makes your repair look salon-quality is buffing and sealing. This is quick but makes an enormous difference in how polished your nail looks.
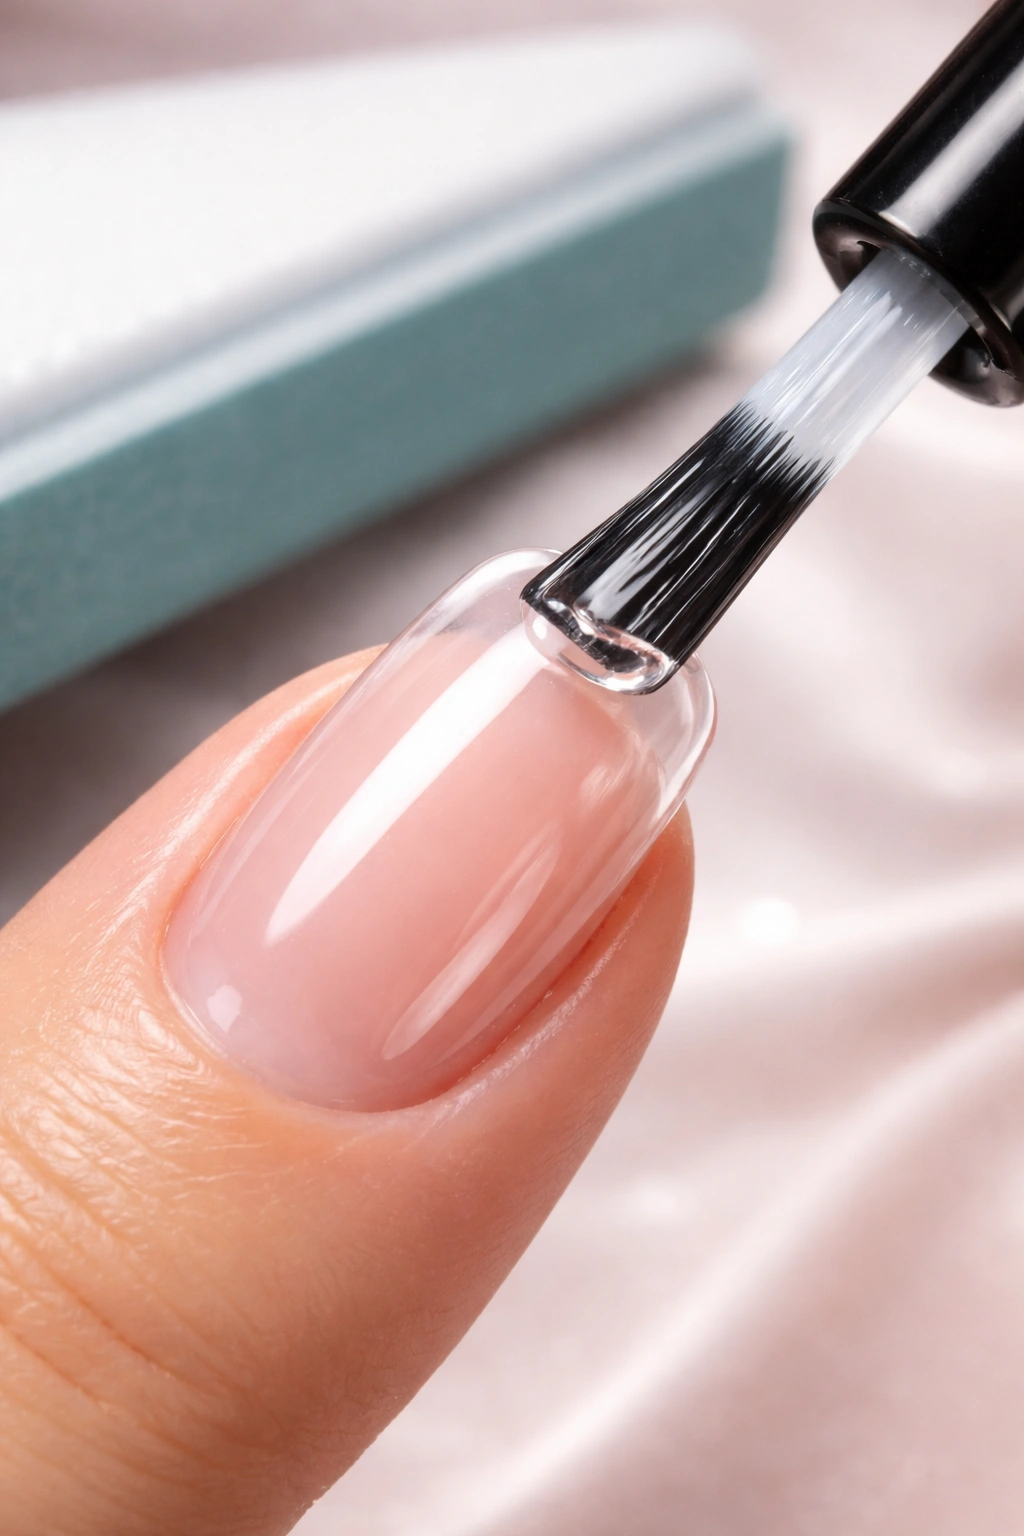
Use a fine buffer block (400 grit or higher) to buff the entire surface of your nail, including the repaired section and the original acrylic. Buffing removes the matte finish that filing creates and gives your nail a slight sheen. Use gentle, circular motions, buffing all surfaces until the entire nail has a uniform, subtle shine. This takes maybe 30 seconds total.
If you want extra protection and a glossy, salon-like finish, apply a clear gel top coat. If you don’t have gel, a regular clear nail polish works too. The top coat seals the acrylic, adds shine, and provides a protective layer that makes your repair last longer and look more polished.
Alternatively, if you’re going to paint your nails with color, skip the top coat at this stage and just go straight to your base coat and nail color. The color and final top coat will seal everything.
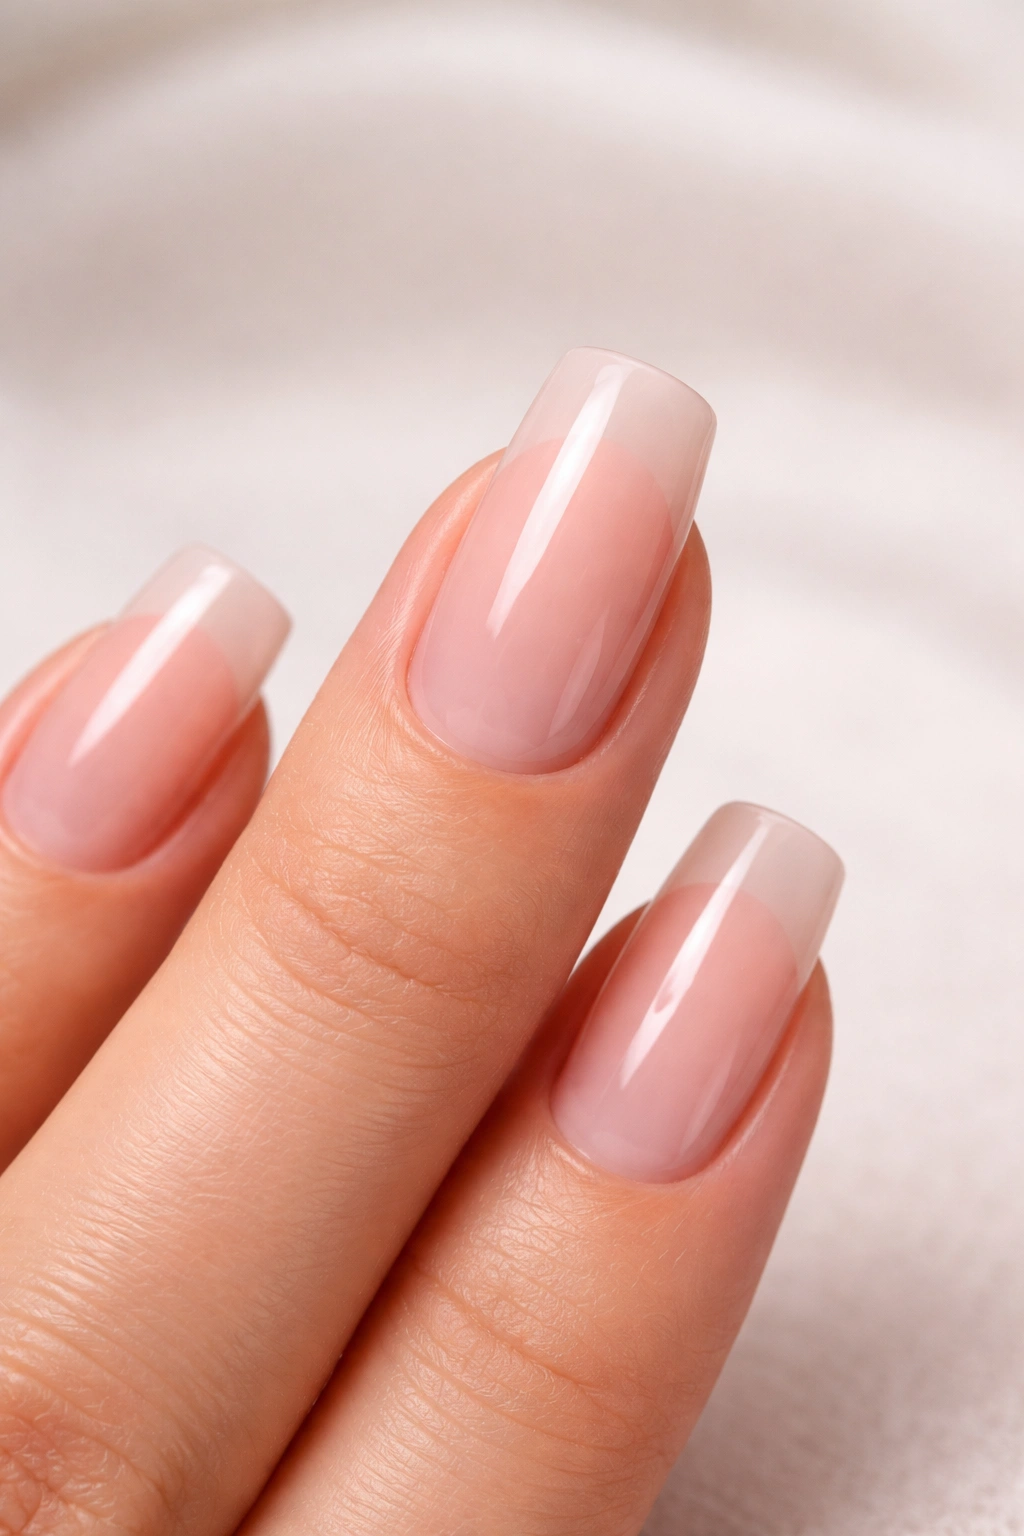
Give yourself a minute to admire your work. A well-executed acrylic nail repair is genuinely difficult to distinguish from a salon repair if you’ve taken your time with the prep and finishing work.
When You Should Visit a Professional Salon
There are specific situations where attempting a home repair is honestly a waste of time and could damage your natural nail. Recognizing these situations and choosing to go to a professional instead is actually the smarter choice.
Go to a professional if:
- The break is near your nail bed or cuticle area. The risk of damaging your natural nail or causing an infection is too high for a DIY repair.
- Your natural nail underneath the break is white, discolored, soft, or shows any signs of fungal infection or lifting. Your natural nail needs professional assessment and treatment.
- The break is so extensive that 75% or more of your nail is gone. There’s not enough structure left to build a convincing, strong repair.
- The break has multiple cracks or splinters that extend throughout most of the nail. This usually indicates that the entire acrylic needs to be removed and replaced.
- You notice any moisture, cloudiness, or debris trapped between the acrylic and your natural nail that you can’t clean out. This suggests a larger separation that needs professional drying and treatment.
- Your acrylic nail has partially lifted away from your natural nail. You can’t adequately dry and seal a gap of this size at home.
- You’ve already attempted a repair and it failed within a day or two. Sometimes the damage is such that professional removal and replacement is the only lasting solution.
A salon visit costs $30-60 for a repair or replacement, depending on where you live. If you’re spending two hours trying to fix something at home and it doesn’t work, you’ve wasted more time than a professional appointment would have taken. Sometimes paying for professional help is the right call.
Preventing Future Breaks in Your Acrylic Nails
Once you’ve gone through the effort of repairing a broken nail, you probably don’t want to do it again anytime soon. Preventing breaks in the future requires both protective habits and realistic expectations about what acrylic nails can handle.
Use your nails wisely. Acrylic nails are strong, but they’re not indestructible. They’re more prone to breaking than natural nails because the acrylic itself is more brittle, especially if the acrylic application was too thick or if the underlying structure is weak. Avoid using your nails as tools — don’t scrape labels off bottles, dig under tape, or poke at things. Use your fingertips or actual tools instead.
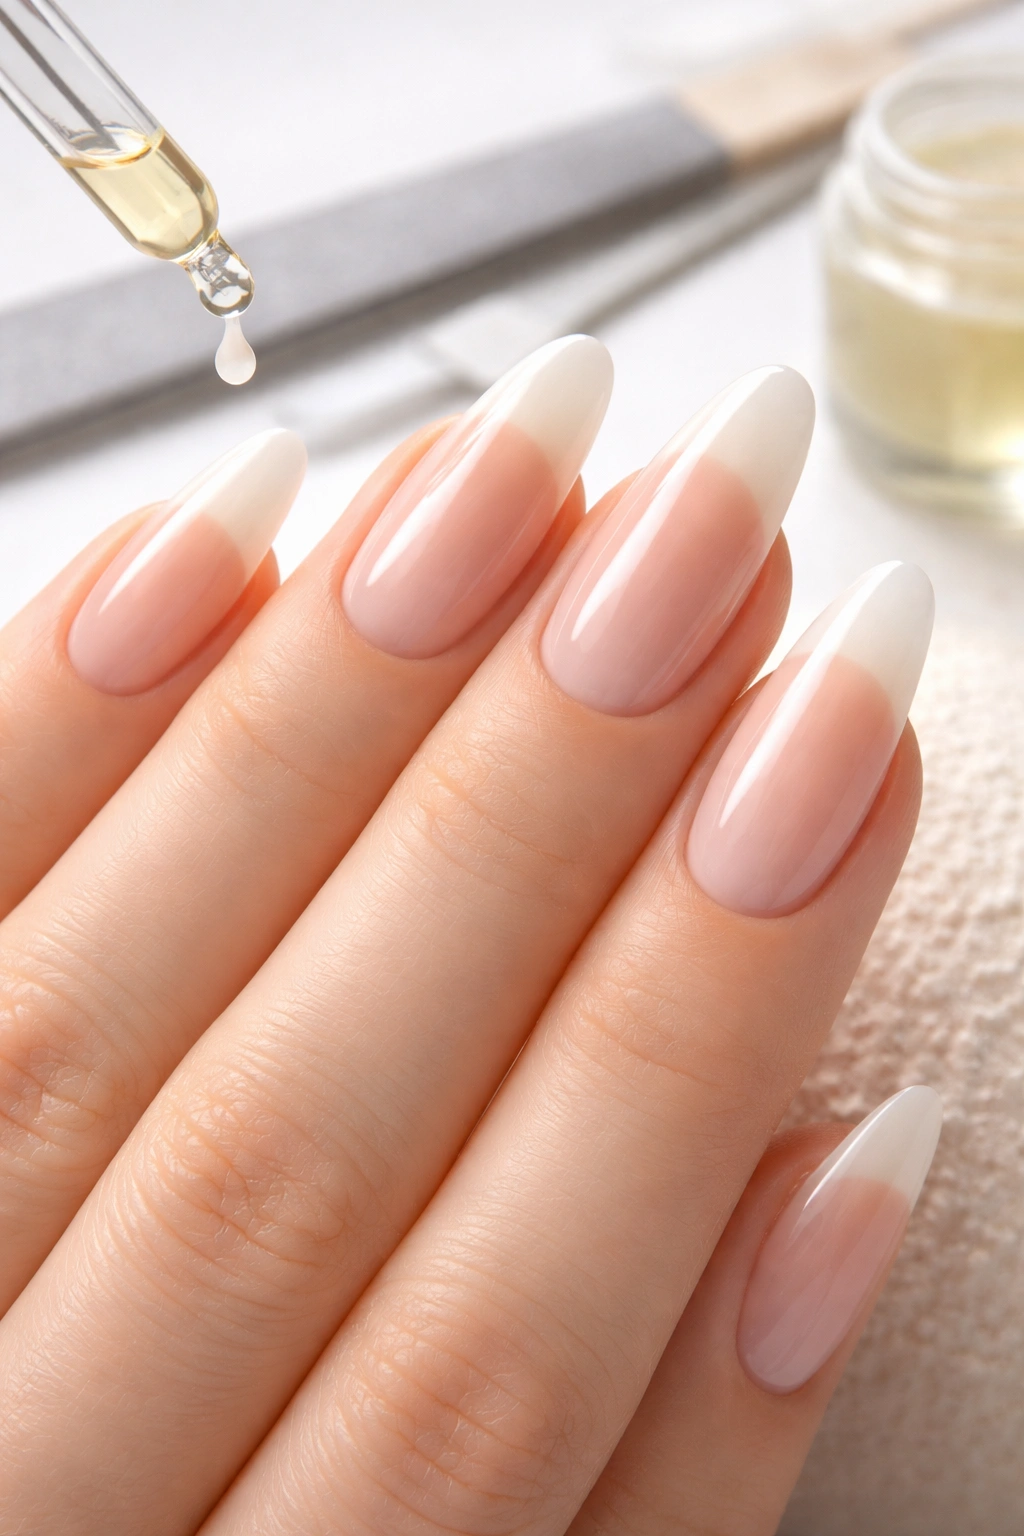
Keep your nails hydrated. Dry, brittle acrylic is far more likely to crack and break. Use cuticle oil or hand lotion regularly, especially around your nail beds and cuticles. Dehydration is one of the most common reasons acrylic nails become weak and break easily. A quick cuticle oil massage every evening takes 30 seconds and significantly extends the life of your nails.
Maintain your acrylic nails regularly. If your acrylic nails have grown out significantly and are separated from your natural nail, the stress on the remaining acrylic increases dramatically. Get fills every 3-4 weeks to keep the structure intact and prevent growth-related stress. Letting your nails grow beyond what’s structurally sound before getting them repaired is one of the fastest ways to cause breaks.
Be aware of your nail length relative to your lifestyle. If you play sports, work with your hands, or spend a lot of time typing, extremely long nails are inherently more fragile. A moderate length (about a quarter-inch to half-inch past your fingertip) is much less likely to break than nails that extend an inch or more. You can always go longer for special occasions and return to a shorter length for your regular life.
Wear gloves for tasks that stress your nails. Doing dishes, gardening, or any repetitive hand task puts stress on your nails. Wearing gloves protects them. This is especially important if you’ve recently had a break — your nail is still recovering during the first week after a repair.
Get high-quality acrylic applications. If your nails are breaking frequently, the issue might be with the quality of the original application. Acrylic that’s too thick, too thin, poorly shaped, or applied to a dirty nail surface is much more likely to break. If you’re doing your own nails at home and breaking is frequent, consider getting a professional application to rule out technique issues.
Consider your nail shape. Extremely pointed or stiletto-shaped nails are more delicate than square or rounded shapes. If you’re prone to breaking, a more conservative shape is more durable.
Common Mistakes to Avoid During Your Repair
Even with the best intentions, certain mistakes can derail your repair and waste your materials. Knowing what typically goes wrong helps you avoid these pitfalls.
Skipping the prep work. The most common mistake is not properly cleaning, dehydrating, and buffing your nail before attempting the repair. Glue and acrylic don’t adhere well to oily or damp surfaces. If your repair failed previously, inadequate prep is usually the culprit.
Using old or low-quality glue. Nail glue has an expiration date. If yours has been sitting around for over a year, it’s likely thickened and won’t bond well. Buying fresh glue is cheap insurance.
Applying too much glue. More is not better with nail glue. Excess glue creates a weak bond because the pieces can’t fit together as tightly and the excess can seep into cracks rather than sealing them. A tiny dot is genuinely all you need.
Not holding the pieces together long enough. When you glue a piece back on, you need to hold it steady for a full minute. Letting go after 20 seconds means the bond isn’t fully set yet, and normal hand movement can separate it again.
Attempting to repair a nail that’s already infected or lifting. If your natural nail is damaged or there’s any sign of infection or fungal growth, no amount of acrylic patching will fix it. You need professional help or the problem will get worse.
Using insufficient acrylic powder in your repair. If you’re building up with acrylic, make sure you’re using enough material to create real structure. Trying to conserve on acrylic powder by using too little creates a thin, weak repair that won’t last. Use enough acrylic to create proper thickness and strength.
Filing too aggressively. When you’re shaping your repair, filing too hard can crack the acrylic further or create weak spots. Use light, steady pressure and let the file do the work.
Not blending the repair with the original nail. If there’s an obvious ridge or visible seam where your repair meets the original acrylic, it looks unfinished. Take time to smooth and blend these areas completely.
Final Thoughts
A broken acrylic nail is frustrating, but it’s genuinely fixable at home if you assess the damage honestly, use the right materials, and take your time with preparation and finishing. Most breaks — especially those in the upper two-thirds of your nail with an intact natural nail underneath — respond beautifully to a glue-based or acrylic powder repair.
The secret to a repair that lasts and looks polished is patient preparation, proper technique, and careful finishing. Rush through any of these steps and your repair will either fail or look obviously DIY. Commit to doing each step right, and the repair becomes nearly invisible.
For severe breaks, separation near the nail bed, or damage to your natural nail, professional help is worth the cost and time. But for the vast majority of breaks you’ll encounter, you now have the knowledge and technique to handle them yourself. Keep your repair supplies stocked, maintain your nails with regular cuticle oil and protective habits, and you’ll find that breaks become much less frequent and far less stressful to deal with.
