

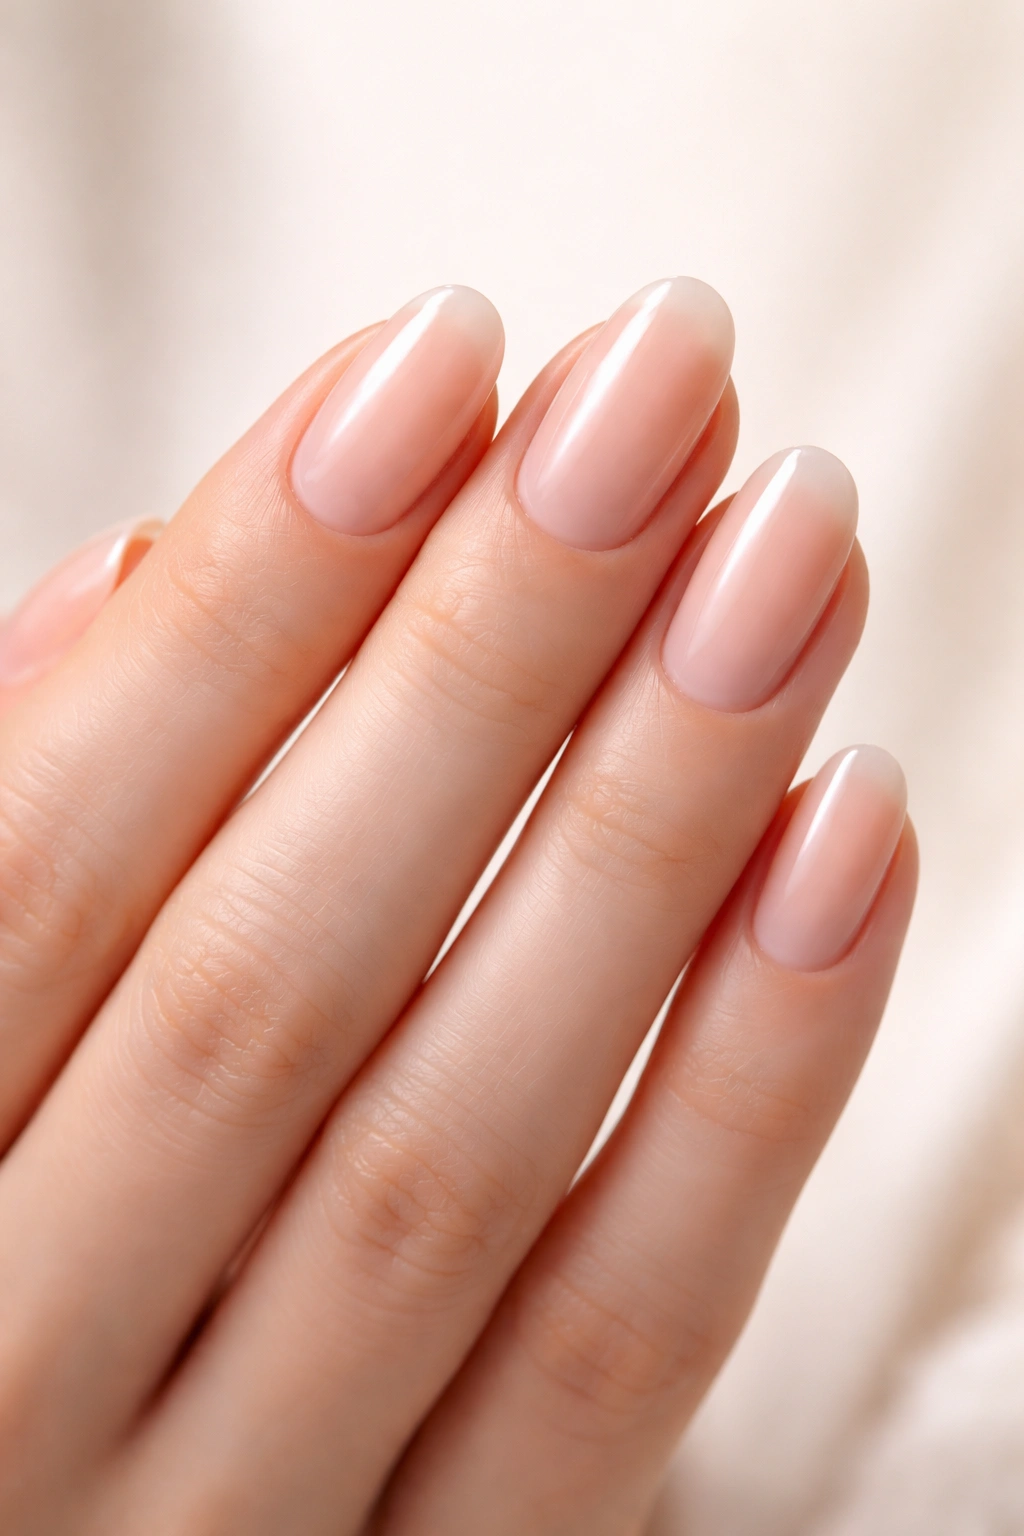
Long oval nails represent a classic, elegant look that works across virtually every style and lifestyle — whether you’re maintaining them at home or building on natural growth. The oval shape flatters most hand shapes and nail beds, creates the illusion of longer, more slender fingers, and is far easier to achieve than you might think. You don’t need a professional manicurist or expensive salon visits; with the right tools, technique, and patience, you can absolutely grow and shape beautiful long oval nails in your own bathroom.
The key difference between people who successfully grow long, healthy nails and those who struggle comes down to understanding what nails actually need to thrive. It’s not just about letting them grow — it’s about building strength from underneath, protecting them from damage, shaping them intentionally, and maintaining them consistently. This guide breaks down exactly how to do that, step by step, with no gaps or assumptions about what you already know.
Assess Your Current Nail Health Before You Start
Before committing to growing long oval nails, take an honest look at what you’re working with. Nails that are currently brittle, peeling, or weak won’t successfully grow long no matter how much you file them. Spending a few weeks on nail strengthening first will save you months of frustration down the line.
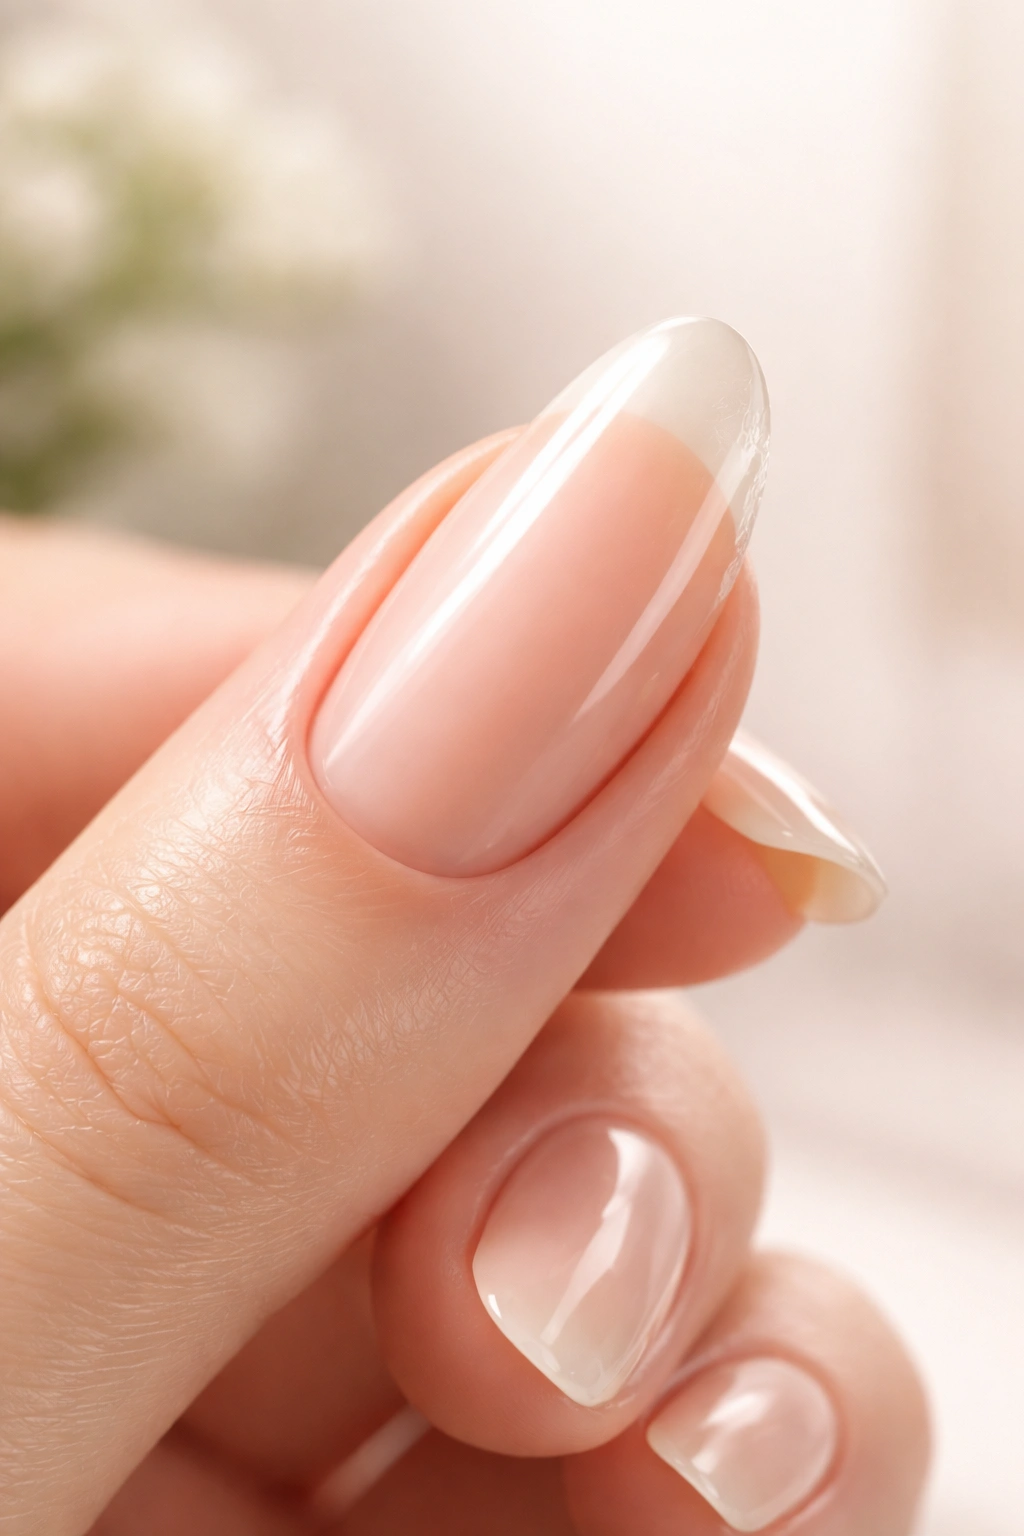
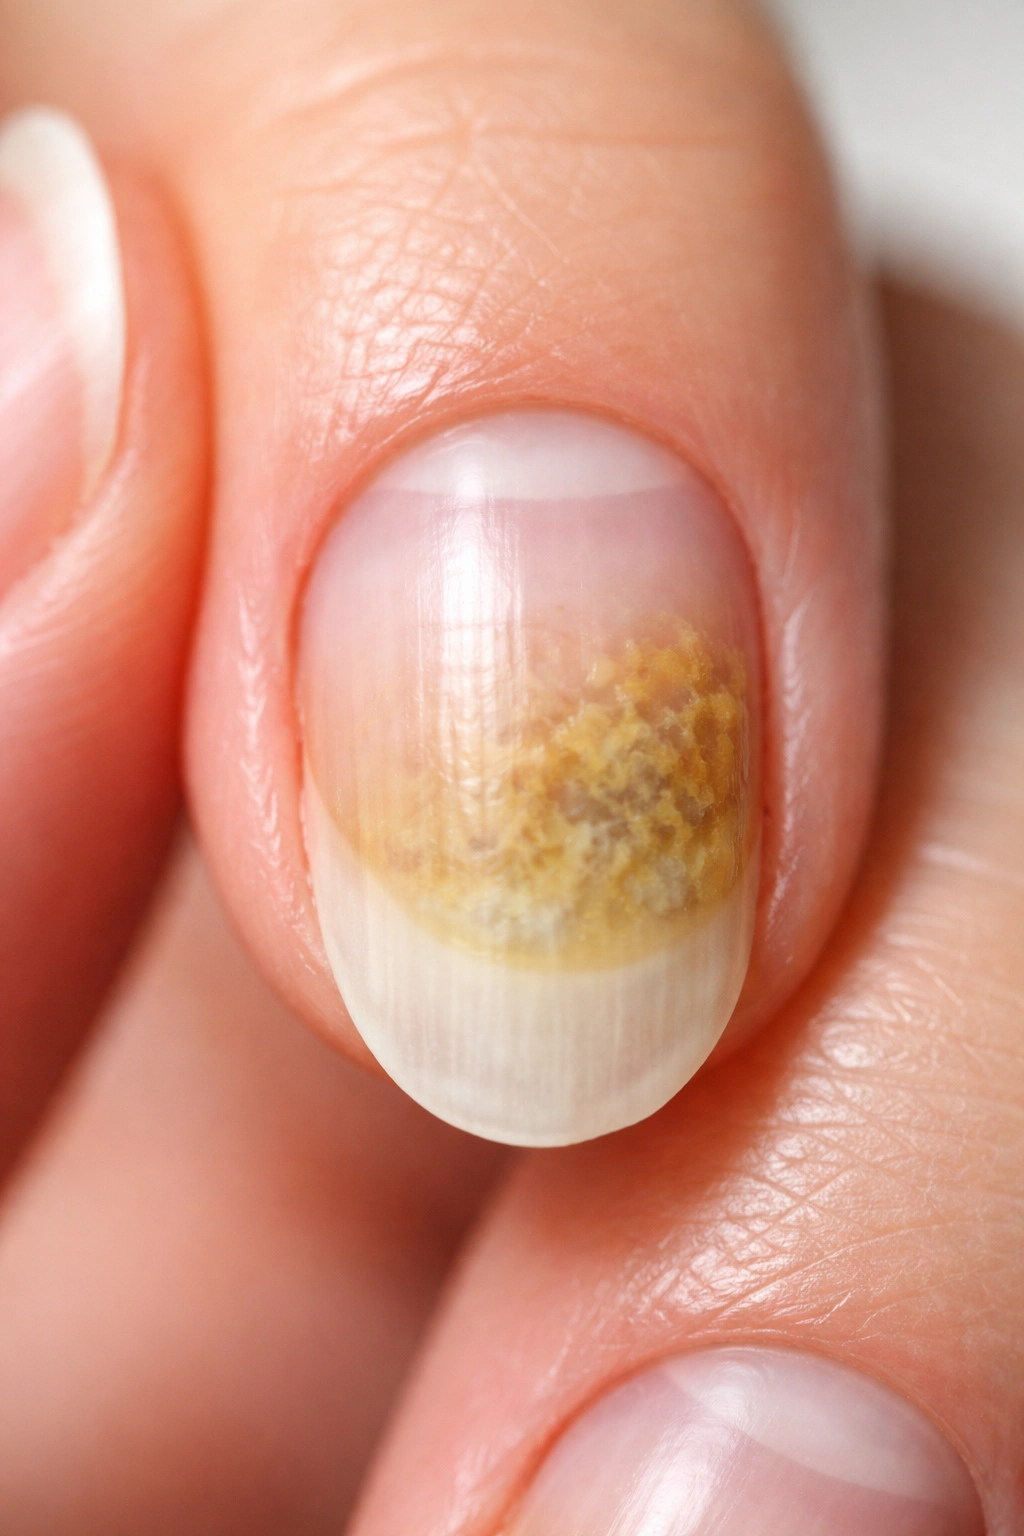
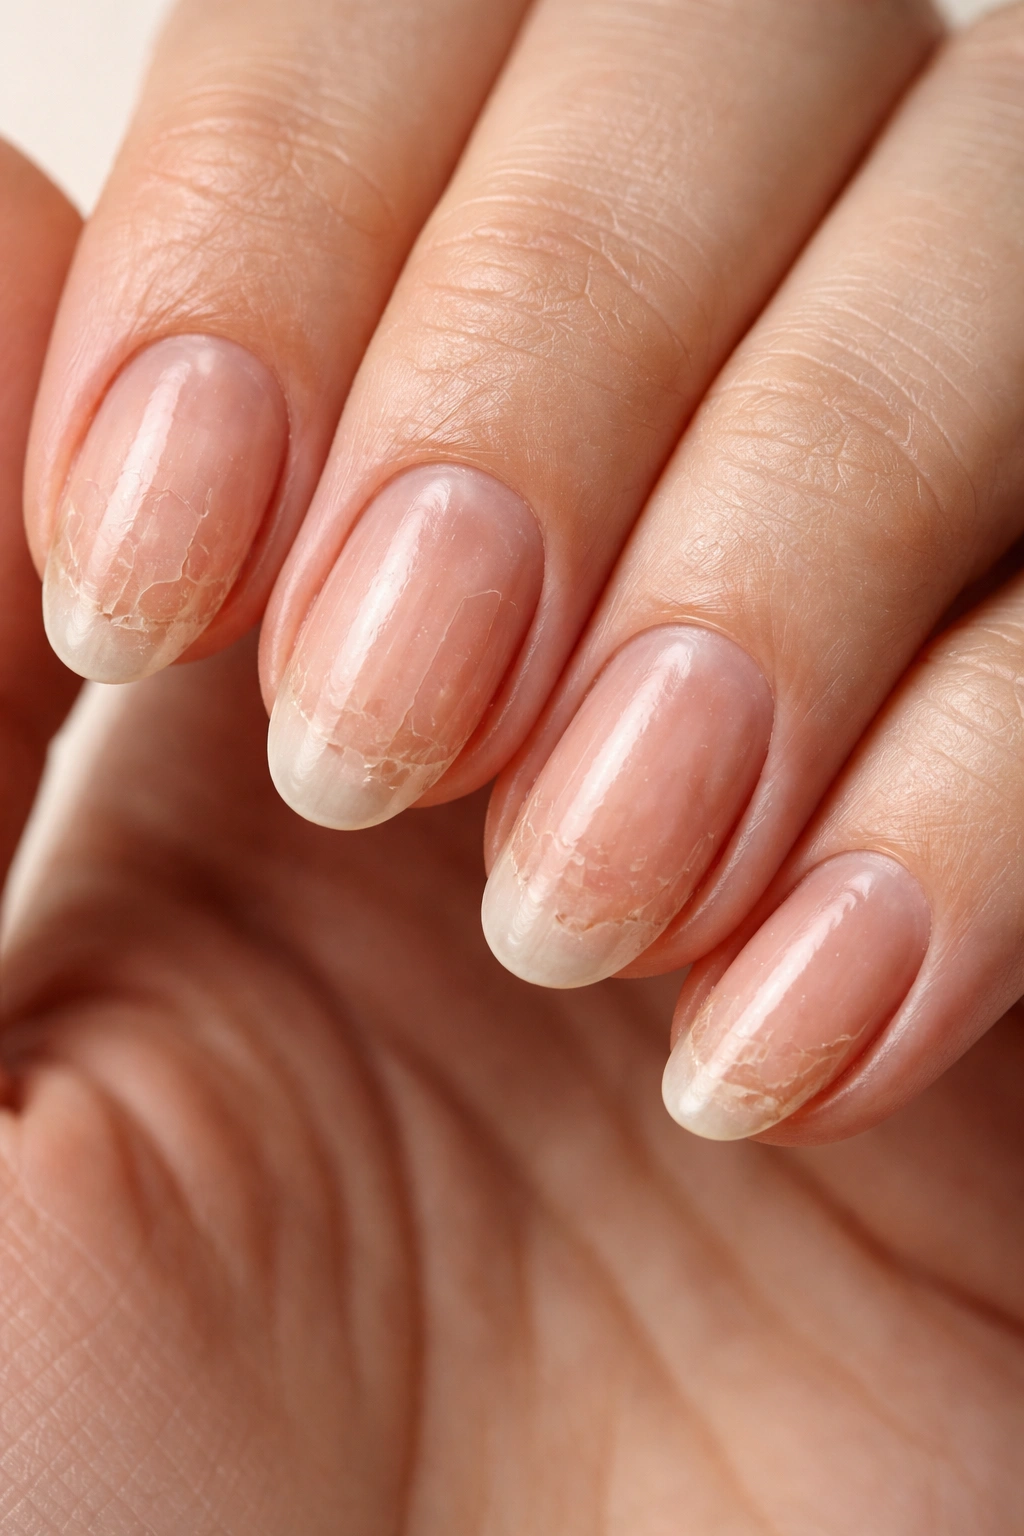
Healthy nails should feel smooth, have a consistent color (pale pink with white crescents at the base), and bend slightly without breaking. If your nails are discolored, have ridges running down them, peel in layers, or break constantly, they need rehabilitation before you start the growth phase. Look closely at your nail beds — do they have a healthy pink tone all the way to the tips, or does the free edge (the part extending past your finger) look chalky, white, or translucent?
Brittle nails often result from repeated exposure to water without proper protection, over-filing, harsh chemicals, or simply not enough moisture in the nail plate itself. Peeling nails typically signal dehydration or previous trauma. Ridges can indicate nutritional gaps, calcium deficiency, or iron-poor blood. Discoloration might be fungal, staining from polish, or an internal health issue worth checking with a doctor.
If you identify any of these problems, spend 2-3 weeks using a strengthening treatment and keeping nails trimmed short while you heal them. Your nails regenerate completely about every 3-6 months, so this isn’t lost time — it’s building a solid foundation for long nails that won’t snap and break.
Gather All the Essential Tools and Supplies
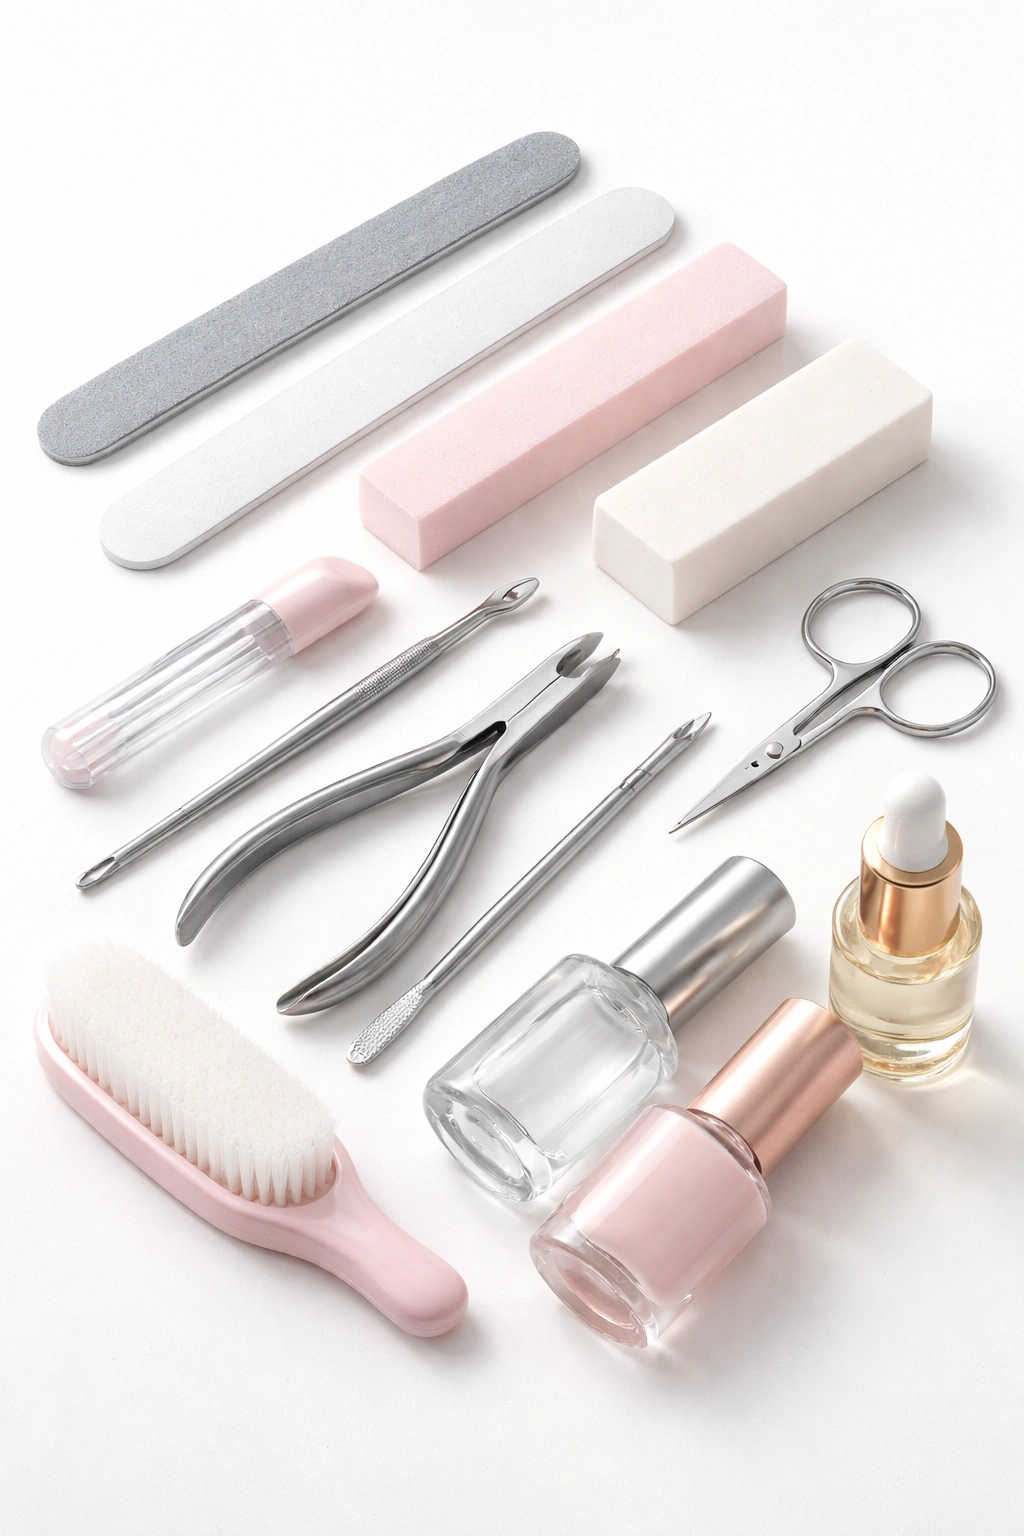
Having the right tools before you start is non-negotiable. Cheap, dull nail files will shred your edges and cause peeling; proper files make an enormous difference in how nails grow out cleanly.
Nail files come in different grits and materials, and this matters. A high-grit glass or crystal file (something labeled 240+ grit) creates the smoothest edge with minimal peeling. Metal files are harsh and rough — avoid them entirely. Diamond files are excellent and durable. Get at least two nail files so you can dedicate one to each hand, preventing cross-contamination and bacteria transfer.
A nail buffer with multiple sides (usually 4 sides with different grits) smooths out ridges and creates shine on the nail plate. This is optional if you use polish, but essential if you want natural-looking nails.
Cuticle pushers and nail scissors matter more than people realize. A metal cuticle pusher lets you gently move back the cuticle without damaging the nail matrix (the tissue under your cuticle where new nail cells form). Nail scissors give you control over trimming; clippers are less precise and can crack the nail.
Nail strengthener or hardener should be the first base coat you apply before any polish. Good options include formulas with nylon fibers that physically reinforce the nail plate, or ones with keratin and calcium to build strength from within.
Cuticle oil and hand cream are the moisturizers that keep nails and surrounding skin healthy. Cuticle oil penetrates the nail plate and hydrates from within; hand cream protects your skin. These two products will become your daily routine.
High-quality nail polish in shades you love ensures you’ll actually use your nails rather than hide them. Light neutrals and soft pinks elongate the appearance of nails; deep colors can make nails look shorter.
You don’t need a hundred products. These essentials — a quality file, buffer, cuticle pusher, strengthener base coat, cuticle oil, hand cream, and nail polish — are genuinely all you need to grow healthy long oval nails.
Prepare Your Nails and Cuticles Properly
The foundation of healthy nail growth starts with proper preparation. Begin by removing any old polish completely. Acetone is the fastest method, but if you have sensitive skin, use non-acetone remover and be patient while it soaks off. Never scrape or peel off polish — you’ll remove the top layers of your nail plate along with it.
Once nails are bare, wash your hands with soap and warm water, then pat them dry completely. Water sitting on your nails can actually soften them temporarily, making them more prone to breakage if you file immediately. Wait 5-10 minutes after washing before you start any shaping work.
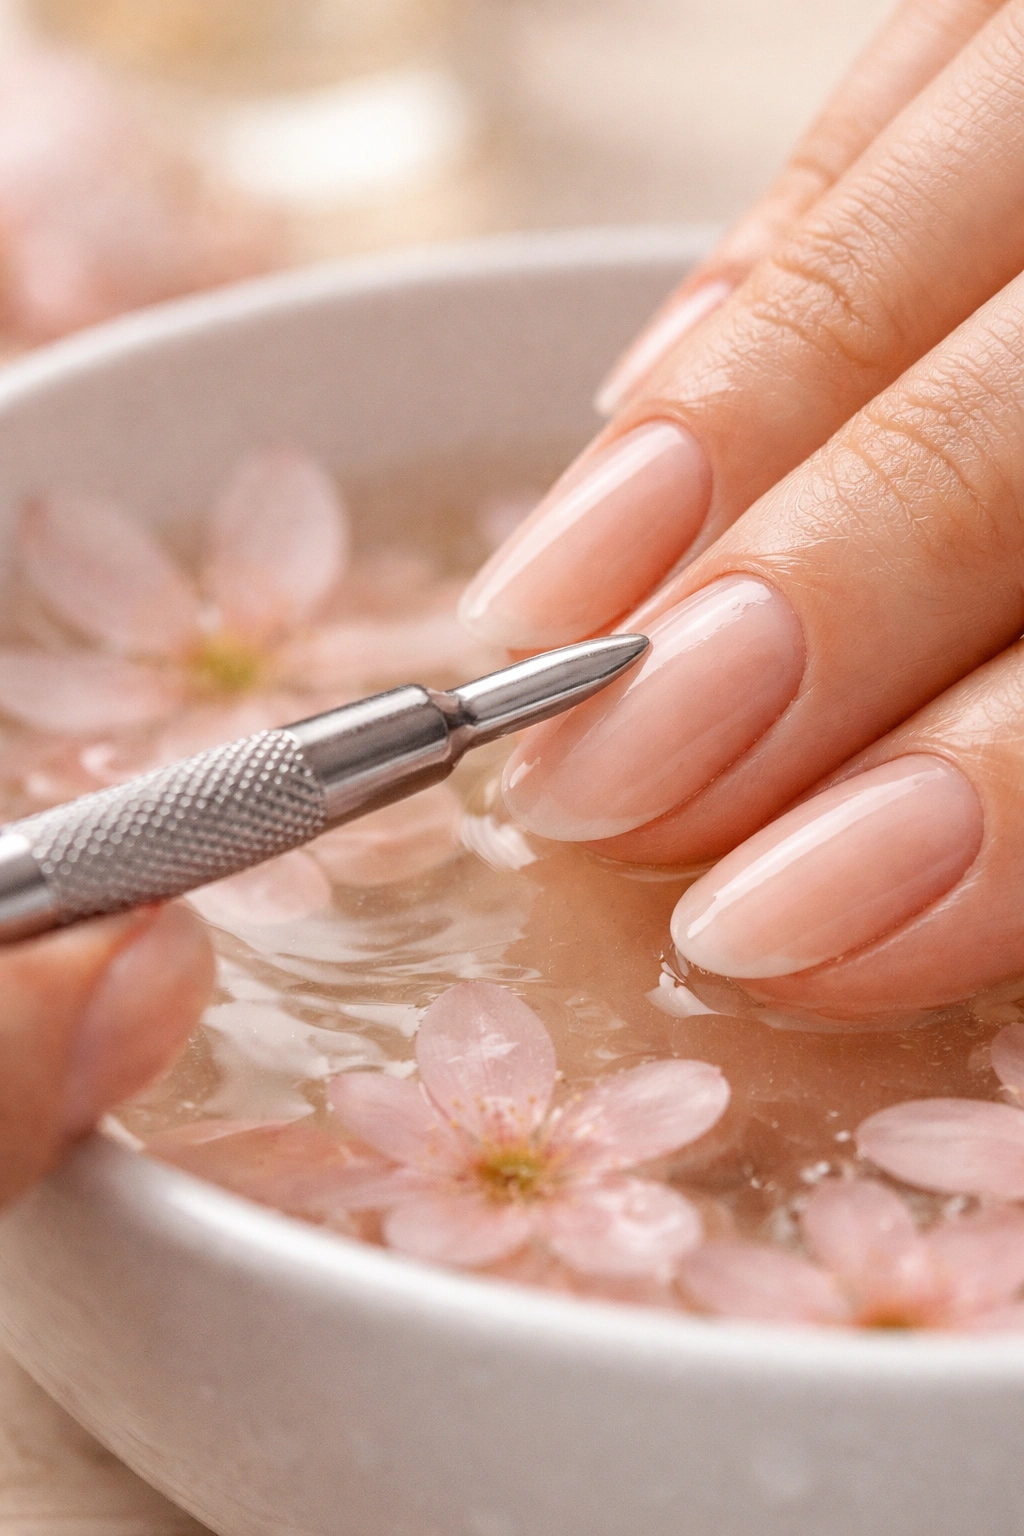
Soak your fingertips in warm water for 3-5 minutes to soften your cuticles. This makes the next step painless and prevents tearing. Add a few drops of cuticle oil or a small amount of hand cream to the water if you have particularly dry cuticles. Some people add a tiny bit of salt or a drop of dish soap, though plain warm water works fine.
After soaking, use your metal cuticle pusher to gently move the cuticle back toward your hand. The cuticle is there to protect the nail matrix, so you’re not removing it — just repositioning it so it doesn’t cover the nail base. Work slowly and use gentle pressure; if you feel any pinching or pain, ease up. The goal is to expose the full base of the nail without damaging the delicate cuticle tissue.
If you have dead skin or hangnails around your nails, trim them carefully with nail scissors or cuticle nippers. Never pull at loose skin — that tears into the living tissue underneath and can cause infection. Cut cleanly, then apply cuticle oil immediately to any area you’ve worked on.
Pat your hands dry after this process. Your nails are now prepped and ready to shape or polish.
Trim and Shape Nails to the Oval Form
Start by trimming your nails to a manageable length if they’re currently very short. You’ll want at least 1/4 inch (about 6mm) of free edge to work with when you begin shaping. If they’re shorter than that, wait a week for a little natural growth, then start.
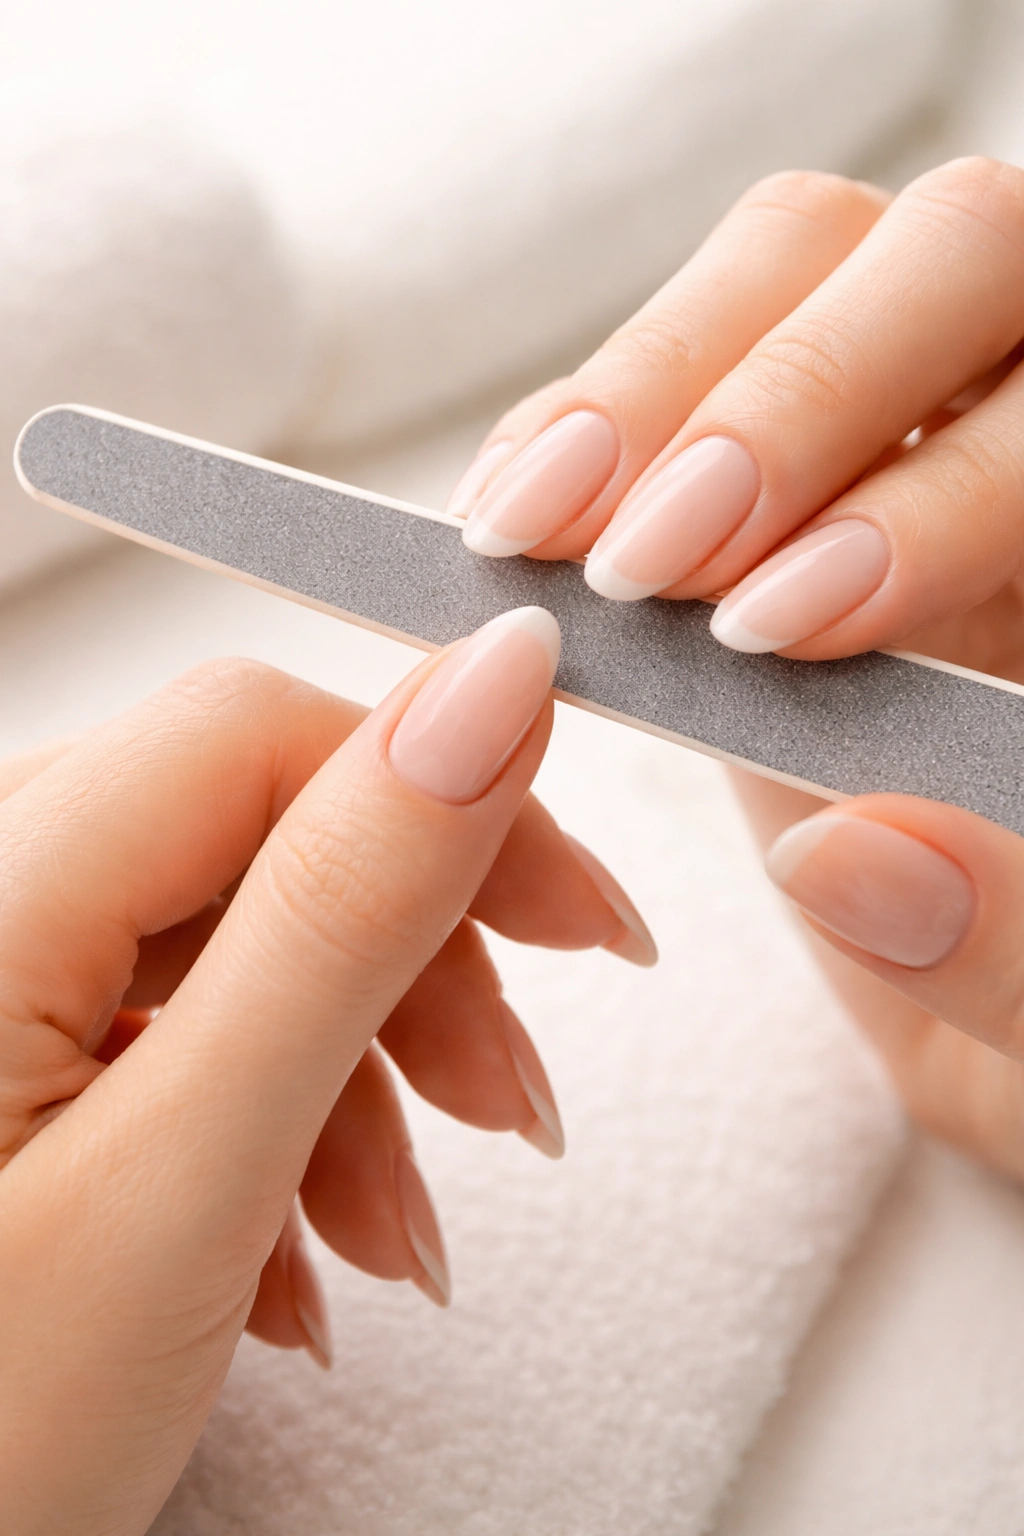
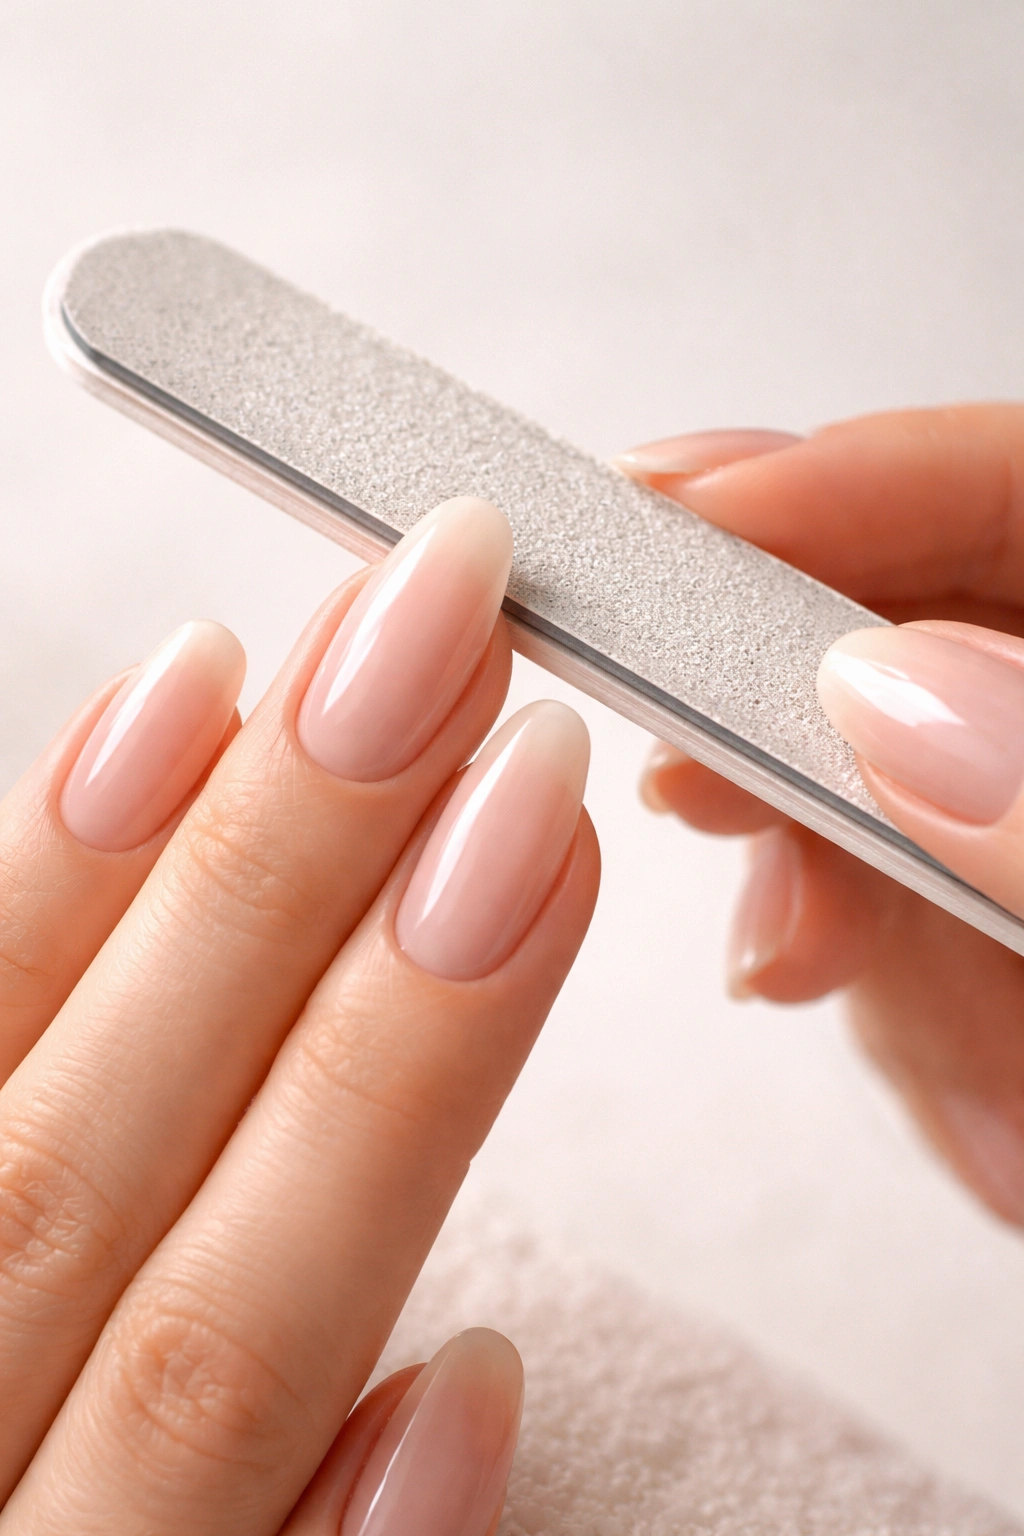
Use your nail file, not scissors, to create the oval shape — this is the most important technique in the whole process. Filing preserves the integrity of the nail edge; cutting can cause cracking and peeling that compromises weeks of growth.
The correct filing technique goes like this: hold your file at a 45-degree angle to the edge of your nail. File in one direction only, from the outer edge toward the center of the nail. Never saw back and forth — that creates microscopic tears in the keratin layers, which leads to peeling. Start on the side of the nail and file toward the center, then flip your hand and file the opposite side toward the center.
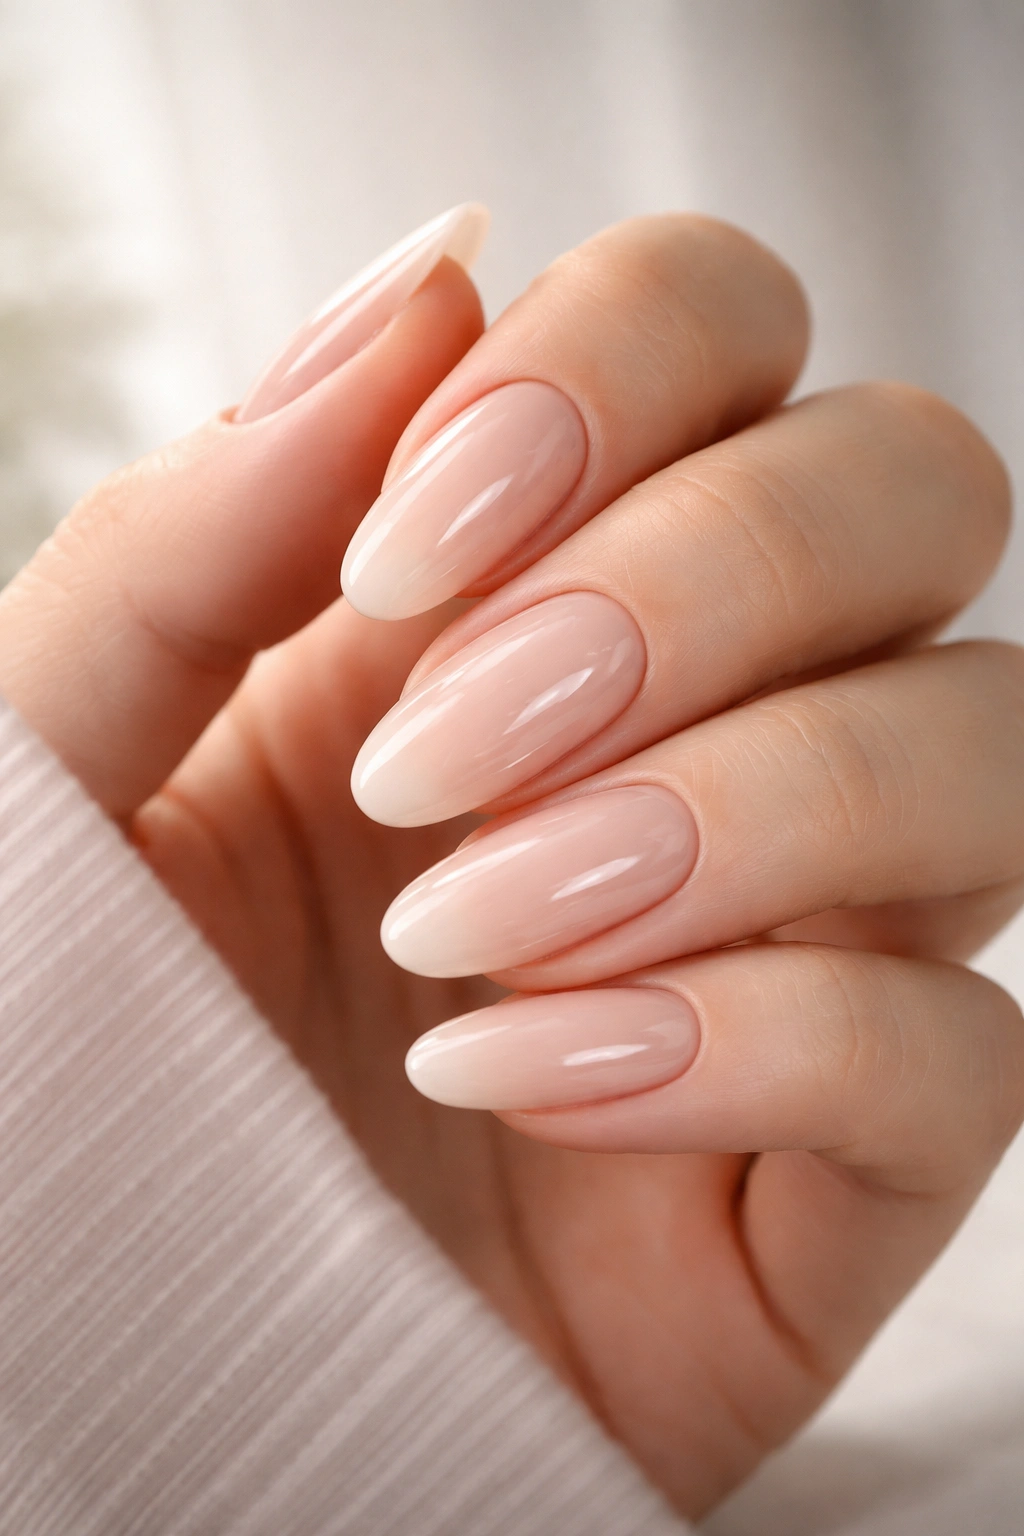
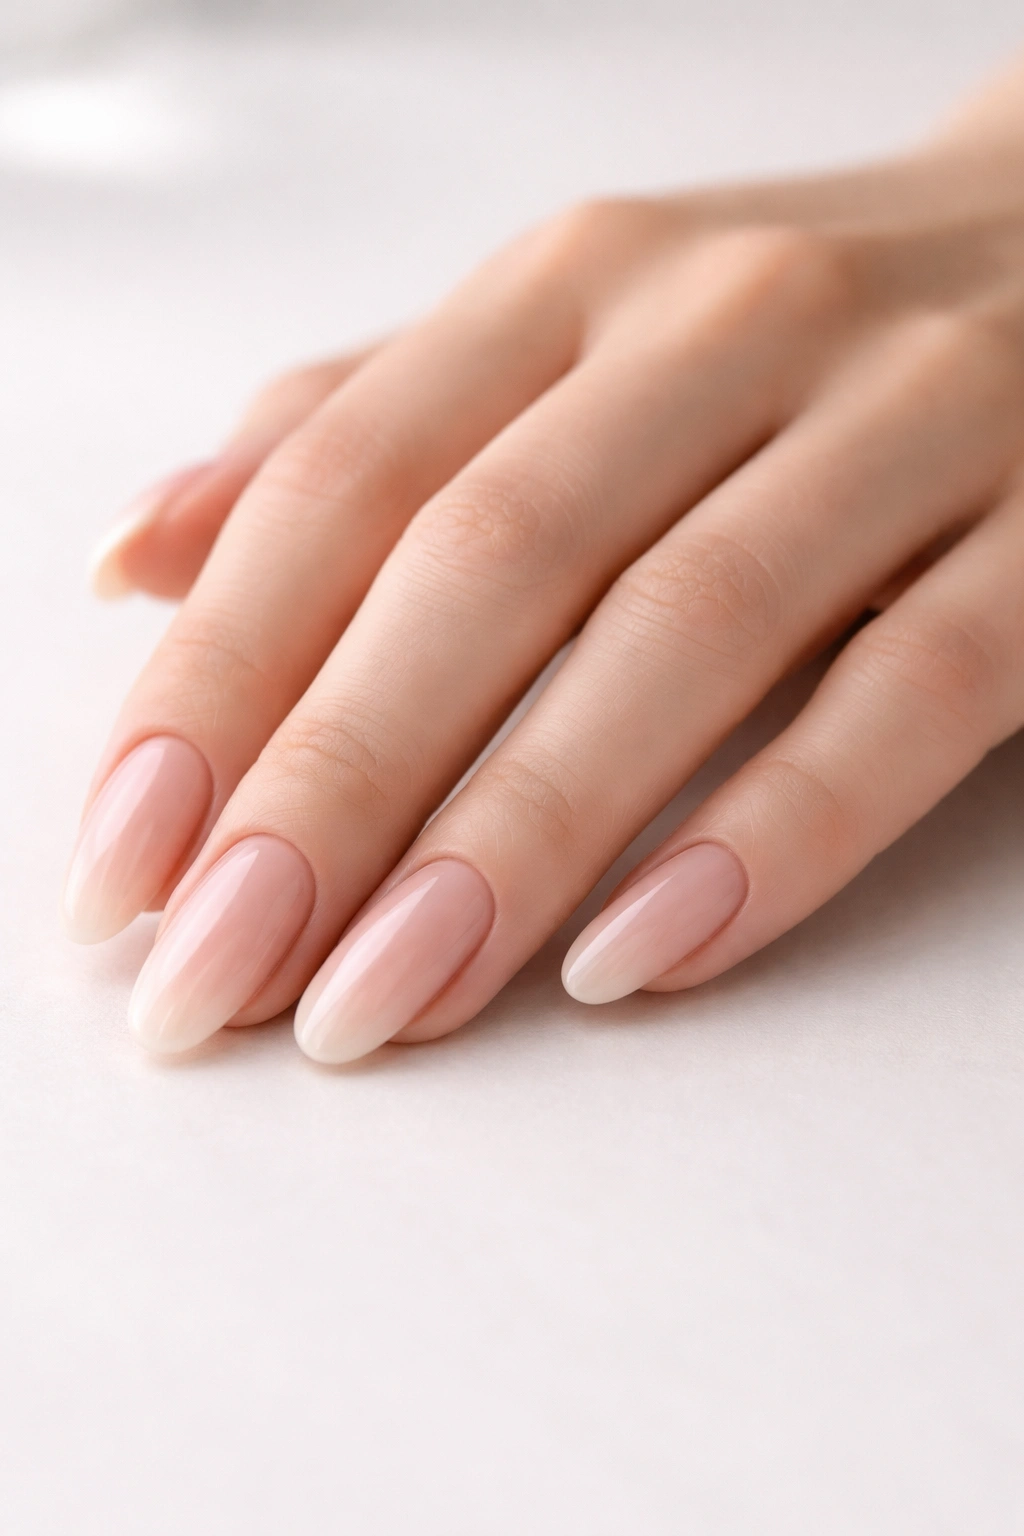
Shape both sides to curve gradually toward a rounded point at the nail tip. This is the oval shape — not a sharp almond point, but a gentle, gradual curve that follows the natural contour of your fingertip. The tip shouldn’t be dramatically narrower than the base; it should feel like a natural extension of your nail bed.
Once you have the general oval shape, refine the very tip. File the very edge with gentle, feather-light strokes to smooth any rough spots. The free edge should feel completely smooth when you run your finger across it — no catches, snags, or rough spots.
The entire filing process should take 5-10 minutes for all ten nails. You’re not trying to achieve perfection in one session. Nail shape evolves as they grow — you’ll refine it over multiple manicures as the nails get longer.
Build Strength Into Your Nails From Week One
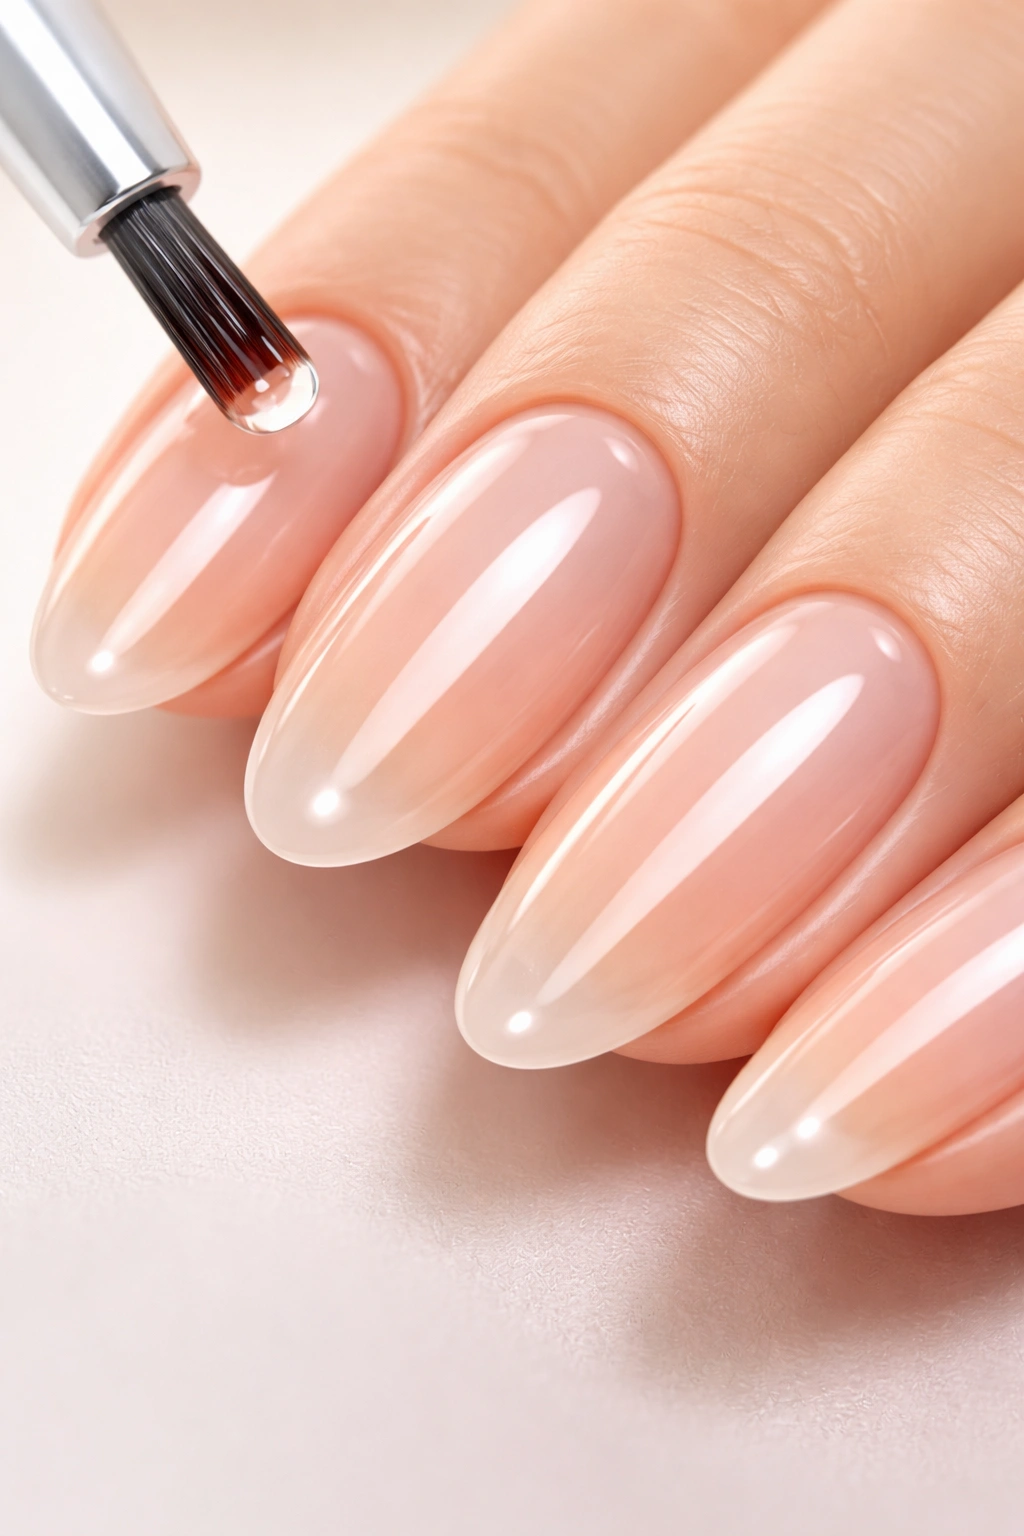
Strength from within starts immediately, not after your nails are already long. Applying a strengthening base coat every time you polish protects against breakage and keeps nails more resilient.
Look for base coats or strengthening formulas that contain one of these ingredients: nylon fibers (which physically reinforce the nail plate), calcium, keratin, vitamin E, or biotin. The best strengthening products combine multiple ingredients — they work together to harden the nail while maintaining flexibility so nails bend rather than snap.
Apply strengthener like you would a base coat: a thin, even layer across the entire nail surface, including the free edge and the area right at the cuticle. This might feel redundant when you’re about to polish anyway, but it genuinely makes a difference. The strengthening formula sits between your natural nail and the polish, adding a protective barrier.
Pro tip: Some strengtheners work best worn alone without polish, usually for 2-3 days per week. These are typically more concentrated formulas that don’t need color on top. Alternating between strengthened polish and unpolished, treated nails gives your nails breathing room while still maintaining color if you want it.
Internal nail strength also depends on nutrition and hydration. This is where most people see the biggest shift in nail quality. Nails that are constantly moisturized with cuticle oil grow stronger and longer than dry nails, even if everything else stays the same.
Apply Cuticle Oil Daily Without Exception
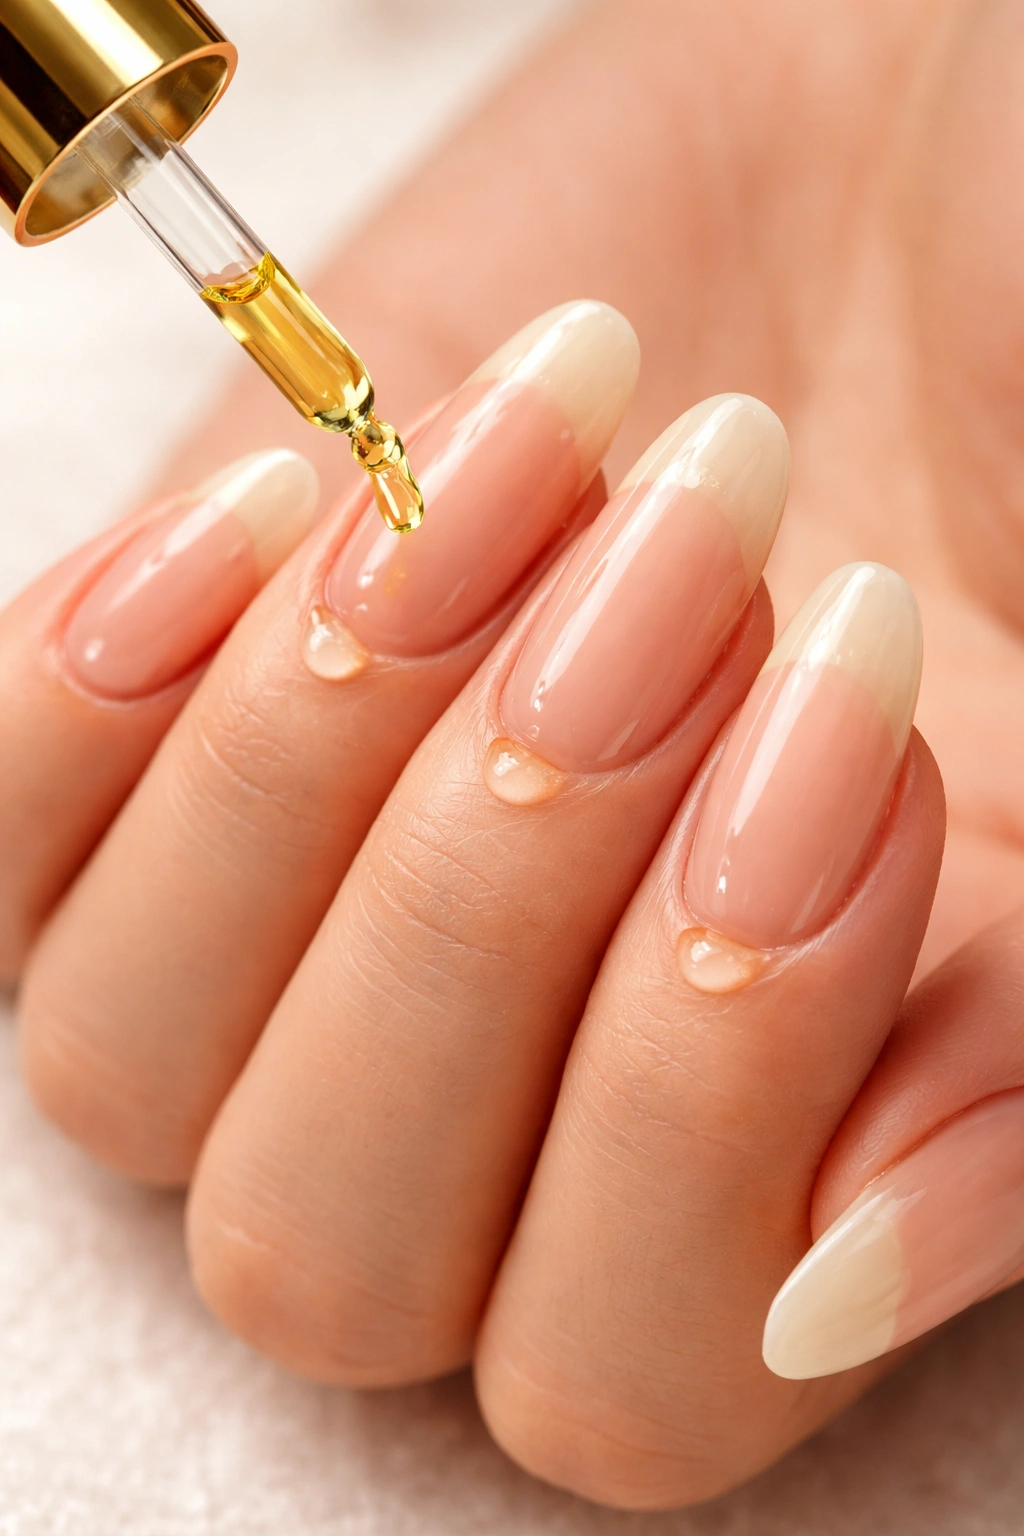
This single habit — applying cuticle oil every single day — is often the difference between people whose nails grow long and strong versus those who struggle with breakage and weakness. Cuticle oil hydrates the nail plate from within and prevents moisture from evaporating out.
Apply cuticle oil twice daily: once in the morning after you shower, and once before bed. Use only a few drops per nail — you’re not trying to soak your nails in it. Rub the oil gently into the cuticle area, around the sides of the nail, and across the nail surface. The oil will absorb into the keratin layers over the next few minutes.
If your hands are dry or you live in a dry climate, consider adding a third application mid-day. The investment of 2 minutes per day returns exponentially in nail strength and growth.
High-quality cuticle oils contain carriers (jojoba, vitamin E, or sweet almond oil) and sometimes essential oils for fragrance. The carrier matters more than the scent — you want something nourishing, not just something that smells nice. Some people make their own by mixing jojoba oil with a drop of lavender or lemon essential oil.
After applying cuticle oil, follow up with hand cream while your hands are still slightly damp. This seals in the moisture and keeps your skin from drying out. Your nails and cuticles are part of your skin system — keeping them both hydrated keeps both healthy.
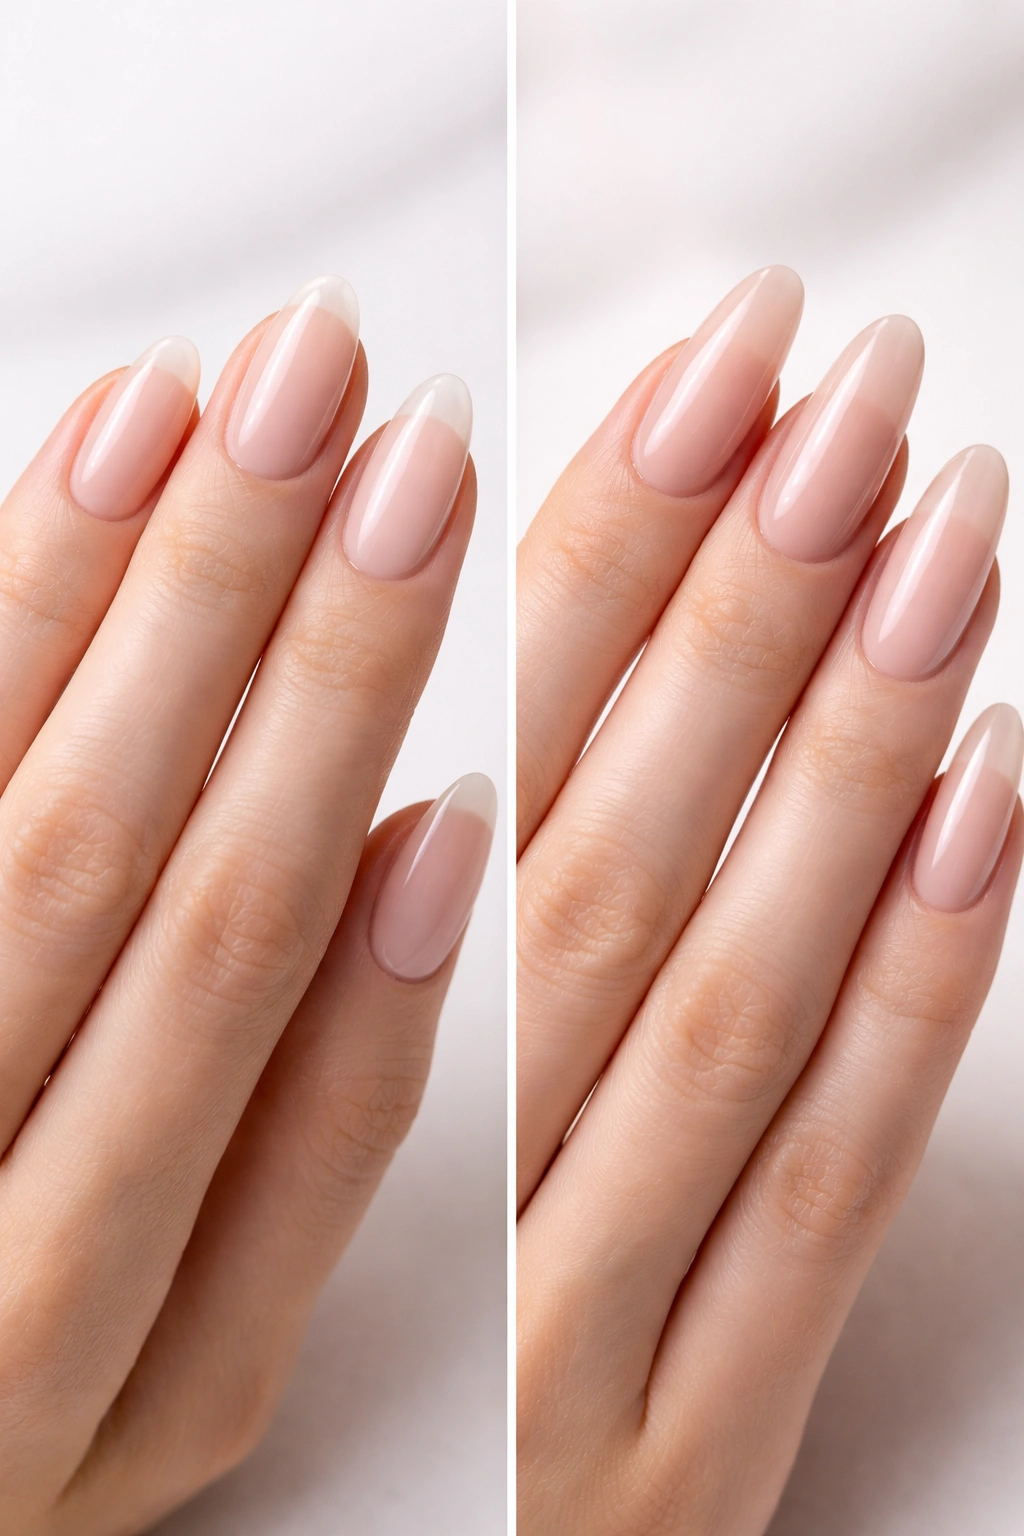
Over 2-3 weeks of consistent daily oil application, you’ll notice your nails feel less dry and brittle, they’ll be shinier, and they’ll start breaking less frequently.
Choose Between Growing Natural Nails or Using Extensions
This is the fork in the road where your strategy depends on your starting point and your goals. Both approaches work to achieve long oval nails at home — they just follow different timelines and techniques.
Growing natural nails means letting your nails grow out from your nail beds without any artificial additions. This takes longer (typically 8-12 weeks to reach truly long nails) and requires consistent maintenance, but the result is durable, natural nails that feel normal and are easier to maintain long-term. This approach works best if your natural nails are already healthy and not prone to breakage. Growing natural nails also gives you the healthiest outcome — they remain flexible and strong because they’re genuinely yours.
The timeline for natural nail growth: It takes roughly 3 months for a complete nail to grow from the base to being fully shed at the tip. You’ll see visible length within 2-3 weeks if you’re not trimming, but it takes 8-10 weeks for dramatic, obvious length. Nails grow about 1/8 inch per week on average, though this varies by person, age, and nutrition.
Using nail extensions (acrylics, gel, or dip powder) lets you achieve long nails immediately while your natural nails continue growing underneath. This is the faster route if you want length right now, and it works better if your natural nails are weak or prone to breaking. Extensions provide the framework and protection your natural nails need to grow strong underneath.
If you choose extensions, apply them to natural nails that are as healthy as possible. Avoid extensions if you have active fungal infection, peeling, or severe brittleness — these conditions will worsen under extensions. Extensions also require consistent maintenance (fills every 2-3 weeks) and can cause long-term damage if applied or removed incorrectly.
For the purposes of this guide, we’ll focus primarily on growing natural long oval nails, since you can do this entirely at home without professional application. But the shaping and maintenance principles apply to extension nails too.
Protect Your Nails From Damage During Daily Life
The reason people’s nails break isn’t usually because they grow too fast — it’s because they damage them in everyday activities. Long nails need protection against the constant wear of daily life.
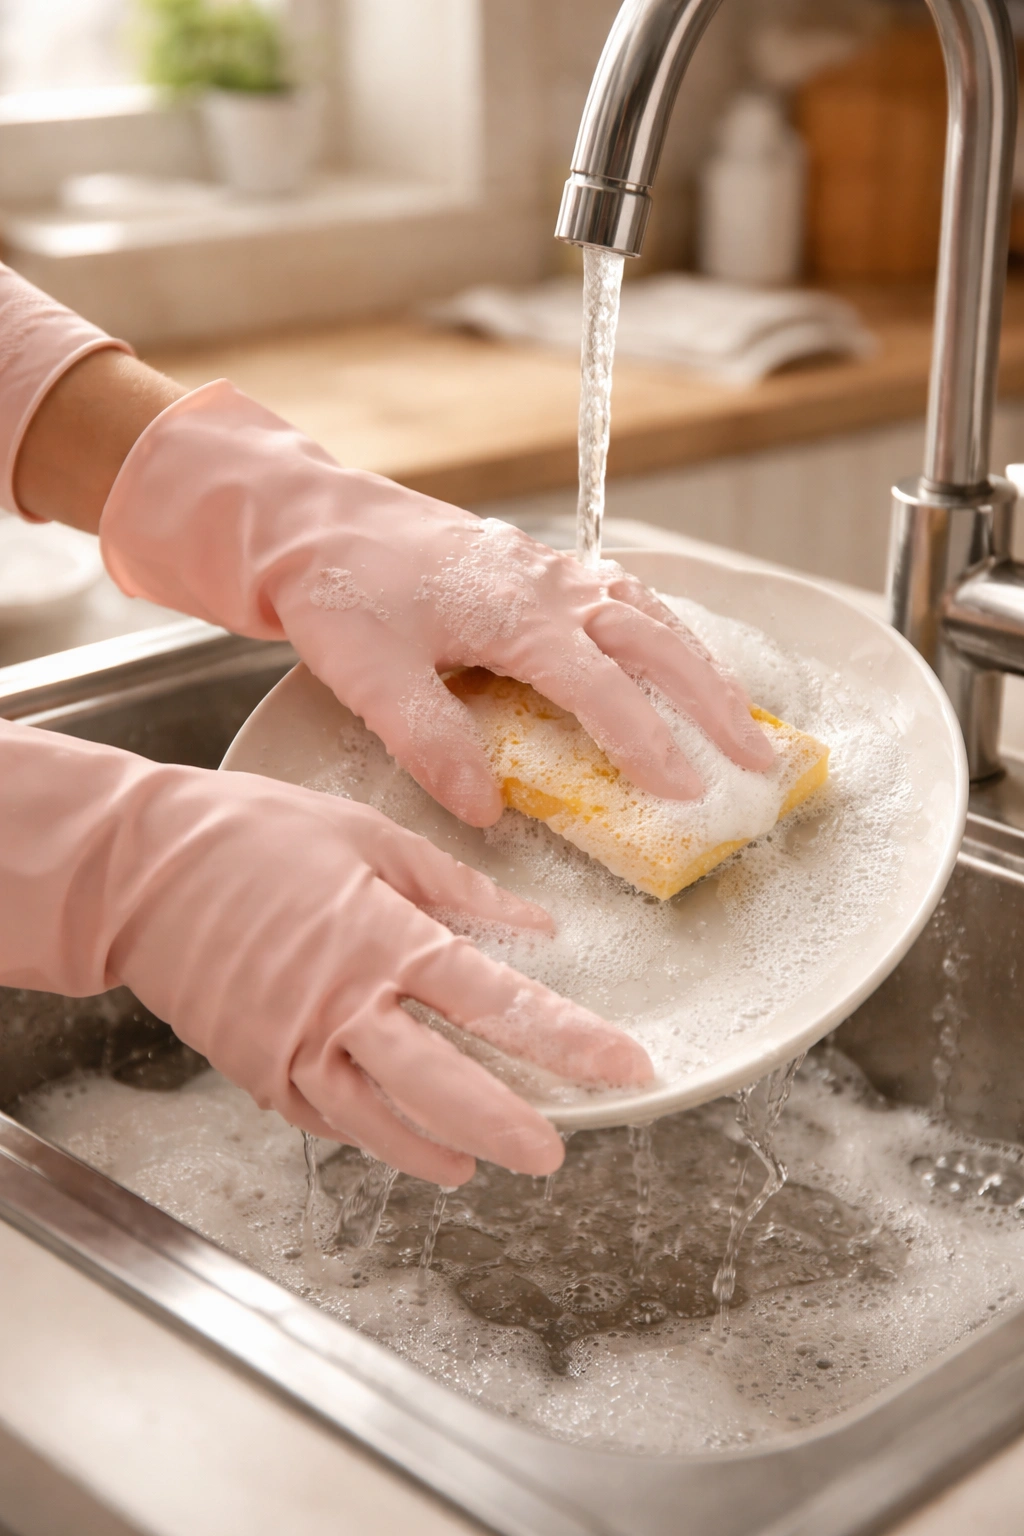
Wear gloves when cleaning or doing dishes. Water exposure softens your nails temporarily, making them flexible and prone to bending and breaking. Harsh cleaning chemicals directly damage the nail surface. Rubber gloves with a cotton lining let you do dishes and clean without exposing your nails to water. Use them every single time.
Avoid using your nails as tools. This is the single most common cause of nail breakage in people trying to grow them long. Don’t use them to open cans, scrape off stickers, pick at things, or dig. Use a proper tool instead. Your nails are delicate; your fingers are stronger. This habit shift makes an enormous difference.
Type gently on keyboards and screens. Use the pads of your fingers, not the tips of your nails. Long nails need less pressure to register on keys anyway, so this feels natural after a few days.
Be aware of contact sports or rough activities. If you do yoga, rock climbing, or other contact sports, tape your nails or wear protective gloves during activity. A single hard impact can crack a nail all the way down to the nail bed, and that nail might not recover fully.
Keep nails away from extreme temperature changes. Going from a warm shower directly into cold weather (or vice versa) causes expansion and contraction that can weaken nails. Dry your hands completely before going outside in cold weather.
These protections sound excessive until you realize they genuinely prevent the breakage that derails your nail-growing project. A single break on a nail you’ve been growing for 10 weeks sets you back weeks of growth.
Maintain Your Shape Every One to Two Weeks
Long oval nails need regular maintenance to keep the shape clean and prevent breakage on rough edges. Plan for a “maintenance filing” every 1-2 weeks — this is much quicker than the initial shaping, just 5-10 minutes total.
During maintenance, you’re not trying to reshape your nails significantly. You’re checking that the oval shape still looks symmetrical, smoothing any rough spots that developed from daily wear, and making sure the edges are completely smooth so they don’t catch on fabric or hair.
Use the same filing technique — one-direction strokes from the outer edge toward the center. Focus on the free edge and the sides where you’re most likely to develop snags. If the shape has started to square off at the tip, gently re-curve it with a few light strokes on each side.
Every 2-3 weeks (or whenever you need color), apply a fresh coat of strengthening base coat and nail polish. This maintains protection and keeps your nails looking intentional rather than just long and plain. The base coat is actually the most important layer for long-term nail health — the polish on top is just for aesthetics.
Don’t skip maintenance appointments because you’re “too busy” — those 5 minutes every week prevent the emergency situations where your nail catches and breaks off, forcing you to trim everything short. Consistency beats intensity in nail growing.
Polish and Color Your Long Oval Nails Beautifully
Healthy long oval nails deserve a finish that shows them off. Polish also provides a protective layer that reduces moisture loss from the nail surface.
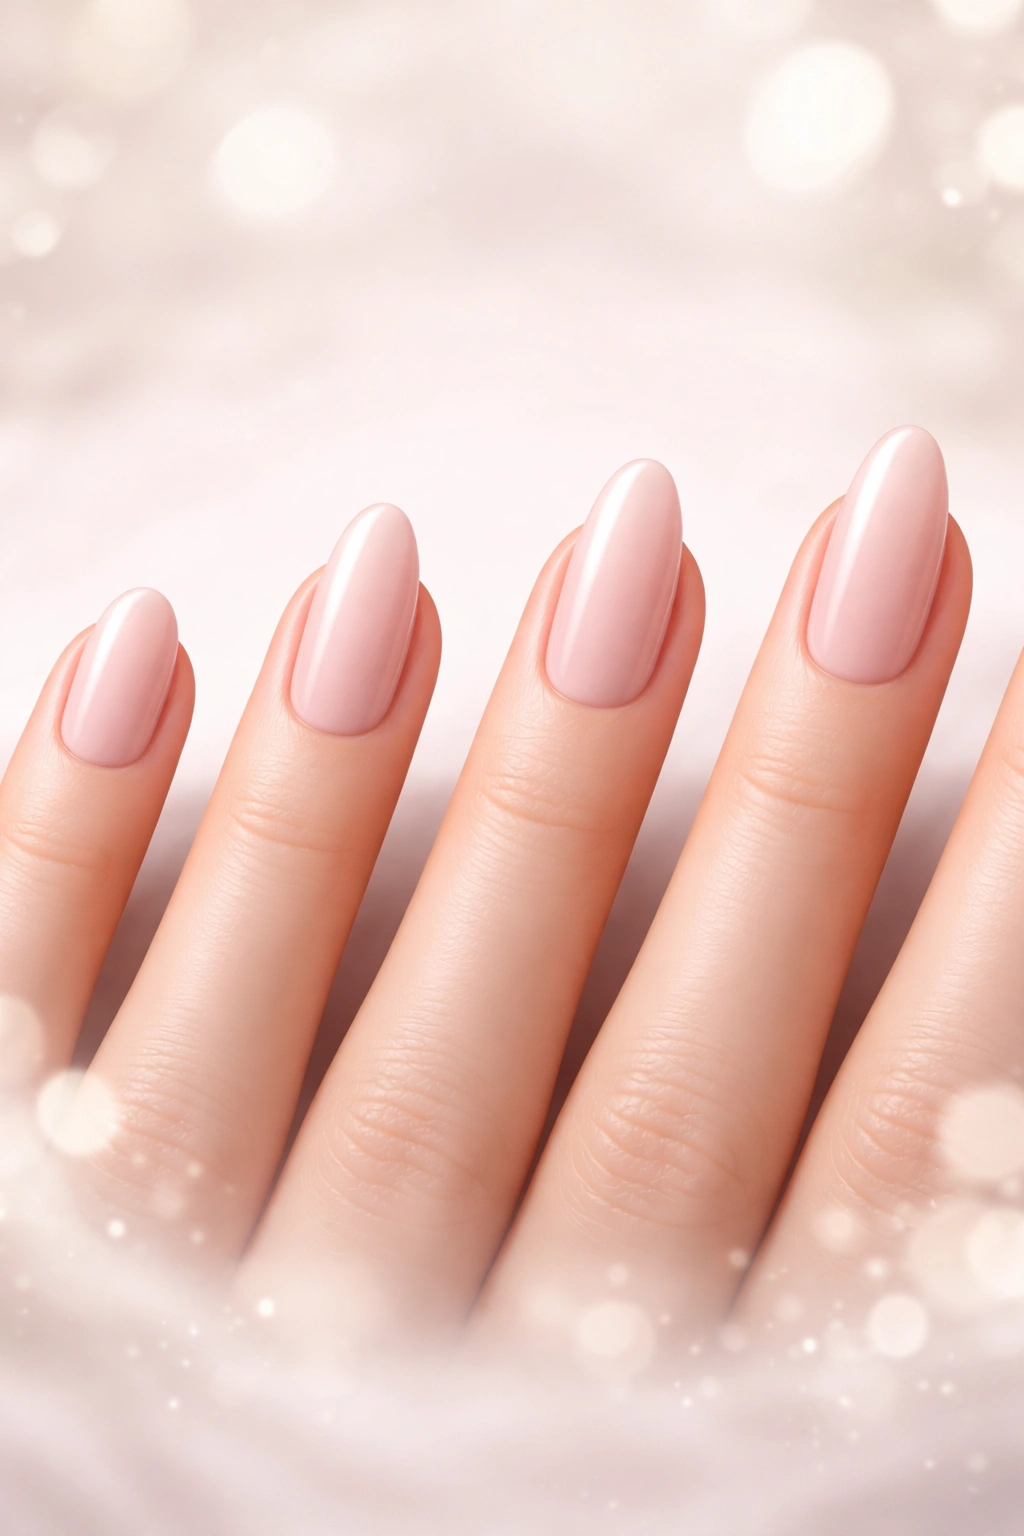
Sheer and light colors like pale pink, beige, nude, and white create the most elegant long-nail look and make nails appear even longer by not creating visual shortness. These shades work for any occasion and pair with any outfit. A classic pale pink manicure is timeless because it genuinely flatters long nails.
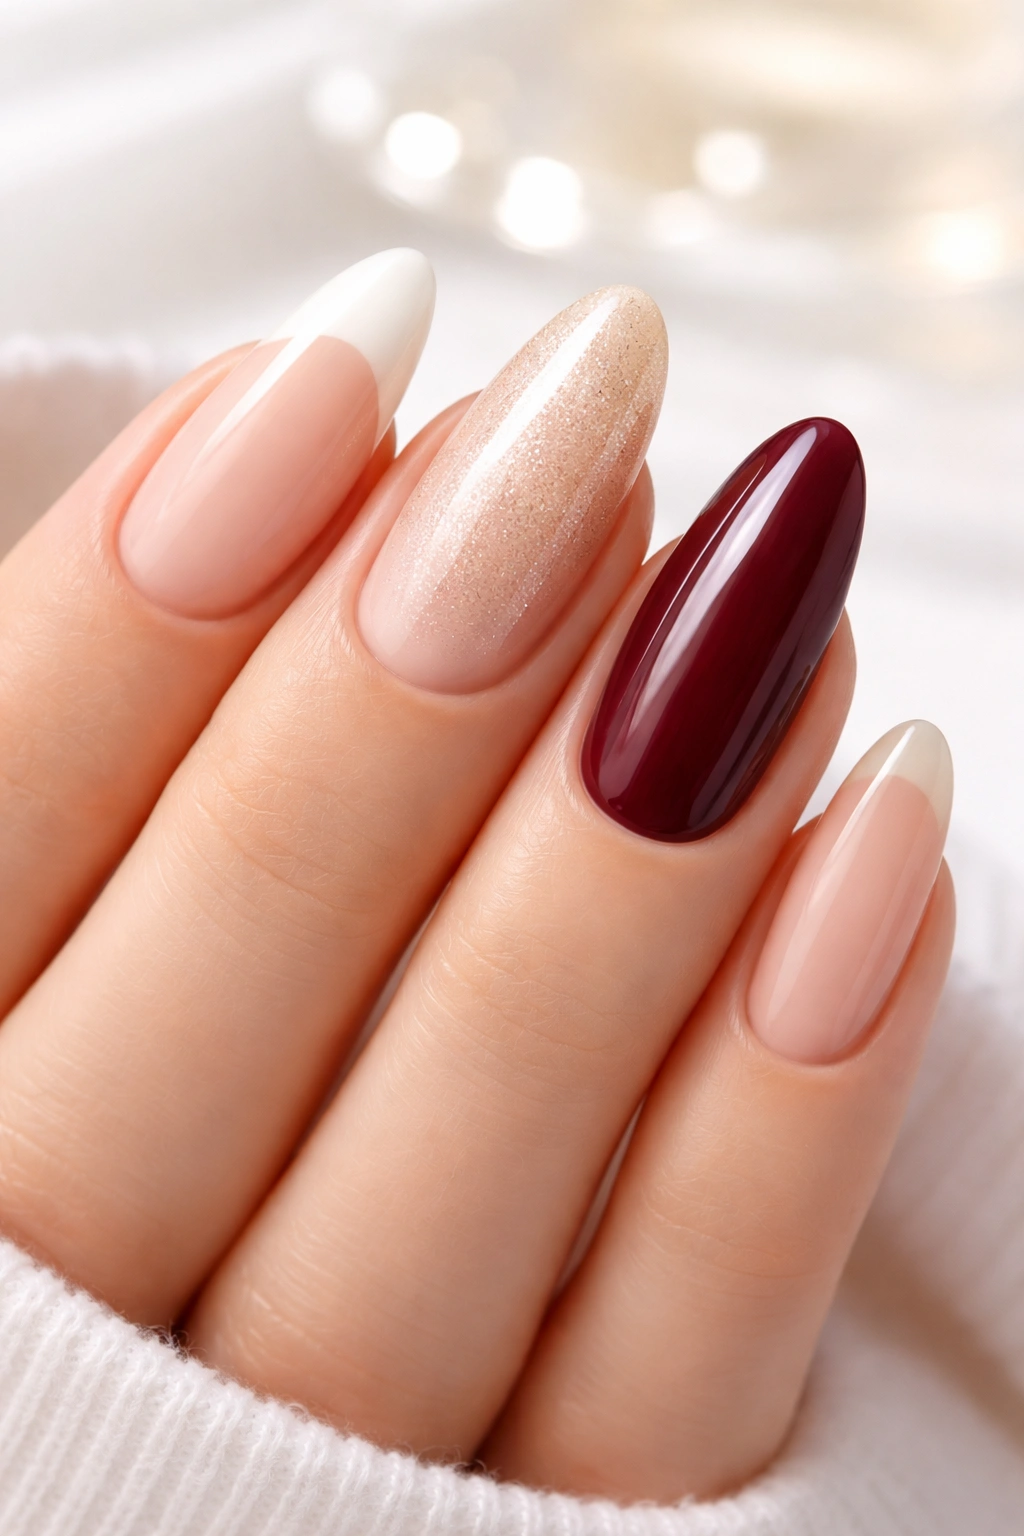
Deep colors and bold shades (rich reds, burgundies, deep purples, blacks) can make nails look shorter because the dark color contracts visually. However, they’re incredibly striking if you like that look. Many people find deep colors make bold nails feel more intentional and dramatic rather than just long.
Glitter, metallics, and patterns work on long oval nails better than on short nails because you have more surface area to work with. A subtle glitter gradient or a delicate nail art design is more visible on long nails and can be genuinely beautiful.
The base for any polish is always a strengthening base coat (mentioned earlier). Then apply your color in thin, even layers — usually 2 coats is ideal. Let each coat dry completely before applying the next. Finish with a clear, shiny top coat that seals everything in and adds shine.
Removal is just as important as application. When you’re ready to change your color, use a non-acetone remover or, if you must use acetone, limit it to 5-10 minutes of soaking. The longer acetone sits on your nails, the more it dries them out. After removing polish, apply cuticle oil immediately to replenish moisture.
If you prefer to wear your nails bare (no polish), that’s fine too — just make sure you’re applying cuticle oil twice daily, since there’s no protective coat keeping moisture in. Bare nails also show every fingerprint and can look dull if they’re not well-hydrated and buffed smooth.
Address Common Problems That Derail Long Nail Growth
Even with good technique, issues come up. Knowing how to fix them keeps you from abandoning your long-nail project at the first setback.
Peeling edges are usually caused by over-filing in the wrong direction, dehydration, or contact with harsh chemicals. The fix: trim the peeling layer off cleanly, file the edge smooth, and increase cuticle oil to three times per day. Make sure you’re filing in one direction only, from outer edge toward the center.
White spots or cloudiness on the nail surface often result from minor trauma (a knock against something), air bubbles in polish, or dehydration. These aren’t permanent — as your nail grows out, the spotted section will eventually be at the very tip and can be trimmed off. They’re not a sign of infection or serious damage. Just keep the nail protected and moisturized.
Nails breaking or cracking despite your efforts usually means you’re either bumping them more than you realize or your base nails weren’t actually ready for growth yet. Go back to strengthening for 1-2 weeks, then restart growth. Also reassess whether you’re using gloves for water exposure and using your nails as tools.
Yellowing or discoloration comes from wearing dark polish without a base coat (the pigment stains your nails), smoking, or staining from certain foods or activities. The fix is always to use a base coat under colored polish. If you already have discoloration, it will grow out as your nails shed naturally — no treatment needed except patience and prevention.
Slow growth is usually genetic or nutritional. Some people’s nails naturally grow slower than average. If growth is unusually slow, assess your diet: are you getting enough protein, iron, zinc, and B vitamins? These nutrients are essential for nail growth. A simple blood test can rule out deficiencies. Also, stress genuinely slows nail growth, so managing stress helps.
Know When Your Nails Need Professional Help
Most nail maintenance can absolutely happen at home, but certain situations warrant a professional visit.
If you develop a fungal infection (nails become thick, discolored, crumbly, or separate from the nail bed), see a dermatologist rather than trying to treat it yourself. Fungal nails don’t respond to over-the-counter products and get worse without proper treatment.
If you accidentally break a nail deeply into the nail bed or your nail bed starts bleeding, this is a minor injury but worth professional assessment. A dermatologist or hand specialist can make sure there’s no lasting damage.
If you want to try gel or acrylic extensions but have never had them, a professional first application is wise so you see exactly how they should be applied and removed correctly. Poor removal technique (peeling off acrylics instead of soaking them off) causes significant damage.
If you’re unsure whether a nail issue is normal or a sign of a health problem, ask your doctor. Nails can sometimes reflect internal health (thyroid issues, kidney problems, or circulation problems all show up on nails first). It’s better to check than to miss something.
Troubleshoot Specific Issues With Solutions
Dry, brittle nails that break constantly: Increase cuticle oil to 3x daily, wear gloves for water, apply a strengthening base coat under polish, and assess your diet for adequate protein and iron.
Nails that won’t grow beyond a certain length: They’re probably breaking right at that length. This usually means either you’re damaging them without noticing (bumping them, using them as tools, not wearing gloves) or they’re not strong enough yet. Trim them all evenly to that point, spend 3 weeks on pure strengthening, then restart growth.
Uneven nails (different lengths): One nail probably broke slightly. Rather than waiting for the rest to catch up naturally (which takes months), trim all nails to match the shortest one, then grow them out together. This feels like a setback but actually gets you to uniform length faster.
Peeling and separating from the nail bed: This is typically a fungal issue or reaction to a manicure chemical. If it’s only the polish layer peeling, increase moisturizing. If the actual nail is peeling in layers, this is more serious — see a dermatologist to rule out fungus.
Thin, weak nails that feel paper-like: Your nails might need biotin supplementation (a B vitamin that supports nail structure) or they might indicate a nutritional deficiency. Talk to your doctor about bloodwork to check iron, vitamin D, and B12 levels.
Ridges running down the nail: Vertical ridges are usually normal and become less visible on long nails because the eye perceives length rather than ridges. Horizontal ridges indicate past trauma or stress to the nail matrix and will grow out naturally.
Long Oval Nails: Beyond the Basic Maintenance
Once you’ve achieved the length and shape you want, long oval nails open up styling possibilities that shorter nails don’t allow. The nail art, French ombre, gradient effects, and subtle designs all look more sophisticated and visible on long nails.
A classic French manicure (white tips with a pale pink base) is the quintessential long oval nail look — elegant, timeless, and flattering on any skin tone. The French style also makes nails appear even longer because the tip extension in white visually stretches the nail.
Nude and translucent colors with metallic accents look modern and chic on long ovals. A nude base with rose gold or champagne shimmer catches light beautifully and works for professional and casual settings.
If you love bold color, long nails actually make that work better than short nails do. A deep burgundy or forest green is striking on long ovals and looks intentional rather than just dark.
The texture of your finish matters too. High-shine glossy finishes make nails look longer and more dramatic. Matte finishes are modern and sophisticated. Soft, blurred finishes that combine matte and glossy create dimension.
The point is: once you have healthy, strong, long oval nails, you have a beautiful canvas to experiment with. You’ve earned it through weeks of consistent care.
Your Long Oval Nails Growth Timeline Explained
Knowing what to expect month by month keeps you motivated through the growth phase.
Weeks 1-2: Your nails are shaped into the oval form. They look neat and intentional, but not dramatically long yet. You’ll notice them looking shinier if you’ve started the cuticle oil routine. Initial breakage might happen if your nails were weak to start — this is normal. Strengthen and protect.
Weeks 3-4: Visible growth starts being obvious. You’ve got maybe 1/4 to 1/3 inch of free edge extending past your fingertip. The shape is becoming more defined. You need your first maintenance filing. People start noticing your nails.
Weeks 5-8: This is where you have genuinely “long nails.” The free edge is 1/2 to 3/4 inch, nails look elegant and intentional, and you can do most activities without them getting in the way. You’re confident enough to wear colors and styles you wanted. This is the sweet spot most people aim for.
Weeks 8-12: True glamour-length nails. The free edge is approaching or exceeding an inch. These nails make a statement and require consistent protection because they’re long enough to catch on things more easily. Not everyone wants to go this long, and that’s fine — many people stop here.
3+ months: Beyond 3 months, maintaining the shape takes more active effort because you have a lot of free edge and the sides can start to curve awkwardly if you’re not filing them consistently. Some people love this dramatic length; others find it impractical. There’s no “correct” length — it’s whatever you want.
Final Thoughts
Growing long oval nails at home is entirely achievable with the right approach: proper preparation, consistent daily care with cuticle oil, protecting your nails from damage, regular gentle maintenance, and patience through the growth process. You don’t need expensive products or salon visits, though both can enhance your results if you want them. What you need is understanding the basic principles of nail health and committing to the small daily habits that actually produce results.
The most important takeaway is this: cuticle oil every single day beats everything else combined. That one habit, done faithfully, probably matters more than every other technique in this guide. Nails that are consistently moisturized grow stronger, longer, and more beautifully than nails that aren’t, regardless of what else you do.
Start with healthy nails or spend a few weeks strengthening weak ones. Build your maintenance routine around protection (gloves for water, avoiding tool use) and nourishment (cuticle oil, strengthening polish). File gently, always in one direction, and be patient with the growth process — nails grow on their own timeline. Shape your oval gradually as they grow rather than trying to perfect it immediately. Within a few weeks, you’ll have noticeably longer nails; within 8-12 weeks, you’ll have the genuine long oval nail look you’re after.
This isn’t difficult. It’s just consistent. And the payoff — beautiful, healthy, long nails that you grew yourself — makes every bit of that consistency worthwhile.
