

You’ve just spent money and time getting a perfect gel manicure—the glossy shine, the flawless color, the pristine design—and the last thing you want is watching it chip after two weeks. The truth is, getting gel nails to hold strong for the full three weeks isn’t luck or magic. It’s the result of understanding exactly what breaks down gel polish, then building a routine that actively protects it.
Most people assume their nails just won’t last that long because they’ve never made it past day 14 without visible damage. But here’s what actually happens: gel nails fail prematurely because of one or more preventable mistakes—either during the initial application, in how you treat your nails afterward, or in daily habits you might not even realize are destructive. The good news is that these are all within your control.
Getting gel nails to last a full three weeks means thinking about your manicure as an active project, not a passive accessory. You’ll need to understand what’s happening beneath the surface of your gel polish, protect your nails intentionally during everyday activities, and develop habits that support longevity. This isn’t about being obsessive or overly cautious—it’s about being strategic in a way that keeps your nails looking fresh and sealed until your next appointment.
Why Gel Nails Peel Before Three Weeks
Gel polish doesn’t just randomly fail. When it chips, peels, or lifts before the three-week mark, something specific went wrong. Understanding the root cause is the first step to preventing it from happening again.
The most common culprit is moisture seeping between the gel and your natural nail. Gel polish is not waterproof; it’s water-resistant. When water finds its way underneath the gel coating—whether through a tiny gap at the edge, a microscopic imperfection in the application, or repeated exposure—it creates a pocket that breaks the seal. Your nail naturally produces oils and continues to grow and flex. When moisture gets trapped, it pushes against the gel from below, causing it to lift and peel away from the surface.
The second major reason is improper application or a weak base coat. If your gel manicure wasn’t cured long enough, if the base coat wasn’t applied correctly, or if your nails weren’t properly prepped beforehand, the gel never bonded properly to your nail plate. This makes it vulnerable from day one, even if the damage doesn’t show up immediately.
Mechanical stress is the third factor. Gel is durable but not invincible. Harsh physical activity, repeatedly banging your nails, prying things open with your nails, or aggressive hand-washing can all cause micro-damage that develops into visible chips and breaks. Many people don’t realize how much they use their nails for tasks until they’re wearing gel and every action matters.
Finally, not protecting your nails from chemical exposure erodes the polish faster. Harsh cleaners, acetone-based products, strong solvents, and even some soaps gradually weaken gel, especially at the edges where water and chemicals get in most easily.
Prepare Your Natural Nails Before Your Appointment
The moment your gel nails last longer or shorter has already been decided before you even arrive at the salon. Everything that happens during preparation—how your nails are shaped, how well they’re cleaned, and how they’re buffed—directly affects how well the gel will adhere and stay adhered for three weeks.
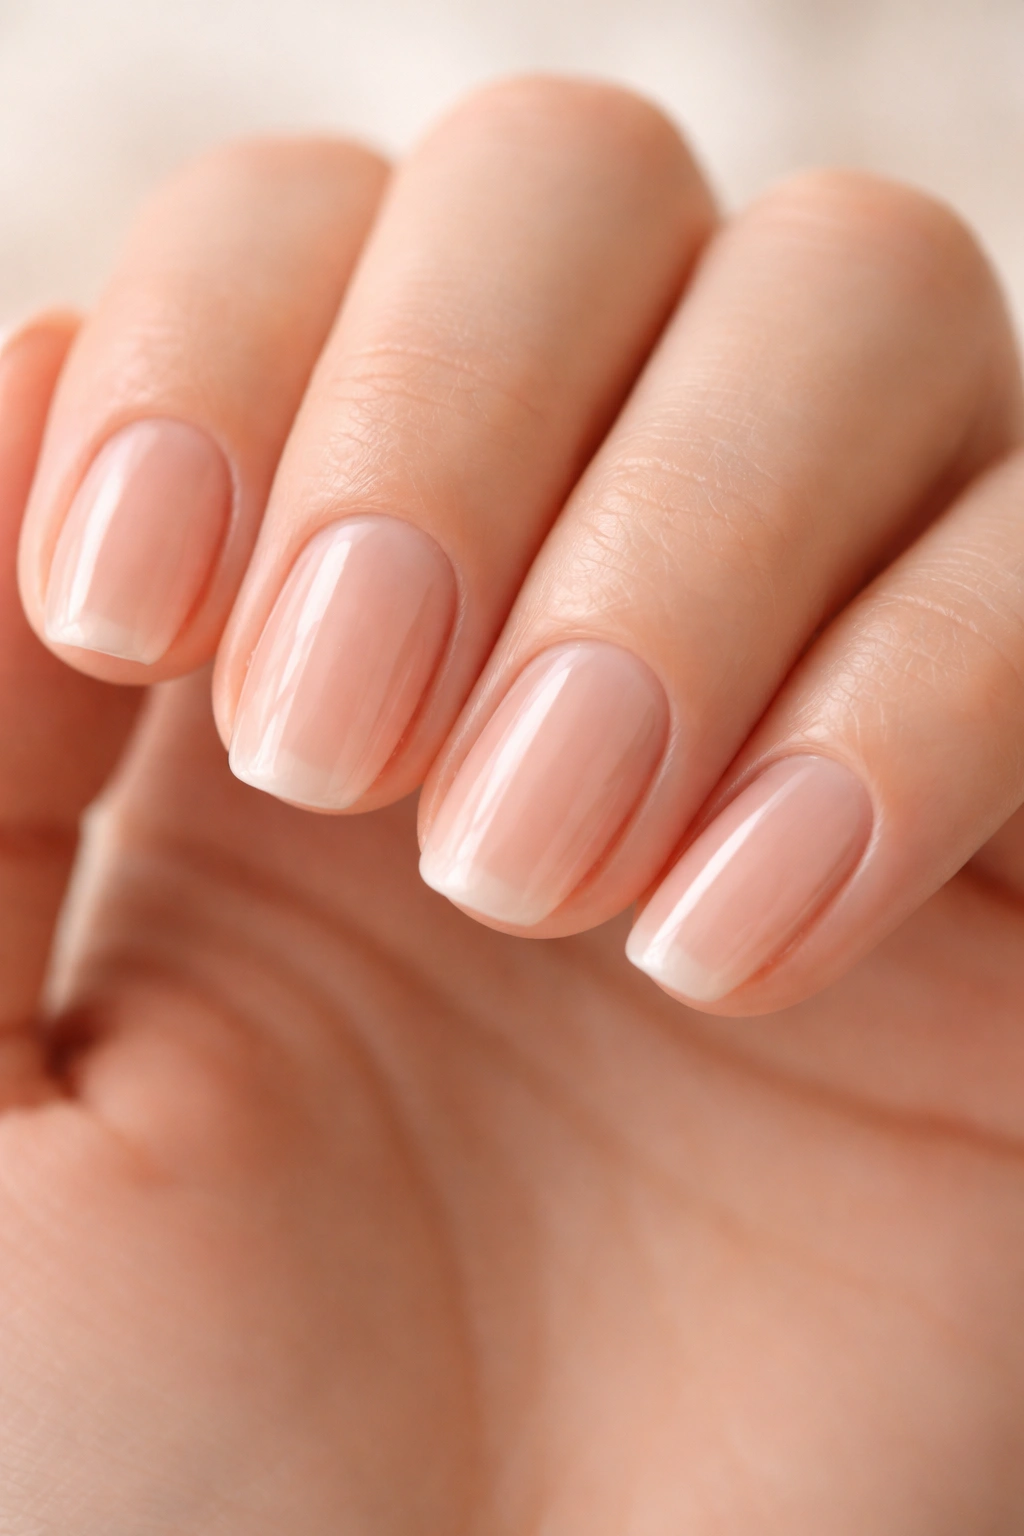
Start by having your nails actually healthy before the appointment. If you’ve been wearing gel continuously without breaks, or if you removed your last gel manicure yourself using acetone, your natural nails may be dehydrated and weakened. Spend at least a few days—ideally a week—using a nourishing cuticle oil or hand cream twice daily. This hydrates the nail plate and makes it stronger and more receptive to a good gel application.
When you arrive for your appointment, mention to your nail technician if you have very soft nails, peeling nails, or areas of damage. They can adjust their application strategy to accommodate this. A good technician will spend time properly filing your nails into a strong shape—not too rounded, which creates weak points, and not too squared-off at the tips, which can catch and break. The best shape for longevity is slightly rounded or squoval (a hybrid between square and oval).
Make sure your technician pushes back your cuticles and cleans around the nail edges thoroughly. Cuticle buildup and dead skin create a barrier that prevents gel from bonding properly to your nail. If they skip this step or rush through it, ask them to spend more time there. This isn’t cosmetic; it directly affects your three-week wear time.
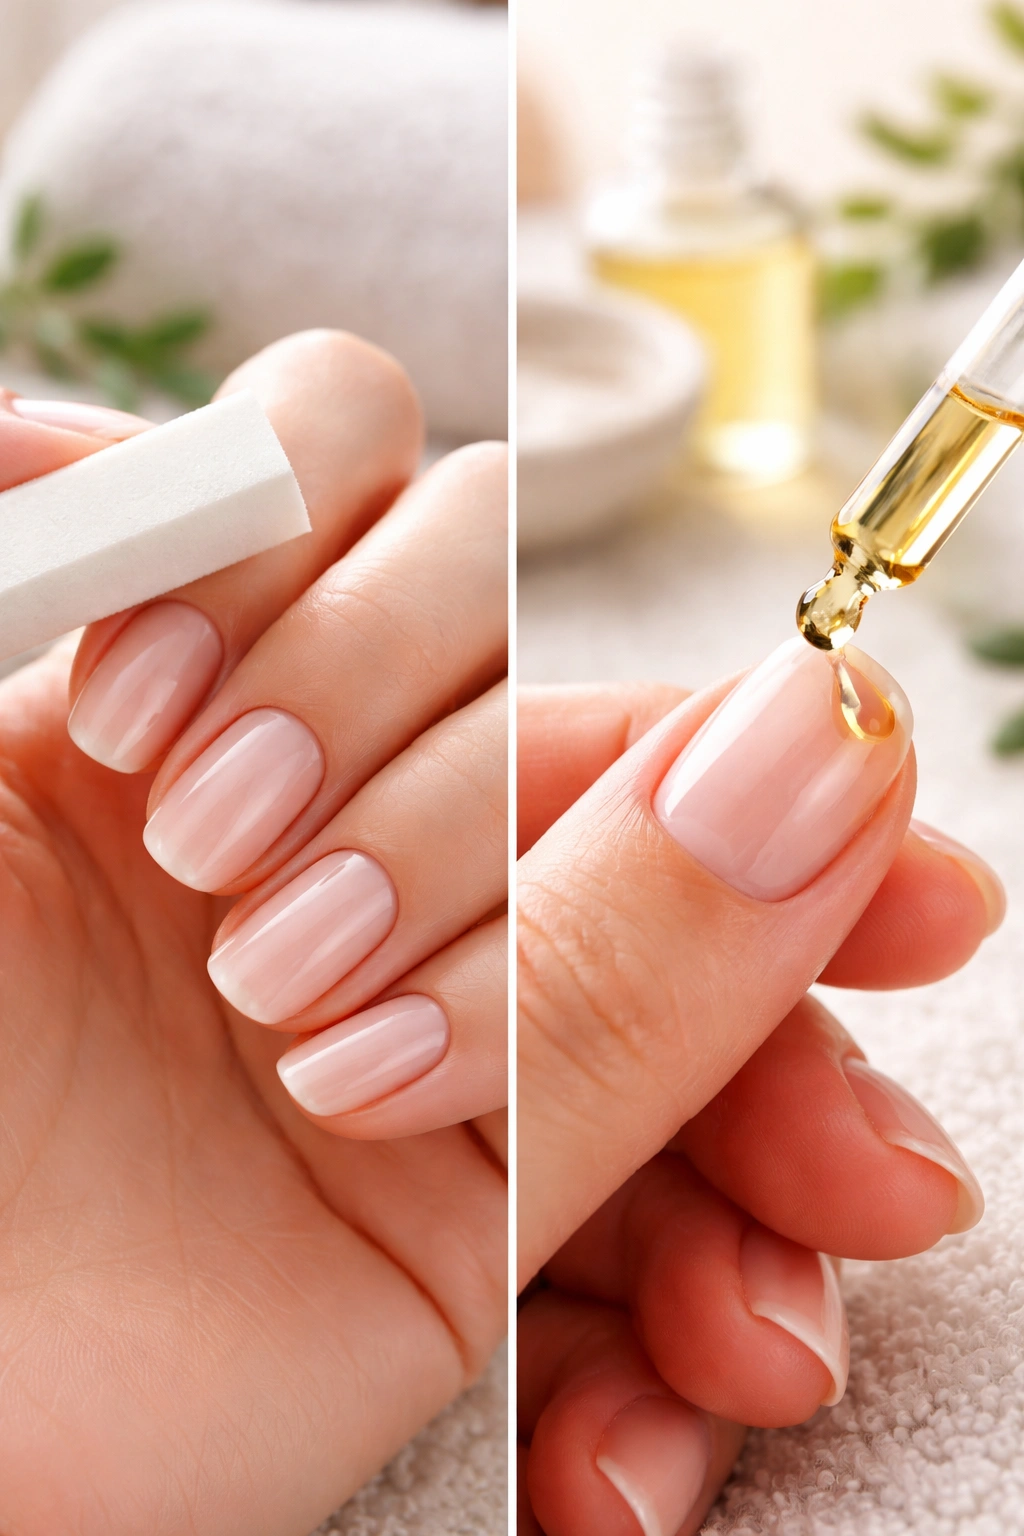
The Importance of Proper Buffing
Your technician will buff your nails before applying gel. This isn’t just to make them shiny—buffing creates a slightly textured surface that helps the gel grip your nail plate. If your nails are too smooth, the gel slides off more easily. If they’re buffed unevenly or too aggressively, you’ll have weak spots where the gel won’t bond properly.
Ask whether your salon uses an electric buffer or does it by hand. Electric buffers are faster but can generate heat that dehydrates the nail if not used carefully. Hand buffing takes longer but gives the technician more control. Either method works if done correctly.
Get a Proper Base Coat Application
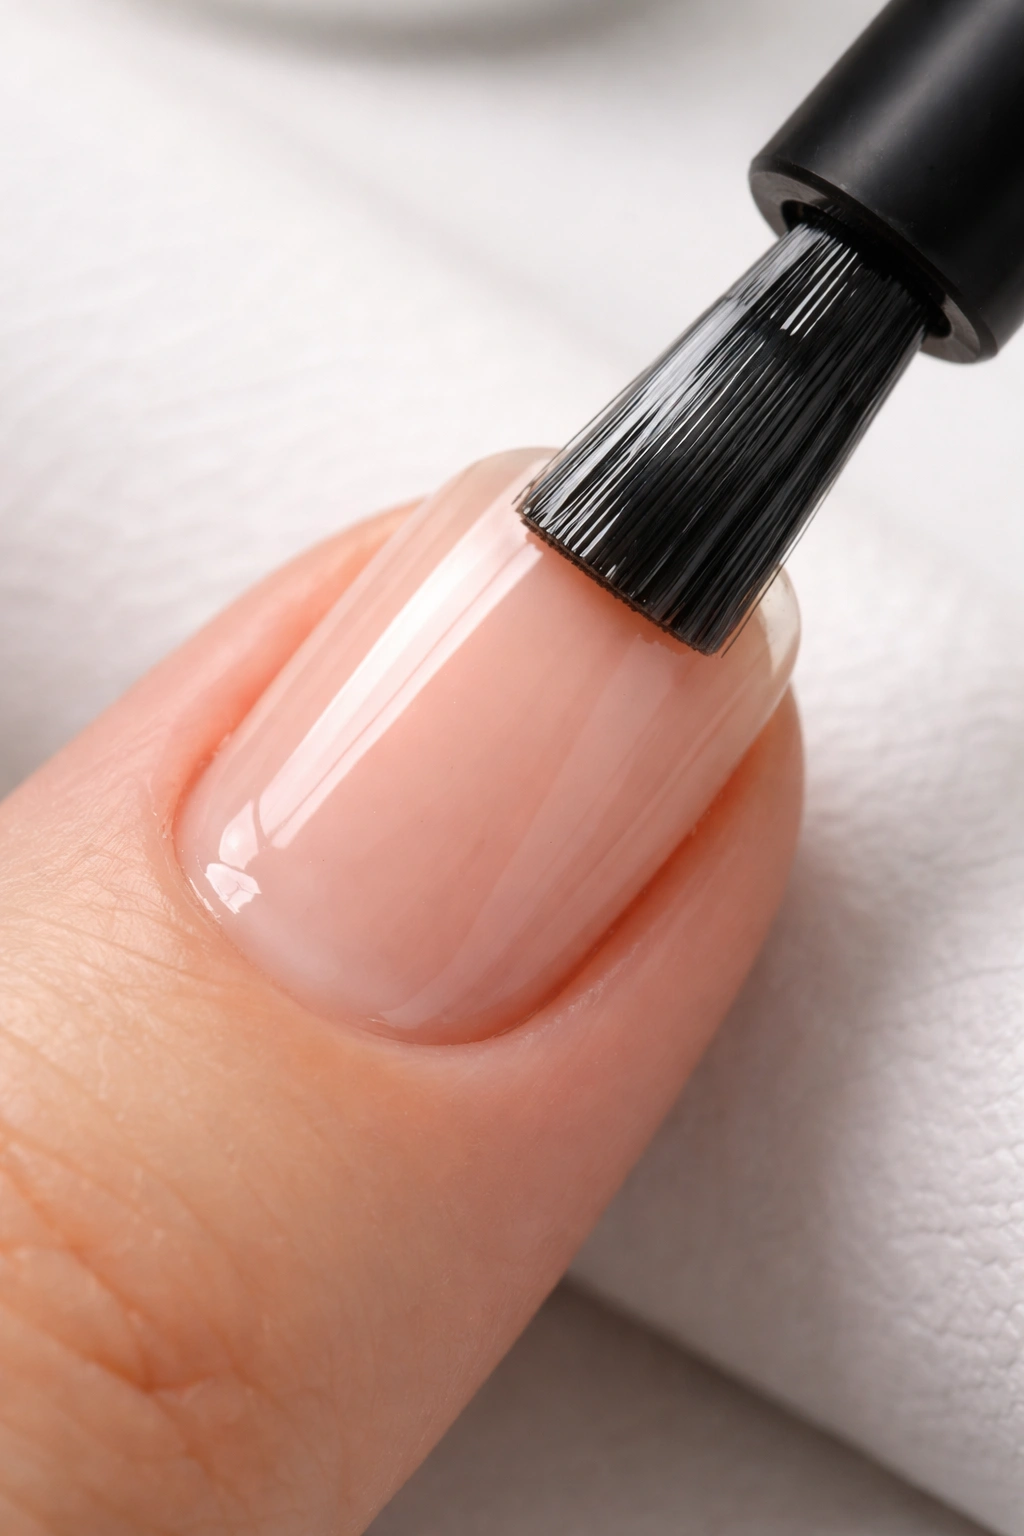
The base coat is where gel manicures either succeed or fail. An excellent base coat seals your nail to the gel polish and creates a protective barrier. A rushed or thin base coat is basically setting an expiration date on your manicure.
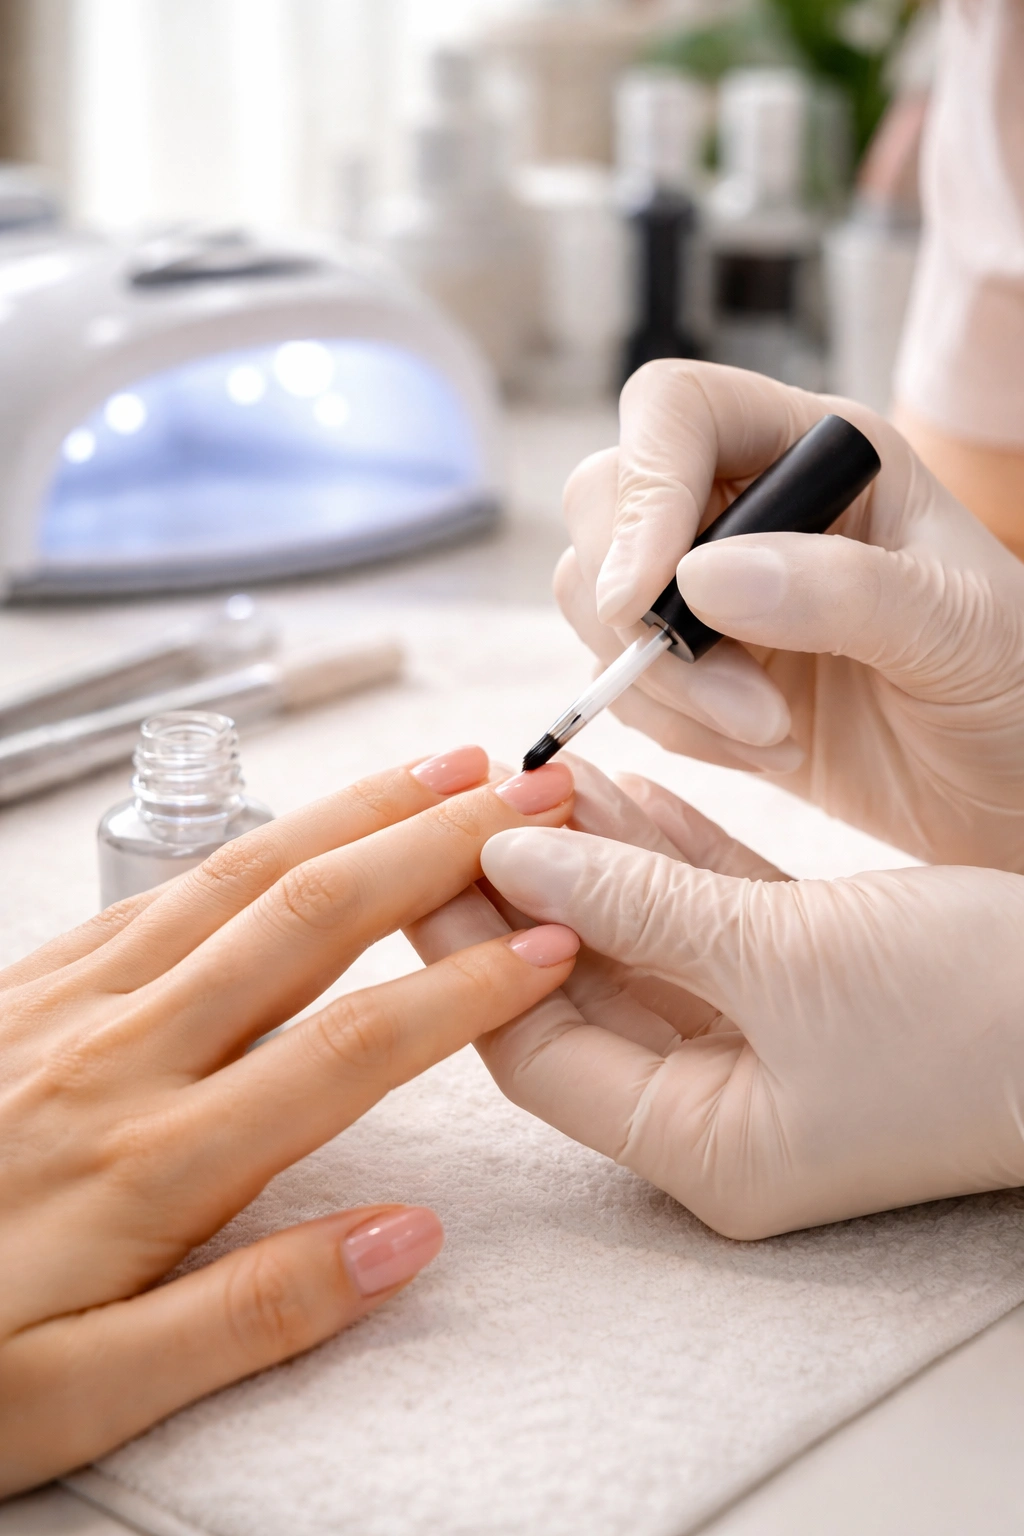
Watch what your technician does with the base coat. They should apply it in one smooth, even layer—not thick, not thin, but consistent. The base coat should cover your entire nail, including the very edges and the tip if any of your nail extends past your finger. This edge coverage is critical because that’s where water gets in most easily. If the base coat doesn’t reach the edge, water will eventually find its way underneath.
After applying the base coat, it needs to cure fully under the UV or LED lamp. Most LED lamps cure base coat in 30-60 seconds, while UV lamps may take longer. Don’t let the technician rush this step. Undercured base coat doesn’t bond properly, and your gel nails will start lifting within days.
Some salons use a “nail prep” product—a dehydrator or pH balancer—before the base coat. These are designed to remove oils and moisture from your nail plate so the base coat adheres better. If your salon doesn’t use one, ask them about it. It’s a small step that makes a measurable difference in longevity.
Why Some Gel Colors Last Longer Than Others
You might notice that certain gel colors chip before others, even when applied the same way. This isn’t random. Gel polishes vary in quality and formulation depending on the brand. Premium gel brands have better adhesion properties and stronger polymer chains that resist peeling. Budget brands or lower-quality gels may look identical for the first week but fail faster because the formula itself isn’t as durable.
If you’re at a salon, the gel brand they use matters. Ask what brand they’re applying. If you’re doing your own gel nails at home, buy from reputable gel manufacturers, not from cheap suppliers where quality is inconsistent.
Certain colors also wear differently. Very opaque colors and darker shades tend to last longer because the pigment is more stable. Very sheer colors and glitter formulas sometimes chip or peel sooner because the particles in the gel can weaken the polymer structure slightly. This isn’t true for all brands, but it’s a pattern many people notice.
Apply a Quality Top Coat as the Final Seal
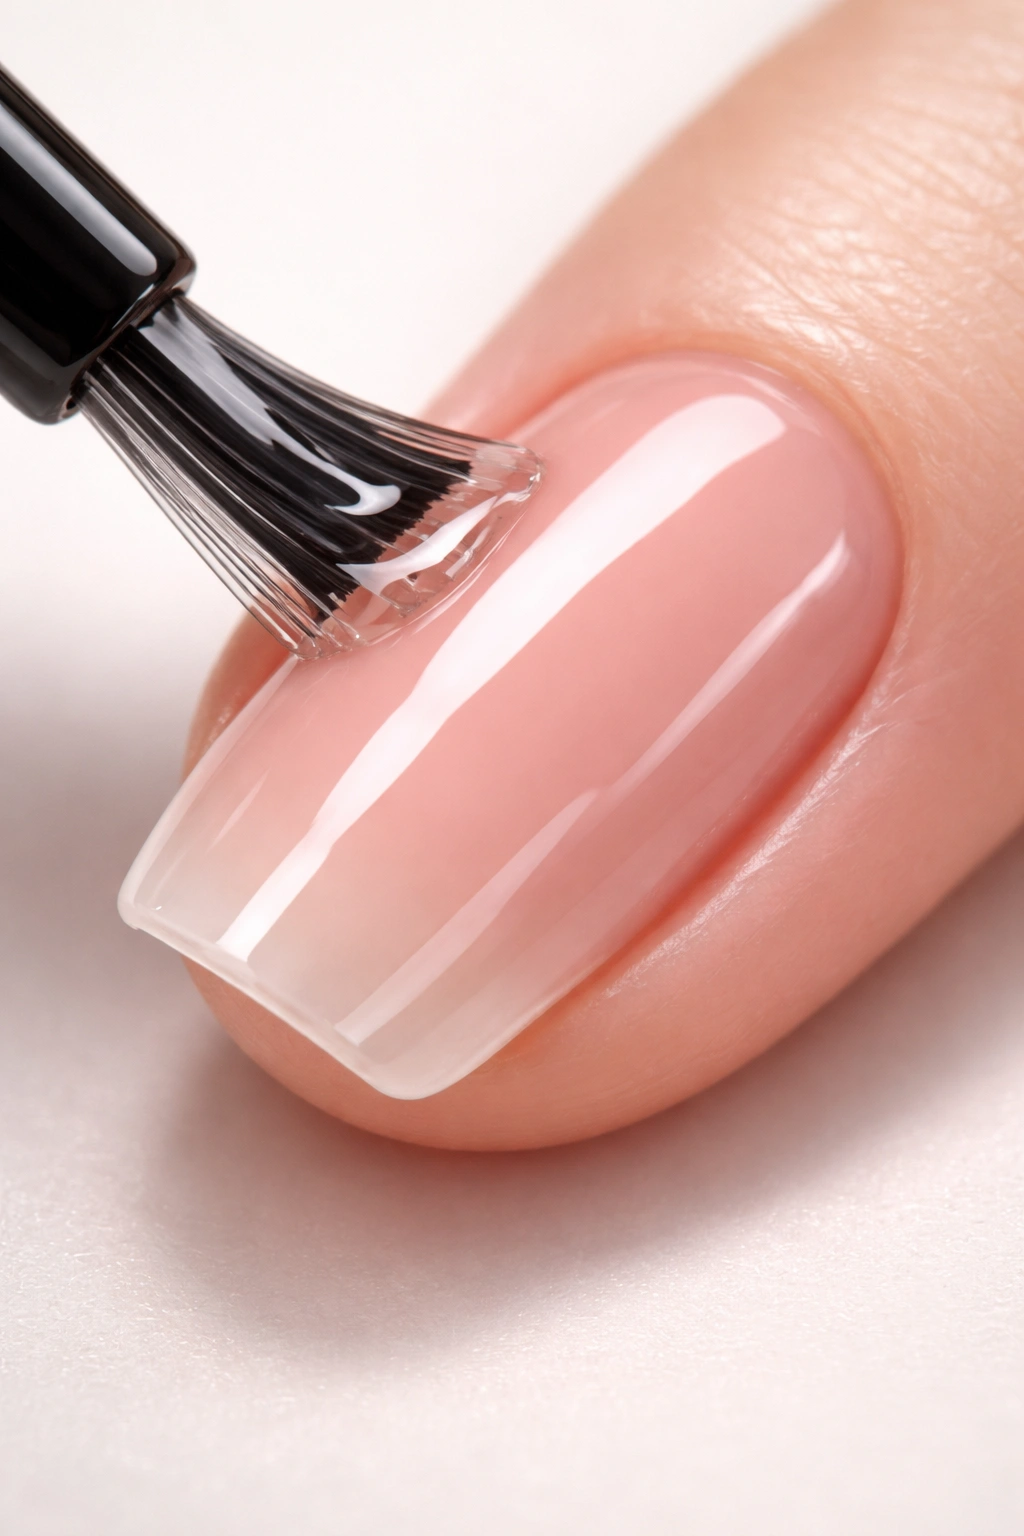
The top coat is your gel nails’ final defense against the world. It sits on top of the color and creates a glossy, protective barrier. A high-quality top coat that’s properly applied is the difference between a manicure that lasts three weeks and one that lasts two.
The top coat needs to be applied in one careful, even layer that covers every millimeter of your nail, especially the tips and edges. This is where a lot of technicians rush. They apply the top coat quickly, creating thin spots or leaving tiny uncovered areas. Water finds those gaps and starts working its way underneath.
After application, the top coat must cure fully—usually 60-90 seconds under LED or longer under UV, depending on the brand and lamp. Some top coats leave a sticky residue that needs to be wiped away; some don’t. Either way, ask your technician to verify it’s fully cured before you leave the salon. You shouldn’t be able to make an indent or dent in the surface with your fingernail.
The quality of the top coat matters significantly. Gel brands that use premium resins and stabilizers create a harder, more durable top coat that resists scratching, peeling, and water infiltration. Cheaper top coats get hazy, peel, or crack more easily, which then exposes the color underneath to damage.
Sealing the Edges: The Secret Most People Miss
Here’s a detail that separates people who get three-week manicures from those who don’t: proper edge sealing. When the gel is applied to your nail, the very edge where the nail ends needs special attention. Water is constantly trying to get underneath at that edge. If the gel doesn’t wrap over the edge properly, or if the top coat doesn’t fully seal that edge, water will eventually breach it.
Good technicians will deliberately paint a tiny bit of gel slightly over the edge of your nail tip, wrapping it around the underside of the nail edge. This creates a seal that’s much harder for water to penetrate. If your technician applies gel only to the top surface and leaves the underside and sides of the edge exposed, water will get in much faster.
Protect Your Nails from Water and Moisture

Water is the primary enemy of gel nail longevity. Every time your gel nails come into contact with water—whether you’re washing dishes, showering, or swimming—you’re giving water an opportunity to seep underneath the gel. You can’t avoid water completely, but you can dramatically reduce how much water actually touches your nails.
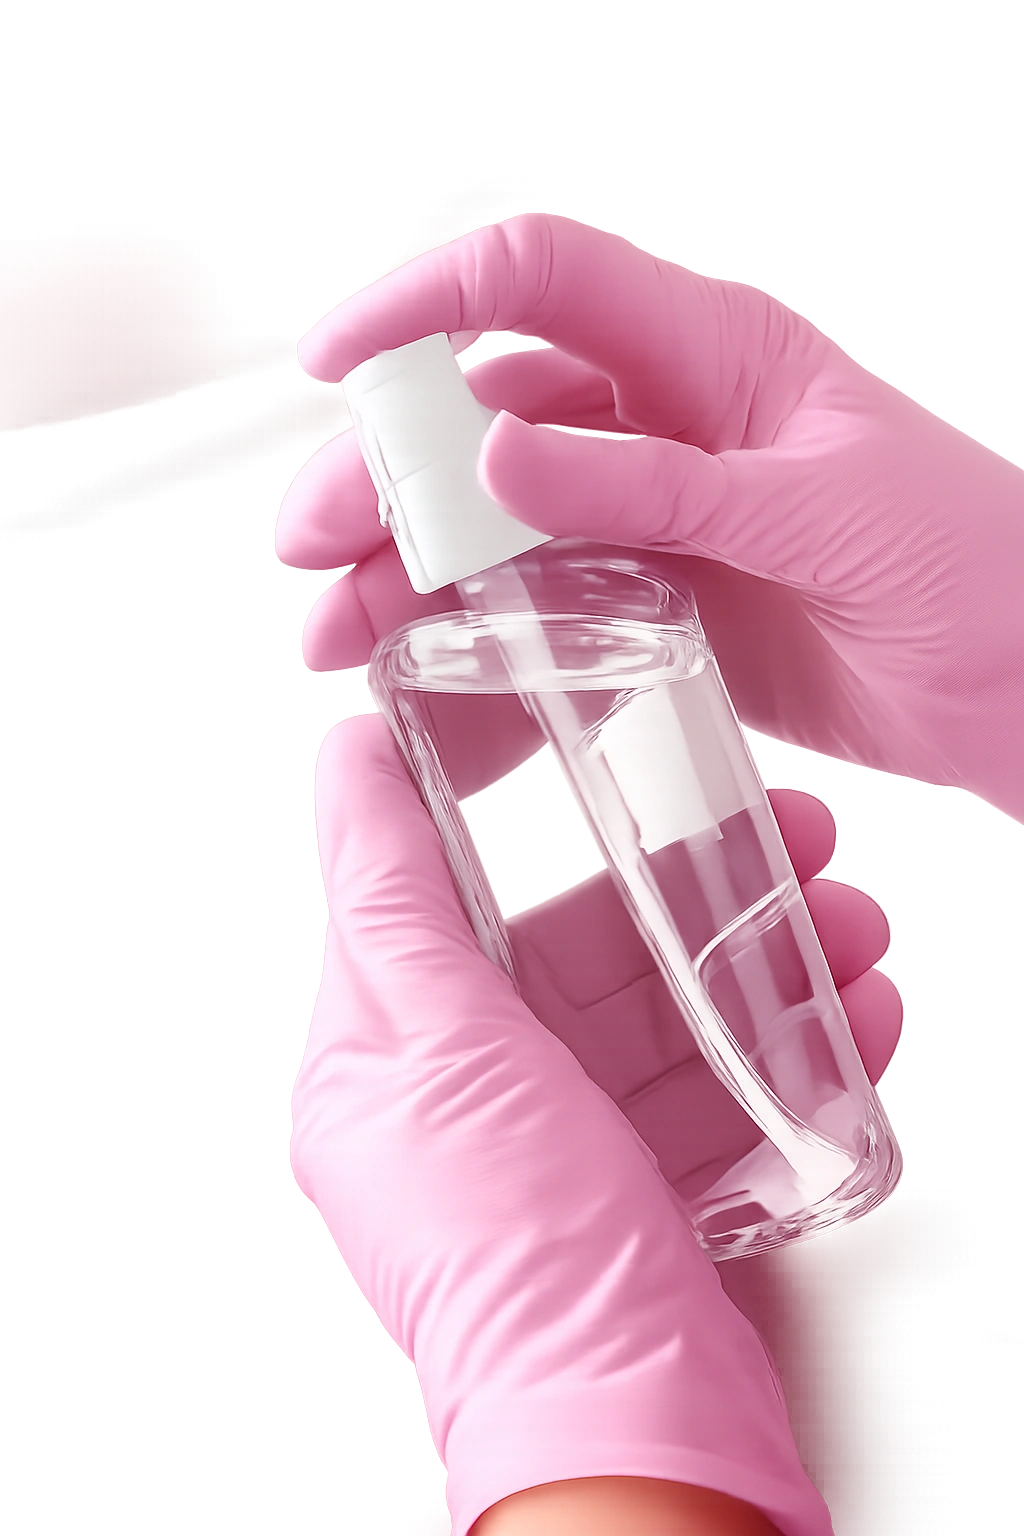
The most practical approach is wearing nitrile gloves whenever you do anything wet. Dishwashing, cleaning the house, hand-washing clothes, gardening after rain, bathing a pet—anything that involves prolonged water exposure requires gloves. Keep nitrile gloves under your sink, by the shower, and in other spots where you’ll remember to use them. They’re cheap and available everywhere, and they’ll add a full week to your gel manicure’s lifespan.
When you shower, it’s not just your hands that matter. Water running down your arms can drip onto your nails, and prolonged steam exposure—especially in a hot shower—can loosen the seal around the edges of your gel. Shorter, cooler showers help. If you take long, hot showers, try pulling your hands out of the direct water stream, or keep your nails pointed downward so water runs off rather than pooling on them.
Swimming is especially harsh on gel because you’re submerging your nails in chlorinated water for an extended period. If you swim frequently, your gel will almost certainly not last the full three weeks without significant damage. If you do swim, wear water-resistant gloves while swimming if possible, or immediately after getting out, apply a nourishing oil to your nails and cuticles to help counteract moisture penetration.
Drying Your Hands Matters
After washing your hands or getting them wet, the way you dry them affects your gel longevity. Pat your nails dry firmly with a towel instead of letting them air dry. Air drying leaves moisture sitting on the surface longer, giving it time to seep underneath. Patting dry removes that moisture quickly. Make sure you dry between your nails and around the edges, not just the tops.
Some people use a hand-dryer after washing at public restrooms. This actually helps dry your nails faster, but don’t use excessively hot air, which can weaken the gel over time. Just a brief, moderate-temperature air dry is sufficient.
Avoid These Gel-Damaging Habits
Certain daily activities are basically direct assaults on gel nails. Once you understand what damages them, you can modify your behavior and automatically extend your manicure’s lifespan.
Using your nails as tools is the fastest way to damage gel. Don’t pry open containers, don’t use your nails to scrape off stickers or labels, don’t dig under things with your nails, and don’t use them to pick at anything. Every time you do, you’re creating a stress point that can lead to a chip or break. This is especially true if you have longer nails. If you must use a tool for something, use an actual tool—a flathead screwdriver, a paint scraper, a bottle opener—anything but your nails.
Harsh hand sanitizers and rubbing alcohol directly damage gel polish. These products are dehydrating and can break down the top coat faster, especially along the edges. If you need to use hand sanitizer frequently, try to apply it away from your nails if possible, and follow up by applying a nourishing hand cream or cuticle oil to your nails afterward.
Extreme temperature changes stress the gel. Your nail and the gel polish expand and contract at slightly different rates. When you go from a cold environment directly into very hot water, or vice versa, this expansion and contraction can create tiny cracks or weak points. Avoid dunking your hands in very hot water right after being outside in cold weather. Let them gradually reach room temperature first.
Rough physical activity accelerates damage. If you do a lot of manual labor, play sports, work out intensely, or engage in activities where your hands take impact or repetitive stress, your gel nails will chip sooner. Protective gloves during these activities help, but even with gloves, the stress is greater. If you’re in this situation, be realistic about whether a three-week gel manicure is practical, or focus on the other protective strategies to extend wear as much as possible.
How to Wash Your Hands Without Compromising Gel
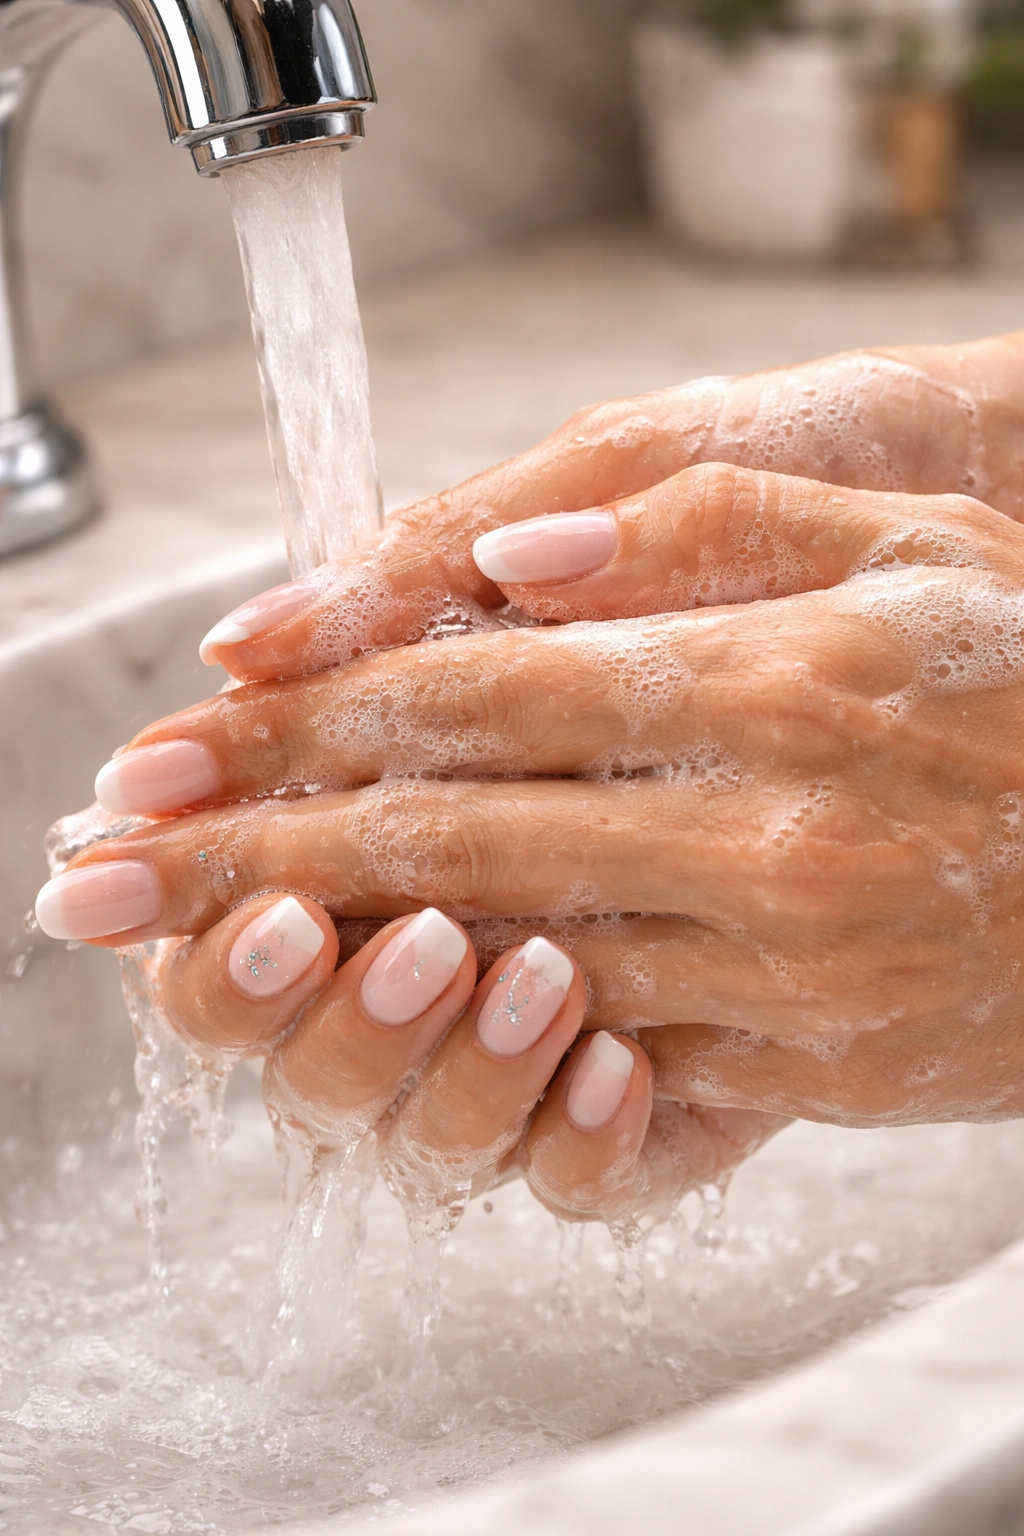
You can’t stop washing your hands, and you shouldn’t. Proper hand hygiene is essential. The key is washing without creating conditions that damage gel.
Use warm water, not hot water. Hot water softens the gel and makes it more prone to peeling. Warm water is sufficient for removing dirt and bacteria without the extra stress on your manicure. Wash for a normal duration—about 20 seconds—not aggressively or for extended periods.
Be gentle around your cuticles and nail edges. When you’re washing, many people scrub vigorously around their nails and cuticles. Try to be more intentional: clean the tops of your nails and your hands, but don’t scrub hard at the edge where gel meets nail. That’s a vulnerable point.
Use a gentle, pH-neutral hand soap. Some antibacterial soaps and very harsh cleaners can break down the top coat faster over time. A mild, moisturizing soap is gentler on gel while still being effective for cleaning.
After washing, dry thoroughly. Don’t let water sit on your nails. The longer moisture sits on the surface, the more opportunity it has to find microscopic gaps and seep underneath. Pat completely dry within a minute of rinsing.
The Hand Lotion Habit That Extends Wear
Keeping your hands and nails moisturized isn’t just for comfort—it actively extends gel longevity. When your nails are dehydrated, they shrink slightly. This can cause the gel to pull away slightly from your nail, creating tiny gaps where water can get in. When your nails are properly hydrated, they maintain their size and the gel stays tightly adhered.
Apply a good hand and cuticle cream several times daily, especially after washing your hands. This seems counterintuitive—you just dried your hands, why add moisture again? Because you’re replacing the moisture lost during washing, and you’re supporting your nail’s health. Look for creams with glycerin, shea butter, or oils that genuinely nourish rather than just sitting on the surface. Apply it to your nails and cuticles especially.
Maintain Your Nails Between Appointments
The time between your manicure and your next appointment should include active maintenance. Small issues caught early prevent big damage later.
Check your nails every few days for any signs of lifting, peeling, or chips. If you catch a small chip immediately, you can sometimes prevent it from spreading. The moment you notice a chip, stop using that hand for rough activities and be extra vigilant about keeping that area dry. If you notice lifting at the edges, apply a tiny amount of gel-safe adhesive under the edge (if you’re comfortable doing this) to re-seal it temporarily, or just be very careful not to get water under the lifted area until your next appointment.
Avoid putting pressure on your nails unnecessarily. If you have a longer nail and you lean on your hand on a desk, you’re putting sustained pressure on that nail that could cause it to crack or bend. Be aware of how you’re resting your hands.
If you do notice a chip or crack developing, resist the urge to file or pick at it. This makes the damage worse. Instead, keep it protected. Trim it down if it’s snagging on things, but avoid trying to repair it yourself unless you’re confident with gel repair techniques.
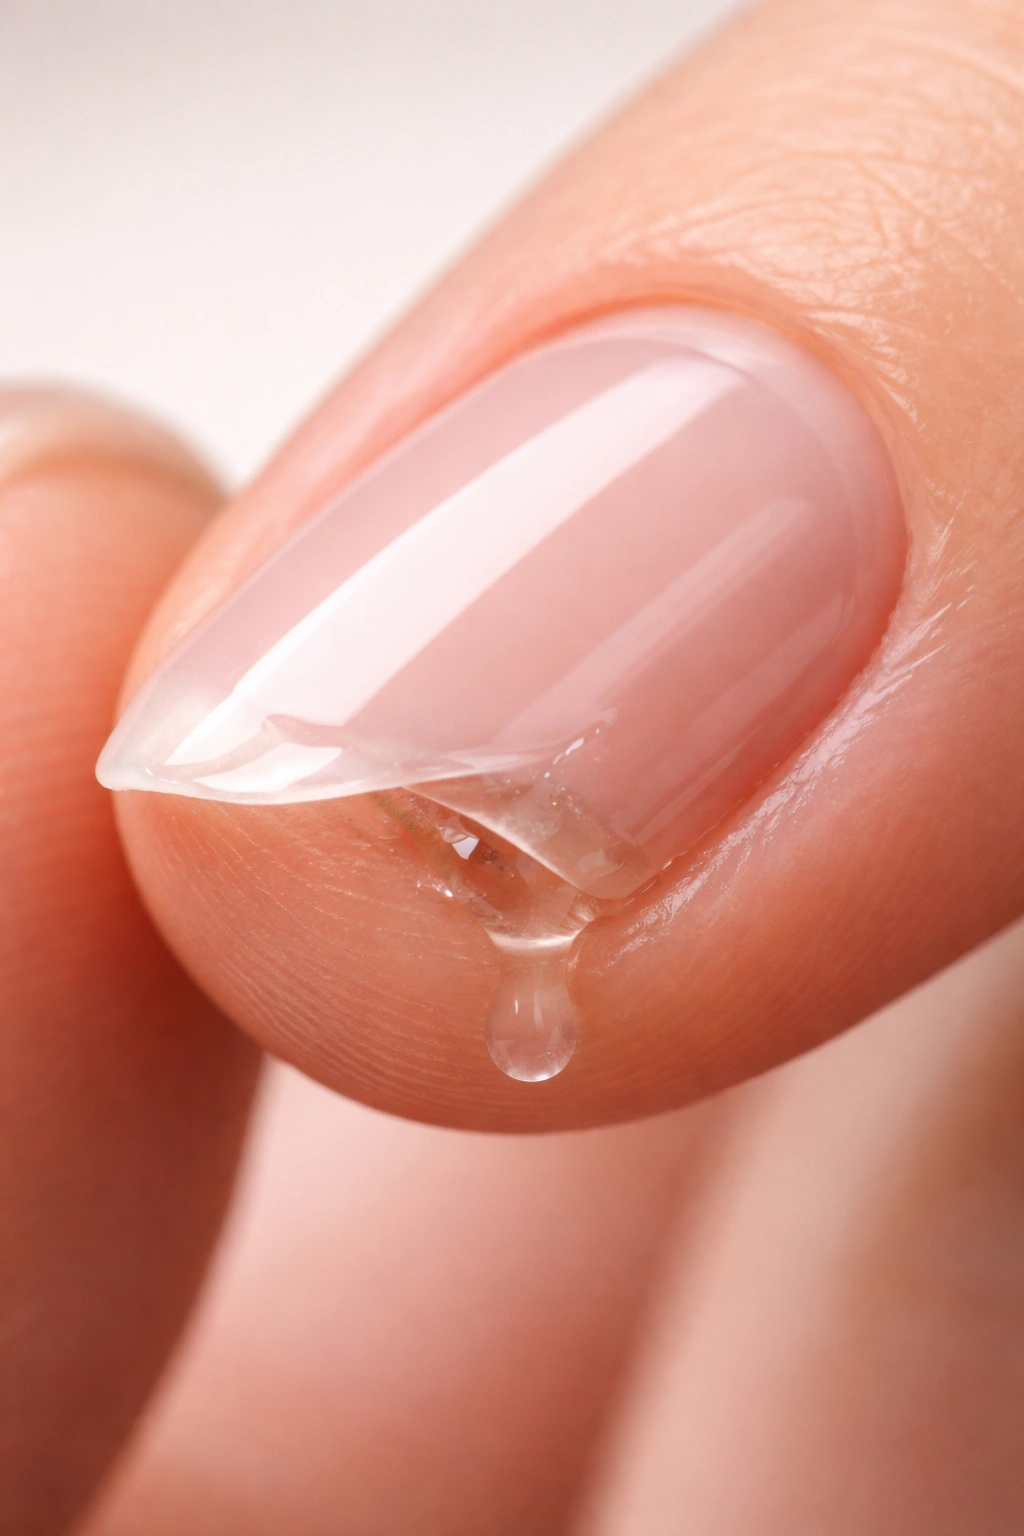
Using Cuticle Oil as Daily Insurance
Cuticle oil is inexpensive and surprisingly effective at extending gel longevity. Quality cuticle oils contain nutrients that keep your nail and cuticle area healthy, but they also have a practical benefit: they create a protective barrier that resists water infiltration.
Apply cuticle oil every evening and at least once during the day. Massage it into your cuticles, around the edges of your nails, and into the nail plate itself. Pay special attention to the areas where gel meets skin—your cuticles and the sides of your nail edge. This helps seal those vulnerable areas against moisture.
You don’t need an expensive specialty product. A simple jojoba oil, almond oil, or a commercial cuticle oil works well. The key is consistency. Daily application matters more than the specific product you use.
Minor Chips: Address Them Before They Spread
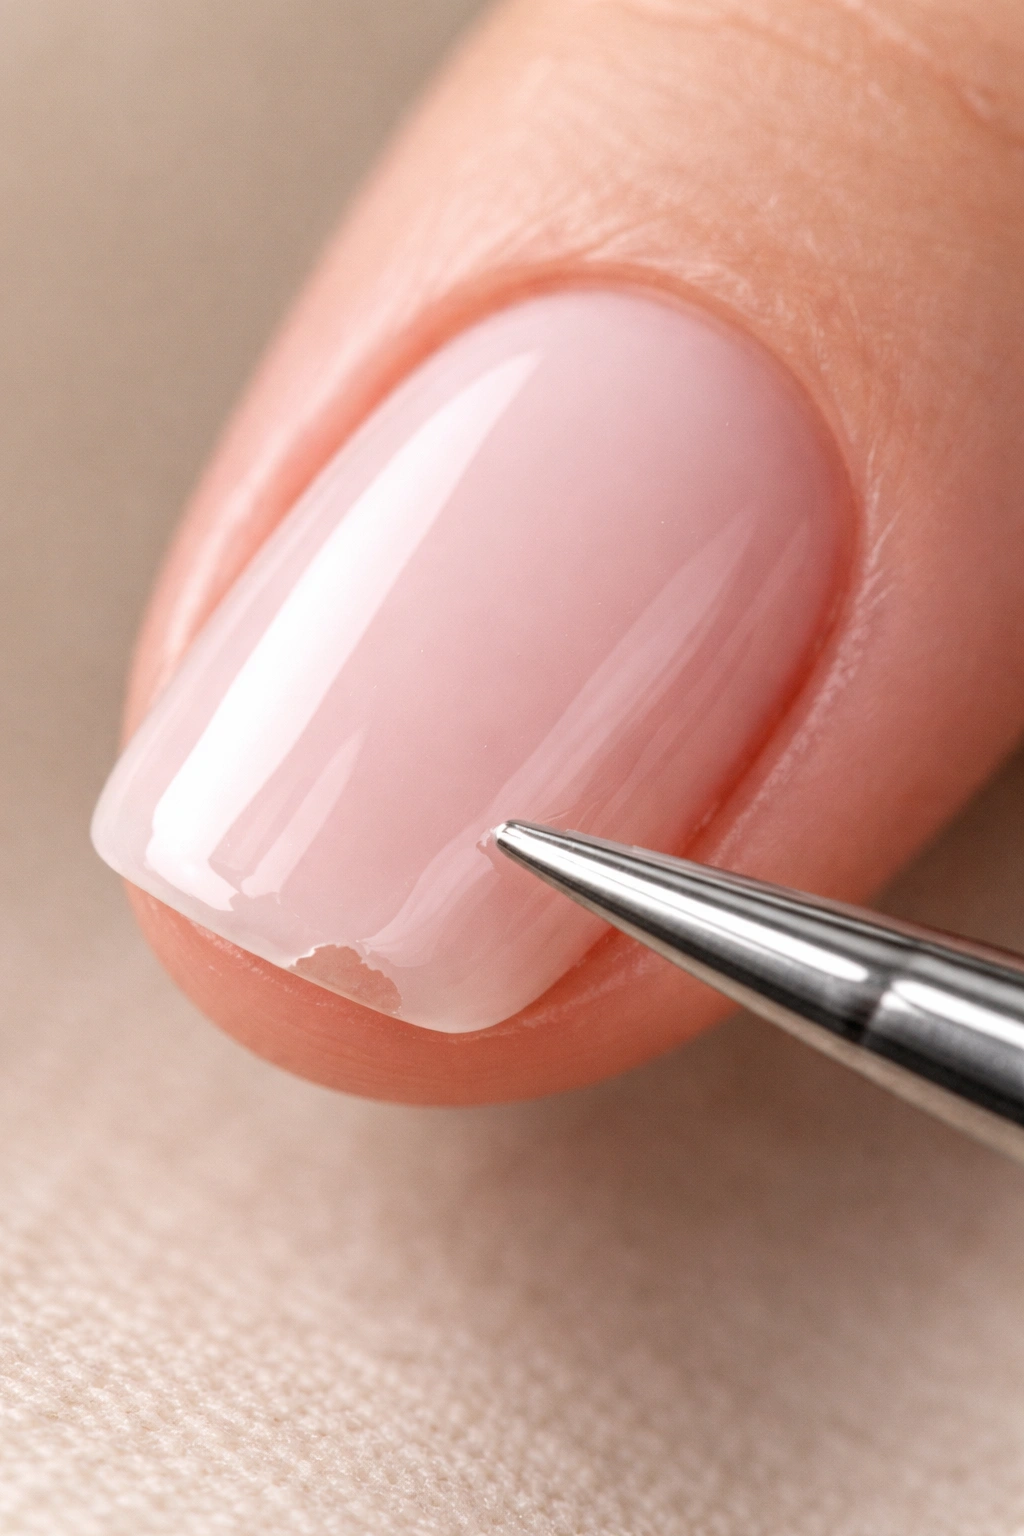
A tiny chip, if left alone, will spread and become a much larger problem. The moment you notice any peeling or chipping, take action.
If the chip is on the tip of your nail and it’s snagging, carefully file it down and seal the edge. If you have gel at home, you can apply a tiny amount to the chipped edge and cure it under an LED lamp. This isn’t a permanent fix, but it can buy you time and prevent the chip from spreading.
If the chip is near your cuticle or on the side edge, be more conservative. These areas are difficult to fix yourself, and trying can cause more damage. Instead, keep that area as dry as possible and avoid putting stress on that nail. Use your other hand for tasks if you can.
If the chip involves the gel peeling away significantly or lifting noticeably, it’s time to get it repaired at the salon or consider a full removal and reapplication. Trying to band-aid a major chip usually just delays the inevitable—the damage will continue spreading.
The key is not ignoring small damage and hoping it won’t get worse. It will. Being proactive about addressing chips immediately means the difference between salvaging your manicure and losing it completely.
Protect Your Nails During Sleep

Your hands spend eight hours a night in close contact with your face, your hair, and your pillowcase. All of these can damage your gel nails.
If you sleep with your hands near your face, your nails can snag on your skin or hair. If you move around in your sleep, you might bend a nail against the pillow in a way that cracks or breaks it. Your nails can also press into your scalp if you sleep with your hands in your hair.
One simple solution is wearing soft cotton gloves to bed. This protects your nails from snagging on your hair or skin, and it also keeps your hands from getting wet if you wake up sweaty during the night. The gloves also ensure you’re not pressing your nails against hard surfaces.
Keep your nails at a length that feels manageable for you in bed. Very long nails are more prone to breaking during sleep. A moderate length is easier to manage while still getting the aesthetic you want.
Minimize Chemical Exposure
Various chemicals gradually weaken gel polish, especially acetone, strong solvents, and harsh cleaners.
If you use acetone-based products for any reason—removing other polish, cleaning, degreasing—avoid letting them contact your gel nails. Acetone is basically designed to dissolve gel, so even brief contact can damage it. Wear gloves when handling acetone-based products.
Harsh household cleaners also damage gel over time. Products with bleach, strong acids, or industrial solvents can break down the top coat. When you’re cleaning, wear nitrile gloves. This protects your nails and is also better for your skin.
Some nail polish removers designed to be gentler than acetone are advertised as “acetone-free.” These work more slowly but are less damaging. If you ever need to remove nail polish while wearing gel (for example, if you have regular polish over your gel base), use an acetone-free remover and keep it away from your gel as much as possible.
Keep Your Nails Healthy Underneath
The health of your natural nails directly affects how well gel adheres and lasts. Weak, brittle, or damaged natural nails can’t support gel as well as strong, healthy nails.
Make sure you’re getting adequate nutrition, especially protein, biotin, iron, and zinc—nutrients that support nail health. If your nails are chronically weak or peeling, it might be worth consulting a dermatologist or your doctor to rule out nutritional deficiencies or underlying health issues.
Avoid acetone exposure during breaks between gel manicures. If you remove your own gel nails, try not to use acetone, or if you do, use the shortest duration possible and moisturize heavily afterward.
Don’t get gel nails continuously without breaks. Your natural nails need time to breathe and strengthen. Taking a one to two week break between gel applications, during which you keep nails short and natural, allows your nail plate to recover.
Avoid other damaging nail practices like stacking acrylics on top of gel or using gel over damaged, peeling natural nails. These compound the stress on your nail plate.
What Salons Do to Extend Wear
Professional salons that specialize in long-lasting manicures use specific techniques to ensure their gel nails last the full three weeks.
They start with proper nail assessment. A good technician looks at your nails, understands if you have weak nails, peeling areas, or other issues, and adjusts their approach accordingly. They might spend extra time prepping your nail, use a special primer, or recommend certain practices you should follow.
They invest in quality products. Premium gel brands cost more, but they deliver noticeably better longevity. Salons that focus on quality will use top-tier gels and top coats rather than cheap alternatives. You often can’t see the difference in the first week, but by week three, the difference is obvious.
They don’t rush the curing process. Each layer—base coat, color, top coat—is fully cured before the next layer is applied. This ensures proper bonding at every stage.
They seal the edges meticulously. The technician deliberately applies gel over the edge of your nail tip and wraps it around the underside, creating a seal that resists water penetration.
They educate their clients. Good salons tell you what to do and avoid to extend your manicure. They recommend wearing gloves for wet work, applying cuticle oil daily, and the other practices in this article. They understand that their success depends on your follow-through.
Final Thoughts
Getting gel nails to last a full three weeks isn’t a matter of luck or having naturally tough nails. It’s a combination of starting with a proper application, protecting your nails from the things that damage them, and maintaining them actively throughout the three weeks.
The single biggest factor is keeping moisture away from your nails. Wear gloves for wet work, dry your hands thoroughly, apply cuticle oil daily, and keep your nails away from extended water exposure. This alone will extend your manicure significantly.
Your second priority is being intentional about how you treat your nails during daily life. Don’t use them as tools, avoid harsh chemicals, be gentle around the edges, and address any chips or lifting immediately before they spread.
Finally, invest in the application itself. Go to a salon that takes time with proper prep, uses quality products, and applies gel thoughtfully. A good application is the foundation of everything else. You can do everything right afterward, but if the base coat and top coat aren’t applied perfectly, your manicure won’t last as long.
The three-week manicure is absolutely achievable. It just requires understanding what damages gel nails and building a routine that prevents that damage. Most people who don’t achieve it are missing one key element—usually either they’re not protecting their nails from water, they’re using their nails as tools without thinking about it, or their original application wasn’t solid. Fix whichever of these applies to you, and you’ll likely find your gel nails lasting much longer than they ever have before.
