

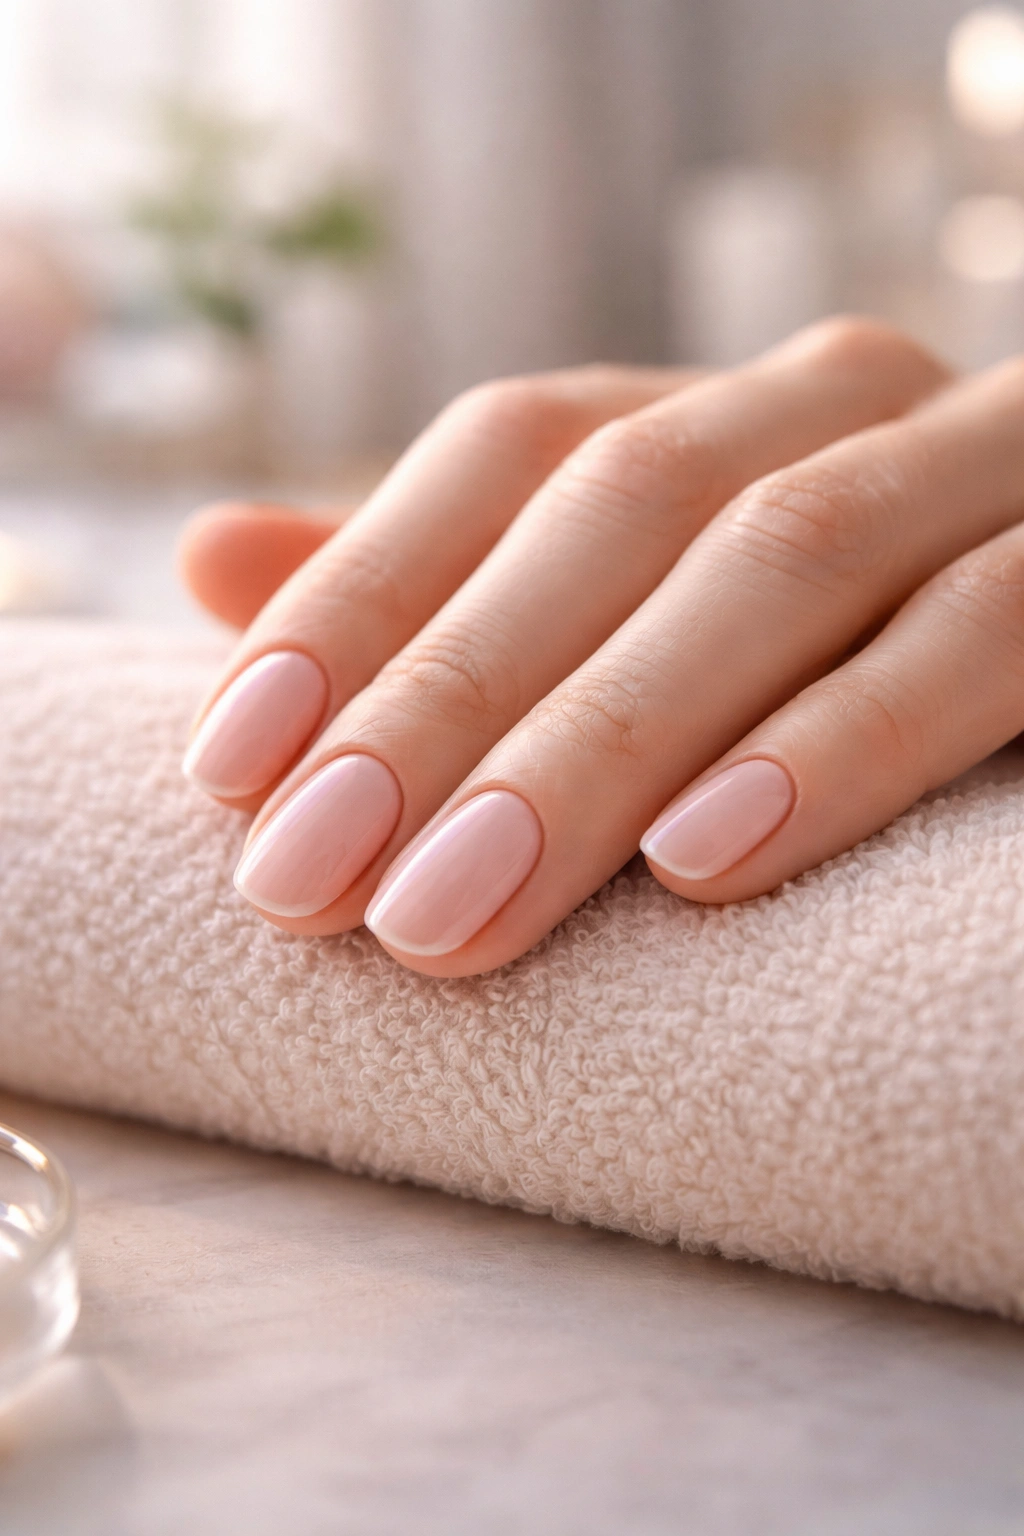
Getting a salon-quality manicure at home isn’t just about having steady hands—it’s about mastering a series of techniques that most people skip right over. The difference between a manicure that chips within three days and one that lasts weeks comes down to preparation, application method, drying time, and product choice. If you’ve ever looked at your nails after a professional manicure and wondered how they made it look so flawless, you’re about to discover the exact practices that separate amateur nail painting from genuinely polished results.
The truth is, nail artists spend years perfecting their craft, but the fundamentals aren’t complicated. You don’t need expensive equipment or fancy gel systems to achieve that salon finish—you need to understand why each step matters and how to execute it properly. Whether you’re painting for a special occasion or just want to skip the salon expense, these eight tips will transform your at-home nail game from frustrating to genuinely satisfying.
1. Remove Everything and Start with Perfectly Clean Nails
This is the single most overlooked step, and it’s also the most crucial. Even if your nails look clean, they’re holding onto oil residue, dead skin particles, and microorganisms that will prevent your polish from adhering properly. That’s not being dramatic—it’s basic chemistry. When polish doesn’t stick to a clean surface, it peels and chips within days.
Start by removing any old polish with a high-quality nail polish remover. Don’t grab whatever’s under the sink from three years ago. Old remover loses potency, and you need something strong enough to cut through stubborn color completely. Soak a cotton ball thoroughly and press it onto each nail for a full 10-15 seconds—don’t just swipe and move on. The old polish needs time to soften and release from the nail bed.
Why This Creates a Flawless Base
Once the old polish is completely removed, your nails still aren’t actually clean. Use a fresh cotton ball soaked in nail polish remover (or acetone if you have it) and wipe each nail thoroughly. This removes the natural oils your skin produces—oils that act like a tiny barrier between your nail and fresh polish. Professional nail artists consider this dehydration step absolutely essential because sealed-in oils are the #1 reason home manicures chip prematurely.
If you don’t have acetone, a non-acetone nail polish remover works, though acetone is more effective. Either way, the goal is the same: you’re stripping away anything that might prevent adhesion. After this step, keep your hands away from water and oils. Don’t touch your face, don’t use lotion, and definitely don’t go rummaging through your kitchen. You’ve just created a perfectly dehydrated surface, and you want to keep it that way.
Quick Prep Checklist
- Use acetone or high-quality remover to strip old polish completely
- Wipe each nail thoroughly with a fresh remover-soaked cotton ball
- Keep hands dry and oil-free after this step
- Proceed directly to the next step—don’t delay
- If you get lazy here, your entire manicure is compromised
2. Trim, File, and Shape Your Nails with Intention
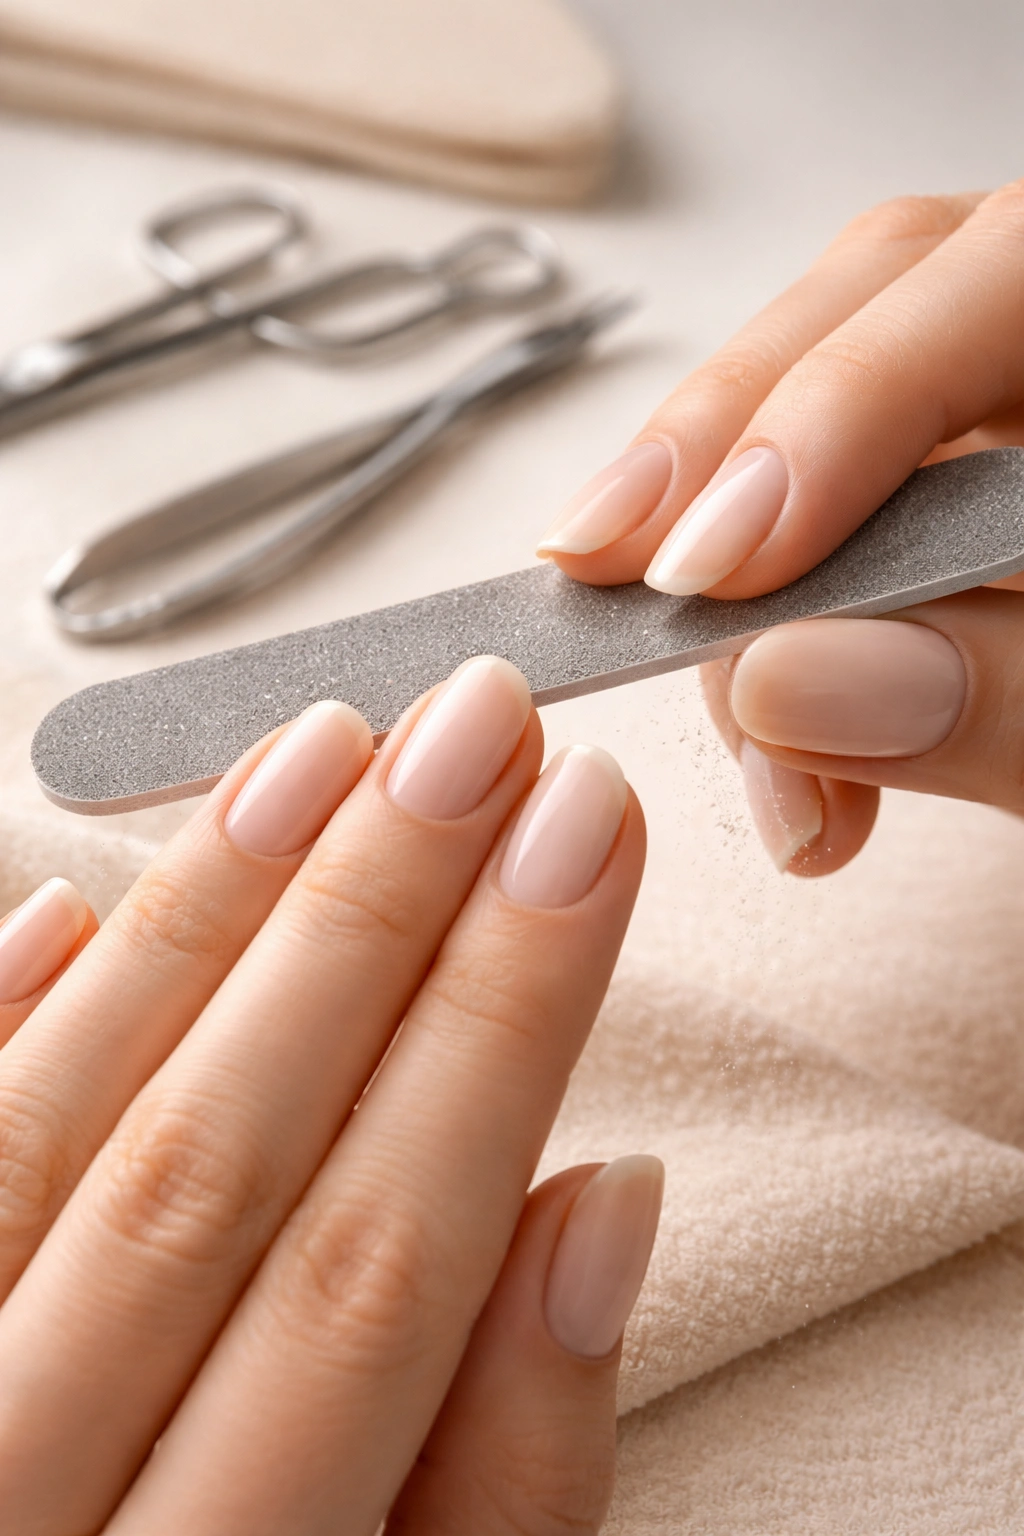
You can’t create a flawless manicure on a jagged foundation. The shape and condition of your nail edges directly impacts how the polish looks and how long it lasts. Taking five minutes to properly shape your nails will reward you with a noticeably more professional result.
Start by trimming your nails to your desired length using sharp nail clippers. Here’s a pro technique that most people don’t know: don’t try to cut the entire nail in one squeeze. Instead, clip from one side of the nail, moving across gradually. This prevents unnecessary bending and stress on the nail structure at the sides. If you clip the whole thing at once, you’re weakening the nail and you might get splits and ridges forming along the edge.
After trimming, grab a nail file—and make sure it’s not too rough. You want a file around 180 grit or higher. Very coarse files are designed for acrylics, not natural nails. With your chosen file, shape each nail in one direction only. Sawing back and forth actually damages the nail edge and causes peeling and splitting. File in one direction from the outer edge toward the center, then switch hands if you’re working on your other hand. This directional technique creates a smooth, intact edge that polish can adhere to properly.
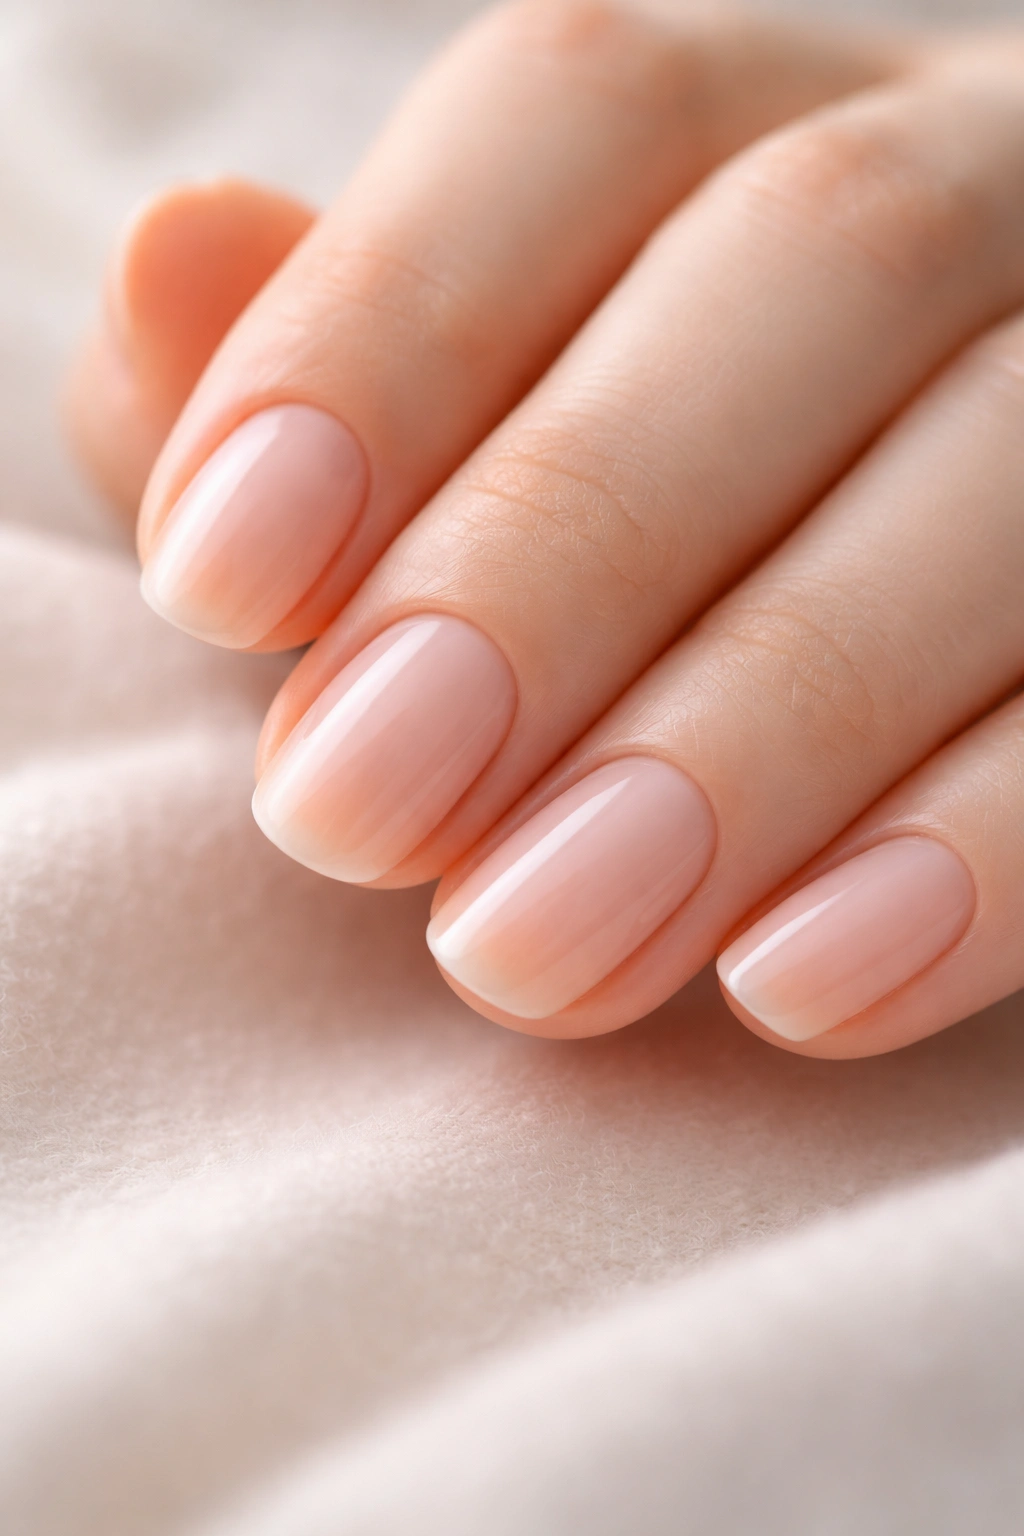
The Shape Matters More Than You Think
Different nail shapes look better on different hand shapes and nail beds, but they also perform differently when painted. Shorter, more squared-off nails hold polish longer because there’s less surface area hanging off the end of your finger. Long, pointed nails look gorgeous but are more prone to chipping at the tip because that delicate point takes more impact. Almond shapes and oval shapes are the sweet spot for most people—they’re easier to maintain and the polish lasts longer.
Round out your file work by buffing the surface of each nail gently. Use a soft buffer—not the coarse side—and move in one direction. Buffing smooths out micro-ridges and creates a slightly textured surface that helps polish grip better. You’re not trying to sand your nails flat; you’re just removing that shiny coating and evening out the surface.
Filing and Shaping Best Practices
- Trim gradually from one side across, not in one big chop
- Use a file around 180 grit—nothing too coarse for natural nails
- File in one direction only, from edge toward center
- Buff the nail surface gently with a soft buffer
- Choose a shape that works for your lifestyle and hand structure
- Take your time here—this foundation determines everything else
3. Master the Crucial Art of Cuticle Care
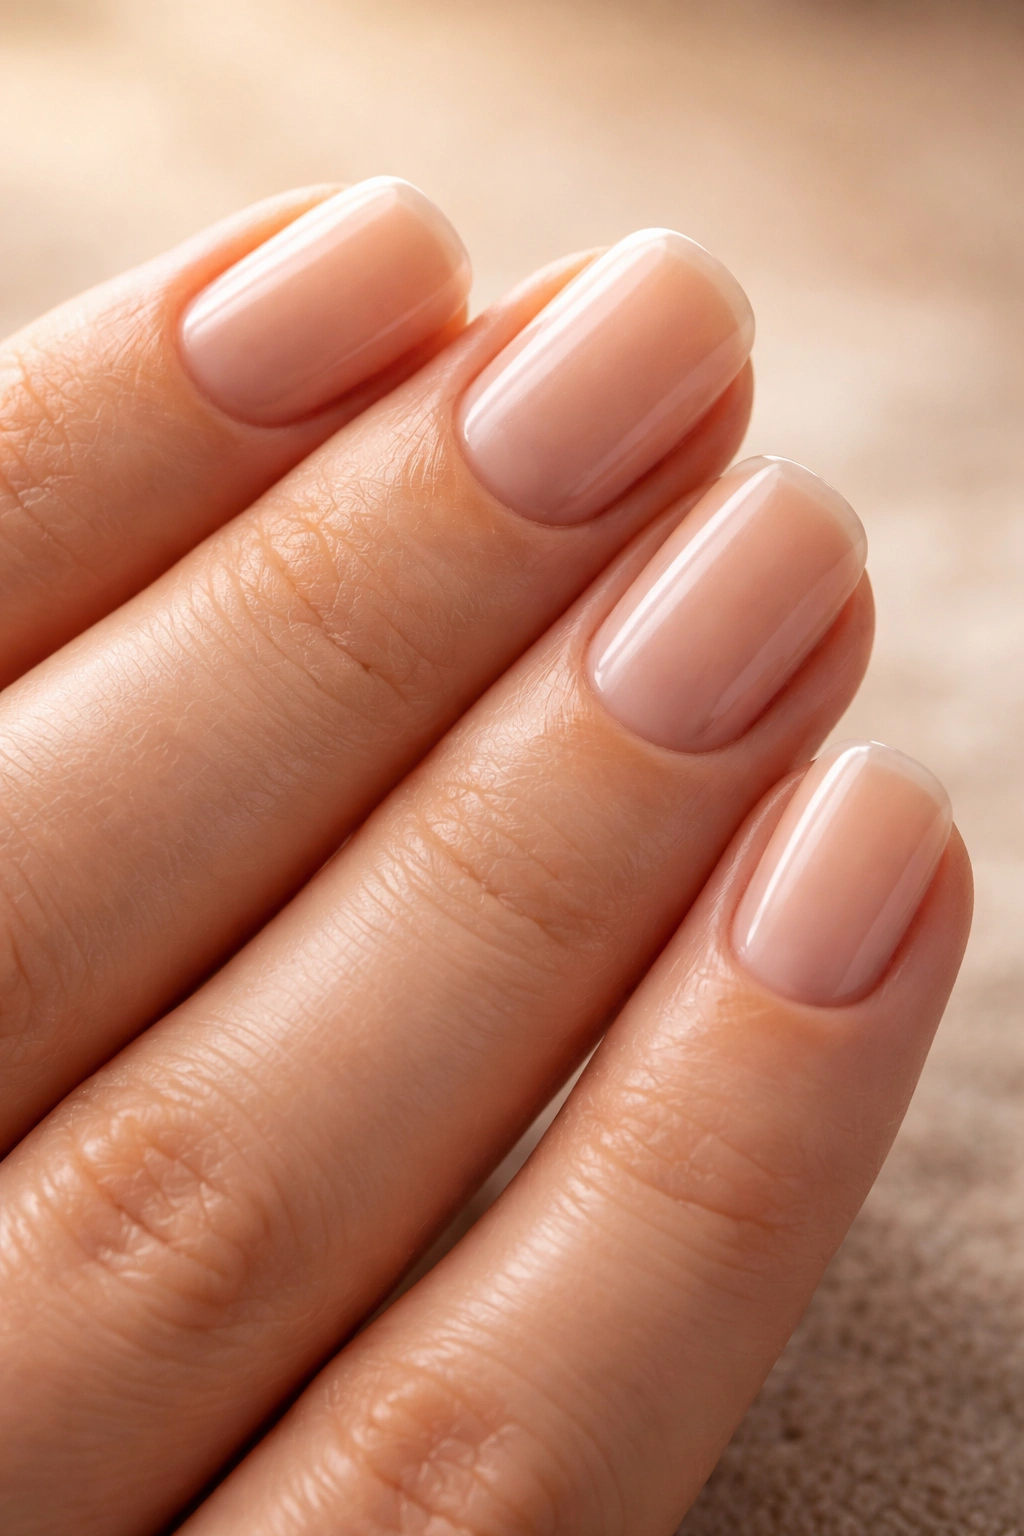
Pushed-back cuticles aren’t just cosmetic—they’re essential for neat polish application. Cuticles create a barrier between the polish and your skin, and if they’re not moved back, you’ll get what looks like sloppy, unprofessional application around the base of each nail. Professional manicures look so clean partly because the nail artist creates that clean cuticle line.
Start by soaking your nails in warm water for about a minute or two. This softens the cuticle skin and makes it far easier to work with. Dry your hands completely, then use a cuticle pusher—not cuticle nippers if you’re a beginner. Gently push the cuticle back, moving in a rocking motion rather than scraping. You’re moving the skin back, not removing it. The cuticle is there for a reason: it protects your nail. Removed cuticles can lead to nail damage, peeling, and infection.
Once pushed back, you’re ready to apply polish. The space between your pushed-back cuticle and the base of the nail is where you’ll start painting. This gap is crucial because it gives you room to paint neatly without flooding the cuticle area with polish, which looks unprofessional and causes peeling.
Why Cuticle Care Changes Everything
When cuticles are properly pushed back, you’ve created a defined nail bed area. This visual boundary makes your manicure look intentional and polished. You also reduce the chance of getting polish on your skin, which means less clean-up work later. The nail artists who make this look effortless have simply committed to doing this prep work thoroughly.
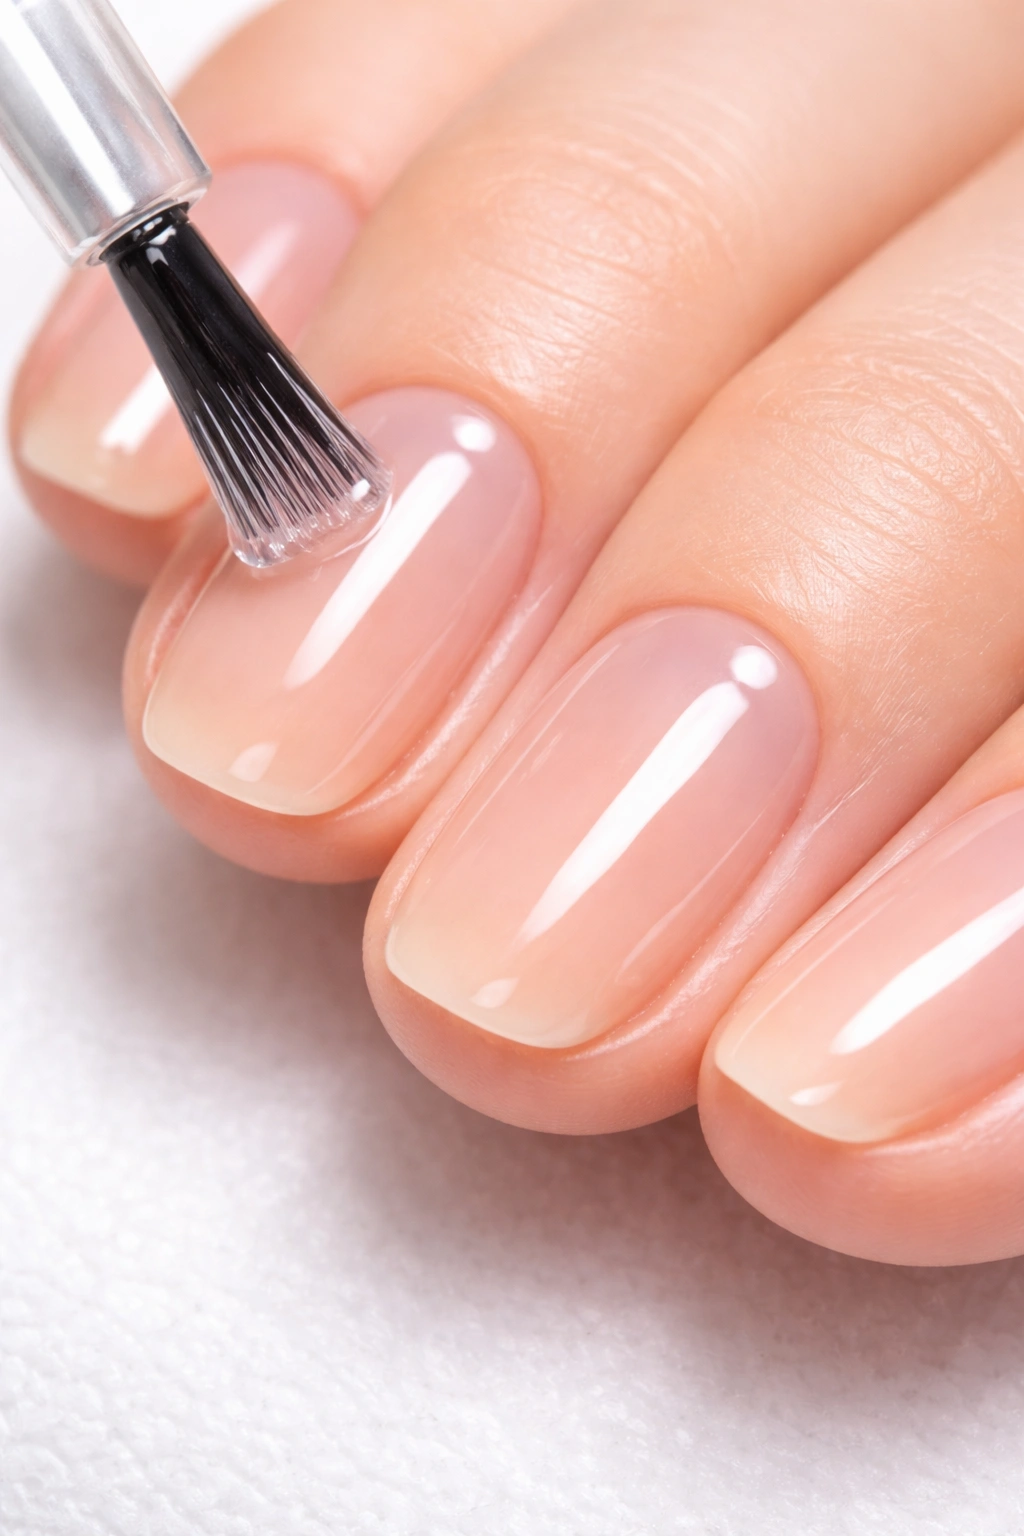
After you finish painting, apply cuticle oil generously. This rehydrates the area you just worked on and keeps your cuticles healthy for the next manicure. Cuticle oil should always go on after painting, never before. Applying it beforehand creates a barrier that prevents polish from adhering properly.
4. Apply a Base Coat and Actually Wait for It to Dry
This is where people cut corners, and it costs them. A proper base coat isn’t optional—it’s the foundation of everything that comes next. A good base coat protects your natural nails from staining, provides a smooth surface for color to adhere to, and helps your manicure last dramatically longer. Skipping it saves you 30 seconds and costs you a week of wear time.
Apply a thin, even layer of base coat to each nail, and here’s the key: wait the full drying time before applying color. Most base coats need 1-2 minutes minimum, and some need up to 3 minutes. This isn’t a suggestion. The base coat needs to be fully set before you layer color on top. If you don’t wait and you apply wet polish over wet base coat, they blend together instead of creating distinct layers, and your manicure becomes fragile.
The base coat you choose matters too. Look for formulas that offer nail protection and chip resistance. Some base coats have added biotin or calcium to strengthen nails, which is a nice bonus. The best base coats are creamy, apply smoothly, and dry quickly without bubbling or streaking.
What a Base Coat Actually Does
The base coat creates a barrier between your natural nail and the pigmented color polish. Over time, certain colors—especially reds, blues, and dark shades—can stain your nail bed yellow or brown. A good base coat prevents this completely. It also provides grip, so your color polish sticks better and lasts longer. Without it, your color polish is sitting directly on your nail, and it simply doesn’t grip as well.
Additionally, the base coat’s texture helps with adhesion. Most quality base coats have a slightly sticky finish that creates a better surface for the next layer. If you skip this step, you’re relying entirely on the polish to stick to your bare nail, which is much harder to achieve.
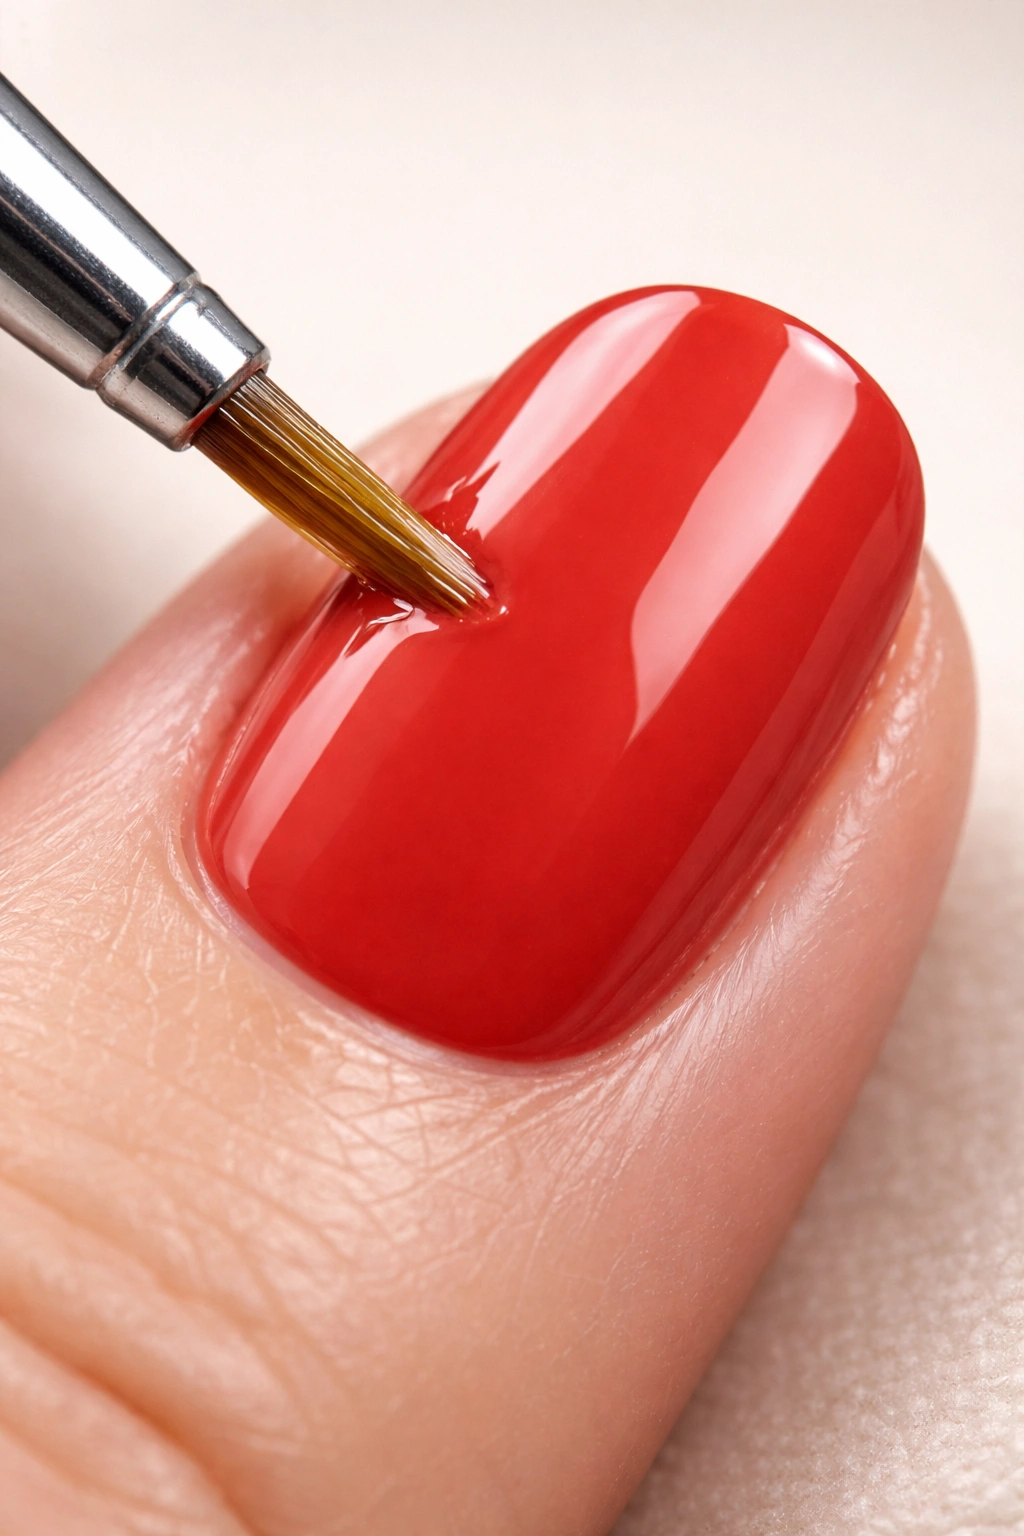
5. Execute the Three-Stroke Application Method for Perfect Coverage
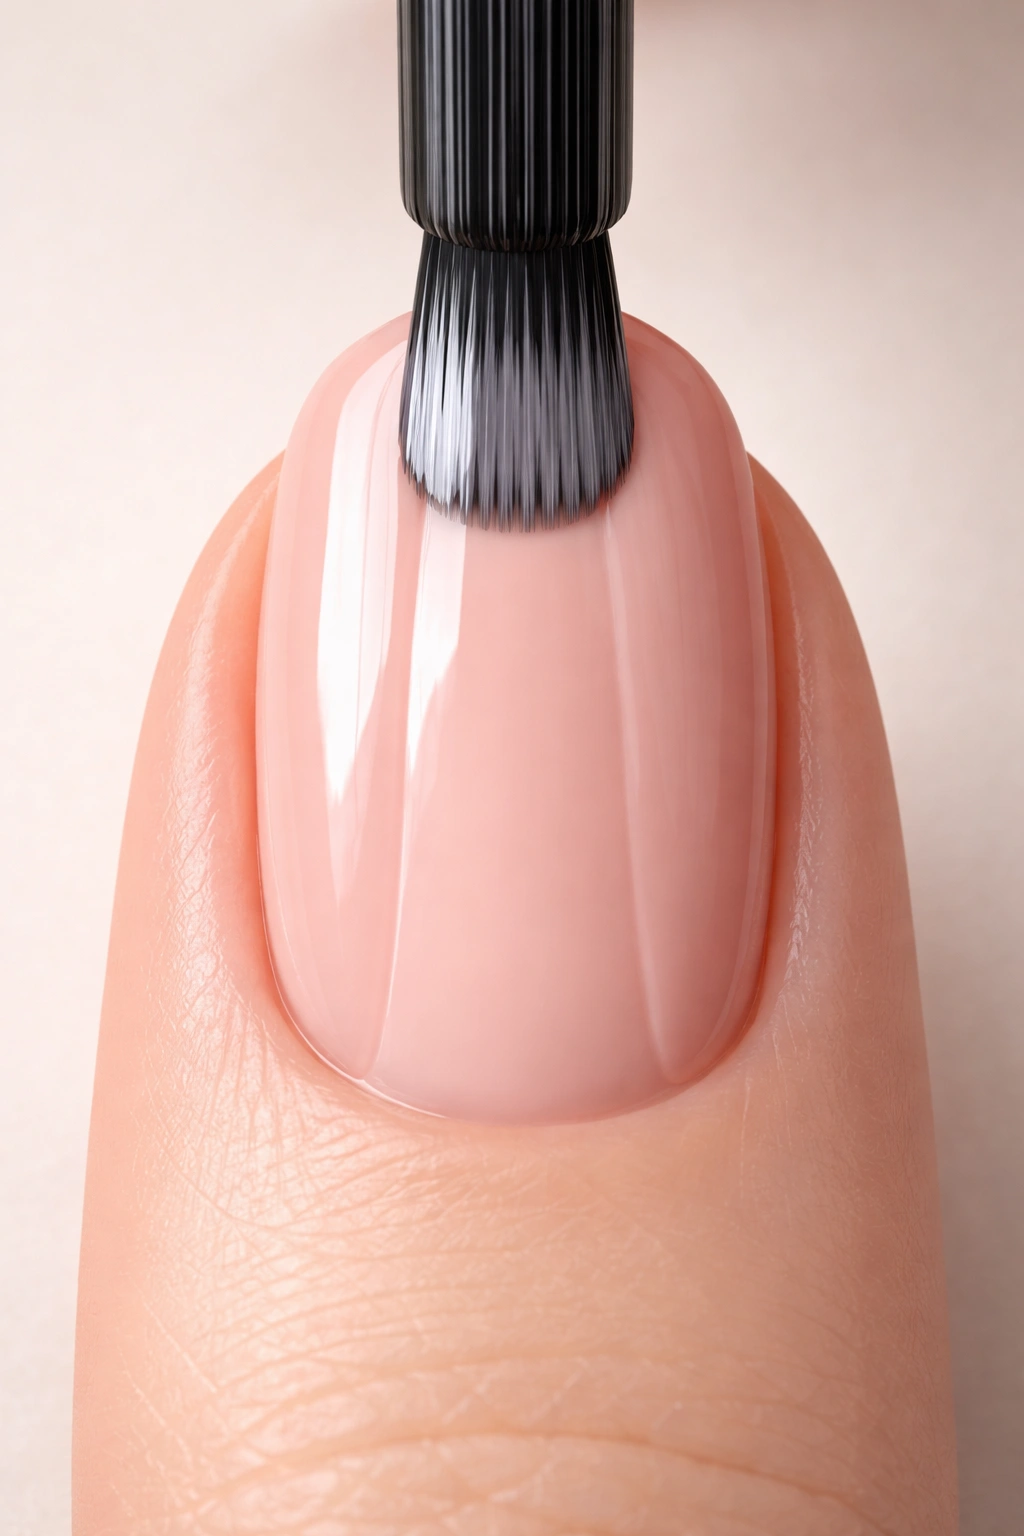
This is the game-changing technique that separates amateur painting from professional results. Instead of randomly brushing polish back and forth all over the nail, the three-stroke method creates intentional, even coverage every single time. Once you master this, your manicure quality improves dramatically.
Here’s how it works: After wiping the excess polish off the brush on the rim of the bottle (don’t skip this—excess polish causes thick, uneven application), place your brush at the base of your nail, just above your pushed-back cuticle. With steady pressure, paint a stripe straight down the center of the nail, moving from the base all the way to the tip in one smooth motion. This center stripe is your guide.
Next, without dipping the brush back into the bottle, paint along the left side of that center stripe, again moving from base to tip. Finally, paint the right side. You’ve now covered the entire nail in exactly three strokes, using the minimal amount of polish necessary for one coat. This technique prevents pools of excess polish and creates an even, thin layer that dries quickly and looks intentional.
Why Three Strokes Beats Random Painting
The three-stroke method works because it uses consistent pressure and systematic coverage. Random brushing inevitably leads to thick areas and thin areas on the same nail, which creates streaks and uneven color. By using three intentional strokes, you’re applying approximately the same amount of polish to every section of the nail.
This technique also keeps polish away from your cuticles naturally. Because you’re moving upward toward the tip, you’re less likely to accidentally flood the cuticle area. If you do get a tiny bit of polish on the skin, it’s easy to clean up later with your cleanup brush.
The Three-Stroke Technique Breakdown
- Wipe excess polish off the brush rim before every application
- Stroke 1: Paint down the center from base to tip
- Stroke 2: Paint the left side from base to tip (no re-dip)
- Stroke 3: Paint the right side from base to tip (no re-dip)
- Keep consistent, steady pressure throughout
- Let this coat dry completely before applying the next layer
- Each coat is thin—you’ll build opacity with multiple thin layers
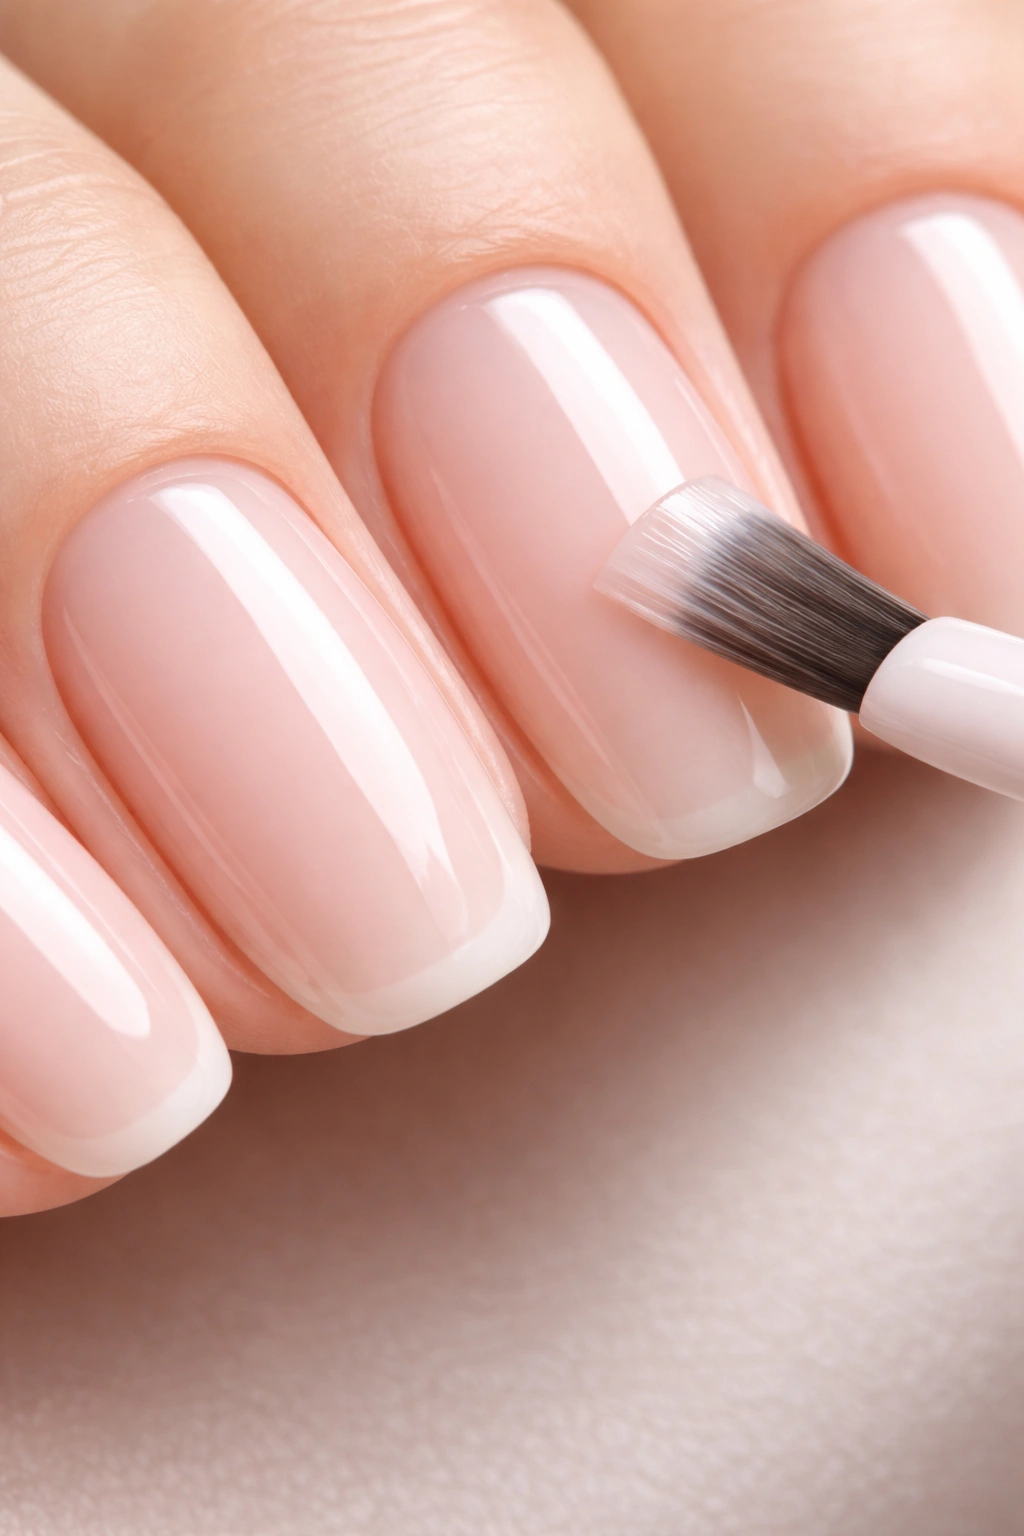
6. Apply Multiple Thin Layers Instead of One Thick Coat
This is the single biggest mistake home manicurists make, and it ruins otherwise perfect work. People want to see color coverage immediately, so they apply one thick, heavy coat. It looks good for about five minutes, then starts streaking, pooling, bubbling, and taking forever to dry. When it finally dries, it peels and chips within days.
Thin layers dry faster, adhere better, and last longer. This is the opposite of intuition, but it’s chemistry. When you apply a thick layer of polish, the bottom layer dries before the top layer, creating different evaporation rates. The solvents in the polish can’t escape evenly, which causes the finish to become fragile. Thin layers dry from the bottom up at consistent rates, creating a stable, durable finish.
Aim for three thin coats rather than one or two thick ones. Ideally, your first coat will look somewhat streaky and translucent. That’s exactly right. Don’t panic and apply more polish to “fix it”—let it dry completely, then apply your second coat. After the second coat, you’ll likely have full opacity and that beautiful, smooth finish you’re after. If you still see through it slightly, a third thin coat will perfect it.
Most colors need two coats minimum. Some lighter shades or pastels might need three. Dark colors and metallics often look perfect after two. Pay attention to what you’re painting and adjust accordingly, but never exceed three coats of color. More than three coats creates too much buildup, and the manicure becomes prone to peeling and cracking.
The Timing Between Coats Is Critical
Don’t rush. Wait a full 5-10 minutes between coats. Use this time to pee, grab water, check your phone, or just breathe. Rushing to apply the next coat while the previous one is still slightly tacky is asking for smudges, bubbles, and a compromised finish. Professional manicurists deliberately wait between coats. They’re not just standing around looking cool—they’re letting chemistry work.
7. Seal Your Edges for Maximum Longevity and Prevention of Chipping
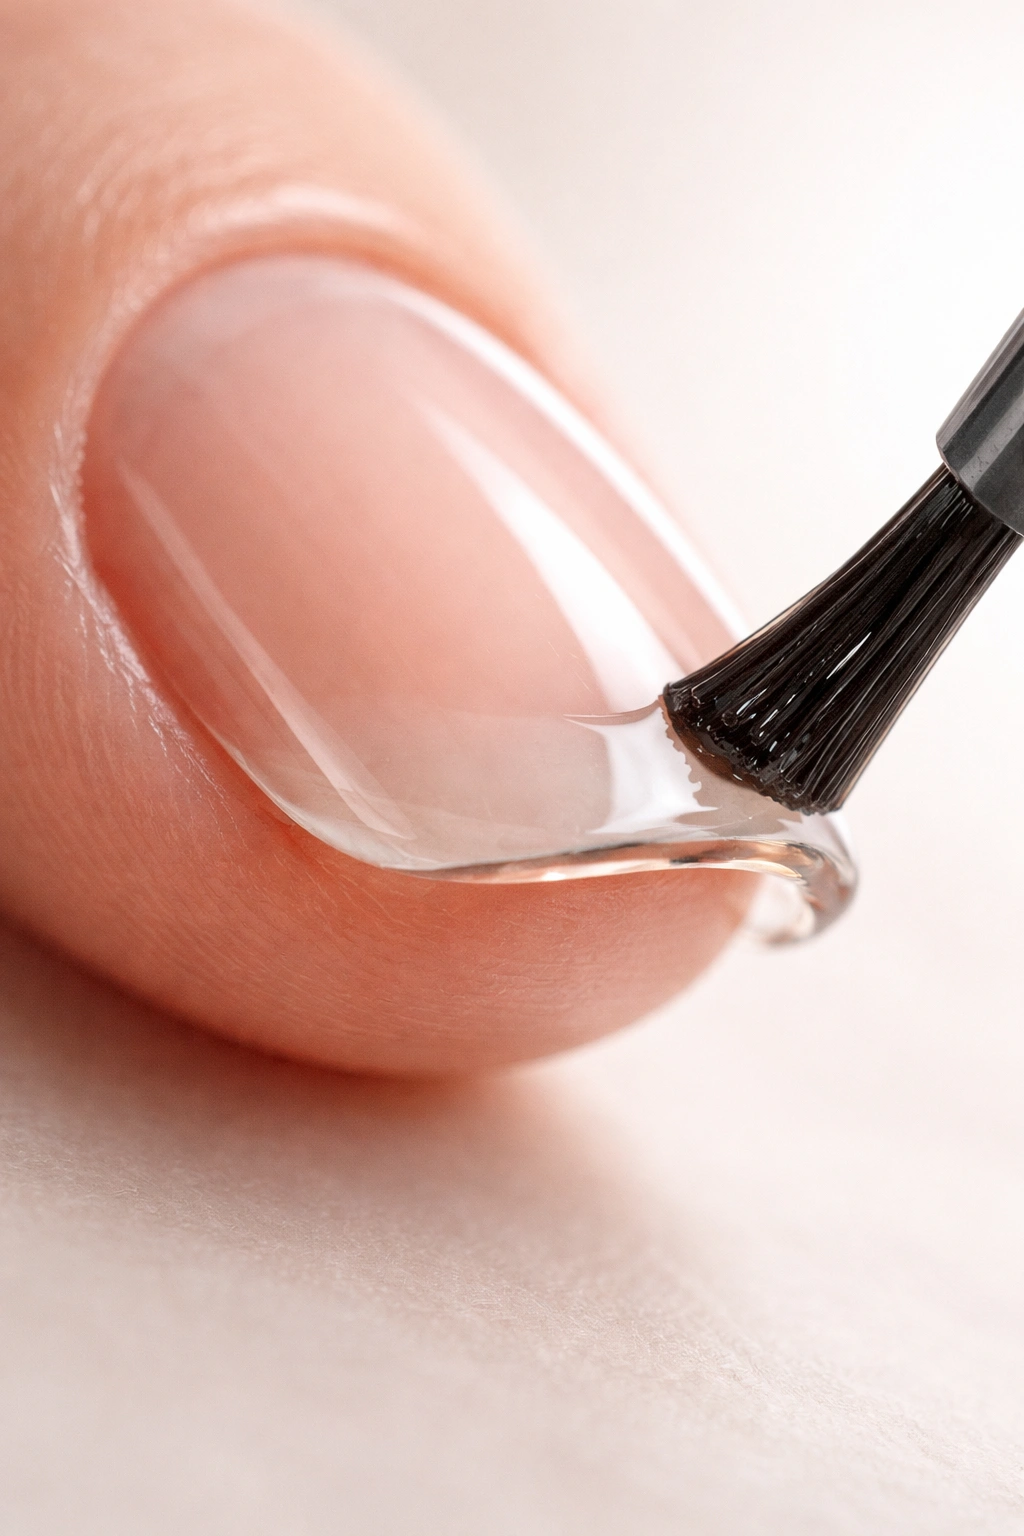
This is a technique that most home manicurists don’t know about, but every professional uses it religiously. Chipping happens most at the free edge—the part of your nail that extends past your fingertip. The polish here experiences the most impact when your nails hit things, and it’s also where moisture and wear tend to attack first.
Here’s the professional hack: paint your top coat over the free edge on the underside of your nail, not just the top. This seals your polish on both the top and bottom of that exposed edge, creating a protective cap. This single step extends your manicure life by days because you’re preventing moisture from creeping under the polish at the tip, which is what causes that inevitable chip.
After applying your final top coat to the entire nail surface, go back and use your brush to paint a horizontal stripe across the underneath edge of your nail, where it would naturally hit a surface. Don’t just dab—actually stroke the brush across that bottom edge. Then, let it dry completely. For extra longevity, you can repeat this underside sealing step one more time with another thin coat of top coat.
The Science Behind Edge Sealing
Your nail’s free edge is porous—it has exposed layers of keratin that readily absorb moisture and break down when exposed to water, soap, and daily friction. By sealing this edge with a protective layer of polish, you’re preventing that breakdown. It’s the difference between leaving wood unsealed or wood sealed—the sealed version lasts dramatically longer.
This edge-sealing technique also prevents moisture from traveling up under your polish, which causes that awful separation of the polish from the nail bed that leads to that distinctive white, thick-looking chip at the edge. You’re essentially waterproofing the most vulnerable part of your manicure.
8. Invest in a Quality Top Coat and Know When to Reapply
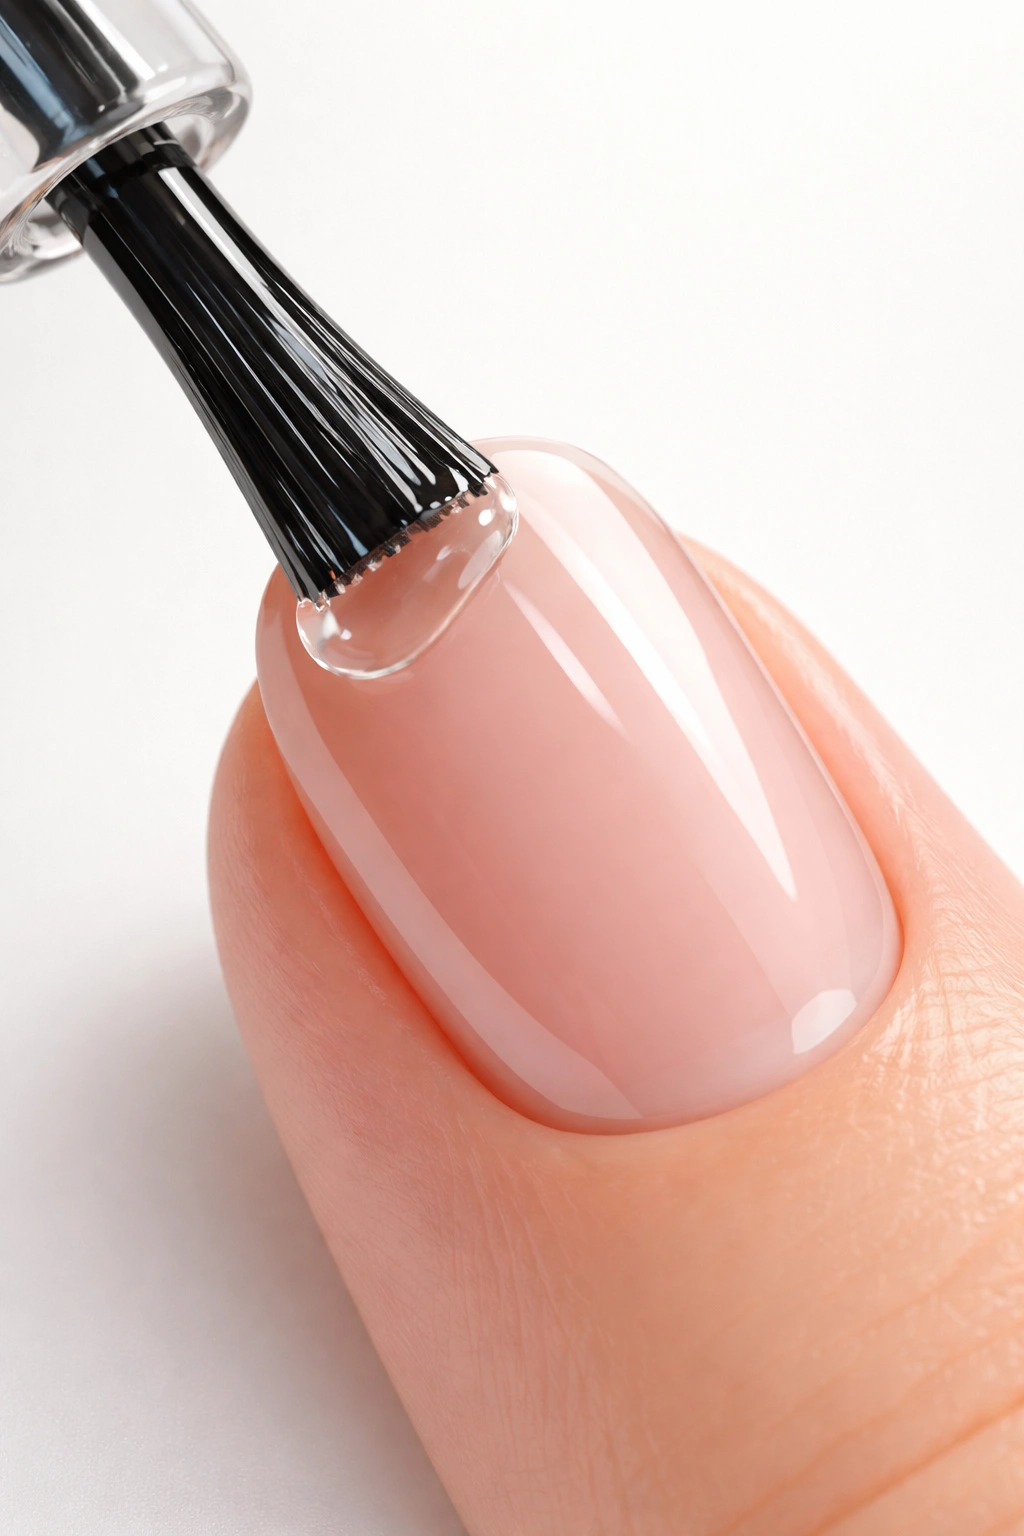
The top coat is what transforms a pretty manicure into a lasting manicure, yet people often cheap out on this step. A quality top coat is worth the investment because it seals your work, adds shine, protects against chipping, and extends wear time significantly. There’s a huge difference between a good top coat and a mediocre one.
A good top coat should have a smooth, glossy finish immediately after application. It should dry relatively quickly—ideally within 5-10 minutes to full set. Avoid top coats that become thick and gloopy after a few months of use. This indicates the formula is breaking down, and you’ll want to replace it.
Apply your top coat using the same three-stroke method you used for color. Don’t just slap it on carelessly—treat it with the same intentionality as your color coats. And critically, paint over that free edge as we discussed in the previous section. This is your final protective layer, and it’s doing real work.
Reapplication Is Not Cheating
Here’s something salons don’t tell you: professional manicures last longer partly because manicurists reapply top coat halfway through the wear cycle. You don’t need to repaint your entire nail—just apply a fresh thin layer of top coat every 3-4 days. This refreshes the protective layer and can extend a manicure by a full week.
This is especially important if you’re doing your own nails at home. A quick top coat touch-up is way easier than redoing your entire manicure. Keep your top coat bottle open and accessible, and after about 3 days, when you start noticing the shine diminishing slightly, just apply a fresh thin coat to the entire nail. Let it dry fully, and your manicure looks fresh again.
The Importance of Patience and Drying Time
Professional results require professional patience, and this is where most people fail themselves. You’ve done all the prep work correctly, applied thin coats using proper technique, and then you try to use your hands five minutes later because the polish looks dry. It’s not. Nail polish has two different types of drying: surface drying and full curing.
Surface drying is when the top feels dry to the touch—this happens relatively quickly, usually within 5-10 minutes. Full curing is when the entire layer has hardened all the way through, which takes much longer. If you use your hands while your polish is only surface-dry, you’ll create impressions, smudges, and dents that ruin your manicure.
Ideally, wait 30 minutes before doing anything with your hands. If you need to use them sooner, wait at least 15 minutes and move very carefully. This is why painting your nails in the evening before bed is genius—you apply your final coat, let it fully cure overnight, and wake up with genuinely durable nails. If you paint during the day, you have to sit around being unproductive for half an hour. It’s worth it, though.
Clean Up Imperfections Like a Pro
Even with perfect technique, you’ll occasionally get a tiny bit of polish on your skin around the cuticle or nail edge. Professional manicurists handle this with specific tools and products. You should too, because messy edges make an otherwise perfect manicure look sloppy.
Keep a fine-tipped cleanup brush dipped in acetone or nail polish remover within arm’s reach while you’re painting. As soon as you finish painting and the polish is still wet, you can use this brush to clean up any accidents immediately. The wet polish wipes away cleanly, and you’re done. If you wait until the polish dries, you’ll have to scrape it off, which leaves residue and looks obvious.
If you get excess polish on your skin after everything dries, you can use a cotton swab dipped in remover. Be gentle and precise—you’re not trying to scrub away a year’s worth of dirt, just remove a thin line of dry polish. The goal is a clean line between your nail and your skin.
Some manicurists use a liquid latex product around their nails before painting—this acts like a protective barrier that you peel off after your manicure, taking any polish smudges with it. If you find cleanup frustrating, this product genuinely works and makes the whole process easier.
Choosing Your Polish and Knowing How Products Affect Longevity
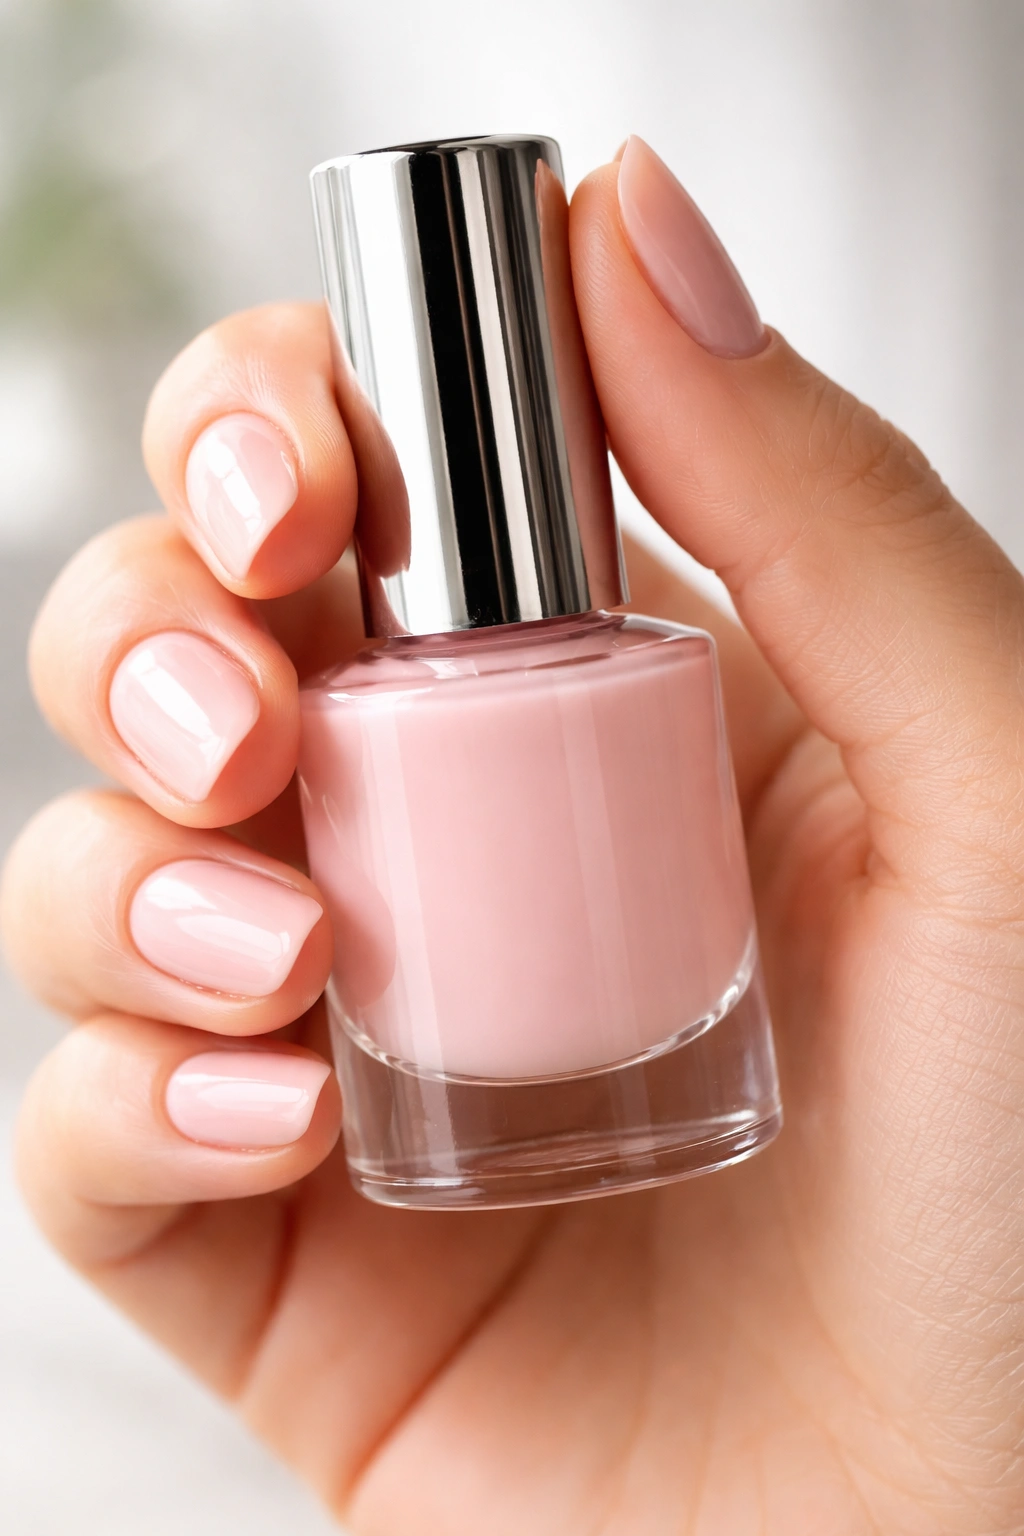
Not all nail polishes are created equal, and your product choices directly impact how long your manicure lasts. A cheap formula will chip faster and apply less smoothly than a quality formula, no matter how perfect your technique is.
Look for nail polishes that advertise quick-drying formulas or chip-resistant properties. These have been engineered to dry faster and cure harder than basic polishes. They’re usually slightly more expensive, but the longevity makes them worth it. A $10 polish that lasts two weeks is cheaper than a $5 polish that chips in five days.
Pay attention to the brush that comes with your polish too. Some brushes are too wide and floppy, making precision difficult. Some are too narrow and take forever to cover a nail. The best brushes are moderately wide, slightly tapered, and firm enough to hold their shape but flexible enough to bend with the contour of your nail. If you hate your brush, you can buy replacement brushes separately—this is a legitimate hack that makes painting easier.
Final Thoughts
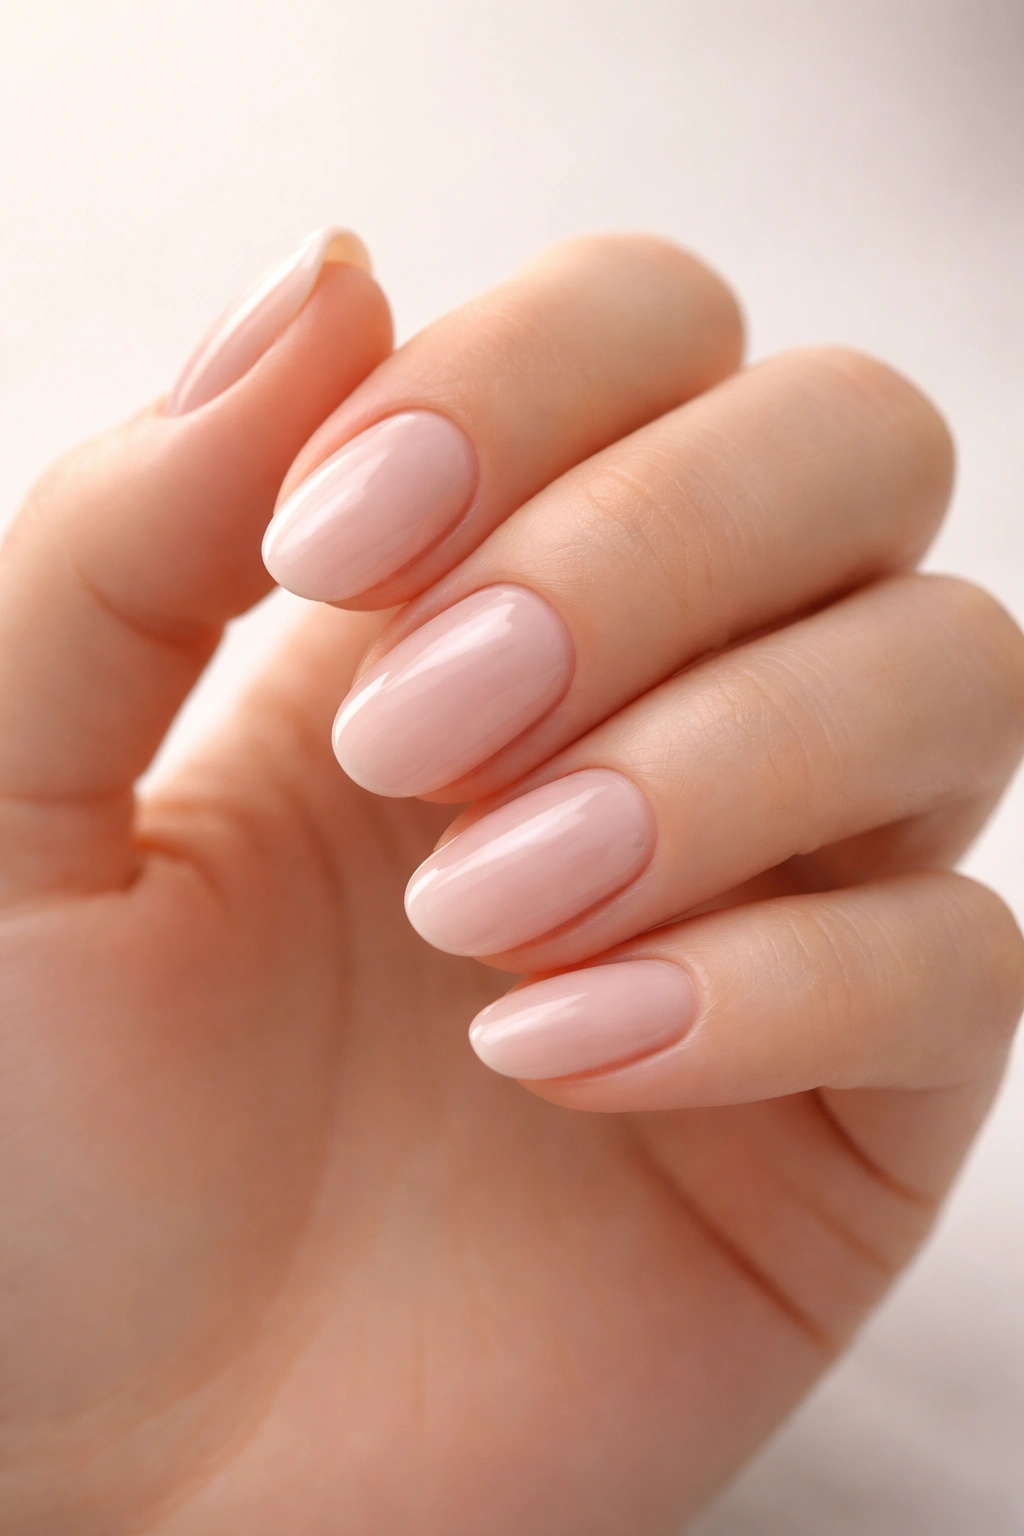
Salon-quality nails aren’t about magic or expensive equipment—they’re about mastering eight core techniques and committing to doing each one properly. Proper preparation, the three-stroke method, thin layers, adequate drying time, quality products, and edge sealing transform your at-home manicures from frustrating to genuinely beautiful.
The first time you apply these techniques together, you’ll notice an immediate difference. Your nails will look smoother, more polished, and intentional. But the real payoff comes a week later when your manicure still looks fresh, the edges haven’t started chipping, and the shine is still there. That’s when you realize these techniques actually work—and they’ll save you hundreds of dollars every year in salon visits.
Practice really does matter here. Your first attempt using proper technique will be better than your fiftieth attempt using sloppy shortcuts. Each manicure you do teaches your hands muscle memory, and within a few tries, you’ll be painting like you’ve been doing this for years. The investment in learning these skills pays dividends immediately and keeps paying them every single manicure you do moving forward.
