

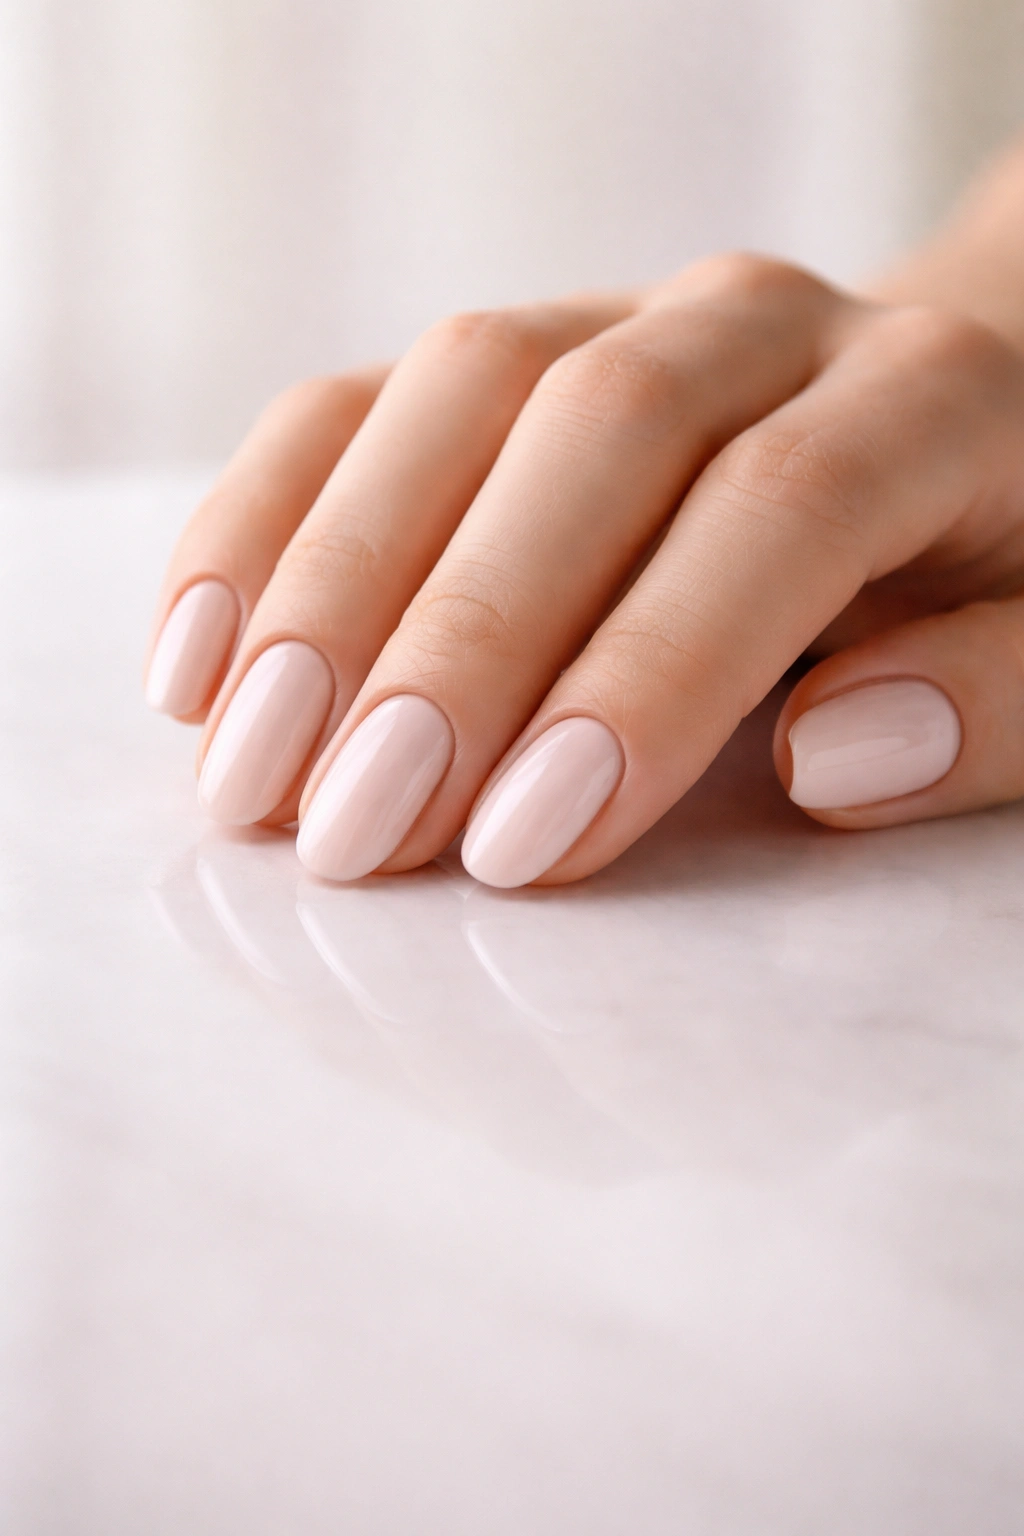
Getting salon-quality nails at home doesn’t require magic—just the right approach. Whether you’ve struggled with smudged polish, uneven application, or nails that chip within days, the difference between a manicure that lasts and one that falls apart usually comes down to technique and preparation. The good news is that with a few key adjustments to your routine, you can transform your DIY mani game entirely. These tips aren’t complicated, but they’re proven strategies that pros use to get flawless results, and they absolutely work when you apply them consistently.
The biggest misconception about home manicures is that they require special talent. They don’t. What they require is understanding why each step matters and how to execute it properly. When you skip the buffing or rush through drying time, you’re setting yourself up for disappointment. But when you understand that buffing creates a surface for polish to grip, or that waiting allows each layer to cure properly, suddenly the whole process makes sense—and gets dramatically easier. Let’s walk through the specific strategies that transform a frustrating mess into a genuinely gorgeous manicure you’ll be proud to show off.
1. Invest in Quality Tools and Products From the Start
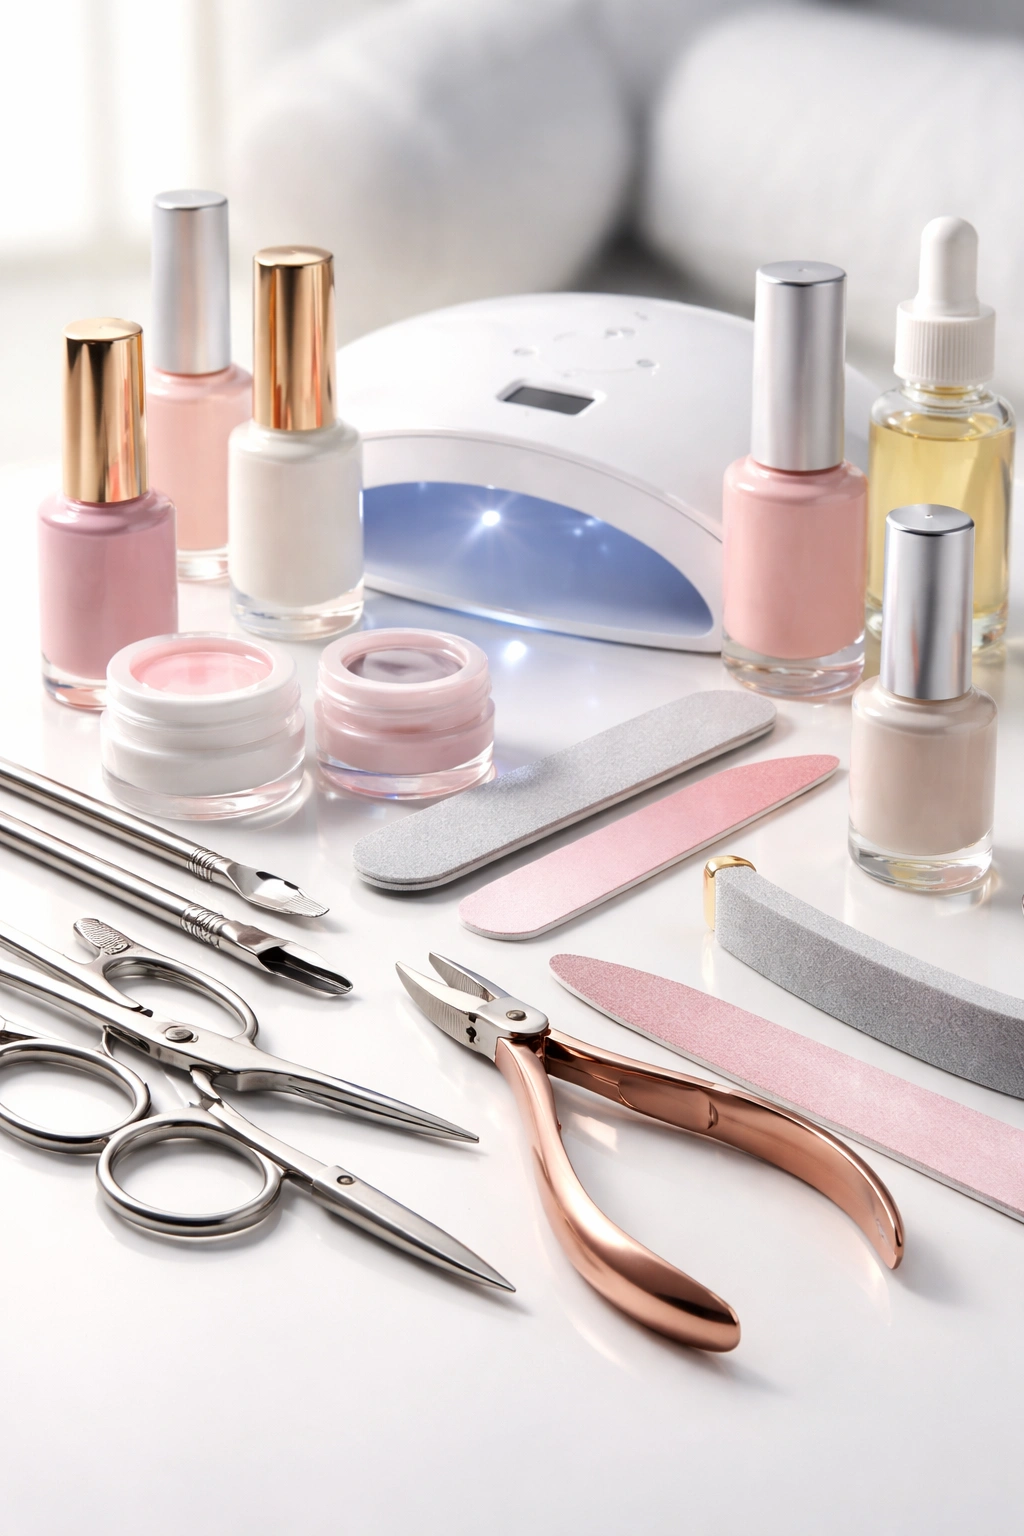
You don’t need an expensive manicure setup, but you absolutely need the right tools. There’s a real difference between a cheap metal nail file that shreds your nails and a quality file that seals the edge as you shape. A flimsy buffer won’t smooth ridges effectively, but a proper nail buffer block will. The same applies to your polish—cheap polish tends to be thick, gloopy, and prone to bubbling, while quality polish applies smoothly and lasts longer.
Think of your manicure kit as an investment that pays for itself almost immediately. A decent glass nail file costs around $10 to $15 and will last for years without damaging your nails the way metal files can. A proper nail buffer runs $5 to $10. Base coat, top coat, and quality nail polish range from $8 to $15 per bottle. That’s roughly $50 to $80 for a complete starter kit—which equals the cost of just one or two salon manicures. Within a month or two, you’ve recouped your investment while gaining the ability to do professional-looking nails whenever you want.
The reason quality matters so much is that cheap tools force you to work harder to compensate. A flimsy brush requires more strokes to cover evenly, which means more opportunity to mess up. A thick, goopy polish needs to be thinned out before application. Dull tools require more pressure, which increases the chance of uneven results. By contrast, quality tools do half the work for you—they make application easier, faster, and more forgiving of minor mistakes.
Pro tip:
Start with a glass nail file, a buffer block, a quality base coat (look for ones designed to prevent chipping), and a top coat like Seche Vite. Those four items alone will dramatically improve your results.
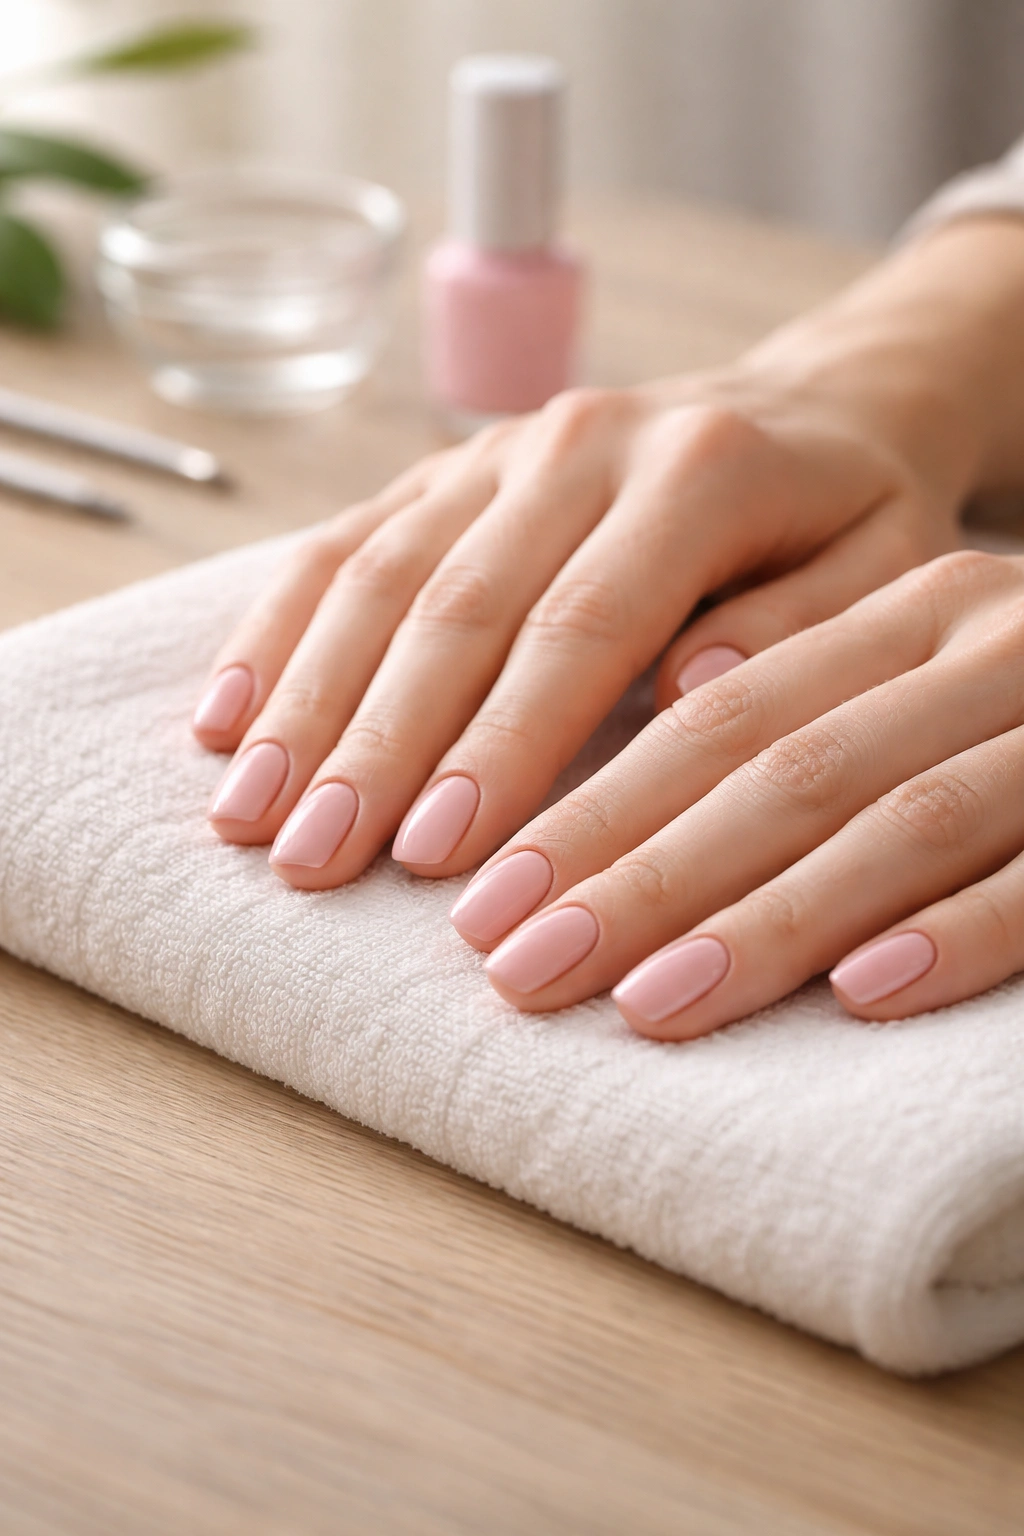
2. Prepare Your Workspace Like a Professional
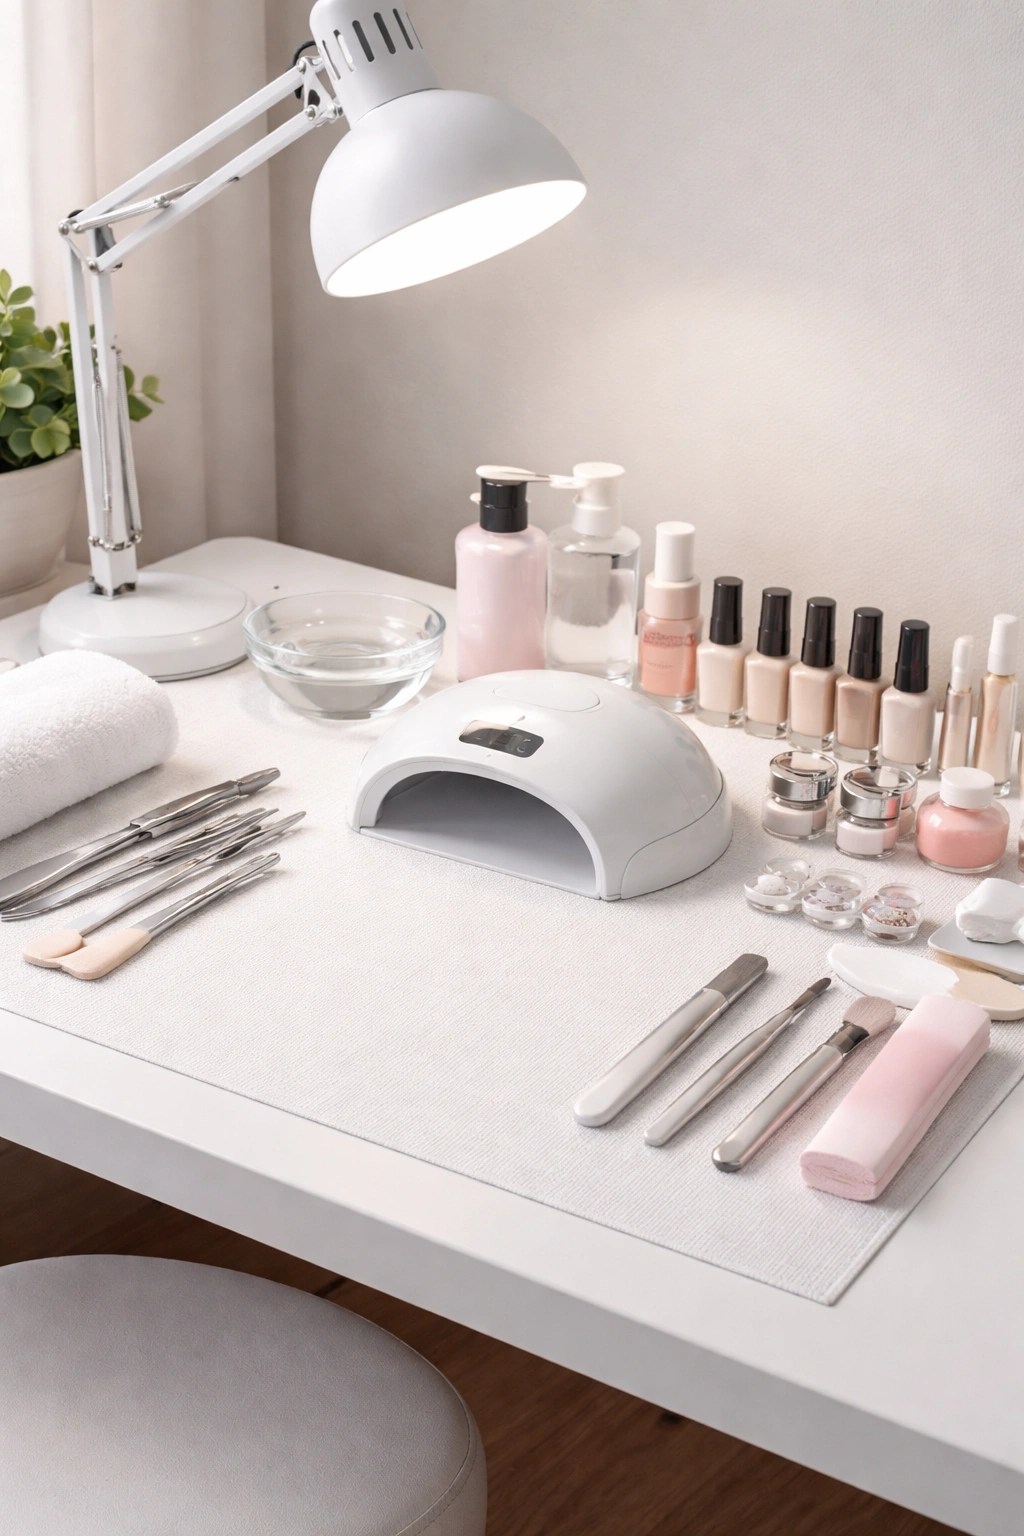
This sounds simple, but most people skip it—and then wonder why their manicure gets smudged or their polish spills everywhere. Professionals set up their workspace intentionally because it prevents mistakes and lets them work without stress.
Start by laying down protective covering. Use scrap paper, an old towel, or newspaper to protect your work surface. Nail polish and remover can stain and damage wood, plastic, and fabric, so this isn’t optional. Position yourself at a table or desk where you have good lighting and enough room to move your hands freely. Overhead lighting is ideal—if you’re relying on lamp light or window light, you might miss uneven spots or areas you haven’t covered.
Keep all your supplies within arm’s reach before you start. Nothing derails a manicure faster than reaching across the table while your nails are still wet, or searching for the top coat when your base coat is already applied. Organize your tools in the order you’ll use them: remover, file, buffer, cuticle tools, base coat, polish, top coat. Having everything lined up in sequence makes the process flow smoothly and reduces the temptation to skip steps because you don’t want to hunt for something.
Temperature and air circulation matter too. Work in a room that’s comfortable—not cold, which can cause polish to thicken and apply unevenly. A small fan nearby speeds drying without the fumes overwhelming you, but it shouldn’t be so strong that it creates air currents that disturb wet polish.
3. Use a Glass File Instead of Metal Files
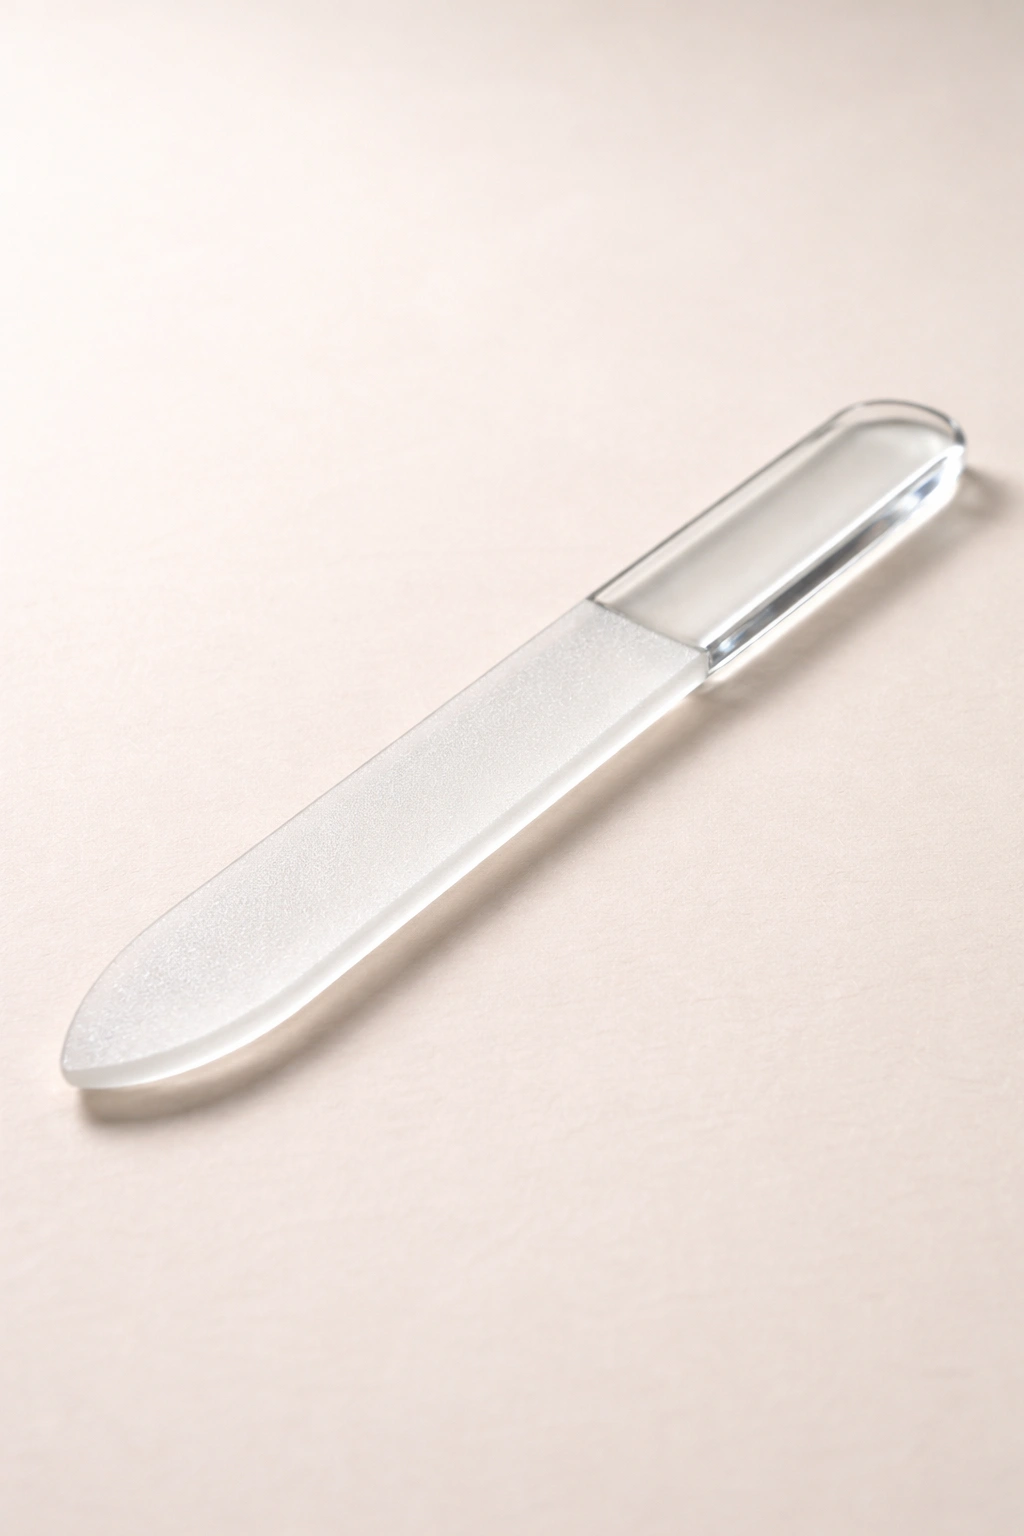
This single switch makes a shocking difference in nail health and the quality of your manicure. Metal files create tiny tears and splits in the nail edge, which lead to peeling, breakage, and a ragged appearance even after polish is applied. Glass files seal the keratin layers as you file, leaving a smooth edge that holds polish better and looks cleaner.
The technique matters too. Instead of aggressive back-and-forth sawing motions, file in one direction only—from the outer edge toward the center of the nail. Do this from both sides (left side toward center, right side toward center) rather than filing straight across. This directional approach prevents the splintering that happens with random filing patterns.
Take your time while filing. There’s no prize for speed here. Gentle, deliberate strokes give you way more control and result in a smoother edge. If your nails are very thick or you’re trying to file down significant length, multiple gentle passes work better than one aggressive attempt. Your nails will thank you, and the polish will adhere better to a properly prepared edge.
Glass files are inexpensive—usually $10 to $15—and they last indefinitely. They’re gentler on nails, easier to clean (you can literally wash them with soap and water), and they’re worth every penny for the improvement in nail quality alone.
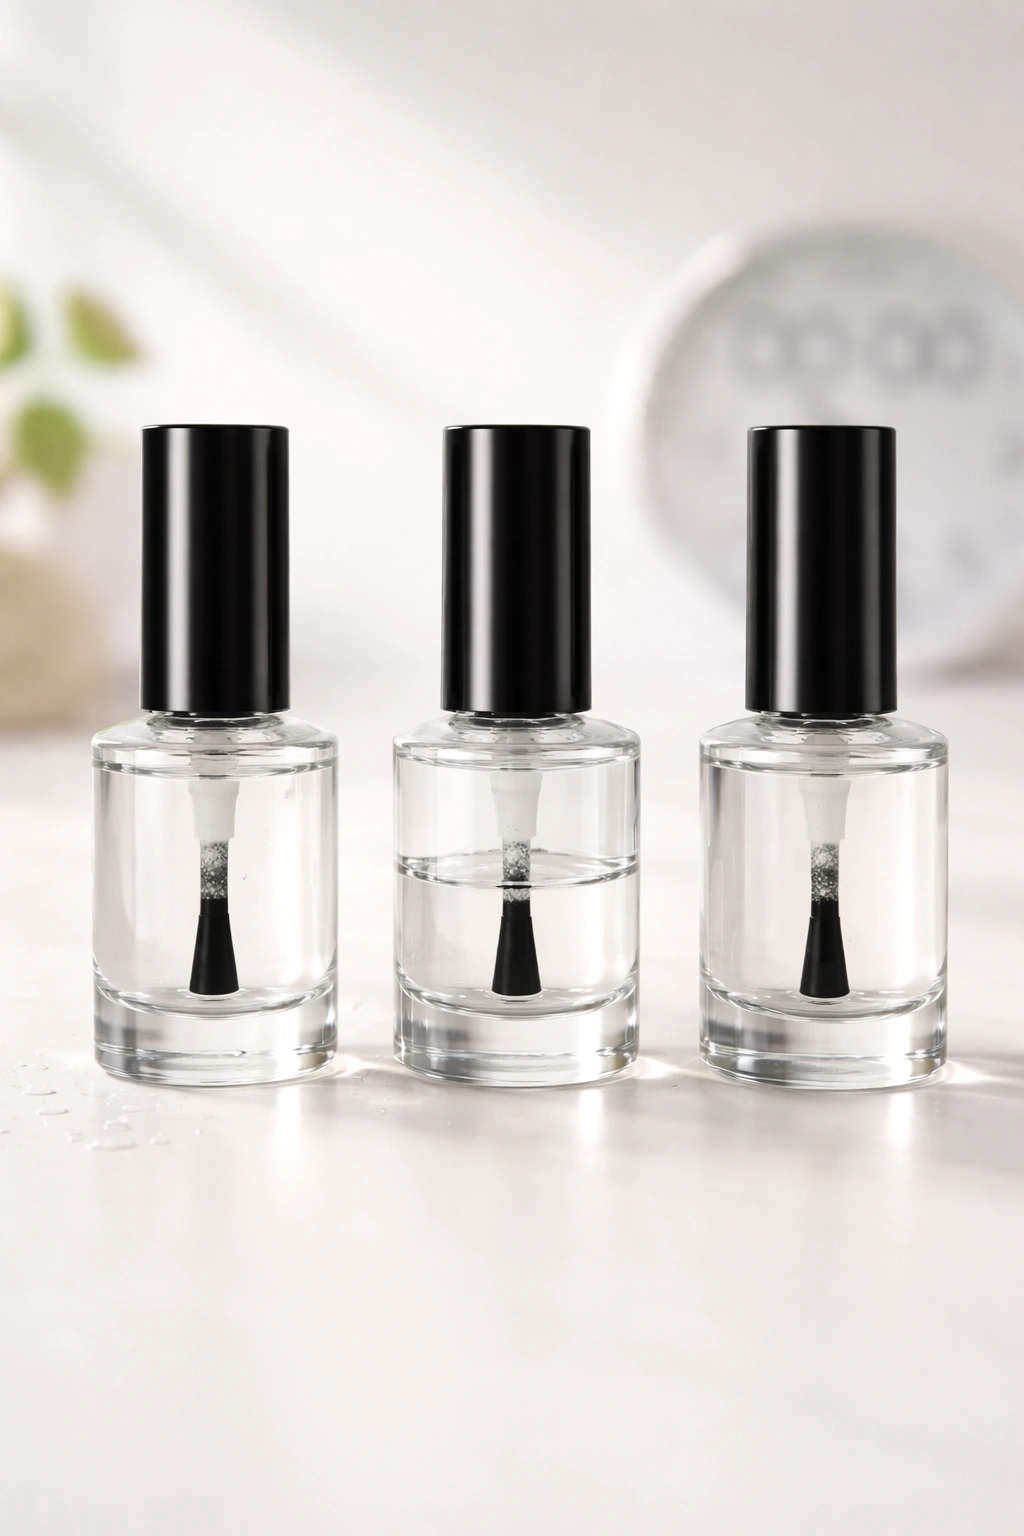
4. Don’t Skip the Base Coat Under Any Circumstances
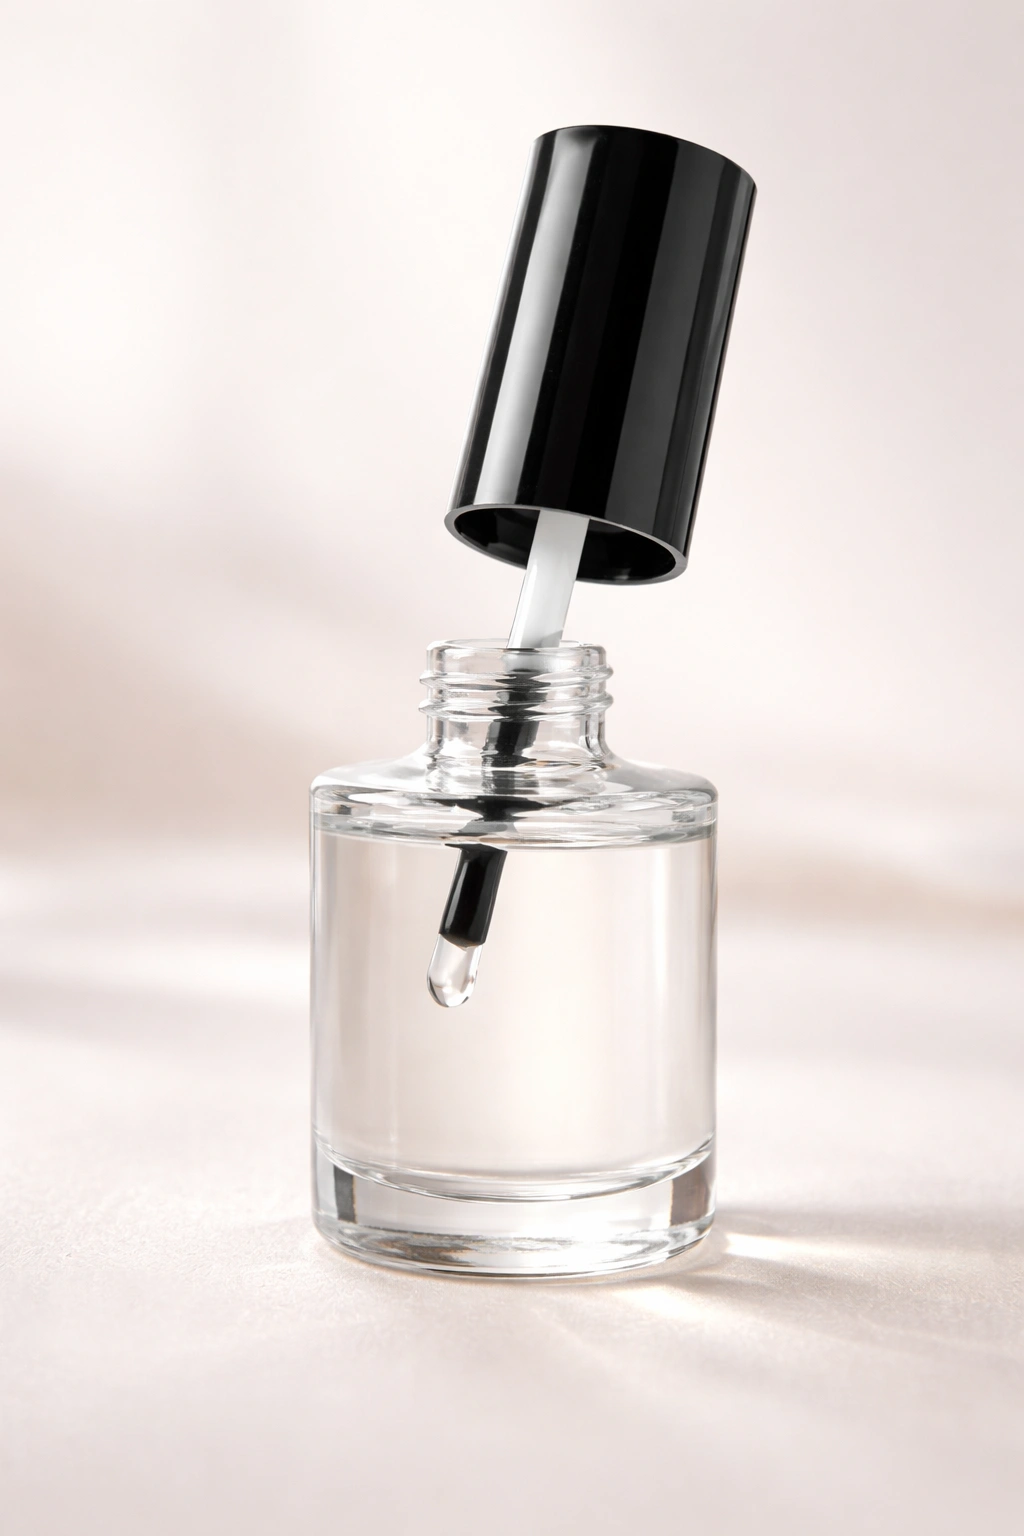
This is where countless DIY manicures start to fail before the color even goes on. A base coat does three critical things: it protects your nails from staining (especially important with darker polish shades), it provides a smooth surface for color to grip, and it helps prevent chipping by creating a buffer between your nail and the polish.
Without a base coat, dark polish can leave a yellow or orange tint on your nails that takes weeks to grow out. Worse, color polish bonds directly to your nail plate, which means removal is harsher on your nails and can leave them weakened or peeling. A base coat acts as a barrier, so the color bonds to the base coat instead—which is much gentler on your actual nails.
Apply a thin, even layer of base coat and let it dry completely before moving to color. This usually takes one to two minutes, depending on the product. Don’t skip this wait time. If you apply color before the base coat has set, the layers won’t bond properly and your manicure will chip faster.
Some base coats are fortified with strengthening ingredients like nylon fibers or calcium. If your nails are weak, peeling, or brittle, these reinforced base coats are worth seeking out. They literally strengthen your nails while you wear the polish, so you’re getting healthier nails and a longer-lasting manicure.
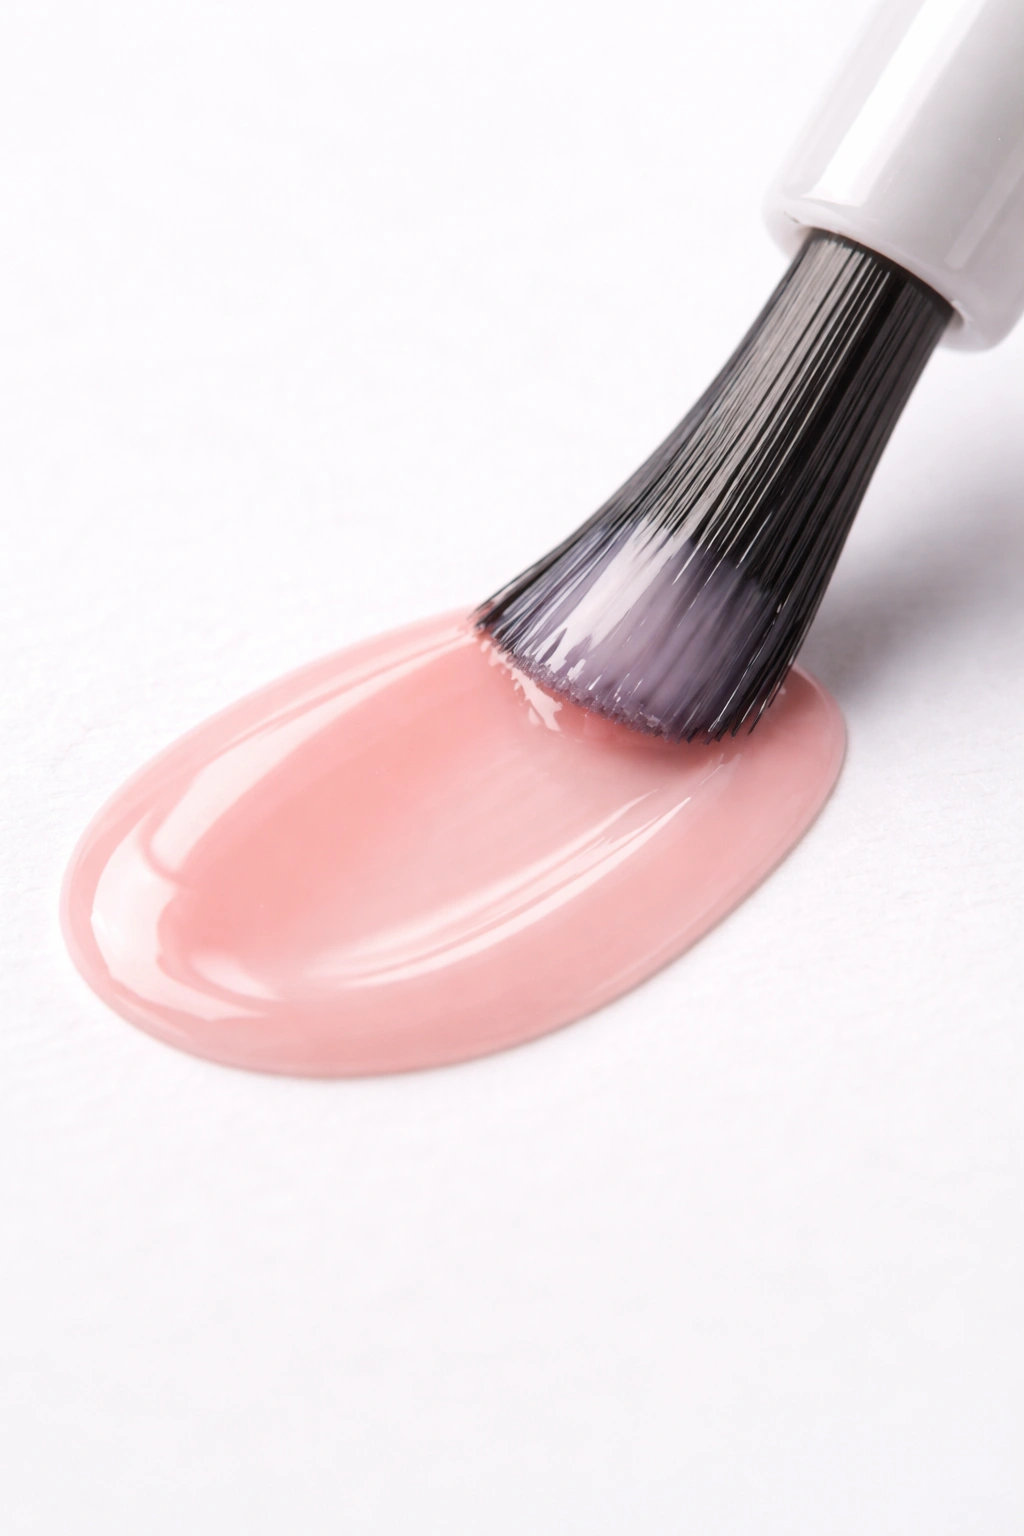
5. Apply Thin Coats Rather Than One Thick Coat
This is the mistake that trips up most beginners. You load the brush with way too much polish, try to cover the whole nail in one stroke, and end up with a goopy, uneven mess that takes forever to dry and smudges easily. It’s tempting to load up the brush—you feel like you’re being efficient—but it’s actually the fastest way to ruin a manicure.
The professional technique is to apply two thin coats instead of one thick coat. Thin coats dry faster, level out more evenly, and adhere better to the base coat. Load the brush with just enough polish that you can paint the nail in about three strokes: one down the middle, one on the left side, one on the right side. That’s it. If you can see through the polish on the first coat, that’s perfect—that’s what you’re aiming for.
After the first thin coat dries, apply the second coat the same way. Two thin coats actually look better and last longer than one thick coat, even though it seems counterintuitive. The reason is that thin coats dry and cure evenly, while thick coats dry from the outside in, leaving a tacky interior that’s prone to smudging and peeling.
A helpful trick: dip the brush and then swirl it gently around the inside rim of the bottle to remove excess polish. That simple swirl removes just enough product to keep your brush from being overloaded. If you’re still getting too much polish on the brush, wipe the bristles lightly against the rim before lifting out.
6. Wait Between Coats Even Though It’s Tedious
The waiting is where patience becomes your biggest advantage. Most people rush here because they’re excited to finish, but skipping wait time is exactly why manicures smudge or peel within days. Between your base coat and first color coat, wait one to two minutes. Between color coats, wait two to three minutes. After your top coat, wait at least five minutes before touching anything.
These wait times allow each layer to set properly. If you apply color before the base coat has fully dried, the layers don’t bond properly and the whole thing comes off easier. If you apply the second color coat too soon, you disturb the first coat and create an uneven, lumpy finish. If you use your hands immediately after the top coat, even if it feels dry to the touch, you risk smudging.
The easiest way to stick to wait times is to set a timer on your phone. There’s something about an external timer that makes it easier to be patient than just guessing. While you’re waiting, don’t move your hands around. Keep them resting on the table in a comfortable position. Even small movements can disturb wet polish.
A quick-dry top coat like Seche Vite actually dries much faster—sometimes in two to three minutes—which makes the whole process less tedious. You’re still waiting, but it’s a shorter wait, so it’s easier to stick to the discipline.
7. Push Back Cuticles Gently Before Polish Application
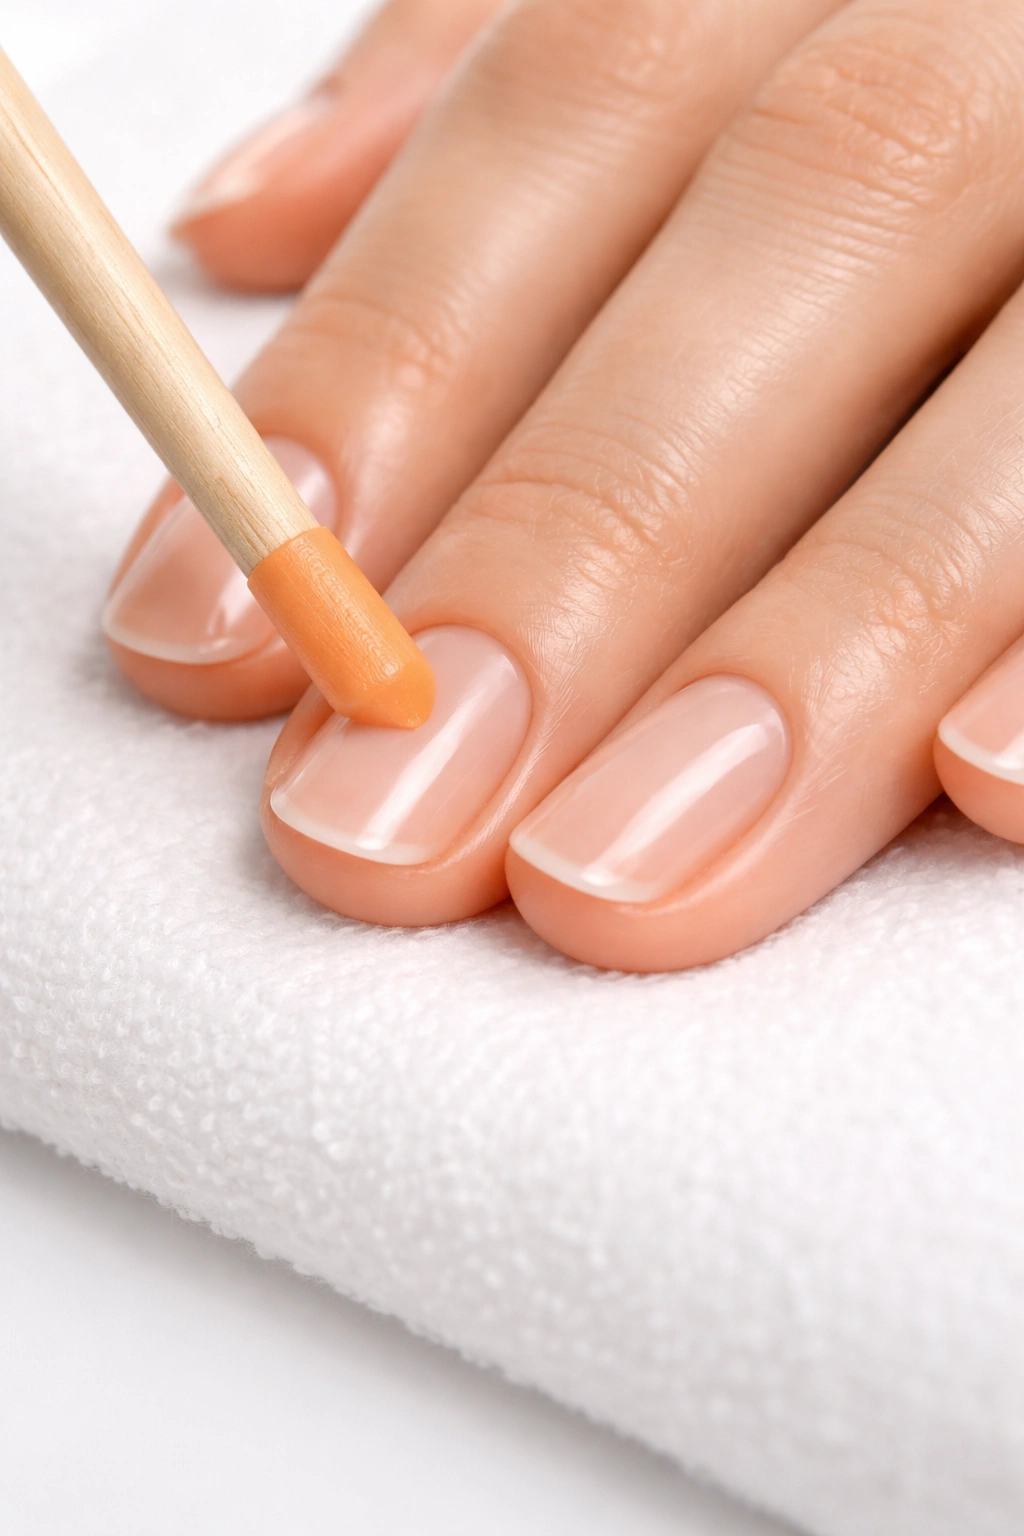
Healthy, well-maintained cuticles are the secret to a manicure that looks professionally done and lasts longer. Cuticles are there to protect your nail, so you want to push them back gently, never cut them. Start by softening them with cuticle oil or cream—apply it generously and let it sit for a minute while it soaks in.
Using a cuticle pusher (often called an orange stick), gently press the cuticle back toward the base of the nail. You’re not scrubbing or forcing—just gentle, steady pressure. The cuticle should move back easily if it’s been softened properly. If it’s resisting, apply more oil and wait another minute.
Why does this matter for your manicure? Cuticles that have grown up onto the nail plate create an uneven surface, and polish applied over grown-up cuticles looks bumpy and unprofessional. When you push them back cleanly, you expose the full nail bed and create a smooth, flat surface for polish to adhere to evenly.
Never trim your cuticles with nippers unless you’re removing a specific hangnail (torn skin). Cutting cuticles actually increases your risk of infection and creates rough edges that make polish application harder. Pushing them back is gentler, looks better, and keeps your nails healthier long-term.
8. Use a Top Coat as Your Manicure’s Insurance Policy
The top coat is literally the difference between a manicure that lasts three days and one that lasts two weeks. It protects the color underneath from chipping, provides shine, and seals everything in place. Skipping it is like painting a room and not using a clear sealer—the polish stays porous and exposed to damage.
Apply the top coat in a thin, even layer just like you did with the color. Some people make the mistake of being heavy-handed with the top coat because it’s clear and “won’t show.” But a thick top coat actually shrinks as it dries, which can cause ridges and uneven finish. Thin and even is the way to go.
Choose the right top coat for your needs. High-shine top coats give that glossy salon look. Matte top coats create a velvety finish. Fast-drying top coats speed up the overall process. If you’re applying nail art or designs, the top coat seals them in and protects them from damage. Without it, even a perfect design will chip quickly.
A quality top coat also adds durability—look for ones formulated with chip-resistance ingredients. You’re not just adding shine; you’re adding a protective layer that makes your manicure last significantly longer.
9. Keep Your Hands Still While Polish is Drying
This seems obvious, but it’s probably the most violated rule in DIY manicure history. People apply their top coat and immediately start using their hands: typing, texting, reaching for their phone, adjusting their hair. Even small movements disturb the polish while it’s still curing, which creates smudges, dents, and uneven finish.
After you apply your top coat, rest your hands on the table for at least five to ten minutes. Don’t move them at all if you can help it. This is actually a perfect time to practice patience and mindfulness—take a few deep breaths, scroll through your phone without touching your face, or just sit quietly. The few minutes you invest here directly translates to a manicure that looks better and lasts longer.
If you absolutely must use your hands during drying time, be extremely deliberate and slow about it. Avoid touching your nails against anything. If you’re typing, use just your fingertips and move very carefully. Better yet, just wait. Fifteen minutes of patience now saves you from having to redo your manicure in three days.
Some people use quick-dry oils or spray-on drying accelerators to speed up the process. These actually work—they don’t make the polish dry instantly, but they do reduce drying time from 15-20 minutes to 5-10 minutes, which makes the waiting period more manageable.
10. Remove Old Polish Thoroughly Before Starting a Fresh Manicure
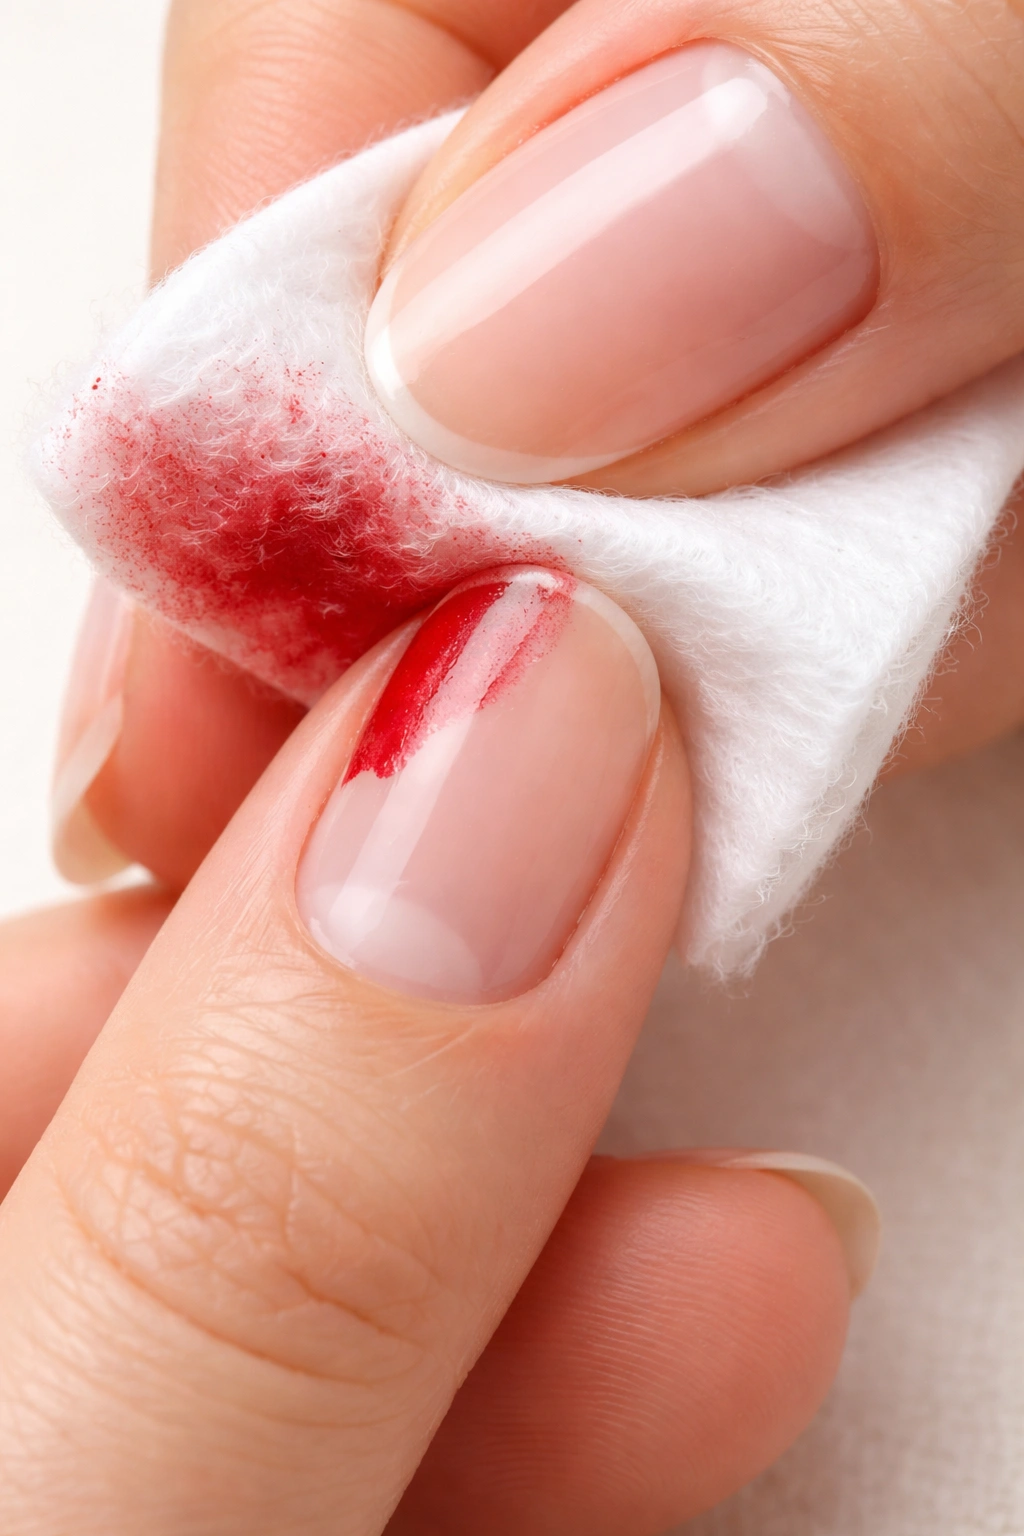
Leftover polish or remover residue underneath new polish creates a bumpy, uneven surface and causes the new color to chip faster. This is why thoroughly removing old polish matters so much. Don’t just swipe once with remover and call it done.
Use a quality nail polish remover—ideally an acetone-free or gentle formula if you have weak nails—and soak a cotton pad or ball completely. Press it against the nail for a few seconds to let the remover dissolve the polish. Then wipe firmly in one direction. Repeat with a fresh cotton pad until there’s no trace of color on the pad. You might need three or four pads per nail, especially if you were wearing dark or glitter polish.
After all the old polish is gone, wash your hands with soap and warm water. This removes the remover residue and any remaining polish particles. Dry your hands completely. If you skip this step, the remover chemicals will be trapped under your new base coat and can weaken the bond between layers.
Glitter polish is notorious for being hard to remove. To make it easier, soak your nails in remover for 30 seconds to a minute before wiping. The extra soaking time gives the remover a chance to fully dissolve the glitter particles. Some people wrap cotton pads soaked in remover around their fingers using aluminum foil and let it sit for a few minutes—this is called the “foil wrap method” and it works great for stubborn polish.
11. Moisturize Your Cuticles and Nails Days Before Manicuring
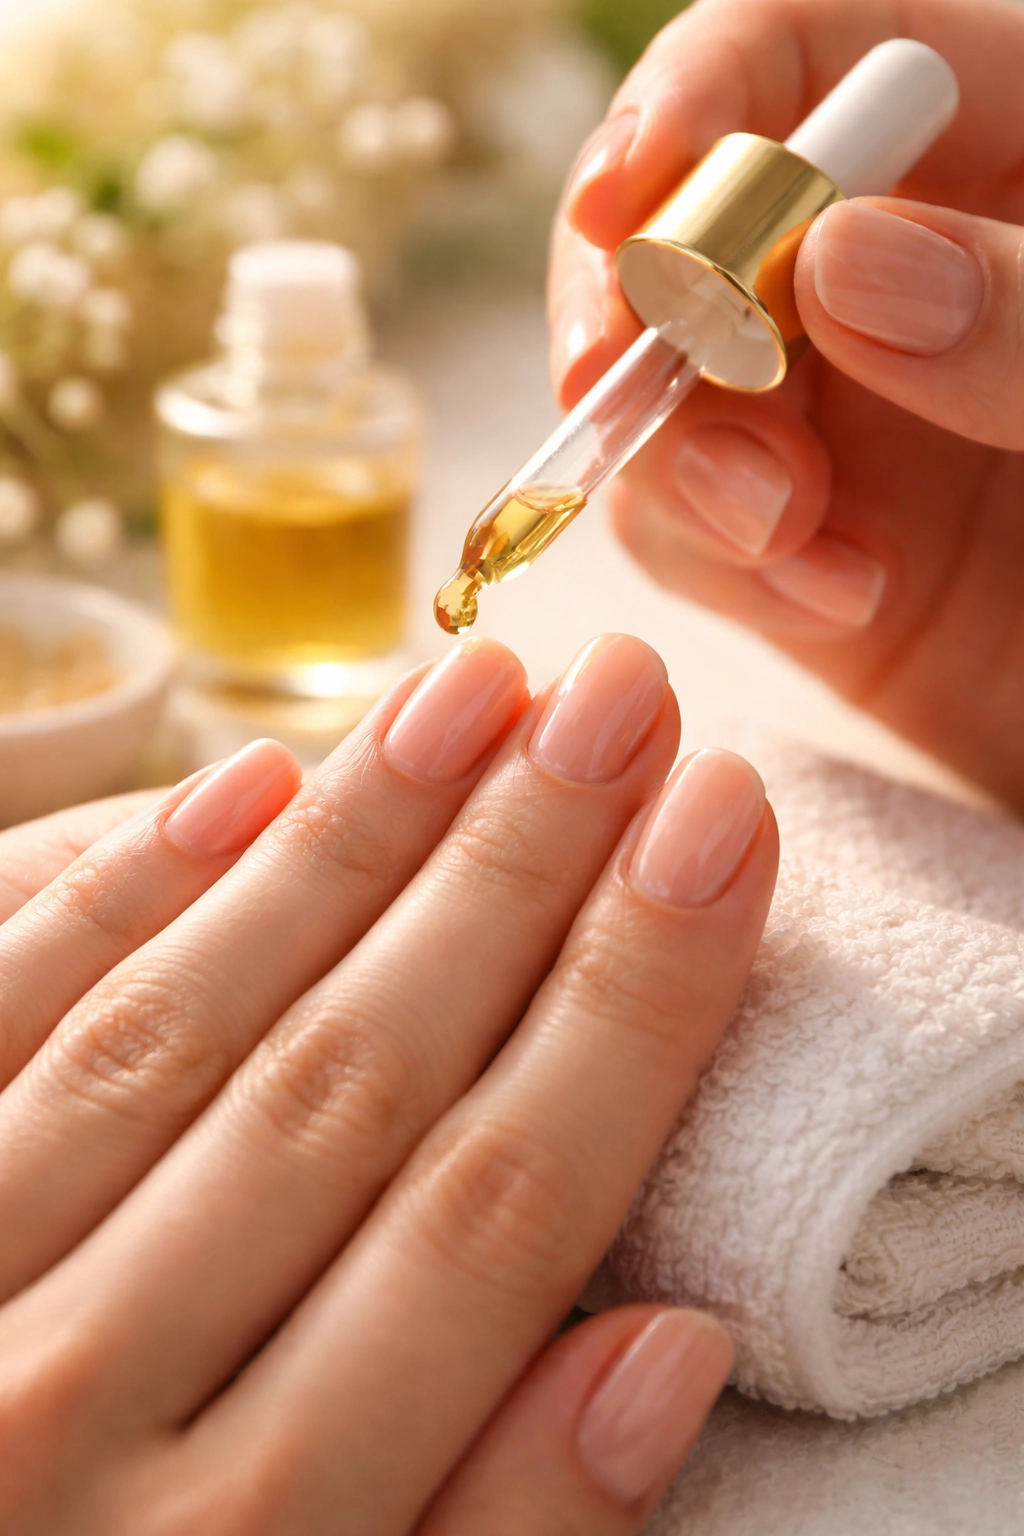
This prep work happens before you even start painting, but it makes an enormous difference in how your manicure turns out. Dry, brittle nails don’t hold polish well, and dry cuticles create an uneven surface that makes application harder. Start moisturizing your nails and cuticles three to five days before you plan to do a manicure.
Apply cuticle oil twice a day—morning and night—and massage it in thoroughly. Work it into the cuticle area, along the nail edges, and even on the nail plate itself. Nourished nails are stronger, healthier, and hold polish better. The oil also softens cuticles so they’re easier to push back during your manicure prep.
If your nails are severely dry or peeling, you might want to use a nail strengthening treatment in addition to oil. These treatments often contain nylon fibers or fortifying ingredients that rebuild weak nails over time. Apply it like you would base coat, and wear it for a few days before your manicure.
Hydrated nails are also less likely to develop ridges or white spots, which are signs of dehydration. By moisturizing consistently, you’re not just prepping for your manicure—you’re improving your overall nail health, which means every manicure you do will look better.
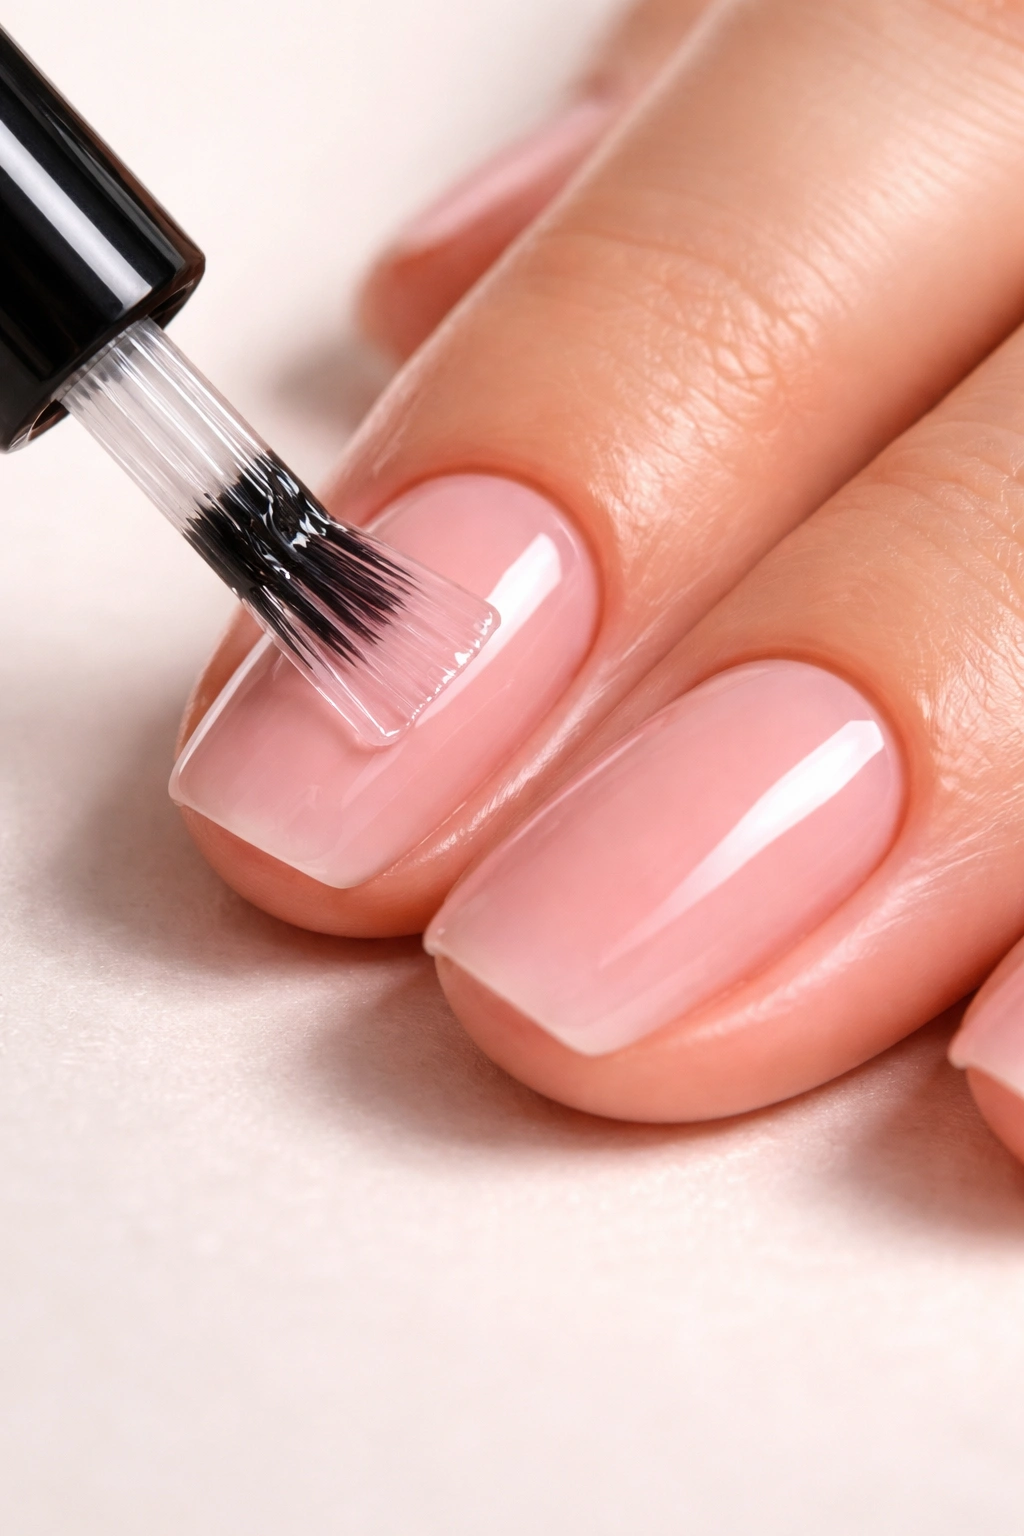
12. Master the Proper Brush Technique From the First Stroke
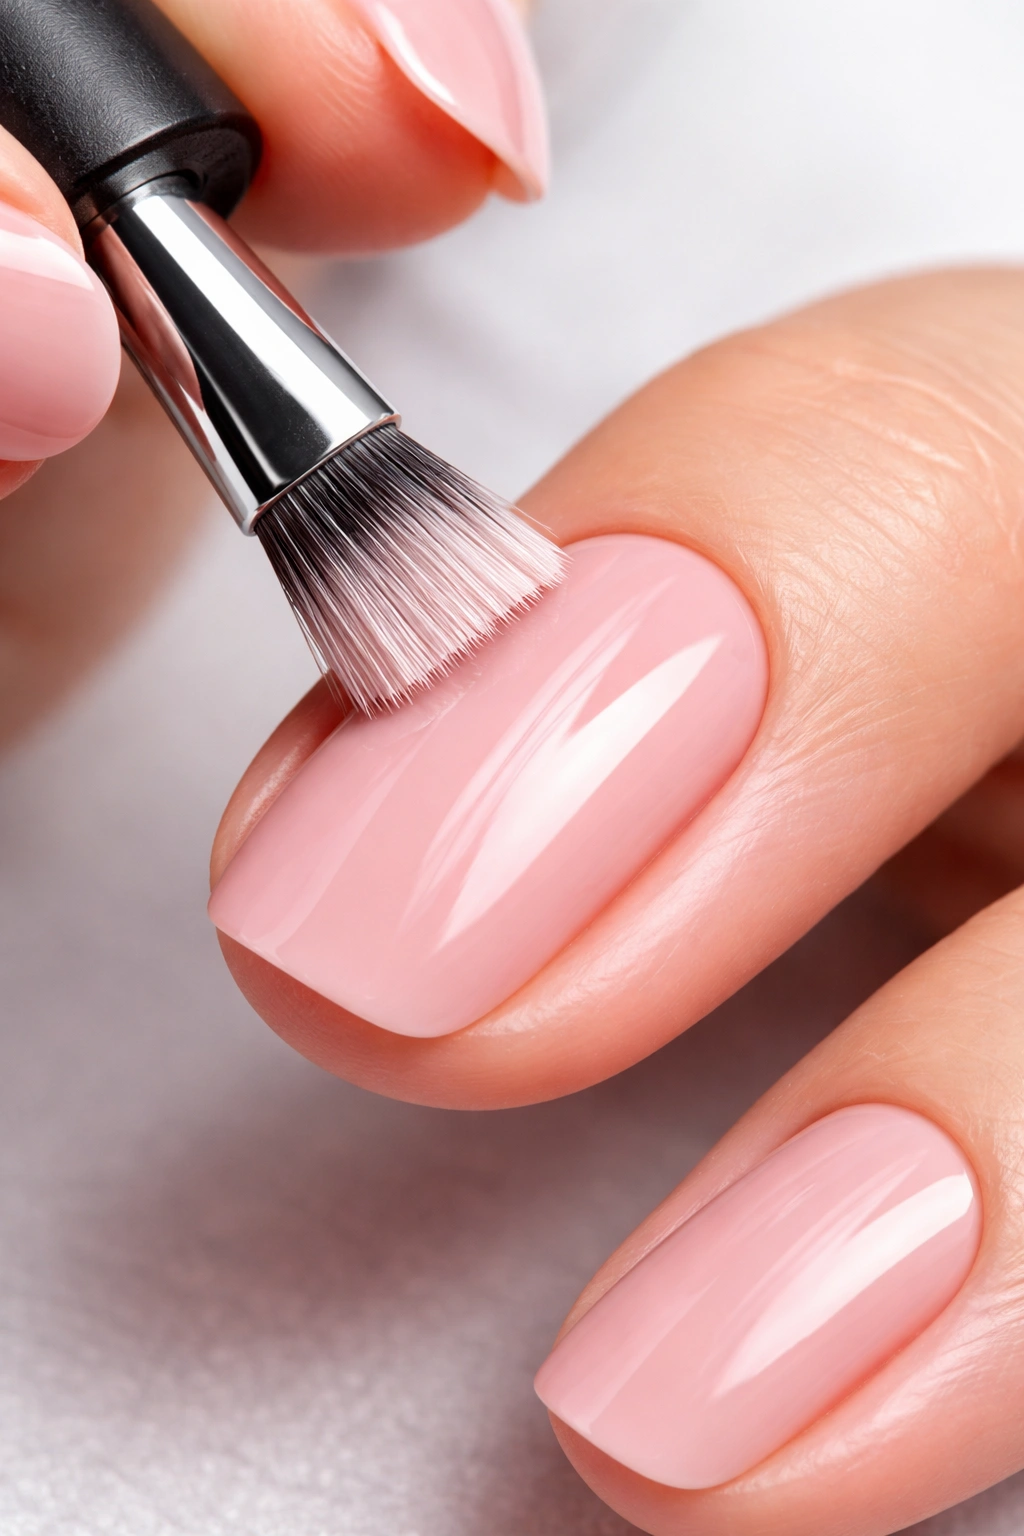
How you hold and move the brush determines whether your manicure looks sloppy or polished. The goal is to cover the nail evenly with the minimum number of strokes, which requires the right technique.
Hold the brush at about a 45-degree angle to the nail, with just enough pressure to splay the bristles slightly. This spreads the bristles into a neat curve that follows the contour of your nail. Start in the center of the nail, brushing from the base (near the cuticle) down toward the tip in one smooth motion. Don’t pause or stroke back and forth—one smooth stroke down the center, then one stroke on the left side, one on the right side. That’s three strokes total per nail, and it should give you full coverage with a thin coat.
The key is keeping the brush moving smoothly without stopping mid-stroke. If you stop and start, you’ll get ridges and uneven thickness. Think of it like painting a wall—you want one continuous stroke, not multiple little dabs.
Try to get all the way to the edge of the nail and as close to the cuticle as possible, but don’t worry about perfection. Any small imperfections will either smooth out as the polish dries or can be cleaned up with a cotton swab dipped in remover once everything has dried. The important thing is achieving even coverage without using too much product.
Practice is absolutely your friend here. Your first few manicures might not be perfect, but by the fifth or sixth time, the motion becomes intuitive and muscle memory takes over. Suddenly you’ll realize you’re doing it without thinking, and that’s when you know you’ve got it.
Final Thoughts
A beautiful DIY manicure is absolutely achievable, and honestly, it becomes easier every single time you do it. The difference between a manicure that chips in three days and one that lasts two weeks usually comes down to these specific techniques—not talent or luck. You’re investing in quality tools, preparing properly, applying thin layers, waiting patiently, and protecting your work with a top coat.
What’s remarkable is that once you understand why each step matters, the whole process starts to feel logical rather than mysterious. The base coat protects your nails because that’s literally its function. Thin coats work better than thick coats because of how polish cures. Waiting between layers allows bonding, which creates longevity. These aren’t arbitrary rules—they’re cause-and-effect relationships that pros have figured out through thousands of manicures.
Start with these 12 strategies, commit to the full process without skipping steps, and notice how your results improve. You might be surprised at just how polished and professional your at-home manicures become once you’ve got the fundamentals down. Save yourself hundreds of dollars a year while getting exactly the look you want—that’s the real win of mastering the DIY manicure.
