

When you’re starting out with acrylic nails, the brush you grab can make or break your entire manicure. Most beginners don’t realize that nail brush size isn’t just a suggestion — it’s one of the most critical decisions you’ll make before even touching your first bead of acrylic powder. The difference between a size 8 and a size 12 brush isn’t just about bristle count; it fundamentally changes how you apply product, how much control you have, and whether your finished nails look like they came from a salon or your kitchen table at midnight.
If you’ve ever watched a professional nail technician work, you’ve probably noticed they seem to effortlessly glide acrylic onto nails with smooth, even coverage. That confidence and precision isn’t magic — it’s the result of understanding brush sizes and using the right tool for their skill level. Too many beginners waste money on expensive acrylic powder and liquid monomer, only to struggle with application because they’re using a brush that doesn’t match their experience level or nail type.
The good news is that understanding brush sizing is simpler than you think, and it directly impacts how quickly you’ll improve. Whether you’re planning to do your own nails at home or you’re considering a career as a nail technician, knowing what size brush to use and why it matters will save you time, money, and a lot of frustration down the road.
Why Brush Size Matters More Than You Think
The acrylic brush size you choose directly affects your ability to pick up the right amount of product and control how it sits on the nail. A brush that’s too small for your skill level forces you to use multiple beads just to cover one nail, turning a quick application into a tedious process that takes twice as long. On the flip side, a brush that’s too large leaves you struggling to place acrylic precisely, fighting with bristles that want to go everywhere except where you’re directing them.
The right brush size makes application feel natural and intuitive. Your hand stays relaxed, your strokes feel confident, and the acrylic flows onto the nail with just the right amount of product coverage. This translates to smoother finishes, less filing afterward, and nails that actually look polished rather than lumpy.
Brush size also determines how much of the nail surface you can cover with each bead. Smaller brushes create tiny beads, which means you’ll need more applications to cover the whole nail — but you get more precision in the process. Larger brushes pick up bigger beads and cover more ground faster, which is why experienced technicians gravitate toward them. The larger bristles also hold their shape better under pressure, giving you a firmer “base” to work with as you sculpt and shape acrylic.
Beyond application, brush size affects the quality of your finished result. The right size helps you achieve even thickness across the nail, proper definition at the sidewalls and cuticle area, and a smooth surface that requires minimal filing. When your brush size matches your technique, filing becomes a touch-up step rather than a major correction session.
Understanding Acrylic Brush Sizing Numbers
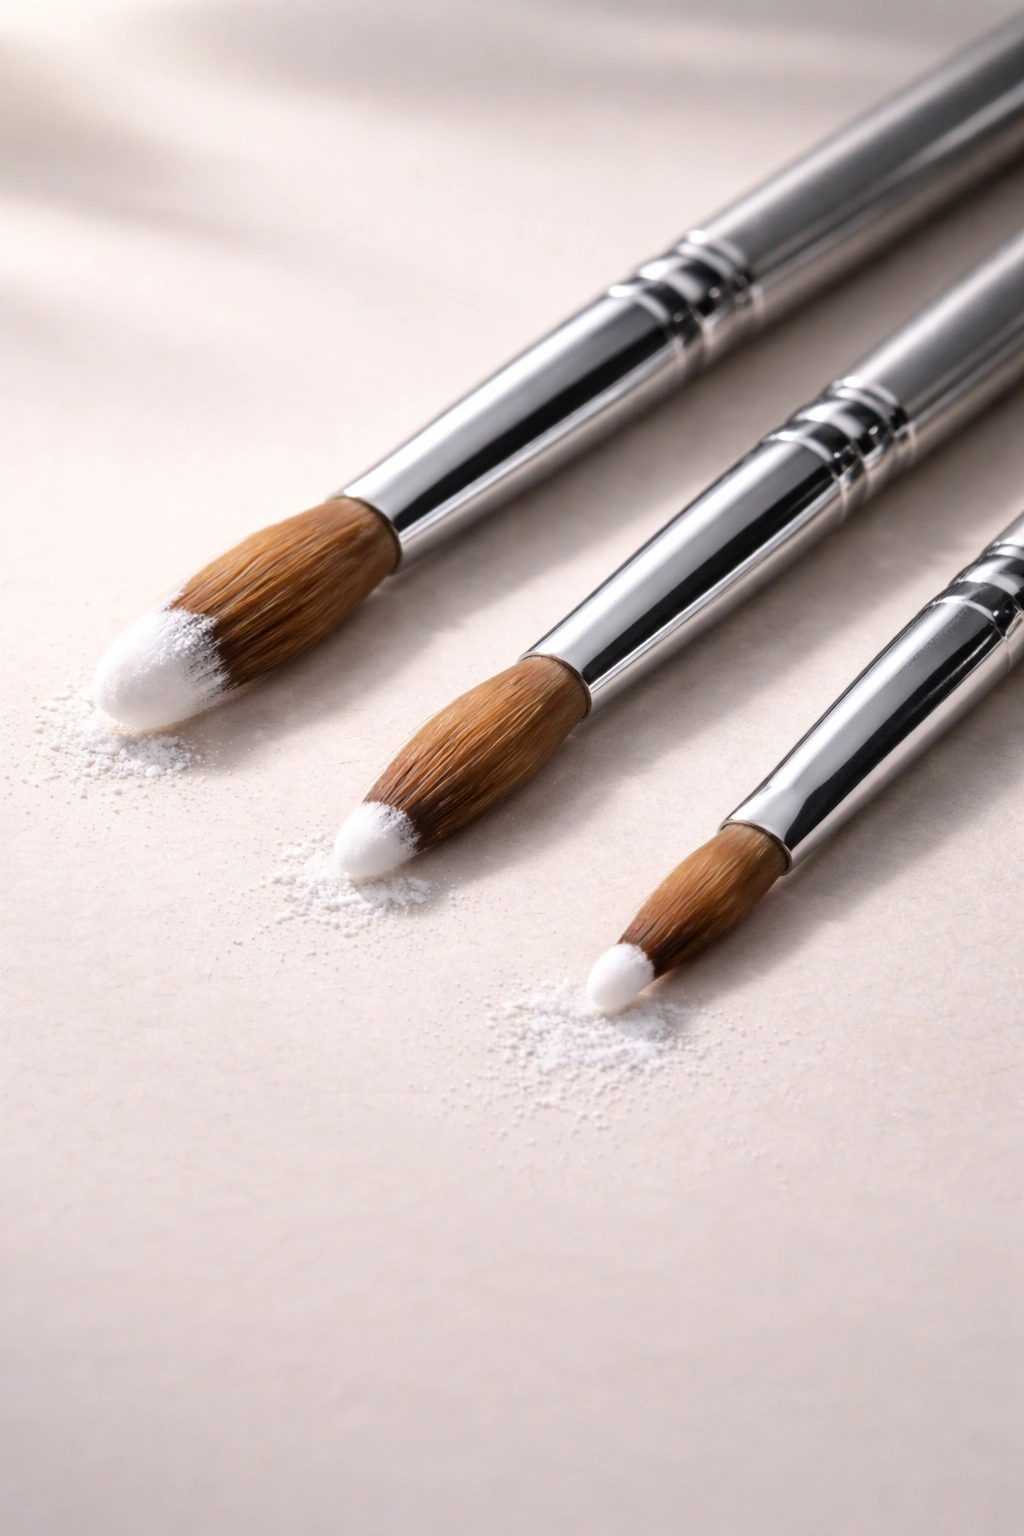
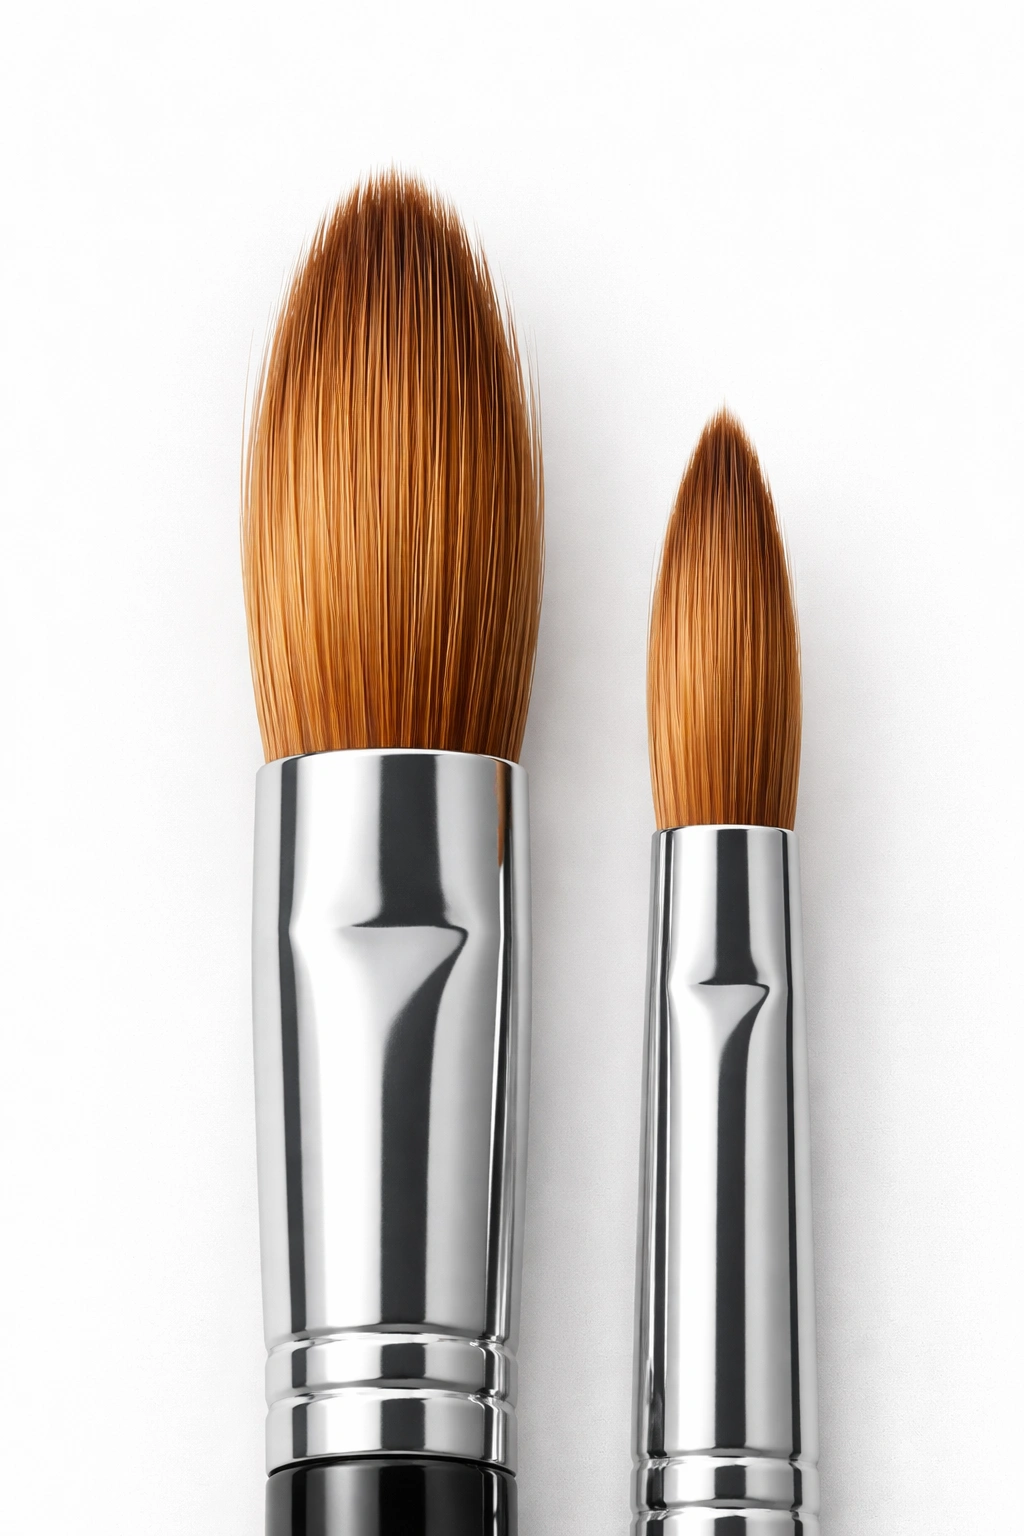
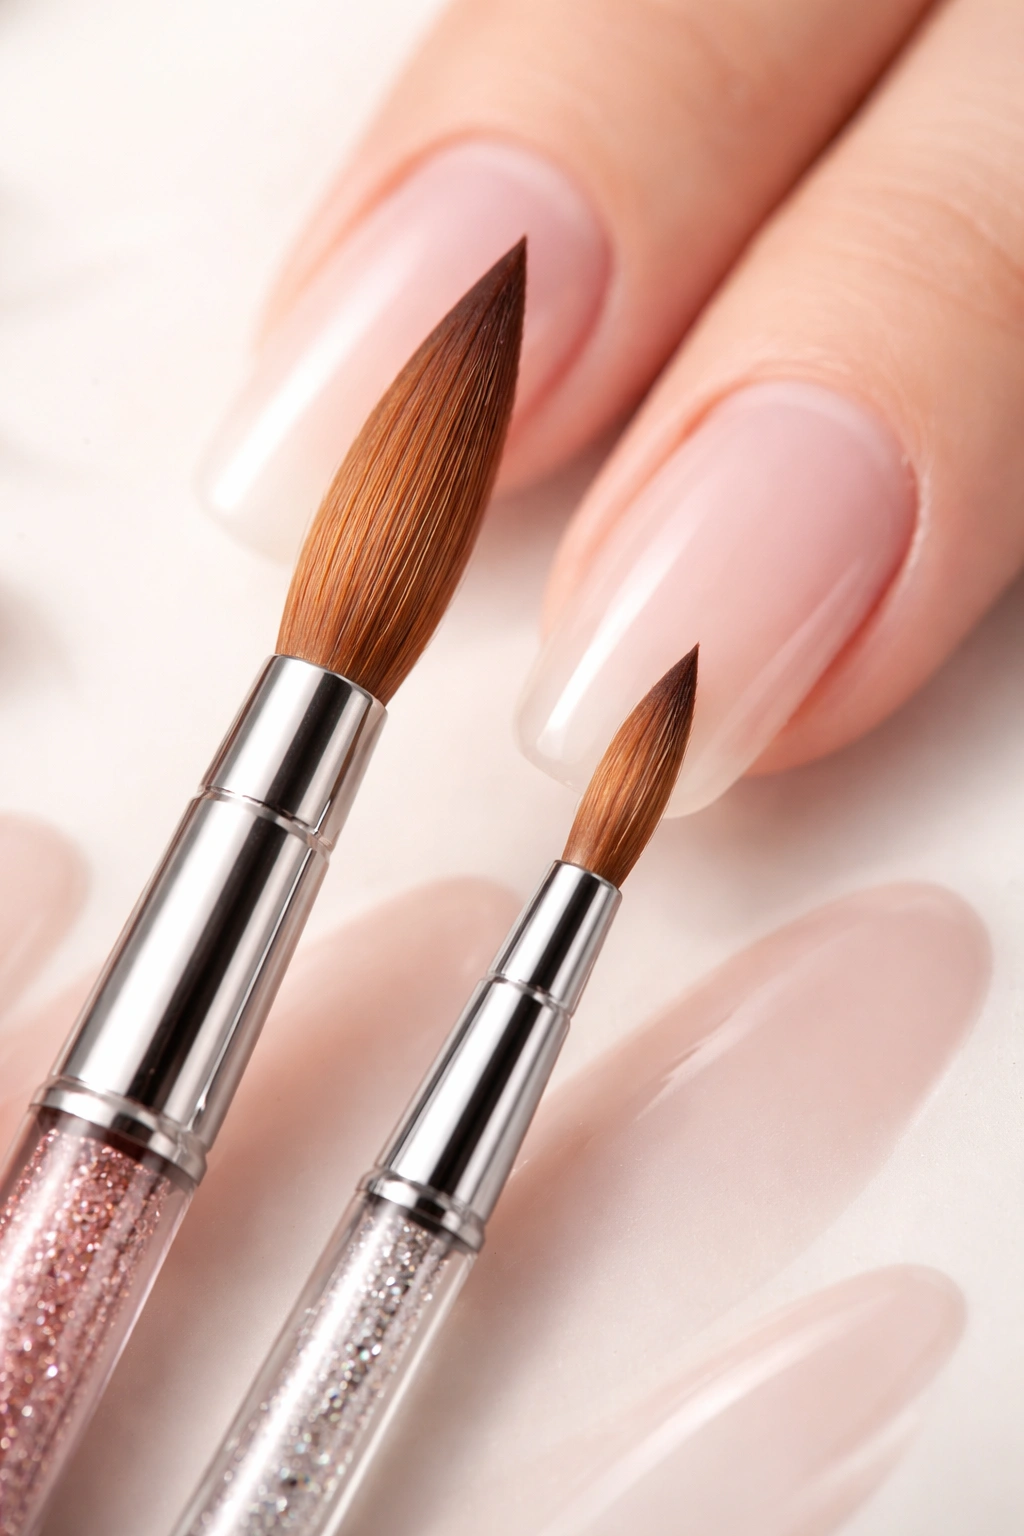
Acrylic brushes are numbered using a standardized system that refers to the width of the brush bristles at the tip. The most common sizes you’ll encounter are 6, 8, 10, 12, 14, 16, and sometimes going up to 20 or 22 for specialty work. The numbers don’t correspond to any universal measurement standard — they’re simply how the industry labels them — but understanding what each number represents is essential to choosing correctly.
The lower the number, the smaller the brush head and the fewer bristles it contains. A size 6 brush, for example, is noticeably narrower than a size 10, which means it can’t hold as much liquid monomer and powder combined. Think of it like the difference between a thin paintbrush and a wider one — the thin brush is more precise but requires more passes to cover an area, while the wider brush covers more ground with fewer passes but demands more control.
Each increase in size represents a meaningful jump in the amount of product the brush can hold and how much surface area it covers with a single bead. Moving from a size 8 to a size 10 might not sound like much, but it’s the difference between needing four beads to cover a nail versus three, which adds up over dozens of applications per week.
The bristle count increases significantly as the size goes up, which gives larger brushes more body and firmness. More bristles mean the brush maintains its shape better under pressure, springs back to form when you lift it from the monomer, and distributes liquid more evenly throughout the bead. This is why professionals prefer larger sizes — the bristles are forgiving and work with you rather than fighting your technique.
Size 6 and 8: Starting Small with Control and Precision
If you’re a complete beginner, a size 6 or 8 brush is your entry point into acrylic application. These are the brushes that come in most beginner nail kits because they’re designed to teach you the fundamentals without overwhelming you with product control issues. The small size forces you to slow down and focus on placement, which is exactly what you need when you’re learning to pick up beads and position them correctly.
Why Beginners Gravitate to Smaller Sizes
Size 6 and 8 brushes demand precision because they don’t hold much product — there’s nowhere for the acrylic to hide. If your liquid-to-powder ratio is even slightly off, you’ll see it immediately, which accelerates your learning curve. You’ll quickly figure out exactly how much monomer your brush needs and how much powder to dip into, because mistakes are obvious and immediate rather than hidden under a large bead.
The control you gain with a small brush is unmatched. You can navigate around the cuticle area with surgical precision, fill in the sidewalls without taking out half the polish, and create clean definition lines. For intricate nail art or detailed work, this control is invaluable — you can literally guide product exactly where you want it without the brush bristles spreading out and covering areas you didn’t intend to touch.
What to Expect When Using a Size 6 or 8
Working with a size 6 or 8 brush typically means you’ll use the three-to-five bead method to cover the entire nail. Your first bead goes on the tip area, your second near the cuticle, and your third fills in the middle and blends everything together. This takes longer than a professional using a size 12 might spend, but that slower pace is actually teaching your hand exactly what proper acrylic placement feels like.
These smaller brushes also require you to be very intentional about pressure and angle. You can’t just swipe haphazardly — you need to hold the brush at the right angle, apply consistent pressure, and make deliberate movements. This builds muscle memory that will serve you well even after you upgrade to larger brushes.
When You Outgrow a Size 6 or 8
Most beginners stay with a size 6 or 8 for anywhere from a few weeks to a couple of months, depending on how frequently they practice. You’ll know it’s time to move up when you feel confident with your bead placement, your liquid-to-powder ratio is consistently right, and you’re ready to work faster. The transition usually happens naturally — you’ll grab a larger brush and suddenly realize you’ve been ready for this upgrade.
Size 10 and 12: The Sweet Spot for Most Nail Technicians
A size 10 or 12 brush is the goldilocks zone for nail technicians at all experience levels except complete beginners. These medium-to-medium-large sizes hold enough product to be efficient but maintain enough control for precise work. Many professionals working in salons use a size 10 or 12 as their primary workhorse because the balance between speed and precision is nearly perfect.
The Universal Appeal of Size 10
The size 10 brush is often called the “best beginner’s brush” by experienced technicians, and for good reason. It’s noticeably larger than a size 8, allowing you to pick up bigger beads and cover more of the nail with fewer applications. But it’s not so large that you lose control or find yourself struggling to navigate the cuticle area. It’s the brush that teaches you that acrylic application doesn’t have to be slow — it can be both fast and precise.
A size 10 is perfect for practicing on your own nails at home because it handles variations in technique more gracefully than a size 8. If your pressure is slightly uneven or your bead placement isn’t absolutely perfect, the larger brush head forgives minor imperfections better. This makes it ideal for the learning phase where your technique is still developing and you’re building consistency.
When Size 12 Becomes Your Go-To
The size 12 brush is where many technicians settle after they’ve practiced with size 10 for a while. It holds noticeably more product, which means you can often cover a nail with just two beads instead of three. The larger bristle mass also maintains shape incredibly well throughout the application, which means less correction and reshaping mid-application.
Professional nail technicians often prefer size 12 because the increased productivity doesn’t come at the cost of control. You can still create clean lines, define the cuticle area precisely, and adjust the acrylic as needed. The bristles are firm enough that they won’t collapse under pressure, but still responsive enough that you can guide them exactly where you want them to go.
Building Speed Without Sacrificing Quality
Working with a size 10 or 12 teaches you how to build speed without abandoning precision. You’re no longer spending five minutes per nail, but you’re also not rushing so fast that your application suffers. Most nail technicians working in salons spend two to three minutes per nail once they’ve mastered a size 10 or 12, which is the sweet spot between efficiency and quality.
Size 14 and Above: For Speed and Experienced Application

Once you’re confident with your technique and understand exactly how to control the liquid-to-powder ratio, a size 14, 16, or larger brush opens up a completely different level of speed. These large brushes are designed for experienced technicians who want to move quickly through multiple clients while maintaining professional-quality results. They’re not beginner brushes, but they’re not impossible for determined learners either.
The Power of Larger Bristle Mass
A size 14 or 16 brush holds substantially more product than a size 12, which means you can pick up one large bead that covers most of the nail in a single application. Professional technicians often use the two-bead method or even the one-bead method with these larger brushes, applying acrylic faster than you might think possible. The extra bristles create a firm, resilient brush head that maintains its shape even under deliberate pressure.
Larger brushes are particularly useful for long nails and extensions because the bigger surface area makes it easier to cover length without creating dramatic visible thickness in certain areas. If you’re working on someone with nail beds wider than average, jumping to a size 14 or 16 makes sense because your size 10 or 12 might leave you working overtime.
The Trade-Off: Control for Speed
The major trade-off with larger brushes is that you lose some of the fine control you had with smaller sizes. A size 16 brush tip is noticeably wider, which means precise work around the cuticle line requires more finesse. Many experienced technicians actually keep both sizes on hand — a medium brush for detailed work or intricate nail art, and a larger brush for fast full sets where precision matters less than coverage.
These larger brushes also demand respect regarding product control. If you don’t have your liquid-to-powder ratio dialed in perfectly, a large brush will create beads that are either too wet and runny or too dry and chunky. There’s less room for error when you’re picking up a bigger bead, because mistakes are bigger too. This is why professionals recommend not jumping straight to a size 16 — you need to understand the fundamentals first.
Who Should Consider Size 14+
Size 14 and above are best suited for nail technicians who are working professionally, doing multiple sets per week, or who have specifically large nail beds. If you’re doing your own nails at home as a hobby, you probably don’t need to go larger than a size 12. But if you’re considering salon work or find yourself regularly frustrated by how slowly your size 12 application takes, experimenting with a size 14 can be eye-opening.
Round, Flat, and Oval Brushes: Which Shape Fits Your Technique

Brush size is only half the equation — the shape of the bristles matters just as much. Most acrylic brushes come in three primary shapes: round, flat, and oval. Each shape handles product differently and works best for certain techniques, so understanding the differences will help you choose the brush that actually matches your hand and your goals.
Round Brushes: The Classic Choice
Round acrylic brushes have bristles that taper to a point, creating a brush head that’s circular when viewed from above. This shape is fantastic for picking up beads and maintaining control during application. The pointed tip lets you work with precision around the cuticle line, and the rounded belly holds product beautifully without spreading it out too thin.
Many beginner kits include round brushes because they’re the most versatile. You can use them for general full-coverage application, detailed work, and even some sculpting. The only minor downside is that the pointed tip can catch on your finger if you’re not careful with your pressure, but this becomes less of an issue as your technique improves.
Flat Brushes: When You Need Coverage
Flat or square-tipped brushes have a wider, straighter edge and excel at creating broad, even strokes across the nail surface. These brushes are particularly useful if you’re doing one-stroke designs or want to lay down thick, uniform layers of acrylic quickly. The flat edge makes it easy to see exactly where you’re applying product and gives you maximum coverage per stroke.
However, flat brushes can be trickier for beginners because they don’t hold as much liquid in proportion to powder, which can lead to uneven bead texture. They also require more finesse around curved areas like the cuticle line, where the straight edge of the brush can create defined lines if you’re not thoughtful about your strokes.
Oval Brushes: The Hybrid Option
Oval brushes are essentially a middle ground between round and flat, featuring a slightly flattened point with curved sides. They hold a good amount of product without being as wide as flat brushes, and they offer more versatility than strictly round brushes. Many experienced technicians prefer oval brushes because they provide great control while still offering decent coverage and product capacity.
The oval shape shines for creating specific effects and designs. You can angle it to create broader strokes, or use the pointed tip for detail work. It’s the most adaptable brush shape, which is why you’ll see professionals using them more frequently than strictly round or flat options.
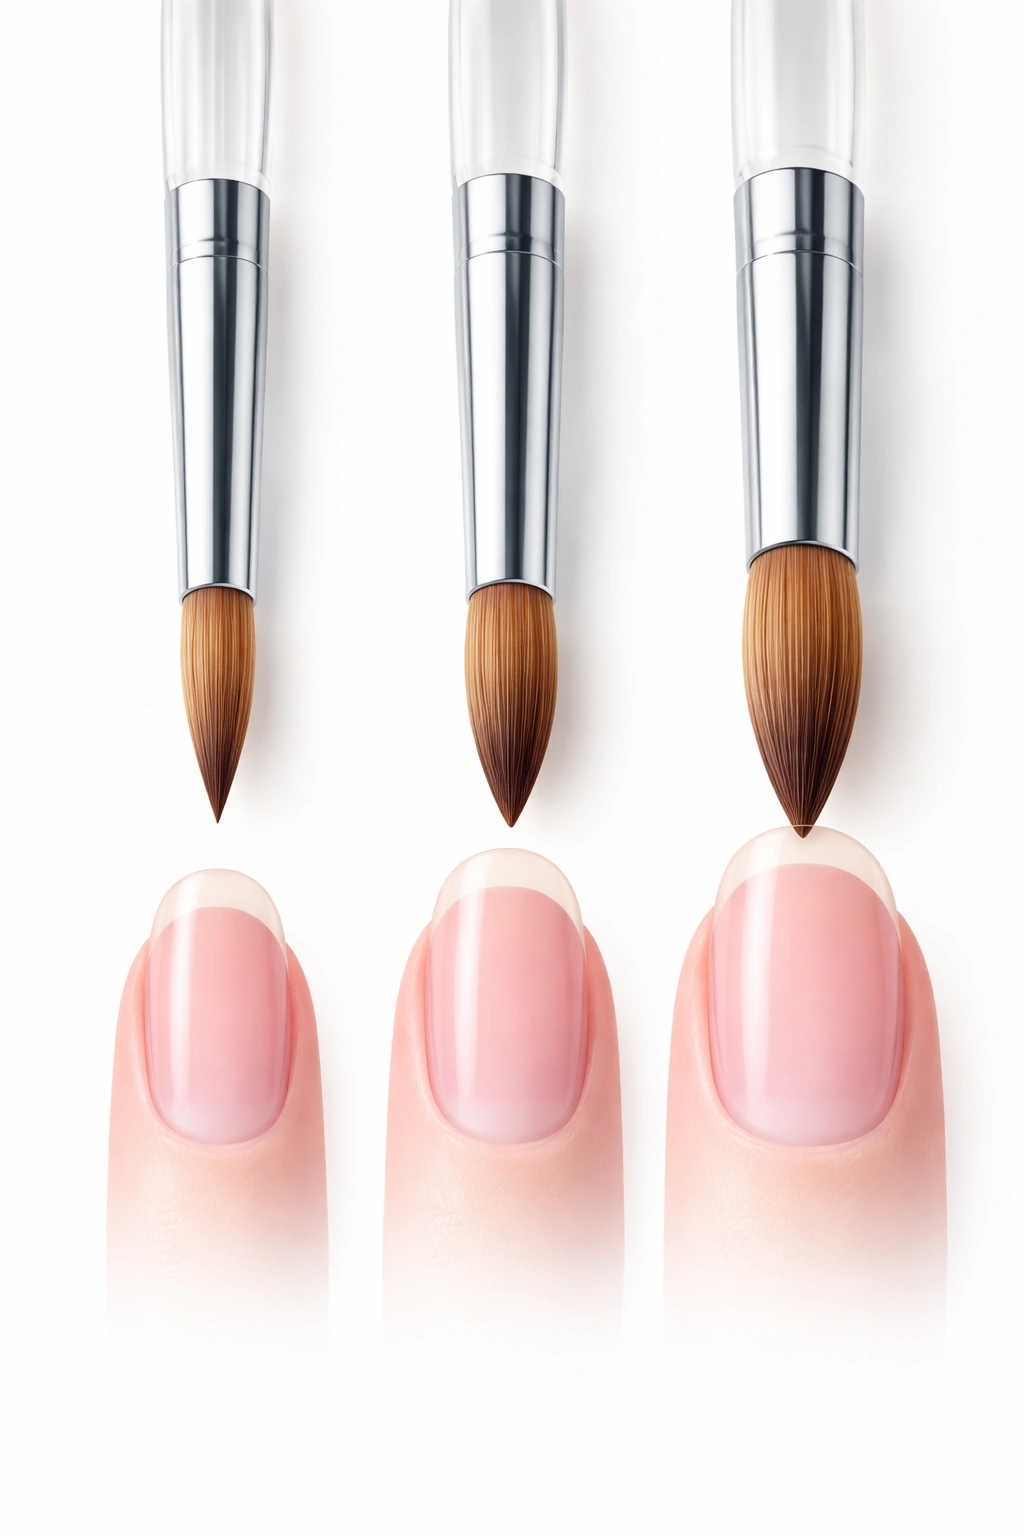
How Brush Size Affects Your Application Method
The brush size you choose directly determines how many beads you’ll need and how you’ll distribute them across the nail. Understanding the relationship between brush size and application method helps you make better decisions about which brush to purchase and when it’s time to upgrade.
The Multi-Bead Method: Essential for Small Brushes
With a size 6 or 8 brush, you’ll typically use a three-to-five bead method because the small bristles can’t pick up enough product to cover much area at once. Your first bead goes on the tip, your second applies closer to the cuticle, and additional beads fill the middle and blend everything. This method is actually ideal for learning because it forces you to understand proper bead placement and how to blend them seamlessly.
The multi-bead method takes longer, but it builds incredible muscle memory around proper pressure, angle, and technique. Every bead gets your full attention, and you’re practicing placement repeatedly with each nail. After weeks of this, your hands truly understand how acrylic behaves and how to manipulate it.
The Two-Bead Method: The Professional Standard
Once you move to a size 10 or 12 brush, the two-bead method becomes your standard approach. You’ll apply one bead on the tip area and another near the cuticle, then blend them in the middle. This cuts your application time roughly in half compared to the multi-bead method while maintaining excellent control and precision. Most nail technicians working in salons use a two-bead method because it’s the perfect balance of speed and quality.
The two-bead method requires good bead size control, so you need to be precise with your liquid-to-powder ratio. But once you’ve mastered it, your consistency improves dramatically and your nails look noticeably better with less filing afterward.
The One-Bead Method: For Experienced Technicians
Professional nail technicians using size 14, 16, or larger brushes can often pick up one large bead that covers nearly the entire nail in a single application. This is the ultimate expression of speed, but it demands complete mastery of your liquid-to-powder ratio and how to manipulate a large bead of acrylic. The one-bead method isn’t something you should attempt until you’ve spent substantial time with smaller brushes.
Matching Brush Size to Your Nail Bed
Your natural nail bed size significantly influences which brush size will work best for you, regardless of your experience level. If you have naturally narrow nail beds, forcing yourself to use a large brush becomes counterproductive, while those with wider nail beds might find small brushes frustrating.
Small Nail Beds and Petite Hands
If you have smaller hands or naturally narrow nail beds, a size 6, 8, or 10 brush is your sweet spot. The brush tip width should match roughly with your nail width for comfortable control. Using a brush that’s too large relative to your nail size makes it difficult to navigate the cuticle area cleanly, and you’ll end up overextending your reach and losing precision.
Many people with smaller nail beds find that they prefer staying with a size 10 or 12 throughout their entire nail career because the larger brushes simply don’t match their proportions. This is completely normal and doesn’t reflect any limitation in your skills — it’s just understanding your body mechanics and choosing tools that work with your natural hand size.
Average Nail Beds: The Flexibility Zone
If you have average-sized nail beds, you have flexibility to work with anything from a size 8 to a size 14 depending on your technique and goals. This is the range where most people can find a brush that feels natural and intuitive. Starting with a size 10 and potentially moving to a size 12 is the most common progression for people in this category.
Wide Nail Beds and Larger Hands
Those with naturally wide nail beds or larger hands often find that a size 12 or 14 brush feels more proportional and easier to control. The larger brush head matches the larger canvas you’re working with, and you don’t have to make awkward adjustments to cover the entire nail width. If you have very wide nail beds, you might actually find smaller brushes frustrating because you’re constantly repositioning to get full coverage.
Building Your Brush Collection as You Progress
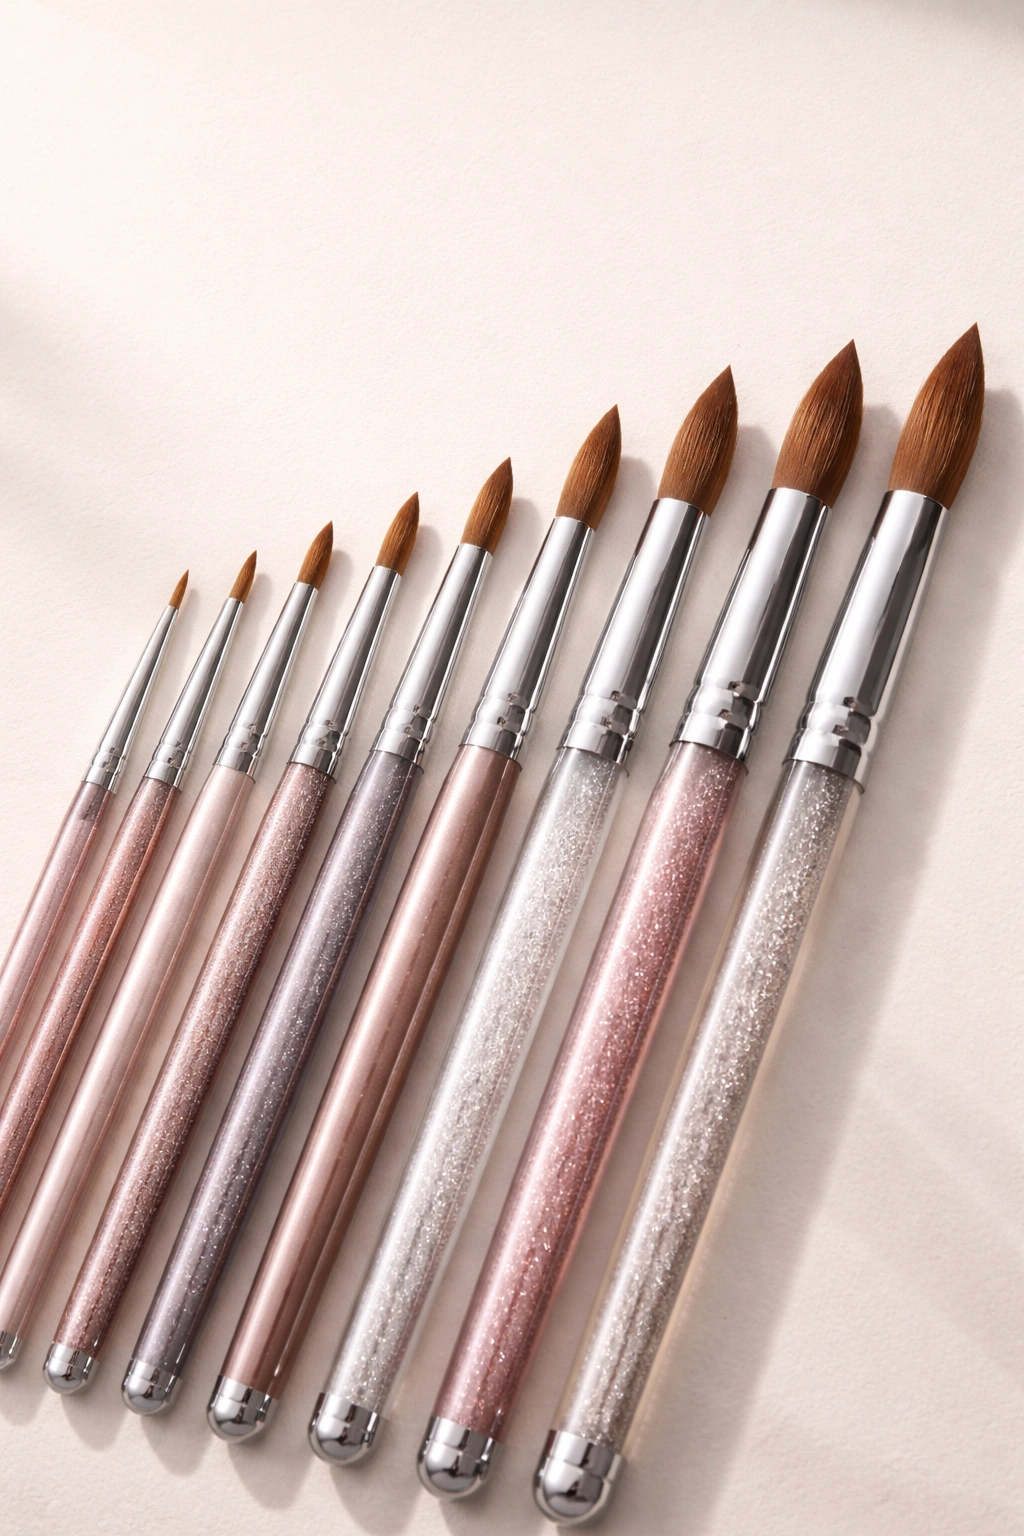
The smartest approach to brush shopping isn’t buying the biggest, most expensive brush right away — it’s building a thoughtful collection that supports your skill progression. Starting with one good brush and adding to your arsenal as your skills develop saves money and ensures you’re always using the right tool for your current level.
Your First Brush: Start with Quality
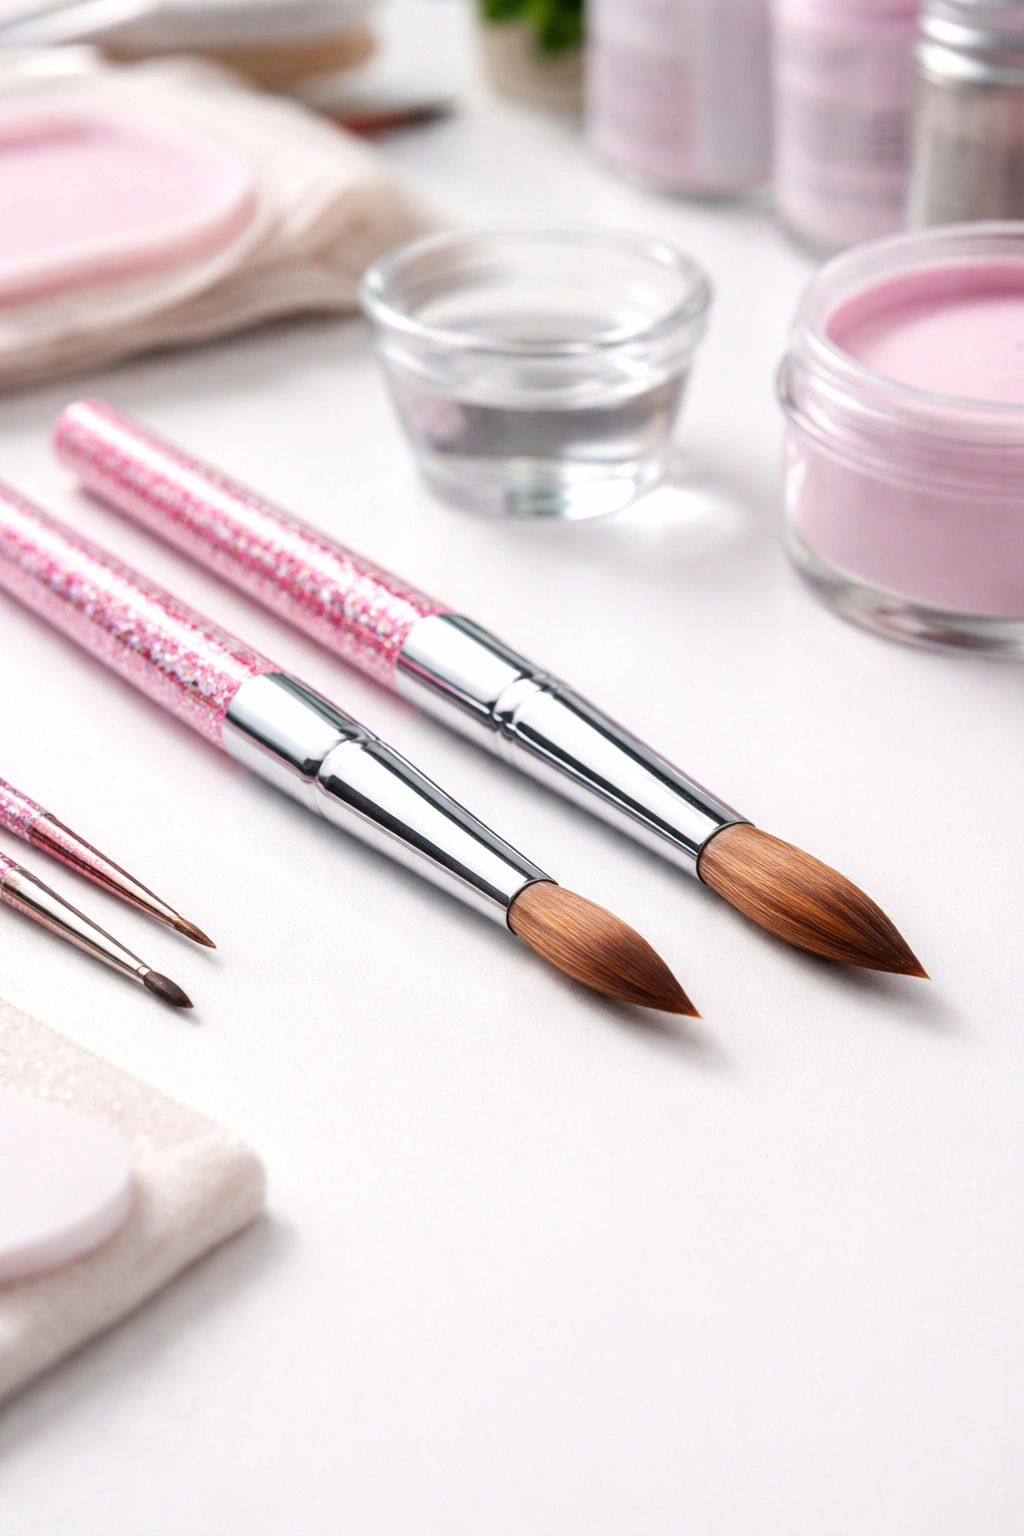
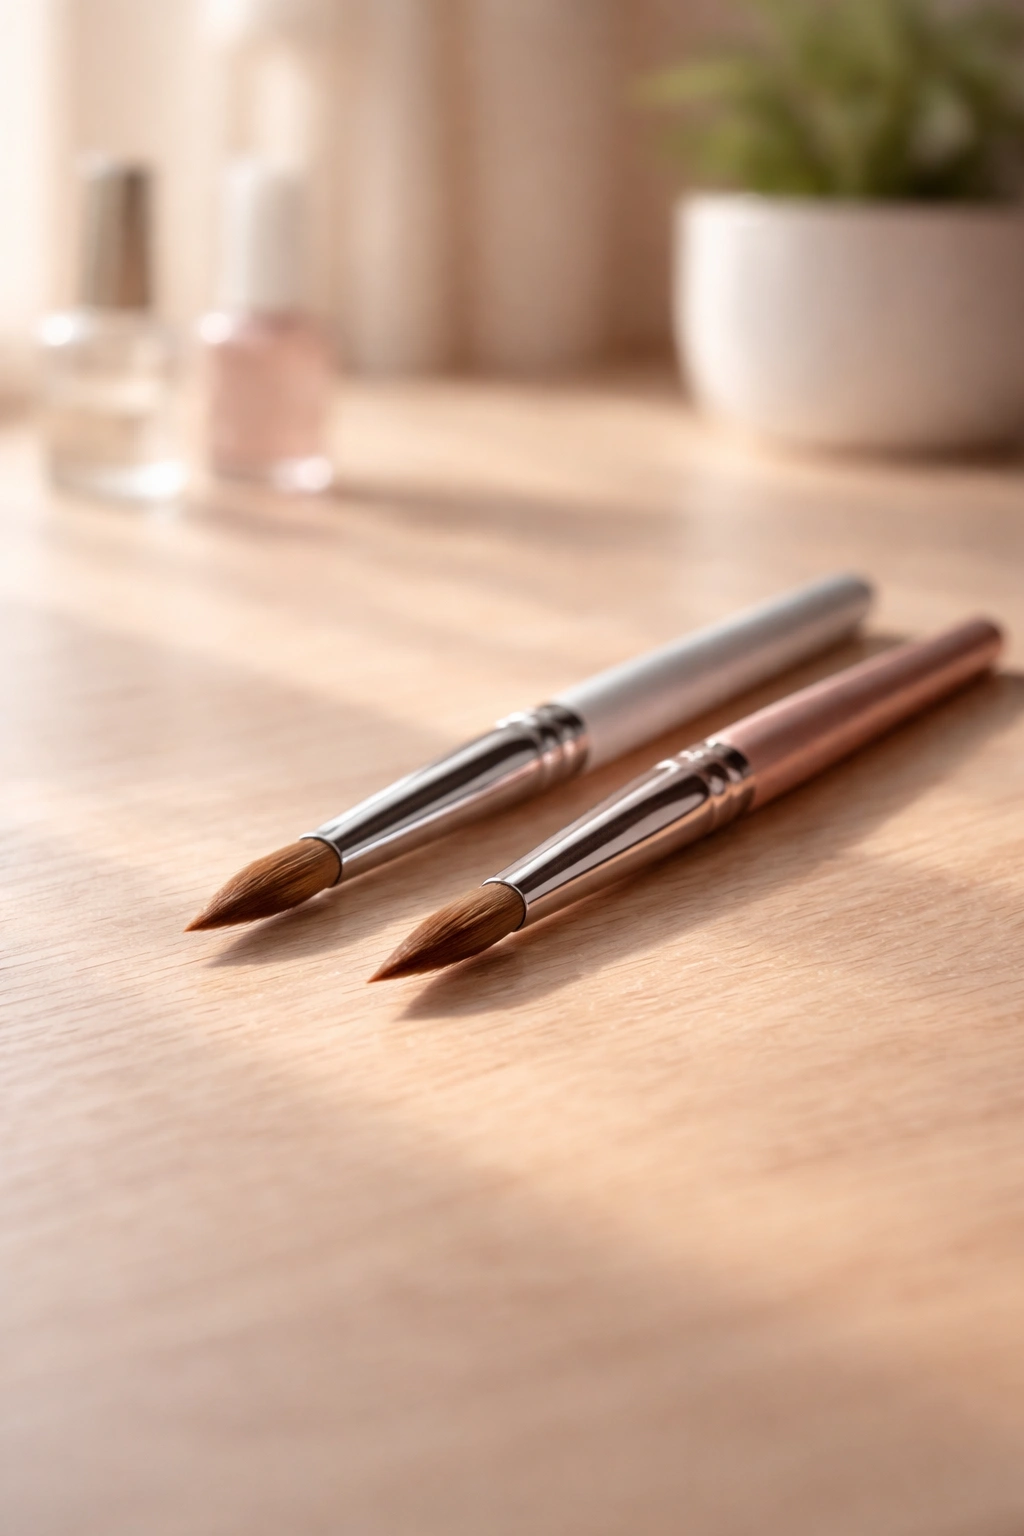
Your very first brush should be a quality size 8 or 10 from a reputable brand. Don’t skimp here and buy the cheapest option available, because a low-quality brush will shed bristles into your acrylic, frustrate you constantly, and actually slow your learning. A decent quality size 8 Kolinsky brush costs between fifteen and thirty dollars, and it will last months if you care for it properly.
Kolinsky brushes — made from sable hair — are the professional standard because they hold liquid better and offer superior control compared to synthetic alternatives. Synthetic brushes are cheaper but don’t hold up as well over time and don’t handle liquid quite as elegantly. Starting with Kolinsky sets you up for success.
Your Second Brush: Upgrade in Size
Once you’ve spent several weeks or months with your first brush and feel confident with your technique, grab a size 10 or 12 in the same quality level. Having two brushes means you can keep one soaking in monomer while you work with the other, and you have a backup if one gets damaged. Working with the larger brush will feel revelatory — suddenly application speeds up while your control remains intact.
Building Your Complete Arsenal
As you continue working with acrylic nails, you might eventually want a size 6 or 8 for detail work, a size 10 or 12 for general application, and maybe a size 14 if you do professional work. Different projects call for different tools, and having options makes you more adaptable. You also might want to experiment with different shapes — many professionals end up with both round and oval brushes for different techniques.
The key is building gradually based on what you actually need, not buying a massive brush collection at the beginning. This saves money and ensures every brush you own gets regular use and proper care.
Caring for Your Brushes to Make Them Last
A quality acrylic brush can last six months to over a year with proper care, or it can be ruined in weeks if you neglect maintenance. Since brushes represent a meaningful investment, learning the correct way to clean and store them directly protects your money and ensures consistent performance throughout their lifespan.
Cleaning Between Colors and Sessions
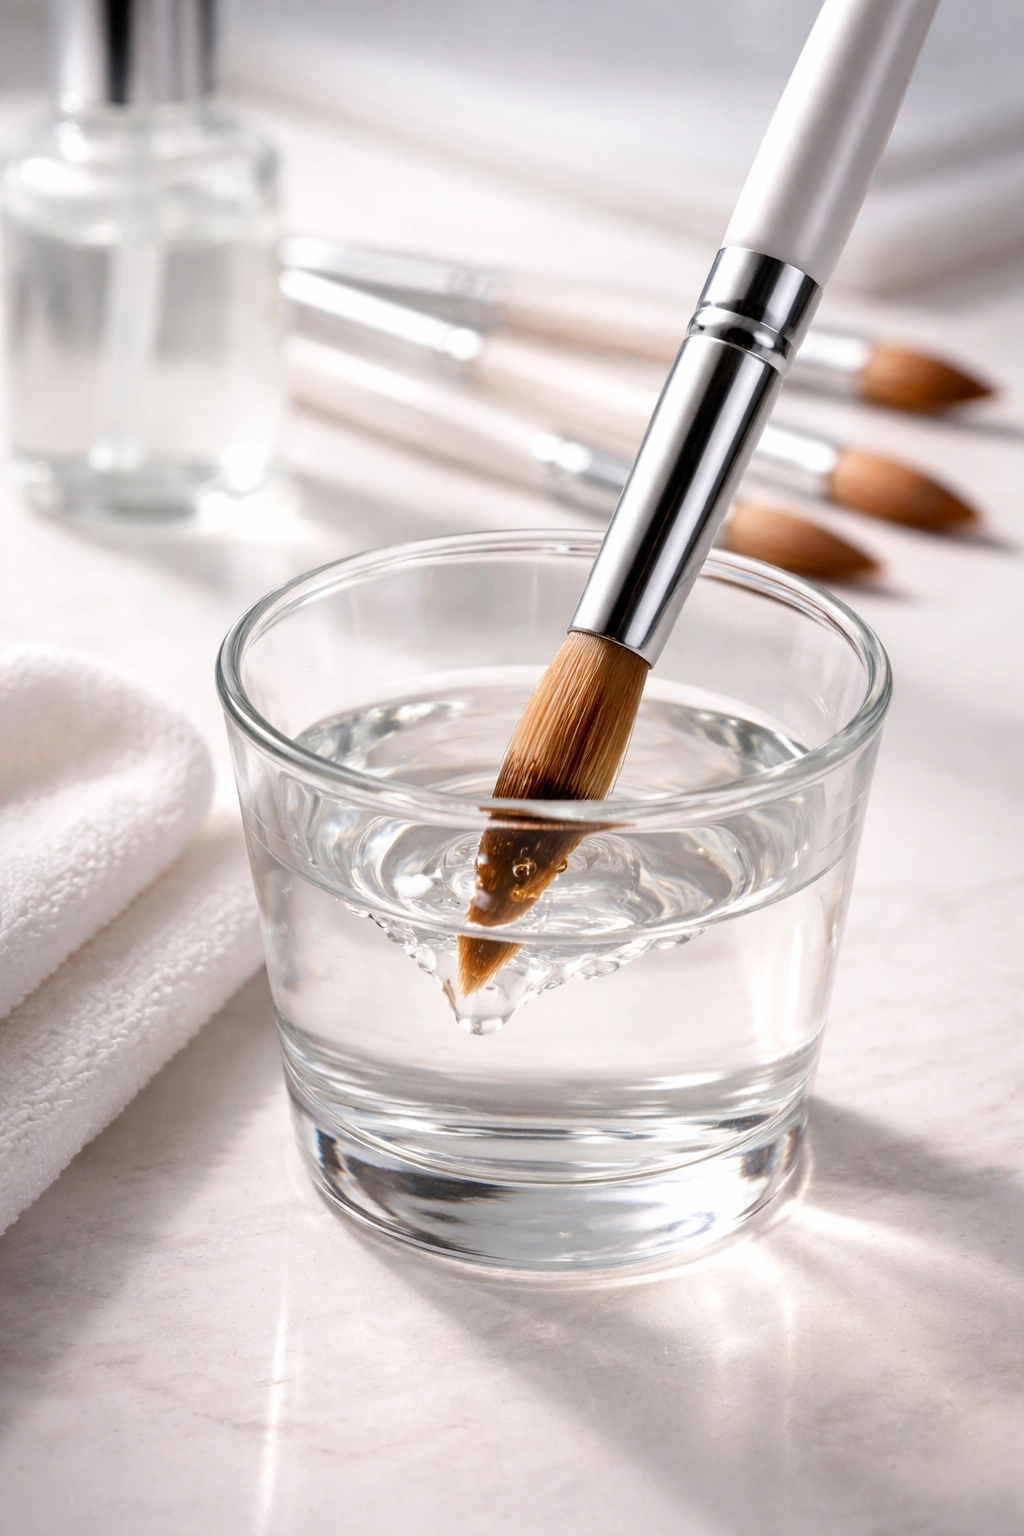
The most critical maintenance step is cleaning your brush immediately after use. Never let acrylic dry on your brush, because once it hardens, the bristles become stiff and damaged. After finishing with your brush, dip it into pure monomer liquid and gently press it against the side of the cup to work the monomer through the bristles and dissolve any acrylic residue.
Repeat this dipping and pressing motion several times until the monomer coming out of the brush is clear rather than milky. Then wipe the brush gently on a lint-free cloth and reshape the bristles while they’re still slightly damp. This takes less than two minutes but makes the difference between a brush that lasts months and one that becomes unusable in weeks.
Deep Cleaning and Soaking
If acrylic does build up on your brush despite regular cleaning, a longer soak in monomer can dissolve the buildup and restore the brush. Fill a shallow glass with monomer, submerge the brush, and let it soak for two to eight hours or overnight. The monomer will soften the acrylic coating, and you can gently work it away with your fingers. Drain the monomer, wipe thoroughly, reshape, and dry completely before storing.
Never use acetone to clean acrylic brushes because it damages the bristles and can cause them to become brittle. Monomer is the correct cleaning solvent for acrylic brushes, and it’s actually gentler on the bristles while being more effective at dissolving acrylic residue.
Proper Storage to Prevent Damage
Always store your brushes upright with bristles facing up rather than sideways or upside down. Storing them with bristles up prevents the bristles from becoming permanently bent or creased. Keep them in a clean cup or brush holder that’s dedicated to your acrylic brushes, separate from other nail art supplies. Make sure brushes are completely dry before putting them away to prevent mold or mildew.
Avoid leaving brushes sitting in monomer for extended periods — a quick rinse is fine, but storage in liquid damages the bristles over time. The goal is to keep the bristles clean and dry, with minimal time spent in any liquid.
Common Sizing Mistakes Beginners Make
Even with good intentions, beginners often make predictable mistakes when choosing and using acrylic brushes. Learning what these pitfalls are ahead of time helps you avoid wasting money and frustrating yourself needlessly.
Mistake One: Jumping to Larger Sizes Too Quickly
The most common error is assuming that a larger brush will be easier to use because it seems “more professional.” Beginners often buy a size 12 or 14 before they’ve mastered a size 8 or 10, then struggle with bead control and product consistency. Larger brushes aren’t more beginner-friendly — they’re less forgiving of technique errors because the mistakes are bigger and more obvious.
The right progression is to master each size before moving up. Spend at least three to four weeks with a size 8 or 10 before upgrading. Your hands need to build muscle memory and understand liquid-to-powder ratios at each level before you add variables like larger brush head and increased product volume.
Mistake Two: Using the Wrong Size for Your Hand
Some beginners buy a brush size that sounds impressive but doesn’t actually match their hand or nail bed size. A petite person with narrow nail beds shouldn’t feel pressured to use a size 12 just because they’ve heard it’s popular. Your personal comfort and control are more important than following general recommendations.
Choose a brush size based on your proportions and what feels natural in your hand, not based on what other people use. If a size 10 feels right, stick with it. If you need a size 8 for proper control, that’s the correct choice for you.
Mistake Three: Buying Cheap Brushes to Save Money
Purchasing the cheapest brushes available is a false economy that ends up costing more money and causing more frustration. Low-quality brushes shed bristles, don’t hold product properly, and wear out quickly. After replacing them multiple times, you’ve spent more money than you would have invested in quality brushes from the start.
Spend a little more upfront for a quality brush and it will outperform cheap alternatives by a significant margin. The difference in performance is immediately noticeable and worth every penny.
Mistake Four: Not Maintaining Your Brushes
Some beginners buy a nice brush but then neglect proper cleaning and storage, wondering why it falls apart after a few weeks. Acrylic brushes require genuine care — they’re not disposable tools. Cleaning immediately after each session and storing properly adds months to brush lifespan and keeps performance consistent.
Think of brush maintenance as part of your cost of doing acrylic nails. Investing five minutes per session in proper cleaning ensures your brushes stay functional and reliable for as long as possible.
Final Thoughts
Choosing the right acrylic brush size is one of the most impactful decisions you’ll make as you learn acrylic nail application. Starting with a size 8 or 10 from a quality brand sets you up for success, and upgrading intentionally as your skills develop keeps you progressing smoothly. The right brush size doesn’t just speed up your application — it builds confidence, improves your results, and makes the entire experience of working with acrylic feel intuitive rather than frustrating.
Remember that brush size is personal and should match your hand size, nail bed proportions, and current skill level rather than following a rigid formula. What works perfectly for someone else might not be ideal for you, and that’s completely normal. The best brush is the one that feels natural in your hand and consistently delivers the results you’re aiming for.
As you build experience and develop your technique, don’t feel pressured to keep upgrading to larger sizes. Some of the best nail technicians work with size 10 or 12 throughout their entire careers because those sizes match their hands and their style. What matters is understanding how brush size affects your work, maintaining your tools properly, and being willing to experiment until you find what works best for you. Your journey with acrylic nails will be smoother and more enjoyable when you’re working with the right brush from the beginning.
