

Dip powder nails have transformed how people approach at-home manicures. What used to require expensive salon visits and special equipment can now be achieved on your couch with a starter kit that costs less than a single professional manicure. If you’ve ever looked at someone’s flawless dip nails and wondered how they managed that salon-quality finish at home, the answer is simpler than you think—it just requires understanding the right techniques and avoiding common missteps that trip up first-timers.
The beauty of dip powder is that it’s more forgiving than traditional gel or acrylic, yet dramatically more durable than regular nail polish. Unlike gel nails that require UV lamps and hourly touch-ups, dip powder uses a chemical activation process that hardens almost instantly. Unlike acrylics that need specialized drills and professional-level skill, dip powder responds beautifully to careful hand application. Once you grasp the core principles—prep, base, dip, activate, seal—you’ll find yourself producing results that rival what you’d pay someone to do for you.
The real secret to beautiful dip nails isn’t fancy tools or expensive products. It’s understanding why each step matters and doing it with intention rather than rushing through the process. Let’s walk through exactly how to apply dip powder nails at home in a way that actually works, with specific techniques that make a genuine difference.
What Makes Dip Powder Nails Worth Your Time

Before diving into the application process, it helps to understand why dip powder has become such a game-changer for at-home nail care. Dip powder manicures are fundamentally different from other nail enhancement methods because they combine the durability of acrylics with the ease of gel polish—without requiring UV lamps or harsh chemicals.
A properly applied dip manicure lasts at least two weeks, often stretching to three or four weeks if you use good technique and take care of your nails. That’s two to three times longer than regular nail polish, which typically chips within five to seven days. The powder hardens into a tough, resilient shell that resists chipping even under heavy daily use—typing, playing instruments, washing dishes, or rough handling.
Unlike gel or acrylic applications that involve drilling, sanding, or curing under lamps, dip powder requires only basic tools you probably already own. The application process takes 45 minutes to an hour, making it something you can realistically do while watching television or listening to a podcast. There’s no waiting around or worrying about UV exposure, and the entire system is gentle enough that you can do it on natural nails without causing damage when removed properly.
The cost efficiency is striking. A quality dip powder starter kit costs between $25 and $50, and each kit lasts for dozens of manicures. That means each manicure costs you roughly $2 to $3 in product—a fraction of the $40 to $60 you’d typically pay at a salon. Even if you only do your nails once monthly, you’ll recoup your initial investment within a few months.
Gathering Your Supplies and Tools
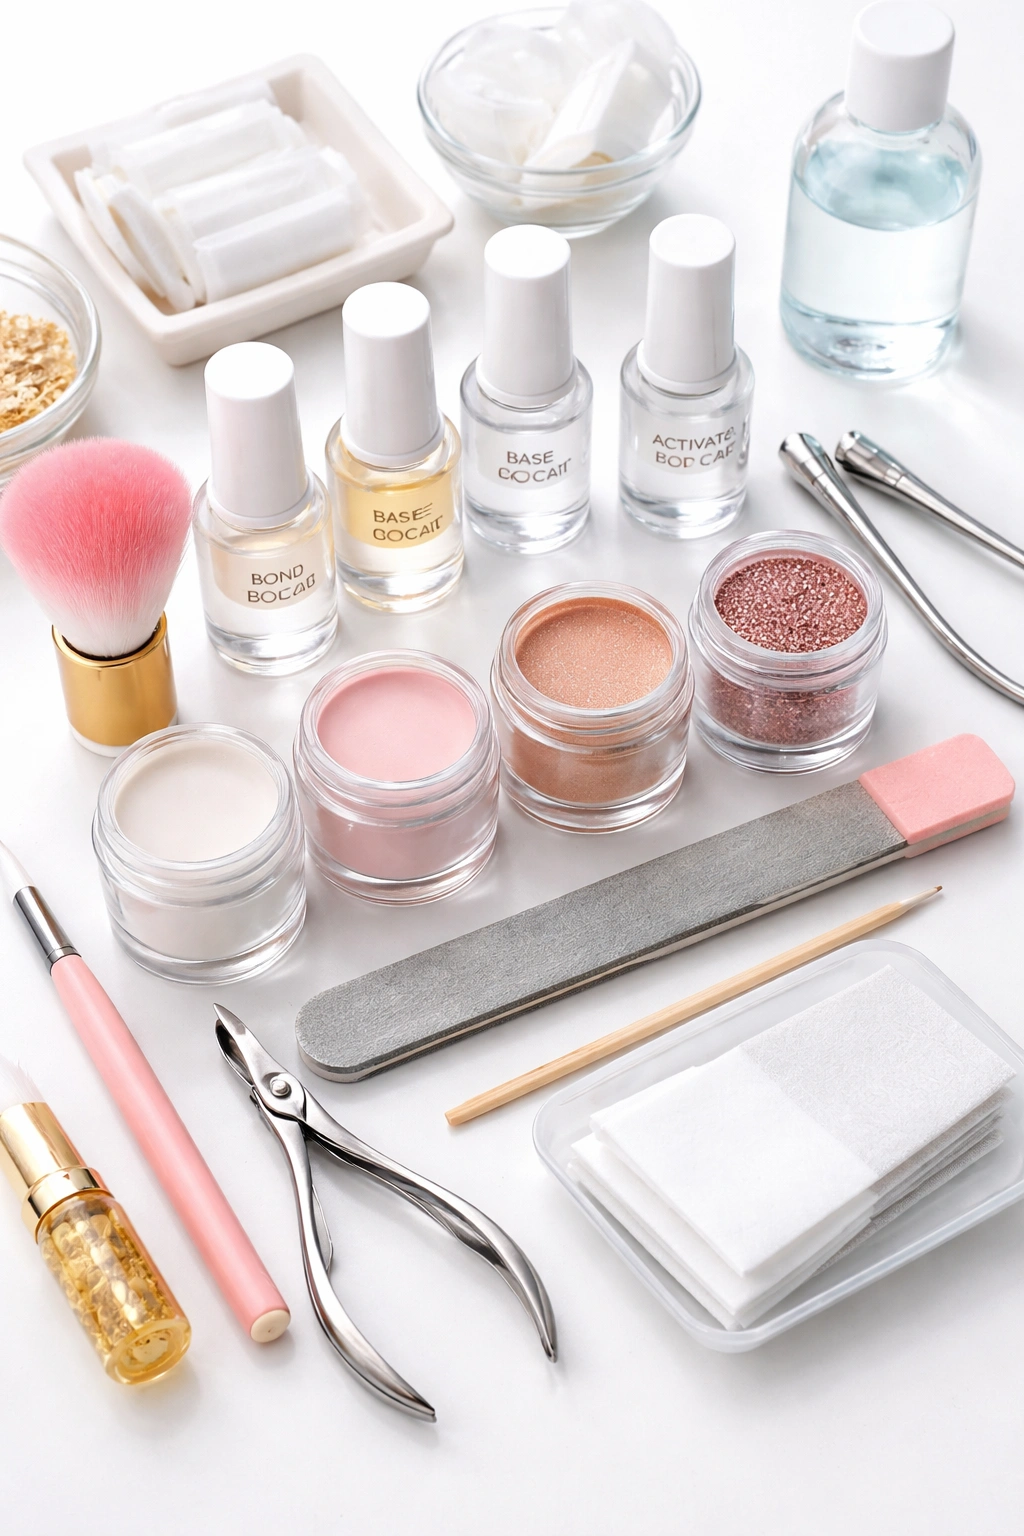
You don’t need much to get started with dip powder nails, but you do need the right items. A quality starter kit includes everything essential, though understanding each component helps you use them effectively.
Your starter kit should contain a bonding liquid (sometimes called bond or primer), a base coat, colored dip powders, an activator, a top coat, and cuticle oil. The bonding liquid dehydrates your nail and removes oils, creating a sticky surface for the powder to adhere to. The base coat is a quick-dry glue-like liquid that holds the powder. The activator is the chemical that hardens the powder layers. The top coat provides shine and protection.
Beyond what’s included in a starter kit, gather a few basic tools. You’ll need a nail file with a medium grit (around 100-180 grit works well), a nail buffer block with multiple grit sides, lint-free wipes or paper towels, rubbing alcohol, and a soft dusting brush. Many people find that a basic cuticle pusher or wooden stick is invaluable for cleaning excess powder away from cuticles, which is one of the most important steps that separates mediocre-looking nails from beautiful ones.
Optional but genuinely helpful additions include an orangewood stick (the pointed end is perfect for cuticle cleanup), a fluffy makeup brush for dusting off excess powder, and a nail drill if you want to speed up the filing process. You’ll also want old paper towels to line your work surface, since dip powder creates a mess during application and removal.
Understanding Your Nails Before You Start
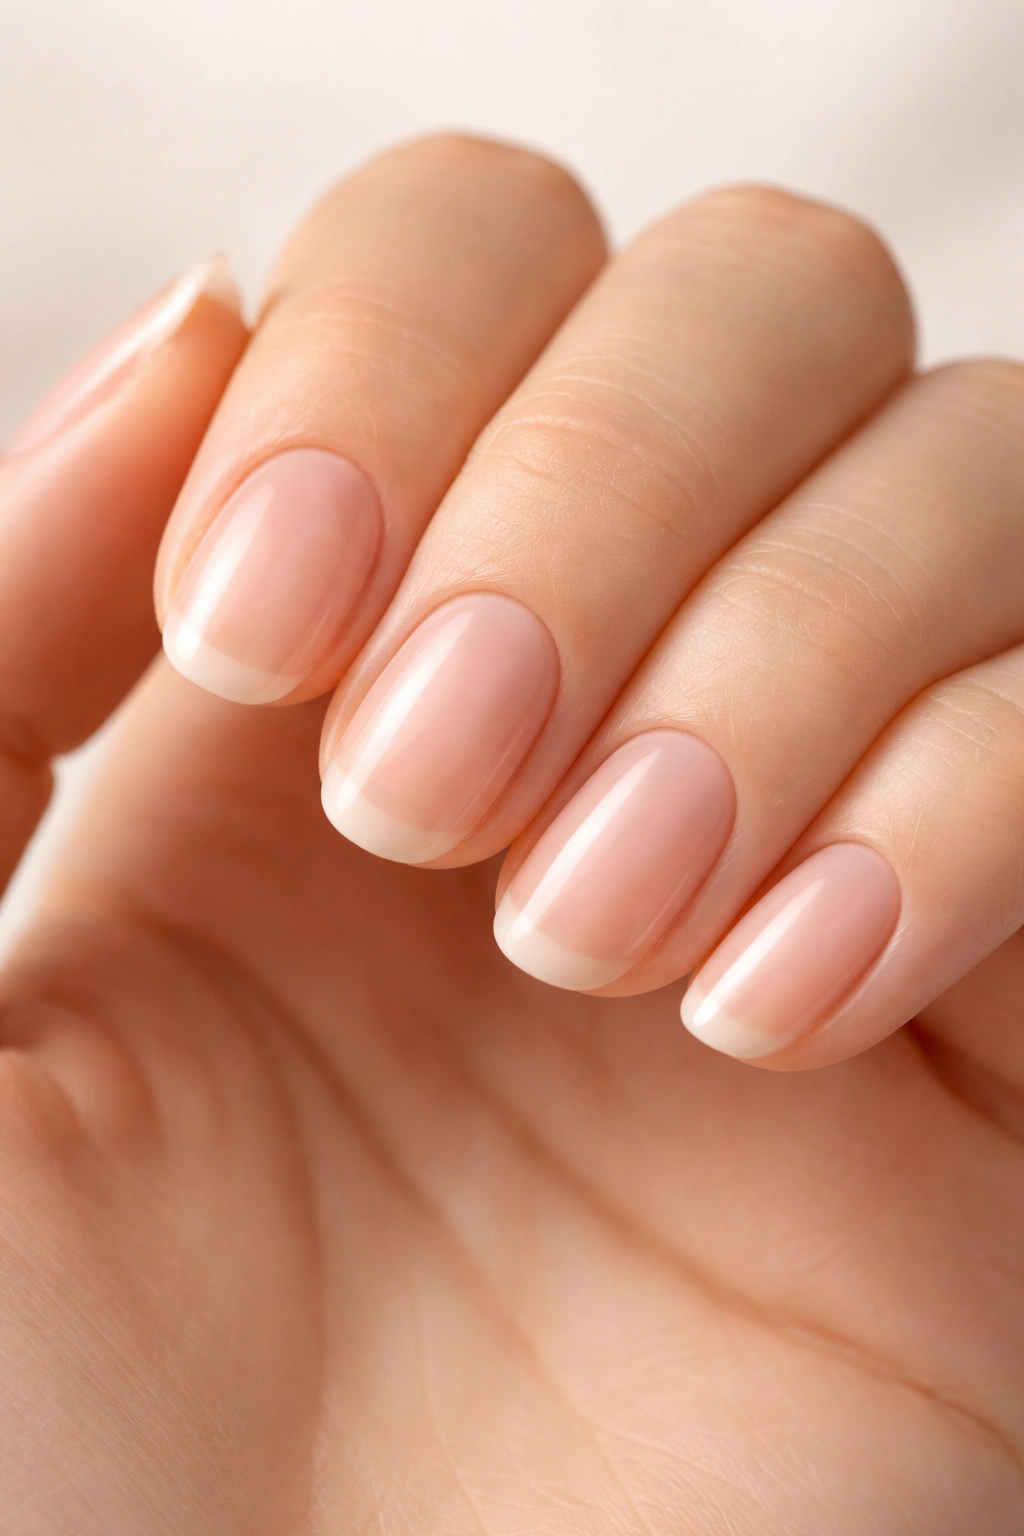
Your natural nails are the foundation for everything that comes next. Before you apply a single product, spend a moment understanding what you’re working with. Healthy nails are smooth, flexible, and free of ridges or peeling. If your nails are already weak, brittle, or peeling, you may want to give them a break between dip applications to allow them to recover.
The health of your nail bed matters significantly for adhesion. Nails with excess moisture or oil won’t hold powder well and may lift prematurely. If you have naturally oily nails or if you’ve recently moisturized your hands, that’s something to account for with extra thorough prep. Some people discover they’re sensitive to the chemicals in dip powder and experience what’s called “dip flu”—sneezing, stuffy nose, or watery eyes—after application. If this happens to you, working in a well-ventilated space and wearing a mask during application can help tremendously.
You also need to be realistic about your nail length and lifestyle. If you’re very active, work with your hands constantly, or play sports, you may want to build your nails slightly thicker for extra durability. If you have short natural nails and want them longer, you can use artificial tips or clever layering techniques, but starting with realistic expectations prevents frustration.
How to Properly Prep Your Nails for Success
Nail prep is where most first-time dippers make mistakes, yet it’s arguably the most important step in the entire process. Poor prep is the number one reason dip nails lift, pop off, or fail to last. Don’t skip this step or rush through it, because everything that comes after depends on a solid foundation.
Begin by washing your hands thoroughly with soap and warm water. This removes dirt, bacteria, and oils from your skin and nails. Pat your hands completely dry—moisture is the enemy of good adhesion. If you’ve recently applied hand lotion or cuticle oil, wash again to make sure there’s no residue left.
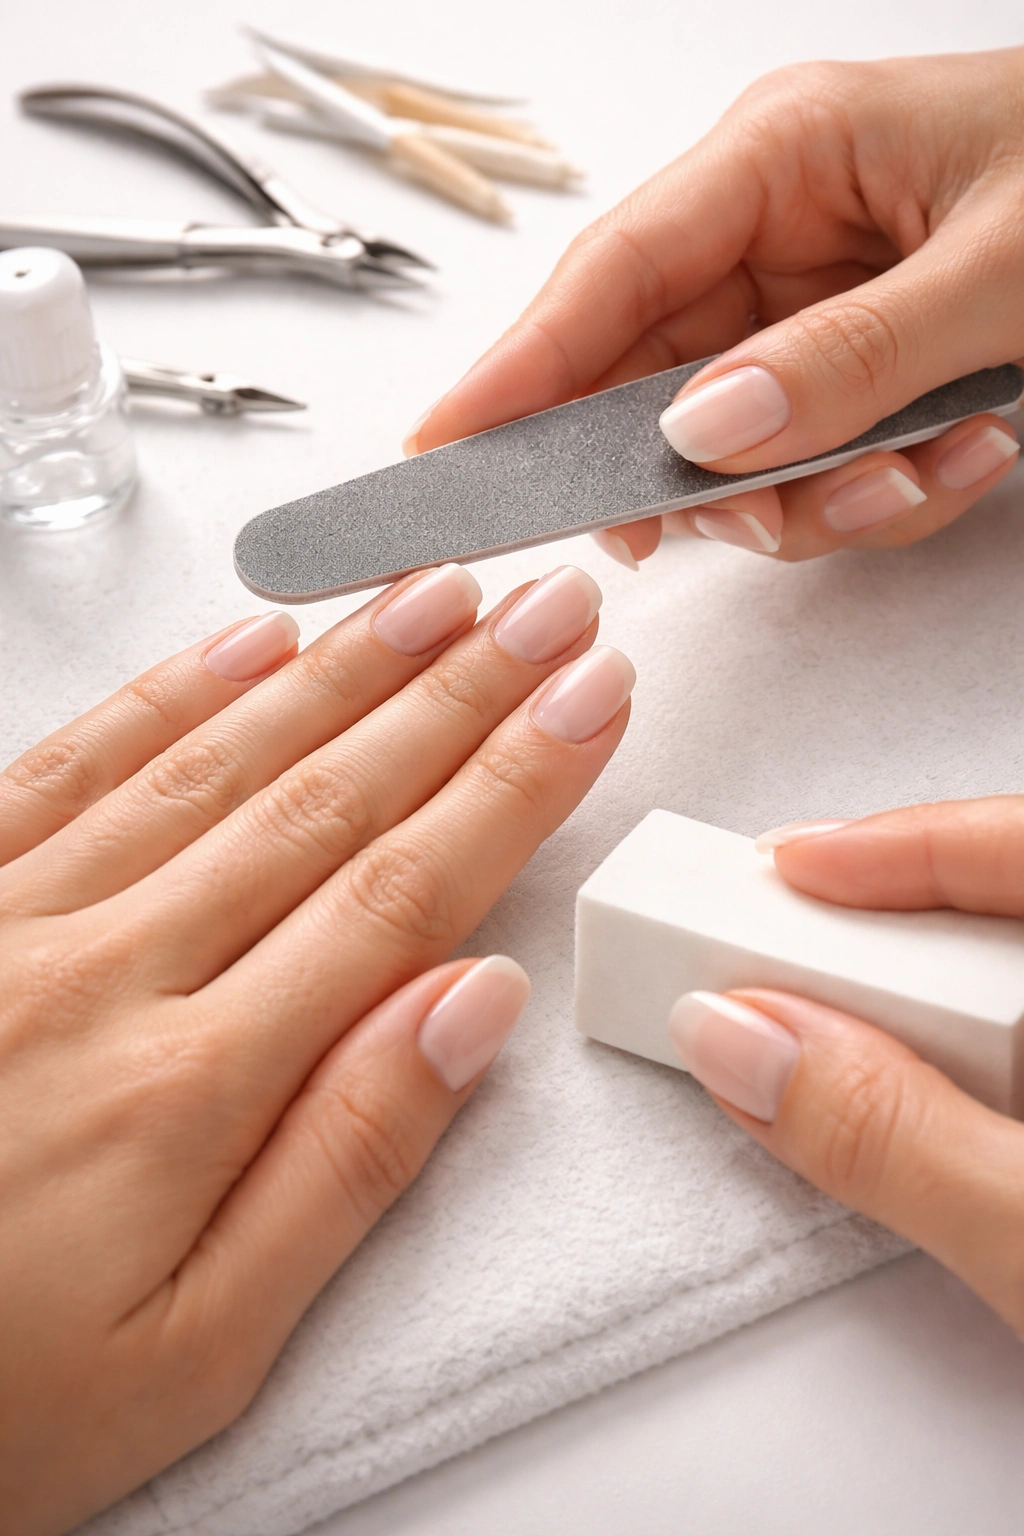
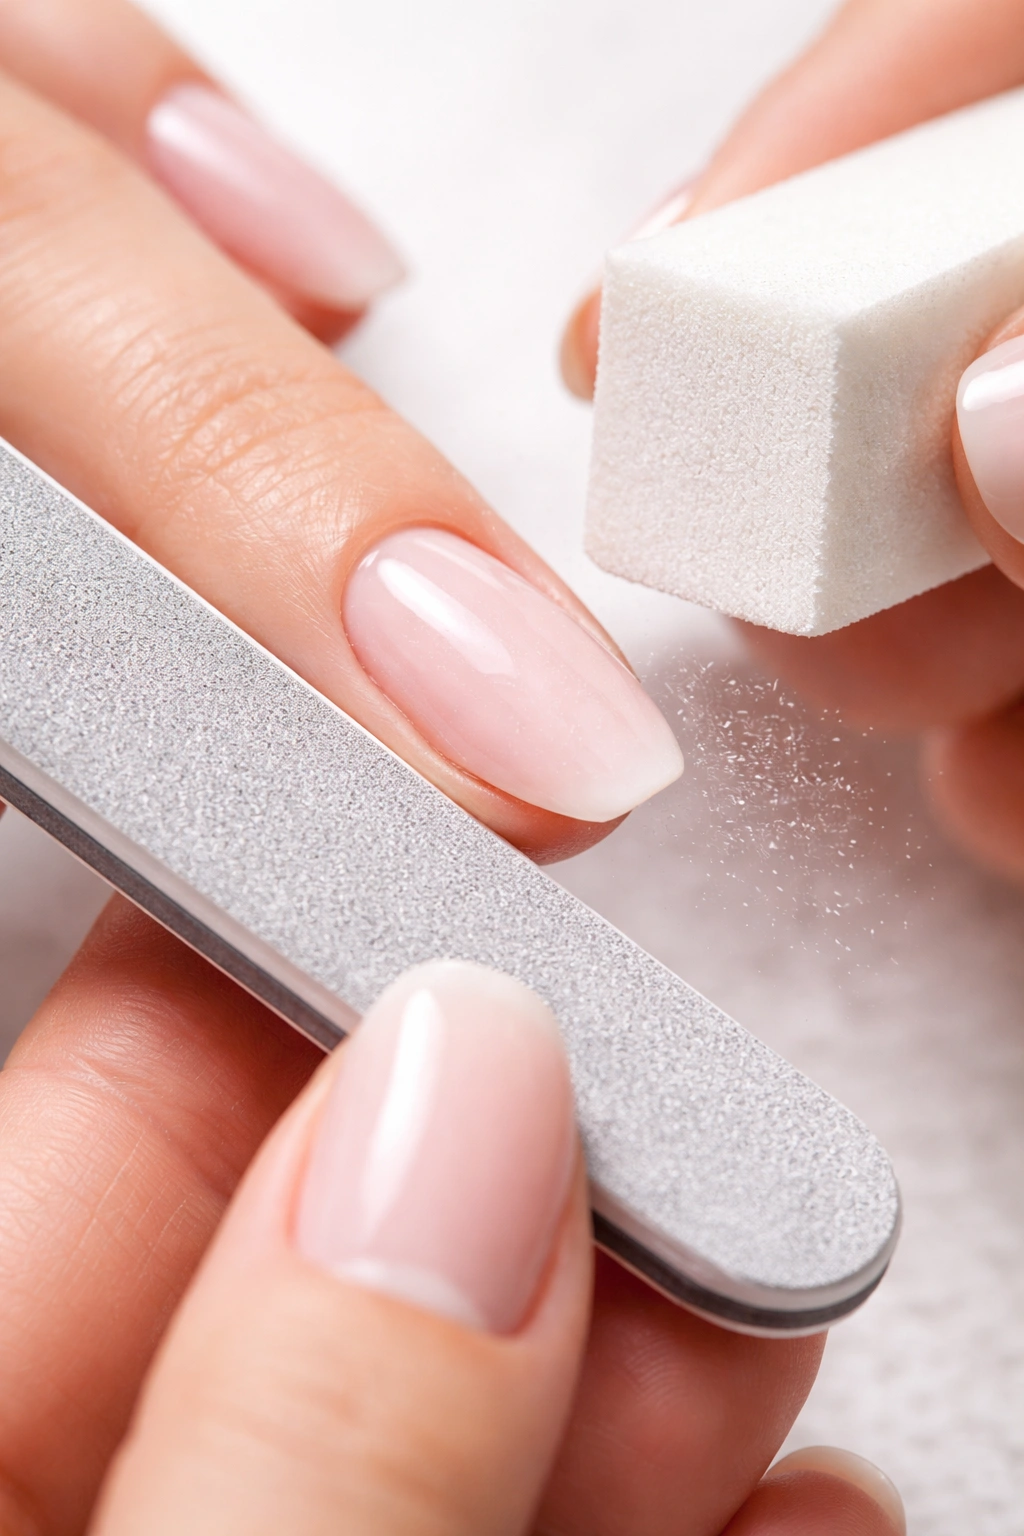
Using a medium-grit nail file, shape your nails into your desired shape. File in one direction rather than sawing back and forth, which can cause splitting and peeling. Round or squared shapes work beautifully with dip powder. Keep your nails at whatever length feels comfortable for your lifestyle—dip powder works equally well on short and long nails.
Once your nails are shaped, buff the entire nail surface to remove the shine. This seems simple, but it’s crucial. Buffing creates a slightly rough texture that gives the bonding liquid something to grip. Use gentle, even pressure across the whole nail surface. You’re not trying to sand your nails down; you just want to dull the glossy finish. After buffing, wipe away all dust with a dry cloth or paper towel.
Now comes the dehydration step. Push back your cuticles gently but firmly using a cuticle pusher. This isn’t optional—cuticles create a barrier between the dip powder and your nail bed, and leaving them in place guarantees early lifting. Once cuticles are pushed back, apply a nail dehydrator or rubbing alcohol to each nail with a lint-free wipe. Work quickly and methodically, making sure each nail is covered. Some people do this step twice for maximum dehydration.
Applying the Bond and Dehydrator
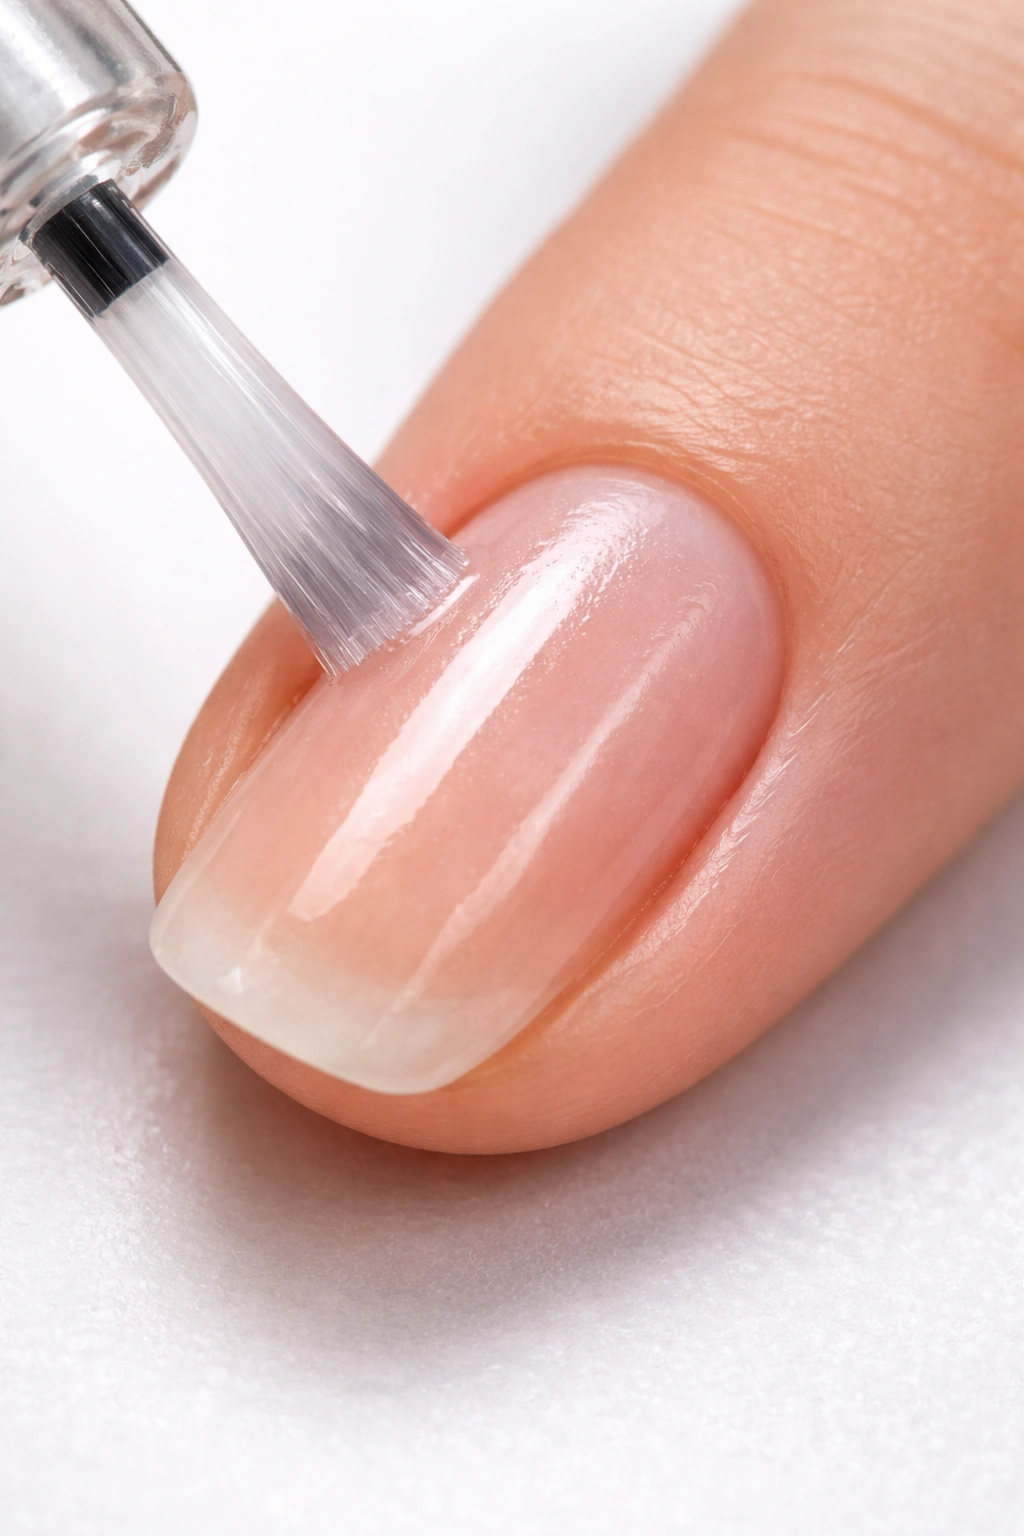
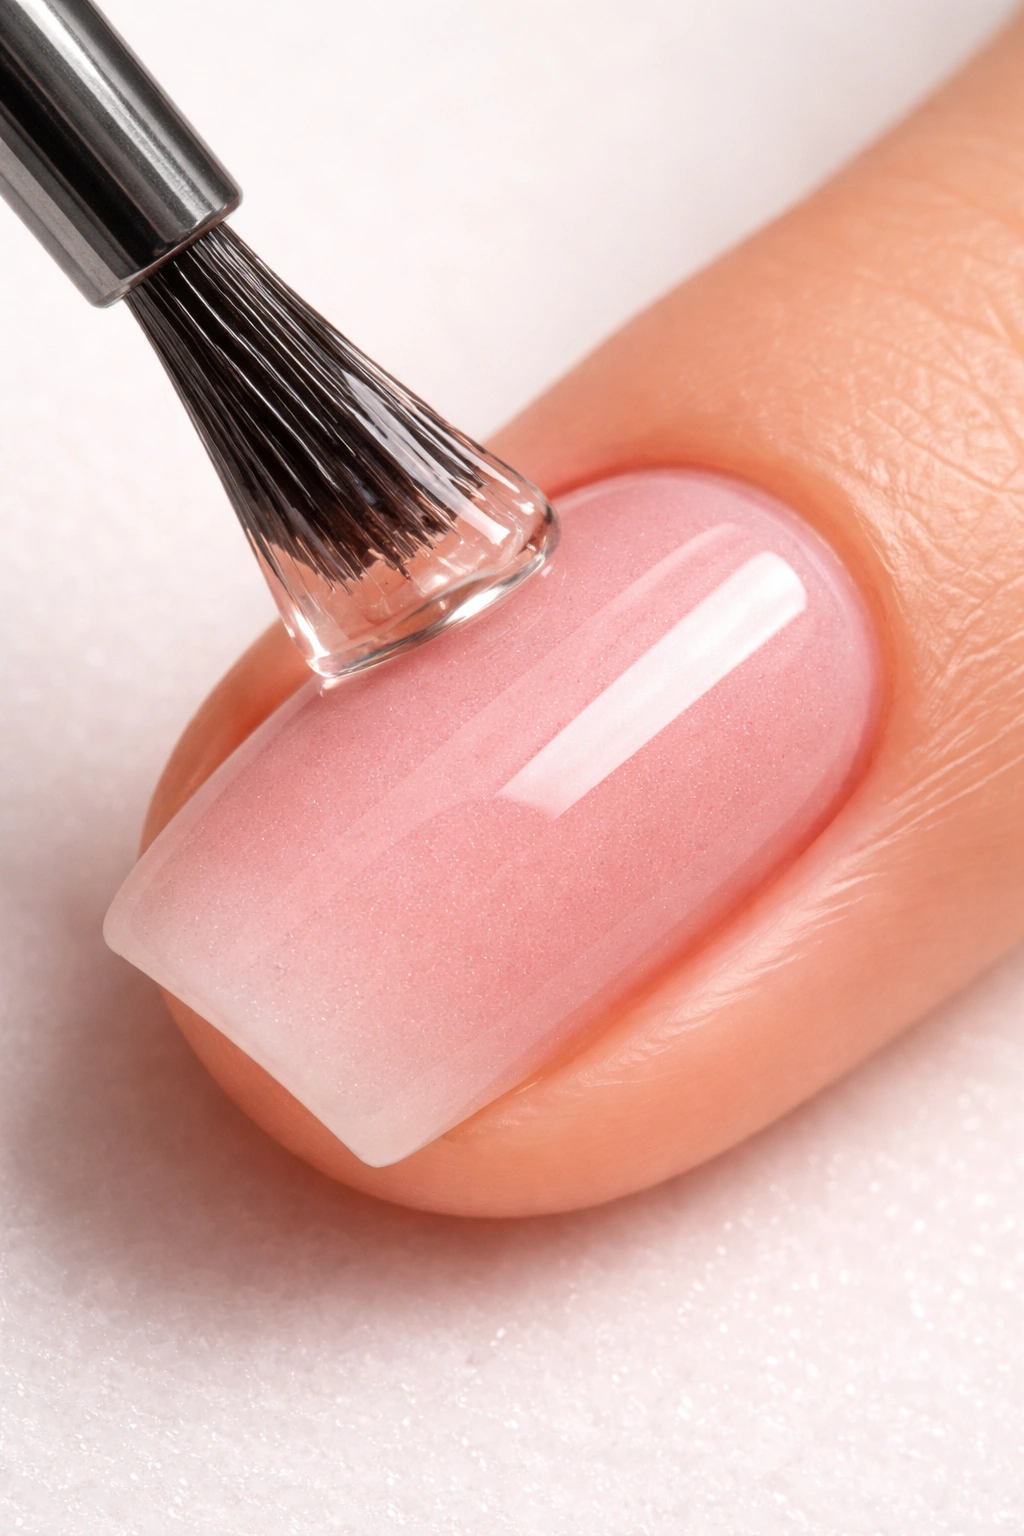
The bonding liquid is your secret weapon for making dip powder last. This product does what seems like magic—it creates a sticky, adhesive surface that powder clings to. Don’t skip this step, and don’t apply it sparingly. You want a complete, thin coat on your entire nail surface.
Apply the bond to one full nail at a time, stroking from cuticle to tip. Cover the whole nail bed without getting product on your skin or cuticles. If you accidentally apply bond to your skin, wipe it off immediately before it dries. Once applied, let the bond dry completely—usually 30 seconds to a minute. You’ll know it’s dry when it stops looking wet and feels slightly tacky to the touch.
Some people find that applying a second coat of bonding liquid improves results, especially if they’ve struggled with lifting in the past. This is a perfectly valid strategy. If you choose to do this, apply the second coat once the first one is completely dry.
Dipping Your First Layer: Building the Foundation
This is where the actual dipping begins. Work on one finger at a time—this is non-negotiable. If you try to apply base coat to multiple fingers before dipping, the liquid will dry and you’ll lose all that sticky adhesion that helps powder cling to your nail.
For your first layer, apply a thin coat of base liquid to about three-quarters of your nail, working from the cuticle area toward the tip. You’re not trying to cover the entire nail yet; you’re just creating a foundation layer. Thin is the operative word here—a thick glob of liquid will create bumps and an uneven surface. Stroke the liquid out gently toward the tip of your nail.
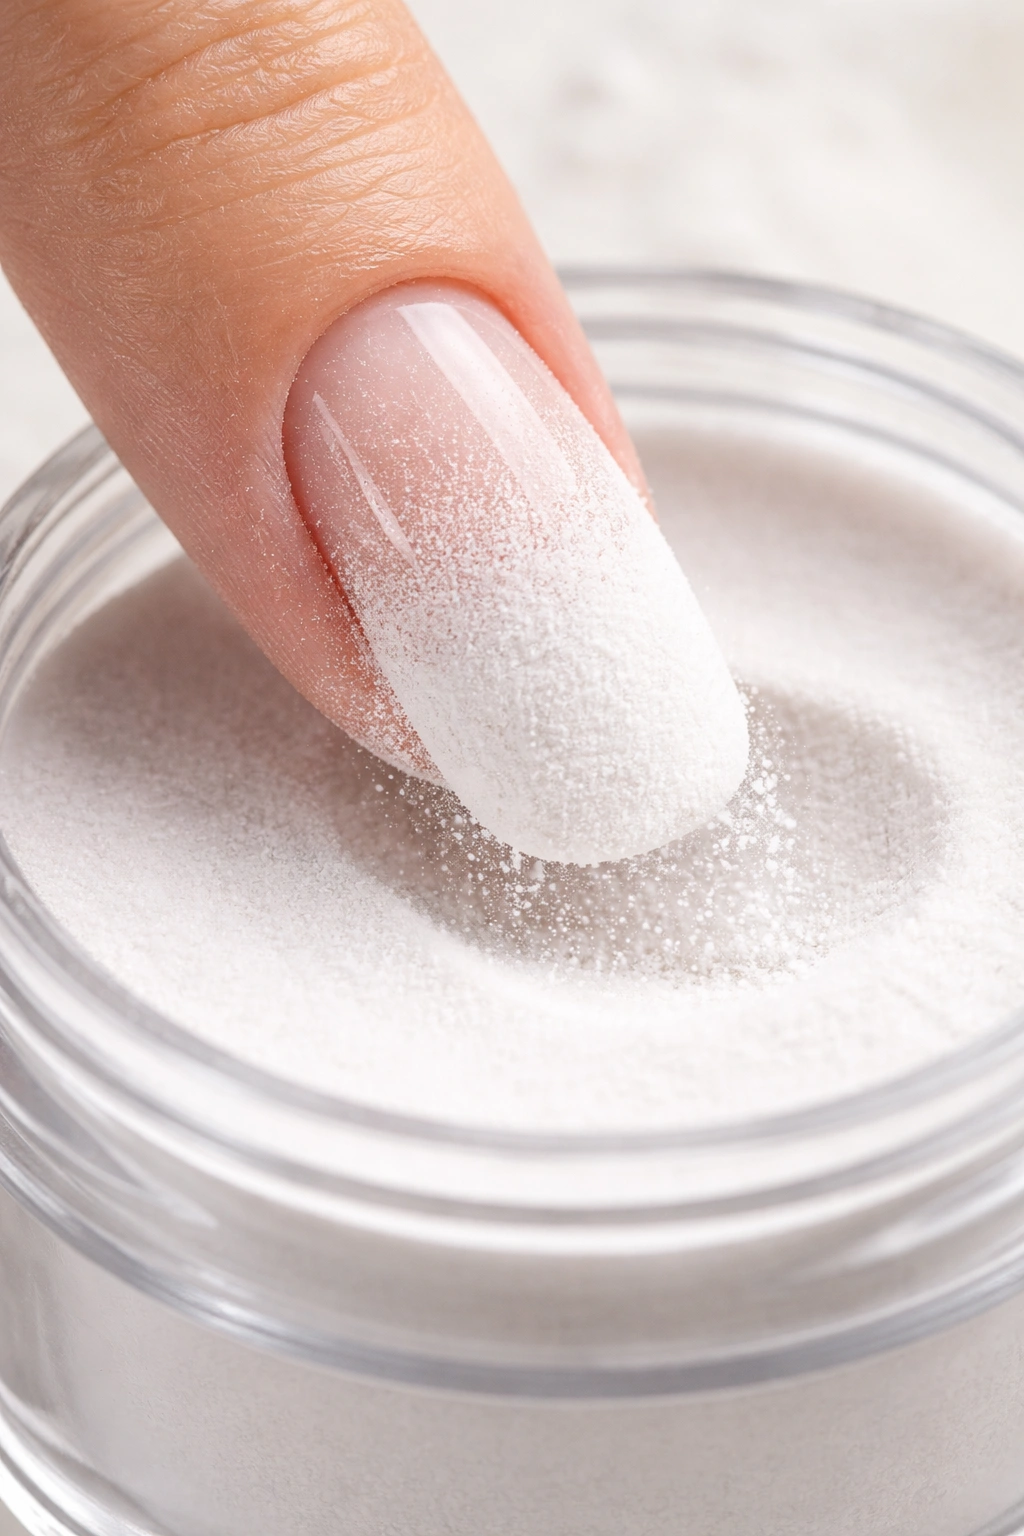
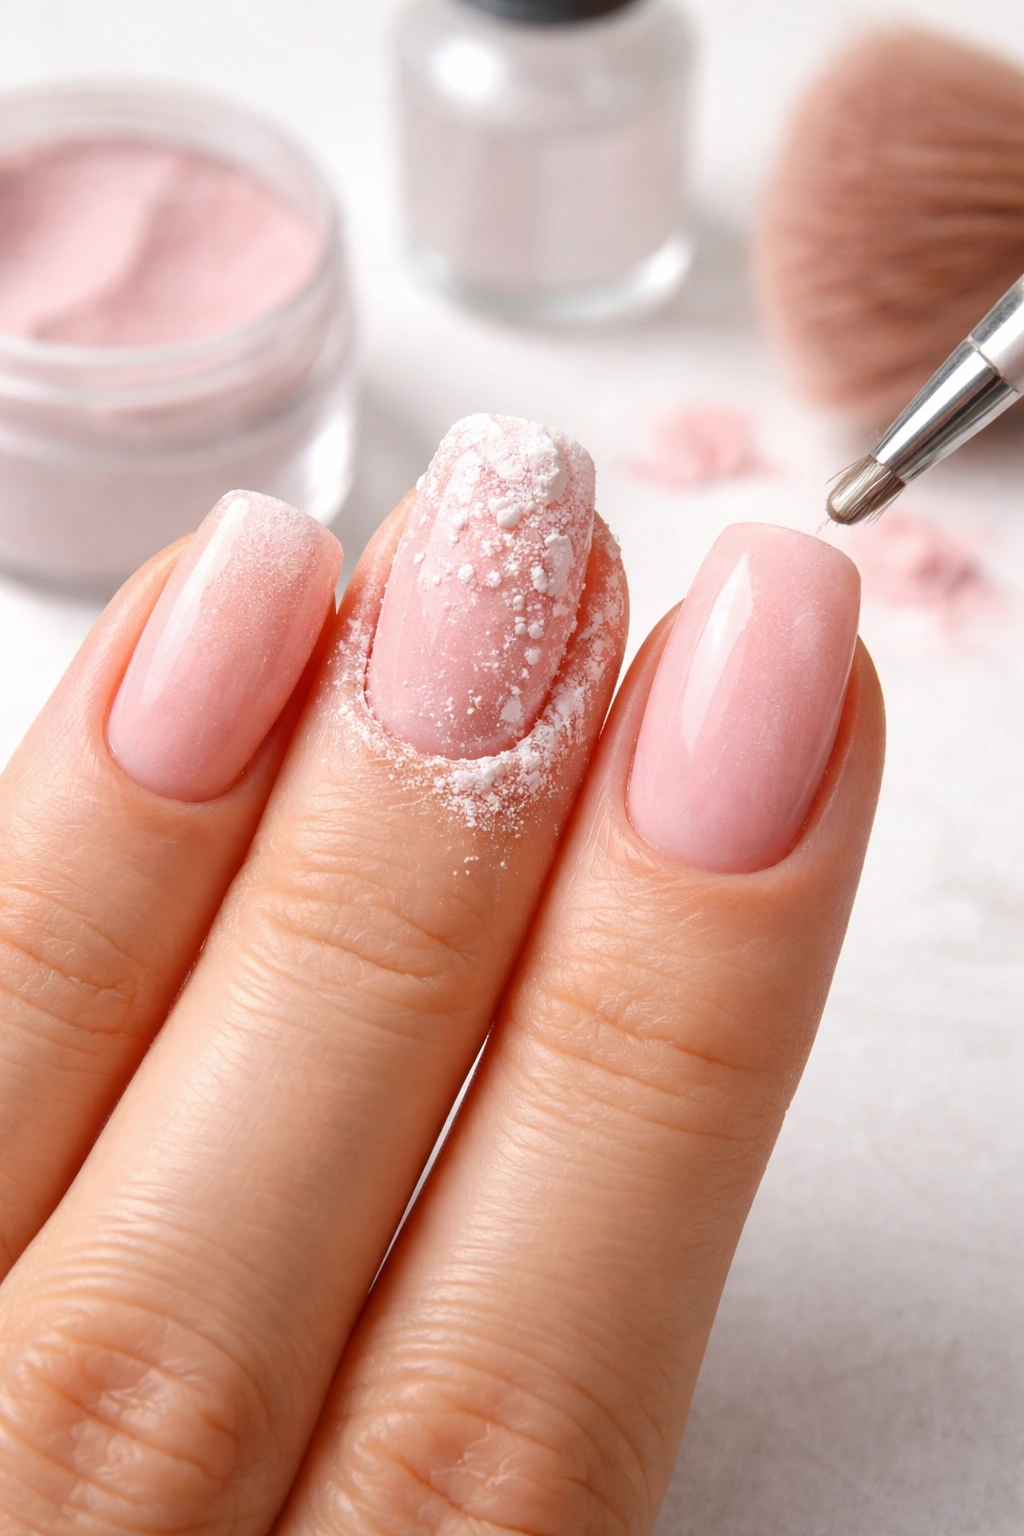
Immediately—and this means within seconds—dip your nail into your chosen powder at a 45-degree angle. Hold it in the powder for two to five seconds, allowing the particles to fully coat the wet liquid. Lift your finger out slowly, holding it at that same 45-degree angle. Tap your finger gently to remove loose powder, then use a soft brush to dust away excess powder from the nail surface and surrounding skin.
Creating the Perfect Apex for Durability
An apex might sound like a technical term, but it’s simply a thicker area built into the nail structure to add strength where it’s most needed. Creating a proper apex is what separates flimsy dip nails that break easily from durable ones that last weeks without damage.
The traditional apex method involves building the powder thicker as you move toward the center of the nail. For your first dip, you covered about half the nail. On your second dip (which you’ll do by applying another coat of base and dipping again), extend your base coat to about three-quarters of the nail, creating a thicker area in the middle. On your third dip, cover the entire nail with base coat and dip fully.
This stacking technique means the thickest part of your nail is near the center, tapering toward the tip and the free edge. This distributes stress and prevents breakage right at the free edge, which is where nail damage typically occurs. The apex isn’t just about durability—it also helps your nails curve beautifully and look more natural and elegant.
An alternative approach, sometimes called the TikTok method, reverses this order. You cover the top third of the nail on the first dip, two-thirds on the second, and the whole nail on the third. This creates more bulk at the tips, which some people prefer for shorter manicures. Experiment with both methods to see which look and feel better for your nails.
Adding Your Second Color Layer
Once you’ve established your foundation with the apex, it’s time to add your actual color. This is where your manicure goes from clear to gorgeous. The color application follows the same principle as your foundation layer—multiple thin coats are better than one thick coat.
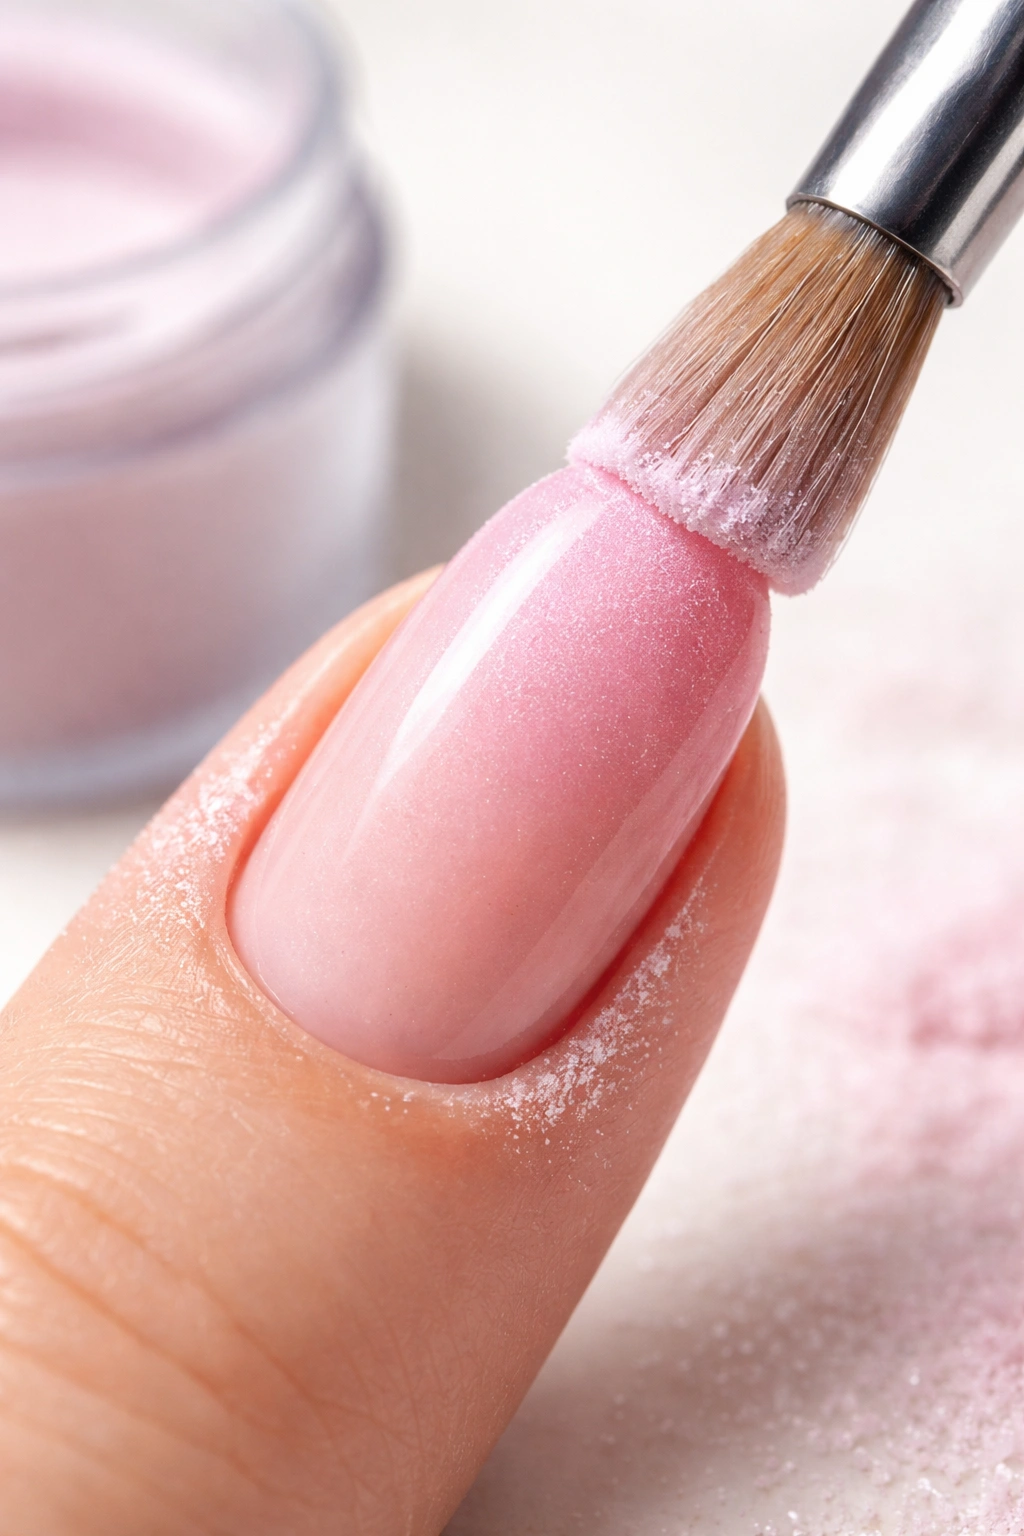
Apply your first color layer to about three-quarters of the nail, dip, brush off excess, and clean around the cuticles with your cuticle stick or orangewood stick. This cleanup step is absolutely critical and worth doing carefully. Use the pointed end of your stick to gently trace around the cuticle line, scooping out any powder that crept onto your skin. Excess powder around the cuticles causes lifting and creates a sloppy appearance.
Apply your second color coat to almost the entire nail, just a tiny hairline distance from the cuticle. Dip, remove excess, and clean cuticles again. On your third coat, cover the full nail including right up to the cuticle line. After each layer, brush gently and clean around cuticles thoroughly.
How many color coats you need depends on how pigmented your powder is and how opaque you want the color. Most people do two to three layers total. If after two layers you can see a bit of the clear layer underneath or the color looks translucent, add another layer. The goal is solid, opaque color that looks professional and finished.
The Clear Powder Seal Layer Explained

After you’ve built your color to the opacity and thickness you want, many people add a final clear powder layer. This isn’t always necessary, but it serves an important purpose—it protects your beautiful color layer when you buff and shape your nails.
To apply a clear layer, repeat the exact same process you used for color: apply thin base coat (covering most or all of the nail depending on which coat you’re on), dip into clear powder, remove excess, and clean cuticles. The clear powder creates an extra-durable shell on top of your color, which means when you file and buff later, you’re primarily working on this clear layer instead of risking damaging your color underneath.
Some people skip the clear layer and just polish their color layers directly. This works fine if you’re gentle during the filing and buffing stage. But if you’re new to dip nails or nervous about your filing technique, that clear seal layer is cheap insurance that buys you peace of mind.
Activating and Hardening Your Manicure
The activator is the product that transforms your soft, flexible powder layers into a hard, durable shell. Without activator, your nails would stay gummy and never fully harden. Think of activator as the curing liquid that cross-links all those powder particles together.
Once you’ve applied all your powder layers and are happy with the coverage, it’s time to activate. Apply activator generously to all five nails, making sure every layer is thoroughly saturated. You want the liquid to soak through all the powder layers, not just sit on the surface. Don’t be stingy with activator—use enough that the nails look wet and glistening.
Let the activator dry completely. This usually takes two to three minutes. You’ll know it’s fully cured when you tap your nail and hear a distinct clicking sound, and when the surface feels hard and solid rather than tacky or soft. Some people apply a second coat of activator for extra hardening, which is fine and sometimes helpful.
Filing, Shaping, and Buffing for Perfection
Once your manicure is fully hardened, you might notice the surface is bumpy, uneven, or has ridges. This is completely normal. Filing and buffing transform those rough nails into smooth, polished-looking ones. This step makes a huge difference in how professional your nails look.
Using a medium-grit file, shape your nails into your desired silhouette. File the sides to create straight edges or rounded corners, depending on your preference. File the tip to create the length and shape you want. Work one nail at a time and check your progress frequently to avoid filing too much away.
Once your nails are shaped, use a nail buffer to smooth the entire surface. Start with a coarser grit buffer (around 100 grit) and work your way to finer grits. Buff in one direction rather than sawing back and forth. This process removes file marks and creates a smooth canvas for your top coat. The more you buff, the smoother and shinier your final nails will be.
After buffing, brush away all dust and wipe your nails with a lint-free wipe or rubbing alcohol to remove any remaining particles. Your nails should feel silky-smooth to the touch. If you feel any rough spots or ridges, go back and buff those areas more.
Applying the Final Top Coat for Shine
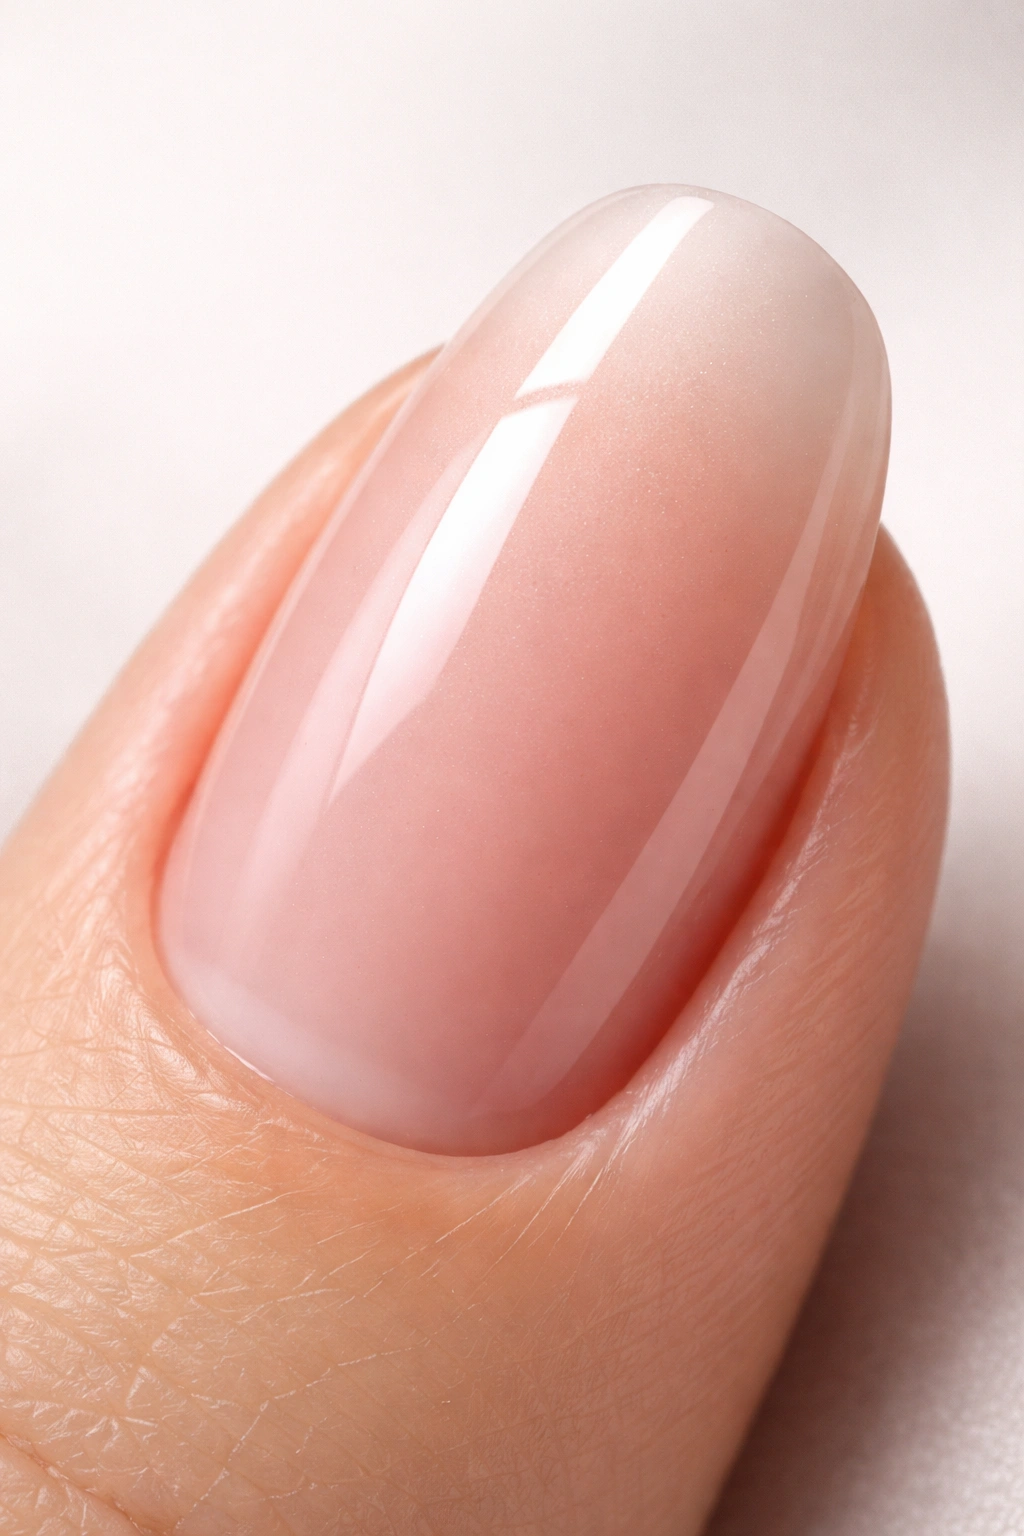
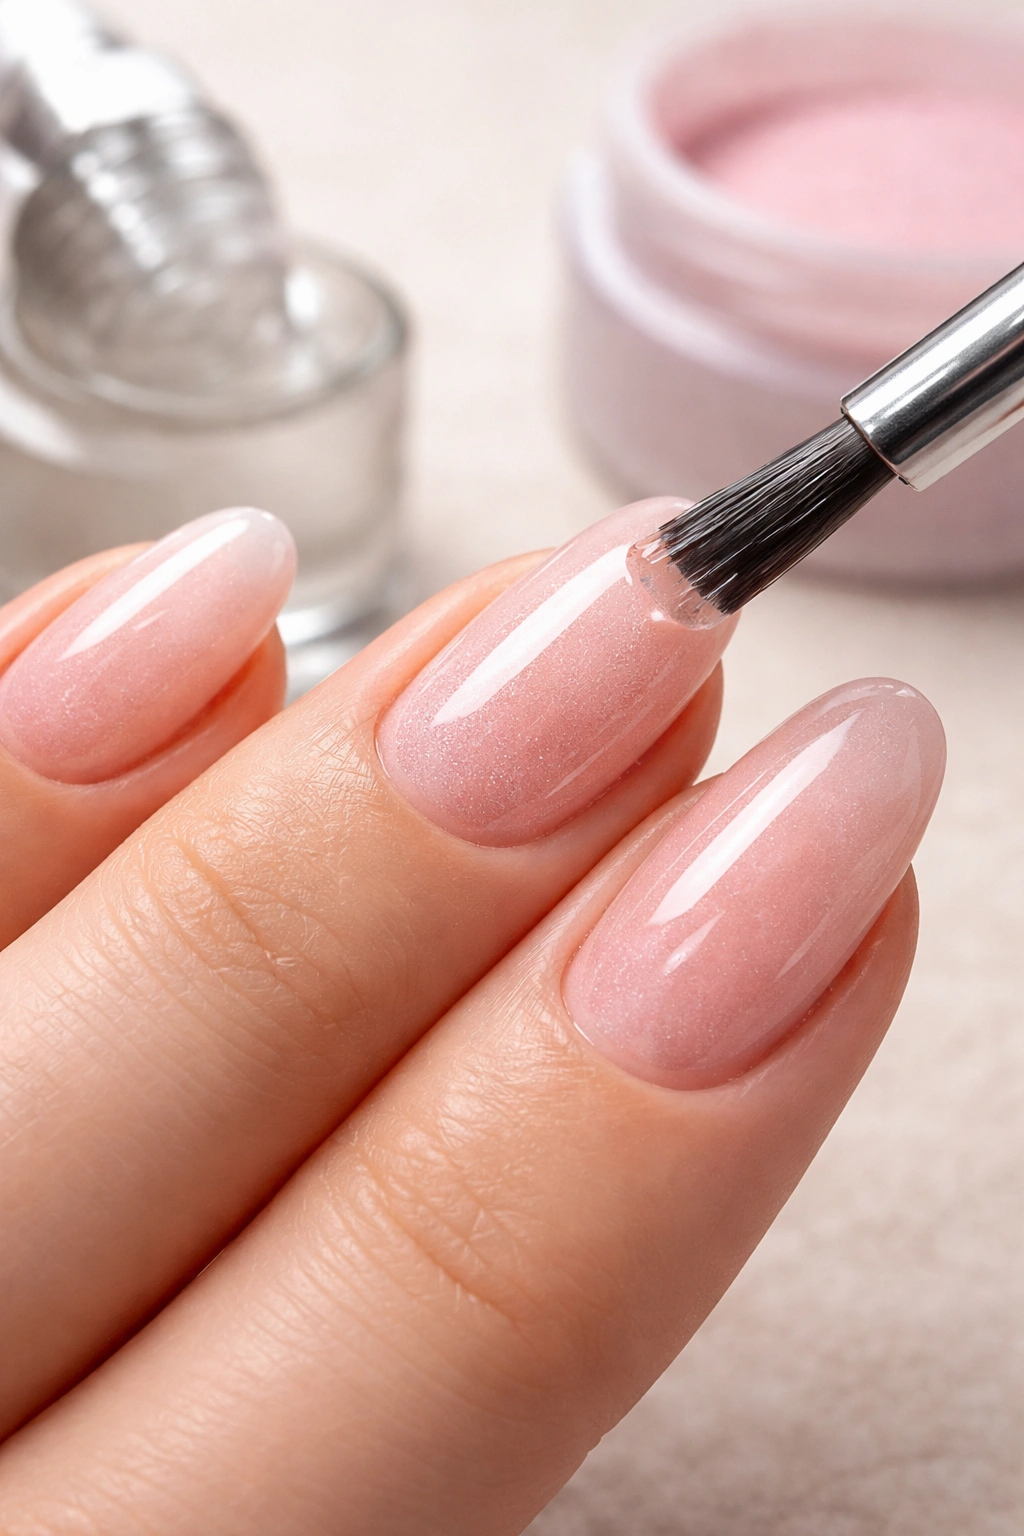
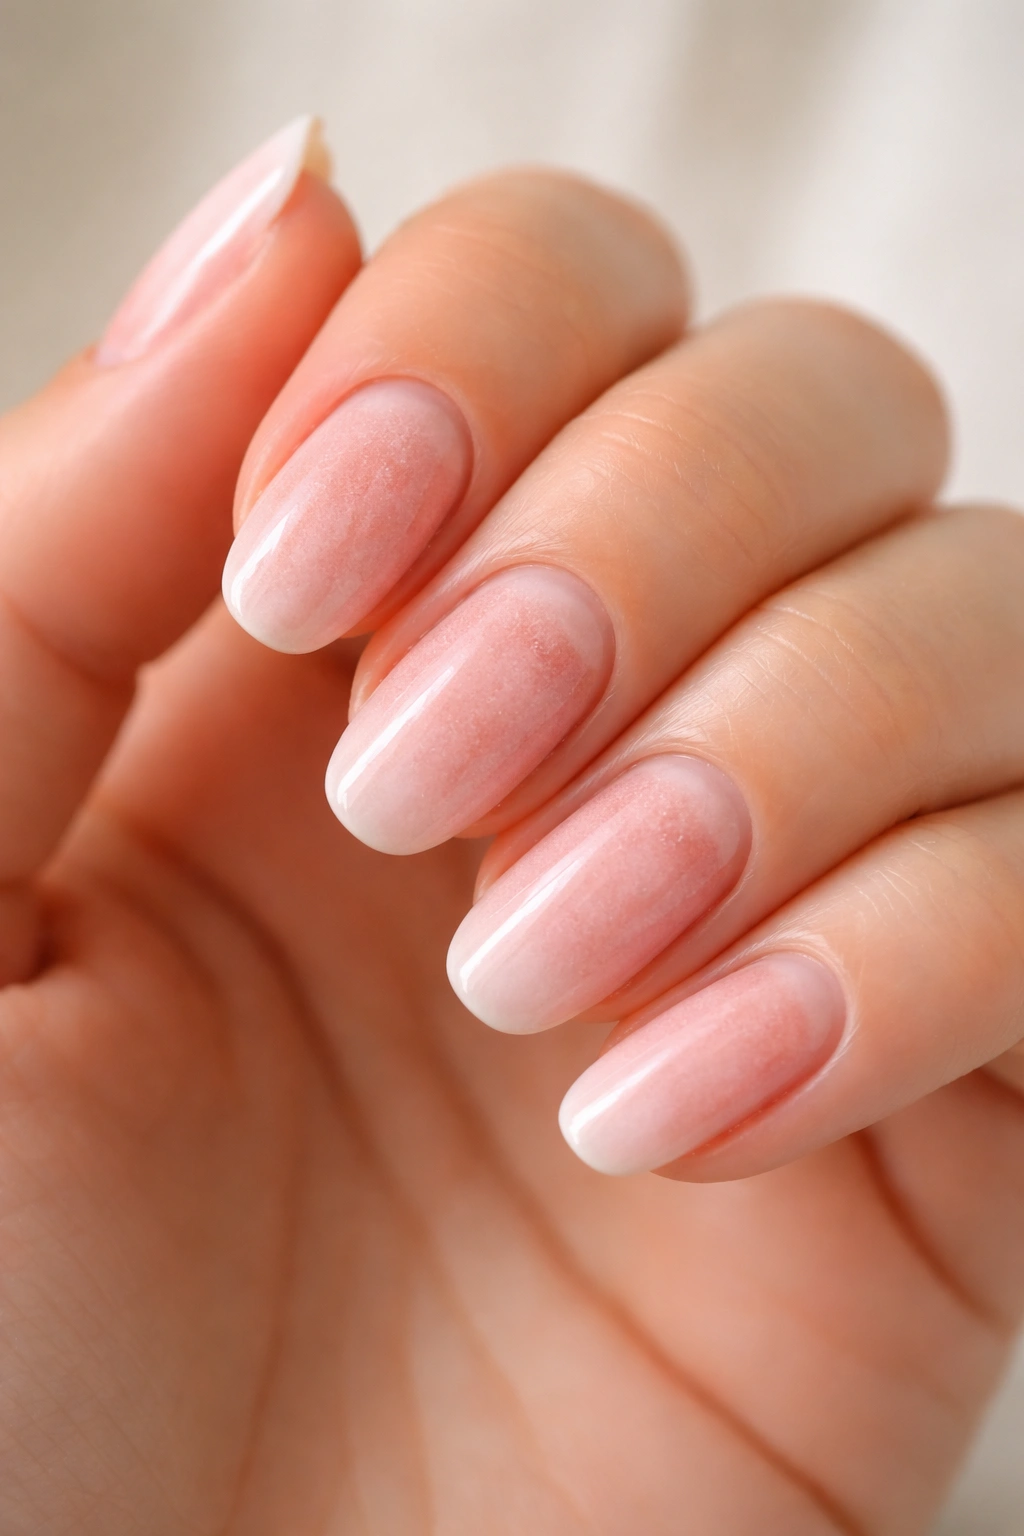
The top coat is what gives your nails that gorgeous, glass-like shine. Don’t skip this step—it’s not just cosmetic; it also protects your manicure and extends its lifespan. Apply top coat in quick, light strokes using the brush that comes with your kit.
For your first coat, apply a thin layer across all five nails. This doesn’t need to be perfect or completely even. Allow it to dry for about one to two minutes. Apply a second coat more carefully and precisely, making sure you cover the entire nail including the very tip. “Capping” the edge—applying product over the very tip of the nail—is important for durability. It seals the edge and prevents the manicure from lifting from that vulnerable spot.
Let the top coat dry completely, at least two to three minutes. Your nails should be completely hard and no longer tacky. If you accidentally apply too much top coat and your brush starts hardening, that’s a sign the liquid has been contaminated with activator or powder. Simply wipe the brush thoroughly on a lint-free wipe before continuing.
Troubleshooting Common Mistakes
Even experienced dippers sometimes encounter issues. Understanding what goes wrong and how to fix it makes the learning curve much gentler.
Bumpy or uneven nails usually indicate you’re applying too-thick base coats. Remember to use thin, even strokes and let each layer dry before applying the next. If you already have bumpy nails, extra buffing can help smooth them out. Gummy or sticky nails that won’t harden mean your activator isn’t penetrating all the layers. Apply more activator and give it extra time to dry. If you have very thick layers, you might need to apply activator and wait, then apply another coat.
Lifting at the cuticle line is the most common complaint, and it almost always comes back to prep. Make sure you’re pushing back cuticles completely, buffing thoroughly, dehydrating well, and carefully cleaning excess powder away from the cuticle line after each dip. Don’t apply powder directly on your skin or cuticles. If you’re prone to lifting, consider using a protein bonder or bondaid product for extra grip.
Powders that look clumpy or have chunks suggest the powder jar has settled or become compacted. Before using any dip powder, shake the closed jar vigorously for several seconds. Some people also stir the powder with a clean tool before use. Don’t use old, dried-up powder—if a jar smells off or looks separated, it’s time to replace it.
Air bubbles under the powder usually mean you applied too much base coat or dipped too quickly before the liquid fully set. Slow down your process. Apply a thin base coat, wait a second for it to become tacky, then dip slowly and deliberately.
How Long Your Dip Manicure Will Last
With proper application and care, your dip powder manicure should last two to four weeks without chipping. Some people report their manicures lasting even longer if they use exceptional technique and treat their nails gently. The real-world lifespan depends on how you live your life and how well you take care of your nails.
If you’re rough on your hands—playing sports, doing heavy manual work, or constantly exposing your nails to water and harsh chemicals—you might see some growth and minor wear after two weeks, though the manicure typically stays intact. If your lifestyle is gentler, you might easily get three or even four weeks without significant damage.
The most common sign that your manicure is aging isn’t chipping—it’s nail growth. Your natural nail grows underneath the dip layer, creating a visible gap between your cuticle and the powder. This looks less polished than a fresh manicure but doesn’t mean the dip itself has failed. Most people remove and reapply their manicure when they notice this growth.
Some manicures pop off suddenly in chunks rather than gradual wearing. This almost always indicates a prep or application issue—insufficient buffing, incomplete dehydration, or powder applied over cuticles. The good news is that each manicure teaches you something, and your technique improves with practice.
Keeping Your Nails Healthy Between Applications
Dip powder is gentler on your nails than acrylics or gel, but your natural nails still need breaks and proper care to stay healthy. Between manicures, apply cuticle oil regularly, especially before bedtime. This keeps your nail beds hydrated and your cuticles from becoming dry and painful.
When it’s time to remove your dip manicure, never pick or peel them off. This damages your natural nail underneath and defeats the purpose of using a gentler enhancement. Instead, use pure acetone and soak your nails for five to ten minutes (soaking longer accelerates removal). File away the top layer, then soak and gently file until the powder naturally separates. This process is gentle and takes about fifteen minutes.
Give your nails a one-week break between manicures if possible. This allows them to breathe and recover. If you can’t go without a manicure, at least make sure your removal process is gentle and that you apply cuticle oil religiously during your break.
Pay attention to how your nails respond to dip powder. If they become thin, weak, or peeling, that’s a sign you need longer breaks between applications or that the dip system might not be ideal for you. Some people’s nails respond differently to different products, and that’s completely normal.
Final Thoughts
Learning to apply dip powder nails at home successfully isn’t complicated—it just requires understanding why each step matters and doing it with care and intention. The difference between a manicure that lasts three weeks and one that lasts three days often comes down to whether you buffed thoroughly during prep and cleaned your cuticles carefully after each dip.
Your first attempt might not be perfect, and that’s completely okay. Dip powder is actually quite forgiving, and most imperfections buff away or become invisible once you apply top coat. By your third or fourth manicure, you’ll start recognizing what works for your individual nails and developing a rhythm that takes less than an hour.
The real magic of dip powder nails is that you get the durability and look of professional salon nails for a fraction of the cost and with complete control over your design. You can refresh whenever you want, experiment with colors without commitment, and enjoy glossy, beautiful nails without the expense or time commitment of frequent salon visits. That’s worth the initial learning curve.
