

Ombré nails are one of those nail trends that look absolutely stunning in photos but somehow seem intimidating to attempt at home. You’ve probably scrolled through endless inspiration images—soft pastels melting into deep jewel tones, dramatic transitions from white to nude, glittery tips fading to bare nail. The good news? Creating that gorgeous gradient effect yourself is far more achievable than you think, and you don’t need expensive equipment or years of experience. What you do need is the right technique, quality materials, and a little patience while you develop your blending skills.
The magic of ombré nails lies in their versatility. They work with bold, saturated colors just as well as they do with delicate pastels. You can create a classic French ombré, a vertical gradient, a horizontal fade, or even incorporate glitter and chrome elements. Unlike some intricate nail art designs that require steady hands and professional tools, ombré nails reward you for working slowly and layering gradually. In fact, that’s the secret most nail techs won’t tell you—it’s not about one perfect application, it’s about building the gradient thoughtfully across multiple thin coats.
The method you choose depends on what materials you have on hand, the type of polish you’re using (regular vs. gel), and your personal comfort level. Some approaches use makeup sponges, others rely on specialized brushes, and advanced techniques involve clearing gels and self-leveling products. By the end of this guide, you’ll understand all three primary methods so well that you can pick whichever feels most natural for your skill level and available tools.
What Ombré Nails Actually Are and Why This Trend Endures
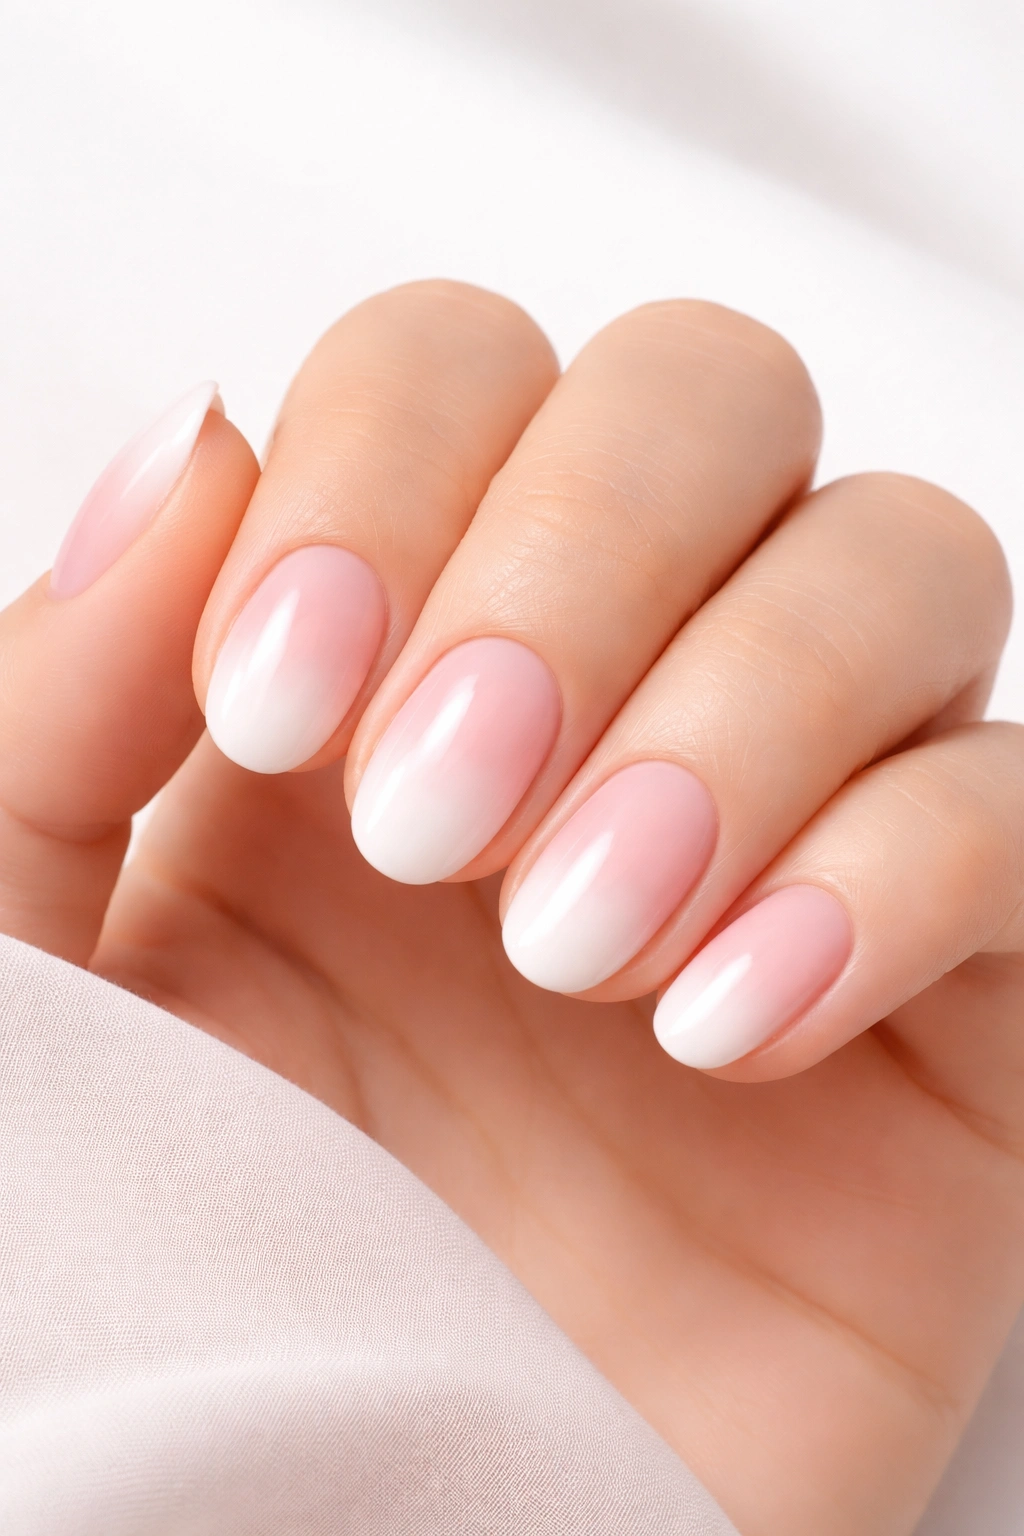
Ombré nails create a color gradient—a smooth transition between two or more shades that flows from light to dark (or vice versa) across the nail surface. The French word “ombré” literally means “shaded,” and that’s exactly what you’re creating: a shaded, blended effect that appears to have depth and dimension.
What makes ombré so special compared to other nail art is that the gradient itself becomes the entire design. You’re not painting pictures, stamping patterns, or using stencils. Instead, you’re manipulating color opacity and placement so that two distinct hues merge seamlessly into each other, with no visible line between them. When done well, it looks like someone airbrused your nails at a high-end salon.
The reason ombré has stuck around for years (rather than fading like many nail trends) is because it’s genuinely flattering and works across aesthetic preferences. A soft pink-to-white ombré feels elegant and romantic. A black-to-gold gradient reads as edgy and sophisticated. Pastel rainbow ombré screams playful creativity. You can match ombré nails to virtually any outfit, occasion, or mood by simply changing your color choices.
Essential Materials and Tools for At-Home Ombré Nails
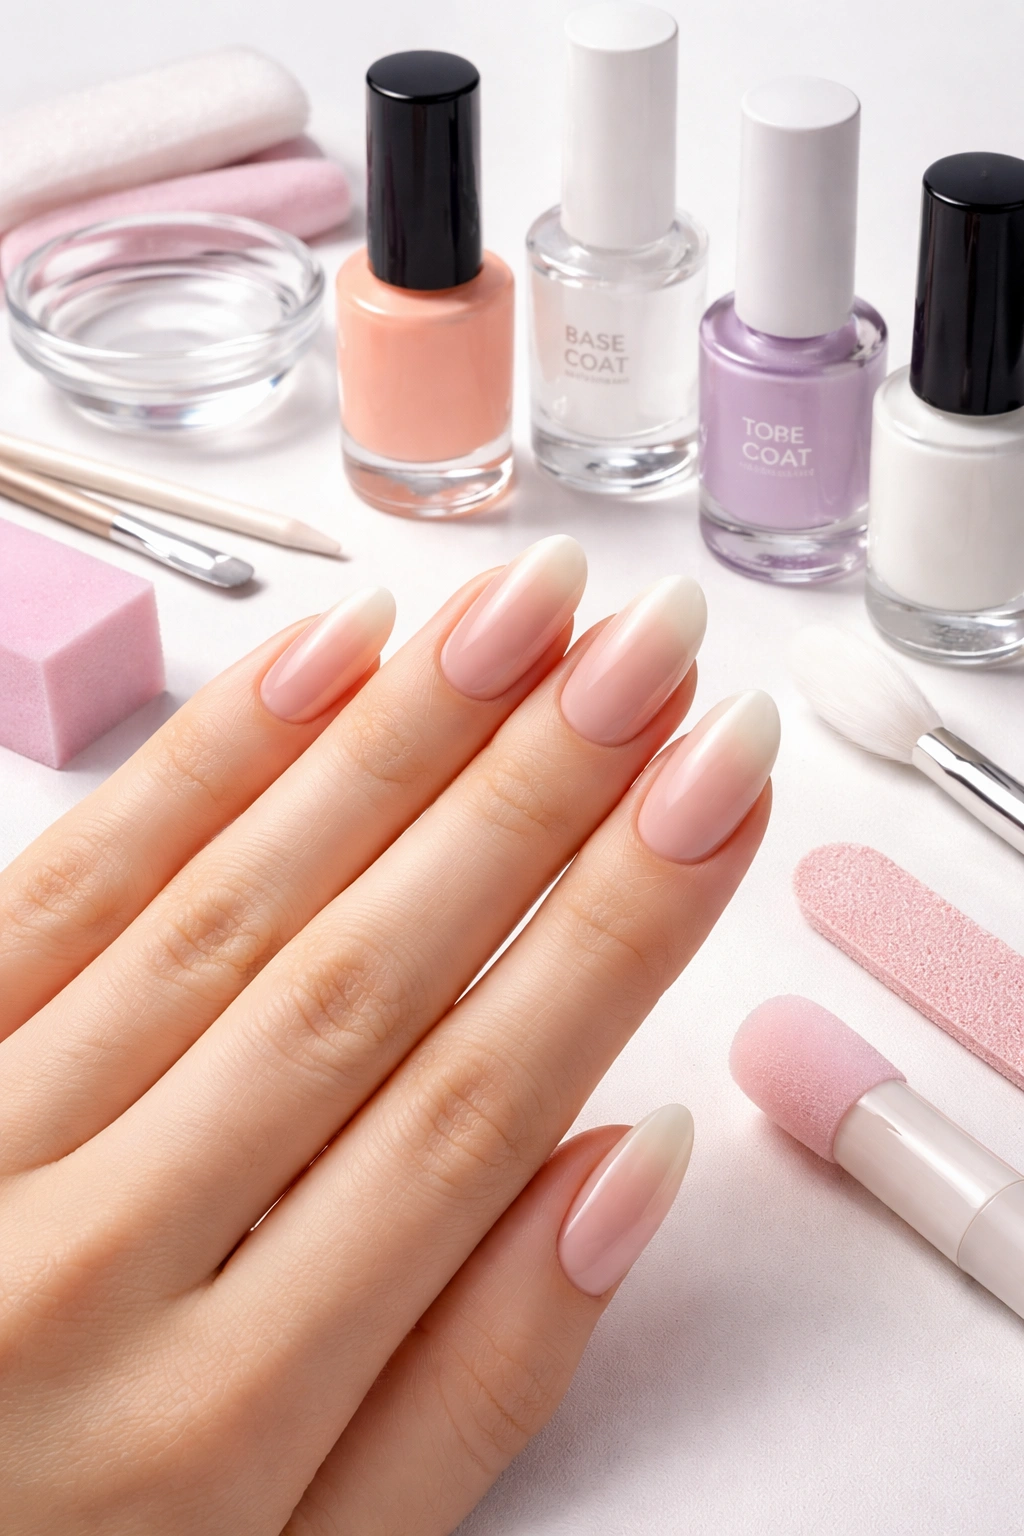
Before you start, gather your supplies so everything is within arm’s reach. There’s nothing worse than getting halfway through a manicure and realizing you’ve left the base coat across the room—your nails will dry and ruin the whole effect.
For any ombré technique, you’ll need a solid base coat (this protects your nails from staining and helps polish adhere better), a quality top coat (this smooths out the textured surface created by blending and seals your design), and two to three shades of nail polish in complementary colors. The top coat is especially important for ombré because the sponging or blending process creates a bumpy, stippled surface. One top coat might not be enough—two coats of top coat is actually ideal for smoothing everything out and creating that salon-quality glossy finish.
You’ll also want nail polish remover or isopropyl alcohol nearby for cleanup. Keeping a small brush or cotton swabs dipped in remover lets you clean up mistakes and polish that inevitably gets on your skin around the nail bed.
Now, depending on which method you choose, your other supplies vary:
For the sponge method, grab a makeup sponge (the wedge-shaped kind you find in any drugstore’s makeup aisle works perfectly). You can use regular cosmetic sponges, but many professionals actually prefer cutting a bathroom sponge into small sections because you get a flatter, more controlled surface. Pro tip: some people use latex-free sponges to avoid any potential reactions.
For the brush method, you’ll want a specialized ombré brush or a tap brush with goat hair bristles. These are firm enough to pick up color precisely without absorbing too much product into the bristles. If you’re using gel polish, you might also grab a clear gel or a self-leveling top coat to use as a blending medium.
For gel polish in particular, you’ll need an LED or UV lamp for curing. Gel polish stays wet until you set it under the light, which actually makes it easier to blend than regular polish (the extended working time is a huge advantage).
Preparing Your Nails for Success
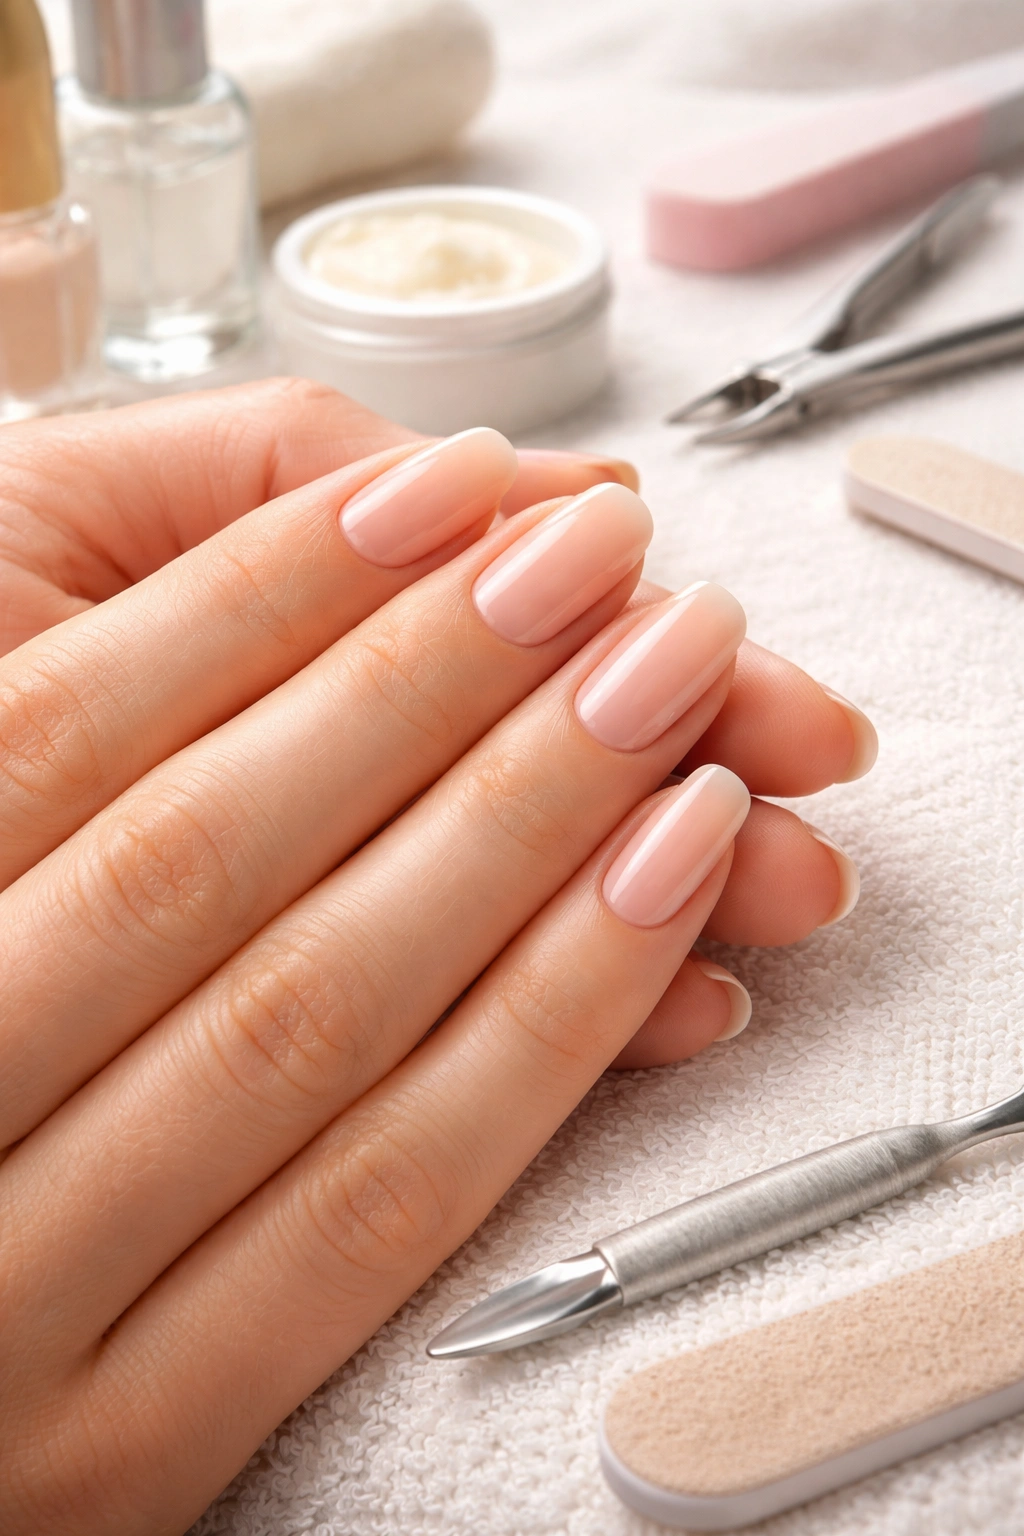
The foundation of any good manicure is prep work, and ombré nails are no exception. Skipping nail prep is the #1 reason at-home ombré nails fail—the polish won’t apply smoothly, it won’t last as long, and the blending will look patchy.
Start by removing any existing polish with a good remover. Then, wash your hands thoroughly and pat them dry. File your nails into your desired shape (square, round, almond, coffin—whatever you prefer). Smooth the edges with the file so they’re not sharp or rough, which can catch on the sponge during blending and create uneven lines.
Gently push back your cuticles using a wooden cuticle stick or the rounded end of a manicure tool. This isn’t about being aggressive—you’re just creating space so your base coat can sit directly on the nail bed. If your nails are particularly shiny or textured, do a very light file over the entire nail surface to dull the shine slightly. This helps polish adhere better.
Apply a thin, even coat of base coat to all your nails, making sure to cap the free edge (paint along the tip of the nail as well). Let this dry completely according to the base coat’s instructions—usually 2-5 minutes for regular polish, or fully cure under the lamp for gel. Then apply two thin coats of your lightest ombré color (your base color). Thin coats are crucial—thick, gloopy layers won’t blend smoothly and will take forever to dry.
The Makeup Sponge Method: Classic and Accessible
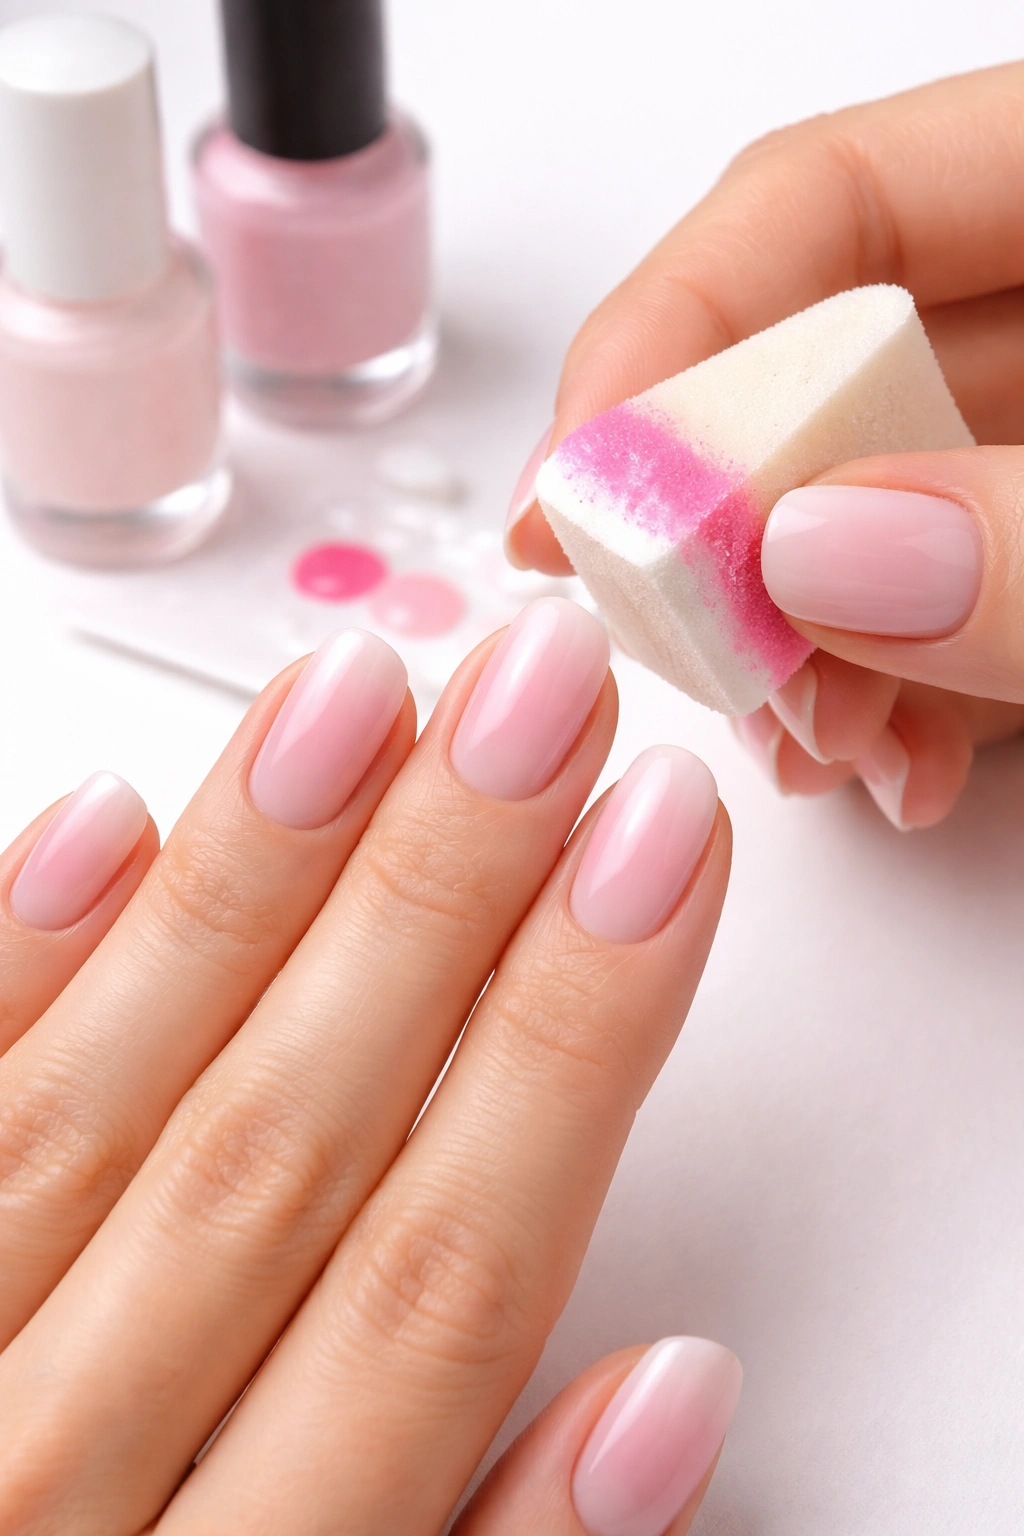
This is the most popular at-home ombré technique because it requires minimal equipment and works with regular nail polish. The sponge method involves painting your ombré colors directly onto a makeup sponge in stripes, then dabbing and rolling that sponge onto your nail to transfer the color gradient.
Step 1: Prepare your sponge. Cut a makeup sponge into a smaller section if you’re using a full-size one—you want something roughly the width of your nail so you have control. Some nail artists clean their sponges with tape first, dabbing the tape against the sponge to remove any loose fibers.
Step 2: Paint your colors onto the sponge. Using a nail art brush or even a regular polish brush, paint your lightest color in a horizontal stripe across the sponge. Paint your second color directly below it, and a third color (if using three) below that. The stripes should be right next to each other with minimal gaps. Paint a couple of coats of polish onto the sponge for each color so the polish remains wet and saturated.
Here’s an expert tip from professional nail artists: dip your sponge in water first and wring out about 80% of the moisture. This prevents the sponge from absorbing all your polish and drying it out too quickly. The damp sponge keeps the colors workable longer, which gives you more time to achieve a seamless blend.
Step 3: Stamp the sponge onto your nail. Starting with your base color side of the sponge, press it straight down onto your nail. Press and lift, press and lift—don’t roll yet. Do this several times, checking your progress. You’re building up the gradient gradually rather than trying to get it perfect in one application.
Step 4: Roll the sponge for a smoother blend. Once you’ve stamped a few times, rotate your approach. Place the edge of the sponge on the side of your nail and slowly roll it across to the opposite side. This rolling motion helps blend the colors together more smoothly than stamping alone. Roll gently—aggressive pressure will push the sponge around and create uneven areas.
Step 5: Reload and repeat. After you finish one nail, reload the polish colors onto your sponge in the same way (light, medium, dark in stripes) and move to your next nail. Keep the sponge damp and saturated with polish. If you’re working quickly, you might only need to reload every other nail.
Step 6: Layer for depth. Allow the first layer to dry completely (2-3 minutes), then repeat the stamping and rolling process. Multiple light layers create a more blended, opaque gradient than trying to get it all in one heavy application. Most people need 2-4 layers to achieve a well-pigmented ombré.
Step 7: Clean and seal. Once you’re happy with the gradient, use a small brush or cotton swab dipped in nail polish remover to carefully clean the polish off your skin. Work slowly and controlled so you don’t accidentally remove polish from your nail edges. Once cleaned up, apply two coats of top coat, allowing each coat to dry between applications.
The beauty of the sponge method is that it’s forgiving—if your gradient isn’t perfect after the first layer, you can keep adding layers until you achieve the look you want. It also works great with regular nail polish, making it budget-friendly.
The Gradient Brush or Tap Brush Method: Precision Blending
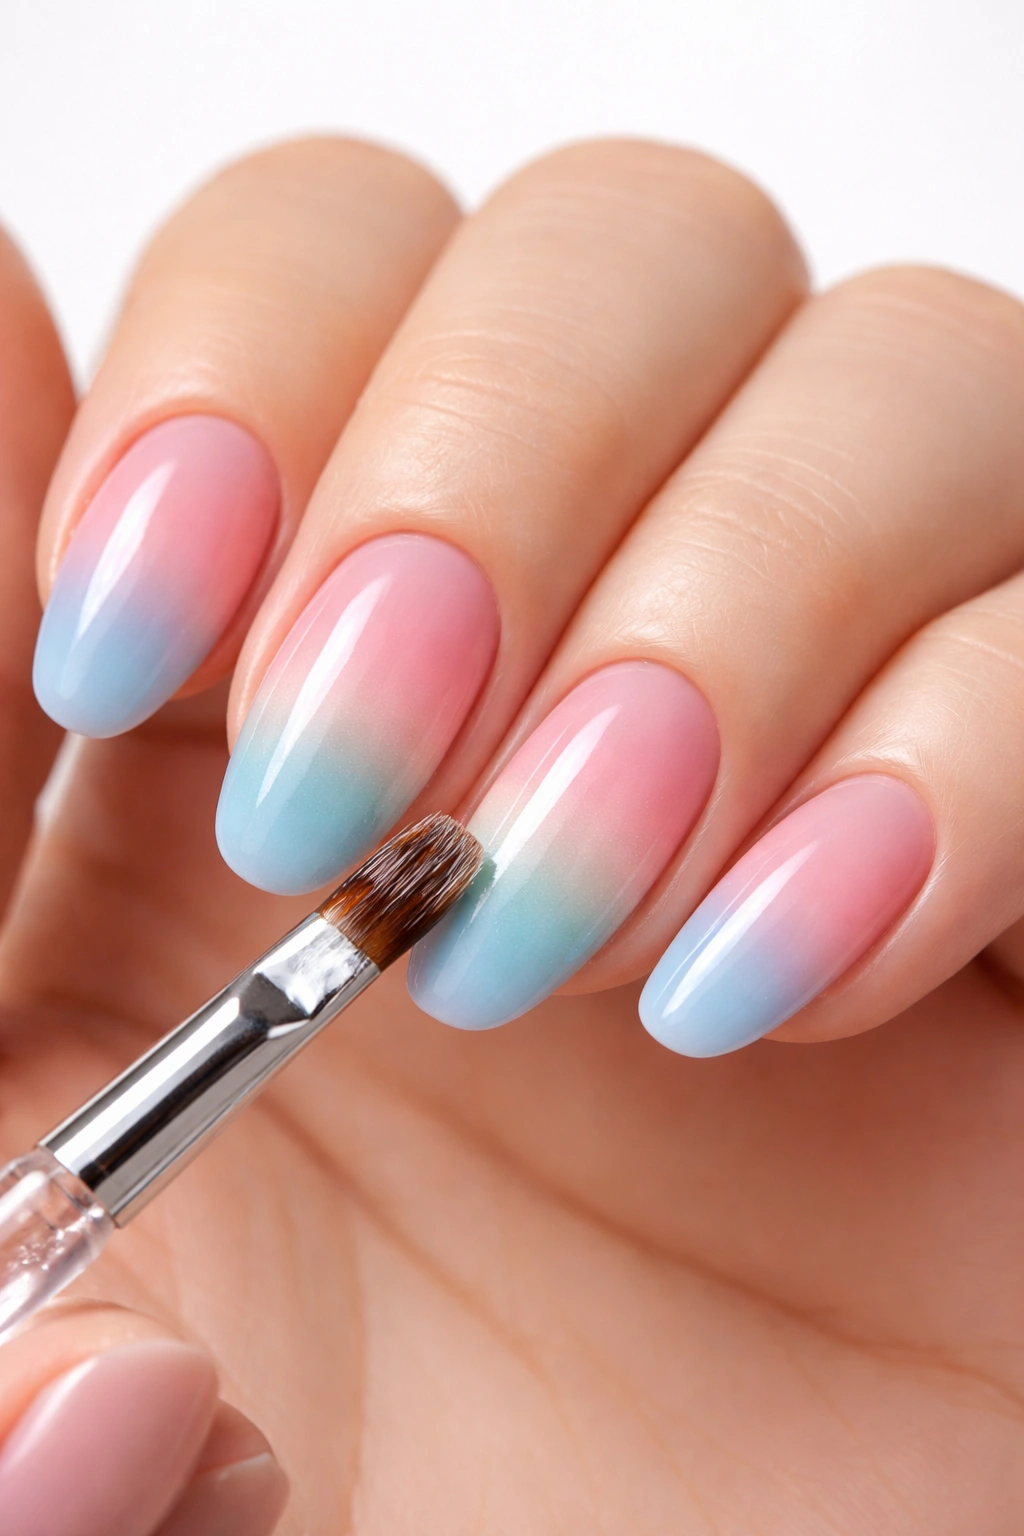
This method is rooted in Japanese gel nail techniques and uses a specialized brush to blend colors with precision. This approach requires gel polish and a UV or LED lamp, but it gives you finer control over where your gradient sits and creates exceptionally smooth transitions.
The key difference here is that instead of pre-mixing colors on a sponge, you apply colors directly to the nail in distinct zones, then use a brush and clear gel to blur the lines between them. This method works beautifully with sheer or semi-opaque colors—the translucent nature of the polish is what allows seamless blending.
Step 1: Apply your first color zone. After your base coat has cured, apply a thin coat of your lightest ombré color to about two-thirds of the nail, starting from the base and working toward the tip. The key word here is “thin”—you’re not painting a thick coat, but rather a sheer layer that allows the base color to show through.
Step 2: Use clear gel as your blending medium. This is where professional nail techs have an advantage. Using a liner brush, apply a healthy dollop (but not too much) of clear gel or art clear gel to the smile line—the area where your color ends and you want it to fade. This clear gel acts as a leveler and blending medium.
Step 3: Tap and blur with your brush. Using your ombré brush or tap brush (which has firm goat hair bristles), work the clear gel in a vertical motion with light tapping pressure. Move the brush up and down in small motions, erasing the line where the color ends. The goal is to create a gradient where the color gradually gets lighter as you move toward the base of the nail. Self-leveling clear gels are particularly helpful here because they do much of the blending work for you.
Step 4: Cure briefly. Once you’re happy with the first layer’s appearance, cure under your lamp for 10-30 seconds (not a full cure yet). Let the gel level out and any bubbles escape.
Step 5: Apply your second color coat. After the first layer has cured, apply your slightly darker second color, this time covering less of the nail—perhaps only halfway or two-thirds up instead of the full two-thirds. Repeat the clear gel and tap brush blending process.
Step 6: Full cure. Once your second layer looks good, give it a full cure (usually 60 seconds, depending on your lamp). Let it sit for a few seconds to self-level, and if needed, come back with your tap brush for final touch-ups before curing again.
Step 7: Seal with top coat. Apply your glossy or matte top coat (whichever you prefer) and cure according to your product’s instructions. A thick top coat is especially helpful here because it fills in any micro-texture from the blending process.
This method requires patience and a light hand—the temptation is to blend too aggressively and end up with muddy colors. Work in micro-movements and trust that multiple thin layers will create a more seamless gradient than one heavy layer. The advantage is that you avoid the stippled texture of the sponge method, resulting in a naturally smooth finish that requires less top coat to perfect.
The Blooming Gel and Seamless Blend Technique: Advanced Method
This is the most advanced of the three methods, but it creates absolutely stunning results for those willing to invest in the right products and practice. This technique uses a blooming gel or self-leveling clear gel to create a halo effect where colors naturally blend into each other.
Step 1: Prep and base color. After your base coat and two coats of your base color are cured, you’re ready to begin.
Step 2: Apply your darkest color to the tip. Using a thin brush, apply your darkest ombré color to the tip of the nail (roughly the bottom third). Use a sheer application so it’s not fully opaque. Cure briefly (10-15 seconds).
Step 3: Use blooming gel for the blend. Without fully curing your color layer, apply a small amount of blooming gel or clear self-leveling gel over the area where you want the gradient to transition. The blooming gel will cause the darker color to bloom outward slightly, creating a soft halo effect. This is where the magic happens—the product essentially does the blending for you through its self-leveling properties.
Step 4: Cure and layer. Cure this layer, then come back with your medium-tone color applied slightly higher up the nail (maybe starting at the midway point), and apply blooming gel again to create that gradient transition. Repeat with a lighter color if using three shades.
Step 5: Smooth with clear gel. If the transitions still need refinement, you can use a tap brush with clear gel to gently blur any remaining lines before your final top coat.
Step 6: Top coat and final cure. Apply your top coat and cure fully. The blooming gel method leaves a particularly smooth finish, so one coat of top coat is usually sufficient.
The blooming gel method is less forgiving than the sponge method because you can’t easily remove a layer once it’s cured, but it produces the most professional-looking results. It’s worth practicing if you plan to do ombré nails regularly.
Choosing Color Combinations That Actually Blend

Not all color combinations blend equally. The secret to effortless blending is choosing colors that are close enough in tone and saturation to fade into each other naturally.
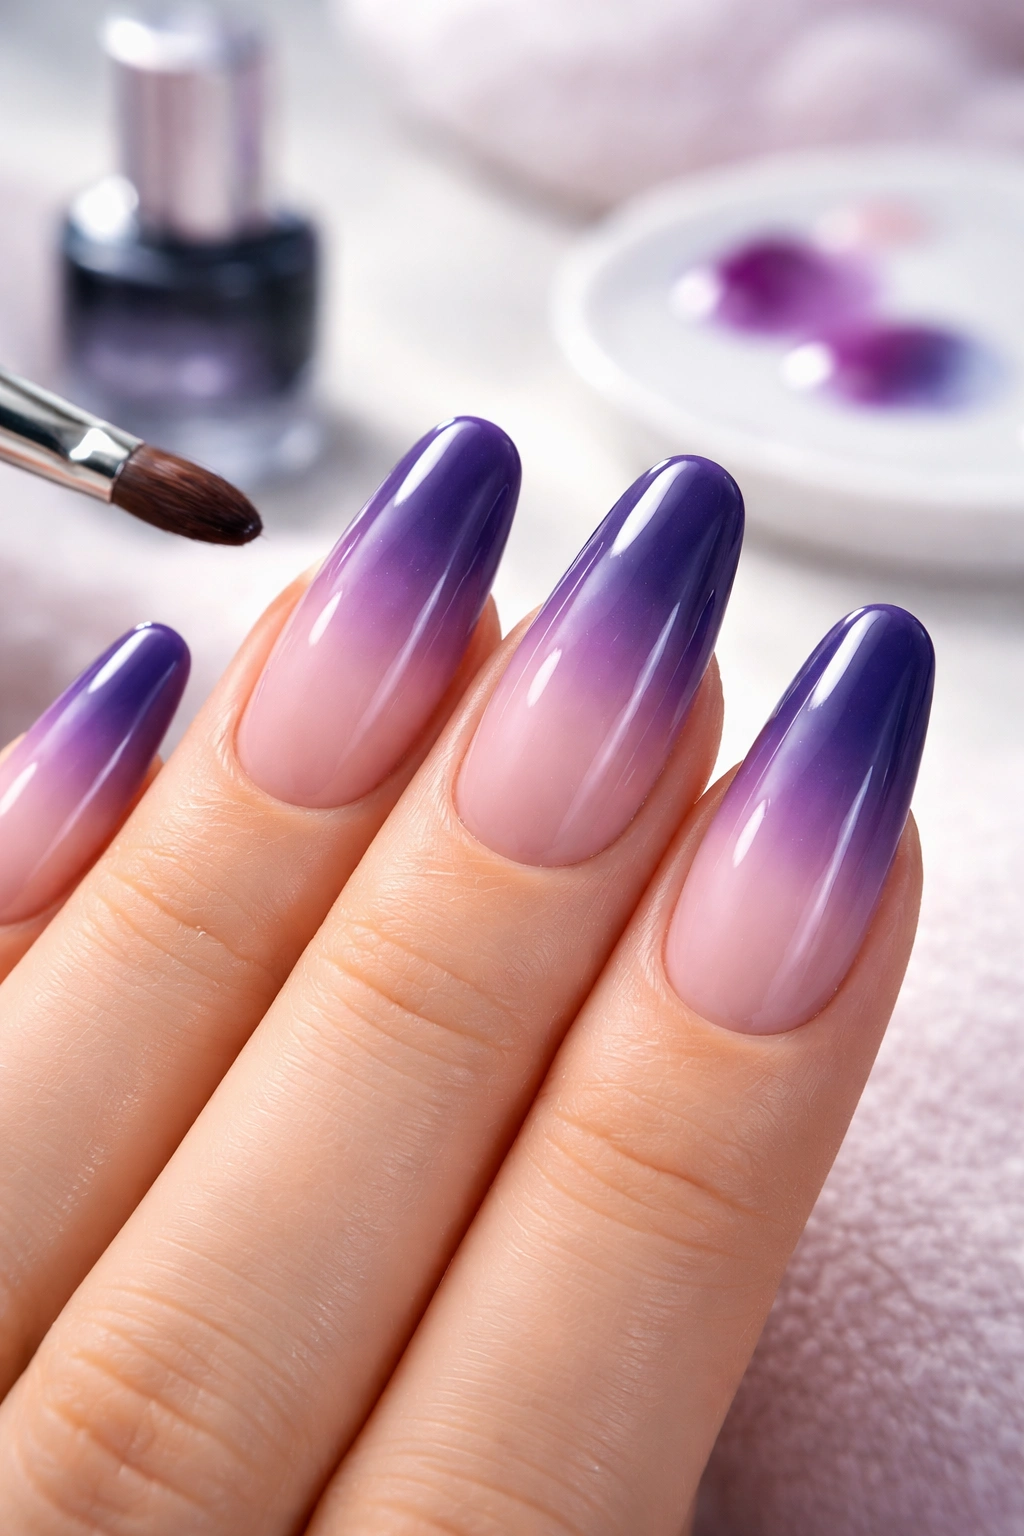
Pastels blend beautifully together—soft pinks into lilacs, pale blues into mint greens. Jewel tones work equally well—deep purples into teals, burgundies into wine. What doesn’t work is pairing colors that have completely different undertones, like a warm orange with a cool blue, or neon yellow with dark purple.
Think of color families: colors that naturally sit next to each other on a color wheel blend seamlessly. Pink into magenta into red. Light blue into medium blue into navy. White into nude into brown. The closer together your colors are in the spectrum, the easier your blending will be and the more polished your final result.
One particularly effective approach is using different opacities or saturation levels of the same base color. A pastel pink, a medium pink, and a deep mauve all have the same undertone, so they blend incredibly smoothly into each other. This is why so many professional ombré nails use variations on a single color family rather than multiple different hues.
If you’re feeling adventurous and want to blend colors that aren’t natural neighbors (like a pink into a purple), use more layers and work more gradually. The extra time spent building the gradient will help you achieve a blend that doesn’t look muddy or harsh.
Common Mistakes That Ruin Your Ombré and How to Fix Them
Even experienced nail artists make ombré mistakes. Knowing what to watch for helps you avoid the most common pitfalls.
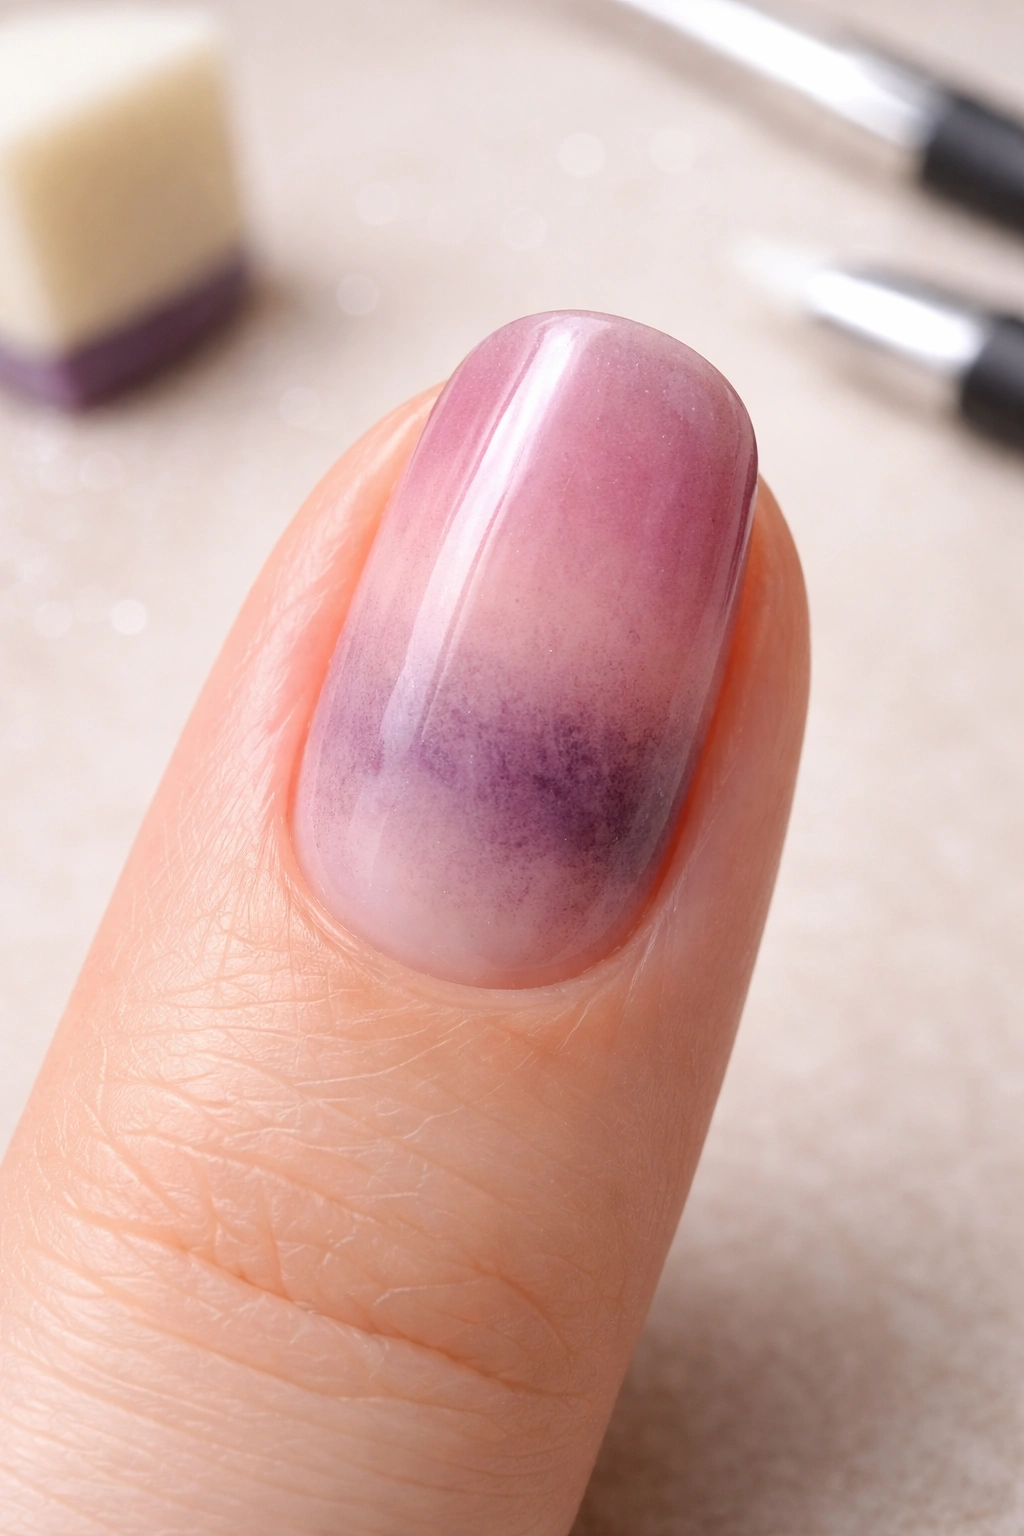
The gradient looks muddy or brown instead of blended. This usually happens when you’re using colors with very different undertones or when you’re over-working the blending. The solution is to start fresh (remove the polish and begin again) and use colors that naturally complement each other. You can also try using fewer, more subtle layers rather than trying to build everything at once.
One area is much darker than the other, creating an uneven gradient. This typically means you applied too much product to one section or didn’t reload your sponge evenly. When reloading your sponge with polish, make sure the stripes are painted with consistent amounts on each stripe. Also, verify you’re pressing the sponge onto your nail evenly—pressing harder in one area will transfer more color to that spot.
Visible lines between colors instead of a smooth fade. If you’re seeing harsh lines where one color ends and another begins, you need more layers and more deliberate blending. Go back and layer again with lighter applications, spending more time on the transition zone. For gel methods, use more clear gel in the blending step.
The sponge isn’t transferring color to the nail at all. Your sponge is probably too dry. Make sure you’ve dampened it slightly and that it’s saturated with wet polish. Dry polish on a dry sponge won’t transfer effectively. If the sponge is overloaded with water though, it’ll just smear the polish without depositing it. The ideal sponge is just barely damp.
The surface is extremely bumpy even after top coat. Multiple coats of sponge dabbing create texture. This is normal, but the solution is applying a thick top coat, not a thin one. Some people do two full coats of top coat to smooth everything out completely. A thick glossy top coat will fill in the micro-texture far better than a thin or matte top coat.
Your ombré looks patchy or spotty instead of seamless. You’re probably not doing enough layers or you’re trying to get it perfect too quickly. Ombré is built gradually—accept that you’ll need 3-4 thin layers to achieve that polished look. Patience is genuinely the most important skill here.
Sealing and Finishing Your Ombré Nails Properly
The top coat is not optional—it’s essential. A good top coat does three things: it smooths out texture, it protects your gradient from chipping, and it intensifies the shine and vibrancy of your colors.
For ombré nails specifically, use a thick, wipe-off top coat rather than a thin no-wipe formula. The thickness allows the top coat to fill in all the micro-bumps created by sponging or blending, resulting in an almost glass-like smooth finish. A thin top coat will slide right over those bumps without smoothing them.
Apply the top coat in a single, smooth stroke across the entire nail, and don’t forget to cap the free edge (paint along the tip). If you’re using gel polish, cure according to your product’s directions. For regular polish, let it dry completely (usually 5-10 minutes, though you can use a quick-dry spray to speed this up).
Once everything is fully dry or cured, apply a nourishing cuticle oil or hand cream. The ombré process is labor-intensive and can be slightly drying, so conditioning your nails and surrounding skin is a nice finishing touch.
Keeping Your Ombré Manicure Fresh and Long-Lasting
An ombré manicure can last 7-10 days with regular polish, or 3-4 weeks with gel polish, assuming you take care of it properly.
Avoid immediately dunking your freshly painted nails into water. Even though it’s fully dried, the polish needs at least a few hours to harden fully. Wear gloves when doing dishes or cleaning to minimize exposure to hot water and harsh chemicals.
If you notice chipping at the edges (the most common problem), resist the urge to pick at the chip. Instead, use a nail file to gently smooth down the chipped area, then carefully paint a thin line of matching polish along the edge and top coat over it. This extends the life of your manicure without obvious repairs.
For gel polish ombré nails, make sure you’re removing them properly. Soak your nails in acetone-soaked cotton pads wrapped with foil for 10-15 minutes to safely dissolve the gel, then gently remove it with a wooden stick. Never peel or pick at gel polish, as this damages your nail bed.
Ombré Nail Design Inspiration and Color Combinations
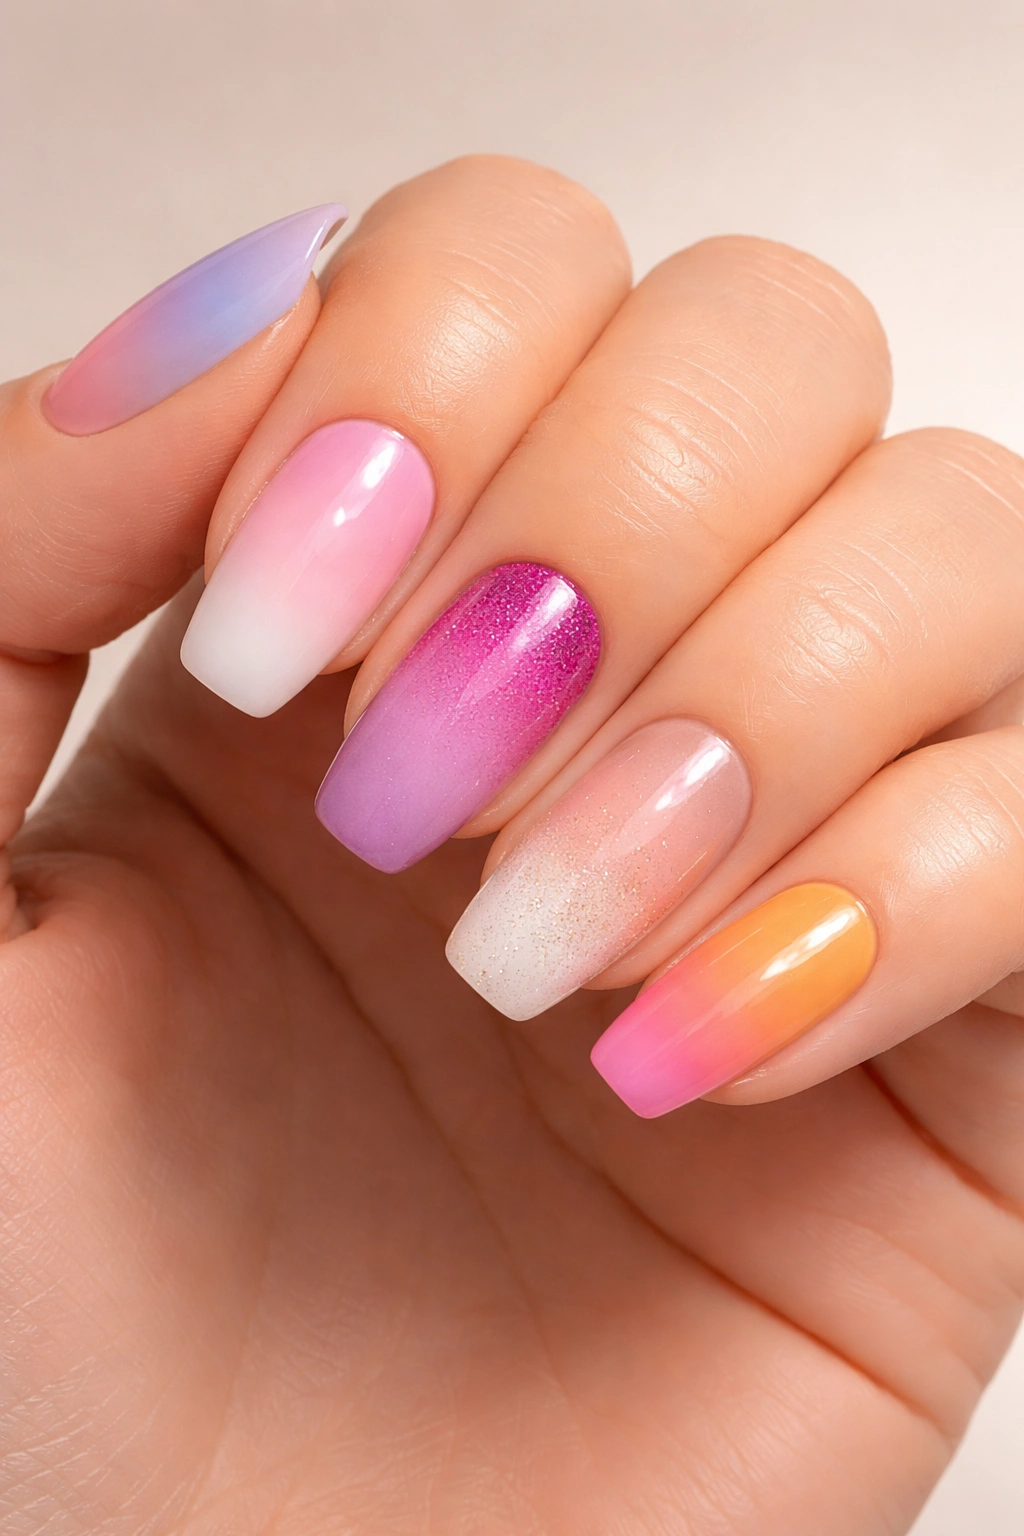
The versatility of ombré means you can create virtually any aesthetic you prefer. Soft ombré uses pastels—blush pink into pale lavender, mint green into soft white, light peach into cream. These feel romantic, delicate, and work for any occasion.
Bold ombré embraces saturated colors and high contrast—deep burgundy into hot pink, forest green into gold, sapphire blue into electric purple. These make a statement and photograph beautifully.
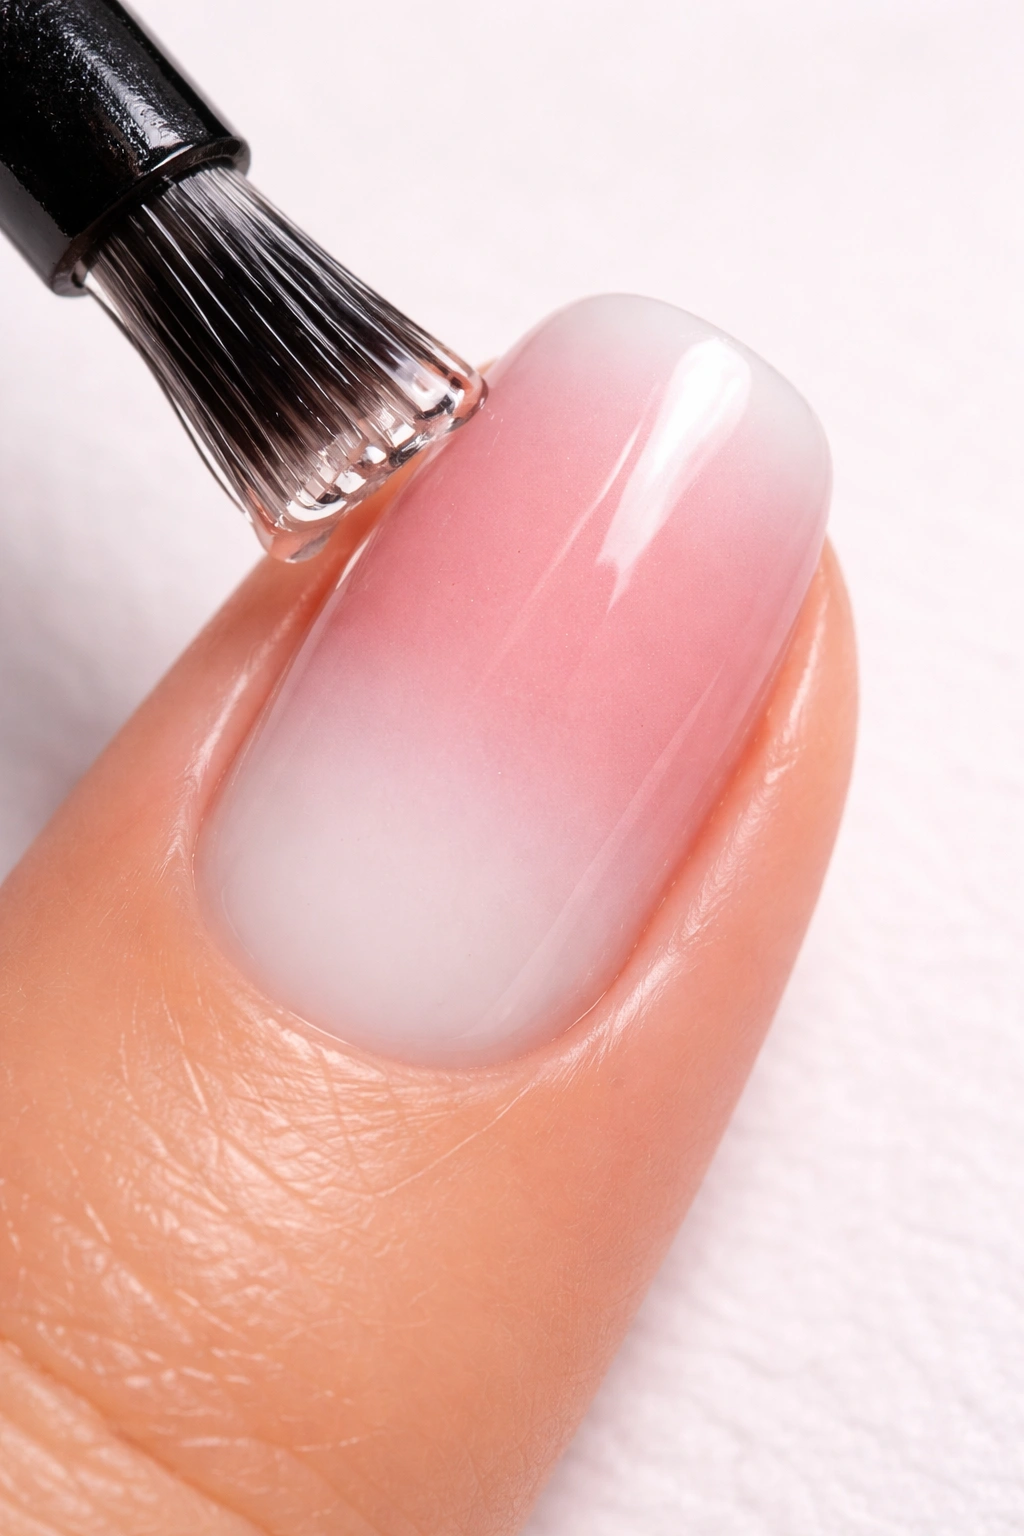
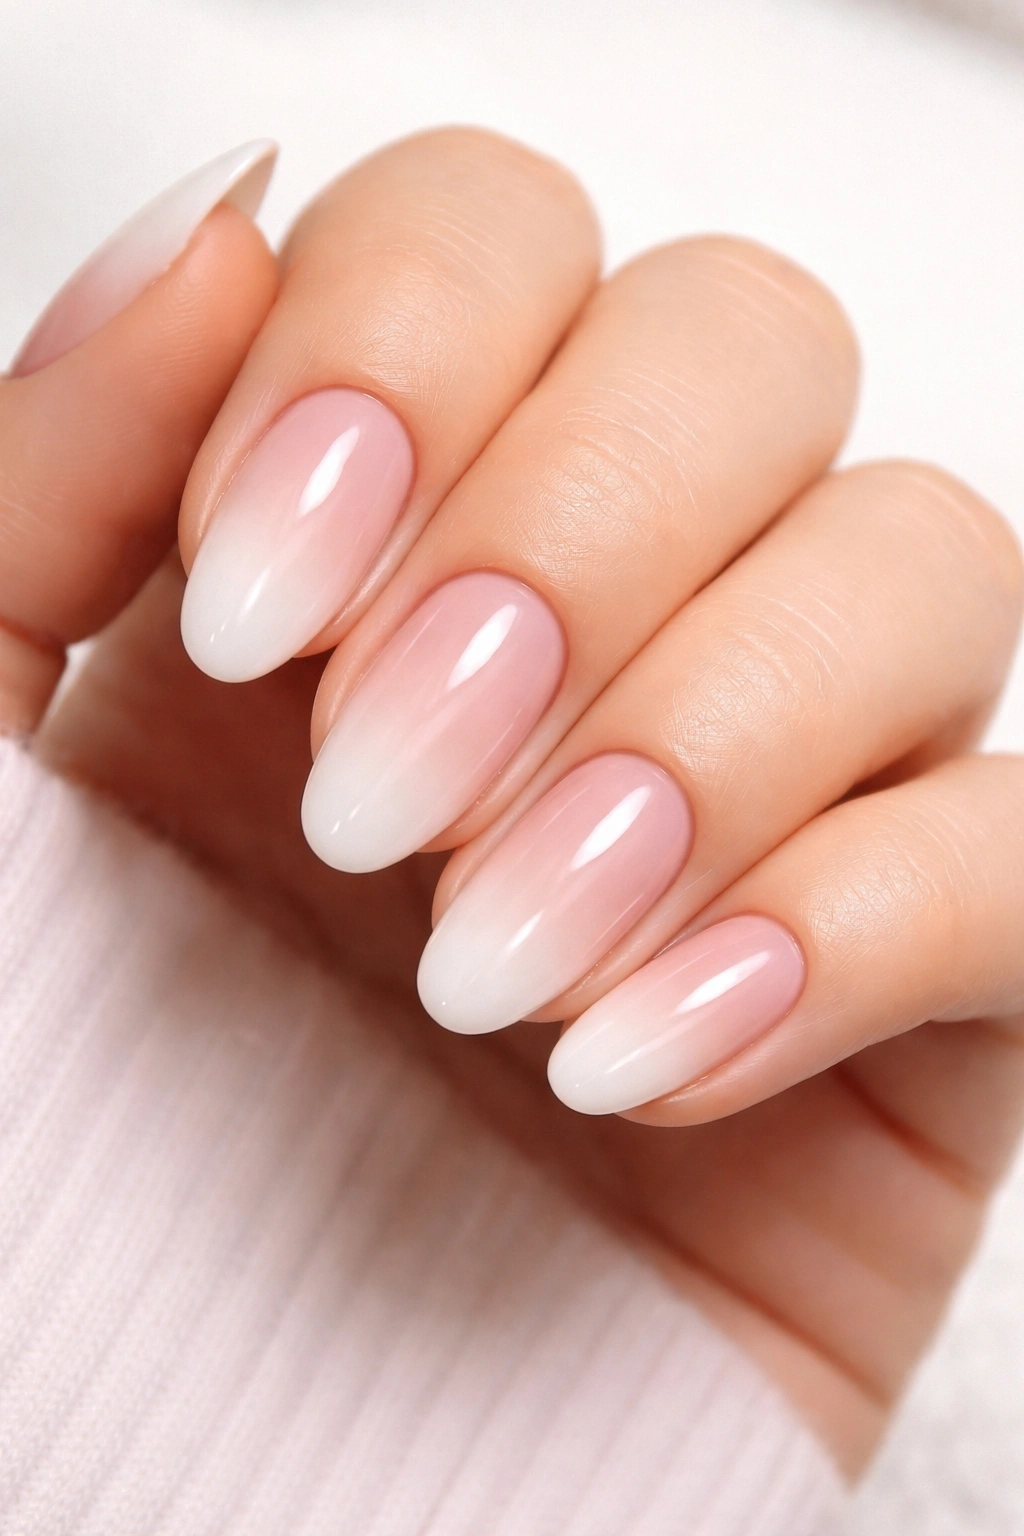
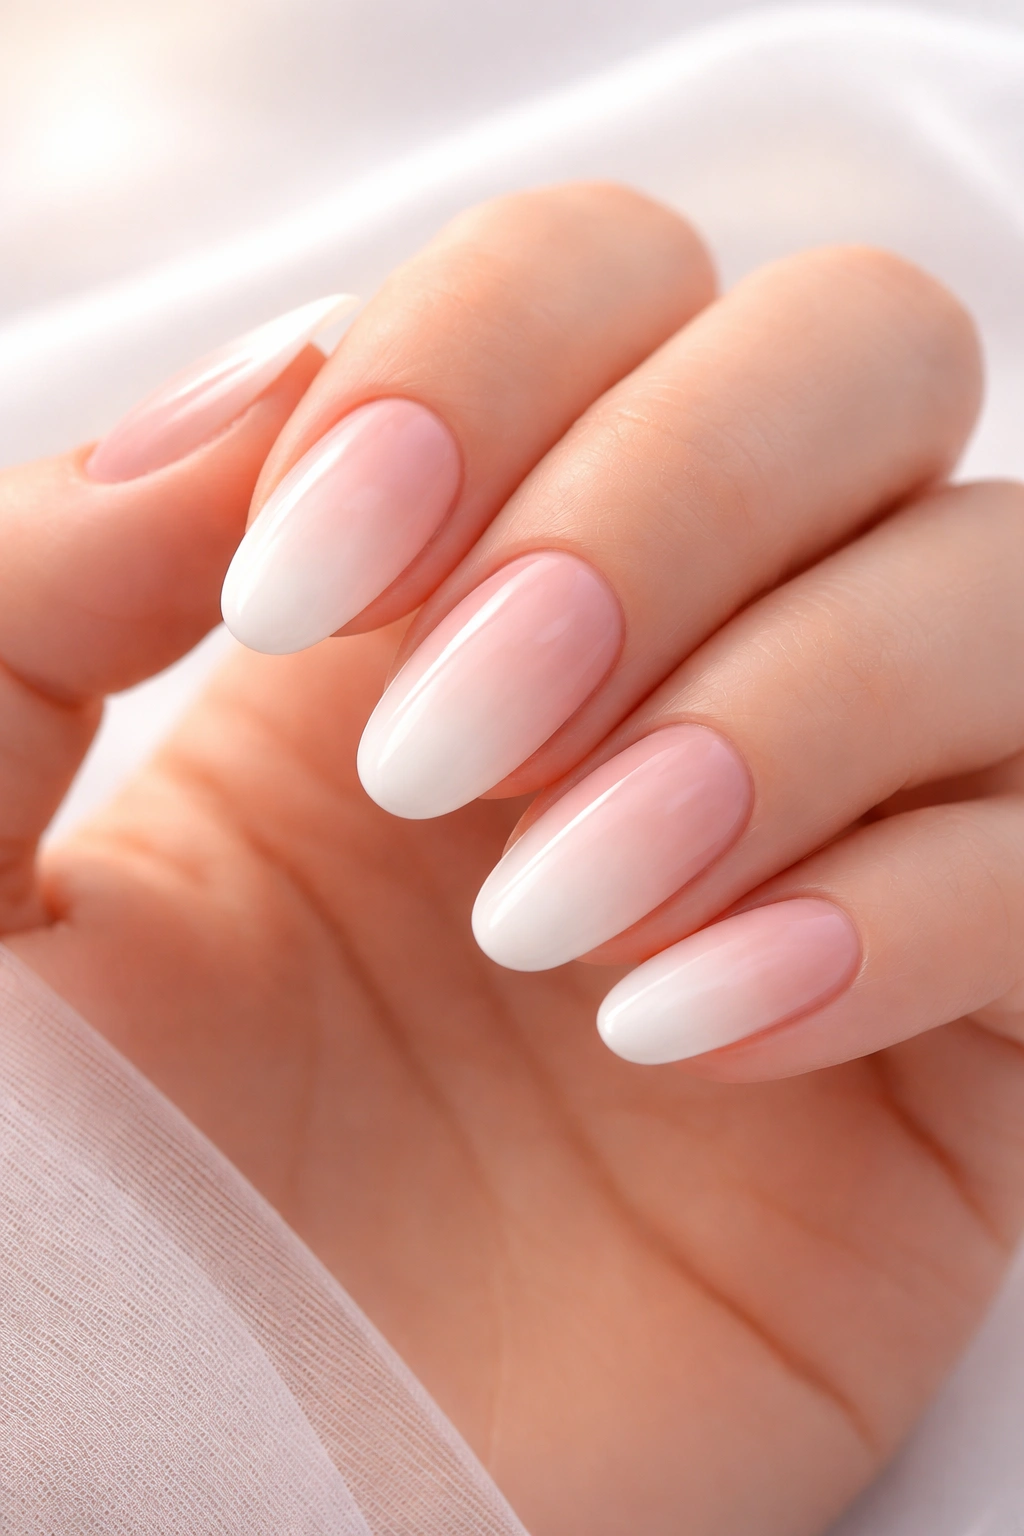
French ombré (also called Baby Boomer nails) uses a nude or light pink base with a white or shimmer gradient toward the tip, mimicking the classic French manicure but with a soft fade instead of a hard line. This is endlessly elegant.
Glitter ombré layers glitter polish over your gradient or adds a glitter top coat to create sparkle and dimension. Chrome ombré incorporates chrome or mirror pigments for a futuristic metallic effect.
You can also create reverse ombré where the darkest color is at the base and gradually lightens toward the tip, vertical ombré where color transitions from one side of the nail to the other, or accent nail ombré where only certain nails feature the gradient while others are solid colors.
Key Takeaways
Ombré nails are totally achievable at home once you understand the fundamentals. The three main methods each have advantages: the sponge method is accessible and forgiving, the brush method offers precision and works beautifully with gel, and the blooming gel method creates the most seamless professional results if you’re willing to invest in the right products and practice.
Regardless of which method you choose, remember that ombré is built in layers. Thin, gradual applications create better results than trying to achieve the perfect gradient in one shot. Choose colors that sit close together on the color wheel, take your time during the blending process, and don’t skip the top coat—these three things matter more than technique alone.
Your first attempt might not be flawless, and that’s completely okay. Ombré is a skill that improves with practice. Each manicure teaches you something about how your chosen colors blend, how much pressure to apply with the sponge, or how much product you need on your brush. After 3-4 attempts, you’ll develop an intuition for the process that makes it feel natural.
The best part? Once you’ve mastered ombré, you can apply the same blending principles to create countless different looks. Your manicure toolkit just got significantly more creative.
