

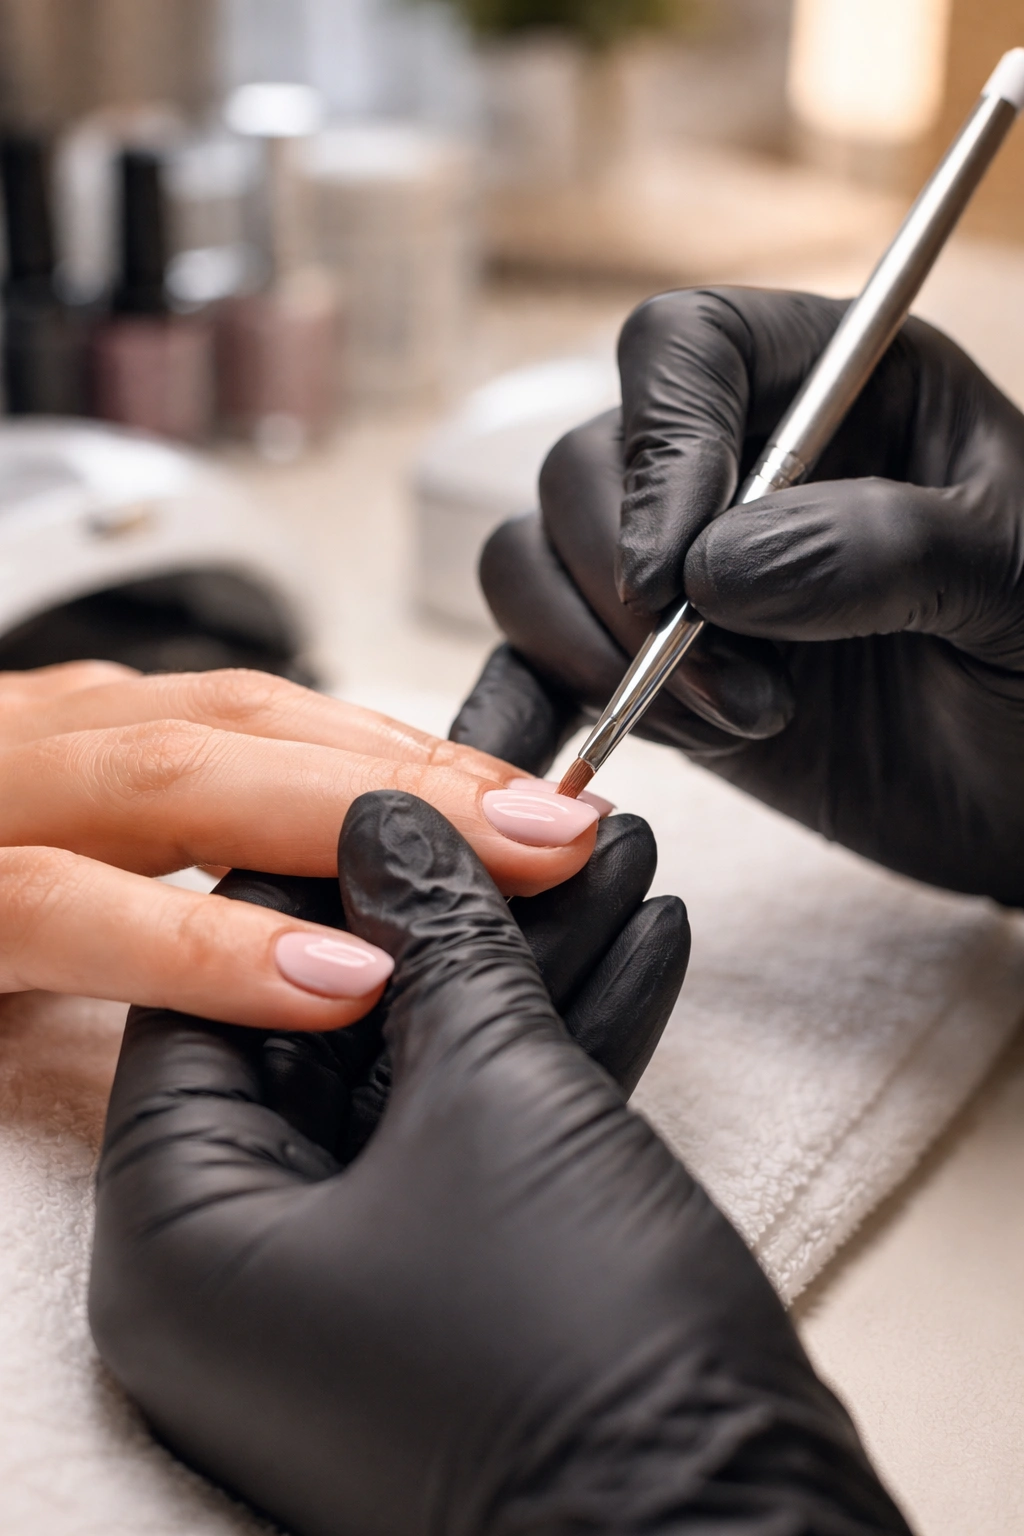
Professional manicures at salons typically run $25 to $65 per visit — and that’s before tips, travel time, and waiting for an appointment that rarely happens exactly when you want it. Yet the gap between salon-quality nails and an at-home attempt doesn’t have to be dramatic. The truth is that salon technicians aren’t using secret products or magic — they’re using proper technique, the right tools, and steady hands combined with practice. The difference between chipped, uneven polish applied at your kitchen table and nails that look like you just stepped out of a high-end salon is almost entirely technique-based, not product-based.
Getting salon-quality nails at home for less isn’t about buying cheap supplies or taking shortcuts. It’s about understanding exactly what professionals do differently, investing strategically in a small set of quality tools, and then developing the muscle memory to replicate those techniques. Most people who fail at home manicures aren’t failing because they don’t have access to good polish — they’re failing because they skip crucial prep steps, use dull or inappropriate tools, or apply polish with the wrong technique. A technician at a salon spends time on those invisible prep steps that are the actual foundation of a beautiful, long-lasting manicure.
This guide walks you through every step of the professional manicure process so you can replicate it at home. You’ll learn exactly which tools are worth buying and which ones are purely marketing, how to prepare your nails properly so polish adheres flawlessly, the specific techniques professionals use to apply polish without streaks or bumps, and how to maintain your at-home manicure so it lasts weeks instead of days. By the end, you’ll have salon-quality nails every single week without the salon price tag.
Why Salon Manicures Cost So Much
The price you pay for a salon manicure isn’t primarily for the products — it’s for the expertise, tools, workspace, and the technician’s time and skill. Understanding what you’re actually paying for helps you understand which parts of the salon experience are replicable at home and which require practice or professional equipment.
Salons pay rent for a dedicated workspace with proper lighting, ventilation systems that remove fumes, comfortable seating, and sanitary facilities. They carry insurance, pay multiple employees, and buy professional-grade tools that often cost 3-5 times more than consumer versions. The actual nail polish, gel base, or acrylic powder is often only $3-$8 of the total cost — the rest is labor, overhead, and expertise.
A trained nail technician has spent months or years mastering the technique of filing, buffing, and shaping nails so they’re perfectly even and symmetrical. They can apply polish with a steady hand in three thin, even coats in about 5-10 minutes — something that takes an untrained person 20+ minutes and usually ends in streaks or bubbles. Their hands have muscle memory for the exact angle to hold the brush, the pressure to apply, and the speed to move across the nail. That skill directly translates to a manicure that lasts 2-3 weeks before needing a touch-up, versus 4-5 days for a hurried at-home attempt.
Professional salons also prioritize sanitation with autoclave sterilization, single-use files and buffers for each client, and sanitizing solutions between clients. This isn’t just about hygiene — it’s about preventing the buildup of dust, dead skin, and old polish residue that can interfere with polish adhesion and nail health.
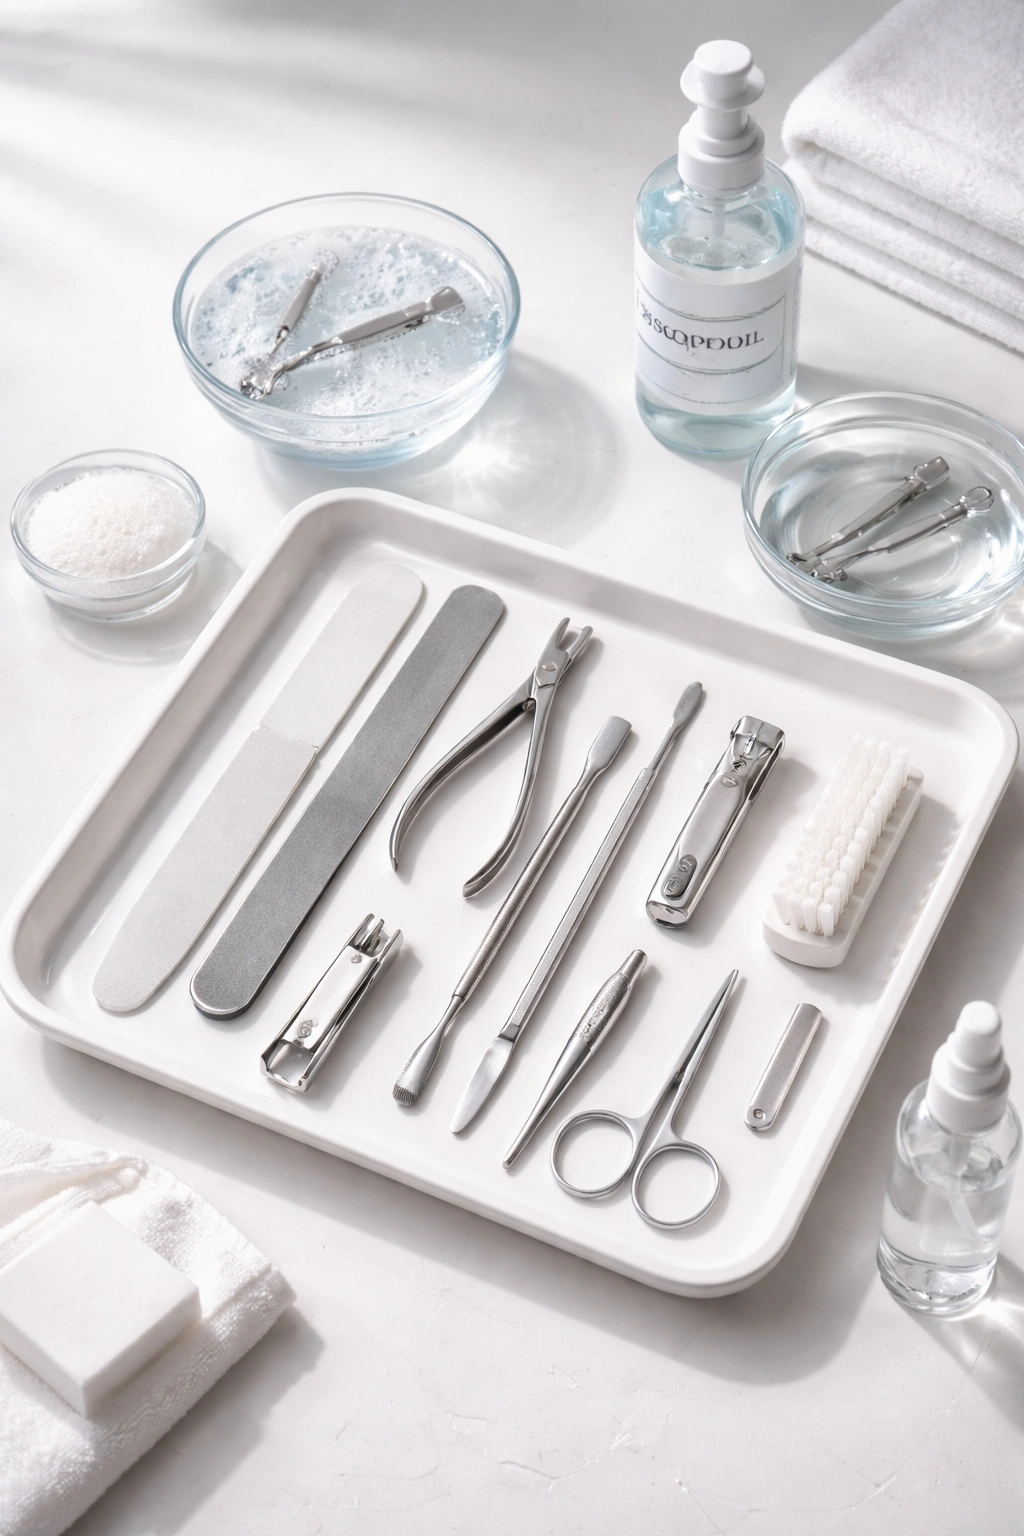
The Essential Tools That Actually Make a Difference
You don’t need 50 different tools to get salon-quality nails at home. In fact, most people buy far more than they need and still don’t have the right ones. The key is buying a small set of quality tools rather than a massive kit of cheap ones that don’t work properly.
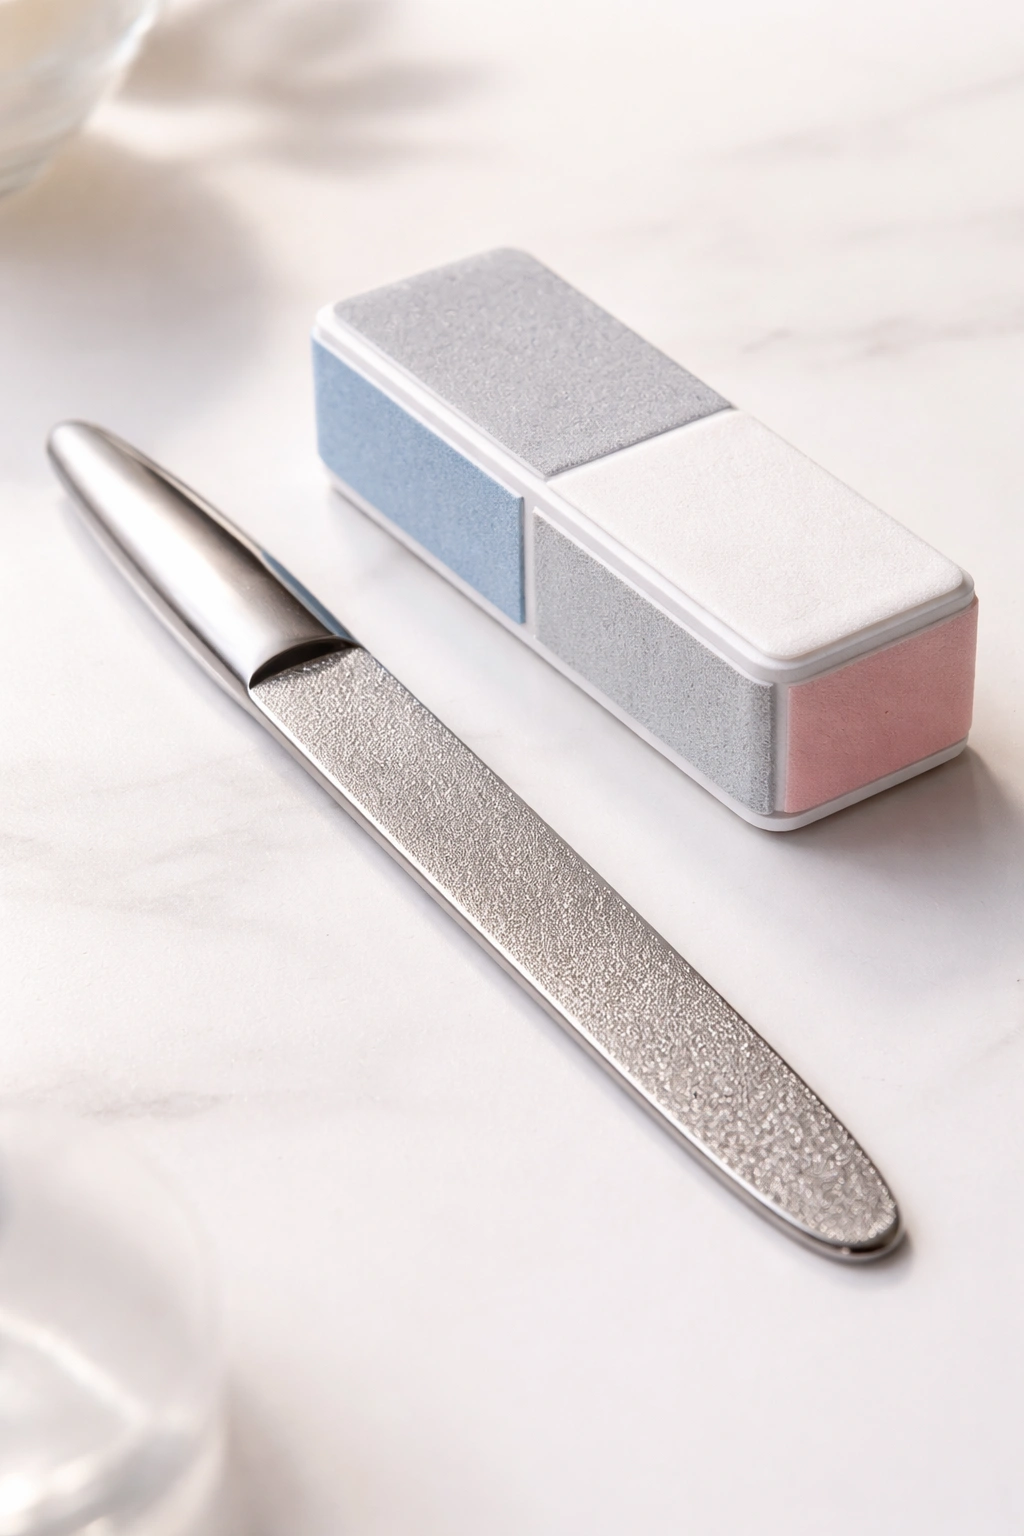
The first non-negotiable tool is a good metal nail file. This cannot be overstated — a poor file will leave your nail edges rough and prone to peeling and breaking, while a proper file creates a smooth, sealed edge that holds polish beautifully. Metal files with a fine grit (220-240 grit) are superior to the typical cardboard emery boards you find in drugstores. The cardboard files shed tiny fibers and dull quickly, meaning you spend more time filing without actually smoothing the nail. A quality metal file costs $3-$8 and will last for years. Look for stainless steel files rather than chrome — they’re slightly gentler on nails.
You’ll also need a four-sided buffer block. This tool serves multiple purposes — different sides have different grits for shaping, smoothing the nail surface, buffing away shine, and polishing the nail to a subtle luster. A quality four-sided buffer is genuinely worth buying because it combines four tools into one, and those specific grits are harder to match with individual tools. Expect to spend $4-$10 on a good one.
A cuticle pusher is essential, and this is where many people go wrong by buying the wrong tool. You need a double-ended cuticle pusher with a flat edge on one end and a curved spoon-like edge on the other. Avoid pointy metal cuticles pushers — they can damage the nail bed and cuticle tissue if you push too hard. The flat edge gently pushes back the cuticle, while the spoon edge can gently scrape away dead cuticle and excess skin. Spend $3-$6 on a metal one that will last forever.
Cuticle nippers are optional but genuinely helpful if you’re willing to learn the proper technique. However, nail clippers or cheap nippers will pinch and tear cuticles instead of giving a clean cut. If you decide to get nippers, invest in a quality stainless steel pair (not chrome-plated) that’s specifically designed for cuticles. Spend $6-$12 for a pair that will actually cut cleanly. If you’re not confident with nippers, skip them entirely — pushing back cuticles with a pusher works just fine.
A nail brush is crucial for cleaning under nails and removing dust and debris. Get a soft-bristled brush, not a stiff one that will irritate the nail bed. A simple nail brush costs $2-$4, and it makes a massive difference in final polish adhesion because you’re removing all the particles that would otherwise create a textured base.
For the actual polish application, you need angled and flat-bristled brushes if you plan to do nail art. However, the most important brush is the one that comes with your polish bottle — which is why polish application technique is more crucial than anything else.
A glass or ceramic mixing ball is useful if you use gel polish, but this is entirely optional. For regular polish, you don’t need one.
Skip these products that don’t actually help: decorative files with cheap bristles, those spinning buffer tools, electric nail drills (unless you’re doing acrylic nails regularly), and massive nail polish organizers that take up cabinet space.
How to Prepare Your Nails Properly for Polish
Professional manicures look polished and last longer because technicians spend significant time on preparation. Most at-home manicures fail during this invisible stage, where the actual adhesion and foundation for the polish is created.
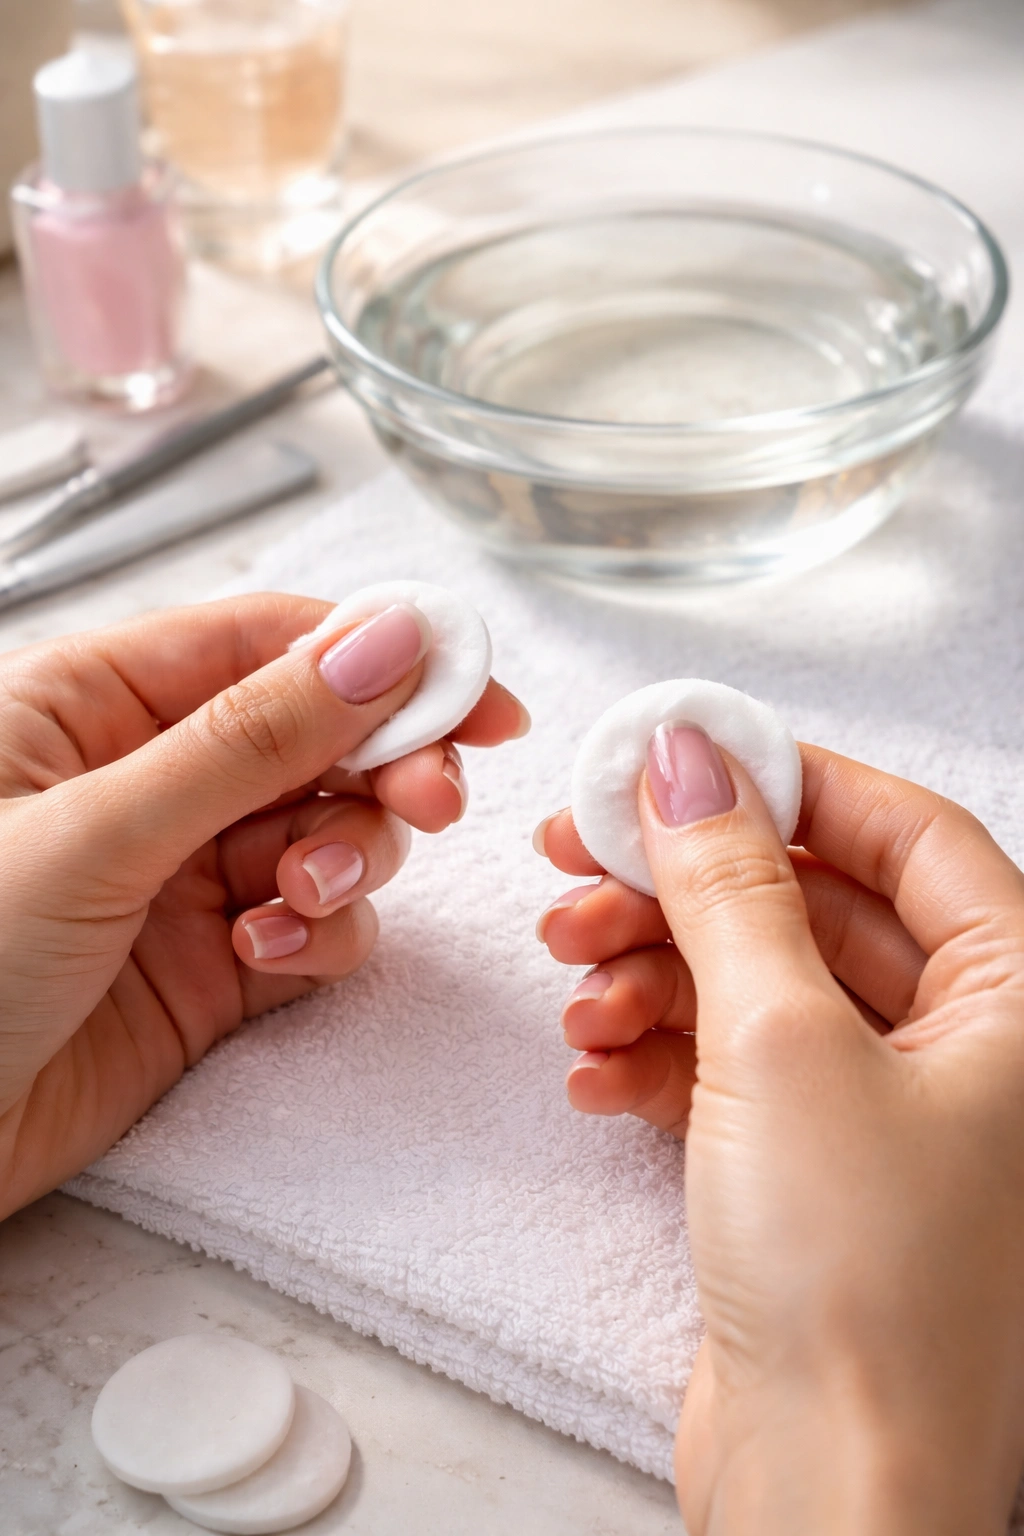
Start by removing any old polish with an acetone-based remover. Use a remover with acetone because non-acetone removers are gentler but take three times longer and don’t work as effectively. Soak cotton pads in the remover, press them on your nails, and wait 30-60 seconds before wiping away the old polish. Acetone is harsh on your skin and nails, so don’t soak for extended periods — just 30-60 seconds is enough to break down the polish so it wipes away cleanly. After polish removal, wash your hands thoroughly with soap and water to remove any remaining acetone and remover residue.
Next, wash your hands in warm water to soften your cuticles. Warm water opens the nail cuticle slightly, making it easier to push back and file more effectively. Soak for 2-3 minutes in warm water with a drop of liquid soap. Pat your hands dry completely afterward — any moisture left on your nails will interfere with polish adhesion.
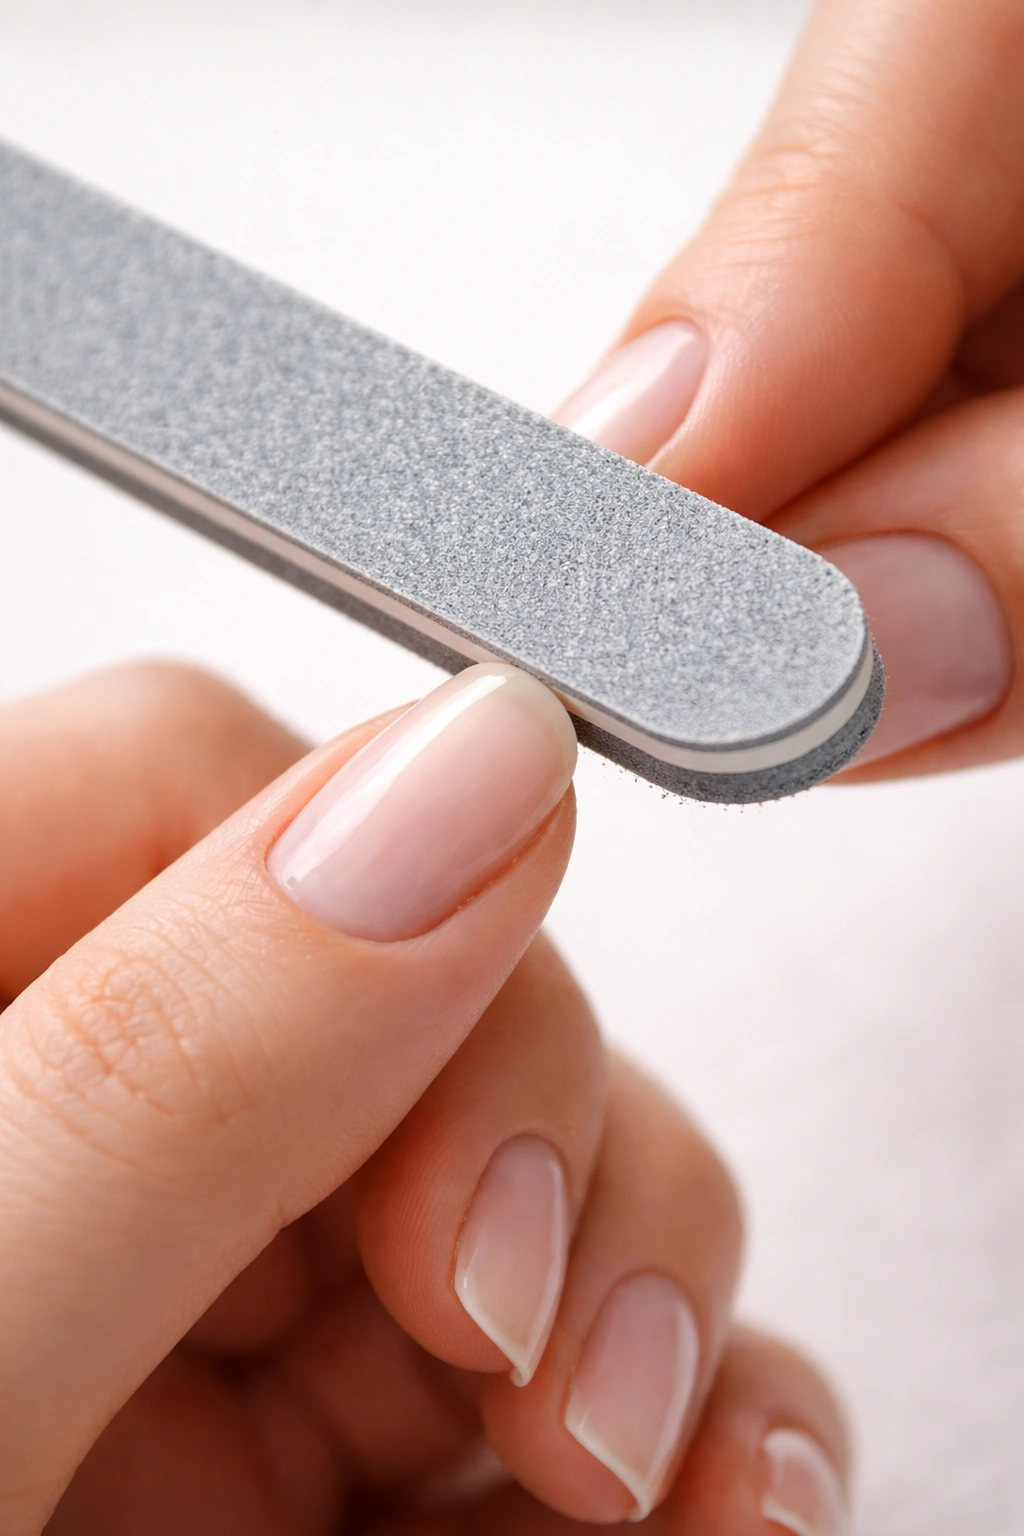
Now comes the filing step that most people rush through. File your nails into the shape you want using smooth, one-directional strokes from the outer edge toward the center. Never file back and forth — this creates microscopic tears in the nail edge that cause peeling and breaks. If your nails are very long and you want to shorten them significantly, use nail clippers first to remove length roughly, then use your file to shape and smooth. File for about 20-30 seconds per nail, creating a smooth edge.
After shaping, use your four-sided buffer to smooth the edges even further and shape the top surface of the nail. The goal is a smooth, slightly domed nail with no rough edges. Use the finer grit sides of the buffer, and again, stroke from the edge toward the center, not back and forth. Buff in the same direction 10-15 times per nail until it feels completely smooth to your touch.
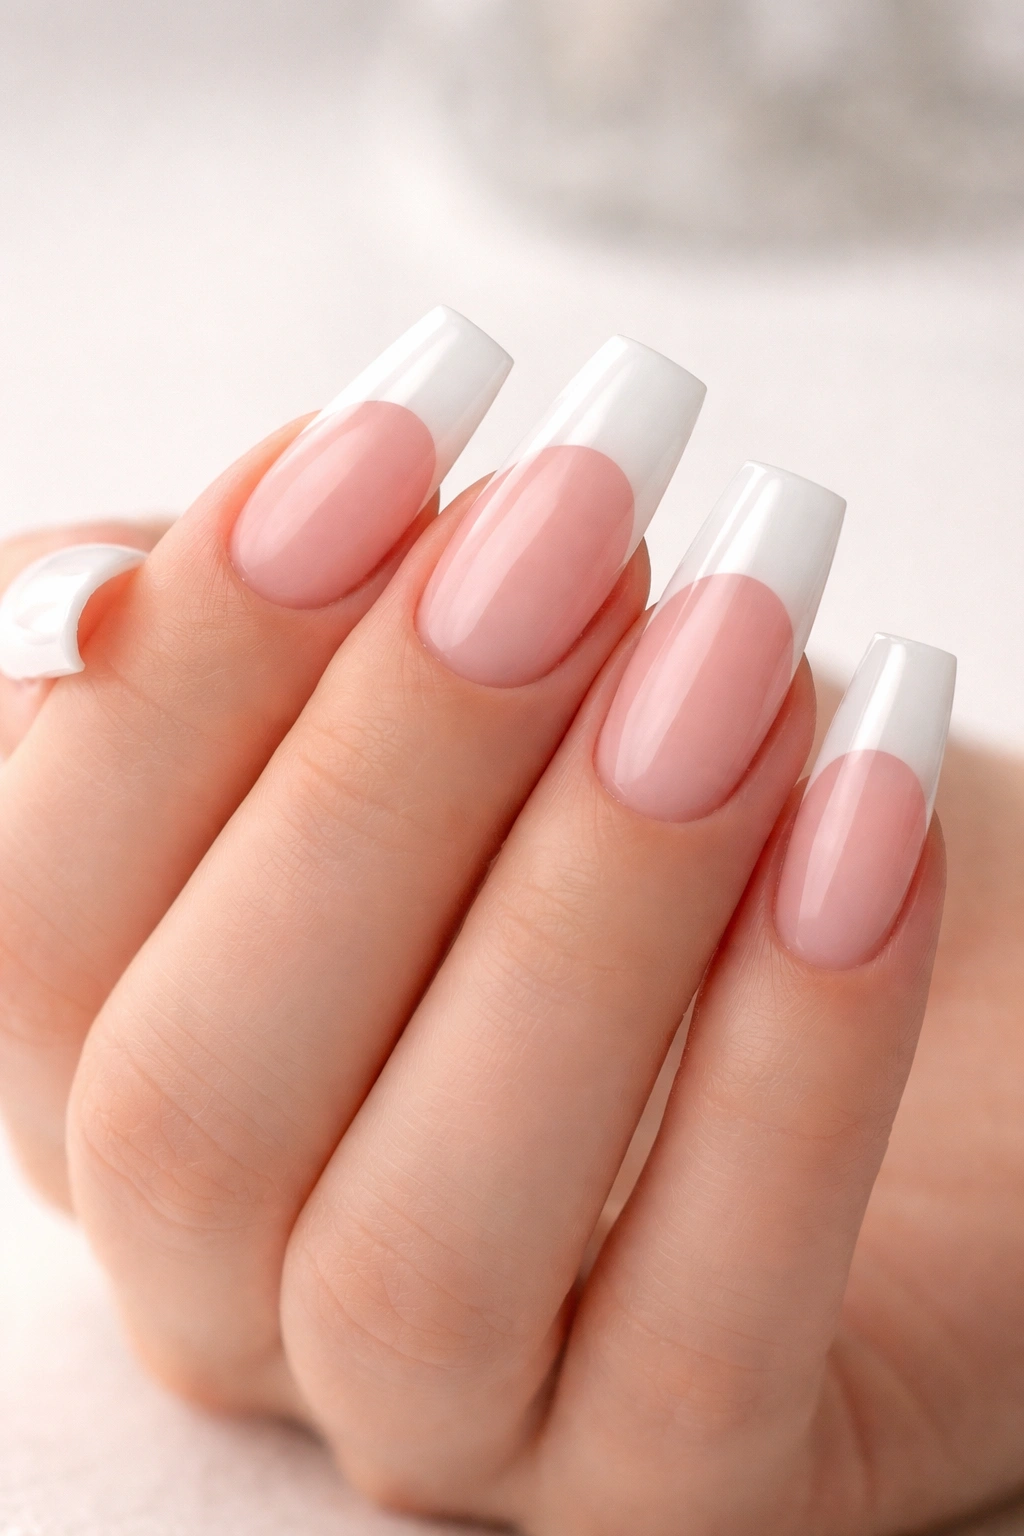
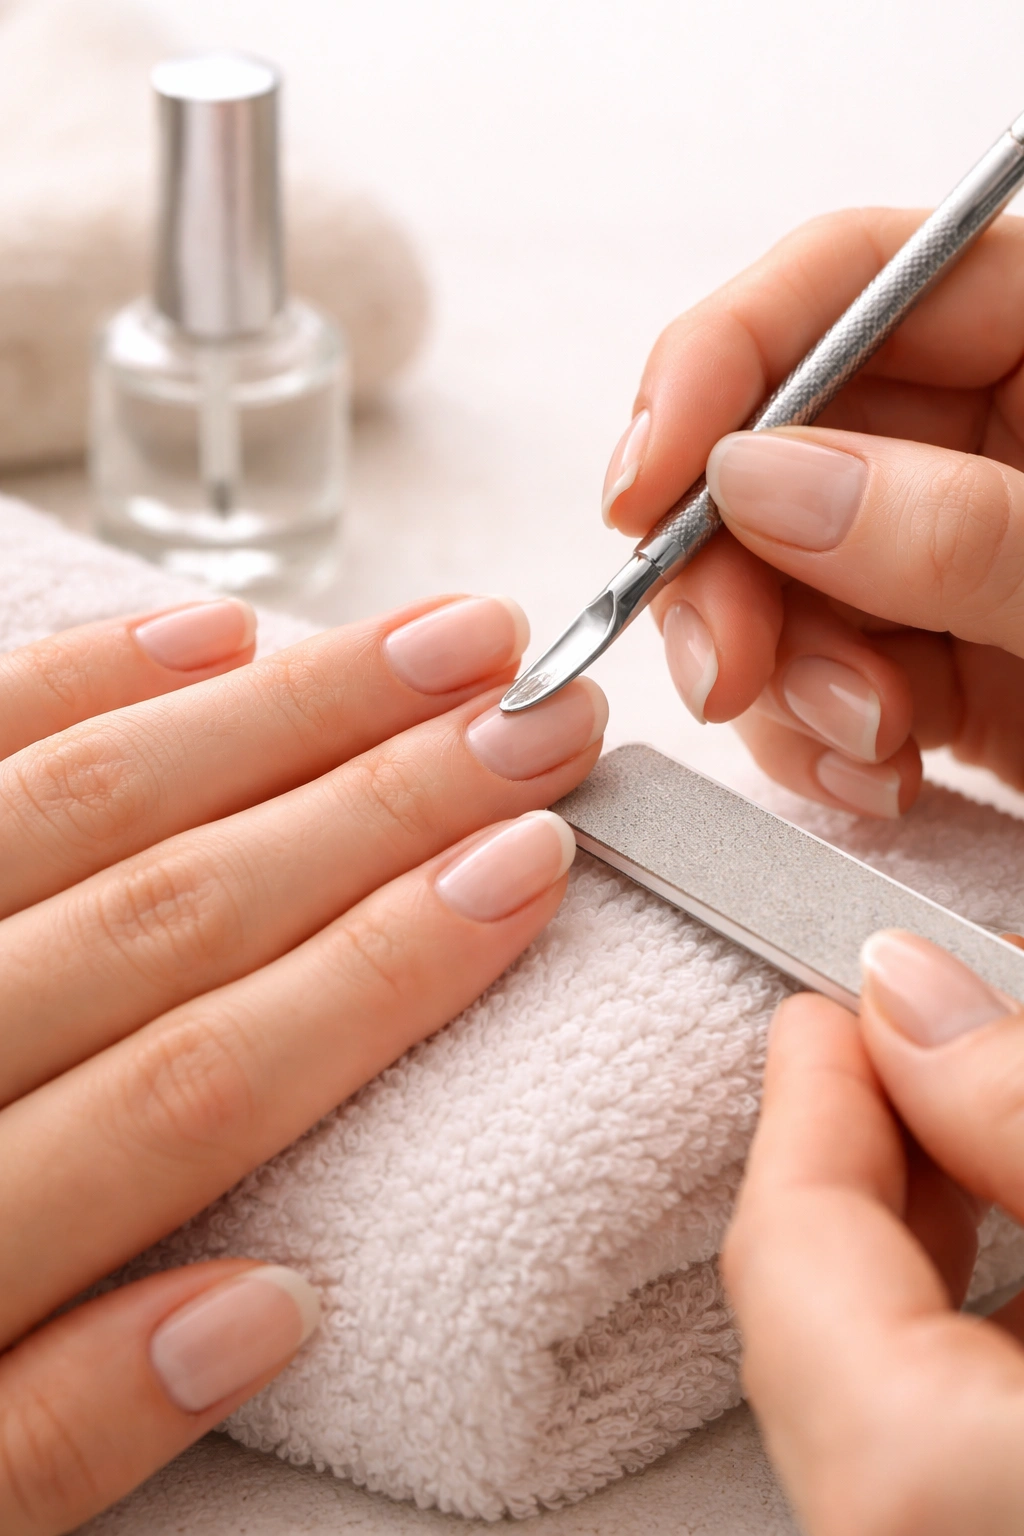
Push back your cuticles using your cuticle pusher. Angle the pusher flat against your nail and gently push the cuticle back toward the nail bed. You’re not trying to remove the cuticle — you’re simply revealing the nail surface so polish can adhere directly to the actual nail rather than to cuticle tissue. This is one of the biggest visual differences between professional and amateur manicures. A professional manicure has a visible crescent of clean nail at the base, while an amateur one has cuticle creeping up onto the nail surface.
If you have excess cuticle tissue, you can gently scrape it away using the spoon end of your cuticle pusher, or if you’re comfortable with nippers, take a clean cut. The goal is removing the excess layer of dead skin — you’re not cutting into live tissue.
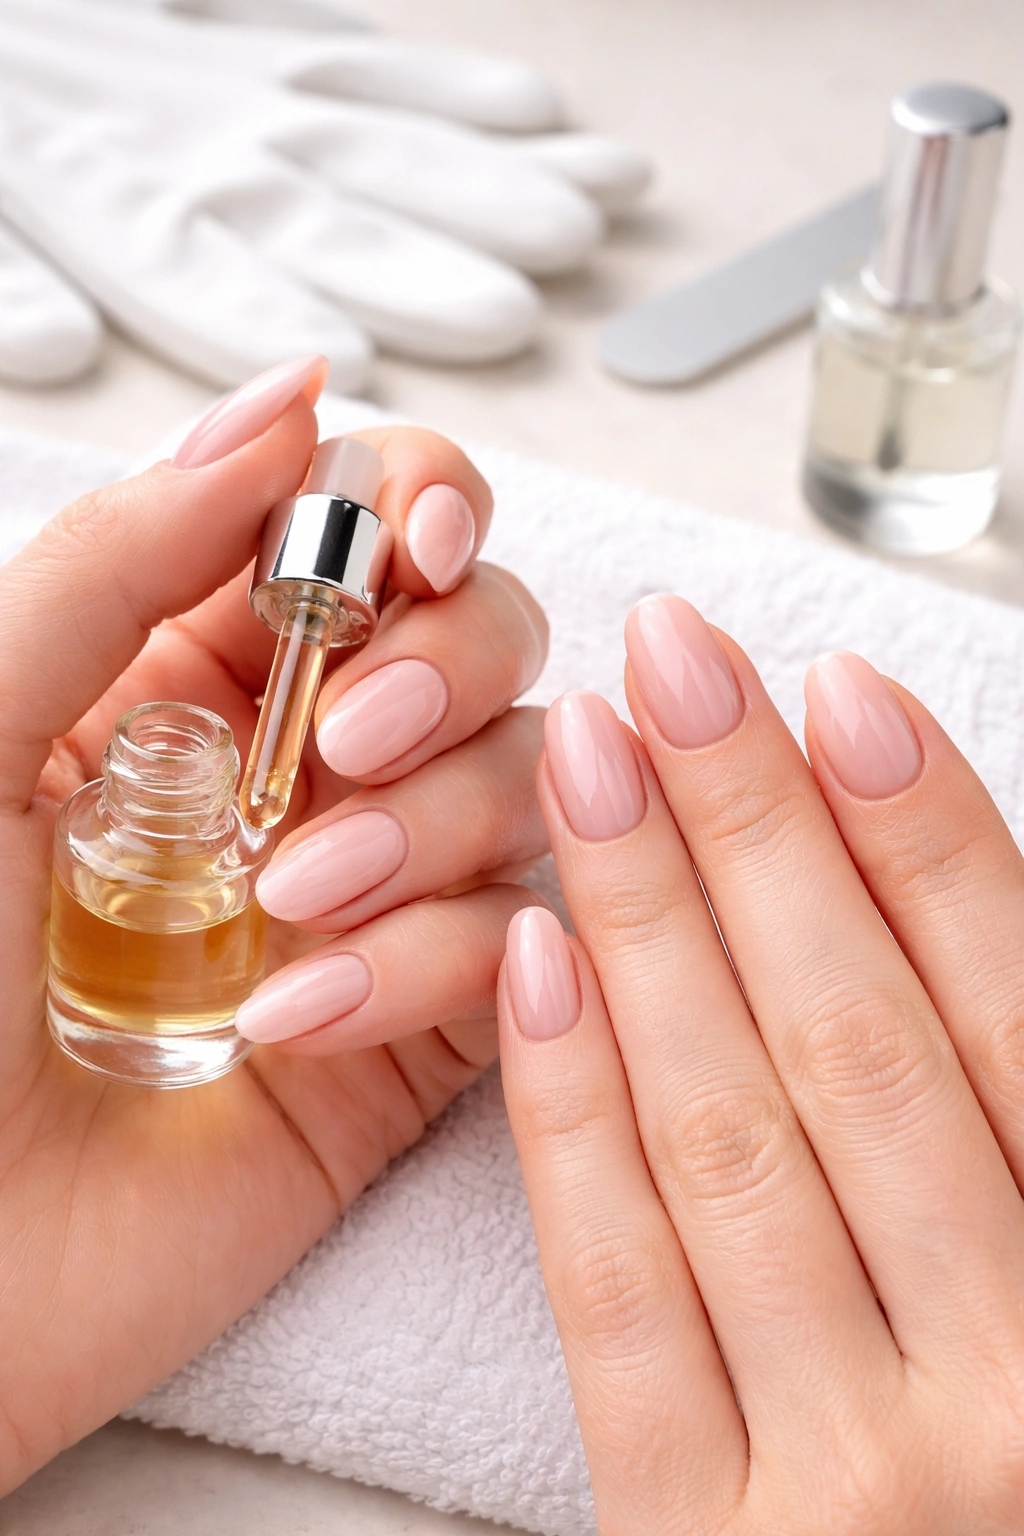
Apply a light coat of cuticle oil or hand cream to your cuticles and hands, then massage it in thoroughly. Let it absorb for 1-2 minutes. Cuticle oil keeps the skin around your nails from drying out while you’re wearing polish, which prevents peeling and hangnails. You can use commercial cuticle oil ($3-$8) or simply use a light hand cream or even coconut oil.
Finally, wash your hands once more with soap and water to remove any oil residue from the nail surface. Oil on your nails will cause polish to bead up and slide around instead of adhering smoothly. This step is absolutely critical — most people skip it and then wonder why their polish doesn’t stick properly. Let your hands dry completely for at least 2 minutes before applying polish.
Understanding the Filing Technique That Creates Professional Edges
The way you file your nails determines whether the edge lasts until your next manicure or starts peeling and breaking within a few days. Most people file incorrectly, creating weak edges that look ragged and wear away quickly.
The cardinal rule is: always file in one direction only, from the outer edge toward the center of the nail. Never file back and forth in a sawing motion. Back-and-forth filing creates tiny fractures and rough edges that split and peel. It feels like it’s working because it’s faster, but you’re actually damaging your nail edge every time you do it. One-directional filing seals the edge and creates a smooth, durable finish.
The angle of your file matters too. Hold the file at roughly 45 degrees to your nail edge, or imagine the file approaching your fingertip from the side at a slight downward angle. This creates an edge that’s slightly beveled rather than flat, and a beveled edge lasts longer and looks more polished. A flat edge created by filing perpendicular to your nail tends to chip more easily.
The shape of your nail determines how many strokes you need. For a square or slightly rounded nail, you typically need 15-20 strokes per nail. For a longer, more tapered shape, you might need 25-30 strokes. The goal is a smooth edge you can’t catch on anything when you run your finger across it. If you can feel any roughness or catches, you haven’t filed enough.
If your nails are very long and you need to shorten them significantly, use nail clippers to remove most of the excess length first — filing alone takes forever if you’re removing more than a quarter-inch of length. Use the file to shape and perfect the edge after clipping.
Mastering Cuticle Care Without Damaging Your Nails

The cuticle is a layer of skin that overlaps the base of your nail, and it’s there for a reason — it seals moisture into the nail and protects the nail matrix (the part under your skin that grows new nail). Many people either ignore cuticles entirely or damage them through overly aggressive pushing and cutting.
A professional approach to cuticles means gently pushing them back without cutting or tearing. Start by softening your cuticles with warm water and a small amount of cuticle oil or lotion. Apply the oil, let it sit for 30 seconds, then use your flat cuticle pusher to gently press the cuticle back toward the nail bed. You should be able to see the crescent-shaped base of your nail exposed after pushing back your cuticles.
If your cuticles are very thick or overgrown with extra dead skin, you can gently remove the excess using the spoon end of your cuticle pusher or a soft dull blade. The key is removing only the obvious dead skin layer — you’re not cutting into the living cuticle. This takes practice and a gentle hand. If you’re not confident doing this, simply pushing back your cuticles is sufficient for professional-looking nails.
Never cut your living cuticles — the thin layer attached directly to the nail. Cutting into the living cuticle damages the seal that protects your nails from moisture loss and infection. Only remove the excess dead tissue that’s clearly separated from your skin.
After cuticle work, apply cuticle oil again and massage it in thoroughly. This prevents the cuticles from drying out and becoming inflamed. Many people find that regular cuticle oil application means their cuticles stay softer and easier to manage, and they eventually need less aggressive cuticle work.
The Exact Technique for Streak-Free Polish Application
This is where the real magic of a professional manicure happens. The actual products — the polish brands and colors — matter far less than the technique used to apply them. A professional applies polish in thin, even coats with a specific motion and pressure that prevents streaks, bubbles, and uneven coverage.
The most important rule is: three thin coats beat two thick coats every time. One thick coat will bubble, streak, and look cheap. Three thin coats apply smoothly, dry faster, and look infinitely more professional. This is the single biggest difference between amateur and professional manicures.
Before applying polish, make absolutely sure your nails are clean and dry. Any moisture, oil, dust, or debris will interfere with adhesion. Wipe your nails with a dry cloth or air dry for at least 2 minutes after washing.
Start with a base coat. Base coat serves three purposes: it seals your nails so staining polish doesn’t permanently discolor them, it provides a slightly sticky surface that helps polish adhere, and it protects your nails from the harsh chemicals in colored polish. Don’t skip this step — it makes polish adhere better and last longer. Apply a thin coat of base coat to all ten nails, using the technique described below.
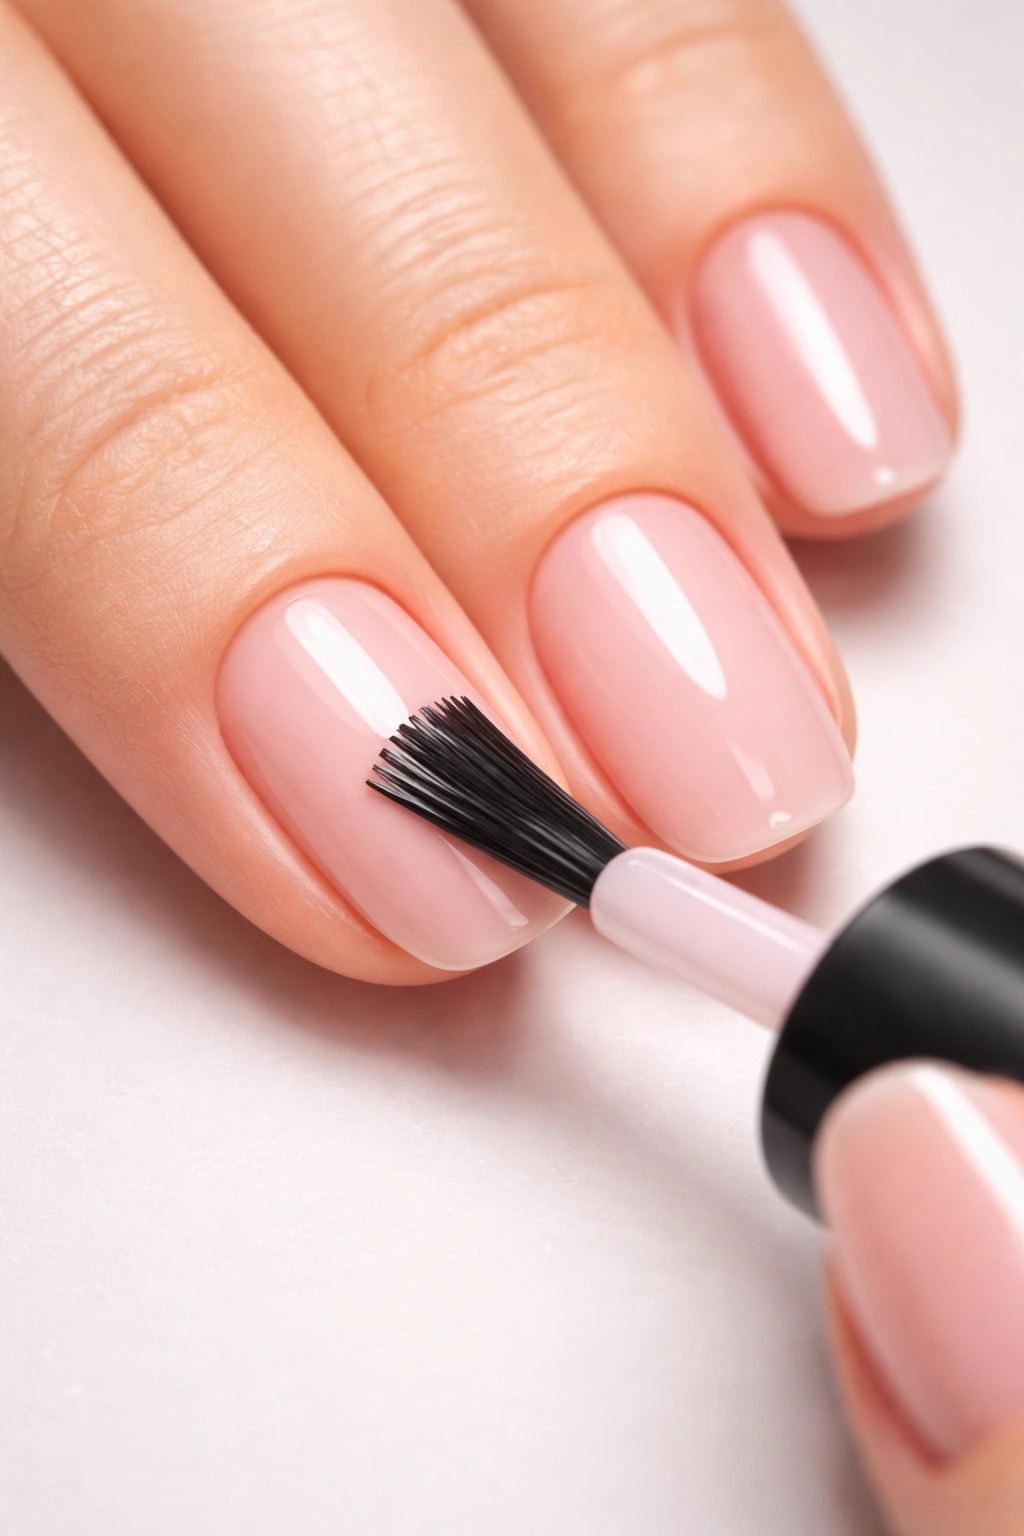
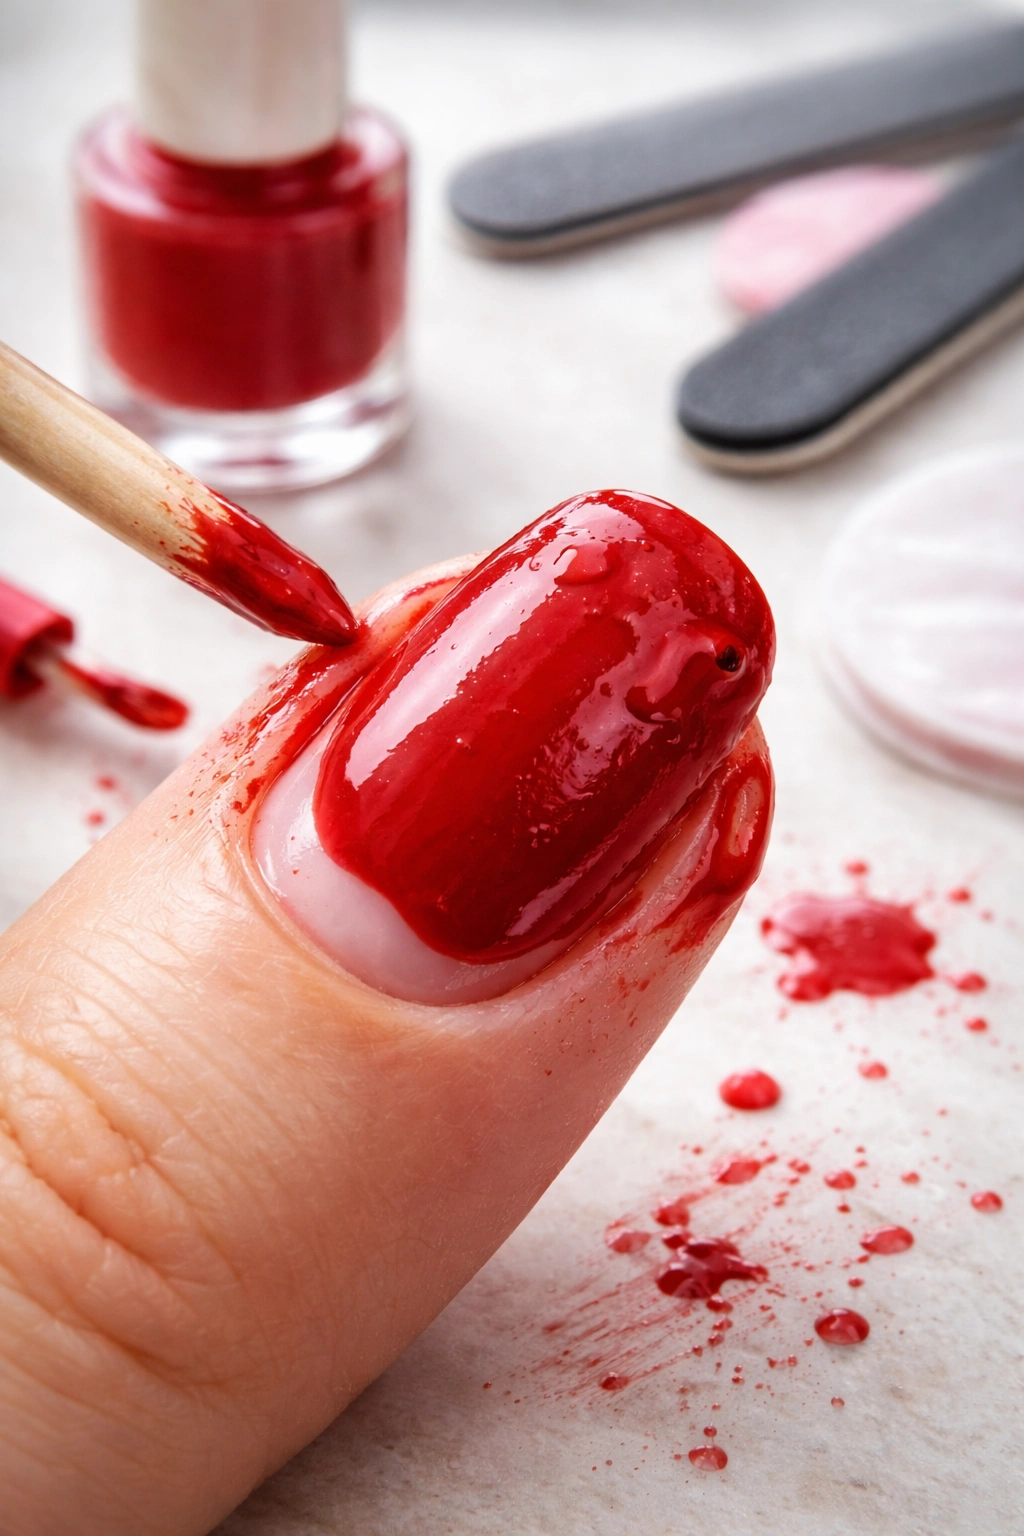
To apply polish correctly, dip your brush about one-third of the way into the polish (not halfway). The brush should be saturated but not dripping. Tap the brush gently on the inside edge of the bottle to remove excess polish — this prevents globs and drips.
Apply the polish with one long, smooth stroke down the center of the nail, from the base near the cuticle to the tip. Then use one stroke on each side of that center line, stroking from base to tip. This three-stroke method ensures even coverage with minimal brushwork. Press the brush gently against the nail and move smoothly and confidently — hesitation creates brushstrokes and unevenness.
For the first coat of color, you’ll likely still see your nail showing through in some spots. This is normal and okay — you want a thin first coat that dries quickly. Wait 1-2 minutes for the first coat to dry completely (or follow the polish bottle’s recommended drying time), then apply a second coat using the exact same technique. The second coat will be noticeably more opaque.
Most colors need only two coats of colored polish. If the color is particularly sheer or light, you might need a third coat, but this is rare. Never judge coverage while the polish is wet — it always looks thinner when wet and thickens as it dries.
After your final coat of color, apply a top coat using the same three-stroke technique. Top coat serves as a protective layer that prevents chipping and adds shine. Quality top coat is worth the investment because cheap top coat yellows or becomes sticky after a few days. Spend $5-$8 on a good top coat and it will last you through dozens of manicures.
Wait at least 3-5 minutes before using your hands after applying top coat, or use a quick-dry spray if you’re impatient. Even though polish feels dry to the touch within a few minutes, it continues to set and harden for 12-24 hours. Doing something that requires hand activity immediately after applying polish can create micro-dents and bubbles that ruin the finish.
How to Add Simple Salon-Worthy Nail Art Without Special Training
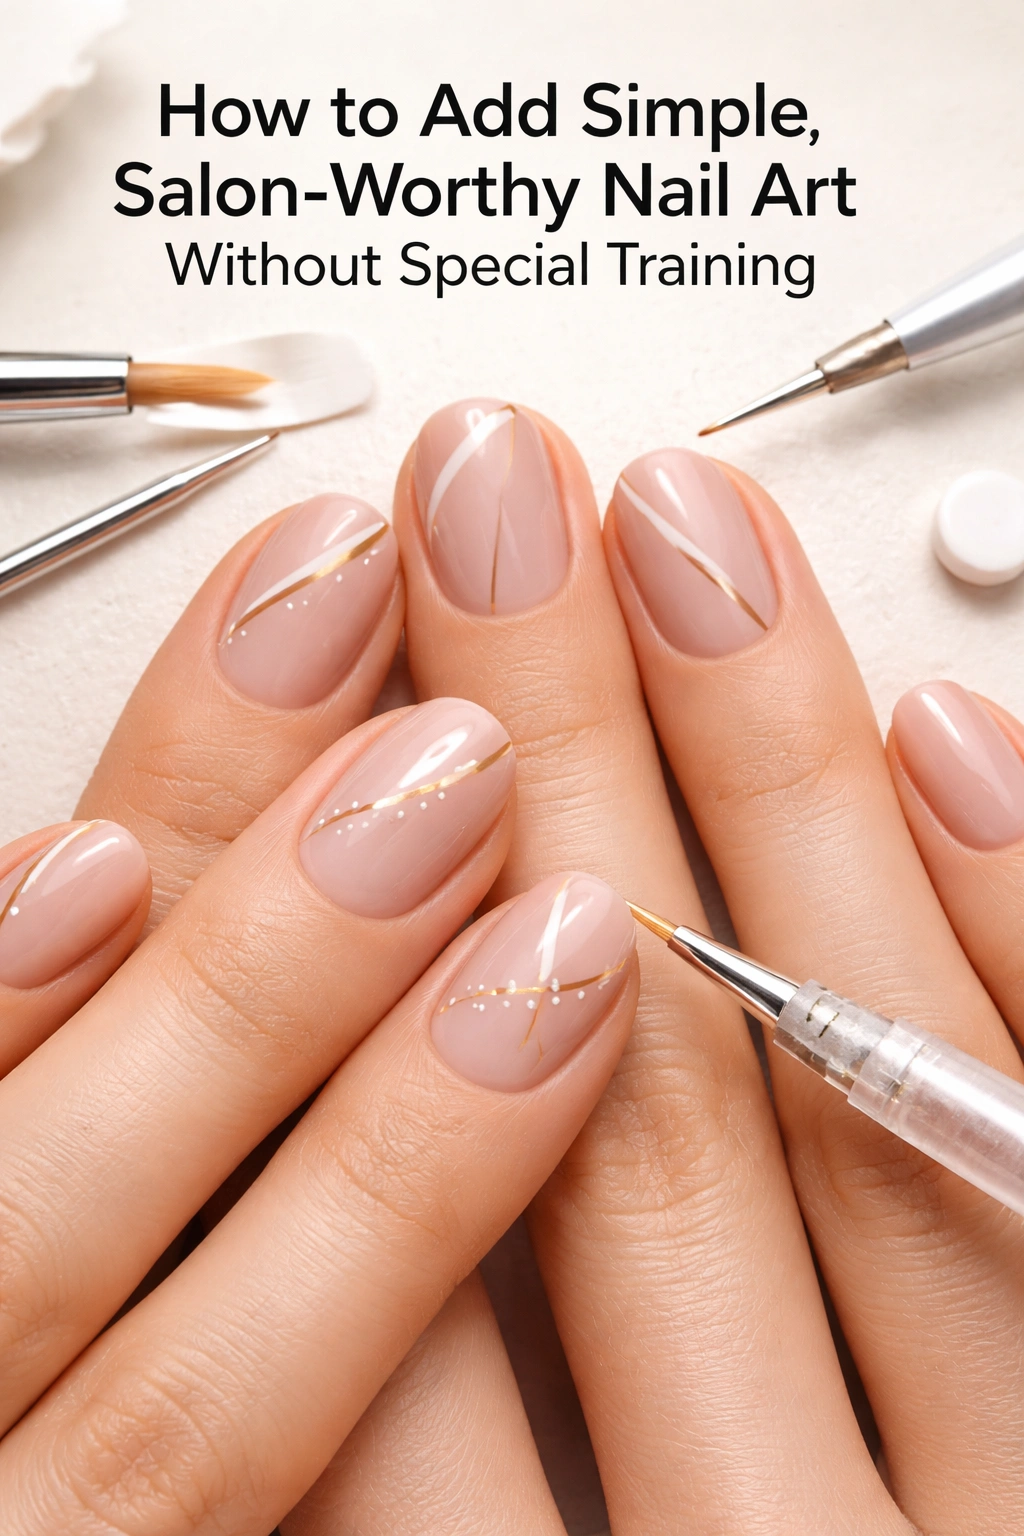
You don’t need to be an artist to create simple nail art that looks professionally done. The difference between clumsy amateur designs and polished salon art is usually just the use of proper tools and steady hand technique.
Thin angled brushes are your best tool for simple designs. These brushes have a fine, angled point that allows you to paint thin, controlled lines. You can buy angled brush sets for nail art for $5-$12, and they’re actually useful across multiple techniques.
Thin striping tape helps you create perfectly straight lines, geometric designs, and color blocks without freehand painting. Painter’s tape designed for nails costs about $3-$5 for several rolls. Apply the tape to your nails in the pattern you want (straight lines, diagonals, geometric shapes), then paint over it. The tape acts as a guide and mask, preventing paint from bleeding outside your intended design. Wait until your base color is completely dry before applying tape, and remove the tape immediately after painting the design — don’t wait for it to dry.
Dotting tools — simple metal tools with tiny balls on each end — are perfect for creating polka dots and flower designs. A set of dotting tools costs $3-$5. Simply dip the ball end in contrasting polish and tap it gently on your nail to create a dot. Dots are nearly impossible to mess up, and even tiny dots look intentional and design-like rather than accidental.
For any freehand design, work on a completely dry base and use very thin coats of design polish. It’s much easier to build up color with multiple thin layers than to correct one thick glob of polish. If you make a mistake on a design, wait for it to dry, then carefully remove the design with a small brush dipped in acetone or a correction pen designed for nail polish.
The most foolproof designs are negative space art — where you leave some of your nail unpainted (showing your natural nail or a base color underneath). This requires no artistic skill; you just apply base polish to certain areas using tape or simply paint carefully around the spaces you want to leave bare. Negative space designs look sophisticated and modern and are nearly impossible to mess up.
Gel Polish: When to DIY and When to Skip It
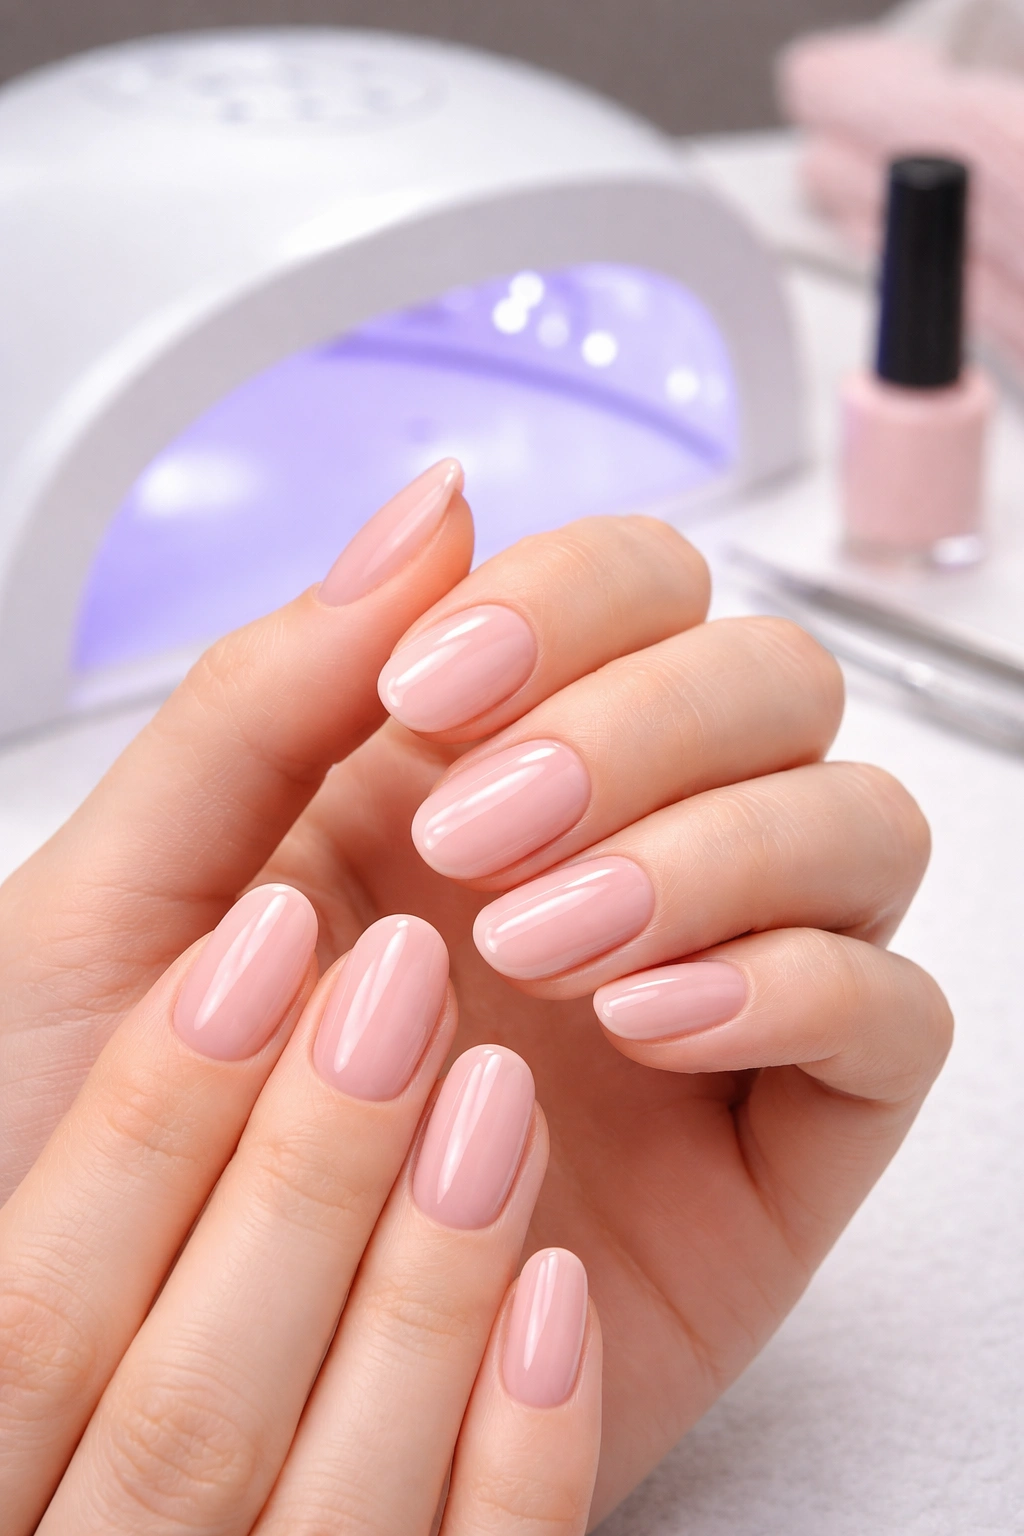
Gel polish lasts 2-3 weeks without chipping and looks glossy and dimensional in ways that regular polish simply can’t match. However, gel polish requires an investment in equipment — primarily a gel lamp or LED light — and also requires a specific removal process that can damage nails if done incorrectly.
A gel UV or LED lamp costs $20-$80 depending on the brand and features. If you want to do gel polish at home regularly, the cost is probably worth it over time. However, if you only do your nails occasionally, it might not be worth the upfront investment plus the cost of gel polish kits.
Gel polish application follows the same basic technique as regular polish, but uses specific gel base, color, and top coats, and each layer is cured (hardened) under the lamp according to the product instructions — typically 30-60 seconds per layer. The key differences are that gel colors don’t need multiple coats (usually one coat of color is fully opaque after curing), and the finish is much more durable.
The challenging part is gel polish removal. Removing gel incorrectly — by peeling, scraping, or soaking in acetone too aggressively — can thin your nails and leave them weak and damaged. The proper removal process involves soaking in acetone for 10-15 minutes to soften the gel, then gently scraping or buffing it away. Many people find the removal process tedious, which is why some choose to go to a salon just for removal and reapplication.
If you decide to do gel at home, invest in quality products from established brands — Sally Hansen, OPI, and Essie all have gel systems. Cheap gel kits sometimes don’t cure properly or become sticky and don’t provide the durability you’re looking for. Your lamp is also crucial; cheap lamps don’t provide consistent UV or LED light, meaning inconsistent curing and potentially wasted polish.
Acrylic Nails: Why They’re Rarely Worth DIY
Acrylic nails involve mixing acrylic powder and liquid monomer to create a paste that’s applied over nail tips or directly to your nail, then sculpted and shaped as it hardens. This process requires significant skill, proper ventilation, and patience to master.
The main reasons acrylics are not recommended for at-home DIY: Acrylic monomer has a strong chemical smell and requires excellent ventilation to use safely — far better ventilation than most homes provide. The mixing and application requires very steady hands and practice to avoid creating lumps, uneven surfaces, or nails that look thick and artificial. The process also takes 20-30 minutes, which is longer than most people have patience for when they’re beginning. And when acrylics are done poorly, they look very obviously amateur in a way that gel or regular polish doesn’t.
If you want acrylic nails, visit a salon at least a few times to learn what professional acrylics actually look like, then decide if DIY is worth attempting. Many people try acrylic kits at home once and then never again because the results aren’t worth the hassle and the chemical smell.
Making Your Manicure Last Weeks Instead of Days
The difference between a manicure that looks fresh for 5 days and one that looks pristine for 3 weeks is primarily about cuticle health, nourishment, and protecting your nails from water and chemicals.
Apply cuticle oil every single day, even while wearing polish. You can apply it directly over your polish without affecting the finish. Cuticle oil keeps the skin around your nails hydrated and prevents peeling, hangnails, and the breakdown of the cuticle seal that causes your polish to peel away from the base of your nail. This single habit extends your manicure lifespan significantly. Spend $4-$8 on a bottle of cuticle oil and use it religiously.
Wear gloves when doing dishes or other wet work. Water softens your nails and causes them to swell and shrink, which creates stress on the polish and causes chipping. This is the primary reason manicures fail prematurely — constant water exposure. Latex gloves cost less than a dollar and are perhaps the most effective tool for extending your manicure.
Use a top coat every few days. Even if your original top coat is still shiny, adding an additional coat of fresh top coat every 2-3 days significantly extends the wear. This takes literally 2 minutes and provides noticeable protection.
Avoid excessive heat exposure. Keeping your nails in extremely hot water or exposing them to heat sources causes the nail to expand and contract, stressing the polish. lukewarm water is fine, but avoid steaming and excessive hot water.
Be cautious with acetone and harsh chemicals. Acetone (found in nail remover), bleach, harsh cleaning products, and even some skincare ingredients can weaken nail polish and cuticles. Wear gloves when using cleaning products, and rinse thoroughly afterward.
Sleep on your back or keep your hands protected. If you sleep face-down with your hands under your pillow, you’re putting pressure on your freshly manicured nails all night, which causes chipping and damage. Sleep on your back if possible, or at least avoid putting pressure on your nails while they’re still hardening (the first 24 hours).
Common Mistakes That Ruin At-Home Manicures
Most people who fail at at-home manicures aren’t failing due to lack of products or talent. They’re failing because they skip steps or use incorrect techniques. Knowing what these mistakes are lets you avoid them entirely.
Skipping the base coat is one of the most common mistakes. Base coat isn’t just nice to have — it genuinely changes how polish adheres and lasts. Without it, your polish is sitting directly on your nail with no bonding agent, causing it to peel away within days.
Filing back and forth instead of in one direction creates rough edges that instantly look amateur and peel within days. This single technique change makes a massive difference in how long your manicure lasts.
Applying polish too thick is another huge mistake. One thick coat looks streaky and uneven while it’s wet, but people leave it because they’re impatient or think waiting for it to dry will solve it. It won’t. Multiple thin coats are always superior.
Not waiting for layers to dry between coats causes layers to mix together, creating a muddy, uneven finish. Wait the recommended time between base, color, and top coats. Patience is the ingredient that transforms a mediocre manicure into a professional one.
Letting your hands get wet immediately after applying polish stresses the polish and causes bubbles and micro-dents. Wait at least 3-5 minutes, or use a quick-dry spray. Some people apply polish and then immediately wash dishes or get their hands wet — no wonder it fails.
Not buffing your nails before polish application means polish is adhering to a shiny, somewhat oily surface rather than a slightly textured one. Buffing removes shine and creates tooth for the polish to grab onto. This step takes only 20-30 seconds but makes a real difference in adhesion.
Using old, separated, or thick polish is also common. Polish that’s been open for a year separates into layers, gets thick, and doesn’t apply evenly no matter what you do. If your polish feels thick or looks separated in the bottle, replace it.
Not pushing back cuticles means polish is adhering to cuticle tissue rather than actual nail, causing the polish to peel away at the base almost immediately. This is such a simple step and yet makes an enormous difference.
Essential Products to Buy First When Starting Out
If you’re just beginning to do your nails at home, here’s exactly what to buy and in what order to maximize results without spending excessively.
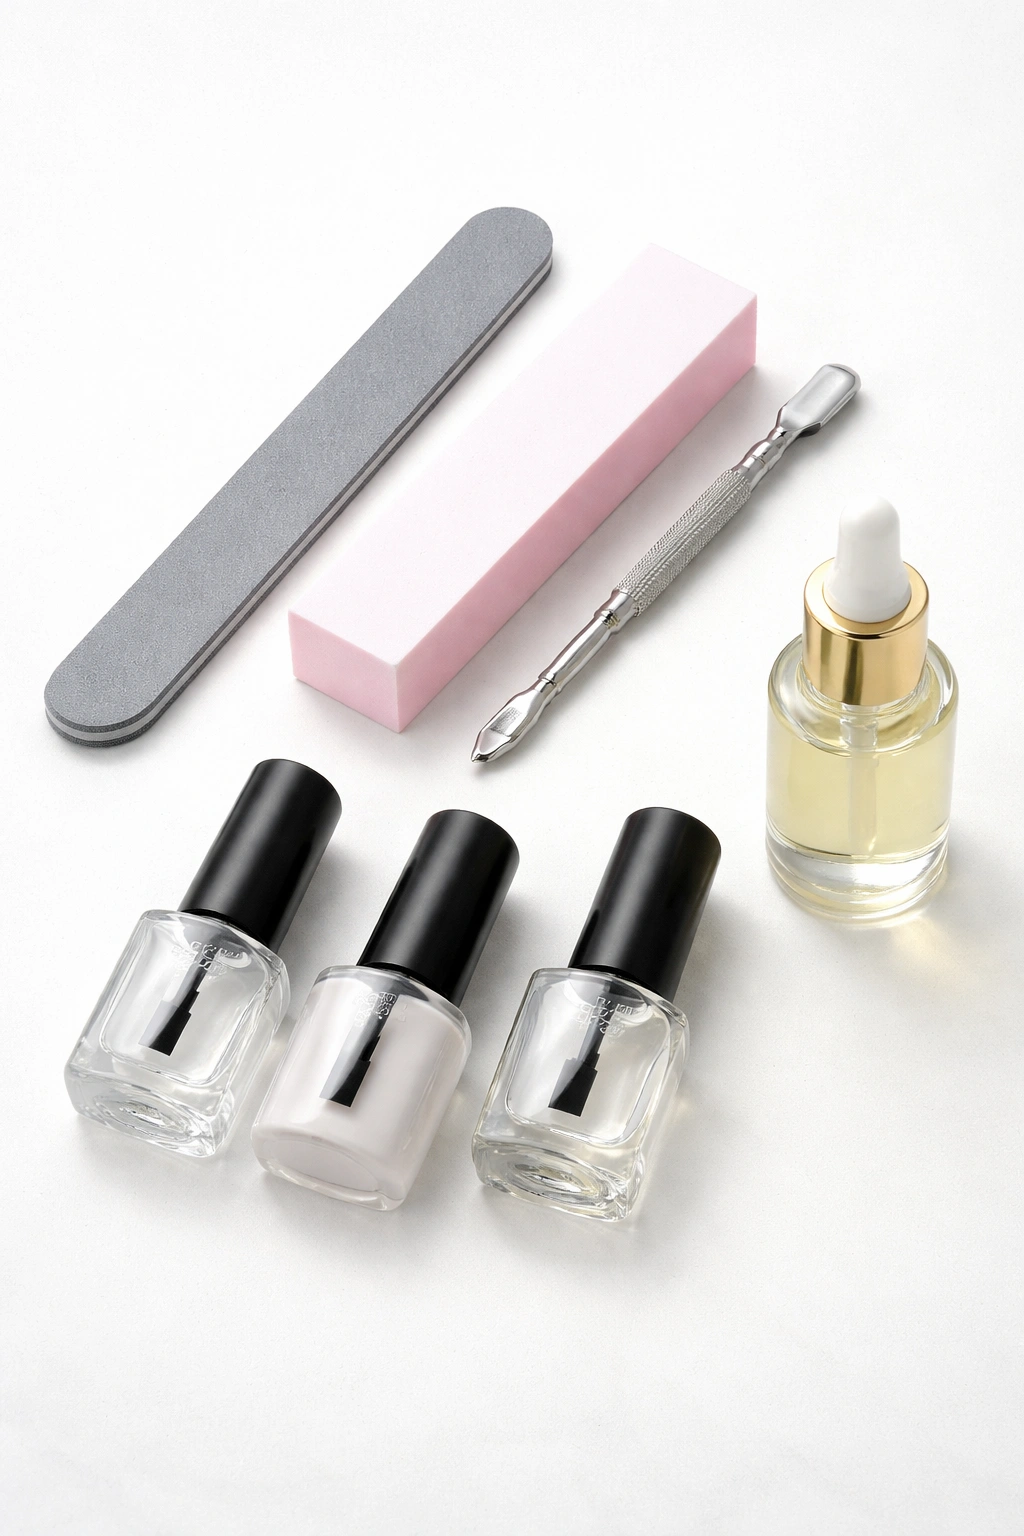
First purchase ($15-$25 total): A quality metal nail file ($5-$8), a four-sided buffer block ($5-$8), a flat cuticle pusher ($3-$5), and a bottle of cuticle oil ($4-$8). These four items get you 80% of the way to salon-quality nails. You can apply polish with the brush that comes in the polish bottle, so you don’t need special brushes immediately.
Second purchase ($20-$30 total): A good base coat ($5-$8), a quality top coat ($5-$8), and your preferred nail polish colors. Invest in polish from established brands like OPI, Essie, Sally Hansen Insta-Dri, or similar. These brands have better formula consistency and pigment quality than super-cheap polish.
Third purchase (optional, $10-$20): A cuticle oil roller or pen (convenient for application), angled brushes if you want to try nail art, or a dotting tool set for simple designs.
Fourth purchase (optional, $30-$60): A gel lamp and gel polish kit if you want to experiment with gel manicures. Only buy this after you’ve mastered regular polish application.
Skip these unless you specifically need them: expensive nail polish organizers, decorative files, electric nail drills, gel extensions, acrylic kits, and nail wheels or polish displays. These are “nice to have” products that don’t actually improve the quality of your manicure.
Maintaining Healthy Nails Between Professional Manicures
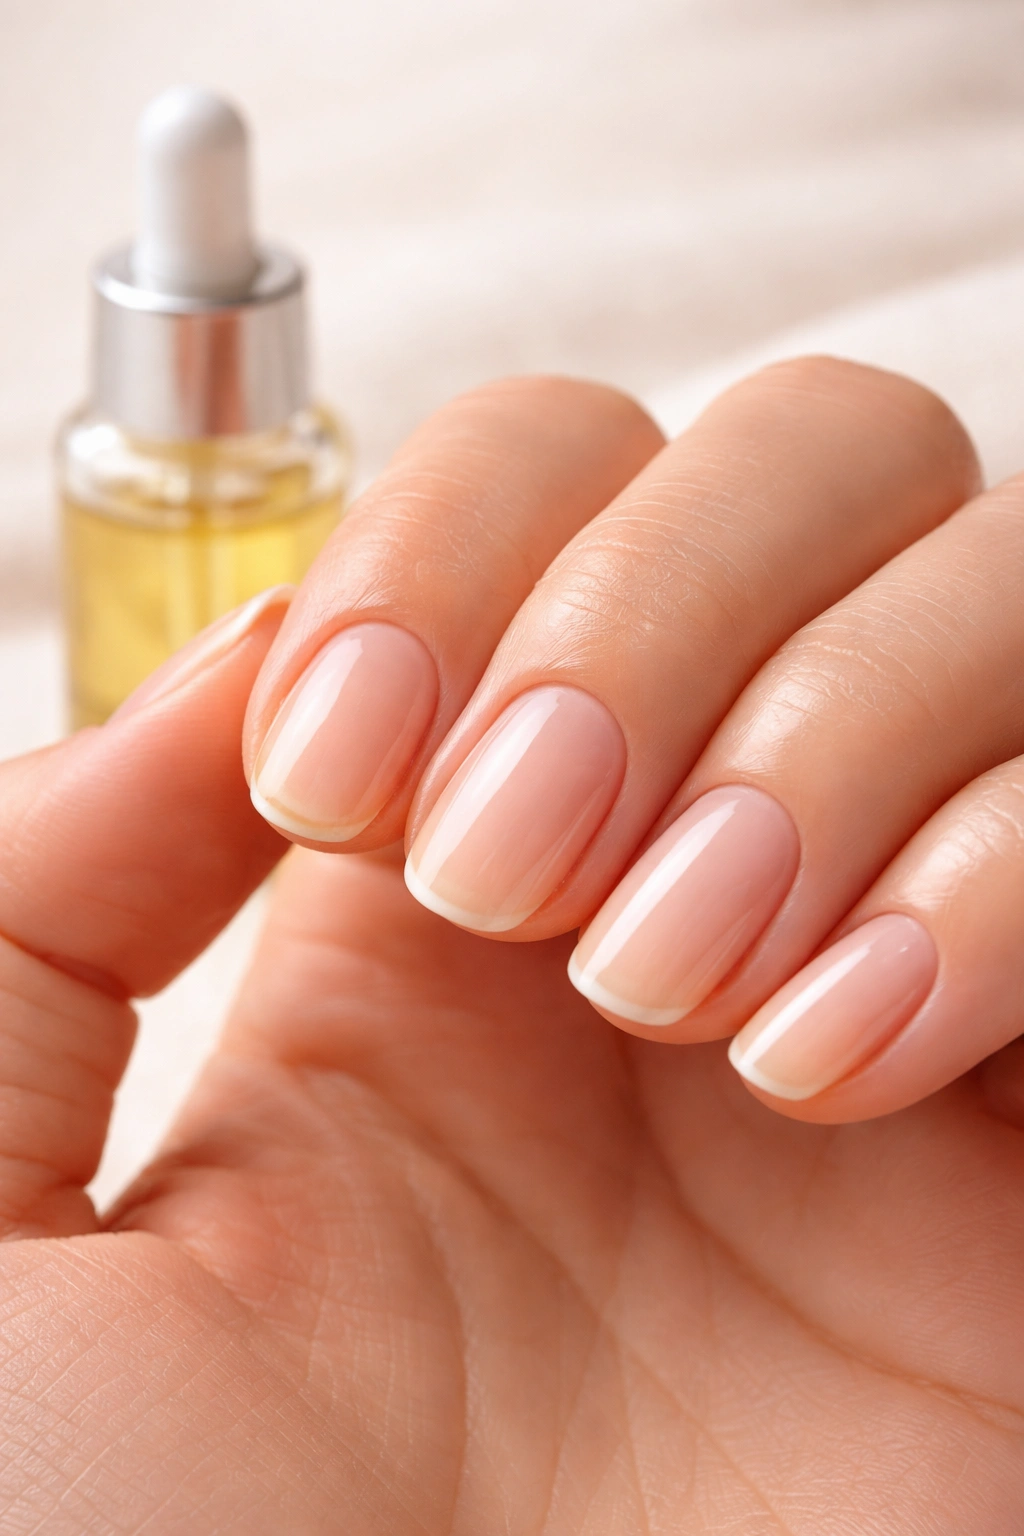
The actual health of your nails determines how well polish adheres, how long it lasts, and how your nails look even when unpolished. Healthy nails have a smooth surface, flexible but strong structure, and no peeling, discoloration, or damage.
Keep your nails moisturized by applying cuticle oil daily. This is the single most important habit. Dehydrated nails become brittle and break easily, and the skin around them becomes inflamed and prone to hangnails. A few drops of cuticle oil massaged in daily transforms the health of your nails.
Limit your exposure to water and harsh chemicals. Excessive water softens nails and causes them to swell and shrink repeatedly, which weakens the structure. Harsh chemicals like bleach, acetone, and strong soaps strip moisture from nails and skin. Wear gloves when cleaning, doing dishes, or handling chemicals.
Don’t use your nails as tools. Using your nails to open things, scrape off stickers, or pry into spaces damages them and causes peeling and breakage. Keep a small screwdriver or plastic pry tool handy instead.
Trim and file your nails regularly rather than letting them grow very long and then cutting them drastically. Regular maintenance keeps them shaped properly and prevents the stress and damage that comes from overgrown nails breaking off.
Give your nails a break between polish applications occasionally. One week every few months of unpolished nails lets them breathe and absorb moisture. This prevents the long-term thinning and weakening that can happen with constant polish wear. Even just one week of cuticle oil application and moisture can restore nails to health.
Consider a nail strengthener if your nails are thin, weak, or prone to peeling. Products with nylon or keratin can temporarily strengthen nails, though results are modest. A nail strengthener is less necessary if you’re already using cuticle oil daily and protecting your nails from water and chemicals.
Watch for signs of nail problems: persistent discoloration, thickening, extreme brittleness, separation from the nail bed, or changes in texture or shape can indicate fungal infections, nutritional deficiencies, or skin conditions that may require a dermatologist’s attention.
Maintaining Your Tools and Keeping Them Sanitary
Professional manicurists sterilize their tools between every client, which means your at-home tools should also be properly sanitized before use to prevent bacteria and fungal growth.
Wash your tools with soap and hot water after every use. Soak them for 2-3 minutes in hot soapy water, then scrub them with an old soft toothbrush to remove dust and debris. Dry completely afterward.
Sanitize your tools regularly by soaking them in a 70% isopropyl alcohol solution for 10 minutes, then air drying completely. You can buy a bottle of isopropyl alcohol for $3-$5 at a drugstore. Do this once a week if you use your tools regularly.
Replace single-use tools regularly. Glass files and certain pumice buffers can’t be properly sterilized, so replace them every 3-6 months depending on use. Metal files and reusable buffers can last years if cared for properly.
Replace your nail brush every 2-3 months. Bristles accumulate bacteria and can’t be adequately sterilized, so replacing it regularly is more sanitary than attempting to sterilize it.
Store your tools in a clean, dry container with air flow. Don’t store them in a closed container that traps moisture, as moisture promotes bacterial and fungal growth. A simple container with a breathable cloth cover works perfectly.
Wash your hands before and after doing your nails. This prevents transferring bacteria from your hands to your nails and prevents spreading any nail issues.
Final Thoughts
Getting salon-quality nails at home comes down to technique, patience, and investing in a small set of quality tools rather than buying dozens of cheap products. The professionals at salons aren’t using secret ingredients or working with magical products — they’re using proper preparation, good filing technique, correct polish application, and tools that actually work. Once you understand what each step is doing and why, replicating those results at home becomes straightforward.
The first time you spend 30 minutes properly preparing your nails, applying base, two thin coats of color, and top coat with correct technique, you’ll immediately see the difference. Your polish will look smooth, even, and glossy instead of streaky. More importantly, your manicure will last 2-3 weeks instead of peeling away in days. The time investment feels long at first because you’re learning, but as your hands develop muscle memory, the process becomes faster and the results become more consistent.
Start with just the essential tools — a quality file, buffer, cuticle pusher, and oil. Learn proper filing and cuticle technique before worrying about nail art or gel polish. Most failures at home manicures happen during prep work, not during polish application, so mastering those invisible steps transforms your results. Give yourself 2-3 manicures to develop the technique, then reassess the results. By the third or fourth time, you’ll have a manicure you’re genuinely proud of, and the cost savings compared to regular salon visits become obvious. You’ll have invested $30-$50 in tools that will last years and spend only $3-$5 per manicure in products, compared to $25-$65 each time at a salon.
