

When you want your nails to look intentional and polished but you’re short on time, it can feel like you’re choosing between two impossible options: spend an hour at the salon or settle for bare nails. The good news? You don’t have to pick. There are genuinely stunning nail looks that take 20 minutes or less to execute at home, and they don’t require a art degree or expensive tools. The secret isn’t having perfect technique — it’s choosing designs that work with your natural abilities rather than against them, using simple shapes, minimal colors, and smart tricks that let you create something impressive without the fuss.
The nail looks in this guide share one critical thing: they work fast because they rely on straightforward shapes, limited color choices, and design elements that look intentionally simple rather than rushed. You’ll notice a pattern across all of them — they embrace minimalism, they use negative space, they stick to clean lines, and they let the quality of your base color do much of the visual heavy lifting. Once you understand that principle, you can adapt these designs and create variations in seconds. Most of these looks use just one or two polish colors plus a base coat and topcoat, which means less drying time and fewer steps where things can go wrong.
The real game-changer? Knowing exactly which designs to reach for when your calendar is packed. These ten nail looks have been selected because they combine speed, visual impact, and genuine wearability. They’re not trends that’ll feel dated in three months — they’re timeless designs that look expensive and intentional, whether you’re heading to the office, out for the evening, or just want your nails to feel polished without the time investment.
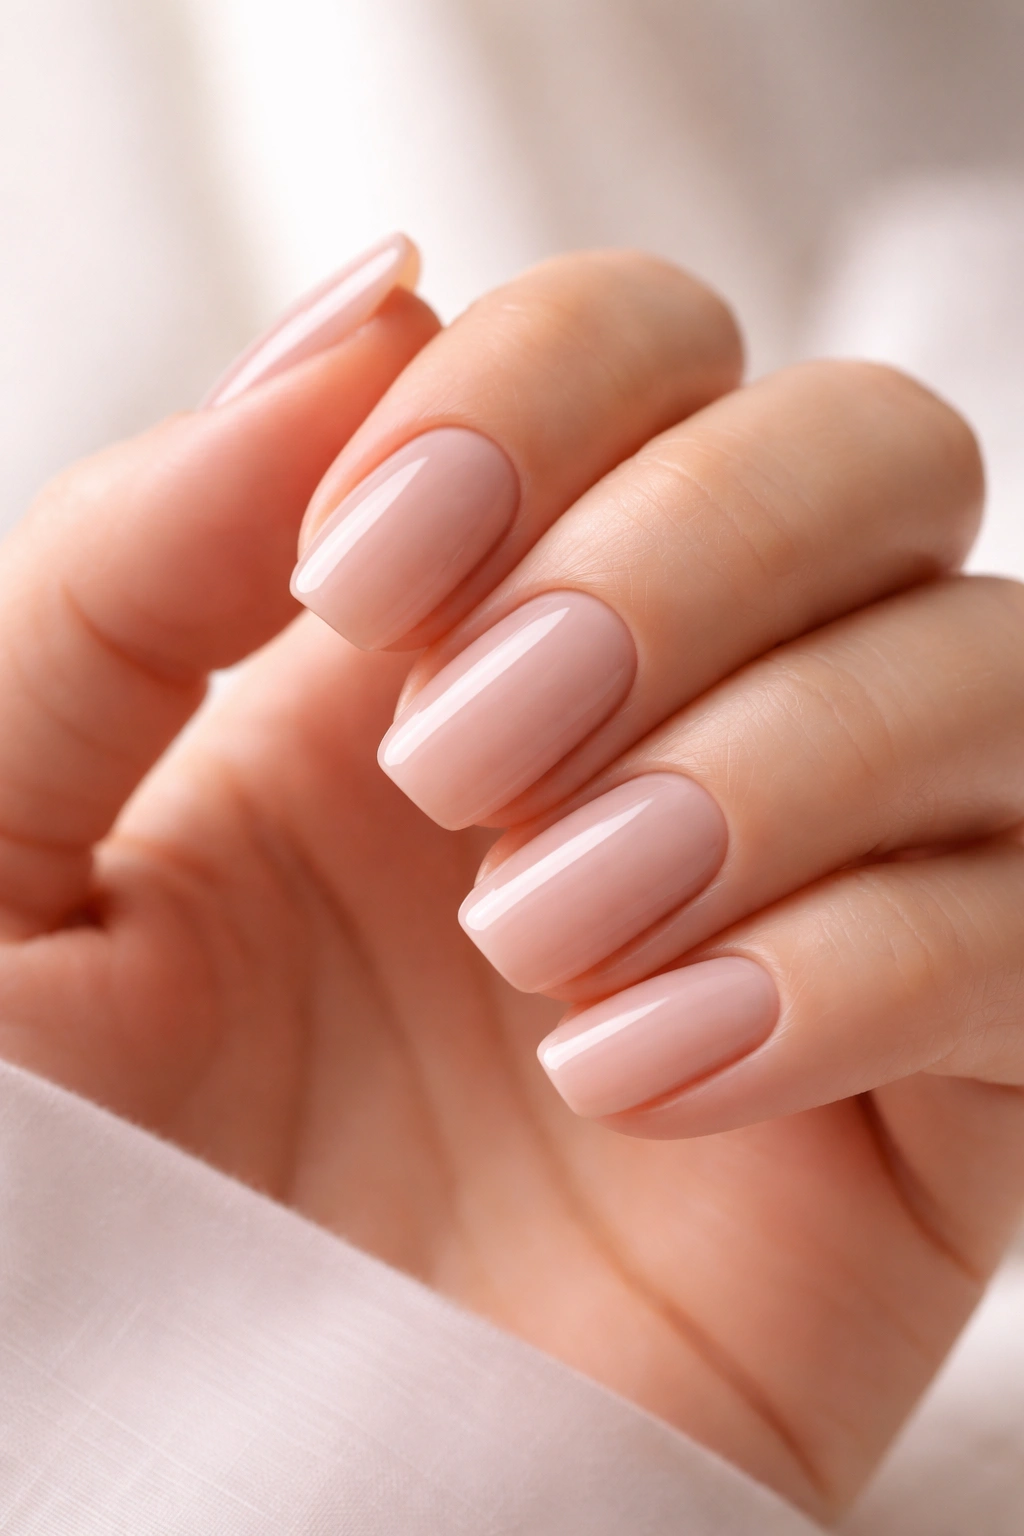
1. Solid Color Base with Accent Nail
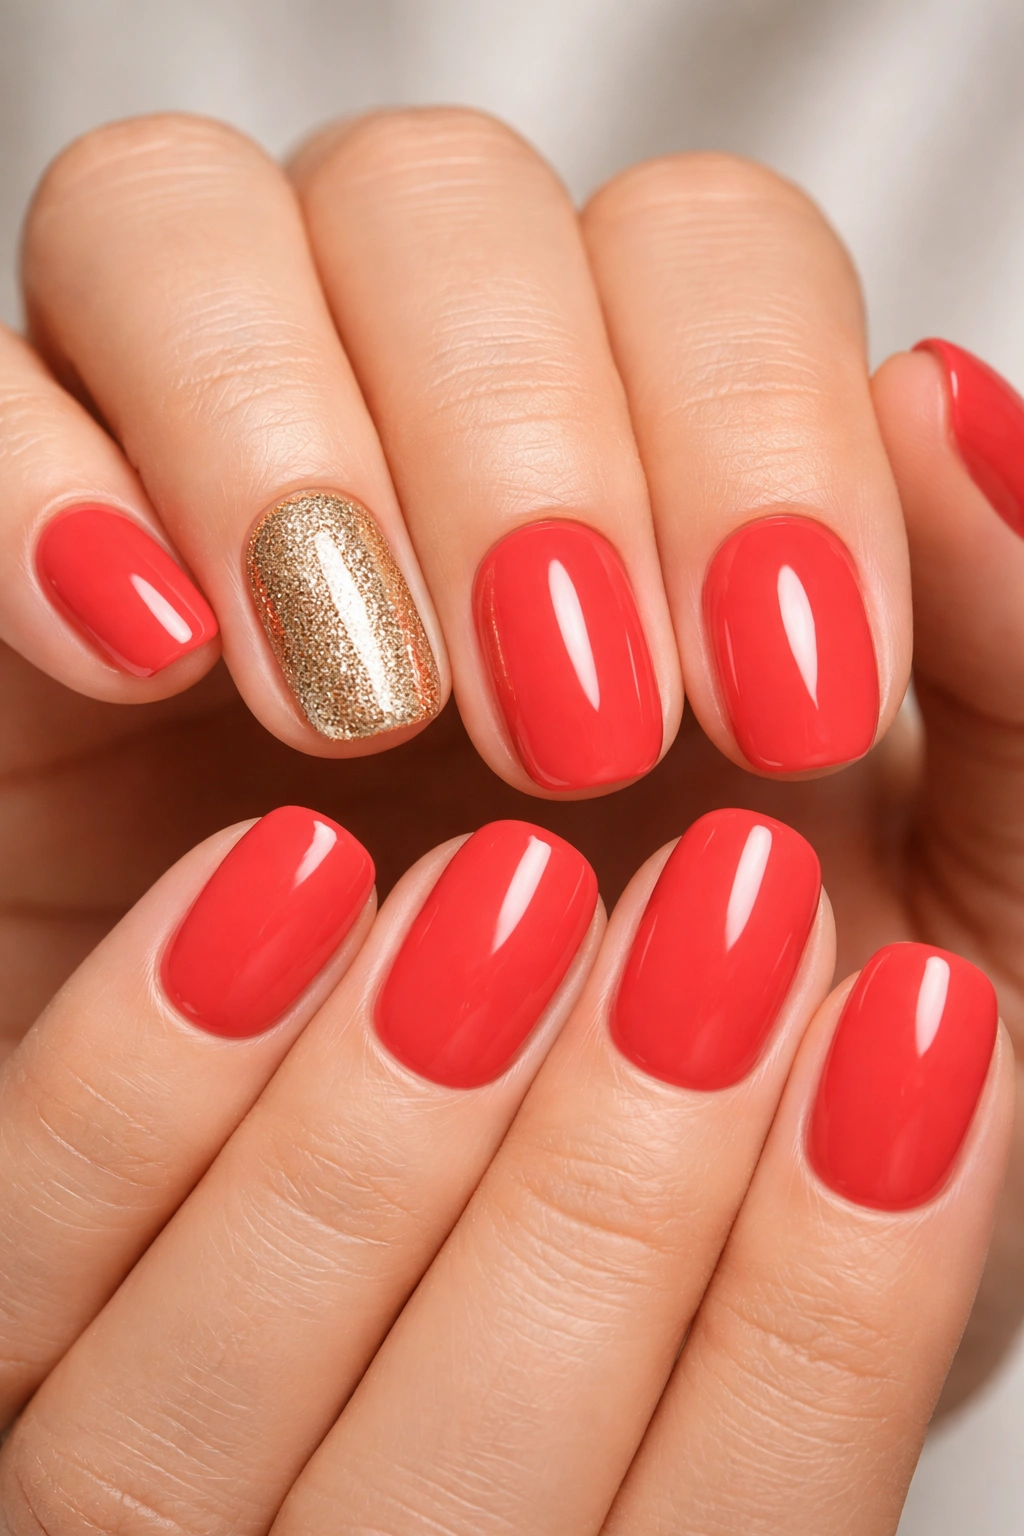
A single bold color across nine nails with one accent nail is the fastest way to look like you actually tried. The genius of this look is that it works with any color combination, takes minimal technique, and still reads as intentional and designed. You apply the base color to all ten nails, then choose one (usually the ring finger or thumb) for something different — maybe a metallic, a contrasting shade, a glitter polish, or even a simple pattern on that single nail.
Why It’s Perfect for Speed
The reason this design saves so much time is straightforward: you’re avoiding any intricate work on nine of your ten nails. Base coat, two coats of color, topcoat across most of your hand, then just one accent nail gets extra attention. There’s almost no room for error because solid color is forgiving, and even if your application isn’t perfect, it reads as intentional rather than messy. The accent nail also means you can experiment with tricky textures like chrome or glitter on just one nail without committing to an entire manicure that requires extra drying time.
How to Pull It Off in Under 20 Minutes
- Apply base coat to all ten nails (2 minutes)
- First coat of color to all nails (4 minutes) — work quickly, paint side to side across each nail rather than in strokes from cuticle to tip
- Second coat to all nails (4 minutes)
- While that dries, pick your accent nail color or finish
- Paint the accent nail with its special color (3 minutes) — if it’s glitter or metallic, you might need two coats, so plan accordingly
- Topcoat everything (3 minutes)
The key is keeping your base color application smooth and even so the nails look intentional. Use thin coats rather than one thick coat — thin layers dry faster and look more professional. For the accent nail, metallics and chrome finishes look especially sophisticated and expensive, even though they’re quick to apply.
Best Color Combinations That Work Every Time
- Deep burgundy base with a gold or rose gold accent nail
- Classic red on nine nails, one nude or nude-pink accent
- Soft nude base with one black or dark gray accent
- Navy blue base with one white or cream accent
- Pale pink base with one nude or mauve accent
- Black base with one metallic silver or chrome accent
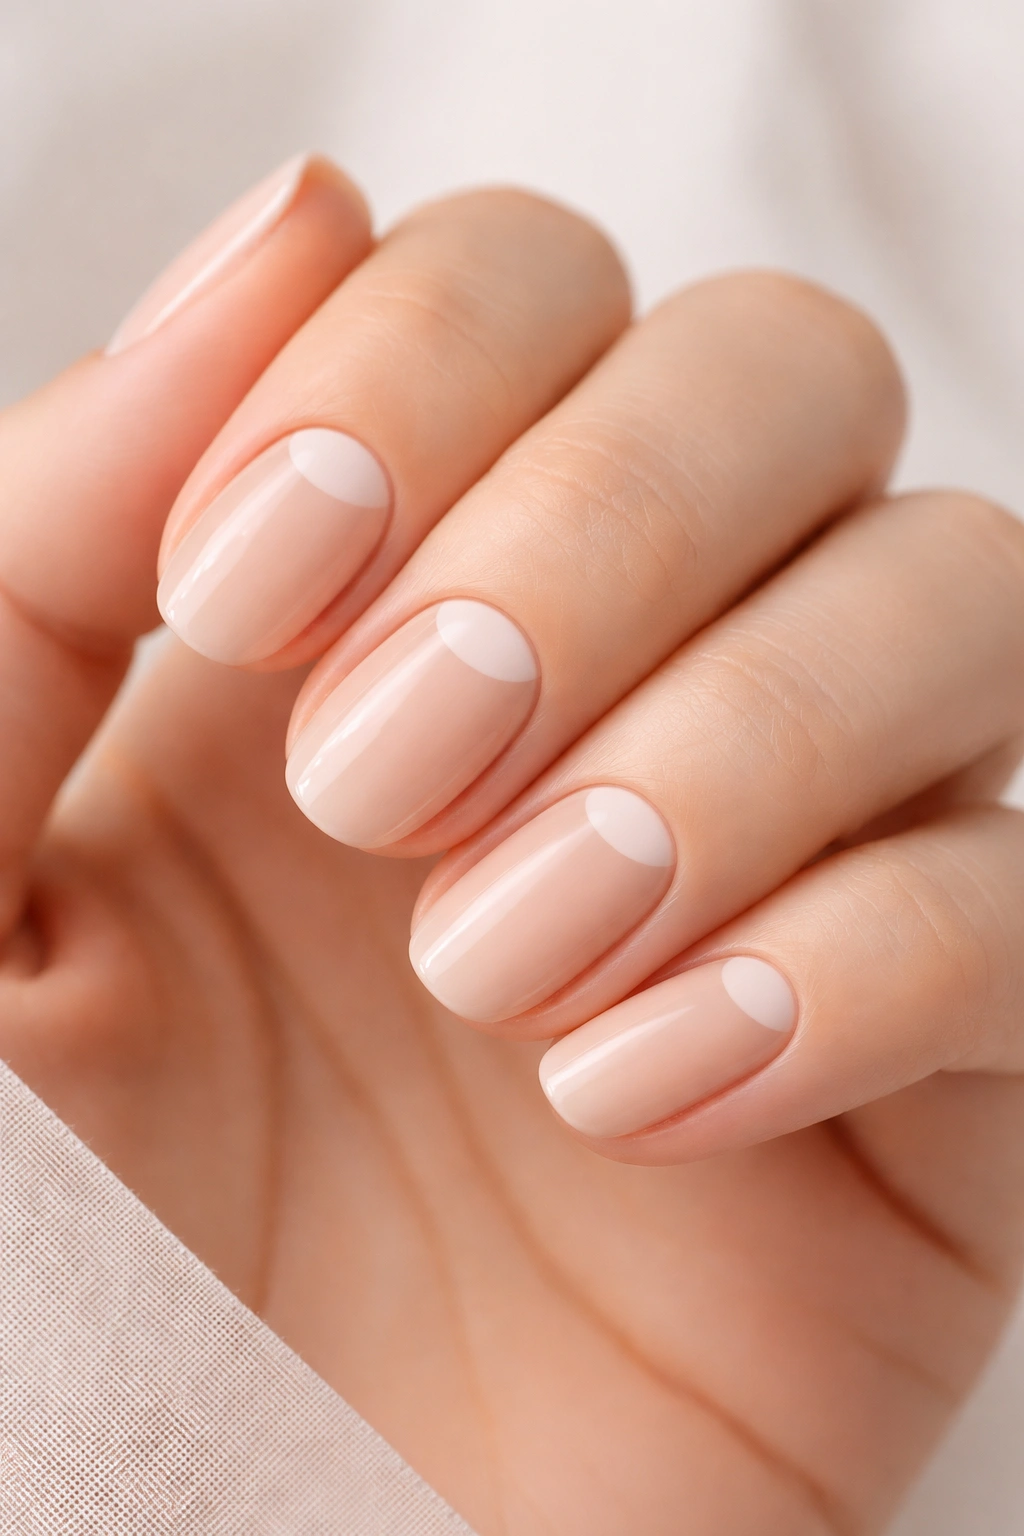
2. Simple French Manicure
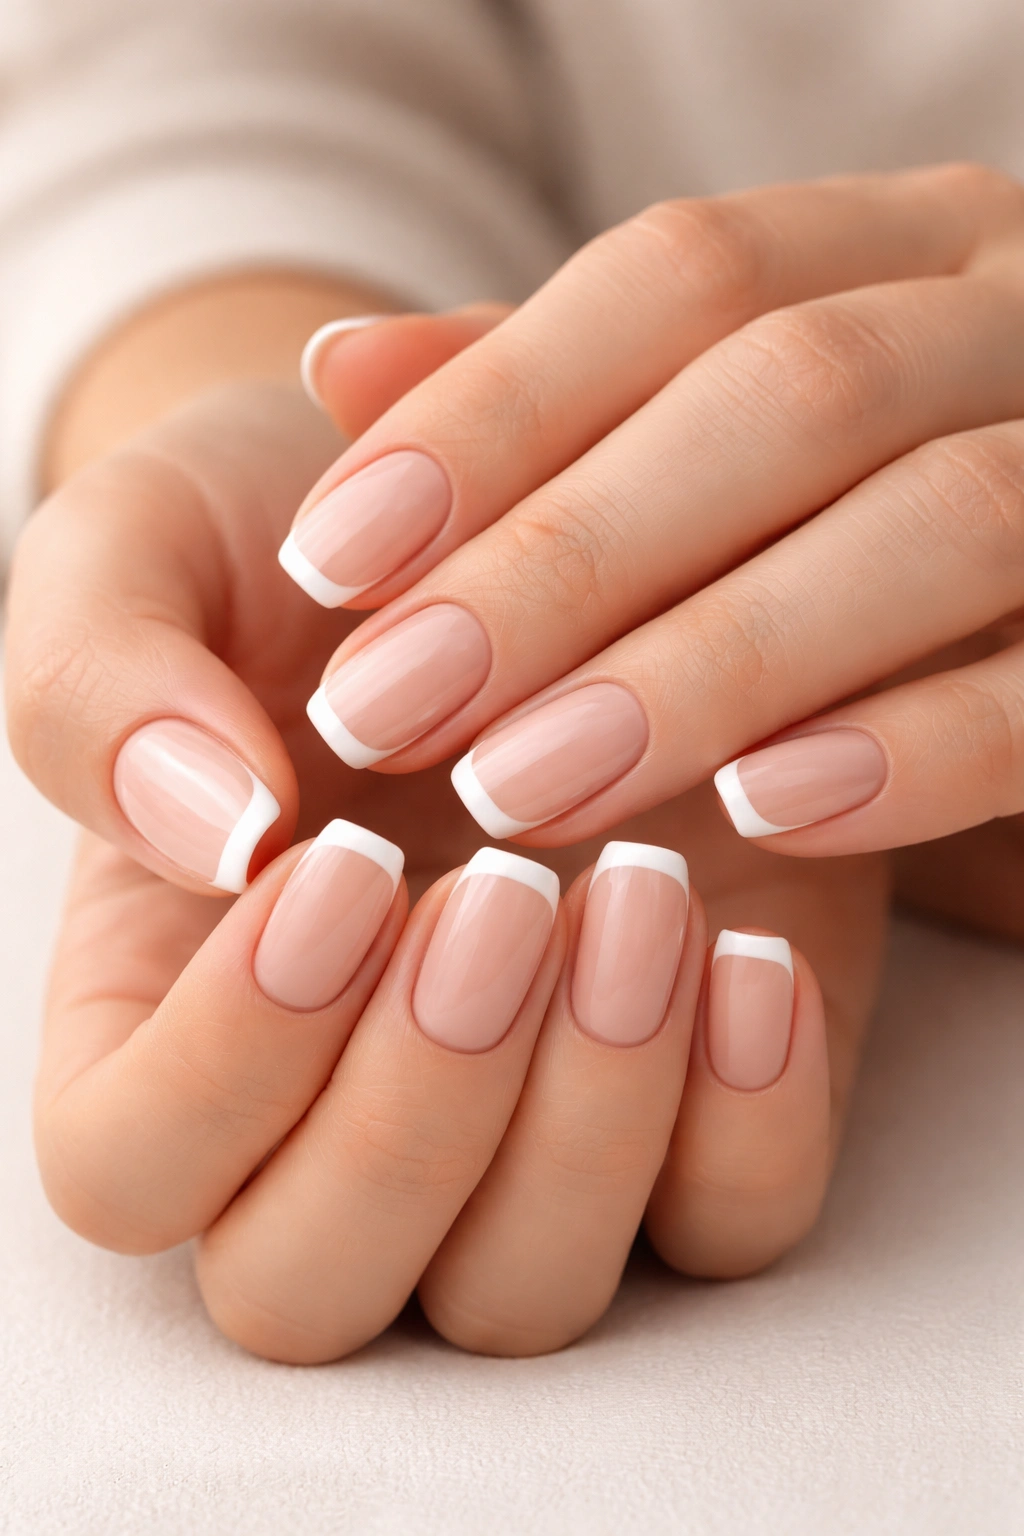
The French manicure has endured for decades because it’s elegant, works with any outfit, and actually gets faster to do once you know the trick. The traditional white tips can be done in well under 20 minutes if you skip the meticulous precision and instead use a trick that nail artists rely on: a guide tape or a white-tip pen. A white-tip pen is genuinely the fastest method — it’s literally a felt-tip applicator filled with opaque white polish that lets you draw a clean line across the tip of your nail in seconds.
Why This Classic Works Fast
The optical illusion of the French manicure is what makes it so powerful. Your eye reads the contrast between the pale nail bed and the white tip as clean, expensive, and intentional, even if the line isn’t perfectly straight. A slightly imperfect white tip actually looks more real and hand-applied than something robotically perfect. The other speed factor? You only need two colors — a sheer nude or pale pink base and white for the tips. That’s it. Less color switching, less drying time.
The Fastest Application Method
- Apply base coat to all nails (2 minutes)
- Apply sheer nude or pale pink to all nails — one coat is often enough (3 minutes)
- Grab your white-tip pen or thin white polish with a thin brush
- Draw or paint the white tip on each nail in a smooth arc from one corner to the other (6 minutes) — work on one hand at a time, let it dry briefly between hands
- Topcoat everything (3 minutes)
If you’re using actual white polish rather than a pen, use a thin brush and steady your hand by resting your pinky finger on the nail you’re painting. The line doesn’t need to be perfect — it needs to be intentional. A slightly wavering line reads as elegant rather than shaky.
Pro Variations That Take the Same Time
- Reverse French: Color the base of the nail instead of the tip, leaving the tip bare or pale
- Ombre French: Gradient white tips that fade from opaque white to transparent
- Colored French: Use any color for the tips instead of white — soft pink, pale yellow, nude, or even black
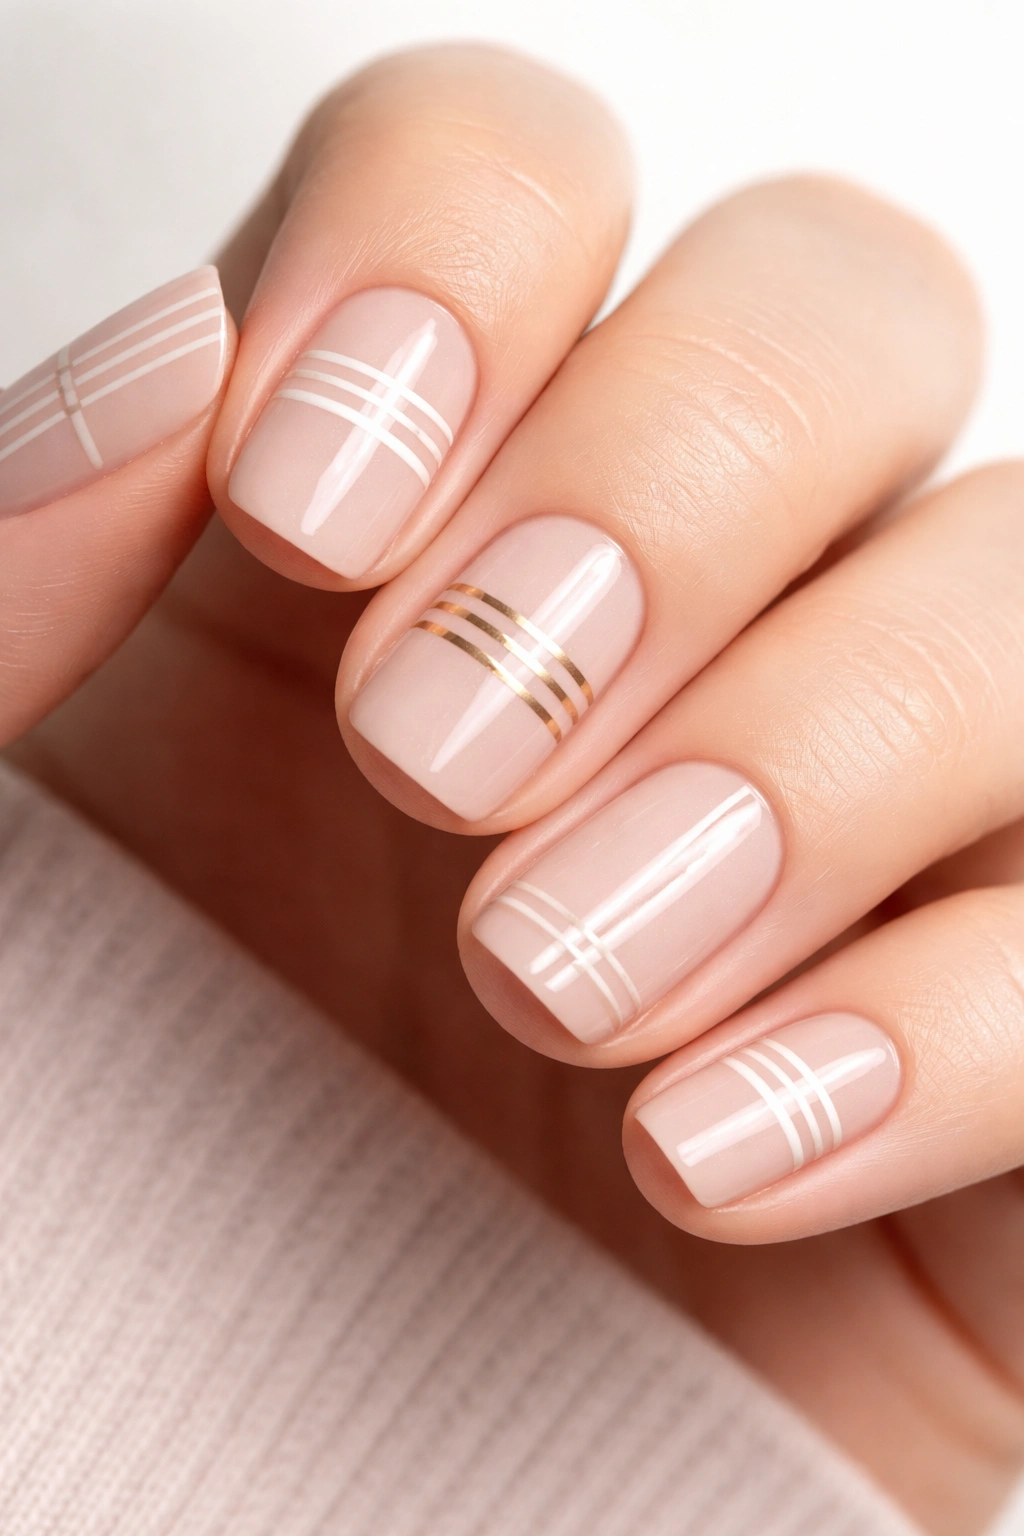
3. Minimalist Geometric Lines
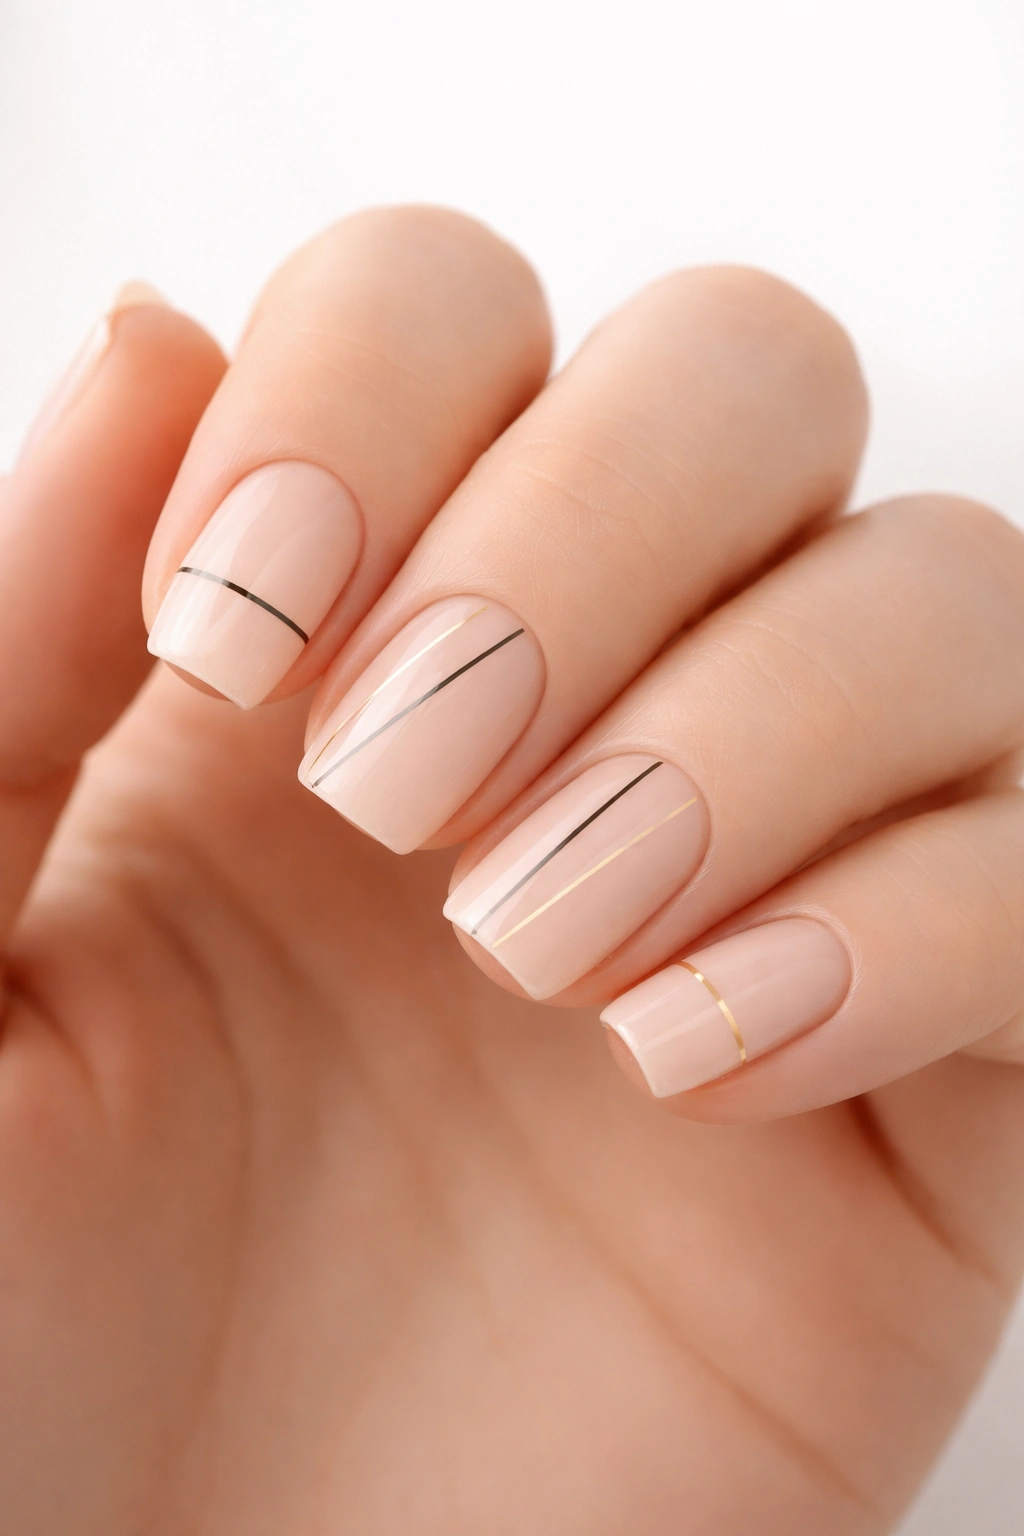
Clean, straight lines across or down your nails create a graphic, modern look that sounds complicated but is actually one of the fastest to execute. The key is using a thin striping brush or even a toothpick dipped in contrasting polish, and accepting that “minimalist” means fewer lines, not more detail. We’re talking one or two lines per nail, maximum. The negative space (the bare nail showing through) is what makes this design read as intentional and sophisticated.
What Makes Geometric Lines So Fast
You’re not doing freehand art here — you’re painting straight lines, which is infinitely easier than curves or detailed shapes. A straight line is forgiving because your hand naturally wants to move in a straight direction. If you mess up slightly, you can dab it away while wet or let it dry and clean it up with a nail file. The minimalist approach means you paint maybe four to six lines across your entire manicure, not intricate designs on every nail. This is as much about what you don’t paint as what you do.
Step-by-Step for Perfect Lines in Minutes
- Apply a neutral base color (nude, pale pink, or soft gray) to all nails (5 minutes)
- Let it dry completely — this is important so the lines sit on top and look crisp
- Dip a thin striping brush in contrasting polish (usually a dark shade like black, navy, or deep gray)
- Paint one thin, straight line down the center of each nail, OR one line across each nail about halfway down — consistency matters more than perfection
- Let each line dry slightly before moving to the next nail so the polish doesn’t smudge
- Topcoat (2 minutes)
The entire process takes about 15 minutes once you get a feel for the tool and how much pressure to apply. The lines should be thin and intentional, not thick and heavy. If you don’t have a striping brush, a thin liner brush, a small paintbrush, or even the tip of a toothpick dipped in polish will work.
Geometric Variations Under 20 Minutes
- Horizontal lines only (across the nail)
- Vertical lines only (down the length)
- Corner angles (two diagonal lines meeting at a point)
- Box outline (lines creating an empty rectangle in the center of the nail)
4. Nude Base with Glitter Tips
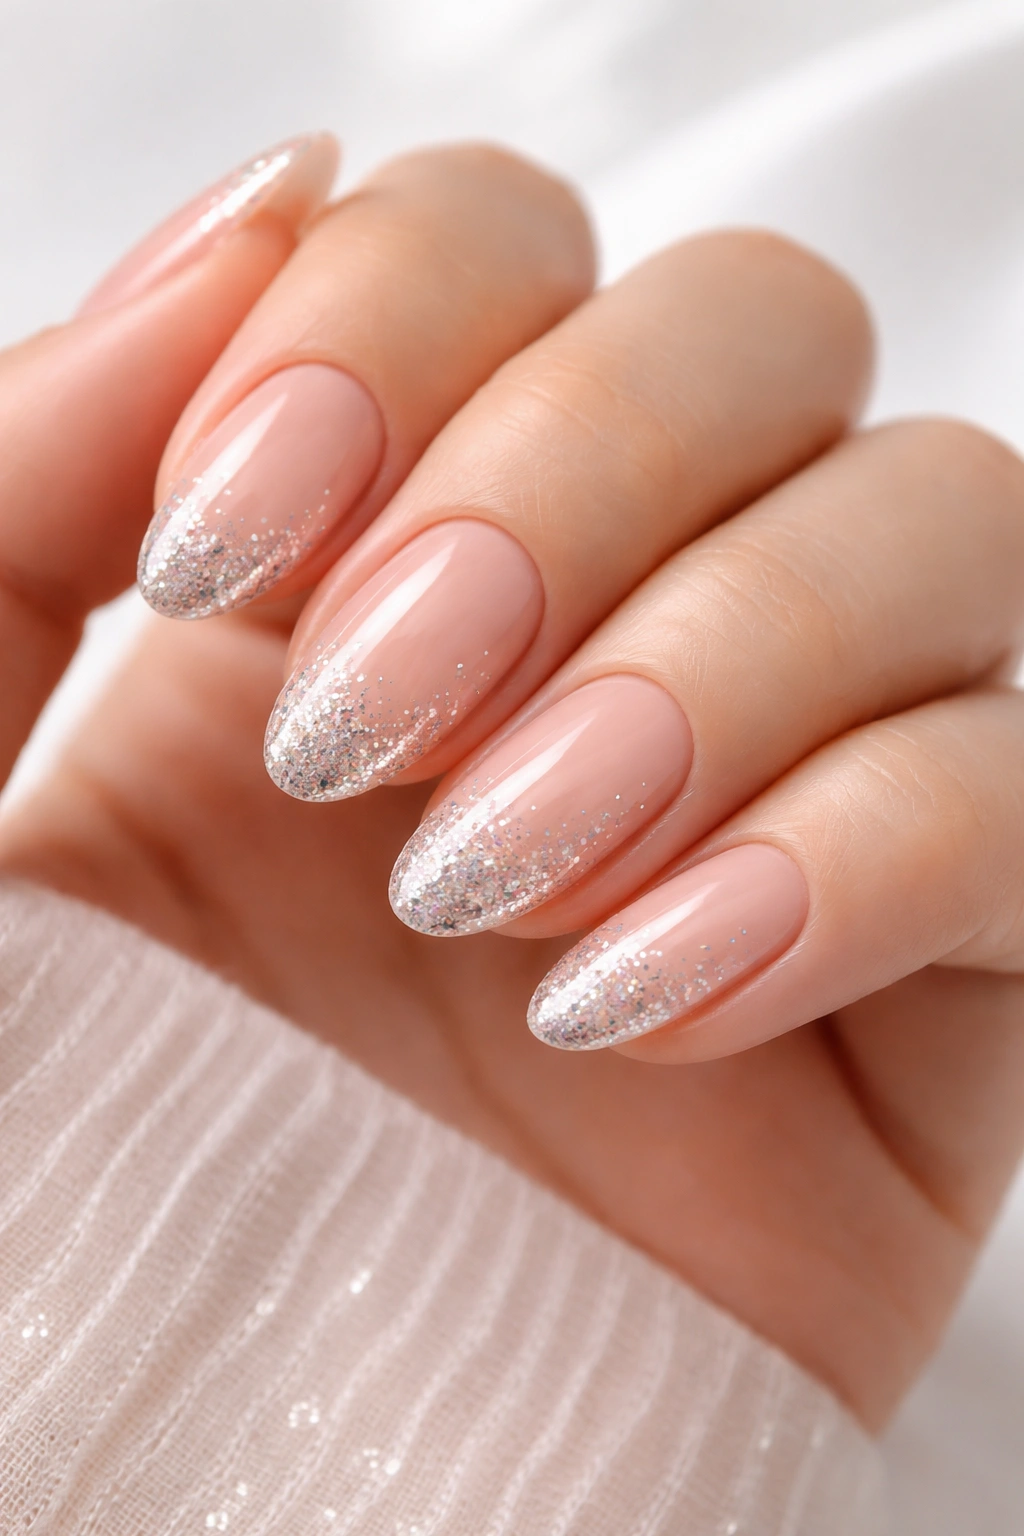
Glitter adds instant glamour without requiring you to cover your entire nail in sparkle. A nude or neutral base with glitter concentrated only at the tips of your nails gives you the visual pop of glitter with the practical simplicity of a solid base. The nude base keeps it work-appropriate and elegant, while the glitter tips add just enough excitement to make the manicure feel intentional and polished.
Why Glitter Tips Save Time
You’re applying a quick base color to all nails, then only putting the extra-special finish on the tips. Glitter polish can take a minute or two longer per nail to apply smoothly because you might need two coats for full opacity, but since you’re only doing it on the tips, you’re not multiplying that time across all ten nails. The nude base also dries quickly because most nude shades are thinner, more sheer formulas than opaque colors.
The Fastest Glitter Tip Application
- Base coat on all nails (2 minutes)
- Nude or pale pink shade on all nails, one or two coats as needed (4 minutes)
- Once dry, apply glitter polish to just the tips of each nail — focus on the outer third or half of the nail (5 minutes) — you can be looser and faster here because glitter naturally looks intentional even if the edges are slightly messy
- Second coat of glitter if needed for coverage (2 minutes)
- Topcoat for smoothness and shine (3 minutes)
The secret to fast glitter application is using a polish with larger, chunkier glitter particles rather than microglitter. Larger particles cover the area faster and look more visually interesting. Also, don’t overthink the edges of where the glitter ends — soft, slightly blended edges where the glitter fades into the nude actually look more intentional than a sharp line.
Glitter + Nude Combinations That Look Expensive
- Soft beige base with gold or rose gold glitter tips
- Pale pink base with champagne or nude glitter tips
- Warm tan base with copper or bronze glitter tips
- Cool gray base with silver or holographic glitter tips
- Ivory base with iridescent or rainbow glitter tips
5. Monochrome Ombre Fade
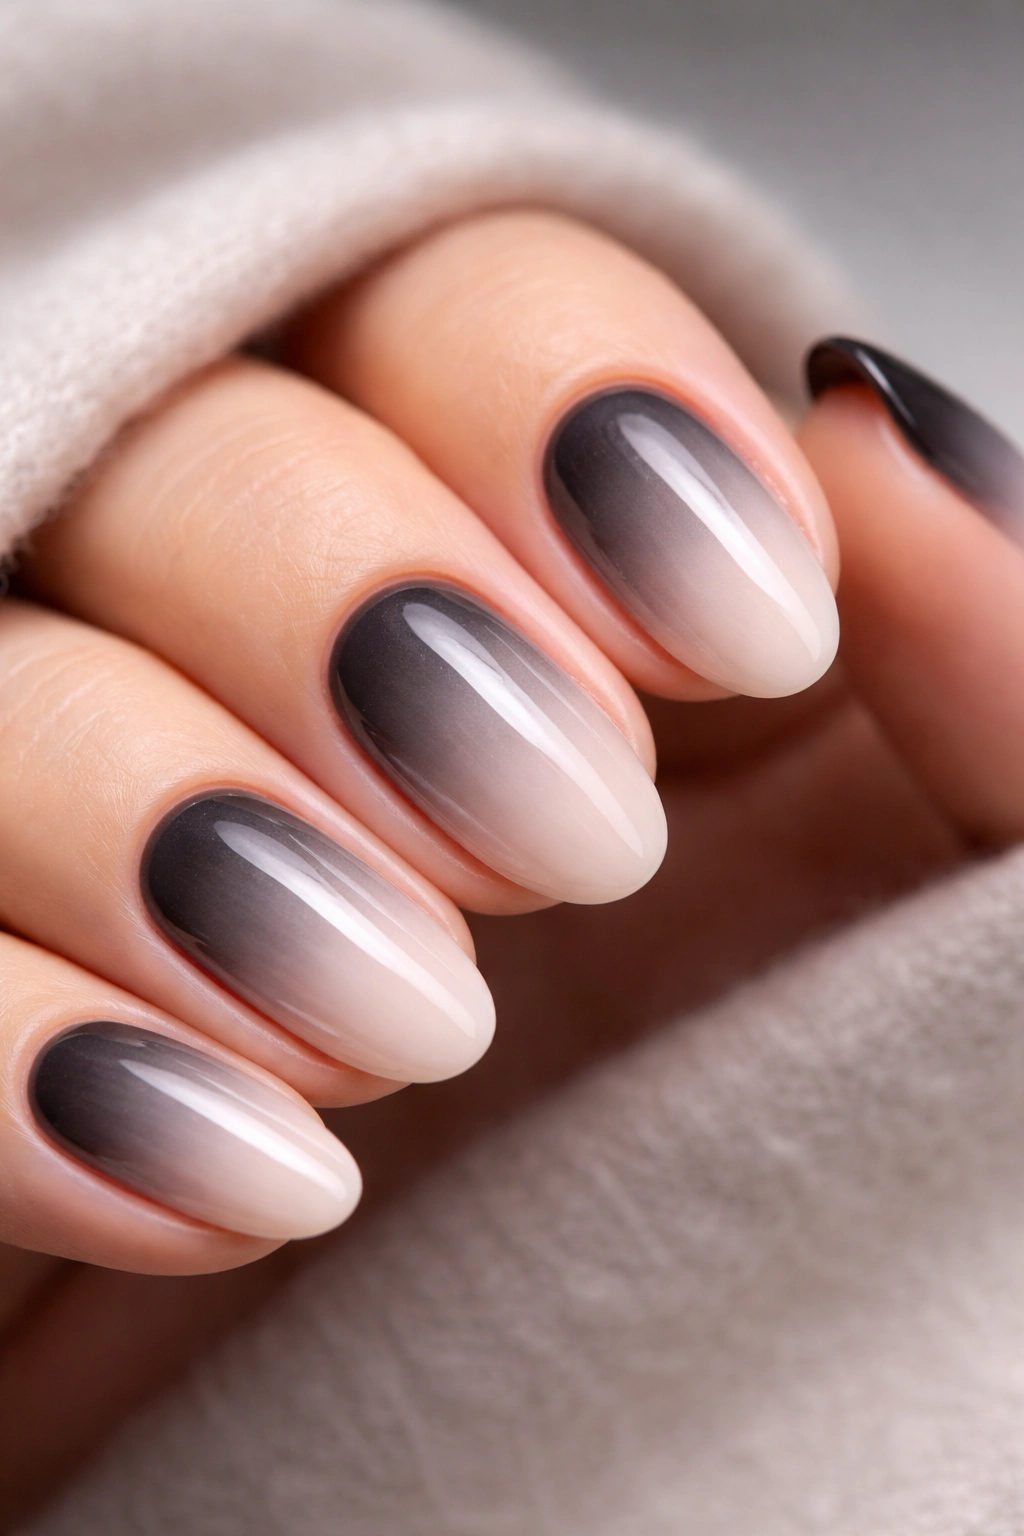
An ombre effect where one color gradually fades into a lighter or darker version of itself sounds complex, but there’s a shortcut that makes it absurdly fast: use a sponge to dab and blend two closely related shades. The monochrome approach (staying within one color family) means your blending doesn’t need to be perfect — even if the transition isn’t smooth, it reads as intentional because you’re working with colors that are meant to go together.
How to Speed Up the Ombre Process
Traditional ombre requires careful blending, but the sponge method eliminates that need. You’re literally dabbing color on with a makeup sponge, which is fast and forgiving. The monochrome restriction also means there’s almost no wrong choice — any shade blended into a lighter or darker version of itself looks coordinated and intentional. Plus, you only need two polish colors (or even one polish and plain topcoat mixed together for a lighter shade).
Sponge Ombre Execution in 15 Minutes
- Base coat on all nails (2 minutes)
- Apply your darker shade to all nails (3 minutes)
- While that dries, grab a makeup sponge and pour a tiny amount of your lighter shade (or white/clear mixed with the darker shade) onto a piece of paper or a palette
- Dab the sponge gently into the lighter polish, then dab it onto the tips of your nails in a sponging motion — the sponge creates a naturally soft, blended edge automatically (5 minutes)
- Repeat the sponge dabbing if you want more color variation (2 minutes)
- Topcoat for smoothness (2 minutes)
The sponge method is genuinely foolproof. Even if you dab unevenly, it looks like an intentional texture variation rather than a mistake. The key is using a fresh sponge (or a clean part of your sponge) for each dab so you’re not just moving the same color around.
Monochrome Combinations That Gradient Beautifully
- Burgundy fading to pale pink
- Navy blue fading to light blue or baby blue
- Forest green fading to sage green
- Deep plum fading to lavender
- Chocolate brown fading to tan or beige
6. Classic Polka Dots
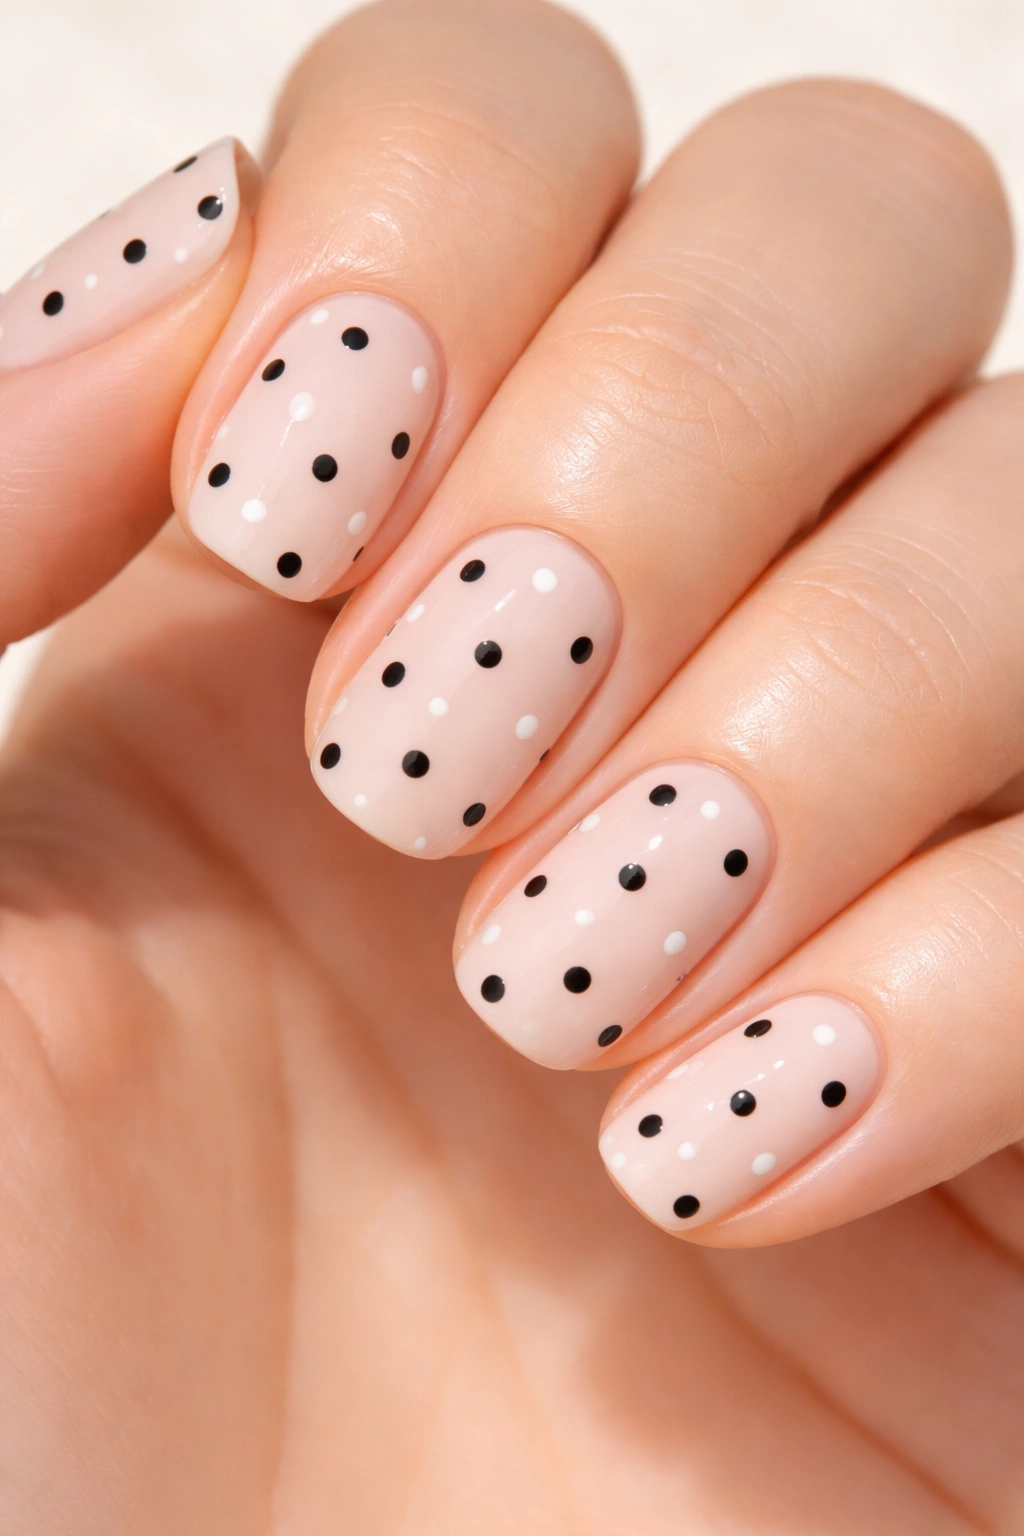
Polka dots are simple, playful, and require zero artistic ability — you’re literally making dots. Using a dotting tool (or a bobby pin, the end of a toothpick, or even a toothpick dipped in polish) to create small, evenly spaced dots on a solid base is one of the fastest decorative techniques because dots don’t require precision or careful technique. Even imperfect dots read as charming rather than sloppy.
Why Dots Are the Perfect Quick Design
A polka-dot design typically uses just two colors (a base color and a contrasting dot color), and you’re making small dots that take seconds each. The optical simplicity of dots means even if they’re slightly different sizes or slightly misaligned, they still look intentional and cute. There’s no fussy detail work, no need for a steady hand, and no blending or precision brushwork required.
Polka Dot Application Under 20 Minutes
- Base coat on all nails (2 minutes)
- Solid base color on all nails (4 minutes)
- Choose your dotting tool — a dotting tool kit from a beauty supply store, a bobby pin, or even a toothpick all work perfectly
- Dip your tool into contrasting polish and make dots on each nail, spacing them roughly evenly (8 minutes) — you can do anywhere from three dots per nail to a scattered pattern, depending on your preference
- Topcoat (3 minutes)
The spacing doesn’t need to be mathematically perfect. In fact, slightly irregular spacing looks more natural and charming than a rigid grid. Work on one hand at a time, and let each hand dry briefly while you work on the other to avoid smudging.
Polka Dot Color Pairings That Always Work
- White dots on navy or dark blue base
- Black dots on white or cream base
- Gold dots on nude or pale pink base
- White dots on blush pink base
- Black dots on nude or beige base
- Metallic gold or silver dots on any dark shade
7. Negative Space Design
Negative space nails deliberately leave parts of your actual nail bare (unpainted), which creates a visual break that looks intentional and modern. You paint a base color, then use a striping brush, a thin marker, or even a piece of tape to define areas that stay bare. The unpainted nail showing through creates contrast and makes the design feel graphic and minimalist. This is one of the fastest techniques because you’re actually painting less, not more.
The Speed Advantage of Negative Space
You’re literally doing less work — painting less surface area means less time with a brush in your hand. The negative space does visual heavy lifting for you, creating definition and interest without requiring any detailed work. One of the most effective negative space designs is a simple half-moon shape (paint the base, leave a half-moon at the base of the nail unpainted), or a thin band around the edge of the nail with the center left bare.
Quick Negative Space Techniques
Half-Moon Design:
- Base coat on all nails (2 minutes)
- Apply nude or pale color to the upper two-thirds of each nail, leaving the base unpainted (4 minutes)
- Let it dry, then apply a contrasting color (like black, navy, or a jewel tone) to the unpainted half-moon area at the base (3 minutes)
- Topcoat (2 minutes)
Minimalist Line Design:
- Base coat (2 minutes)
- Paint a thin horizontal band across the middle of each nail, leaving the top and bottom bare (4 minutes)
- Let that dry and apply a topcoat (2 minutes)
The key to clean negative space is letting each layer dry completely before adding the next layer. Wet polish won’t maintain a sharp edge, but dry polish creates a crisp line that reads as intentional design.
Negative Space Looks That Take Under 20 Minutes
- Half-moon base design
- Thin horizontal band across the middle
- Diagonal line cutting from corner to corner
- Small triangle at the tip
- Simple outline (paint just the edges, leave the center bare)
8. Marble Effect Swirl
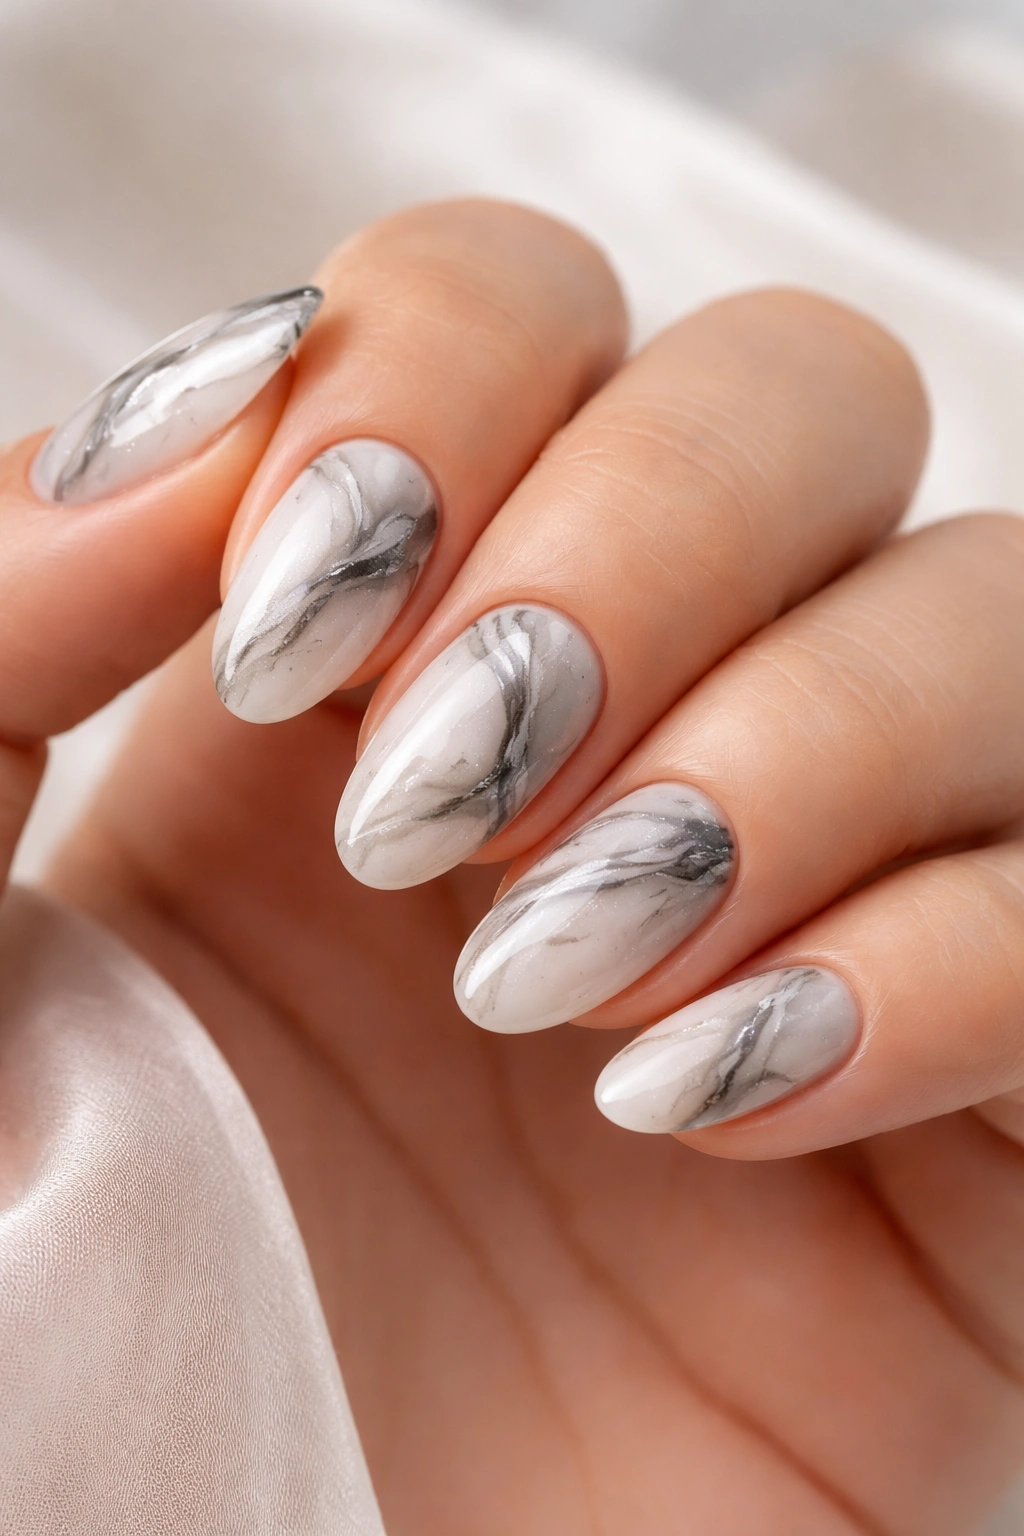
Marble nails look fancy and intricate, but they’re actually one of the easiest decorative techniques because imperfection is literally built into the design. You’re creating intentional swirls and organic patterns, which means there’s no “wrong” way to do it. The marble effect works because you’re using two or three colors in a way that naturally blends and creates visual interest without requiring precision.
Why Marble Is Deceptively Fast
Marble nails use a technique that doesn’t require brushwork or artistic ability — you’re basically swirling colors together and letting them do their thing. The organic, unpredictable nature of the swirl means your hand doesn’t need to be steady or precise. Even chaotic swirls look intentional because that’s literally what marble looks like in nature.
Water Marble Method (Fastest Approach)
- Base coat on all nails (2 minutes)
- Base color on all nails — usually white, cream, or pale nude (3 minutes)
- Fill a small cup with room-temperature water
- Drop one color of polish into the water, then another color in a concentric circle (the polish will spread across the water surface)
- Quickly swirl the colors together with a toothpick or thin tool (30 seconds)
- Dip each nail into the water at a slight angle to catch the swirl pattern (1 minute per nail, so about 10 minutes total)
- Wipe away excess water and polish from the skin around your nail
- Topcoat (2 minutes)
The water marble method is fast once you understand the concept. The first nail might feel weird, but by the third or fourth, you’ll have the angle and timing down. Not every dip needs to be perfect — even partial catches of the pattern look cool.
Easier Dry Marble Method (If Water Marble Feels Overwhelming)
- Base coat (2 minutes)
- Base color on all nails (3 minutes)
- While still slightly wet, drop tiny dots of two or three contrasting colors onto each nail
- Gently drag a toothpick or thin brush through the dots to create swirls (6 minutes)
- Topcoat (2 minutes)
The dry marble method is less messy and doesn’t require water, making it faster if you’re not comfortable with the water technique.
Marble Color Combinations That Look High-End
- White or cream base with black and gray swirls
- Nude or beige base with white and soft gray swirls
- Pale pink base with white and rose gold swirls
- White base with navy and gold swirls
- Ivory base with black and rose gold swirls
9. Striped Nail Pattern
Thin stripes running horizontally or vertically down the nail create a fun, graphic look that’s actually faster to execute than you’d think. You’re painting simple parallel lines, which is forgiving because straight lines don’t need to be perfect — they just need to be lines. Using a striping brush or a thin brush and working methodically across all ten nails makes this technique very fast.
Why Stripes Work for Speed
Stripes are one of the most forgiving patterns because your eye doesn’t expect them to be perfectly spaced or perfectly straight. A slightly wonky stripe actually looks more charming and hand-painted than something robotically perfect. The stripes also break up the visual space of the nail, so you can use contrasting colors that might be overwhelming as a solid.
Horizontal Stripes in 18 Minutes
- Base coat on all nails (2 minutes)
- Pale or neutral base color on all nails (3 minutes)
- Once dry, use a thin brush or striping brush to paint thin horizontal lines across each nail (8 minutes) — space them about a quarter-inch apart, or closer if you prefer thinner stripes
- Work on one hand at a time, and don’t worry if the lines aren’t perfectly parallel — slight variation looks intentional
- Topcoat (3 minutes)
The stripe width matters less than consistency. If your first stripe is thin, keep your subsequent stripes similarly thin. If they’re more medium-width, that’s fine too — just keep them consistent.
Striped Patterns That Look Intentional Fast
- Thin horizontal stripes on a pale base with a dark striping color
- Vertical stripes (thinner and more dramatic-looking)
- Diagonal stripes at a 45-degree angle
- Ombre stripes (alternating between two shades of the same color)
- Mixed width stripes (alternating between thin and slightly thicker lines)
10. Two-Tone Color Block

Color blocking means dividing your nail into distinct color sections — maybe half the nail one color and half another, or the tip one color and the base another. This is fast because you’re painting simple sections with no blending or detail work required. Clean edges are nice but not essential, and even slightly messy edges look intentionally bold rather than sloppy.
Why Color Blocking Is Naturally Fast
You’re essentially painting two solid colors on each nail, with maybe a line or edge dividing them. No detail work, no blending, no brushwork beyond filling in a space. The stark color contrast does all the visual work for you. If your edge isn’t perfectly clean, it reads as a deliberate, artistic choice rather than a mistake.
Half-and-Half Color Block in 18 Minutes
- Base coat on all nails (2 minutes)
- Paint one color on the bottom half of each nail (or the tip half) (3 minutes)
- Once that dries slightly, paint the contrasting color on the remaining half (3 minutes)
- Touch up any edges if you want them cleaner, or leave them slightly soft and blended for a more artistic look (2 minutes)
- Topcoat (2 minutes)
You can create the line between colors by painting carefully or by using a piece of painter’s tape as a guide. If you use tape, apply it after your first color dries, paint your second color, then remove the tape while the polish is still slightly wet so you get a clean edge.
Color Block Combinations That Pop
- Nude and black
- Blush pink and burgundy
- Cream and navy blue
- Pale yellow and deep teal
- White and rose gold metallic
- Soft green and deep forest green
Final Thoughts
The real magic of these nail looks isn’t that they require special talent or hours of practice — it’s that they work with the natural limitations of at-home nail painting rather than against them. Simple shapes, clear color choices, and designs that let negative space do the work all combine to create something that looks intentional and expensive in under 20 minutes.
What makes each of these designs feel polished is consistency and finishing. A solid base coat, smooth color application, and a clean topcoat matter infinitely more than fussy detail work. Even if your lines aren’t perfectly straight or your colors don’t blend perfectly, the overall effect reads as intentional when you’ve applied the base and topcoat with care. That’s where the real professional effect comes from — not from perfect technique, but from clean fundamentals.
The confidence to choose a simple design and execute it well, rather than struggling with something complex, actually changes how your nails look and feel. Once you realize that a solid color with one accent nail can look just as polished as an elaborate design, you’ll save time without sacrificing visual impact. Try any of these looks, and you’ll likely find yourself returning to your favorites again and again — not because you’re limited, but because simplicity is genuinely the most timeless approach to nails.
