

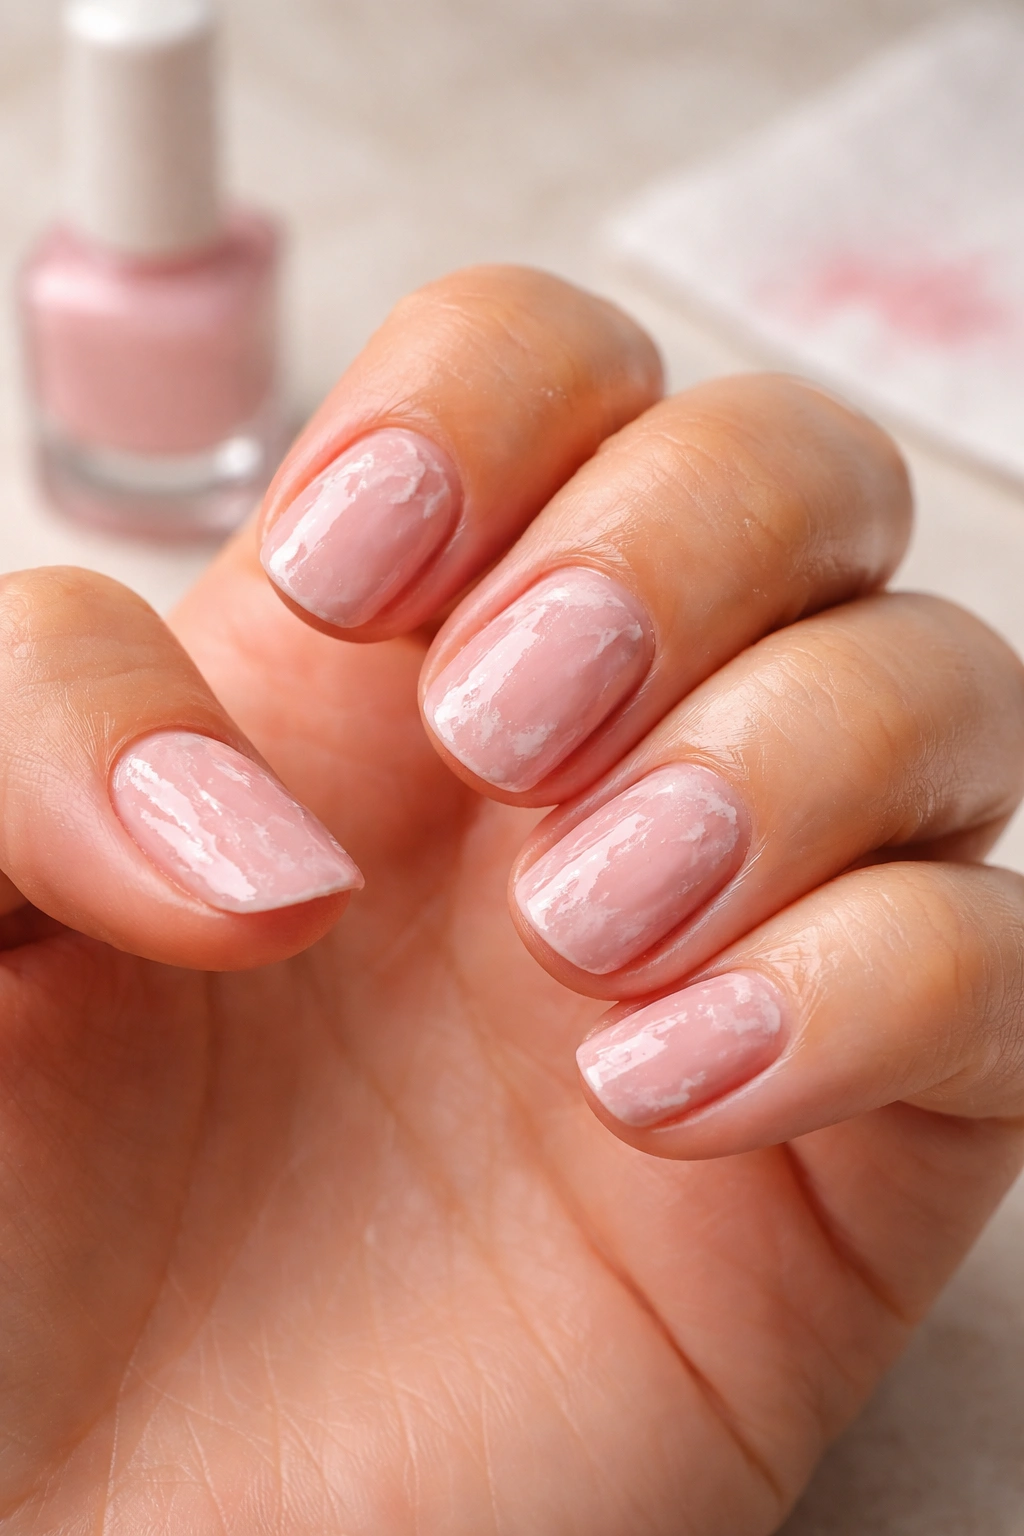
We’ve all been there. You sit down with a fresh bottle of polish, determined to give yourself a salon-worthy manicure. Thirty minutes later, you’re staring at smudged, streaky nails that look like a toddler got hold of them. Meanwhile, your friend somehow manages to paint flawless nails while watching Netflix, and you’re convinced she’s either a witch or has been hiding a secret nail tech certification.
Here’s the thing: painting your nails perfectly isn’t about magic or natural talent. It’s about knowing a few key techniques that professionals use every single time. Once you understand these tricks, you’ll wonder why you ever struggled in the first place.
Whether you’re trying to save money on salon visits or you just love the satisfaction of doing your own nails, mastering this skill will change your entire relationship with at-home manicures. No more avoiding hand gestures because you’re embarrassed by messy cuticles. No more picking off polish after two days because it looked terrible from the start.
Let’s break down exactly how to paint your nails like you actually know what you’re doing.
Why Your At-Home Manicure Keeps Failing
Before we get into the how-to, let’s talk about what you’re probably doing wrong. Chances are, you’re making at least one of these mistakes without even realizing it.
You’re skipping the prep work. This is the biggest culprit behind failed manicures. You can’t just slap polish onto unprepared nails and expect it to look good or last longer than a day. Your nails have natural oils on them, just like your skin does. Polish won’t stick properly to oily surfaces.
You’re applying coats that are way too thick. This feels counterintuitive because you want full coverage, right? But thick coats take forever to dry, they’re more likely to smudge, and they create that bulky, uneven look that screams “amateur hour.”
You’re not waiting between coats. We get it—you’re impatient. You’ve got places to be. But rushing through your manicure basically guarantees it’ll get ruined before it’s even fully dry.
You’re using the wrong amount of polish on your brush. Too much product causes flooding around your cuticles. Too little leaves you with streaky, patchy coverage. Finding that sweet spot makes all the difference.
The good news? Once you know what not to do, fixing these issues becomes surprisingly straightforward.
Getting Your Nails Ready

Think of nail prep like priming a wall before you paint it. Skip this step, and nothing else matters.
Start by removing any old polish completely. Even if you think you got it all, swipe each nail with a cotton pad soaked in nail polish remover. This removes leftover color, oils, and any residue that might interfere with your fresh manicure. Acetone-free removers work fine here and they’re less drying on your skin.
Next up: shaping and filing. Use nail clippers to cut your nails to your desired length. Here’s a pro tip from nail artists: don’t try to cut the entire nail in one go. This can weaken the nail and cause it to split at the sides. Instead, make several small clips from one side to the other.
After clipping, grab a nail file (around 180 grit is perfect) and shape your nails. Always file in one direction rather than sawing back and forth. That back-and-forth motion can actually damage the nail and make it more prone to peeling. Whether you want square, round, oval, or almond-shaped nails is totally up to you.
Now for the cuticles. Soak your fingertips in warm water for a minute or two to soften them up. Pat dry, then use a cuticle pusher to gently push back the soft skin at the base of each nail. Be gentle—this shouldn’t hurt at all. If you’ve got any stubborn hangnails, carefully trim them with cuticle nippers. But don’t go crazy cutting your cuticles. Over-trimming can lead to infections and actually create more problems.
Finally, give your nails a light buff. You’re not trying to file down the surface—just smooth out any ridges and create a slightly rough texture that helps polish grip better. After buffing, wipe each nail with polish remover one more time to eliminate any dust or oils.
This whole prep process takes maybe ten minutes, but it’s the difference between a manicure that lasts a week and one that chips the next day.
The Tools You Actually Need
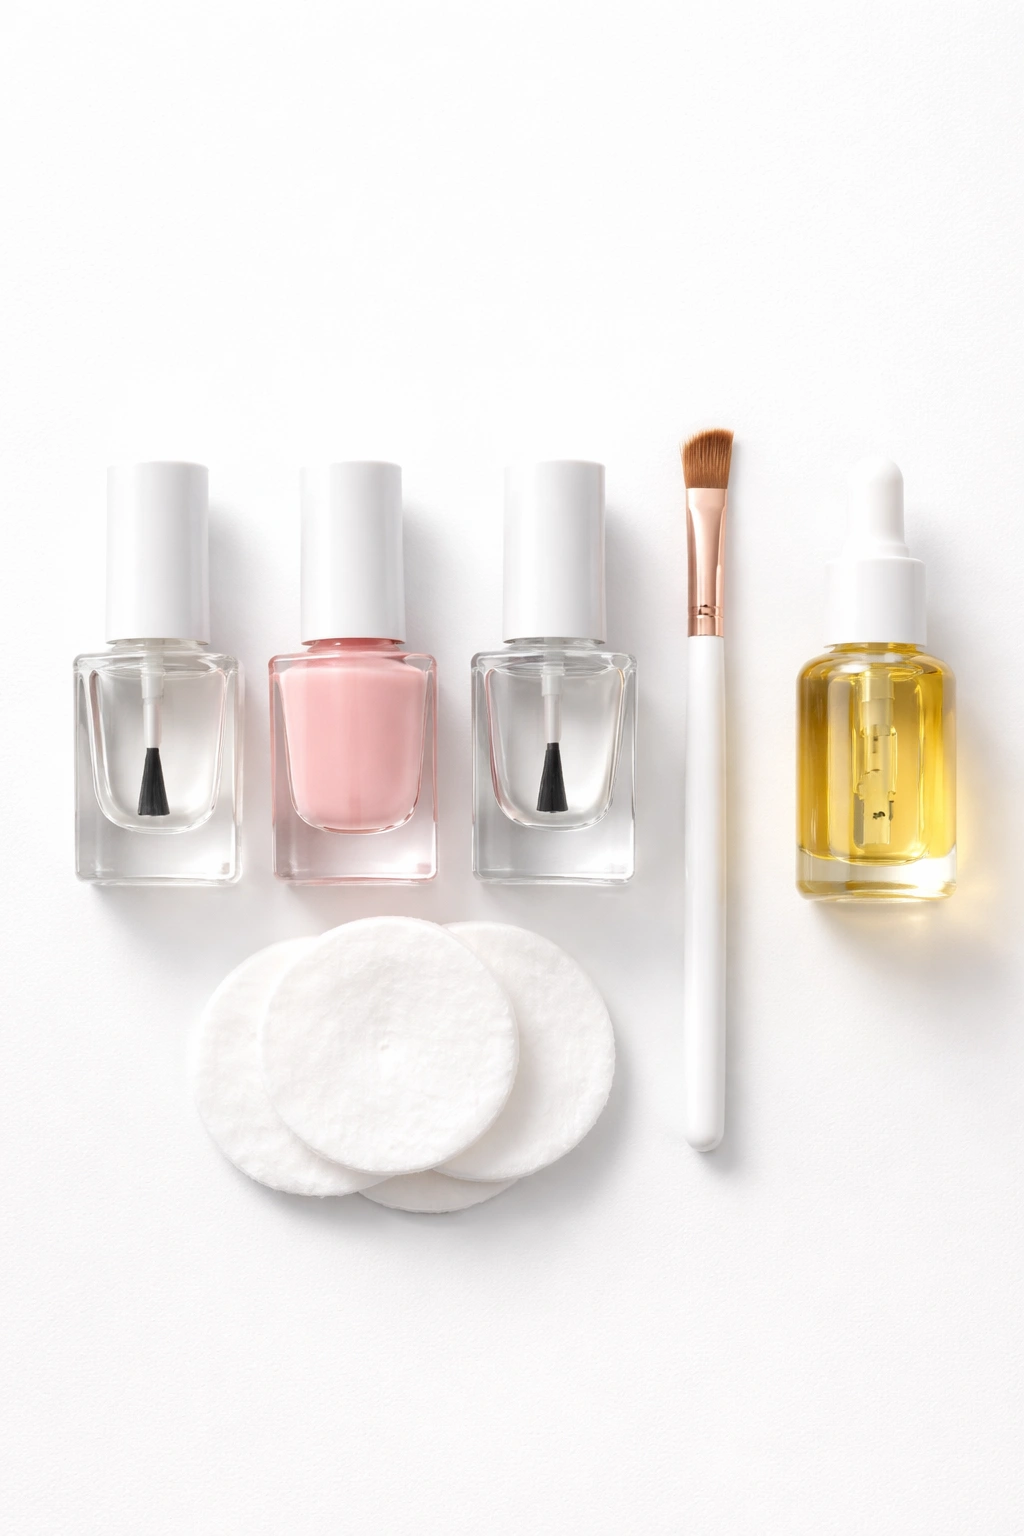
You don’t need a massive collection of fancy equipment. Just a few quality basics will do the trick.
Base coat, color, and top coat are non-negotiable. The base coat creates a smooth surface and prevents staining (especially important with dark colors). Your color is obviously the star of the show. The top coat seals everything in, adds shine, and extends the life of your manicure.
When it comes to base coats, look for something that strengthens nails if yours tend to be weak. Options like Butter London Horse Power or Essie Strong Start work well for most people. For top coats, you want something that dries relatively quickly and adds serious shine. Sally Hansen Insta-Dri or OPI Top Coat are solid choices.
A cleanup brush will change your life. This is just a small, flat-edged brush (you can use a cheap eyeliner brush from the drugstore) that you dip in nail polish remover to clean up mistakes around your cuticles. Professional nail techs swear by this trick.
Cotton pads and swabs are essential for removing old polish and fixing errors. Get some of those pointed cotton swabs—they’re more precise than regular ones.
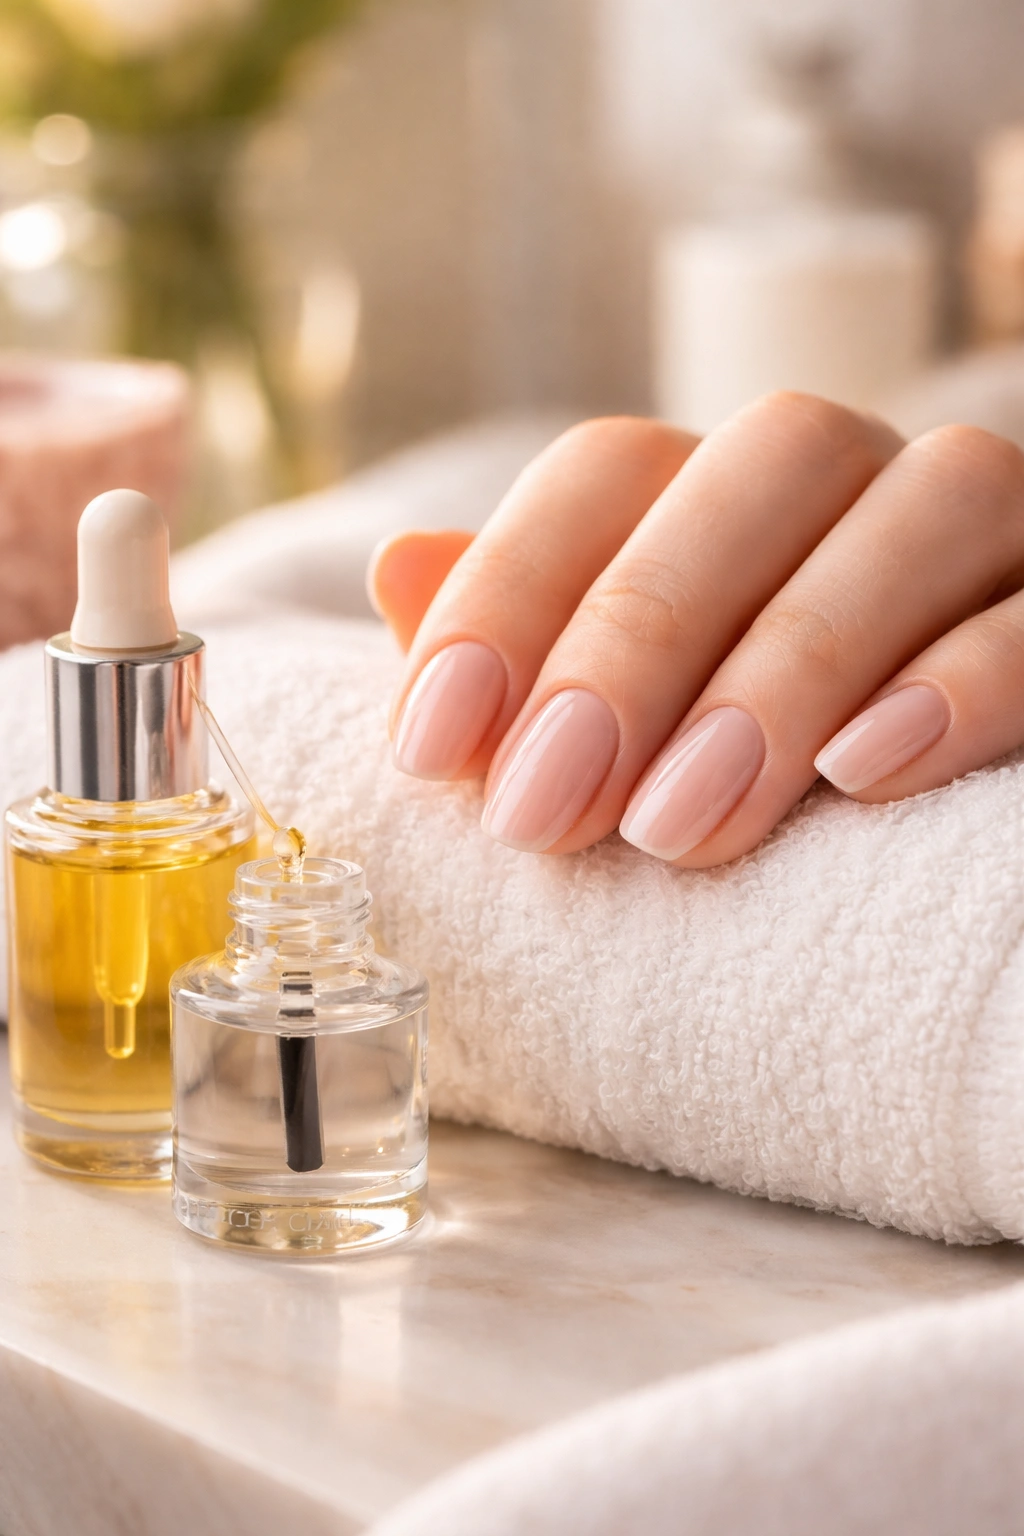
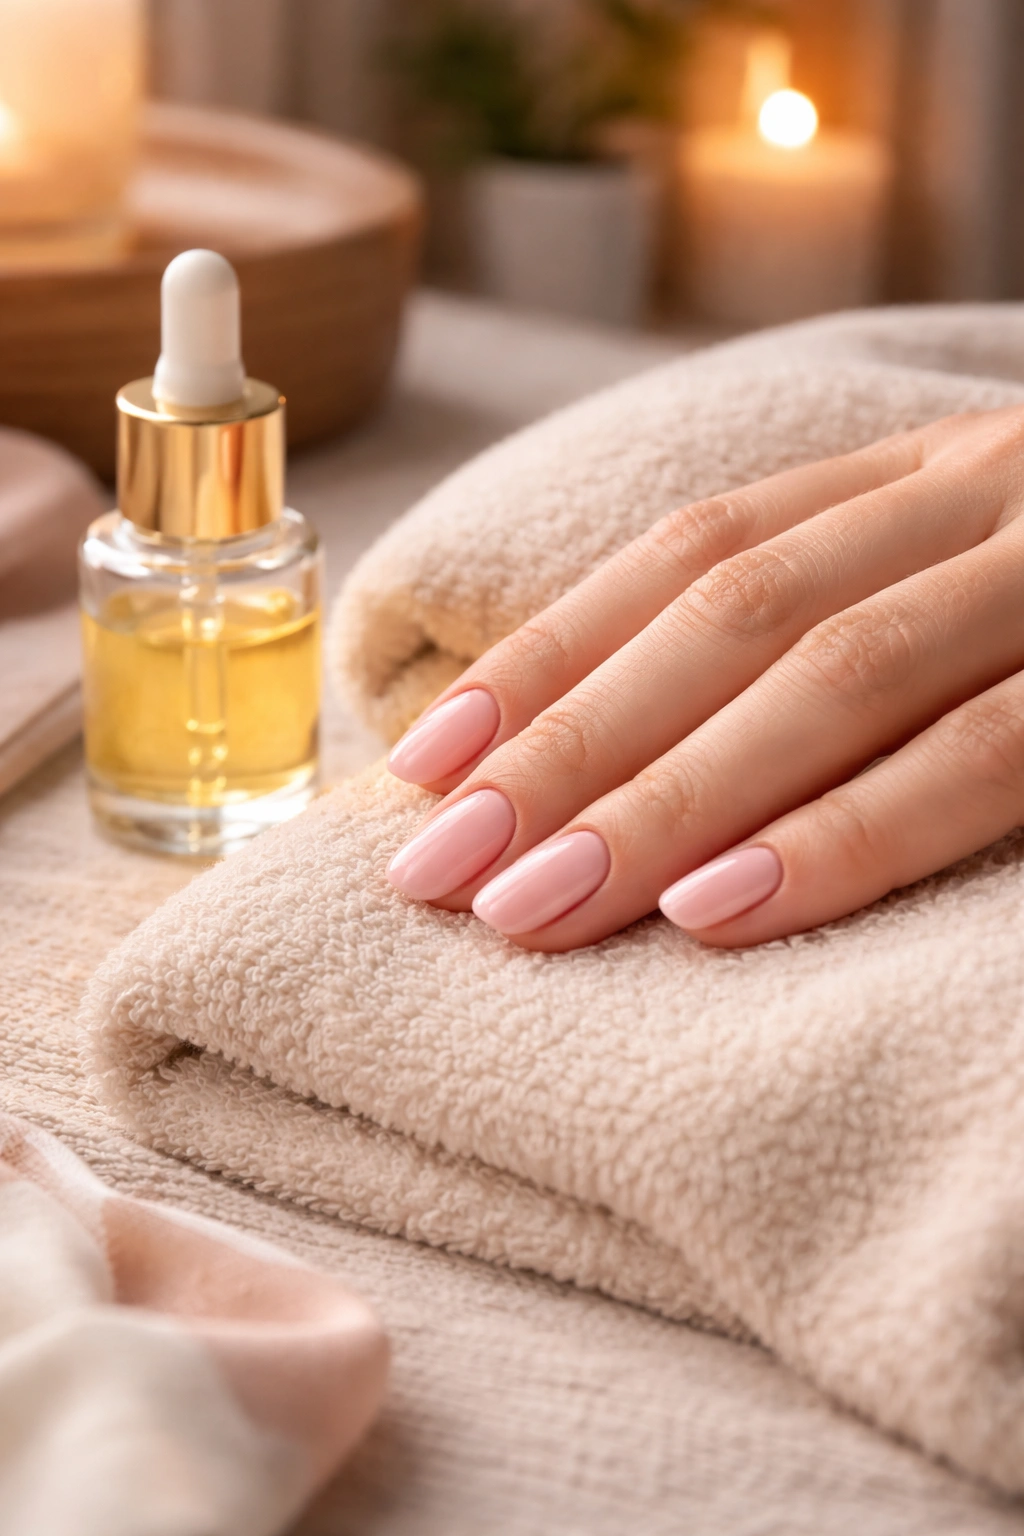
Cuticle oil is the finishing touch that makes everything look polished and professional. It hydrates the skin around your nails and actually helps your manicure last longer. Brands like CND Solar Oil or even basic vitamin E oil work great.
You’ll also want a good nail file (not too rough—around 180 grit), a cuticle pusher, and maybe some cuticle nippers if you get a lot of hangnails. That’s really it. Simple, effective, and nothing too expensive.
Picking the Right Polish
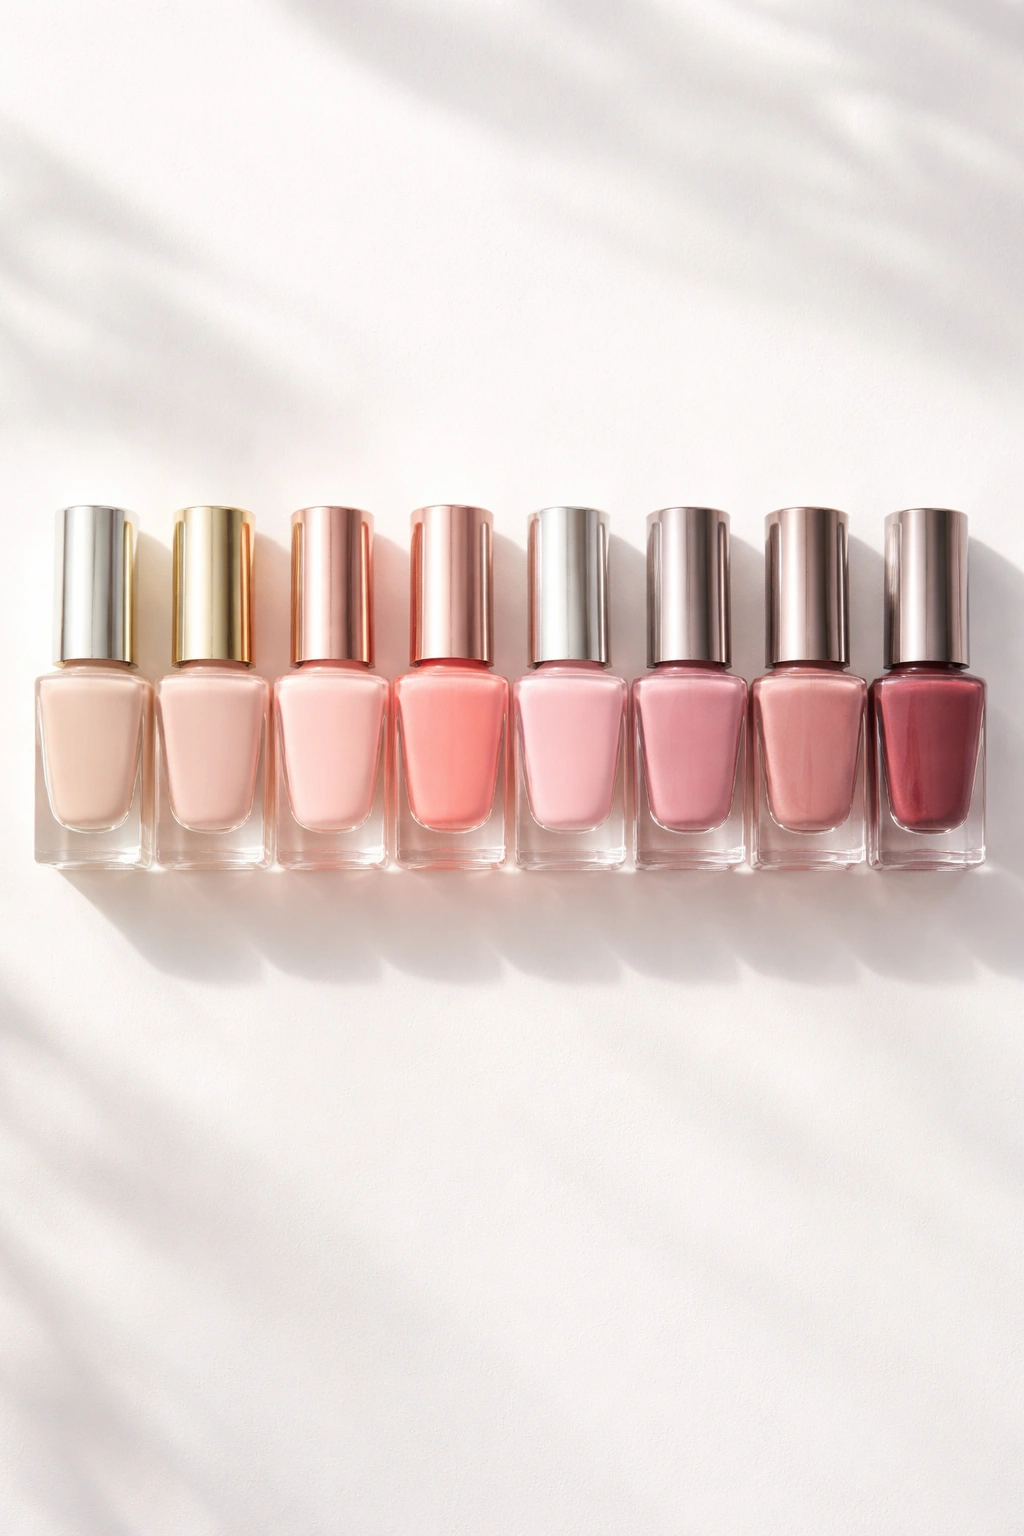
Color choice is personal, but there are a few things worth considering.
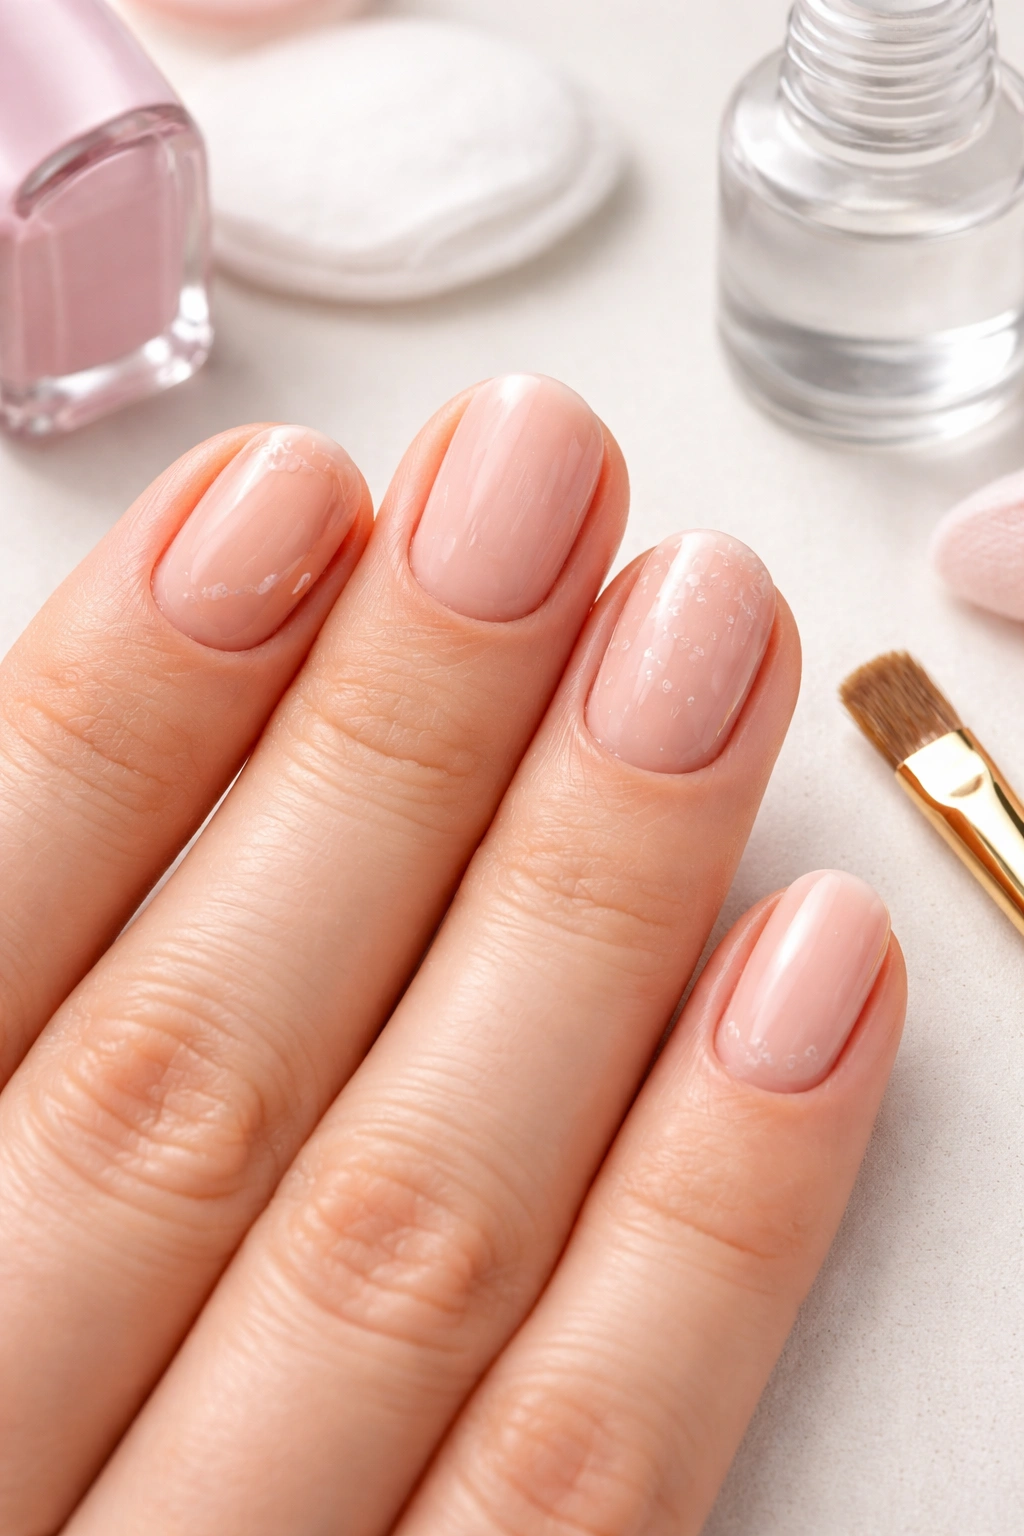
Lighter shades are way more forgiving when you’re still learning. Nudes, soft pinks, and sheer colors hide imperfections and are easier to clean up if you make mistakes. Dark colors—especially black, navy, and deep red—show every flaw and can stain both your nails and skin if you’re not careful.
Your skin tone can guide your color choices if you want to get technical about it. Warm undertones (think golden or peachy) look amazing with colors like warm reds, oranges, corals, and earthy neutrals. Cool undertones (more pink or blue-ish) pair beautifully with berry shades, cool blues, purples, and icy pastels. Neutral undertones can basically pull off anything.
Not sure about your undertones? Look at the veins on your wrist. Blue veins usually mean cool undertones, green veins suggest warm, and if you can’t really tell, you’re probably neutral.
As for formula, traditional nail polish is easy to use and doesn’t require any special equipment. It air-dries, though it takes longer than gel. Gel polish gives you that super shiny, long-lasting finish but needs a UV or LED lamp to cure. For beginners, stick with regular polish until you’ve mastered the basics.
Quality matters more than you’d think. Cheap polish tends to be streaky, takes forever to dry, and chips quickly. You don’t have to buy the most expensive brand, but investing in decent polish from companies like OPI, Essie, Zoya, or Sally Hansen will make your life so much easier.
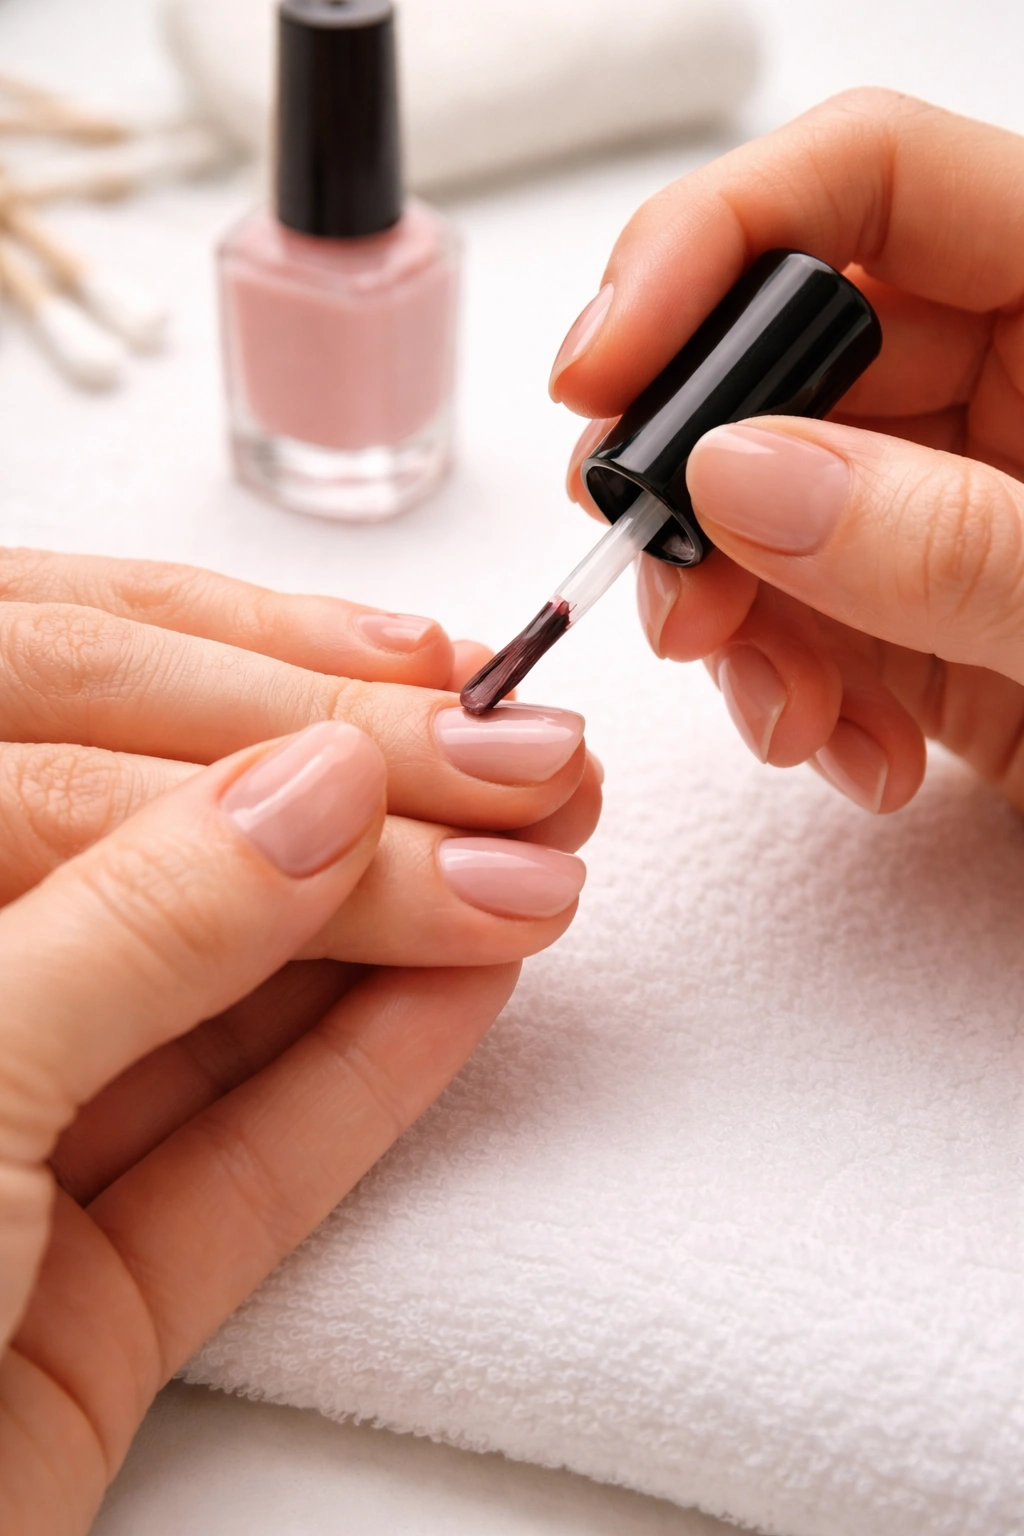
The Three-Stroke Method That Changes Everything
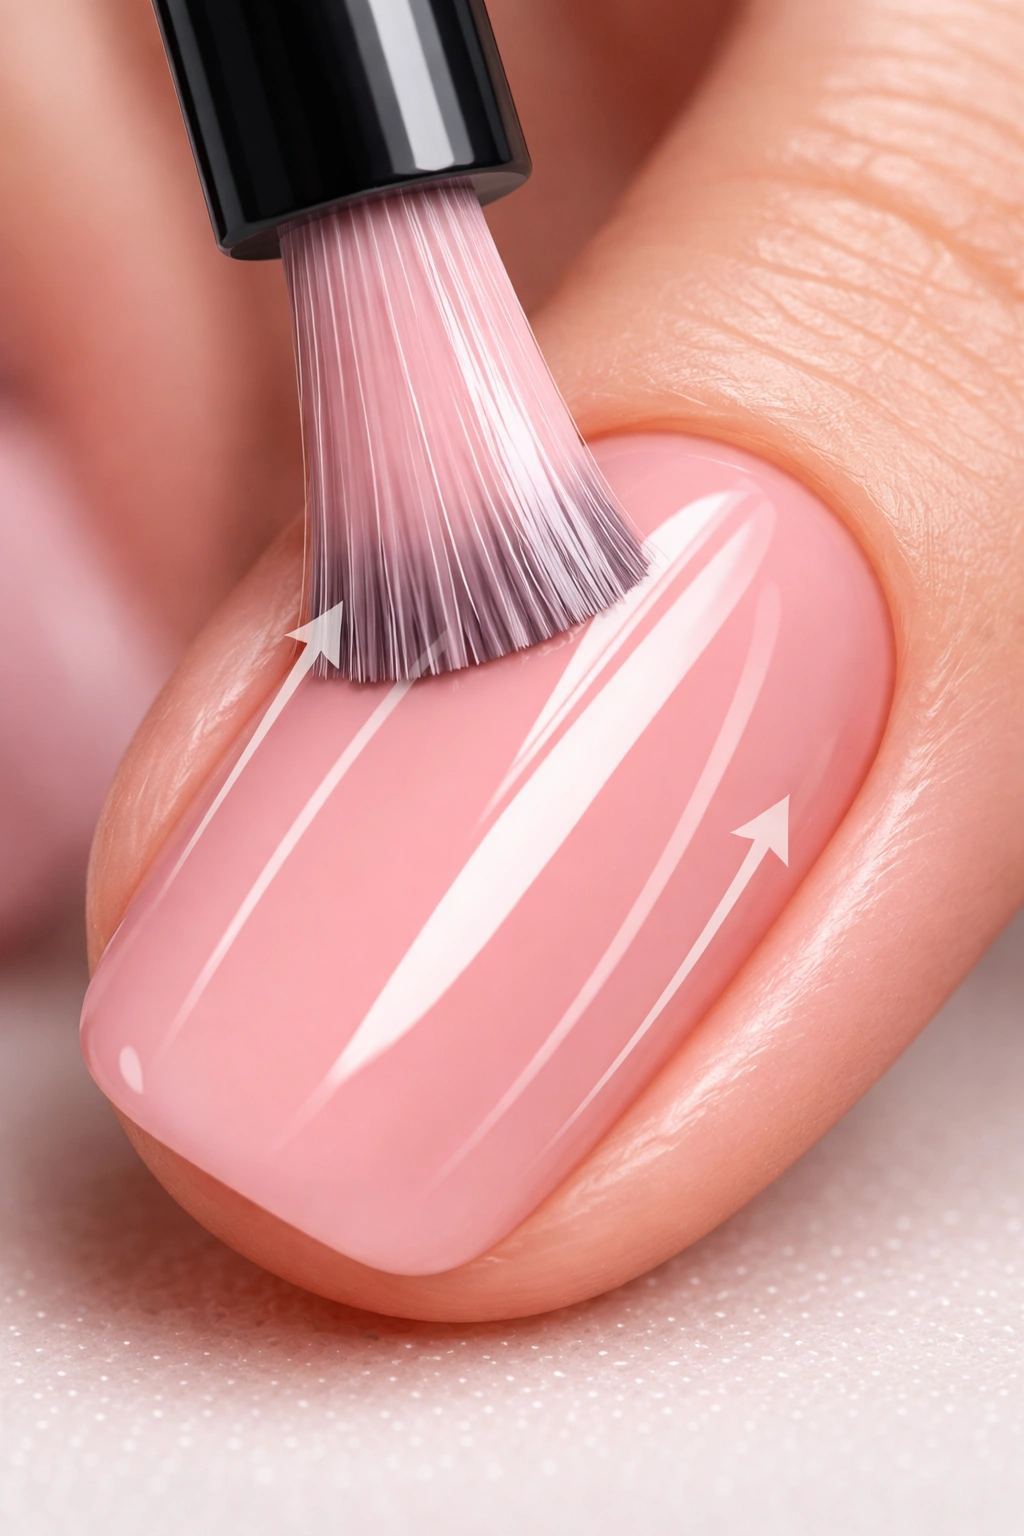
This is where the magic happens. The three-stroke method is what professional nail techs use, and once you get it down, your manicures will instantly look ten times better.
First, get the right amount of polish on your brush. Dip the brush into the bottle, then wipe one side completely against the rim. On the other side, gently tap it once or twice on the rim to remove some excess, but not all of it. You want just enough polish to cover the entire nail without flooding it.
Here’s the technique: Start by placing your brush about three-quarters of the way up the nail (not right at the cuticle). Press down gently to flatten the brush slightly, which gives you better coverage. Push the brush up toward the cuticle—getting close but not touching the skin—then sweep it down to the tip of your nail in one smooth stroke. That’s stroke number one, right down the center.
For stroke two, go back to the top of the nail on the left side. Watch the left edge of your brush as you sweep from cuticle to tip, hugging the side of the nail. You want to get as close to the edge as possible without painting your skin.
Stroke three is the same thing on the right side. Keep your eye on that right edge of the brush and sweep from top to bottom.
Three strokes. That’s it. Your nail should be completely covered with a thin, even layer of polish.
Don’t forget to cap the free edge. This means running a tiny bit of polish along the very tip of your nail (the part that would hit a table first). This seals the color and prevents chipping. To do this without creating a mess, wipe off most of the polish from your brush first, then gently sweep it horizontally across the tip.
Here’s what a full manicure looks like:
- One coat of base coat (let it dry for 2 minutes)
- First thin coat of color (wait 5-10 minutes)
- Second thin coat of color (wait another 5-10 minutes)
- Top coat (wait at least 20-30 minutes before doing anything with your hands)
Yes, this takes time. No, you can’t rush it. Set aside at least an hour for a proper manicure. Put on a show, listen to a podcast, or catch up on texts. Just don’t try to do this when you’re in a hurry.
Dealing With Your Non-Dominant Hand
Let’s address the elephant in the room: painting your dominant hand with your non-dominant hand feels impossible at first.
The secret isn’t really a secret—it’s just practice and patience. But there are a few tricks that help.
Stabilize everything. Rest both hands on a flat, sturdy surface. Don’t paint while holding your hand up in the air. Your non-dominant hand needs all the help it can get, and a stable surface makes a huge difference.
Move the nail to the brush, not the brush to the nail. This sounds weird, but it works. Hold your brush relatively still and use your dominant hand to rotate and position your nail where it needs to be. This gives you way more control.
Go even slower than you did on your other hand. Seriously, take your time. Rushing with your non-dominant hand basically guarantees a mess.
Use super thin coats. Thick polish is harder to control and takes longer to dry, which means more opportunities for smudging. Thin coats are your friend here.
Remember that cleanup is your best friend. You’re probably going to get some polish on your skin. That’s totally fine and completely normal. Just clean it up with that small brush dipped in remover once you’re done.
With practice (and we’re talking weeks or months of regular practice), your non-dominant hand will get better. You might never be as precise as you are with your dominant hand, but you’ll definitely improve.
Common Mistakes and How to Fix Them
Even when you know what you’re doing, things can go wrong. Here’s how to handle the most common issues.
Problem: Polish is flooding your cuticles. This happens when you use too much product or start too close to the cuticle. Fix it by using less polish on your brush and starting your center stroke farther down the nail. If it’s already flooded, immediately wipe it off and start over, or wait until you’re done painting and clean it up with your remover brush.
Problem: Streaky, patchy coverage. You’re either using polish that’s too old and thick, or you’re not using enough product. Add a drop of nail polish remover to old bottles to thin them out. Otherwise, make sure you have adequate polish on your brush for full coverage.
Problem: Bubbles in your polish. This usually means you shook the bottle instead of rolling it between your hands. Shaking creates air bubbles that end up in your manicure. Also, make sure each coat is fully dry before adding the next one.
Problem: Polish is peeling off in sheets. You probably didn’t prep properly, or you applied coats that were too thick. Go back and make sure you’re removing all oils from the nail surface and using thin layers.
Problem: Smudges and dents. You didn’t wait long enough between coats, or you tried to do something before your nails were fully dry. Patience is not optional here.
For glitter polish, there’s a special trick: instead of painting it on like regular polish, dab it on with a makeup sponge. Paint some glitter polish onto the sponge first, then press the sponge onto your nail. The sponge absorbs the clear polish base and deposits the glitter, giving you dense, opaque coverage in one go.
Making Your Manicure Last
You put all this effort into painting your nails perfectly. Now let’s make sure they stay that way.
Apply cuticle oil daily. This keeps the skin around your nails hydrated and flexible, which actually prevents chipping. Keep a small bottle by your bed and apply it every night. Just massage a drop or two around each nail and you’re done.
Reapply top coat every few days. This adds an extra layer of protection and refreshes the shine. It takes two minutes and can extend your manicure by several days.
Wear gloves when doing dishes or cleaning. Water and harsh chemicals are the enemy of nail polish. Protect your hands whenever you’re doing housework.
Cap the free edge with top coat every time you reapply. This is the area that chips first, so give it extra attention.
Avoid super hot water in the shower or bath right after painting your nails. Heat can cause polish to expand and become more prone to chipping.
With proper application and care, a regular nail polish manicure can easily last 5-7 days. Gel polish lasts even longer—usually 10-14 days—but requires the lamp and has a different removal process.
Final Thoughts
Painting your nails perfectly comes down to three things: proper preparation, the right technique, and patience. That’s it. No magic, no special talent required.
Start by prepping your nails the right way every single time. Use quality polish and the proper tools. Master that three-stroke method. Apply thin coats and actually wait for them to dry. Clean up any mistakes with remover and a small brush. Finish with cuticle oil for that professional touch.
Your first few attempts might not be perfect, and that’s completely fine. Your non-dominant hand will improve with practice. You’ll get faster and more confident. Eventually, you’ll be the one whose friends ask how you make at-home manicures look so good.
Set aside the time, follow these steps, and stop rushing through the process. Your nails deserve better than a quick, sloppy paint job. Treat your at-home manicure like the self-care ritual it should be—put on something good to watch, get comfortable, and take your time.
Before you know it, you’ll be saving money on salon visits and rocking perfectly painted nails that you did all by yourself. And honestly? There’s something pretty satisfying about that.
