

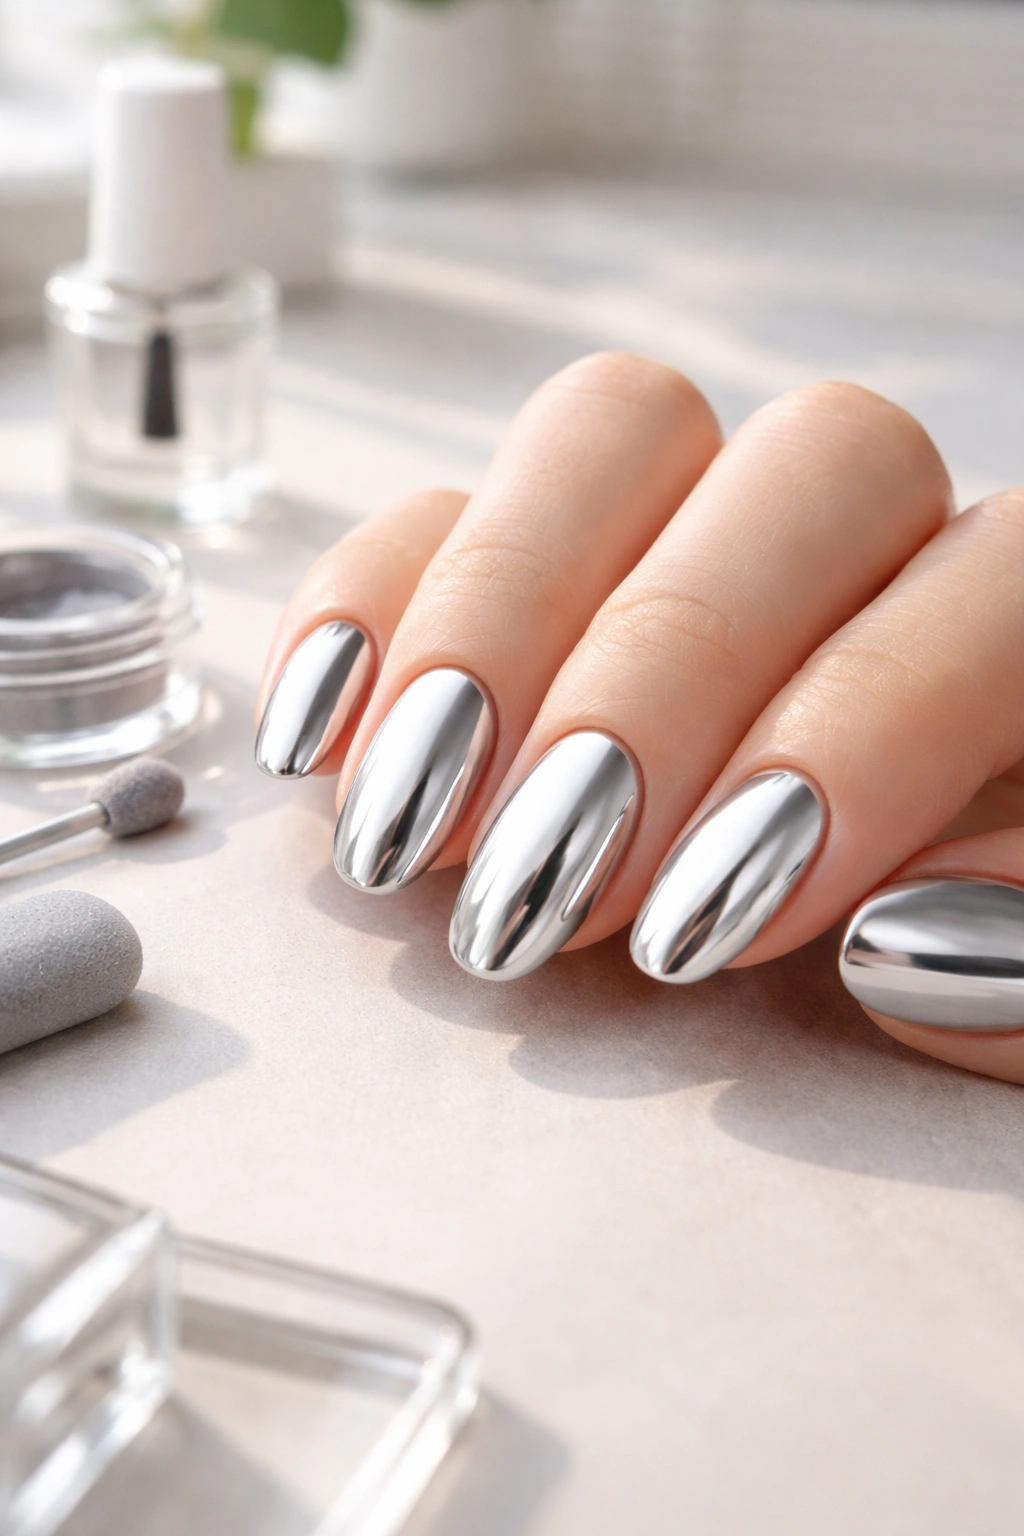
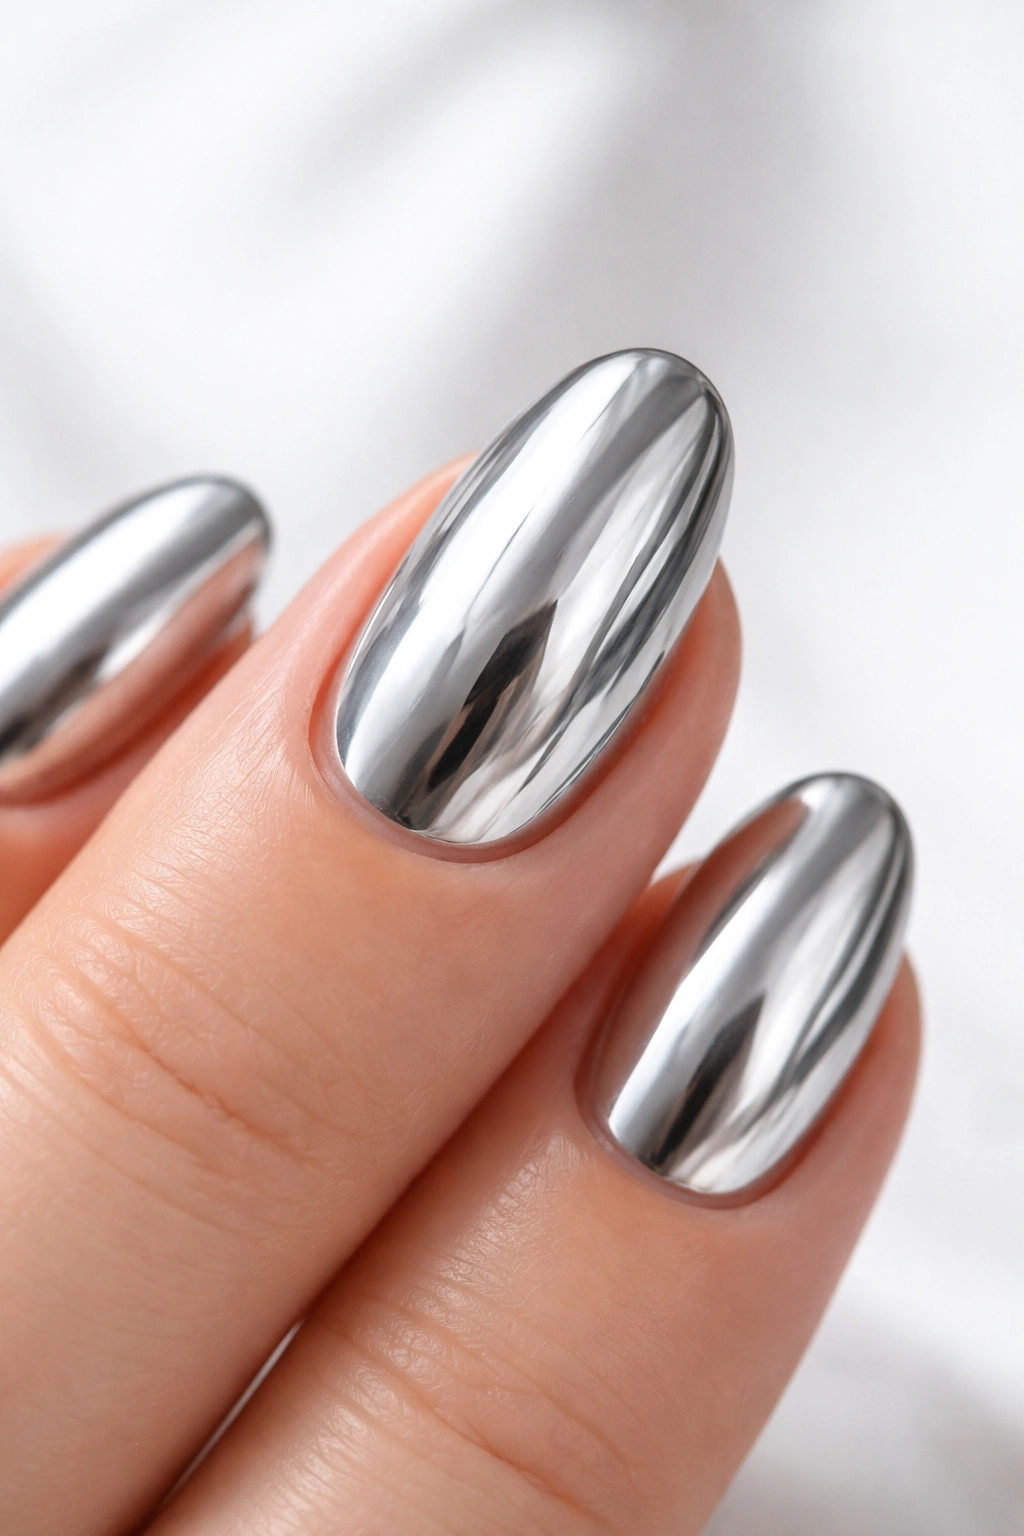
Chrome nails have taken over as one of the most sought-after manicure styles, with their mesmerizing mirror-like shine and futuristic appeal. But here’s the thing: not everyone owns a UV or LED lamp, and honestly, you don’t need one to rock this trend. Whether you’re avoiding the investment in professional equipment or simply prefer a quicker, more straightforward approach, creating stunning chrome nails without a lamp is absolutely doable.
The lamp-free route opens up chrome nails to anyone who wants that high-shine, metallic finish without the extra gear. You’ll find several methods that deliver gorgeous results using regular nail polish, special chrome formulas, and even some clever beauty hacks you probably never considered. Let’s break down exactly how to get those head-turning chrome nails using what you already have at home.
Why Skip the Lamp for Chrome Nails
Choosing to do chrome nails without a lamp makes sense for plenty of reasons. First off, UV and LED lamps represent a significant investment that not everyone wants to make, especially if you only do your nails occasionally. These devices can run anywhere from budget-friendly to seriously pricey, and they take up counter space.
Beyond the cost factor, working without a lamp means less equipment to store and maintain. You won’t need to worry about replacing bulbs or dealing with technical issues. The process becomes more portable too—you can do your nails anywhere without hunting for an outlet.
Some people prefer avoiding UV exposure altogether, even though the amount from nail lamps is relatively small. Going lamp-free eliminates that concern entirely. Plus, you can achieve beautiful chrome effects that dry naturally without the wait time of curing each layer under a light.
The flexibility of lamp-free methods also means you can experiment more freely. Making a mistake? No biggie. You haven’t already cured multiple layers that require soaking off. Regular polish remover works just fine for starting over.
Understanding Chrome Nail Options Without UV Light
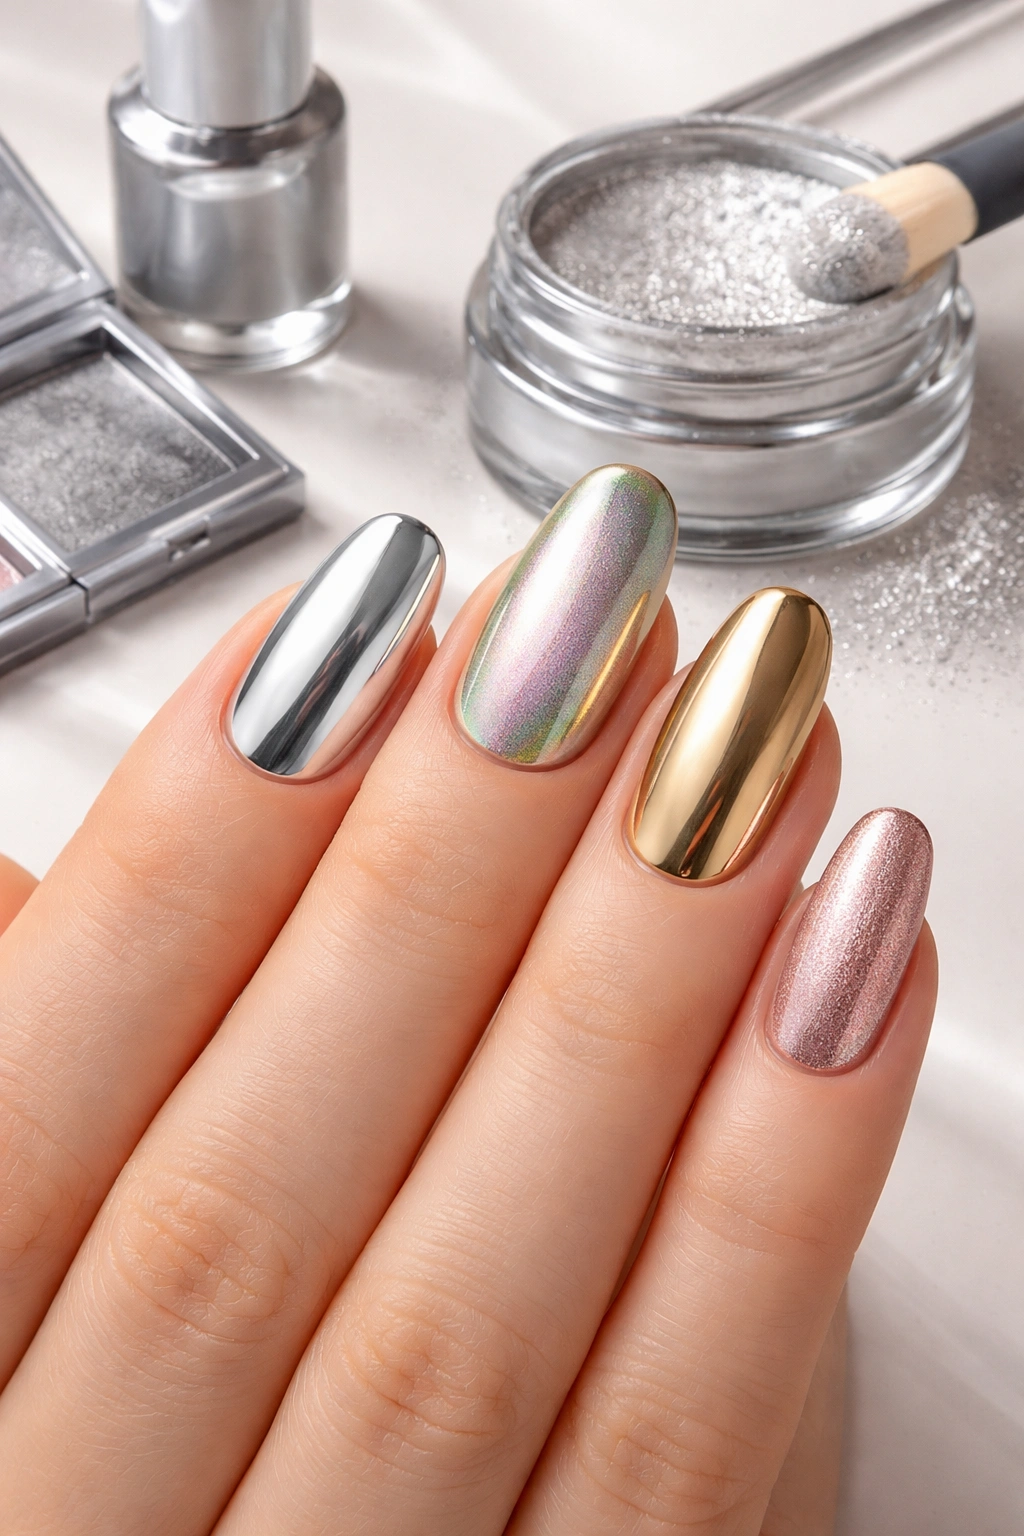
Chrome nails come in different varieties, and knowing which types work without lamps helps you choose the right approach. The classic gel-and-powder method typically requires a lamp, but several alternatives give you that same stunning finish using air-dry products.
Liquid chrome polishes have changed the game completely. These brush-on formulas contain metallic pigments that create a chrome effect without any powder or special application technique. They dry naturally in the air, just like regular nail polish.
Chrome powder over regular polish is another solid option. This method involves applying chrome powder to slightly tacky regular polish, then sealing it with an air-dry top coat. The technique differs slightly from gel applications, but the results can be just as striking.
Eyeshadow and makeup products offer a budget-friendly hack that works surprisingly well. Metallic or shimmery eyeshadows, highlighters, and even some blushes can create chrome-like effects when applied over regular polish. Sure, the finish might not be quite as intense as professional chrome powder, but it’s a fun way to experiment.
Press-on nails with chrome finishes provide instant gratification. No application skills needed—just stick them on and you’re done. They come in every chrome variation imaginable, from subtle pearl to full mirror metallics.
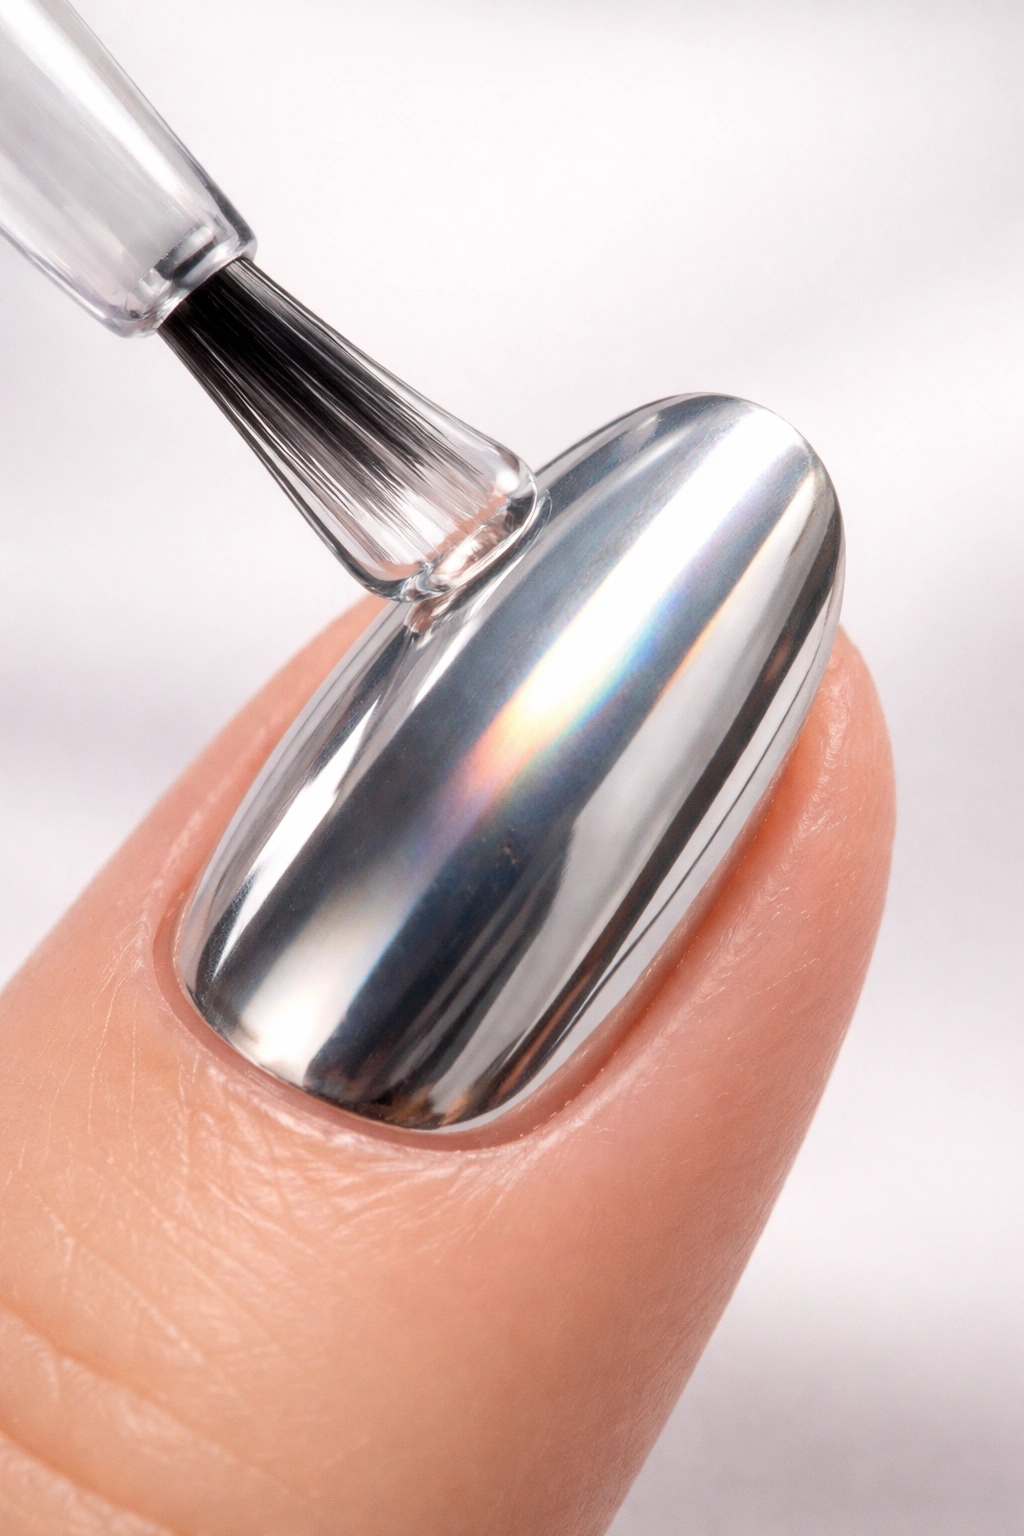
The Liquid Chrome Polish Method
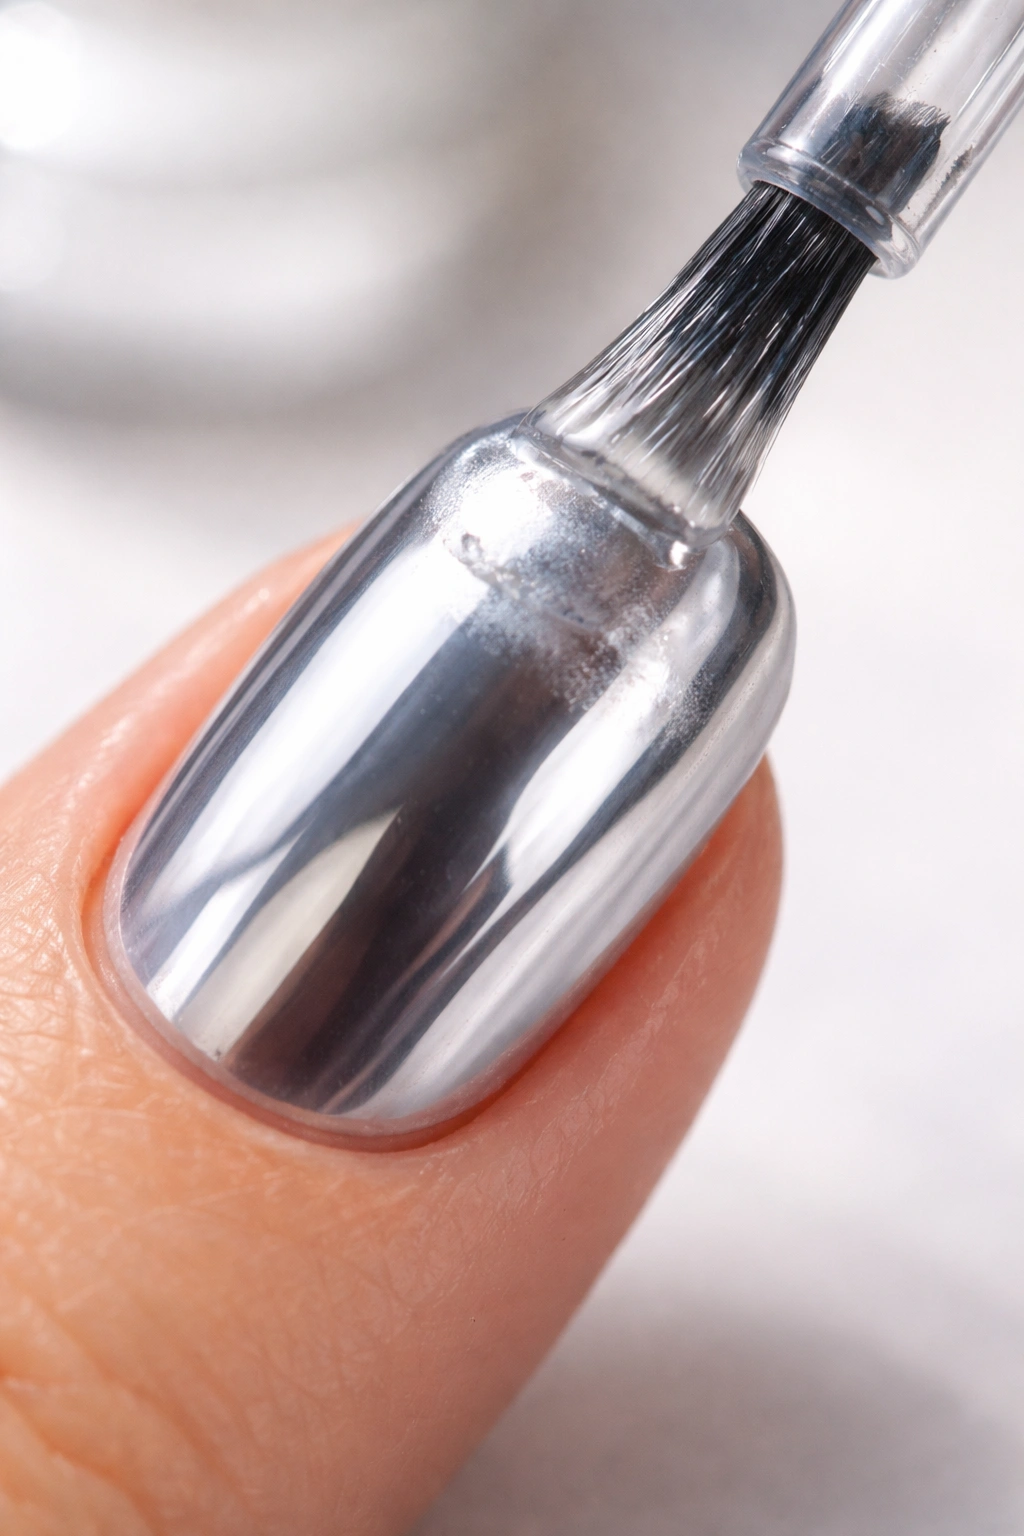
Liquid chrome polishes represent the easiest path to chrome nails without a lamp. Brands have developed these formulas specifically for people who want chrome effects with regular polish convenience. The application process feels familiar if you’ve ever painted your nails before.
Start by prepping your nails properly—push back cuticles, file to your preferred shape, and buff lightly to create a smooth surface. Apply a base coat and let it dry completely. This protects your natural nails and helps the chrome polish adhere better.
Choose your liquid chrome shade. These polishes come in various finishes, from soft iridescent glazes to bold metallic sheens. Shake the bottle well before using, since the metallic pigments can settle at the bottom.
Apply the first coat using thin, even strokes. Don’t overload the brush—you want enough polish to cover the nail but not so much that it pools or takes forever to dry. One thin coat gives you a subtle chrome glaze effect.
Wait for the first coat to dry completely before adding a second layer. This usually takes about five to ten minutes depending on the formula. The second coat intensifies the metallic effect and gives you that full chrome finish.
Seal everything with a glossy top coat once the chrome polish has dried. This step is crucial—it locks in the shine and protects the metallic finish from chips and dulling. Some people add accelerating drying drops to speed up the whole process.
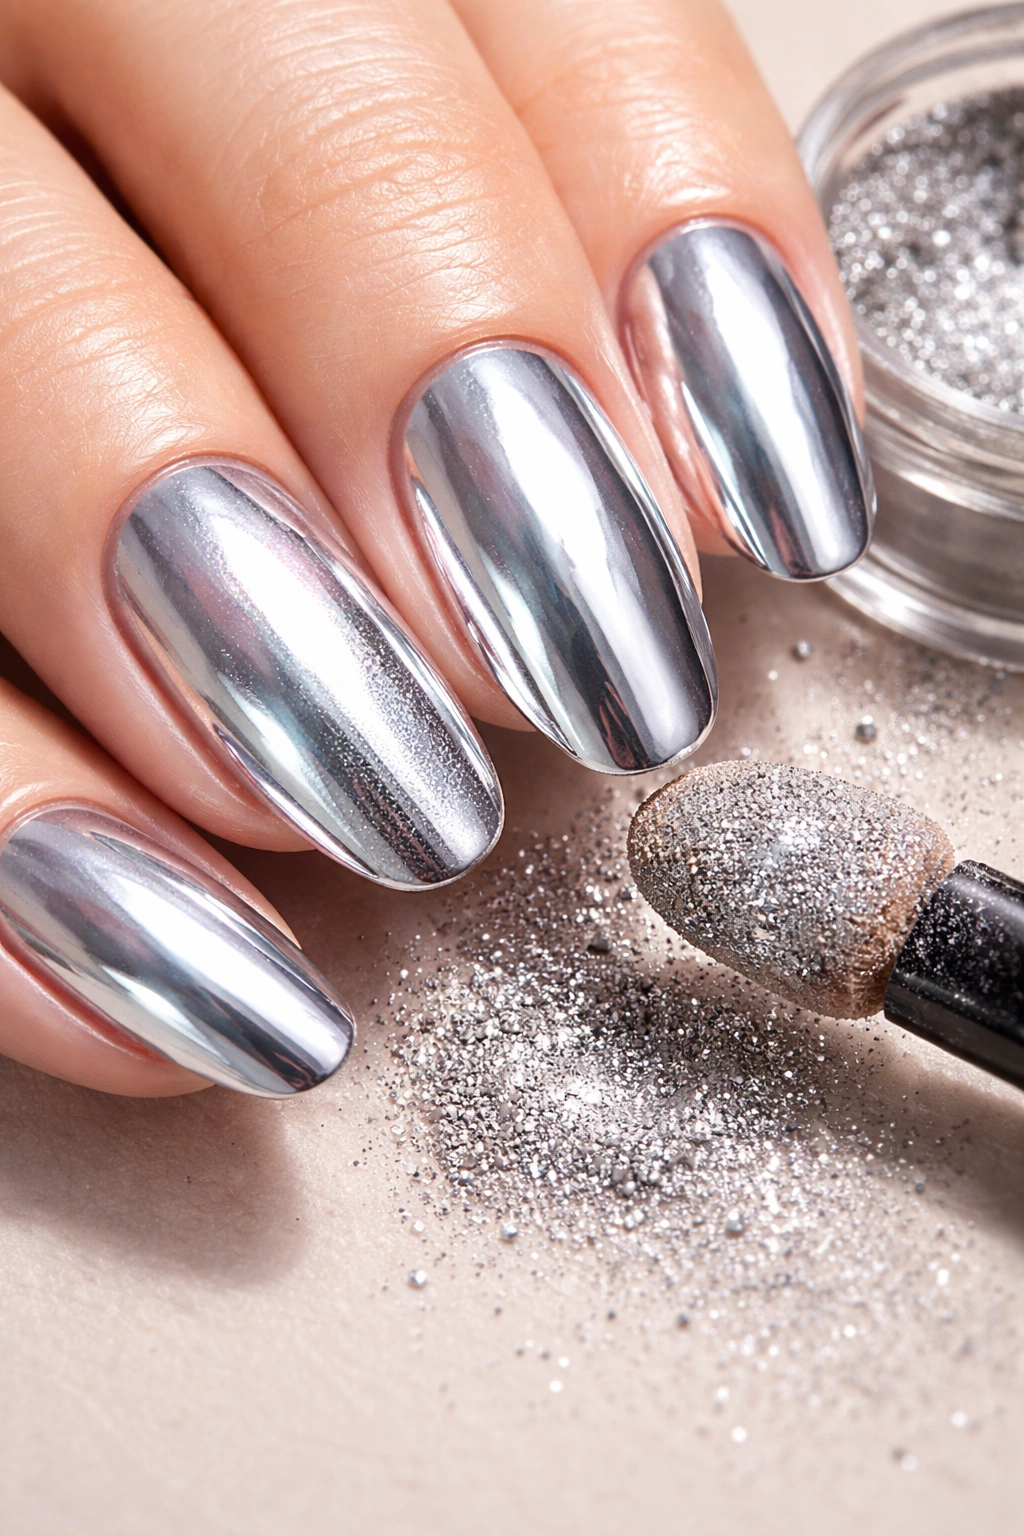
Chrome Powder Over Regular Nail Polish
Using chrome powder with regular polish requires a slightly different technique than gel applications, but it absolutely works. The key lies in timing and choosing the right products. You’ll need fine chrome powder, an applicator (silicone tips or makeup sponges work great), and a good quality top coat.
Prep your nails and apply a base coat first. Once dry, paint on two coats of your chosen base color. Darker shades like black or navy create intense, mirror-like chrome effects. Lighter colors like white or pale pink give you softer, more iridescent finishes.
Here’s where timing becomes critical. Apply your regular top coat and wait until it reaches that perfect tacky stage—not completely wet, but not fully dry either. This usually happens around the five-minute mark, though it varies by brand and room conditions.
Working quickly, use your applicator to press chrome powder onto the tacky surface. Use gentle circular motions to work the powder in until you see that metallic shine develop. The powder bonds to the slightly sticky top coat, creating the chrome effect.
Brush away excess powder with a soft brush once you’ve covered the entire nail. Don’t skip this step or you’ll end up with a sparkly finish instead of smooth chrome. A fluffy makeup brush works perfectly for sweeping away the extra.
Apply another layer of top coat over the chrome powder to seal it in. Use a light touch—dragging the brush too hard can disturb the powder underneath. Let this final layer dry completely before using your hands. The drying process takes longer than regular polish since you’ve got multiple layers.
The Eyeshadow Chrome Hack
The eyeshadow method for chrome nails has become popular on social media for good reason—it’s cheap, accessible, and surprisingly effective. You probably already own metallic eyeshadows that can create chrome-like effects. While the results won’t match professional chrome powder exactly, they’re pretty impressive for a DIY hack.
Choose eyeshadows with fine, metallic particles rather than chunky glitter. Pressed powder shadows work better than loose pigments since they’re easier to control. Silver, gold, bronze, and even holographic highlighters all create different chrome effects.
Paint your nails with a base coat, then your chosen polish color. Apply a regular top coat and wait until it becomes slightly tacky—about five minutes or so. This is the same timing you’d use with chrome powder.
Dip a dense eyeshadow brush or makeup sponge into your chosen eyeshadow. Tap off any excess, then gently press and buff the shadow onto your nail surface. The particles will cling to the tacky top coat, creating a metallic finish.
You’ll probably need to apply the eyeshadow in layers to build up intensity. Work in small sections and keep adding shadow until you achieve the coverage you want. Be patient with this step—rushing leads to patchy results.
Once you’re happy with the coverage, brush away excess shadow particles with a clean, fluffy brush. Then apply another coat of top coat to seal everything in. You might need two coats of top coat to fully encapsulate the eyeshadow and create a smooth finish.
Fair warning: eyeshadow chrome nails typically don’t last as long as proper chrome powder applications. The makeup particles can shift or wear off more easily. But for experimenting with the trend or creating a look for a special event, this hack delivers solid results without buying specialized products.
Press-On Chrome Nails for Instant Results
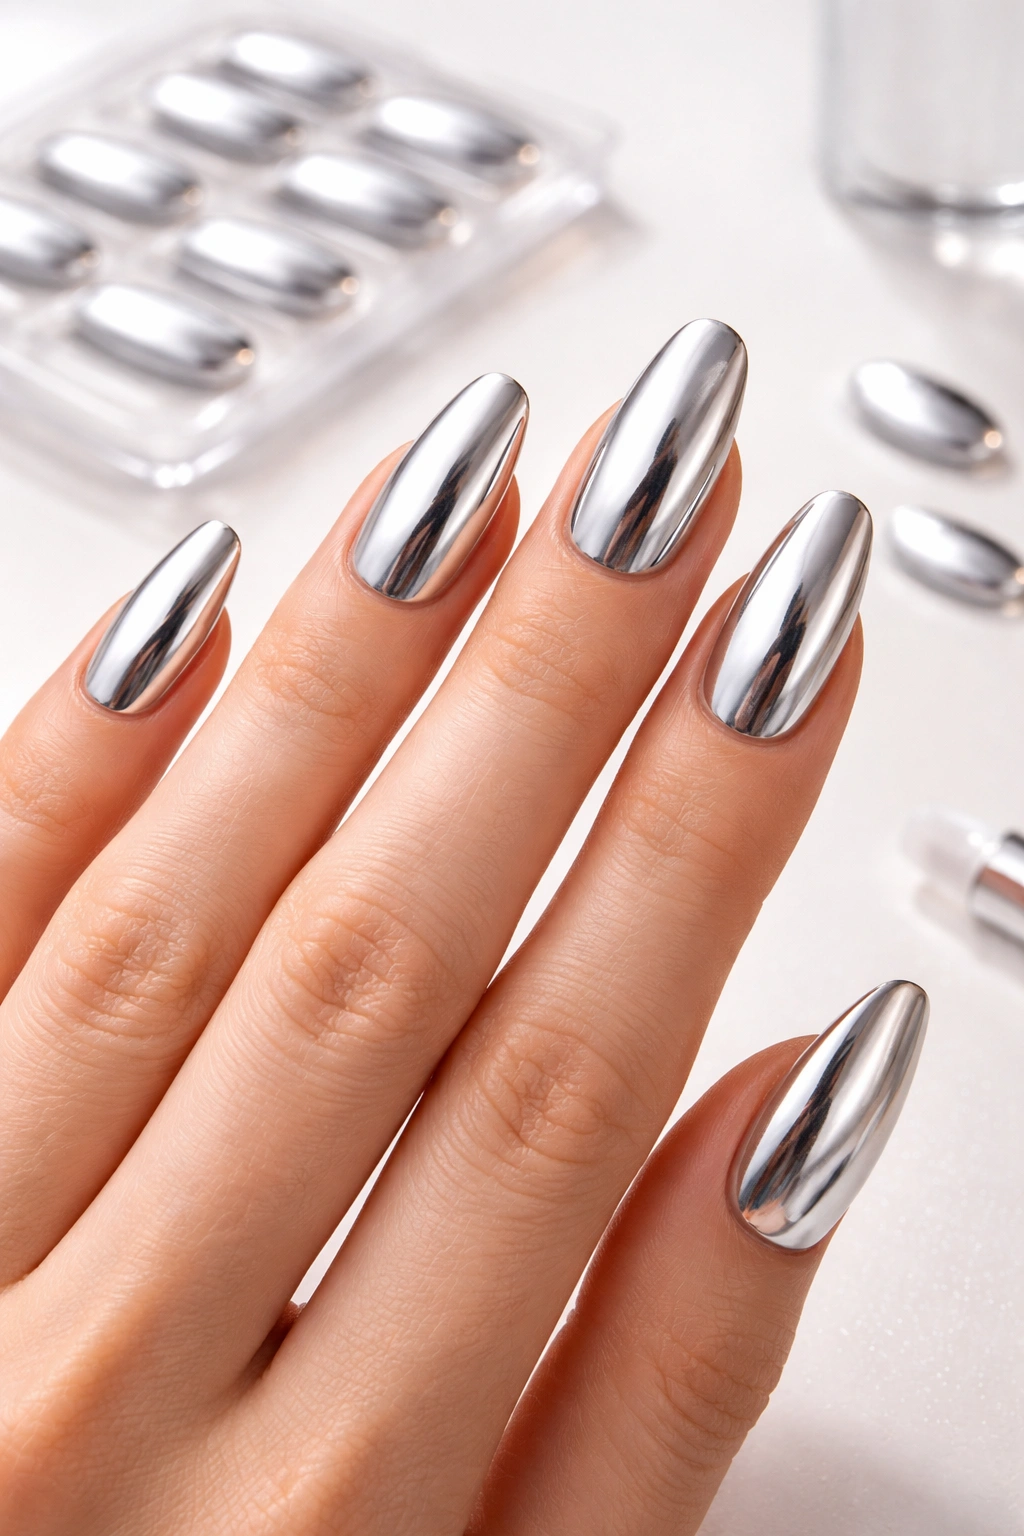
If you want chrome nails without any application hassle whatsoever, press-ons are your best friend. The quality of press-on nails has improved dramatically, with options ranging from drugstore finds to high-end sets that look incredibly realistic.
Chrome press-ons come in every imaginable finish. You’ll find classic silver mirror chrome, soft pearl glazes, holographic rainbows, and bold colored metallics. Many brands offer different nail shapes and lengths, so you can match your personal style.
Application couldn’t be simpler. Prep your natural nails by pushing back cuticles and lightly buffing the surface. Wipe nails clean with rubbing alcohol to remove oils. This helps the press-ons adhere better and last longer.
Most press-on sets include adhesive tabs or nail glue. Tabs are perfect if you want a temporary look that you can easily remove. Glue provides stronger, longer-lasting wear—some people get a week or more from quality press-ons applied with glue.
Match each press-on to your natural nail size, making sure you’ve got the right fit. The press-on should cover your nail from side to side without touching the skin. If needed, you can file the press-on to adjust the fit.
Apply adhesive to your natural nail, then press the chrome nail on firmly, starting at the cuticle and pressing down toward the tip. Hold for about thirty seconds to ensure a strong bond. Repeat for all fingers.
The beauty of press-ons is zero dry time. Once they’re on, you’re done. No waiting around, no smudging risk. Plus, you can remove them whenever you want by soaking in warm soapy water (for tabs) or using acetone (for glue).
Preparing Your Nails for Lamp-Free Chrome
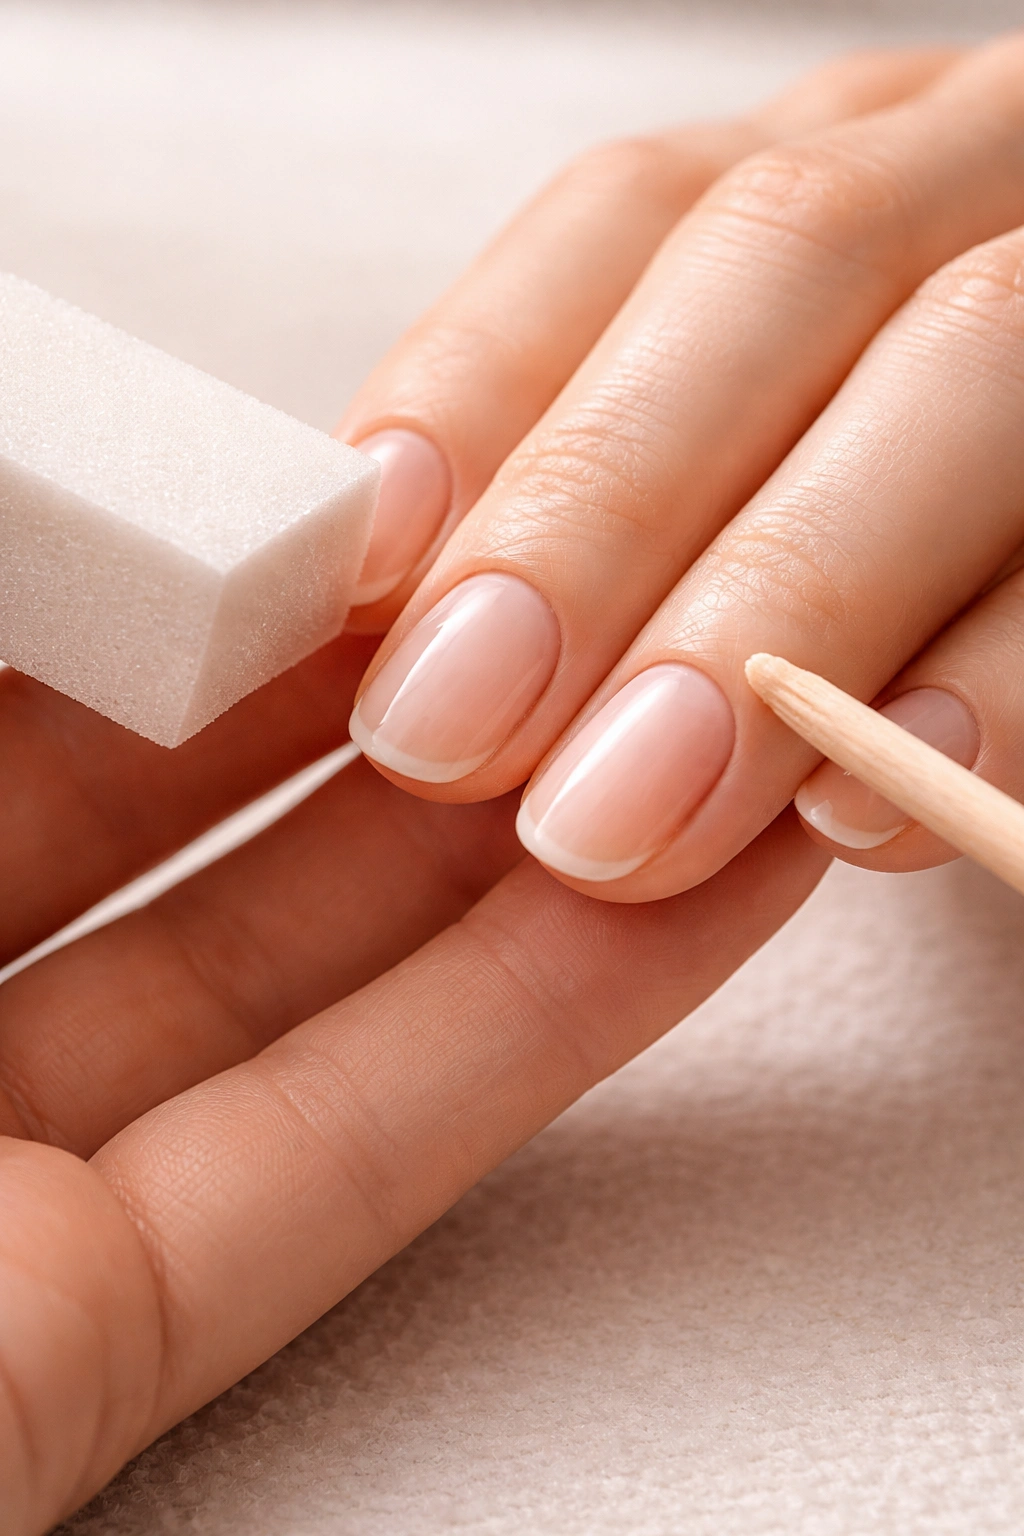
Proper nail prep makes all the difference between chrome nails that look amazing and ones that disappoint. Even without a lamp, you need that smooth, clean canvas for chrome to shine properly. Think of prep as the foundation—skip it and everything else suffers.
Start by removing any old polish completely. Use a good quality remover and make sure every trace of previous color is gone. Leftover polish creates an uneven surface that shows through chrome finishes.
Trim and shape your nails to your preferred length and style. Chrome works beautifully on any nail shape—almond, square, round, coffin—so choose what flatters your fingers. File in one direction rather than sawing back and forth, which can create splits.
Gently push back your cuticles using a cuticle pusher or orangewood stick. Don’t cut your cuticles unless you’re experienced—cutting can lead to infections and painful hangnails. Just pushing them back creates a clean edge for polish application.
Lightly buff the surface of each nail to remove ridges and create slight texture. This step is particularly important for lamp-free chrome methods because it helps polish and powder adhere better. Don’t buff too aggressively though—you want to smooth the surface, not thin out your nails.
Wash your hands with soap and water to remove all the dust and debris from filing and buffing. Dry thoroughly, then wipe each nail with rubbing alcohol or nail cleanser. This removes natural oils that can prevent polish from sticking properly.
Sealing and Protecting Your No-Lamp Chrome Finish
Getting chrome nails without a lamp is one thing—making them last is another. The sealing process determines how long your chrome manicure stays shiny and chip-free. Without the durability of cured gel, you’ll need to take extra care with your top coat application and maintenance.
Choose a high-quality, fast-drying top coat for the best results. Look for formulas described as “gel-like” or “long-wearing” even though they’re regular polish. These tend to provide better protection for the delicate chrome finish underneath.
When applying top coat over chrome powder or eyeshadow, use an extremely light touch. Don’t drag the brush across the nail—instead, float the top coat on using gentle strokes. Too much pressure can disturb the chrome particles and create streaks or bald spots.
Apply thin coats rather than one thick layer. Thin coats dry faster and more evenly, reducing the risk of smudging. You might want to apply two thin coats of top coat for extra protection, waiting for the first to dry completely before adding the second.
Let your nails dry completely before using your hands. This sounds obvious, but it’s worth repeating—chrome nails without lamps need more drying time than regular manicures because of the multiple layers involved. Give yourself at least twenty to thirty minutes of hands-off time.
Consider using quick-dry drops or spray after your top coat dries to the touch. These products help speed up the deeper drying process and add an extra layer of protection against smudges. Just a drop or two on each nail makes a difference.
Avoid water contact for the first few hours after finishing your manicure. Water can cause layers to separate or create bubbles under the top coat. Skip the dishes, shower later, and definitely don’t go swimming right after doing your nails.
Troubleshooting Common Issues
Even with careful application, you might run into some hiccups when doing chrome nails without a lamp. Knowing how to fix common problems saves your manicure and your sanity. Most issues have simple solutions that don’t require starting completely over.
Patchy chrome coverage usually means the base wasn’t tacky enough or you didn’t use enough powder. If you notice bare spots, quickly add more chrome powder while the base is still workable. For dried spots, apply a thin layer of top coat to that nail only, wait for it to get tacky, then add more chrome.
Dull finish instead of shine happens when too much powder stays on the nail or the sealing top coat is too thick. Brush away excess powder more thoroughly with a clean, soft brush. When reapplying top coat, use thinner layers and a lighter touch.
Smudging or streaking during top coat application means you’re pressing too hard or the chrome layer wasn’t set properly. If this happens, let everything dry completely, then very gently apply another thin top coat using barely-there pressure. Patience is key here.
Chrome wearing off at the tips is common with lamp-free methods since the layers aren’t heat-cured together. Make sure you’re capping the free edge with both base coat and top coat. This means swiping the brush along the tip of your nail to seal the edge.
Bubbles in the top coat usually come from shaking the bottle or applying polish over nails that aren’t completely dry. Roll the top coat bottle between your hands instead of shaking it. Always verify that previous layers are fully dry before moving forward.
Uneven texture or bumps signal that your base layer wasn’t smooth enough or powder application was too heavy. Prevention works better than fixing this one—take time buffing your natural nails smooth and use light layers of powder. If you’ve already got bumps, you’ll need to remove and start fresh.
Maintaining Your Lamp-Free Chrome Shine
Chrome nails without a lamp require a bit more TLC than gel manicures, but they can still look gorgeous for a week or more with proper care. Your maintenance routine makes the difference between chrome that stays stunning and chrome that fades fast.
Reapply top coat every two to three days to refresh the shine and add protection. This simple step extends wear time significantly. Use the same light touch you did during initial application—just a thin layer to boost gloss.
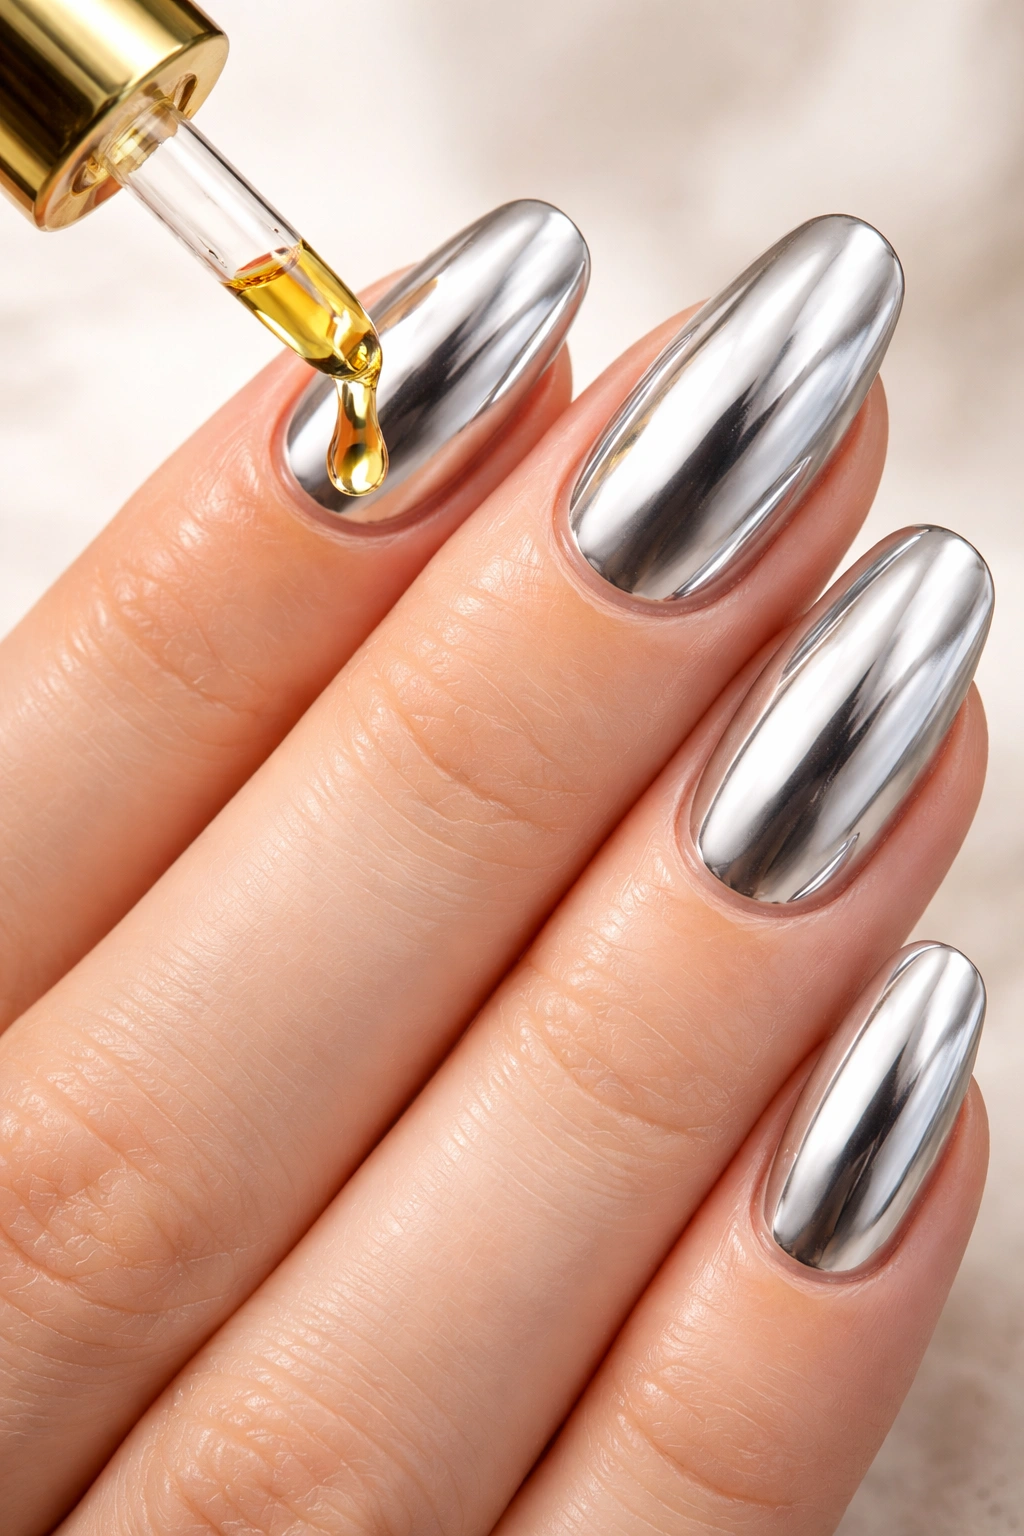
Moisturize your hands and cuticles daily with hand cream or cuticle oil. Dry, brittle nails chip more easily, taking your chrome finish with them. Keep skin and nails hydrated for flexibility and strength.
Wear gloves during household chores, especially when using cleaning products or washing dishes. Harsh chemicals and prolonged water exposure can dull chrome and weaken the polish layers. Gloves take two seconds to put on and save your manicure.
Avoid using your nails as tools. Opening cans, peeling stickers, and picking at things puts stress on the polish and can cause chips or peeling. Use actual tools instead—your chrome nails will thank you.
Be gentle with your hands in general. Chrome finishes created without lamps tend to be slightly more delicate than cured gel, so treating them carefully helps them last. A little mindfulness goes a long way.
If you notice small chips, you can do spot repairs. Apply a tiny bit of base color to the chip if needed, let it dry, then add a small amount of chrome powder or eyeshadow using a fine brush. Seal with top coat. This isn’t perfect, but it can extend your manicure a few more days.
Final Thoughts
Creating chrome nails at home without a lamp opens up this stunning trend to everyone, regardless of equipment or budget. The methods we’ve covered—liquid chrome polish, powder over regular lacquer, the eyeshadow hack, and press-ons—all deliver that eye-catching metallic shine without requiring UV or LED lights.
Your success comes down to patience, proper prep, and choosing the right method for your skill level. Liquid chrome polishes offer the easiest path for beginners, while powder application gives you more control over intensity and finish. Press-ons provide instant results when you’re short on time.
Don’t be discouraged if your first attempt isn’t perfect. Chrome techniques take practice, but each try teaches you something new about timing, pressure, and product interaction. Before long, you’ll be creating head-turning chrome manicures that rival any salon work—all from the comfort of home, no lamp required.
