

Waiting for nail polish to dry is one of those unavoidable frustrations that comes with doing your own manicure. You’ve carefully painted two coats of your favorite shade, everything looks flawless, and then… you have to sit there for what feels like forever, trying not to touch anything, trying not to bump your nails into something, just willing them to dry already. The whole manicure is on the line if you move too soon—one careless gesture and your beautiful polish is ruined. But what if you didn’t have to wait so long?
The good news is that drying time doesn’t have to be the most tedious part of your nail routine. There are proven strategies that actually work to cut your drying time in half (or more), and most of them use products you already have at home or can grab cheaply at a beauty supply store. From the science of how polish dries to the specific techniques professionals use, we’re going to walk you through everything that makes the difference between a 20-minute wait and a 5-minute one.
What makes nail polish take so long to dry in the first place? It’s not magic—it’s chemistry. Regular nail polish (as opposed to gel) dries through solvent evaporation. The solvents in the formula evaporate into the air, leaving behind the pigments and resins that create the color and shine. Temperature, humidity, air circulation, coat thickness, and even the specific formula all affect how fast those solvents escape. Understanding these factors is your first step toward speeding up the process. Let’s dig into the four most reliable ways to make nail polish dry faster.
1. Using Quick-Dry Top Coats and Drying Products
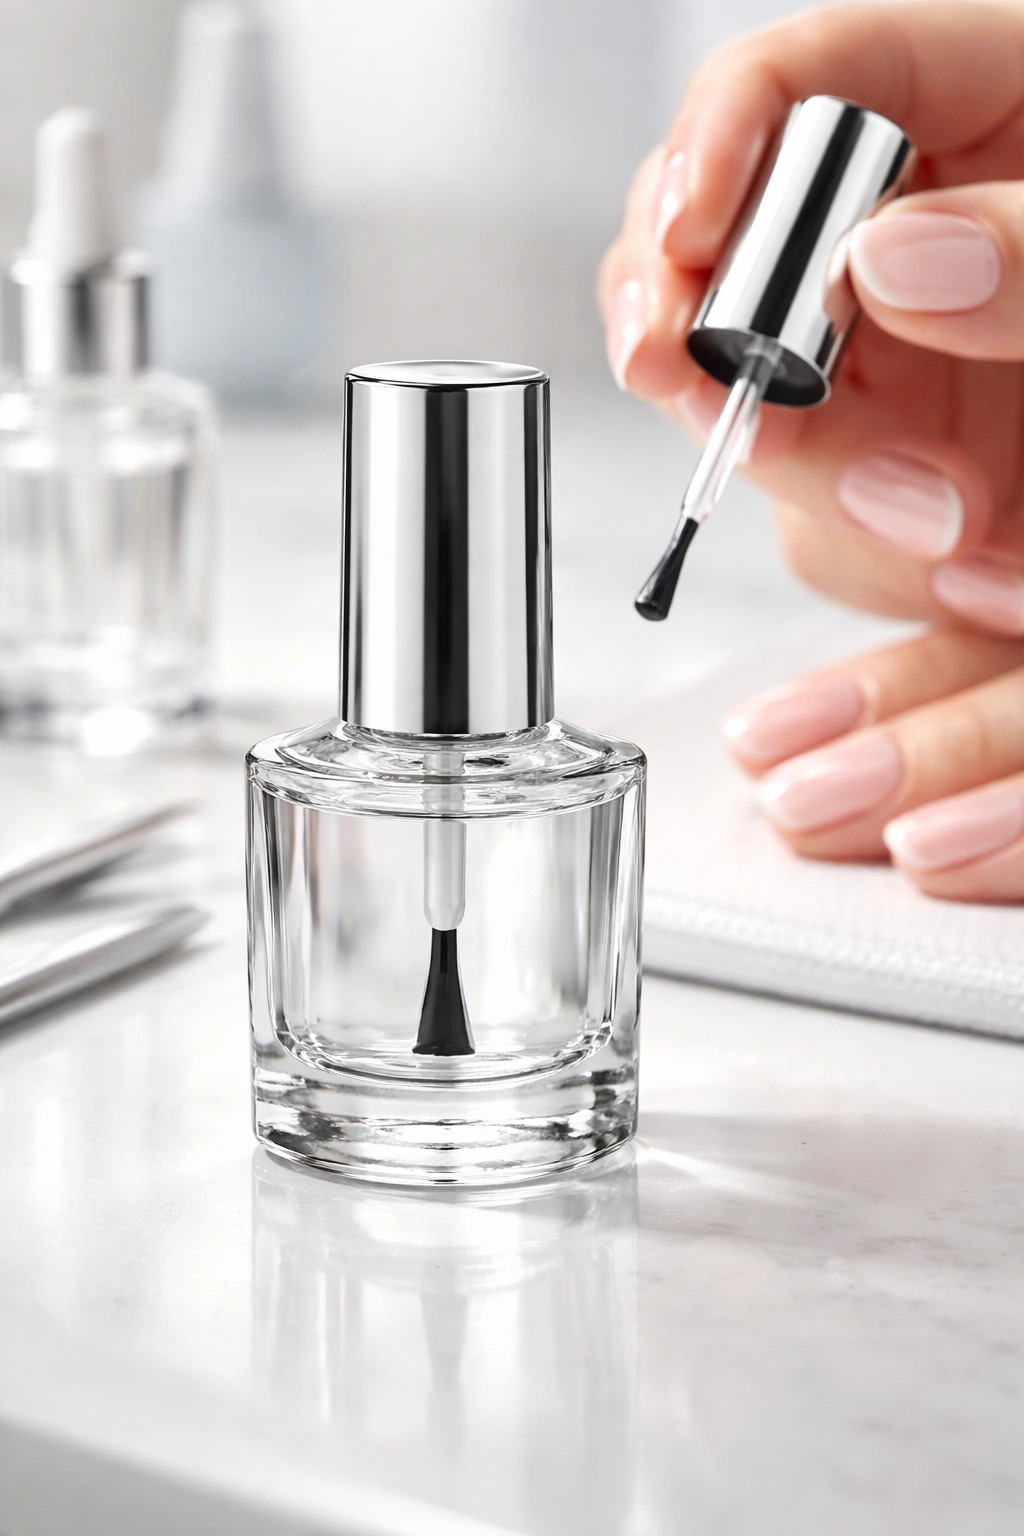
The simplest way to reduce drying time is to invest in products specifically formulated to speed up the process. Quick-dry top coats are game-changers because they’re designed with formulas that dry much faster than regular polish while still giving you that protective seal and gorgeous shine. Many professional nail artists swear by these products, and once you use one, you’ll understand why.
Quick-drying top coats work by using special resins and compounds that accelerate solvent evaporation. Unlike regular top coats that might add 5-10 minutes to your drying time, quality quick-dry formulas can set your manicure in as little as 1-3 minutes. You apply them exactly the same way you’d apply a regular top coat—just one thin layer over your dried color—but the results are noticeably faster.
What Makes Quick-Dry Top Coats Different
Quick-dry top coats contain specially engineered resins that help the polish cure faster without compromising shine or durability. Some formulas also include photo-initiators that react to natural light to speed up drying even more. These aren’t just marketing gimmicks; nail professionals confirm that these products genuinely reduce drying time. The best part is that they’re often the same price as regular polish, sometimes even cheaper.
Drying Drops: A Concentrated Alternative
If you want to skip the extra top coat layer altogether, drying drops are your answer. These oil-based products are specifically formulated to absorb the solvents in nail polish, creating a domino effect that speeds drying significantly. OPI’s Drip Dry Lacquer Drying Drops and similar products from other brands work in minutes, sometimes in under 5 minutes total. You apply just one drop to each nail about 1 minute after applying your top coat, wait a few minutes, and you’re done. The bonus? These drops also nourish your cuticles with conditioning oils, so your nail care gets a little boost at the same time.
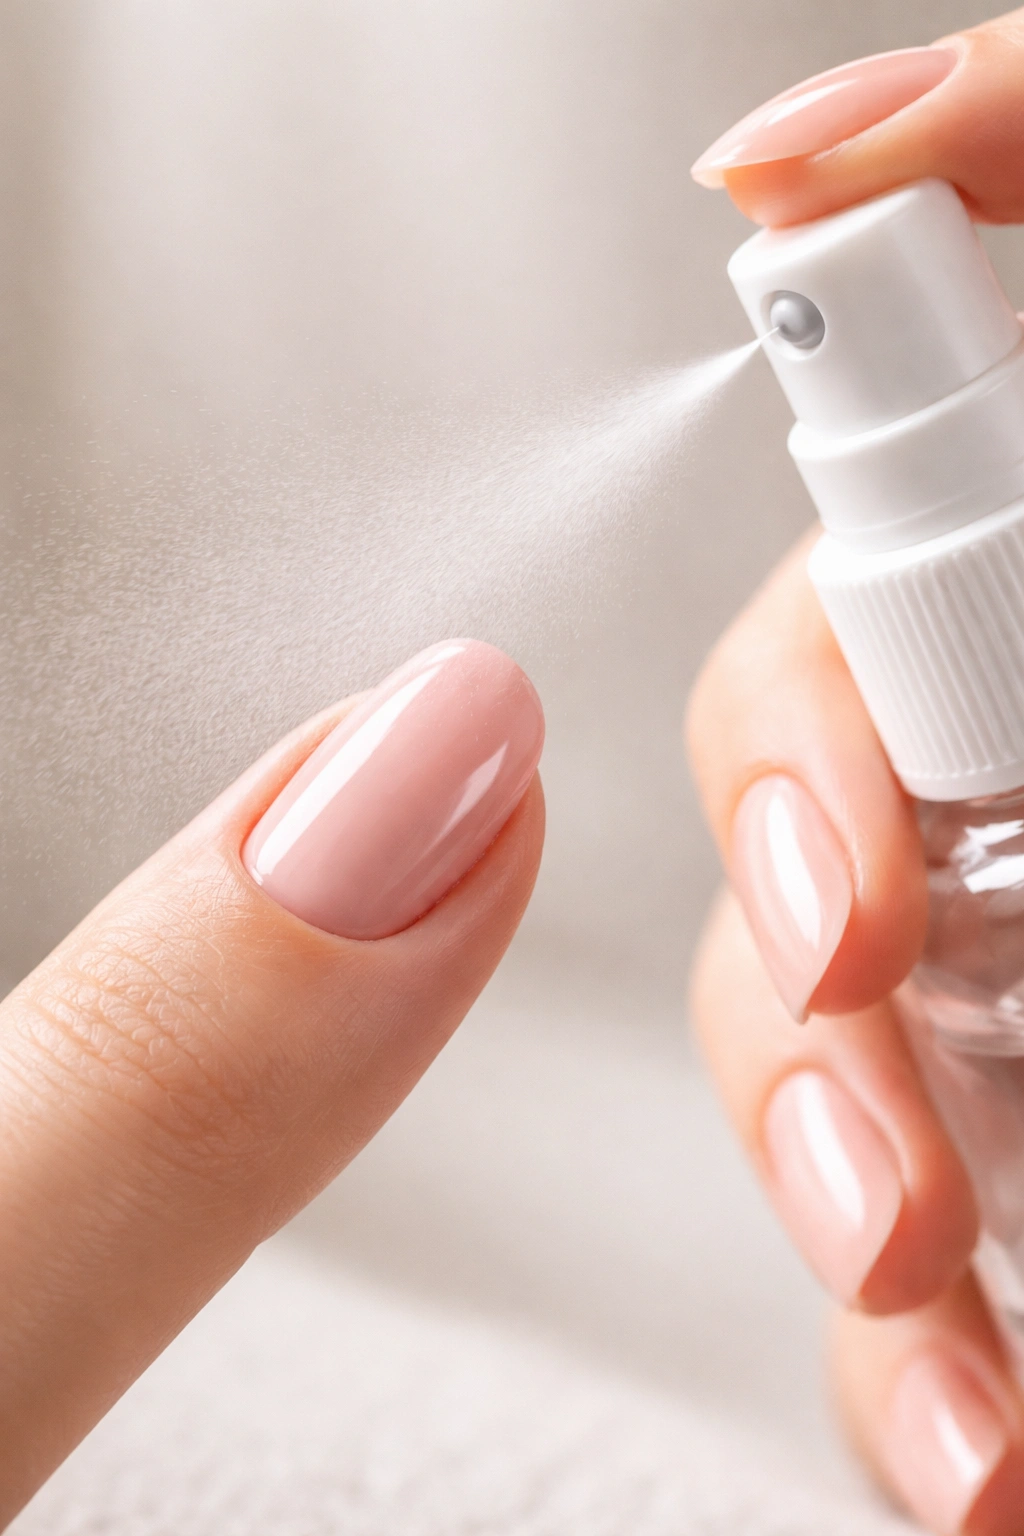
Nail-Drying Sprays
For those who prefer a spray application, nail-drying sprays are another solid option. These products work similarly to drying drops but distribute more evenly across all your nails at once. Follow the instructions on the canister, and you’ll have set polish in minutes. Just remember that like drying drops, these mostly dry the top layer—your nails aren’t completely hardened, so treat them with care for another 10-15 minutes.
2. The Cold Water and Ice Bath Method
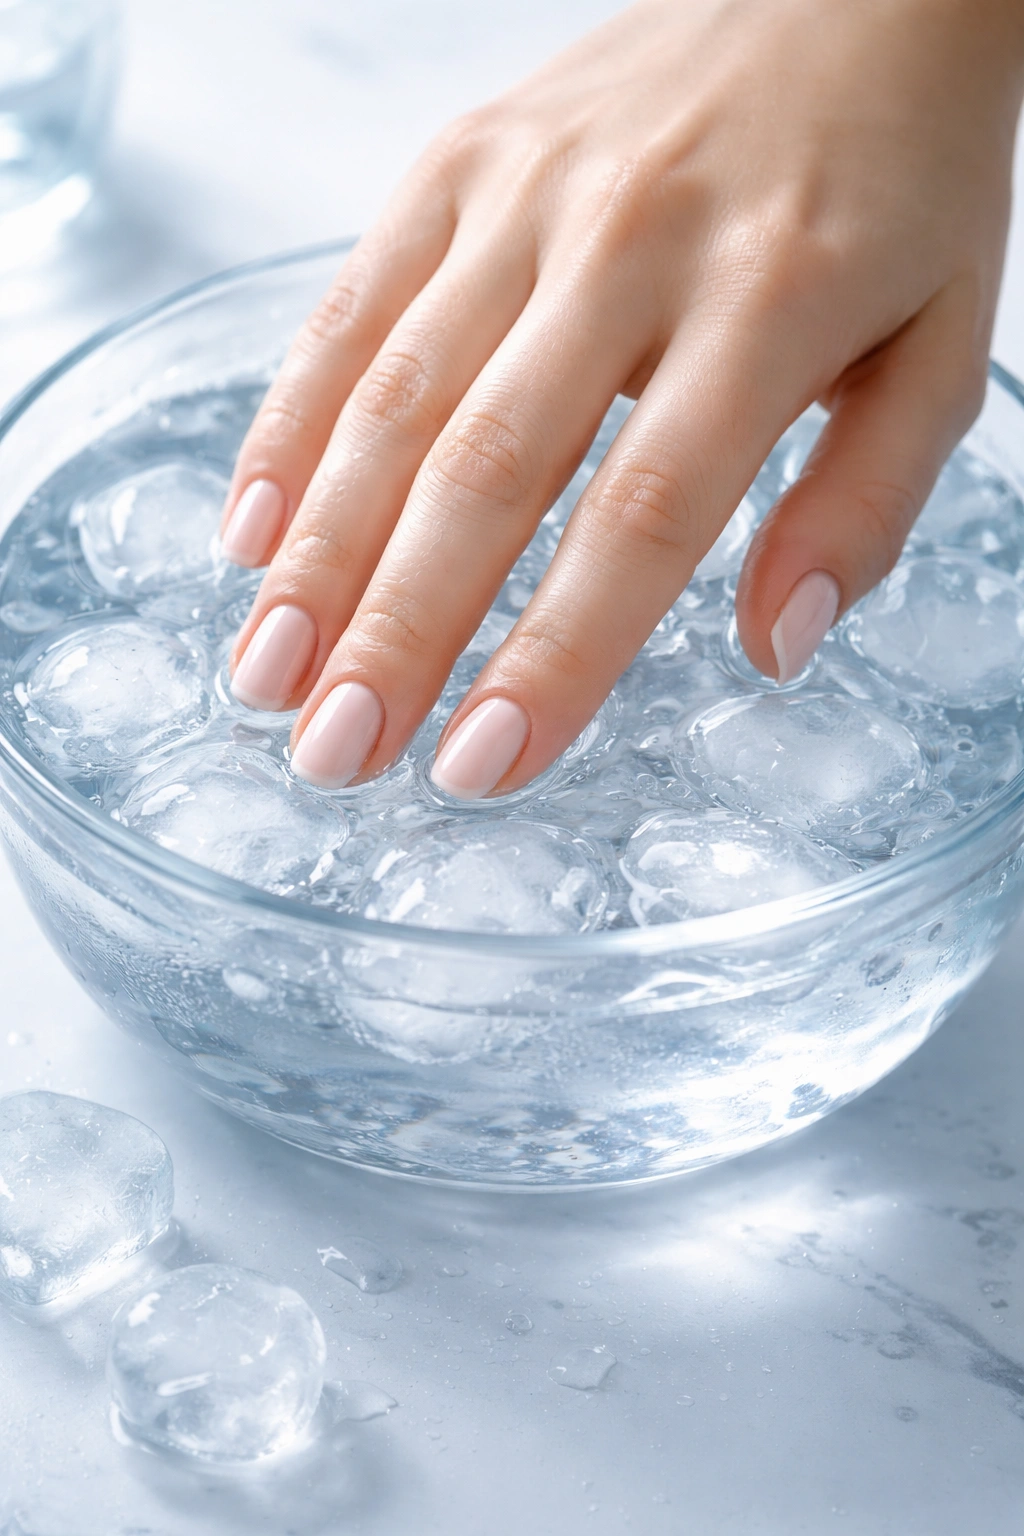
One of the most effective and surprisingly scientific methods for drying nail polish quickly is exposure to cold water. This isn’t just an old wives’ tale—there’s actual chemistry happening here. Cold temperatures cause the nail polish to harden and set faster because lower temperatures slow down molecular movement and accelerate the solidification of the polish components. It’s one of the easiest hacks you can do right now using nothing but water and ice from your freezer.
The ice bath method is straightforward but requires a bit of timing to work correctly. After you finish painting your nails with your base coat, color, and top coat, wait about 1-2 minutes to let the polish initially set on the nail surface. This prevents the water from smudging the fresh polish. Then fill a bowl with cold tap water and add a handful of ice cubes. Submerge your nails—not your whole hand, just the tips—into the ice water and hold them there for 3-5 minutes. You’ll notice the water beading on top of your nails, which is a great sign that the polish is hardening. When you remove your nails, they should be dry to the touch and resistant to smudging.
Why Timing Matters
The key mistake people make with the cold water method is dunking their nails too soon. If you submerge freshly painted nails immediately, the water can disrupt the polish layer and create smudges or uneven finish. That 1-2 minute wait isn’t wasted time—it’s crucial for letting the top layer set just enough to withstand the water. Conversely, waiting too long (more than 5 minutes) means your nails might be sticky enough to smudge when you take them out of the water.
Running Nails Under Cold Water: A Faster Alternative
If you don’t have time for a full ice bath, you can also run your nails under cold running water. Use a gentle, steady flow—not a strong spray—to avoid creating dents or disrupting the polish. This method is faster than an ice bath (only 1-2 minutes) but less thorough, so it works better for setting just the top layer when you’re in a rush. Hold your nails under the cold water for about a minute, then gently pat them dry with a paper towel.
The Freezer Method
For a truly instant cold exposure, hold your hands in front of an open freezer for 1-2 minutes. The frigid air hardens the polish similarly to the ice bath method but without the water. This works well if you don’t have time to prepare a cold water bowl, though the sensation is admittedly uncomfortable—don’t feel bad taking breaks if your hands get too cold.
3. Applying Thin Coats and Proper Application Technique
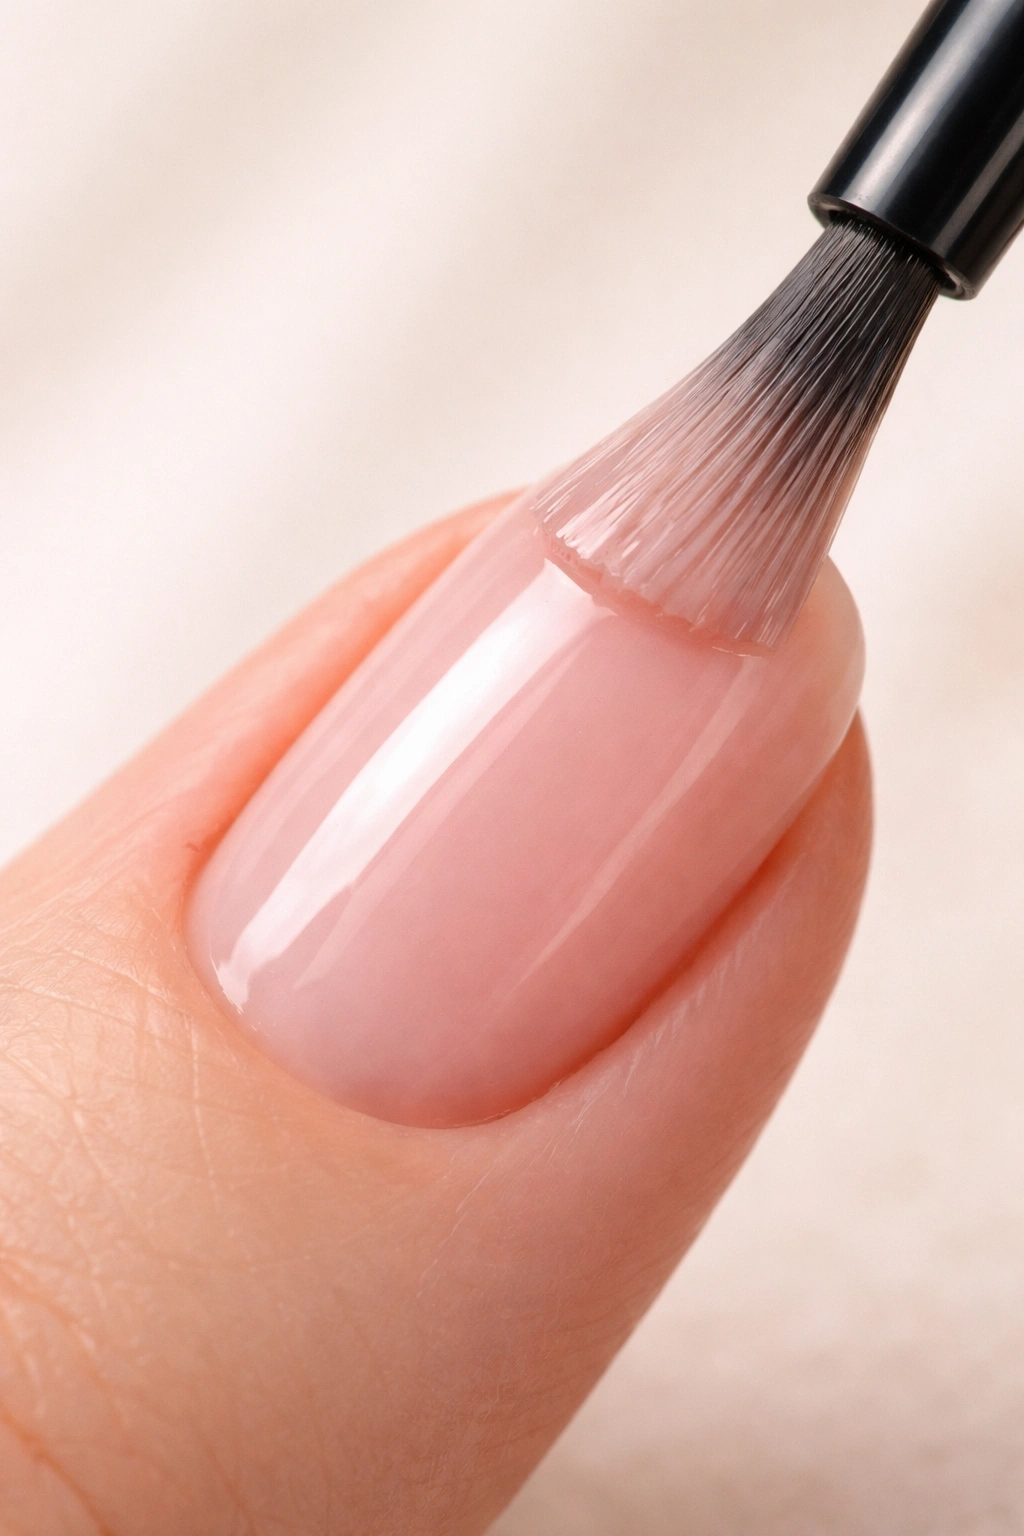
Here’s the truth that professional nail artists won’t stop repeating: thick coats of nail polish are the #1 reason manicures take forever to dry. If you’re painting thick, heavy layers and then wondering why you’re waiting 20+ minutes for your nails to dry, this is your problem. Switching to thin coats is the single most impactful change you can make to your application technique, and it’s completely free—you’re not buying anything new.
The science is straightforward: thinner polish evaporates faster because it has less volume of solvent to escape from. When you apply thick coats, the outer surface might look and feel dry while the interior layers are still soft and tacky. This is why your nails smudge even when you think they’re ready. Thin coats dry more evenly and completely because the solvent has less distance to travel before escaping into the air.
The Three-Stroke Technique
Professional nail artists use a specific method to ensure thin, even coverage: the three-stroke technique. For each nail, paint one stroke down the center, then one stroke on each side. This distributes the polish evenly and prevents you from painting thick, goopy layers. Before each application, swirl your brush around the inside of the bottle opening to remove excess polish—you want just enough on the brush to cover the nail, not a globby amount.
Apply two thin coats rather than one thick coat. Let the first coat dry completely (usually 2-3 minutes) before applying the second. This takes slightly longer in total application time, but the finish is superior and the overall drying time is significantly shorter because the layers cure more evenly.
Between-Coat Timing
Don’t skip the waiting period between coats. Applying your second coat too soon means you’re essentially applying a thick layer again, defeating the entire purpose. Wait at least 2-3 minutes between your base coat and color, and another 2-3 minutes between color and top coat. Some nail experts recommend waiting up to 5 minutes between layers if you have time—more drying time between coats actually speeds up your total drying time.
Base Coat Matters Too
Your base coat contributes to overall drying time, so apply it thinly as well. A base coat that’s too thick will add minutes to your entire process. If your nails are weak or ridged, you might use a treatment base instead of a standard base coat, but apply it just as thinly.
4. Environmental Controls: Cold Air and Temperature
The environment where you’re painting your nails has a massive impact on how quickly the polish dries. Cold, dry air is your best friend; warm, humid air is your enemy. Understanding how to optimize your environment (or take advantage of the environment you have) can cut your drying time significantly.
Professional nail salons control their environments carefully for this reason. They maintain temperatures around 68-72°F and keep humidity low. This isn’t a luxury—it’s essential for efficient drying. If you’re painting your nails in a steamy bathroom after a shower, or on a warm, humid day, expect your drying time to nearly double compared to a cool, dry space.
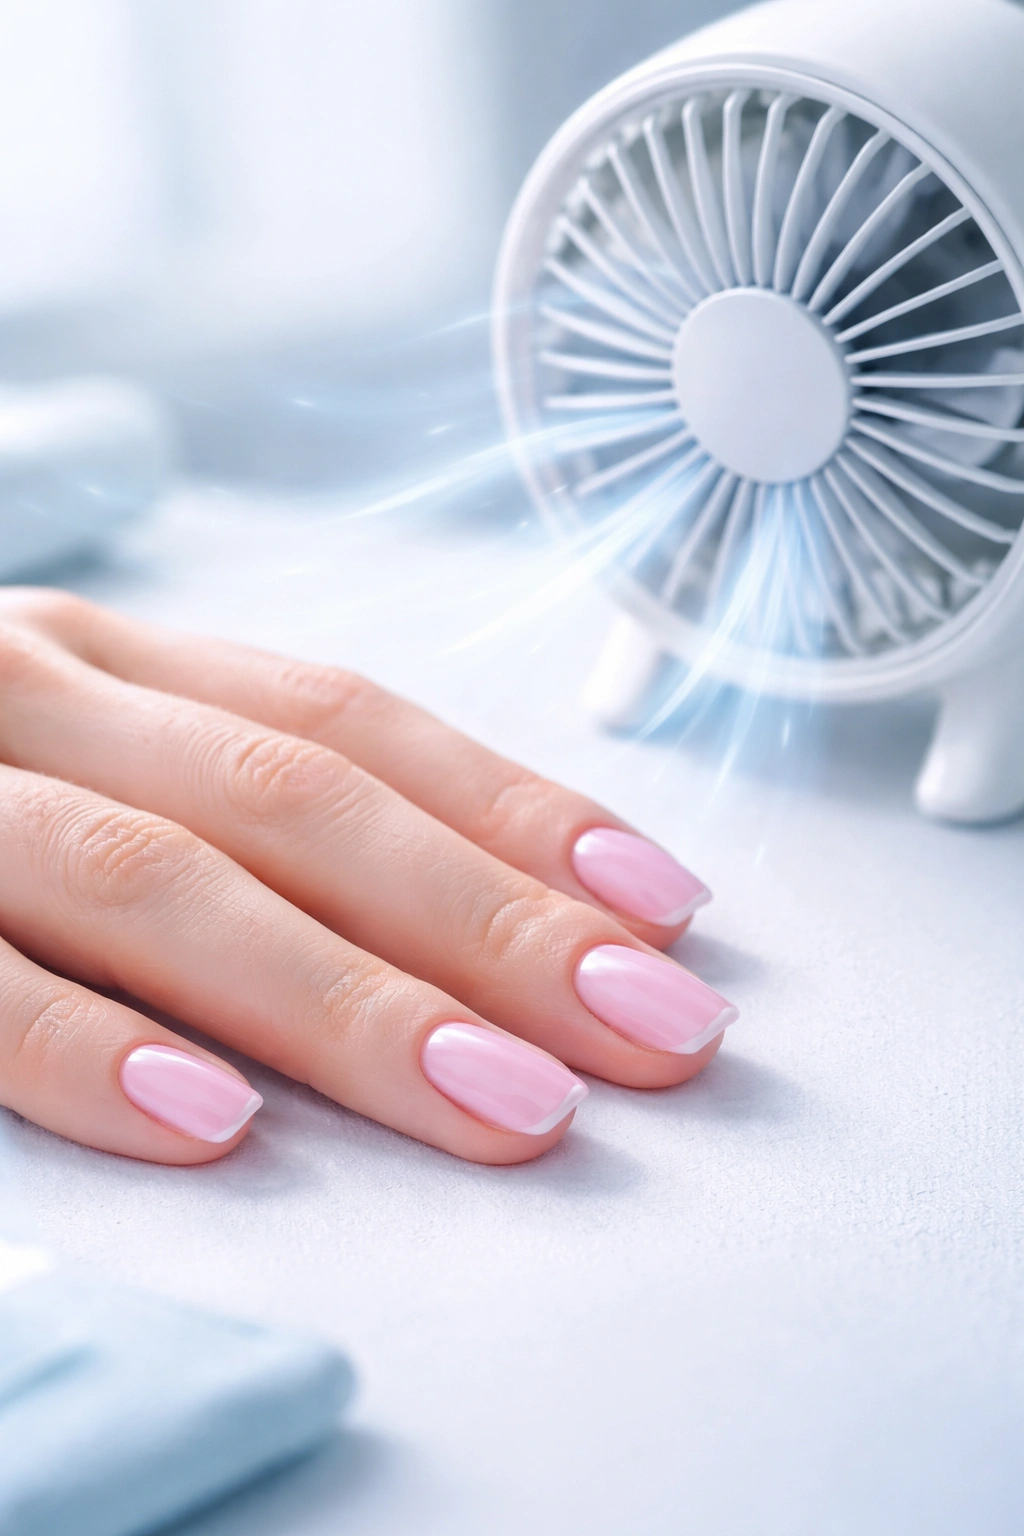
Using a Fan
One of the easiest environmental modifications is to use a fan. Point a regular fan on low speed at your nails while they’re drying. The gentle air circulation helps solvents evaporate faster without creating bubbles or displacing the polish. Don’t position the fan too close—about 2-3 feet away is ideal. The airflow should feel like a gentle breeze, not a wind tunnel. A ceiling fan on low speed works perfectly if you position yourself underneath it while your nails dry.
Never use a blow dryer on high heat. Hot air can actually melt your nail polish, creating bubbles and ripples that ruin your manicure. However, a blow dryer on the cool setting can work similarly to a fan, helping to circulate cold air across your nails. Hold it a few inches away and let the cool air run for 2-3 minutes between coats.
Cold Air from Unexpected Sources
If it’s cold outside, open a window for a few minutes to let cold air into your workspace—this is one of those free hacks that actually works. You can also hold your hands in front of an air conditioner unit if you have one running. Cold air conditioning is specifically designed to reduce humidity and temperature, making it ideal for quick nail drying.
Humidity Is the Silent Saboteur
Humidity is often overlooked but critically important. If you live in a humid climate or it’s a particularly humid day, your nail polish will dry more slowly no matter what else you do. There’s not much you can do about weather, but if you have control over your environment, try to paint your nails on drier days or in air-conditioned rooms rather than near steamy kitchens or bathrooms.
Understanding What Affects Drying Time
Before diving into techniques, it helps to understand what actually controls how fast your polish dries. Drying time depends on several interconnected factors, and knowing these helps you problem-solve when your nails aren’t drying as fast as you’d like.
Polish formula and age matter more than you think. Older nail polish bottles tend to thicken over time as solvents evaporate from the bottle itself. Thicker polish takes longer to dry because there’s more volume of solvent to escape. If your polish is more than a year or two old, especially if it’s been left open or stored in a warm place, it will dry slower than fresh polish. This is one reason professional salons replace their polish bottles regularly—it’s not just about color selection; it’s about maintaining optimal drying time.
Polish color also affects drying speed. Lighter shades and metallics dry faster than darker, heavily pigmented shades. This is because they contain more solvent relative to pigment particles. Glitter polishes often dry the fastest, while deep, rich colors like dark reds, blacks, and blues typically take longer. If you’re in a rush, reaching for a sheer, nude, or metallic shade is a legitimate strategy.
The number of coats compounds your drying time. One coat might take 5 minutes, two coats 8-10 minutes, three coats 15+ minutes. Each additional layer adds exponentially to your drying time, not just linearly. This is why applying thin coats strategically is so important—you want sufficient color, but unnecessary coats just waste time.
Common Mistakes That Slow Down Polish Drying
Understanding what doesn’t work is just as valuable as knowing what does. Many people make predictable mistakes that sabotage their own drying speed, often without realizing it.
Applying base coat and top coat from thicker bottles is a frequent culprit. Some people apply base and top coats as thick as color, thinking that’s necessary for protection. In reality, base and top coats work perfectly well applied thinly, and thick applications just add unnecessary drying time. A base coat should be so thin you can barely see it; a top coat should give you shine without visible thickness.
Another common error is painting nails right after removing old polish without properly cleaning the nail. If there’s any residue from nail polish remover lingering on your nails, the new polish won’t adhere evenly, and drying will be uneven and slow. Always wash your hands thoroughly after using nail polish remover, let them dry completely, and wipe nails with a lint-free wipe before painting.
Painting in the wrong environment is something people often can’t control, but when possible, avoid humid bathrooms and warm kitchens. Some people paint their nails in a warm bedroom with the door closed, then wonder why it takes forever to dry. If you can, move to a cooler, drier room once you’ve finished painting.
Quick Household Hacks That Actually Work
Beyond the main four methods, there are several household items that genuinely speed up nail polish drying when used correctly.
Cooking spray or hairspray can harden the top layer of nail polish quickly. Apply hairspray or cooking spray (held about 6-12 inches away) to your nails about 2 minutes after painting your top coat. This works best on mostly-set nails because it helps set the very outer layer. Keep in mind that these methods mostly affect the top layer—your nails won’t be completely hardened, so be careful for at least 30 more minutes. One benefit of cooking spray: it leaves your cuticles slightly moisturized, though your fingers might feel a bit greasy afterward.
Oil-based methods work by essentially thinning the polish. Apply a single drop of baby oil, olive oil, or coconut oil to each nail a few minutes after painting your top coat. Let it sit for a minute or two, and you’ll see the oil beading on top of the polish. This means the oil has soaked into the polish, thinning it and speeding evaporation. Gently wipe off the oil with a dry paper towel. The downside is your hands feel oily afterward, but your cuticles get a beneficial conditioning treatment.
Compressed air (the can you use to clean keyboards) can help dry already-partially-dried nails. Wait at least 10 minutes before using this method, as applying compressed air to freshly painted nails creates dents and smudges. Hold the can about 1-2 feet away and give each nail a 3-second spray. This method mainly helps set the surface layer when you’re in a real rush.
Pro Tips for Long-Lasting Results
Speed matters, but durability matters too. A manicure that dries fast but chips after two days isn’t a win. Here are professional secrets for getting both fast drying and lasting wear.
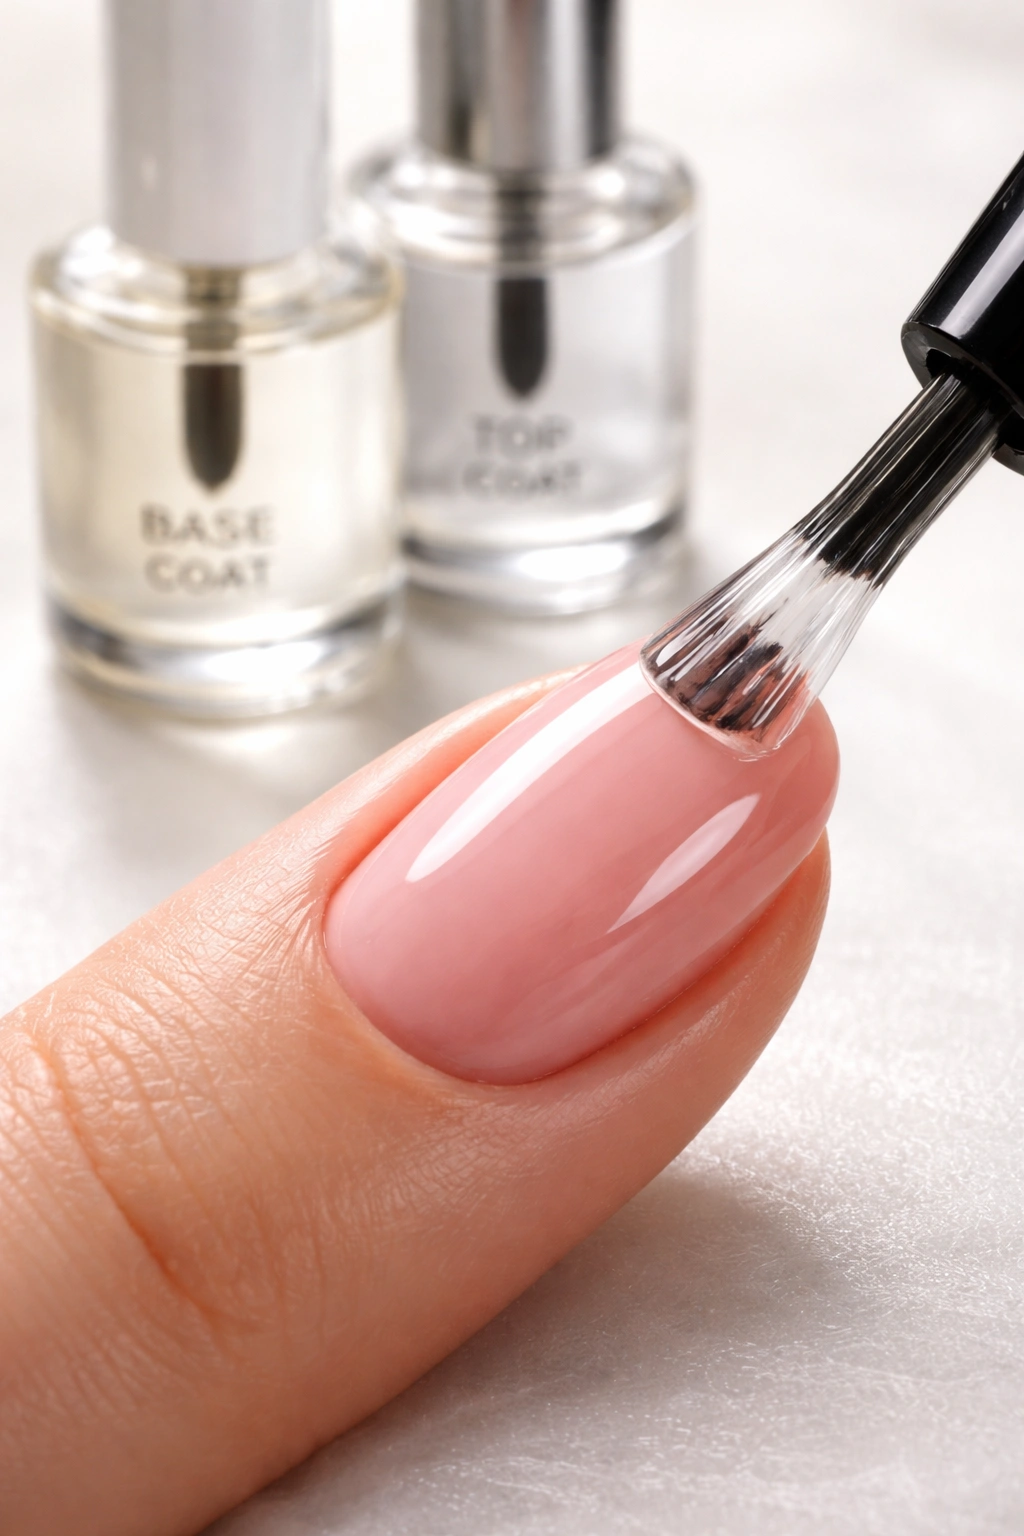
Always use a quality base coat, even if it takes an extra minute to dry. Your base coat creates adhesion between your nail and the color polish—skipping it might save you 2 minutes but costs you 5-7 days of wear. Similarly, a top coat protects your color from UV damage and extends the manicure significantly. Think of these as protective layers that make your entire manicure more durable, not just speed bumps in your drying process.
Refresh your top coat every 2-3 days with a thin layer of new top coat. This doesn’t take long, and it dramatically extends the life of your manicure because you’re resealing the surface that experiences the most wear. The second application usually dries faster than the first because you’re not drying through fresh color underneath.
Give yourself at least 15 minutes of limited hand use after finishing your manicure, even if the polish feels dry. Nail polish has two distinct stages: feeling dry to the touch (which might happen in 3-5 minutes) and being fully set (which takes 12+ hours). Your top layer might be solid, but the layers underneath are still curing. If you immediately start typing, doing dishes, or engaging in rigorous hand activities, you risk creating microscopic indentations that lead to chipping.
Final Thoughts
Making nail polish dry faster isn’t about rushing the process in a dangerous way that compromises your results—it’s about being smart with your application technique and using the right tools. The combination of thin coats, a quick-dry top coat or drying drops, and proper environmental conditions can cut your drying time from 20+ minutes down to 5-10 minutes. None of these methods requires special skills or expensive equipment; they just require understanding the science behind why polish dries and then applying that knowledge strategically.
Start with thin coats and a quality quick-dry top coat—these two changes alone will make a noticeable difference in your drying experience. If you want faster results still, add cold water exposure or a gentle fan. The more of these techniques you layer together, the quicker you’ll be showing off your freshly painted nails without worrying about smudges. Your patience is valuable, and your beautiful manicure deserves to set properly—which it will, much more quickly than you’ve come to expect.
