

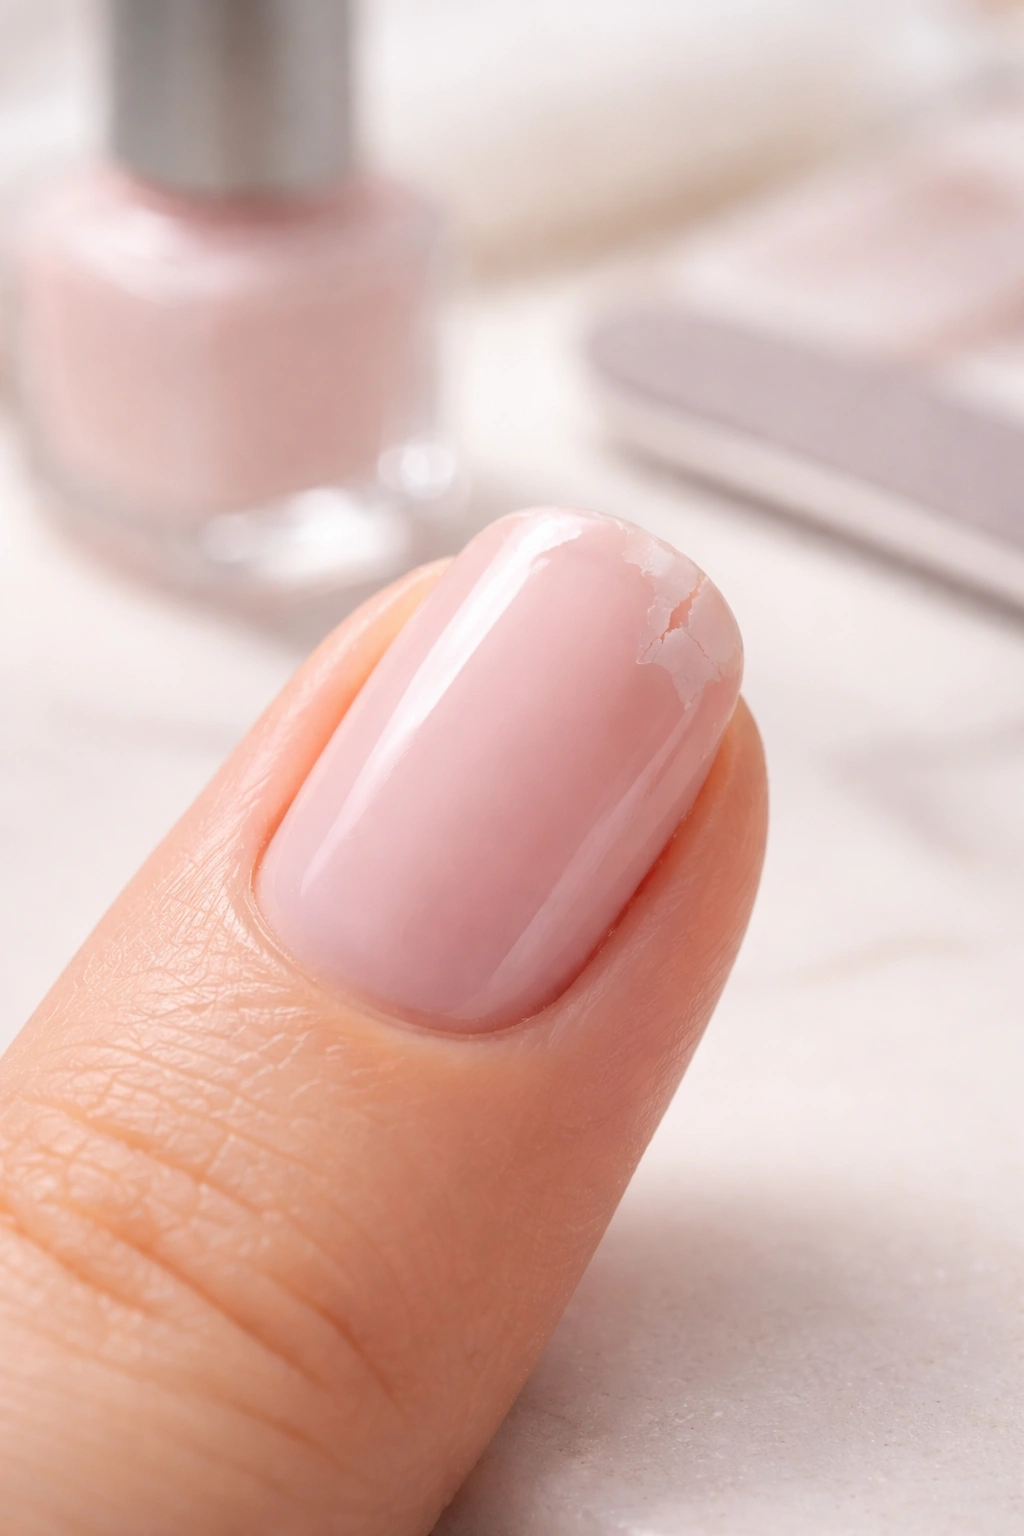
Your nail polish is chipping again. You’ve only had it on for three days, and already it looks like you’ve been picking at it. Meanwhile, your friend’s DIY manicure from last week still looks fresh, and you’re wondering what her secret is.
Here’s the thing: salon-quality nails at home aren’t just possible—they’re actually pretty straightforward once you know what you’re doing. You don’t need a fancy degree or expensive equipment. What you do need is the right technique, a few quality products, and about 30 to 45 minutes of uninterrupted time.
I’ve spent years perfecting my at-home manicure routine, and I can tell you that skipping the salon doesn’t mean settling for second-rate nails. Whether you’re trying to save money, can’t find time for appointments, or just enjoy the zen of doing your own nails, this guide will walk you through every step.
Why Ditch the Salon for DIY
Let’s talk numbers for a second. A professional manicure runs anywhere from $40 to $65 per visit, and that’s before you add the tip. If you’re getting your nails done every two weeks, you’re looking at somewhere between $1,000 and $1,600 per year. That’s not pocket change.
But saving money isn’t the only reason to learn how to do your own nails. When you paint your nails at home, you’re in complete control. You choose exactly which products touch your nails, how much your cuticles get messed with, and whether you want to switch up your color mid-week just because.
There’s also something genuinely relaxing about the ritual. Put on your favorite show, pour yourself some tea, and spend an hour focused on nothing but making your nails look beautiful. No awkward small talk required.
Plus, you can do it on your schedule. Late at night when you’re winding down? Perfect. Sunday morning while you’re still in your pajamas? Go for it. You’re not waiting for an appointment or rushing to make it there on time.
Stock Your At-Home Nail Station
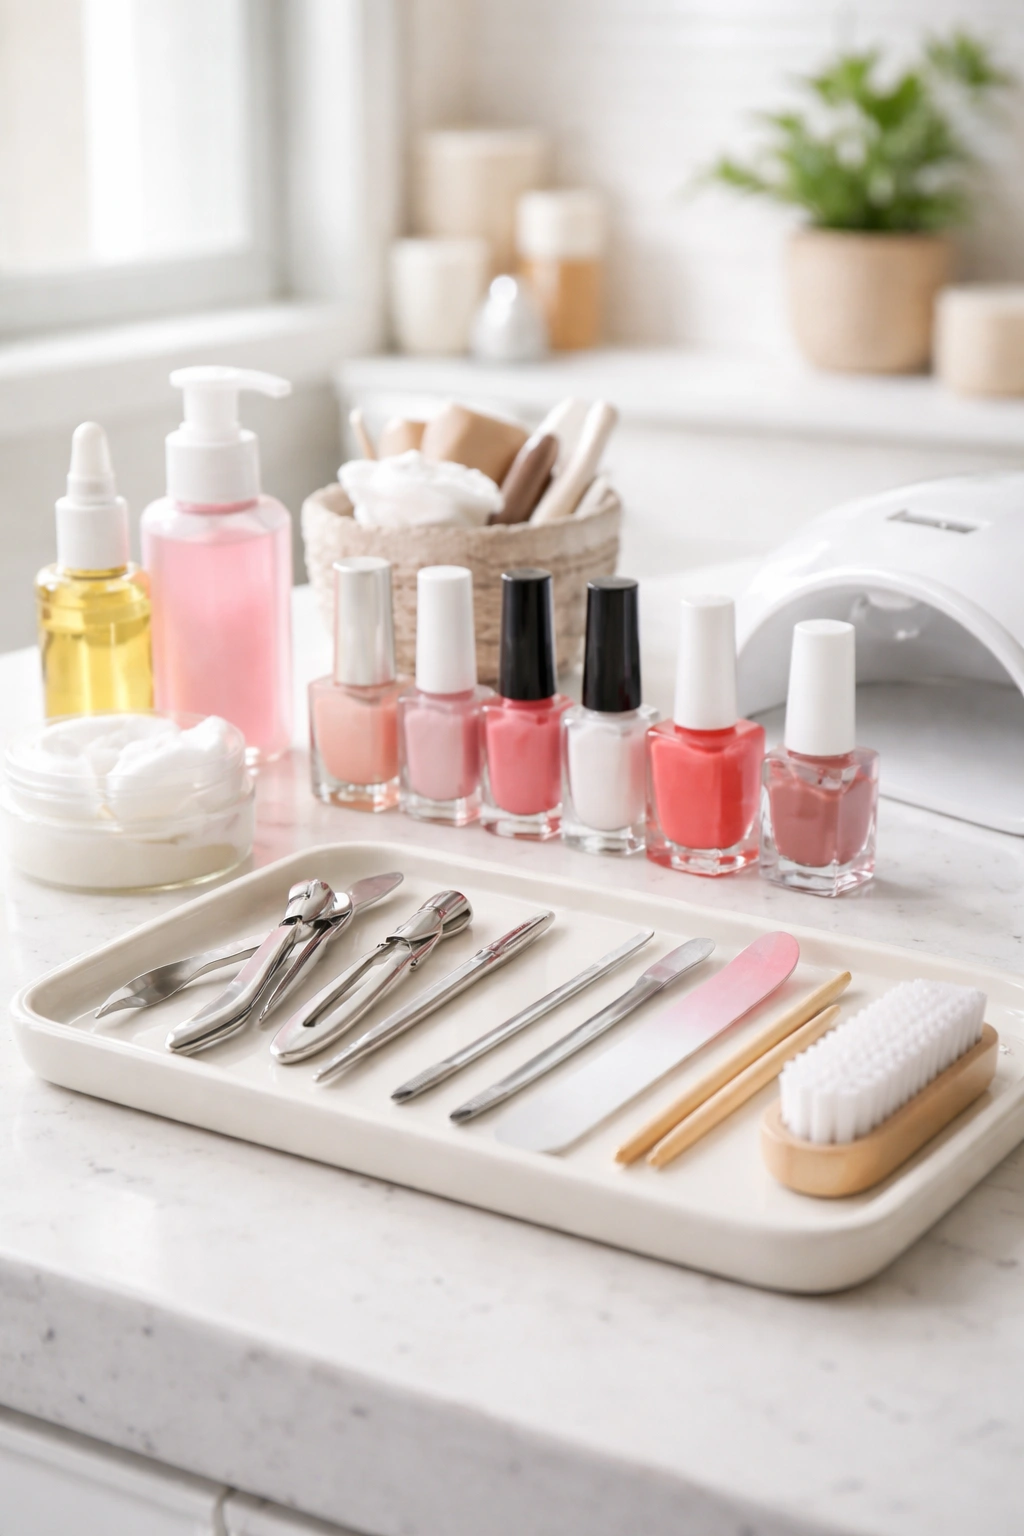
Before you start painting, you’ll want to gather your supplies. Having everything within reach makes the process smoother and helps prevent those annoying moments where you’re searching for something with wet nails.
The Non-Negotiables
You’ll need nail polish remover that actually works. Acetone-free formulas are gentler on your nails and skin, though they might take a bit more elbow grease for dark colors. Look for something with added oils or vitamins—your cuticles will appreciate it.
A quality nail file changes everything. Toss those cheap emery boards that feel like sandpaper. A Czech glass nail file seals the edges of your nails as you file, preventing splits and peeling. They’re reusable, washable, and honestly last forever. I’ve had mine for years.
Nail clippers might seem basic, but good ones make a difference. Sharp, sturdy clippers give you a clean cut without crushing the nail. Some folks prefer toenail clippers for their hands because they’re stronger and easier to grip.
You’ll also need a cuticle pusher. Metal ones work well, but if you’re worried about being too aggressive, try a wooden stick or a glass tool that exfoliates as it pushes.
The Products That Make It Last
A proper base coat isn’t optional if you want your manicure to stick around. It creates a barrier between your nail and the color, prevents staining (especially from dark polishes), and gives the polish something to grip onto.
Your nail polish choice matters less than you’d think for longevity—but quality does make application easier. Formulas that go on smoothly in thin coats beat thick, goopy bottles every time.
The top coat is where the magic happens. A good top coat seals everything, adds shine, and protects against chips. Some dry fast, some offer extra hardness. Pick based on what matters more to you—speed or durability.
Don’t forget cuticle oil. Healthy, hydrated cuticles make your entire manicure look more polished. They also help prevent hangnails and that annoying peeling skin around your nails.
The Nice-to-Haves
A nail buffer smooths out ridges and creates an even surface for polish. Just don’t go overboard—too much buffing thins the nail plate.
Cotton pads or rounds work better than cotton balls for removing polish because they don’t shed fibers all over your nails. Paper towels work in a pinch.
A small angled brush dipped in remover is perfect for cleaning up edges after you’re done painting. Way easier than trying to fix mistakes with a cotton swab.
The Step-by-Step Process
Alright, you’ve got your supplies. Now let’s talk technique. This process might seem long at first, but once you’ve done it a few times, you’ll fly through it.
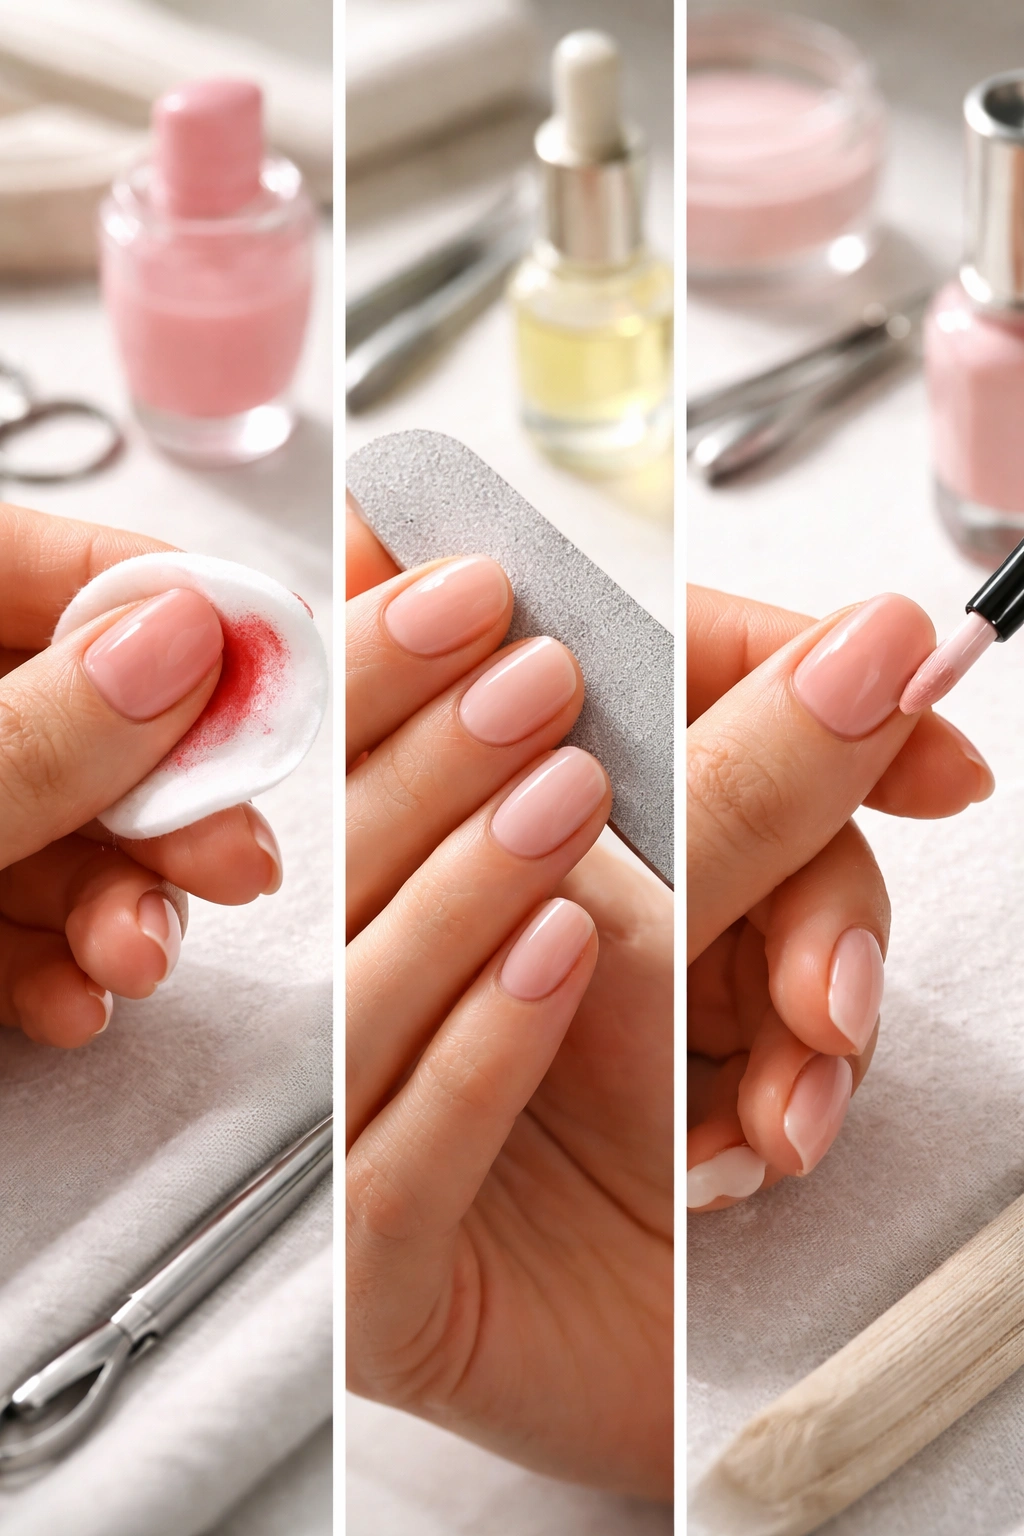
Start With a Clean Slate
Remove any existing polish completely. Saturate your cotton pad with remover and press it onto the nail for a few seconds before wiping toward the tip. For stubborn colors, let the remover-soaked pad sit on the nail for 10 to 20 seconds.
Once the old polish is gone, swipe each nail with remover one more time, even if they look bare. This removes oils and residue that could prevent your new polish from adhering properly. Just make sure to wash your hands afterward—you don’t want that remover drying out your skin.
Shape and File
Trim your nails to your desired length with clippers if needed. Cut straight across to avoid encouraging ingrown nails or weak corners.
Now for filing. Here’s where people mess up: filing back and forth like you’re sawing wood is a one-way ticket to split ends. Instead, file in one direction only. Start at the side of your nail and stroke toward the center. Pick up the file, return to the edge, and repeat.
What shape should you go for? If you’re not sure, try mirroring your cuticle shape. Rounded cuticles tend to look best with oval or round nails. Straighter cuticles can pull off square or squoval (that’s square-oval, if you’re new to nail terminology).
Keep filing gentle. You’re shaping, not sanding down. Too much aggressive filing weakens the nail and makes it more prone to breaking.
Address Those Cuticles
Cuticles have gotten a bad rap. Salons love to cut them back for that super-clean look, but your cuticles actually protect your nails from bacteria and infection. So we’re going to be gentle here.
Mix up a quick cuticle soak: warm water, a teaspoon of honey, and a couple teaspoons of olive oil. Soak your nails for 5 to 10 minutes. The honey softens and cleanses while the olive oil adds moisture. If your cuticles are really dry, toss in a splash of milk—the lactic acid helps slough off dead skin.
After soaking, apply cuticle remover or a drop of cuticle oil to each nail. Massage it in for about 30 seconds. The longer you work it in, the softer your cuticles become.
Use your cuticle pusher to gently ease the cuticles back toward the base of the nail. Work in small circles and don’t force anything. If a cuticle won’t budge, apply more oil and give it time.
Resist the urge to cut your cuticles. Push them back, trim any loose hangnails carefully, but leave the actual cuticle intact. Trust me on this—the more you cut, the worse they look as they grow back.
Buff It Out
Lightly buff the surface of your nails using the rougher side of your buffer. Move in one direction (sensing a theme here?) and use gentle pressure. You’re smoothing out ridges and creating a slightly rough surface for the polish to grab.
Six to eight strokes per nail is plenty. Don’t overdo it—you’re not trying to file down the nail, just create a smooth canvas.
Switch to the finer side of the buffer and do another four to six strokes to brighten things up. Then use the smoothest side in tiny circles all over the nail for shine.
Brush away any dust with a soft brush or clean mascara wand. Some people like to rinse their hands at this point, but if you do, make sure they’re completely dry before moving on to polish. Water makes nails expand temporarily, and when they shrink back to normal size, your polish can crack.
Prime Your Nails
Swipe each nail with a bit of rubbing alcohol or nail polish remover on a fresh cotton pad. This removes any lingering oils, dust, or moisture that could interfere with polish adhesion.
Some nail pros recommend using a nail dehydrator or primer at this stage, especially if you have oily nail beds or your manicures never seem to last. These products remove excess moisture and help the base coat stick better.
Apply a thin layer of base coat to each nail, making sure to cap the free edge (that means swiping the brush across the tip). Base coat protects your nails from staining, helps polish adhere, and can even strengthen weak nails if you choose a fortifying formula.
Let it dry for a full two minutes. Set a timer if you have to.
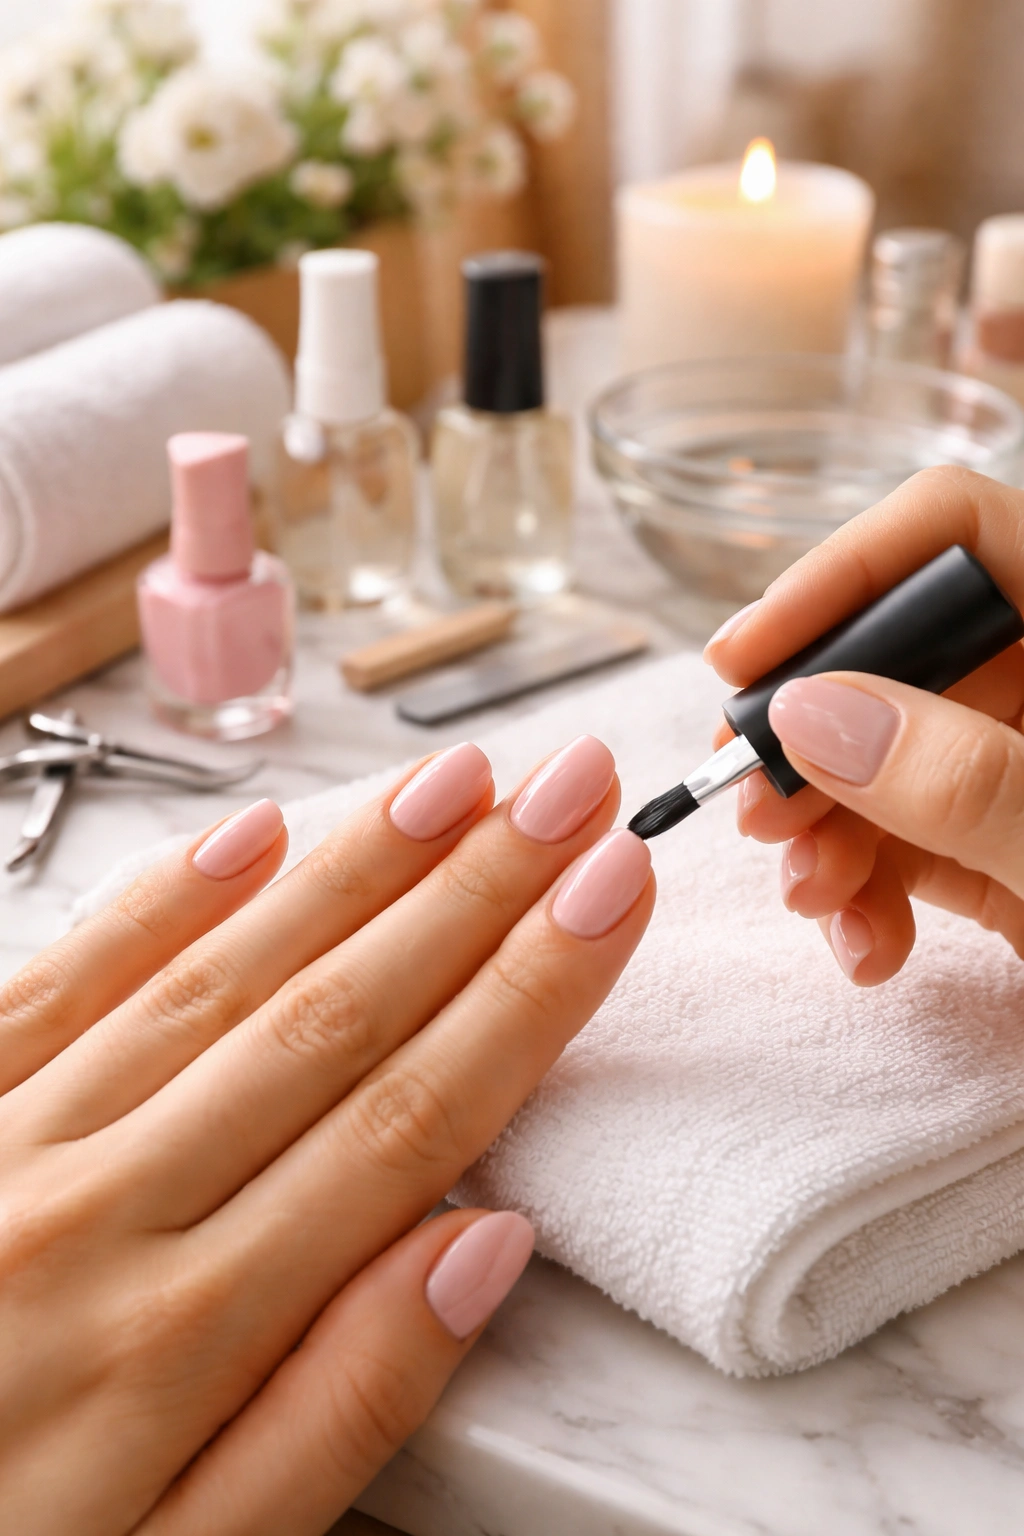
Apply Color Like a Pro
Shake your polish gently (don’t shake it like a cocktail—that creates air bubbles). Roll the bottle between your palms instead.
Here’s the technique that makes all the difference: three strokes per nail. Start slightly away from the cuticle—about 1/16 of an inch—and gently push the brush toward the cuticle area, letting the bristles fan out. Then pull straight down the center of the nail toward the tip.
Go back to the base and do the left side, then the right side. That’s it. Three strokes.
Keep your coats thin. I can’t stress this enough. One super thin coat will dry faster and look better than one thick, goopy coat. You’ll probably need two thin coats for full coverage, possibly three for sheer or pastel shades.
Wait two full minutes between coats. I know it’s tempting to rush, but this waiting time actually speeds up your overall drying process because each layer is set before you add the next one.
When you do your second coat, follow the same three-stroke method. And don’t forget to cap the free edge again—this helps prevent chipping at the tips.
Seal the Deal
Once your color is dry to the touch (give it at least two minutes), apply your top coat using the same three-stroke technique. Make sure to seal the free edge here too.
Some fast-drying top coats can be applied over slightly wet polish—they actually help dry everything underneath. Check your product instructions.
For extra longevity, you can apply a thin layer of top coat right along the very edge of your nail tips. This creates an extra barrier against chips.
Clean Up Your Edges
Dip a small angled brush or the pointed end of a wooden stick in nail polish remover. Carefully trace around your cuticles and sides to remove any polish that landed on your skin.
Some people prefer to do this cleanup after their nails are completely dry to avoid accidentally bumping wet polish. Others like to do it right away while the mistakes are still easy to see. Figure out what works for you.
The Waiting Game
Here’s where most DIY manicures go wrong: not allowing enough drying time. Polish might feel dry to a light touch after 10 minutes, but it can take a full hour or more to truly cure and harden all the way through.
Give yourself at least 15 to 20 minutes of doing absolutely nothing with your hands. Read something, watch TV, meditate—whatever keeps your hands still. After that, you can move around carefully, but avoid washing your hands, doing dishes, or anything else intense for at least an hour, ideally two.
If you’re impatient (no judgment), a quick-dry top coat or nail drying drops can speed things along. A fan pointing at your hands helps too.
Making Your Manicure Last
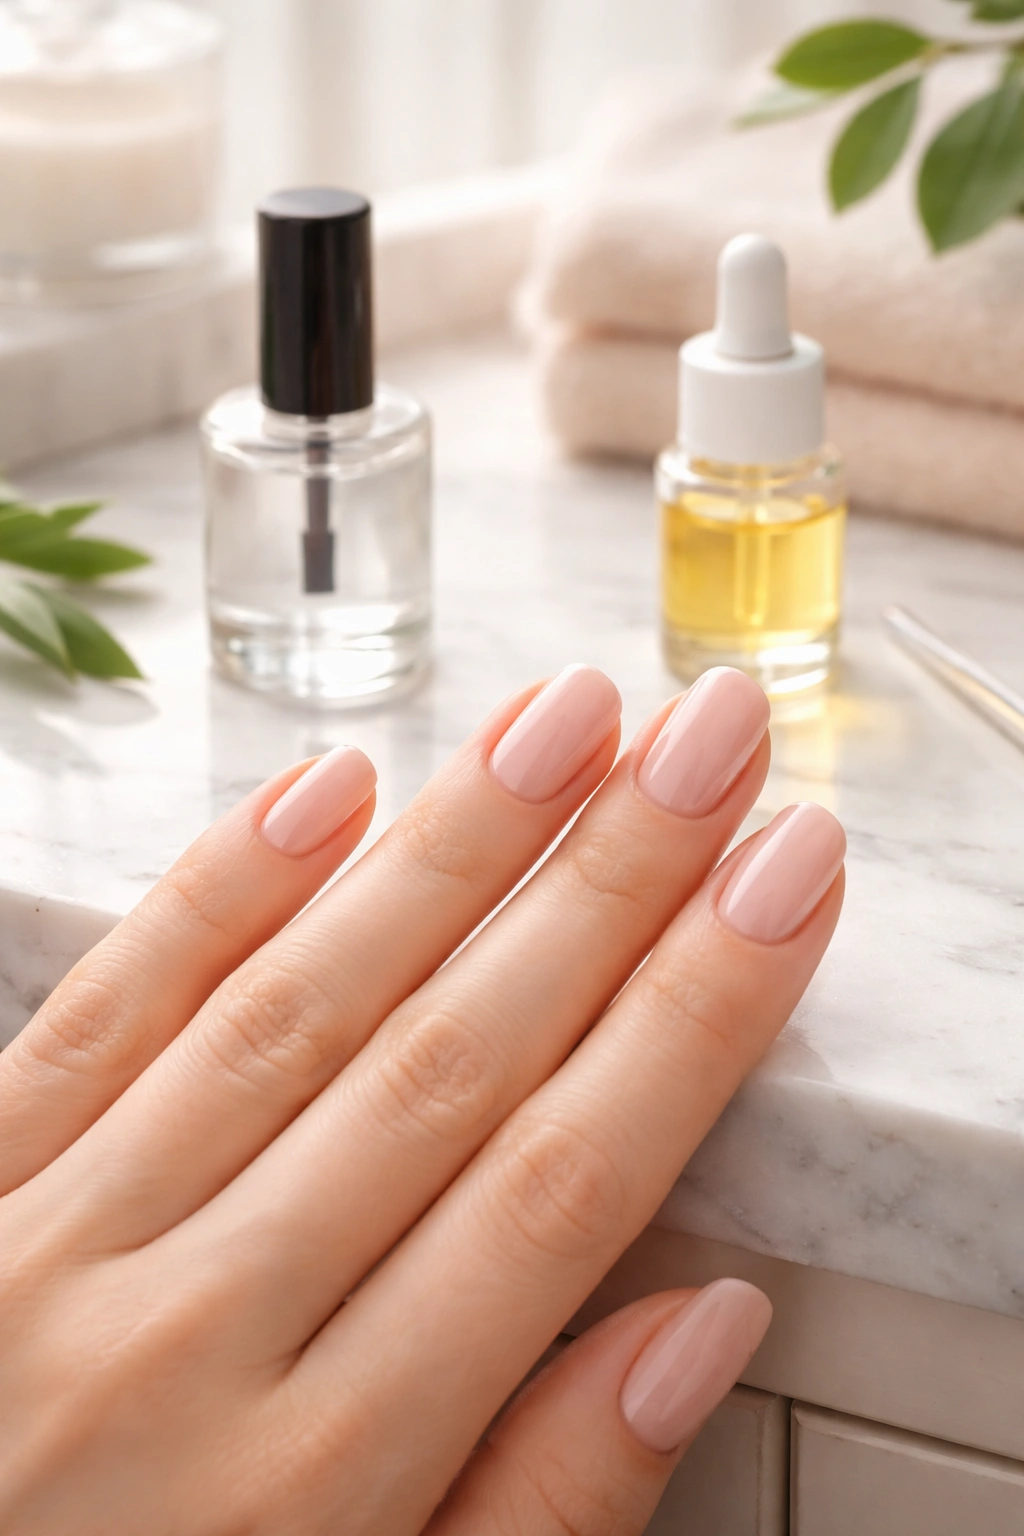
You’ve put in the work—now let’s make it count. A good at-home manicure should last at least five to seven days, possibly up to two weeks with proper care.
Reapply your top coat every two to three days. This refreshes the shine and adds extra protection against wear and tear. Just swipe on a thin layer over your existing manicure.
Wear gloves when you’re cleaning, doing dishes, or working with water for extended periods. Water makes polish expand and contract, which leads to chipping. It also dries out your cuticles.
Keep cuticle oil nearby and use it daily. Massage it into your cuticles and nail beds. Healthy, hydrated cuticles make your entire manicure look fresher, plus they help prevent the polish from lifting at the base.
Avoid using your nails as tools. Don’t pick at things, pry open cans, or scratch off stickers with your nails. Use the pads of your fingers instead.
Apply hand cream regularly, but wait until your manicure is fully set (at least an hour after your top coat). Look for formulas with shea butter, coconut oil, or vitamin E to really nourish your skin.
If you notice a small chip, don’t ignore it. Carefully apply a tiny bit of your color to just that spot, let it dry completely, then cover the entire nail with top coat. Catching chips early prevents them from spreading.
Troubleshooting Common Problems
Even with perfect technique, things can go sideways. Here’s how to handle the most common DIY manicure mishaps.
Bubbles in Your Polish
Those annoying little bubbles usually happen when you shake your polish bottle or apply thick coats. Roll the bottle between your palms instead of shaking it. If bubbles do appear, you’ll need to remove that layer and start over—there’s no fixing them once they’re there.
Smudges and Dents
If you bump your nail before it’s dry, resist the urge to repaint immediately. Let everything dry completely, then smooth the area with a drop of polish remover on your finger. Once it’s smooth and dry, apply a very thin layer of color to just that nail, followed by top coat over all your nails.
Polish Peeling Off in Sheets
This happens when you skip the base coat or don’t prep your nails properly. Make sure you’re removing all oils before painting and always use a base coat. Also check that your polish isn’t old or separated—give it a good roll before using.
Color Looks Streaky or Patchy
You might be applying coats that are too thin or not giving them enough time to dry between applications. Some colors (especially whites, nudes, and yellows) are naturally more sheer and need three coats for full coverage. Go slow and build up thin layers.
Nails Yellowing or Staining
Dark polishes can stain nails, especially reds and berries. Always use a base coat to create a protective barrier. If your nails are already stained, try gently buffing them or making a paste with hydrogen peroxide and baking soda. Let it sit on your nails for a few minutes, then rinse.
Polish Won’t Dry
Thick coats take forever to dry and might never fully cure. If you’re in this situation, you’ll probably need to remove everything and start over with thinner layers. In the future, apply polish in very thin coats and wait the full two minutes between each layer.
When to Take a Break
Even though nails don’t technically need to “breathe” (they get oxygen from your bloodstream, not the air), taking periodic breaks from polish can be beneficial. Your nails can get dehydrated from polish remover and products, so giving them a week off every few months lets you focus on hydration and strengthening.
During break weeks, buff your nails to a natural shine, apply cuticle oil twice daily, and use a nail strengthener if your nails are weak or prone to peeling. You can also use this time to address any nail shape issues or push back overgrown cuticles.
If you notice your nails becoming brittle, thin, or prone to breaking, definitely give them a rest. Use a nail treatment with biotin, vitamin E, or keratin to rebuild strength.
Final Thoughts
Getting salon-worthy nails at home comes down to three things: proper prep, quality products, and patience. You don’t need a cosmetology license or years of training. You just need to slow down and do each step deliberately.
Your first few DIY manicures might take longer than 45 minutes. That’s completely normal. As you get comfortable with the process, you’ll develop your own rhythm and probably discover little shortcuts that work for you.
The money you save adds up fast. After the initial investment in tools and products (which should be under $100 for quality items), each at-home manicure costs just pennies compared to salon prices. Those tools and products will last for months, if not years.
But beyond the money, there’s something satisfying about doing your own nails well. You’re not rushing through to get to your next appointment. You’re not making awkward conversation with someone you don’t know. You’re just taking care of yourself, creating something pretty, and maybe enjoying 45 minutes of quiet time.
So grab your supplies, queue up something good to watch, and give yourself the manicure you deserve. Your nails (and your wallet) will thank you.
