

Getting gorgeous, sparkly nails at home sounds complicated, but here’s the truth: it’s actually easier than you think. The secret isn’t expensive products or professional equipment—it’s knowing the right technique. Most people approach glitter nails all wrong, which is why they end up with gloopy, patchy, uneven coatings that look nothing like the bottle. Once you learn the correct method, you’ll have salon-quality results in about 15 minutes, and you’ll never waste money on professional manicures again.
The real game-changer is understanding that glitter nail polish isn’t meant to be applied like regular polish. If you brush it on the traditional way, you’ll spend forever trying to get even coverage while the polish stays thick and wet. But if you use a simple sponge application technique, the glitter goes on dense and opaque in a single coat. That’s the move that transforms your at-home manicure from DIY disaster to Instagram-worthy sparkle.
Start with Perfectly Prepped Nails
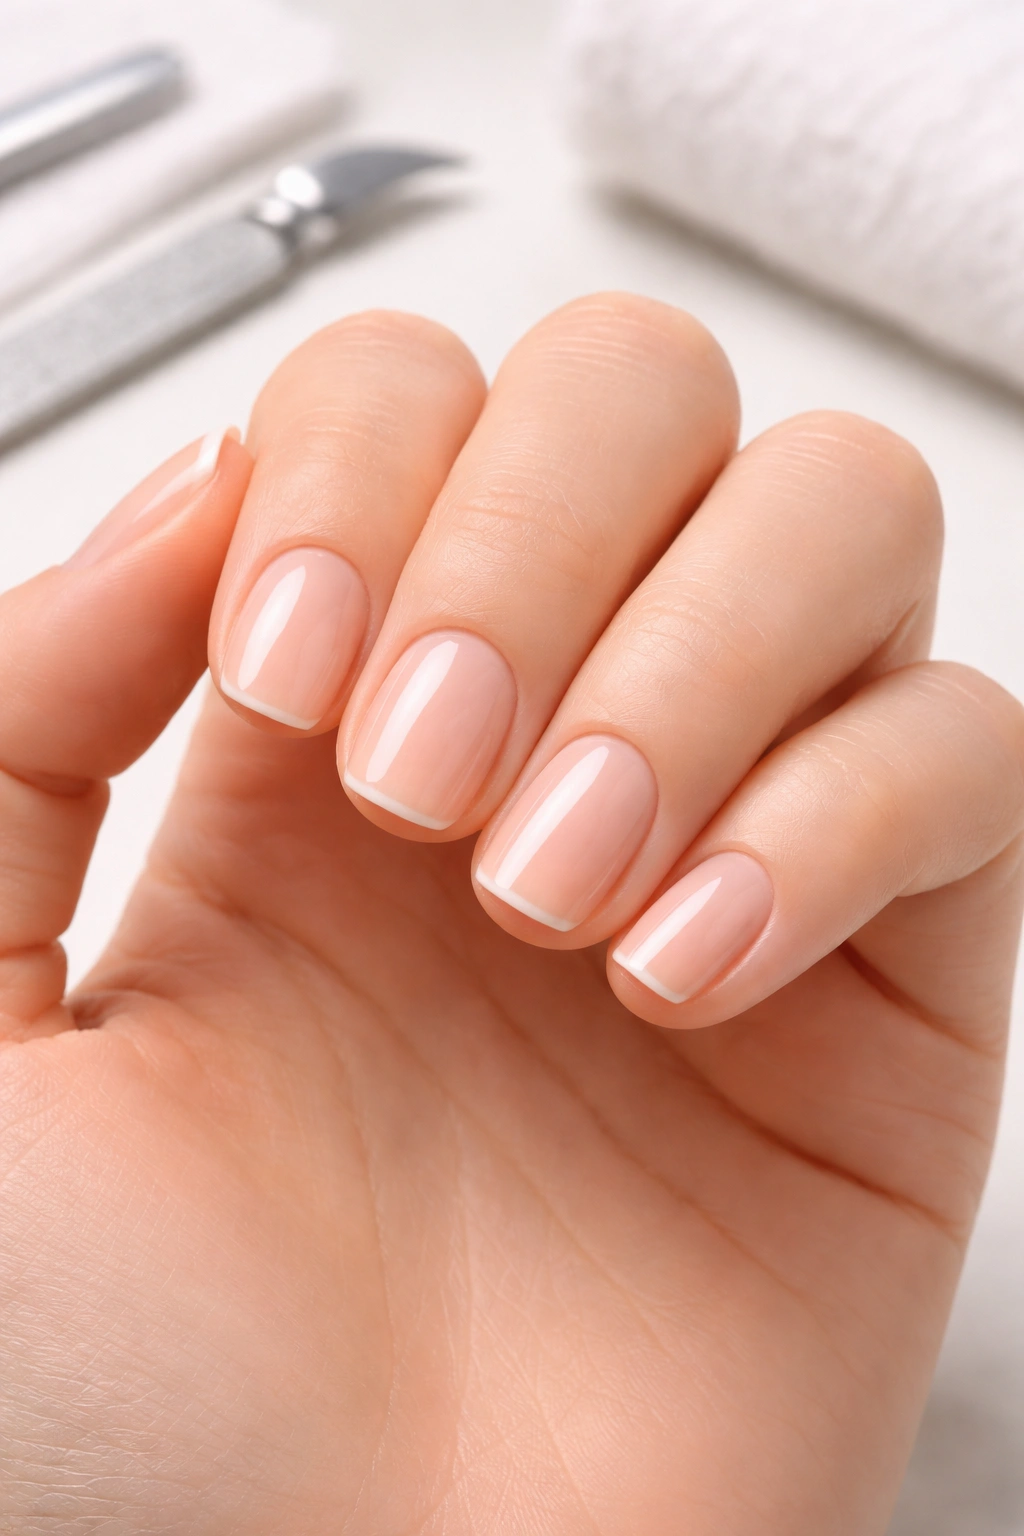
You can’t build a great manicure on a bad foundation. Skipping nail prep is how most people sabotage their own work before they even open the polish bottle. The better your nails look before you apply anything, the more professional your finished look will be.
Clean your nails thoroughly to remove any oils. Use a nail polish remover or rubbing alcohol on a cotton pad and wipe each nail completely. Those invisible oils on your nail surface will cause polish to chip faster and can create uneven application. Don’t skip this step—it takes 30 seconds and makes a massive difference in how long your manicure lasts.
Trim and file your nails to your preferred length and shape. You can go for a classic oval, a trendy almond shape, or sharp stiletto nails—whatever makes you happy. The key is making sure all your nails are roughly the same length so the glitter application looks balanced across all ten fingers. File gently in one direction to avoid splitting the nail edge.
Push back your cuticles using an orange stick or cuticle pusher. You don’t need to be aggressive here; just gently nudge them back so they’re not in the way of your polish application. Healthy cuticles frame your nails beautifully and give your finished manicure a polished, professional appearance. If your cuticles are particularly dry or thick, consider using a cuticle oil or cream the night before to soften them.
Buff the surface of your nails very lightly with a nail file or buffer. You only need to remove the shine—just a few gentle strokes across each nail. This gives the base coat something to grip onto and helps prevent chipping. If you skip this micro-buffing step, polish can slide around on the smooth surface of your nail bed.
Choose the Right Base Coat and Color Foundation
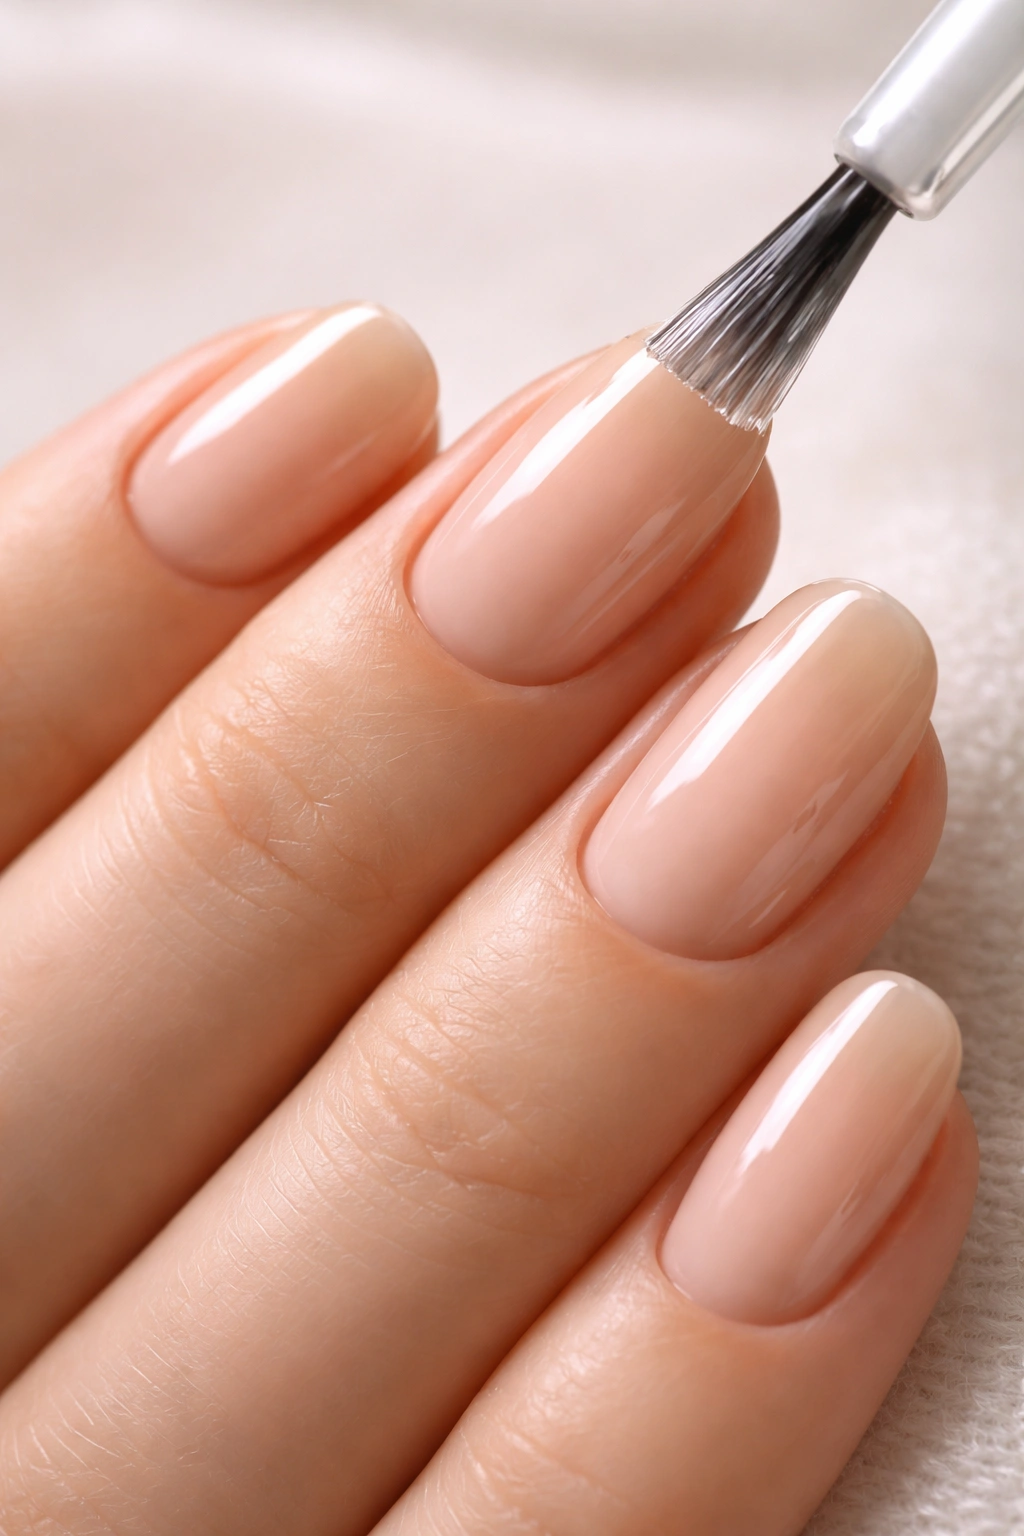
Your base coat is the foundation of everything that comes after. A quality base coat protects your nails from staining (especially important with dark or bright glitters) and creates a smooth surface for the glitter to adhere to. Never skip this step.
Apply one thin, even coat of base coat to all nails on one hand. Be careful to keep it only on your nail bed—if it gets on your skin, it’ll dry there and create an uneven mess. If you do accidentally paint on your skin, use an orange stick to immediately clean up the edges while the base coat is still wet. This prevents thick, gloopy bits from hardening around your nails.
Let your base coat dry completely. If you’re using a regular base coat, this typically takes 2-3 minutes. Never rush this step by applying color on top of wet base coat—you’ll just muddy the colors together and create a weak foundation. The same patience that makes you wait for foundation to dry will give you nails that last two to three weeks without chipping.
Now apply your color. Choose a polish shade that coordinates with or complements your glitter. If you’re using a nude, tan, or soft pink glitter, paint on a matching base color in that family. If you’re doing silver or holographic glitter, a white, nude, or even black base works beautifully. You want the base to make the glitter pop rather than clash with it.
Apply two thin coats of your color polish, allowing the first coat to dry completely before applying the second. Two thin coats look better than one thick coat and dry faster. If you use too much polish in a single coat, it’ll take forever to dry and can pool around your cuticles. Let each layer dry fully before moving to the next step—this is crucial for a smooth, even finish.
Master the Sponge Application Technique
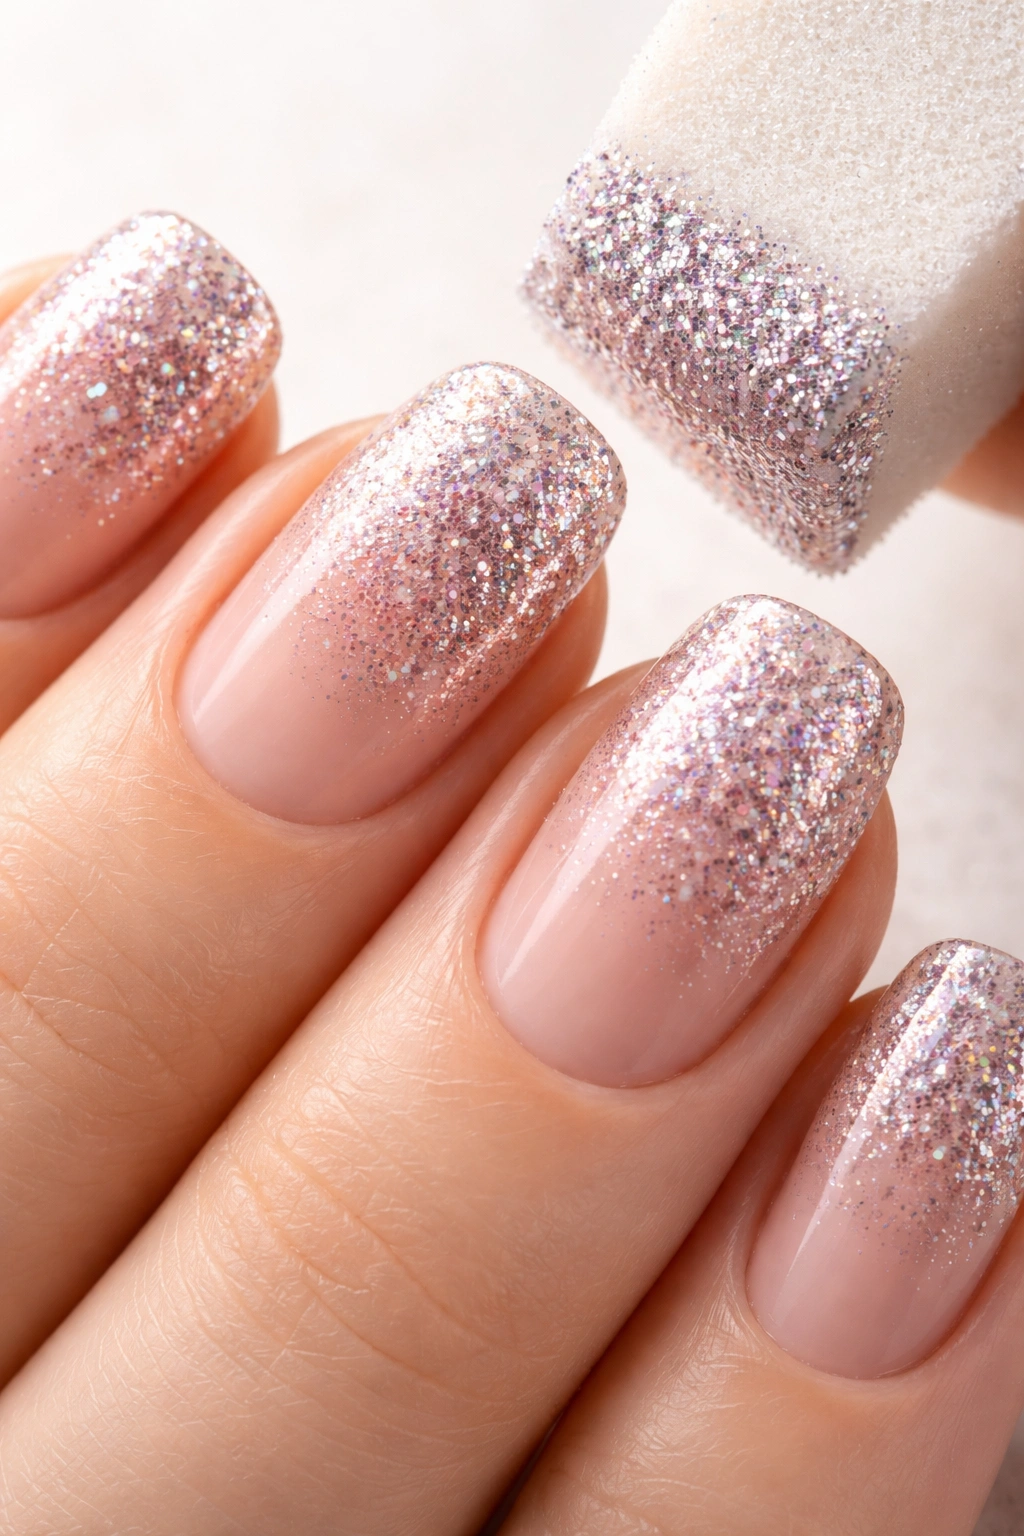
This is where the magic happens. The sponge method is the single most important technique for getting professional-looking glitter nails. It works because the sponge absorbs the liquid polish, depositing only the glitter particles onto your nail.
Grab a cheap makeup sponge—one of those disposable foam wedges you can buy in bulk. You don’t need a premium beauty blender; honestly, the cheaper sponges work just as well because texture is what matters here, not quality. One sponge can apply glitter to both hands, so buy a pack and you’re set for months.
Pour a small amount of your glitter nail polish onto the edge of the sponge. You don’t need much—just a dime-sized puddle. The sponge will soak up the liquid, so you’re really just transferring the glitter particles onto your nail. If you load too much polish onto the sponge, you’ll end up with thick, gloopy coverage that defeats the whole purpose.
Now comes the actual application: gently dab the sponge directly onto your nail, pressing it down for just a second. Don’t swipe or drag—just press and lift. One press is usually all you need for full, opaque coverage. The sponge deposits the glitter while absorbing the excess liquid, giving you that dense, solid sparkle in a single motion.
Work on one nail at a time, starting with your thumb and moving across. If you do all ten nails at once, some might start to set before you apply your top coat. Dab your glitter evenly across the nail bed from the cuticle to the tip. If you need more coverage on any nail, simply repeat the dab with fresh sponge area.
Let the glitter dry completely—this usually takes 3-5 minutes. You’ll know it’s ready when the polish no longer feels tacky to the touch. This patience prevents smudging when you apply your top coat.
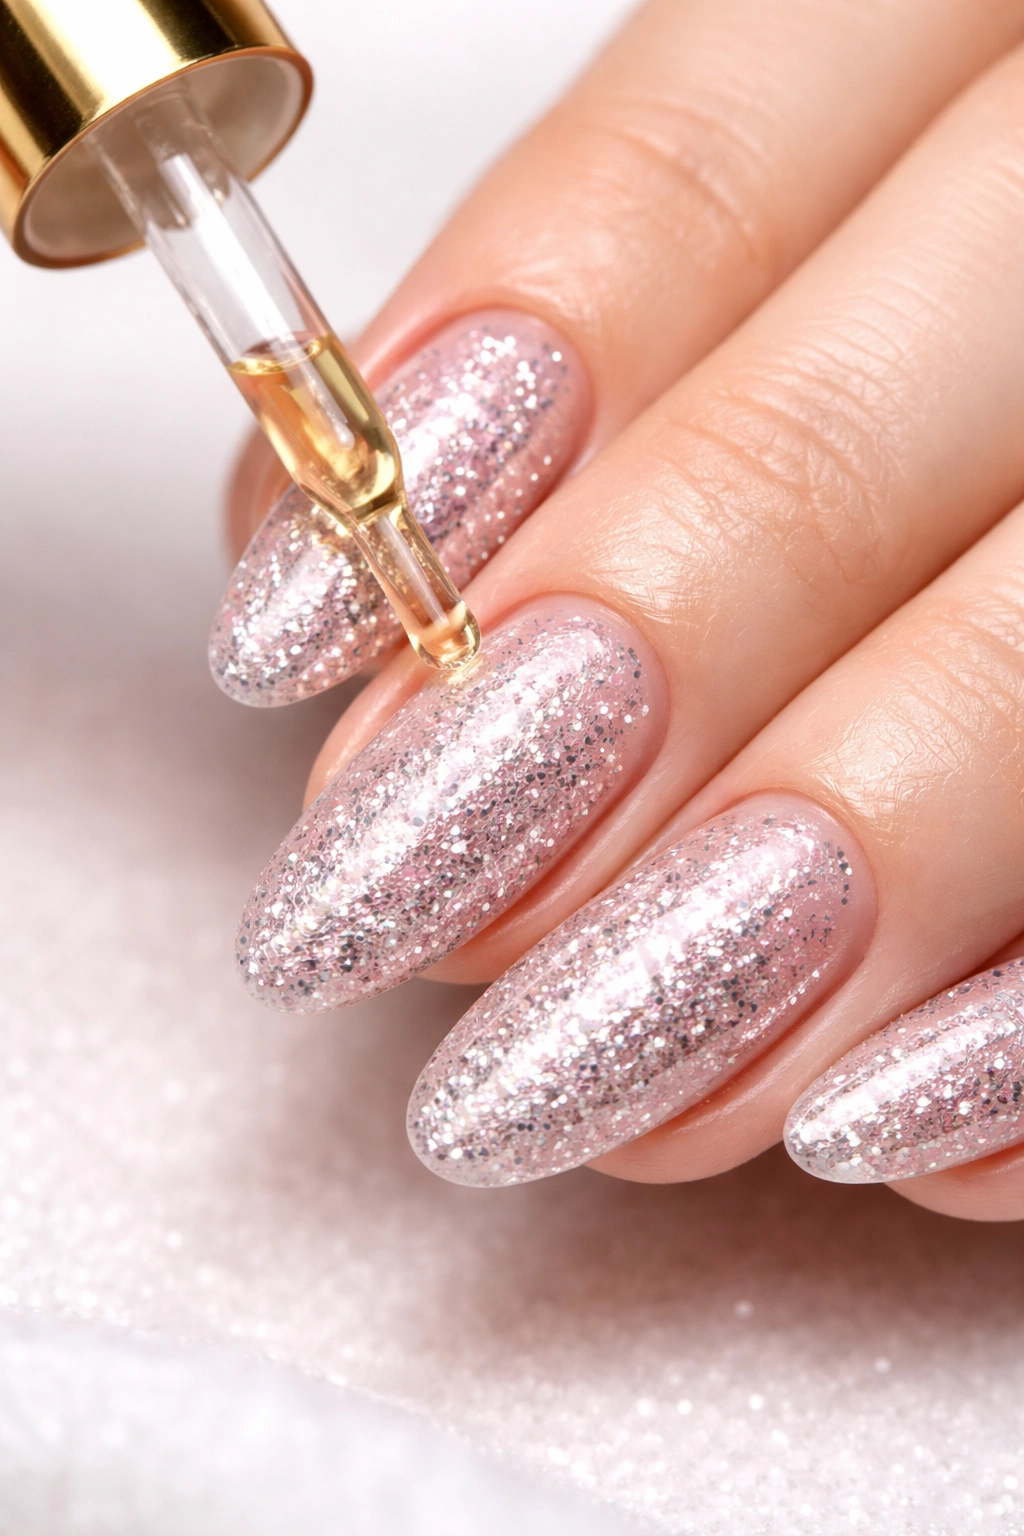
Seal Everything with a Protective Top Coat
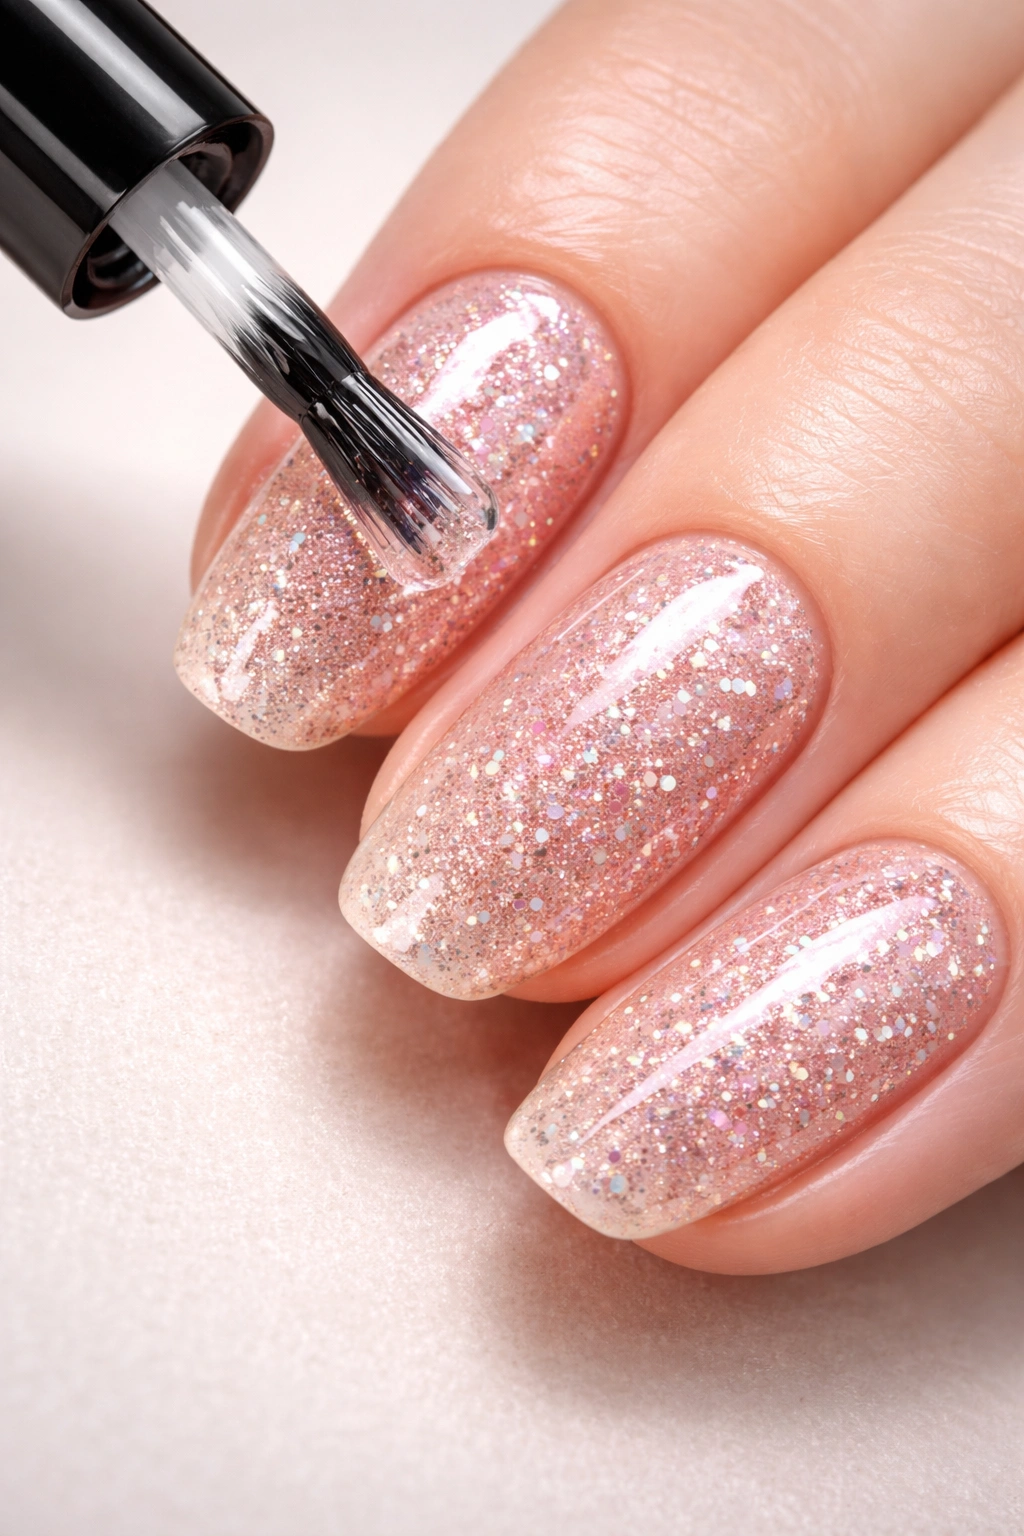
Once your glitter is completely dry, it’s time to lock it in place with a quality top coat. This is what keeps your glitter from chipping, losing shine, and shedding everywhere. A cheap top coat will chip within days, so invest in a good one.
Apply a thin, even layer of top coat to all nails, being careful to cover the edges and tips where wear happens first. Some nail artists recommend a slightly thicker top coat for glitter because the 3D texture of the particles needs to be fully encapsulated. If your top coat is too thin, you might end up with a rough texture that catches on everything.
Let the top coat cure if you’re using a regular formula—this typically takes 3-5 minutes. With gel top coats, you’ll need to cure under a UV or LED lamp for 60-90 seconds, depending on your lamp’s specifications. The bottle will tell you exact timing.
Once your top coat is fully dry, you’re finished. Some people like to wipe their nails with a bit of rubbing alcohol on a cotton pad to remove any sticky residue, giving them an extra shiny finish. This is totally optional, but it does make your nails feel smoother.
Prevent Glitter Mess with Smart Prep Techniques

Okay, let’s talk about the elephant in the room: glitter gets everywhere. There are several proven methods to minimize the mess and keep glitter off your skin, making cleanup infinitely easier.
Apply liquid latex or PVA glue around your nails before you start. Paint a thin ring of white craft glue around your cuticle and down the sides of each nail. Let it dry for 30 seconds. When you’re done with your manicure, you simply peel off this barrier of dried glue and all the stray glitter comes with it. This method saves more cleanup time than any other trick.
If liquid latex feels like overkill, use painter’s tape. Apply thin strips of tape around your cuticle area on each nail, pressing gently so it adheres but doesn’t damage your skin. It’s less elegant than the glue method, but it works. After you apply your glitter and top coat, peel away the tape and your skin stays clean.
Another option is using a glitter catcher tool—basically a curved plastic shield you hold under your nails while applying glitter. You place your finger in the catcher, apply your glitter, and all the excess falls into the curved basin instead of onto your workspace or clothes. These tools cost just a few dollars and are genuinely useful if you do glitter nails regularly.
Even without any of these tools, you can minimize mess by working over a piece of white paper. The glitter shows up clearly against white background, making it easier to see what you’re doing and where excess glitter is falling. You can even fold the paper into a temporary tray and shake excess glitter back into the bottle when you’re done.
Apply Glitter to Regular Polish vs. Gel Polish
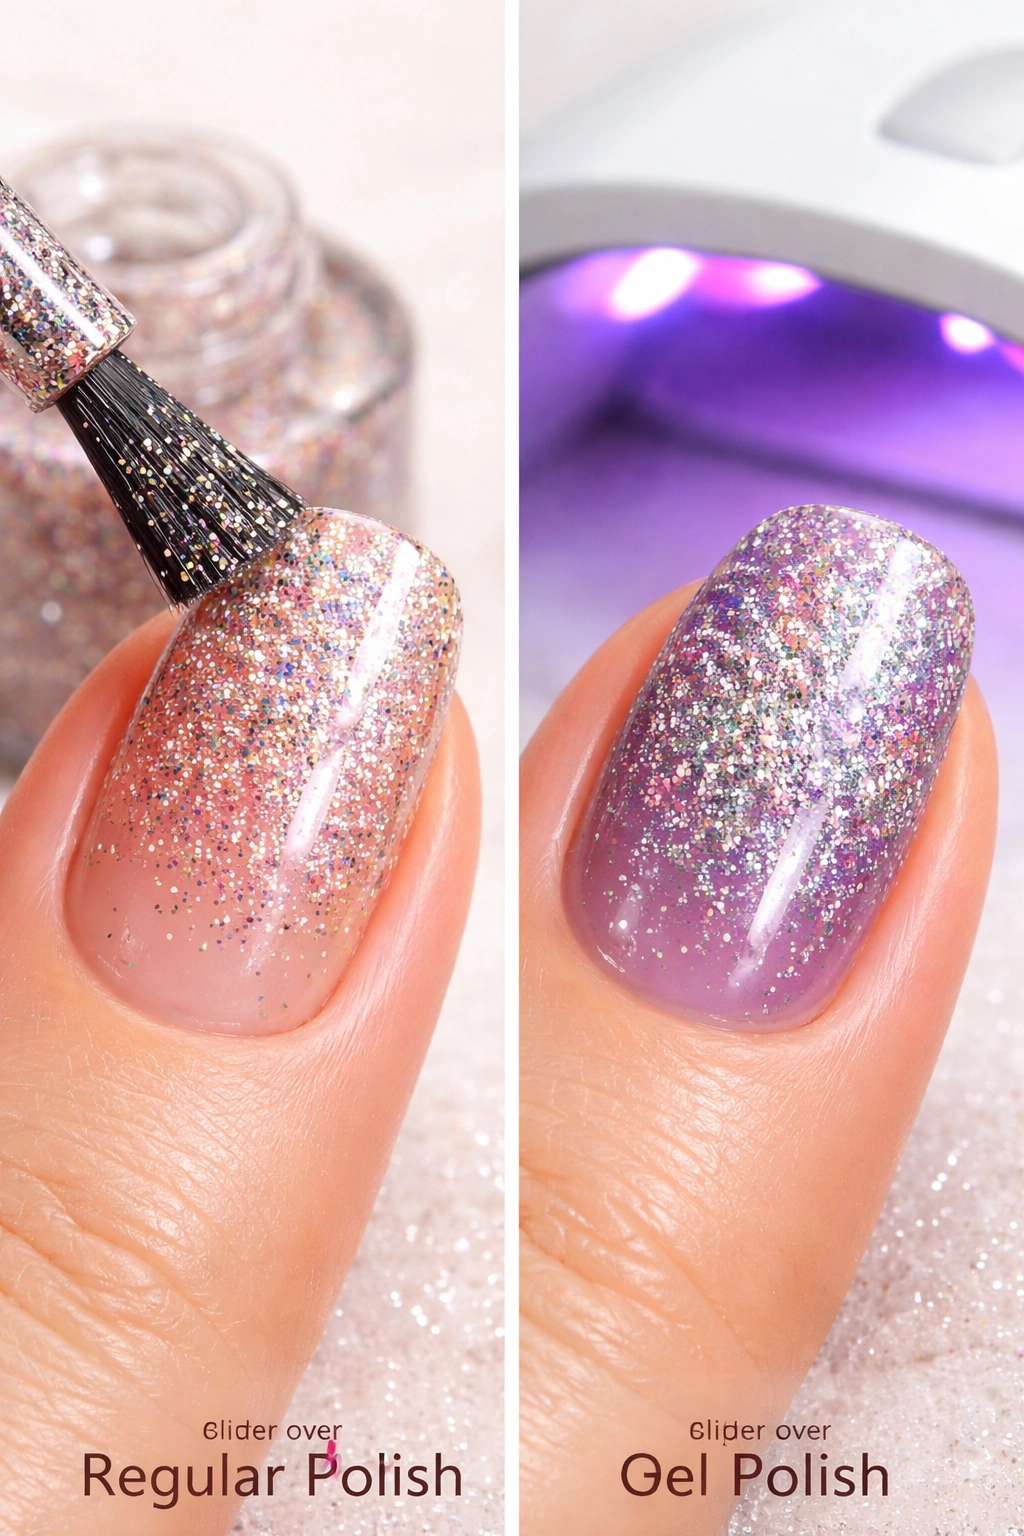
The technique differs slightly depending on whether you’re working with traditional nail polish or gel. Understanding both methods gives you maximum flexibility for different situations and preferences.
For regular polish, apply your glitter over a freshly dried color coat. You need the base color completely dry so the glitter adheres properly. Dab your sponge-loaded glitter onto each nail in quick pressing motions. One coat is usually sufficient with the sponge method. Follow with two thin layers of clear top coat, allowing each one to dry between applications. Your regular polish manicure will last 5-7 days before chipping, depending on how much you use your hands.
For gel polish, the process is slightly different. After applying your color and curing it under your UV or LED lamp, the gel will have a sticky tacky layer—don’t wipe this off yet. This tacky layer is exactly what the glitter needs to stick to. Apply your glitter while the gel is still tacky, then cure everything under the lamp. The gel format typically lasts 3-4 weeks without chipping, making it ideal if you want your glitter manicure to go the distance.
The key difference is timing: with regular polish, your base is completely dry before glitter goes on. With gel, your base is still tacky, which actually helps the glitter adhere even better. Both methods create beautiful results—it just depends on whether you want your manicure to last a week or nearly a month.
Create Stunning Glitter Nail Designs Beyond Solid Coverage
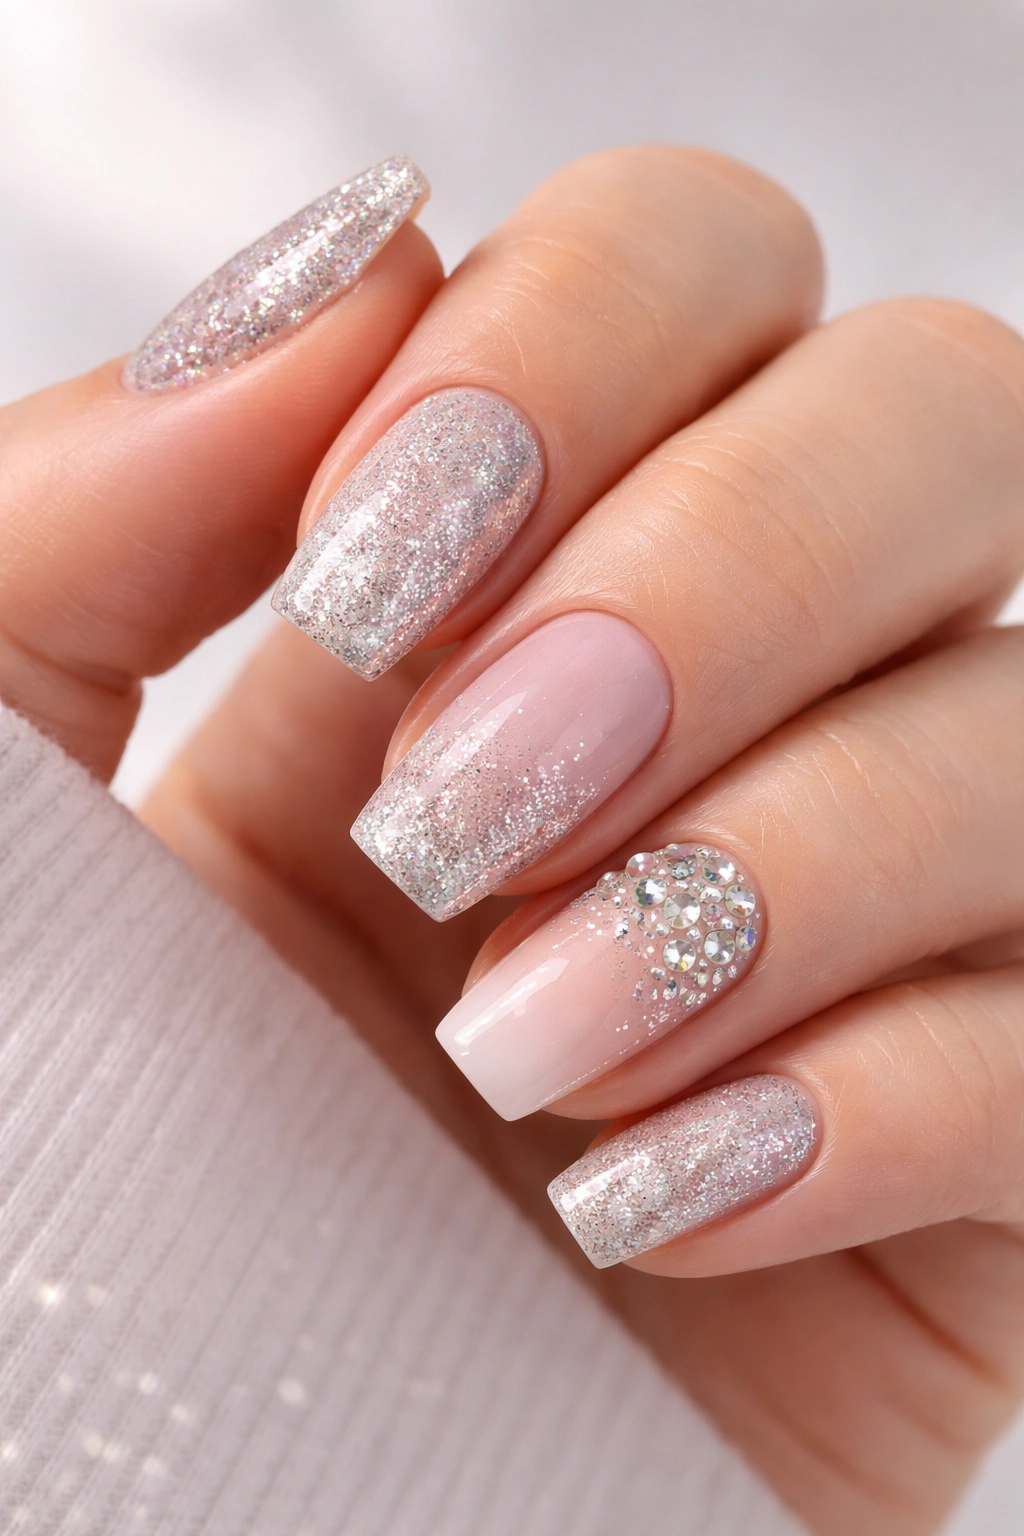
Once you master the solid glitter application, you can get creative with accent nails, ombre effects, and mixed designs. Glitter nails don’t have to be all-or-nothing—sometimes the most elegant look is a whisper of sparkle on just one or two nails.
For accent nails, apply glitter to just your ring finger and thumb, leaving the other nails in a solid color or nude base. This creates a sophisticated, balanced look that works for both casual and formal occasions. French tips with glitter are also stunning—keep the base color on most of the nail and apply glitter just to the tip area using the same sponge-dab technique.
Create an ombre or graduated glitter effect by applying glitter more densely at the nail tips and fading it out toward the cuticles. Do this by dabbing glitter on the tip area first with a full sponge load, then using a sponge area with less polish for the middle section, and skipping the area closest to your cuticle entirely. The result is a beautiful gradient from fully glittered tip to bare nail at the base.
Layer multiple glitter colors for a stunning multi-dimensional look. Apply your base color, let it dry, then apply one glitter shade using the sponge method. After it dries, apply a second glitter color using the same technique. The colors will sit on top of each other, creating depth and visual interest that’s more complex than a single glitter shade.
Mix glitter with matte finishes for a textured, artistic look. After applying your base color, apply glitter to some nails and a matte top coat to others. The contrast between shiny and matte creates a modern, fashion-forward appearance. Just make sure to apply your matte top coat carefully—any spots you miss will look uneven and ruin the effect.
Troubleshoot Common Glitter Application Problems
Even with perfect technique, you might run into issues. Here’s how to fix the most common problems that pop up during at-home glitter manicures.
If your glitter is gloopy and thick rather than smooth and sparkly, you probably didn’t roll the bottle adequately before using it. The glitter particles are heavier than the liquid polish and sink to the bottom of the bottle. Before you open the bottle, roll it firmly between your palms for 10-15 seconds. Rolling (not shaking—rolling) ensures the glitter distributes evenly throughout the polish without incorporating excess air bubbles that create that gloopy texture.
If your glitter isn’t sticking to your nails, make sure you’re applying it to a completely dry base coat or tacky gel layer. Glitter won’t adhere to smooth, fully cured surfaces without any texture. If you’re using regular polish, ensure your color base is completely dry before applying glitter. If you’re using gel, don’t wipe away the sticky layer before adding glitter.
If you end up with patchy, uneven coverage, your sponge probably didn’t have enough polish on it. When you dab a glitter-loaded sponge onto your nail, you should get complete coverage in one motion. If it’s patchy, the sponge wasn’t saturated enough. Add more glitter to your sponge and try again on that nail, dabbing a second time in the same spot.
Rough texture on your finished nails usually means you didn’t apply enough top coat or your top coat was too thin. The glitter particles are 3D, so they need to be fully encapsulated in top coat to feel smooth. Apply a thicker layer of top coat next time, or add a second coat of top coat after the first one dries.
If your glitter is flaking off within days, your base coat probably wasn’t adequate or you touched your nails before everything was fully dry. Make sure you’re using a quality base coat and allowing full dry time between each layer. Also, avoid activities like dishwashing without gloves for the first 24 hours while your manicure sets.
Maintain Your Glitter Manicure to Make It Last
Your glitter nails will look beautiful for weeks if you take basic care of them. Protecting your manicure is just as important as applying it properly.
Wear gloves when you wash dishes or do any heavy cleaning. Water breaks down nail polish, making it chip faster and shortening the life of your manicure. Rubber or latex gloves create a barrier between your nails and water exposure. This single habit can literally double how long your manicure lasts.
Avoid using your nails as tools. Don’t pick at stickers, scratch off labels, or use your nails to open things. This is one of the fastest ways to chip glitter nails. Keep a nail file or bottle opener in your bag so you have proper tools for these tasks. It sounds simple, but it’s often the reason people’s manicures chip within a few days.
Apply cuticle oil to the base of your nails every few days. This keeps your nails and surrounding skin healthy and hydrated, which reduces breakage and peeling. It also makes your nails look shinier and more finished. Cuticle oil is cheap and lasts forever—it’s one of the best manicure investments you can make.
If you notice a chip starting, fix it immediately rather than letting it get worse. Use your sponge and a bit of glitter polish to spot-correct the chipped area, then apply a fresh top coat. Catching chips early prevents them from spreading and keeps your manicure looking fresh for weeks longer.
Remove Glitter Nails Without Damaging Your Nails Beneath

When it’s time to remove your glitter manicure, the method you use matters just as much as the application. Improper removal can damage your nails and leave them weak and brittle.
Use an acetone-based nail polish remover—not pure acetone, which is too harsh, but regular acetone remover from any drugstore. Soak a cotton pad or piece of cotton with the remover and hold it directly on your nail for 10-15 seconds. Then gently rub the polish away. Repeat as needed for complete removal.
For a faster method that mimics professional removal, use the foil wrap technique. Soak a small cotton pad or piece of cotton in acetone remover. Place it directly on your nail and wrap the finger tightly in a piece of aluminum foil, tucking the foil under itself so it doesn’t unravel. Leave the foil wraps on all ten fingers for 10-15 minutes while the acetone dissolves the glitter and polish. Then gently press and slide the foil away from your nail—the polish should come right off with it.
Some glitter polish brands now make special removal bases that you apply to your nails instead of regular base coat. When it’s time to remove, the glitter polish peels right off without any soaking or dissolving needed. These are incredibly convenient if you do glitter nails frequently, and they save significant removal time.
After removing any nail polish, your nails might feel slightly dry or brittle. Soak your nails in warm water for a few minutes to rehydrate them, then apply a nourishing cuticle oil or nail treatment. Give your nails at least a few days of rest before applying a fresh manicure. This allows them to recover and stay strong.
Why Different Glitter Types Create Different Effects

Not all glitter is created equal. Understanding the differences helps you choose the right type for the look you want to achieve. Different glitter particles create dramatically different aesthetic results, so it’s worth experimenting to find your favorites.
Fine glitter particles create a smooth, refined finish that looks almost like a shimmer rather than individual sparkles. This type works beautifully for elegant, understated looks and works best with the sponge application method. The smaller particles press down more evenly, giving you a polished, professional appearance.
Chunky glitter creates a bold, textured effect that’s impossible to miss. These larger particles catch the light in multiple directions, creating tons of dimension and visual interest. Chunky glitter works best with a thicker top coat to fully encapsulate the pieces and keep them smooth to the touch.
Holographic glitter reflects multiple colors of light, creating a rainbow-like shimmer that shifts as you move your hands. This type of glitter is perfect for modern, trendy manicures and photographs beautifully. Holographic glitter can be fine or chunky—you get to choose based on the finished look you want.
Iridescent glitter has a subtle, shifting color quality that looks different depending on the lighting and angle. It’s more understated than holographic but still creates beautiful dimension and interest. Iridescent glitter works well for both casual and dressy occasions.
Matte glitter creates a textured, non-reflective sparkle. When you apply matte glitter with a matte top coat, you get a completely unique look that stands apart from shiny glitter designs. This combination creates artistic, fashion-forward nail art that’s perfect for people who want something different from typical sparkly manicures.
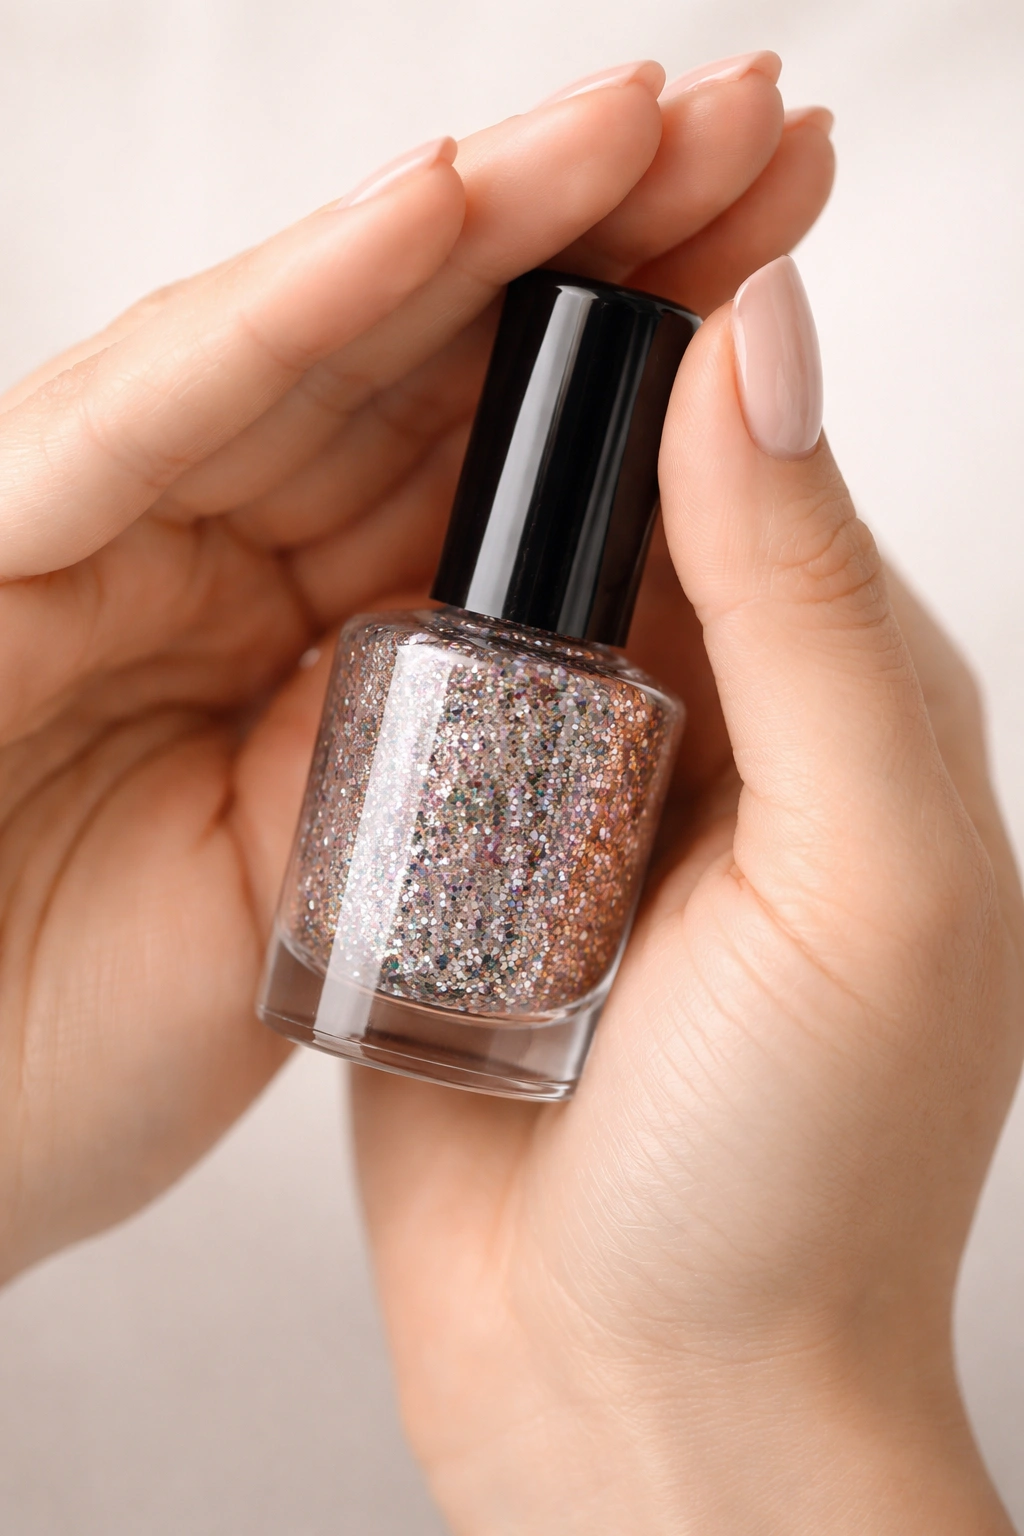
DIY Glitter Nail Polish if You Want Ultimate Customization
If you can’t find the exact glitter shade you want in a bottle, making your own custom glitter polish takes less than five minutes. This is an incredibly budget-friendly way to create unlimited color combinations and control exactly how much glitter density you want.
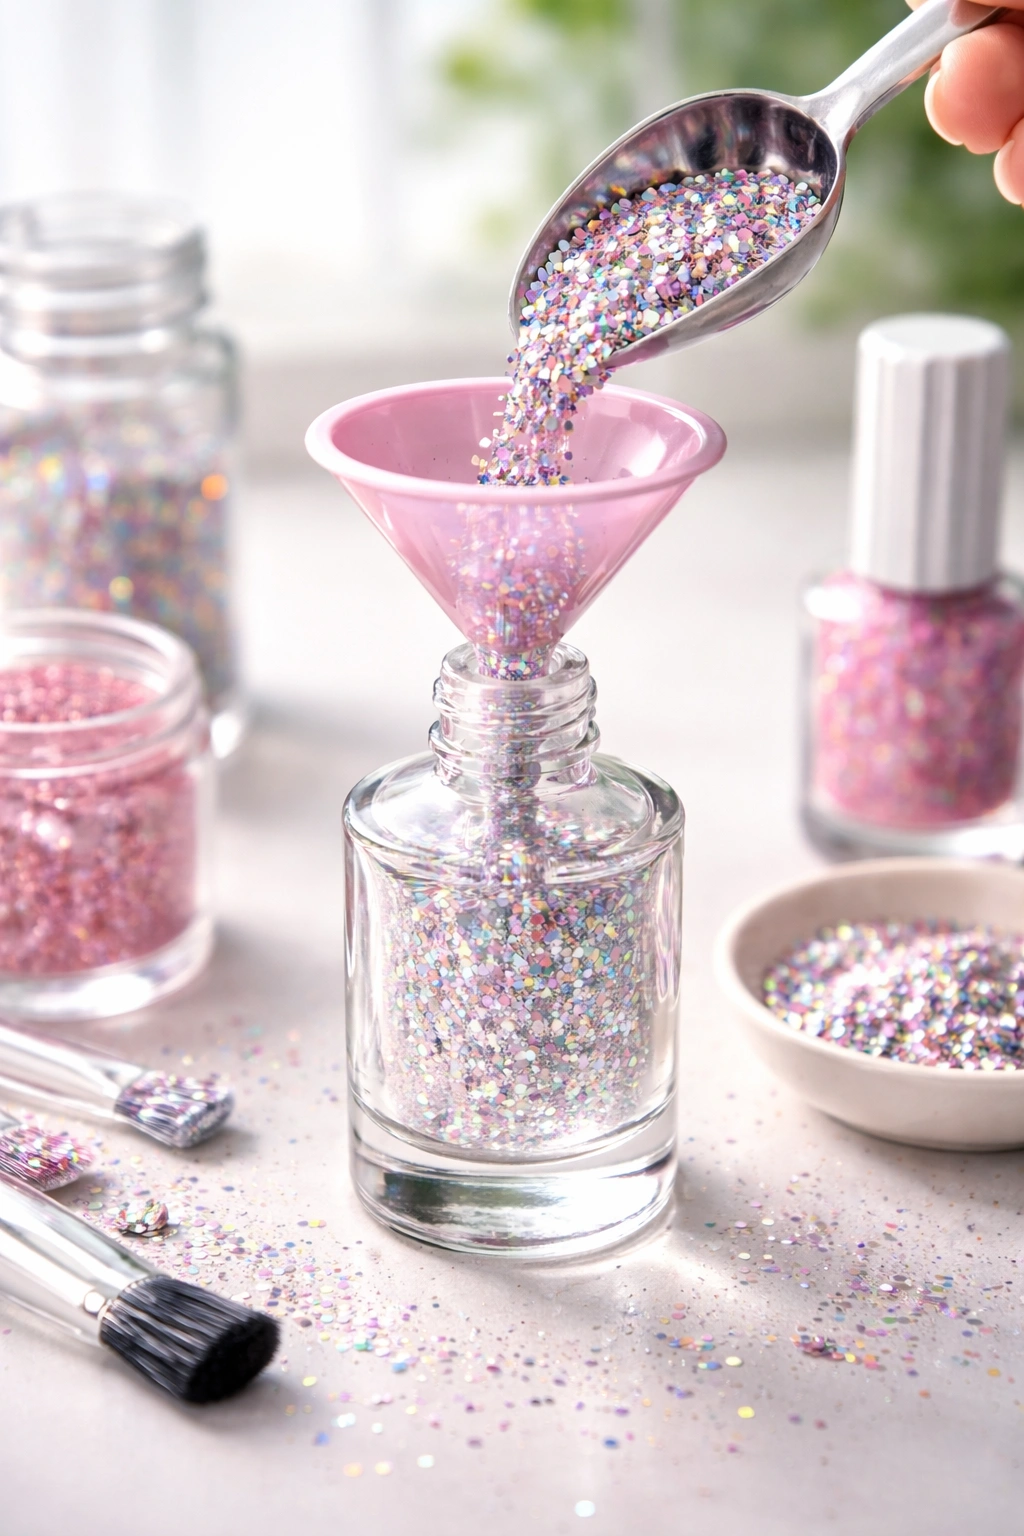
Start with a bottle of clear nail polish—preferably a partially used one with a bit of room in the bottle. Unused bottles are pretty full and don’t leave much room for glitter. Using a small micro-scoop or the tip of a toothpick, add 4-8 scoops of your chosen loose glitter or mica powder into the bottle.
Make a funnel from a small piece of paper rolled into a cone shape to avoid spilling glitter all over your workspace. You can secure the funnel with a tiny piece of tape. Insert the funnel into the polish bottle and slowly pour your glitter through it. Once you’ve added your desired amount, remove the funnel and seal the bottle tightly.
Shake the bottle vigorously for 30 seconds to distribute the glitter evenly throughout the clear polish. Check the result—if you want more glitter density, add more scoops and shake again. If you want less, you can transfer some of the polish to a different bottle. This process is completely reversible until you find the perfect ratio.
Your homemade glitter polish works exactly like store-bought versions. Shake the bottle before each use because the glitter particles will naturally settle to the bottom. For a professional finish that doesn’t require shaking, you can purchase pre-made nail polish bases designed specifically for suspending glitter—these have thicker consistency that holds particles in suspension.
Final Thoughts

Glitter nails at home aren’t complicated—they just require knowing the right technique. Once you’ve mastered the sponge application method and understood the importance of proper prep and top coat, you’ll create manicures that look exactly like you paid a salon professional to do them.
Start with a single shade and solid application to build confidence with the technique. Once you’re comfortable with the sponge dab method, you can experiment with accent nails, mixed colors, different glitter types, and creative designs. The foundation stays the same—good prep, proper application, and quality sealing—but from there, your creativity is the only limit.
Your nails will thank you for using this method because it prevents the rough texture and excessive glitter buildup that comes from traditional brush application. You’ll also save significant money over time by doing your manicures at home instead of visiting salons every few weeks. Invest in good base and top coats, keep your sponges handy, and you’ll have gorgeous glitter nails whenever you want them.
