

You’ve been rocking your gel manicure for weeks, loving that glossy, chip-free look. But now it’s time to say goodbye, and you’re staring at your nails wondering how to get this stuff off without turning them into a peeling, brittle mess. The truth is, more damage happens during removal than from wearing gel polish itself.
Here’s the thing: gel polish goes through a chemical process called polymerization when it’s cured under UV or LED lights. It transforms from a liquid into a solid, hardened coating that bonds to your nail. That’s why it lasts so long, but it’s also why you can’t just wipe it off like regular polish. You need the right approach, the right products, and a whole lot of patience.
The good news? You can absolutely remove gel nails at home without wrecking your natural nails. You just need to know what you’re doing.
Why Pure Acetone Makes All the Difference
Not all acetone is created equal, and this is where most people mess up right from the start.
That bottle of nail polish remover you grabbed from the drugstore? It’s probably not strong enough. Many pharmacy-brand removers contain diluted acetone mixed with water, fragrances, and other fillers. These additives weaken the acetone’s ability to break down gel polish, which means you’ll be sitting there forever waiting for results that never come.
Pure acetone or professional-grade acetone is what you need. It’s stronger, works faster, and actually dissolves the gel structure instead of just softening it slightly. Look for 100% pure acetone at beauty supply stores, or invest in a salon-quality conditioned acetone that includes moisturizing ingredients to protect your skin.
Some brands formulate their removers specifically for gel polish, adding nourishing oils like castor oil or vitamin E to counteract acetone’s drying effects. These products cost a bit more, but they’re worth it if you remove gel polish frequently.
Breaking the Seal: File Away the Top Coat
Before you soak anything, you need to make the gel porous enough for acetone to penetrate.
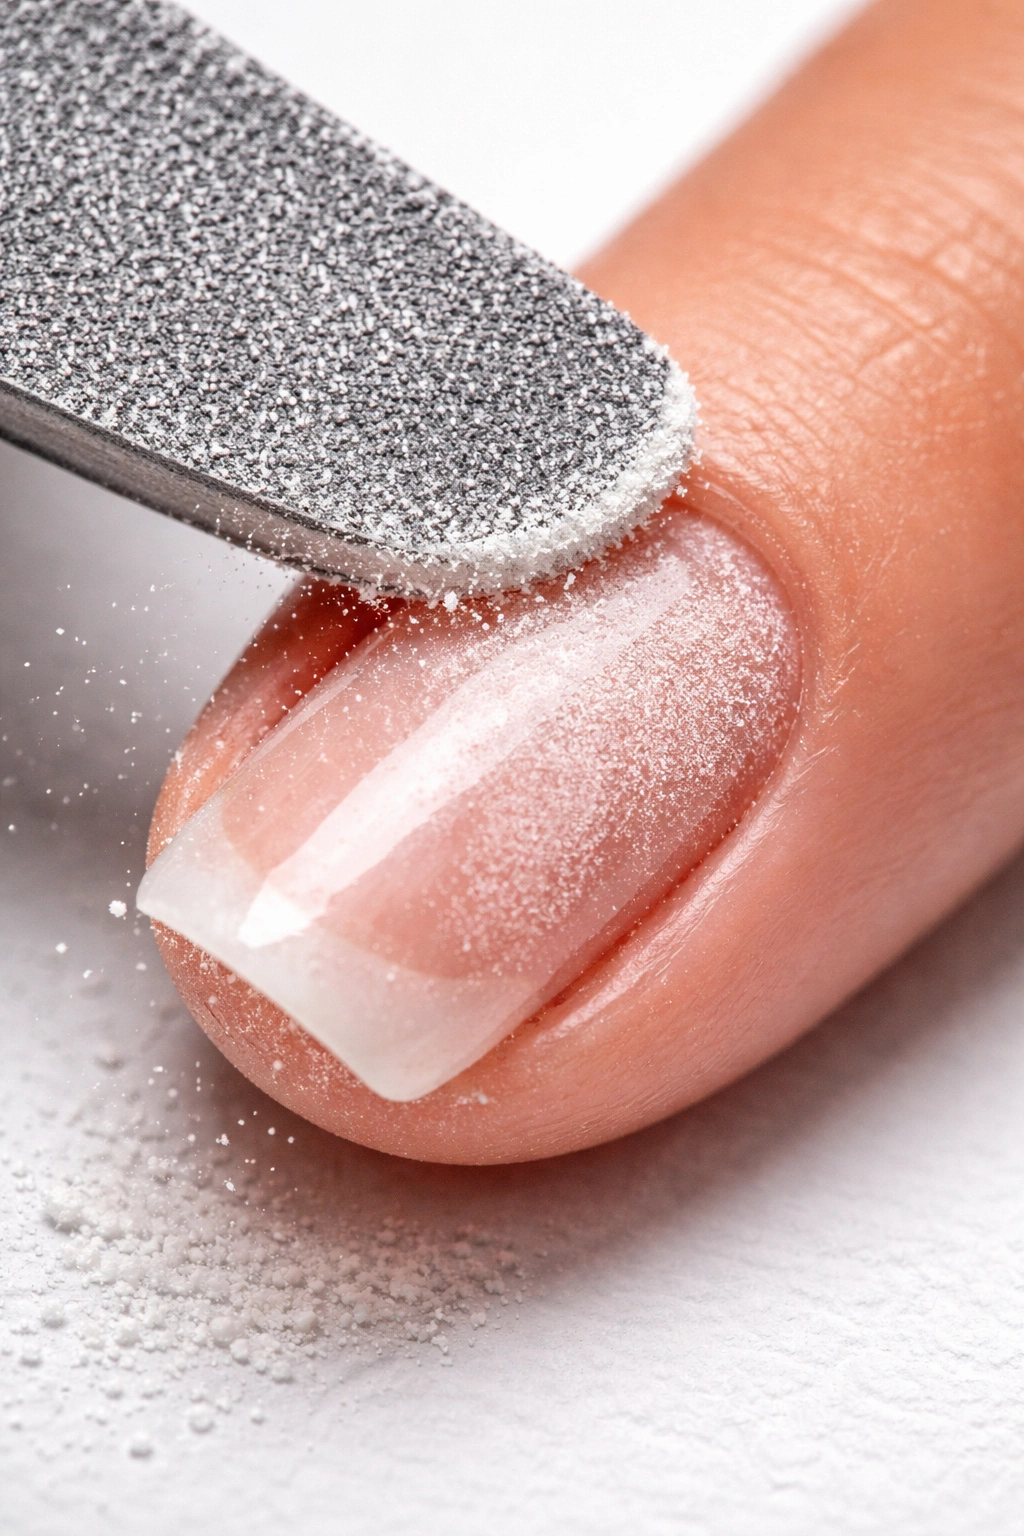
Grab a coarse nail file—nothing gentle here. You want something around 100 to 180 grit, rough enough to do the job without taking forever. Start filing the shiny top coat until the entire surface looks dull and matte. Don’t be timid about this step. There are multiple layers of gel between your file and your natural nail, so you’re not going to accidentally file through to your nail bed.
The more you file off, the faster the acetone will work. Some nail techs recommend removing the entire top coat and the first layer of color. This thins the product significantly and creates texture that helps the acetone grip and dissolve the remaining layers.
If you skip this step or don’t file enough, you’ll end up soaking for ages with minimal results. The smooth, sealed surface of gel polish is designed to resist moisture and chemicals—that’s the whole point. You have to break through that protective barrier first.
The Foil Wrap Method That Actually Works
This is the gold standard for at-home gel removal, but technique matters more than you’d think.
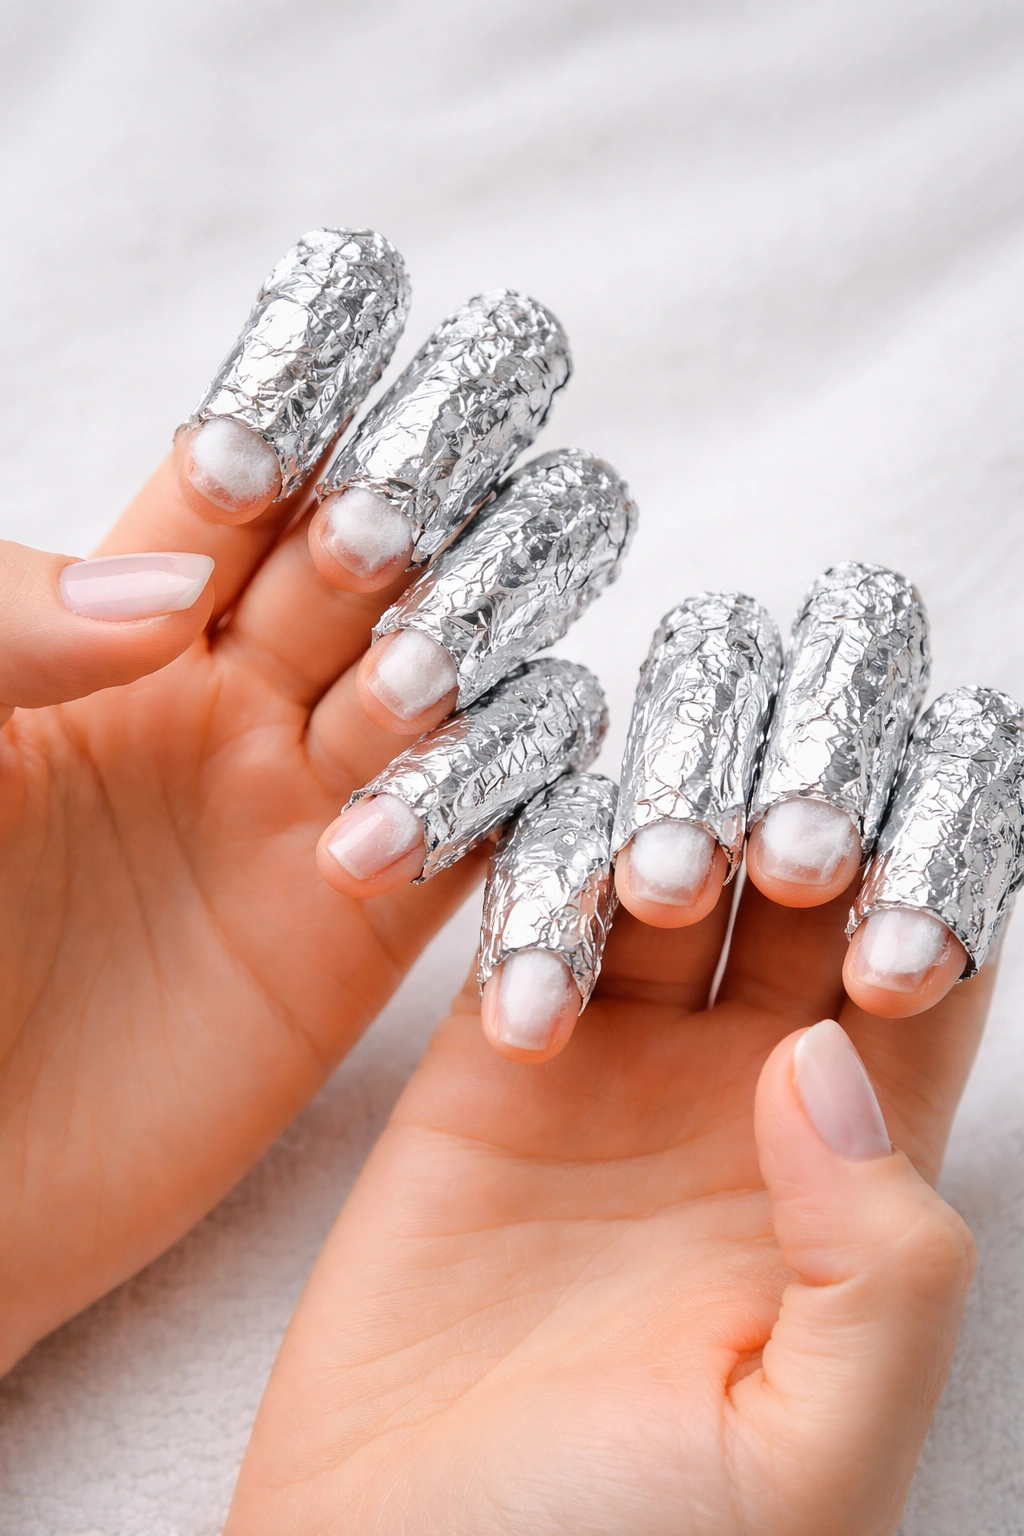
Cut squares of aluminum foil ahead of time—about 3 to 4 inches each. You’ll need ten pieces, one for each finger. Cut your cotton balls in half or use cotton pads sized to fit your nails. The cotton should cover your nail but not spread way beyond it, which reduces unnecessary skin contact with acetone.
Soak each cotton piece thoroughly in pure acetone. We’re talking fully saturated, dripping wet. Place it directly onto your nail, then wrap the foil around your fingertip. Here’s where most people go wrong: they just crumple the foil loosely around the finger. That doesn’t create a tight seal, which means acetone evaporates quickly and loses its strength.
Instead, fold the foil carefully. Start by folding over the tip of your finger, then wrap the sides snugly around to seal everything in. You want it tight enough to hold the cotton firmly against your nail, but not so tight you cut off circulation. Think of it like wrapping a gift—neat, secure, purposeful.
Plastic Wrap Creates a Better Seal
Dermatologists and nail professionals increasingly recommend plastic food wrap instead of foil.
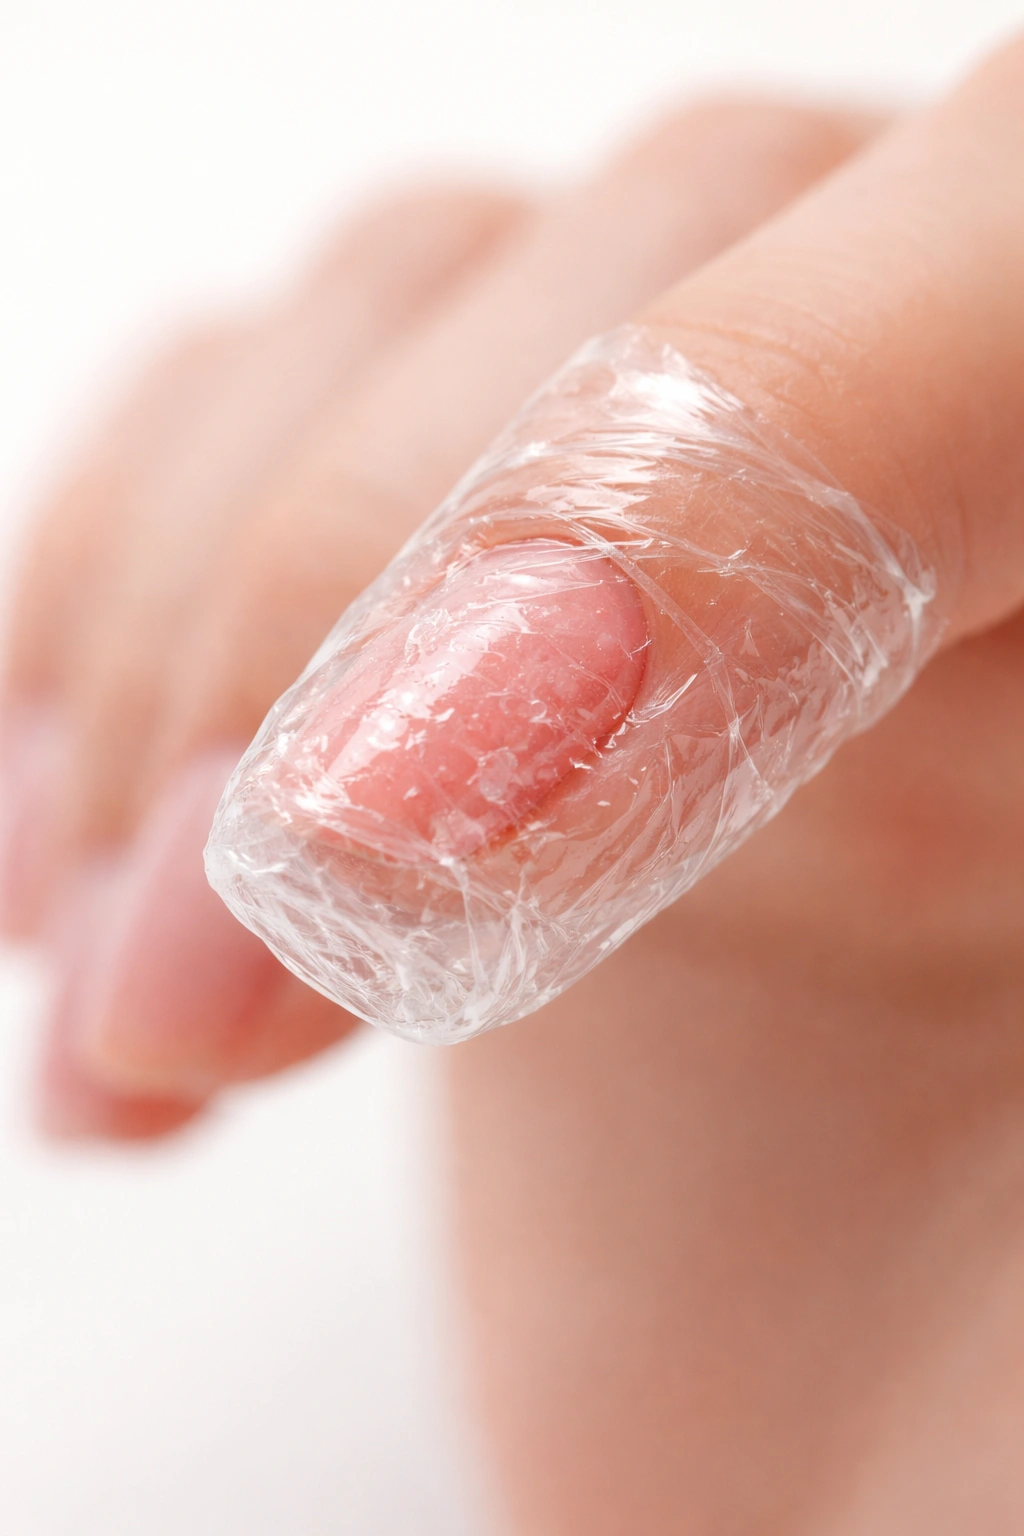
Plastic creates a tighter, more air-resistant seal than aluminum foil. When you wrap plastic around your acetone-soaked cotton and fingertip, less acetone evaporates, which means it stays at full strength throughout the soaking process. The gel breaks down more efficiently, and you won’t find yourself halfway through removal with dried-out cotton and hardened gel.
The technique is similar to foil: soak your cotton, place it on your nail, then wrap tightly with plastic wrap. Some people prefer to put their wrapped fingers inside plastic gloves for extra heat retention and security. When it’s time to remove, you can snip the tip of each glove finger rather than wrestling with sticky plastic.
Another benefit of plastic wrap? It’s less likely to tear or develop holes. Foil can rip when you’re trying to tighten it, especially if you’ve crinkled it beforehand.
Protecting Your Cuticles and Surrounding Skin
Acetone is harsh, and your skin will thank you for taking preventive measures.
Before you start the soaking process, apply a thick layer of petroleum jelly, Aquaphor, or cuticle oil around each nail. Cover your cuticles and the skin on the sides of your nails. This creates a protective barrier that prevents acetone from drying out and irritating your skin.
Your cuticles are especially vulnerable. They protect the nail matrix—the area where new nail cells form—from bacteria and damage. When acetone strips away the natural oils that keep cuticles supple, they can become dry, cracked, and painful. That protective barrier you create with oil or ointment makes a real difference in how your hands feel after removal.
If you have sensitive skin or notice redness and irritation when using acetone, this step becomes even more important. Some people develop contact dermatitis from repeated acetone exposure, so minimizing skin contact is smart prevention.
Temperature and Timing for Faster Results
Warmth accelerates the chemical reaction that breaks down gel polish.
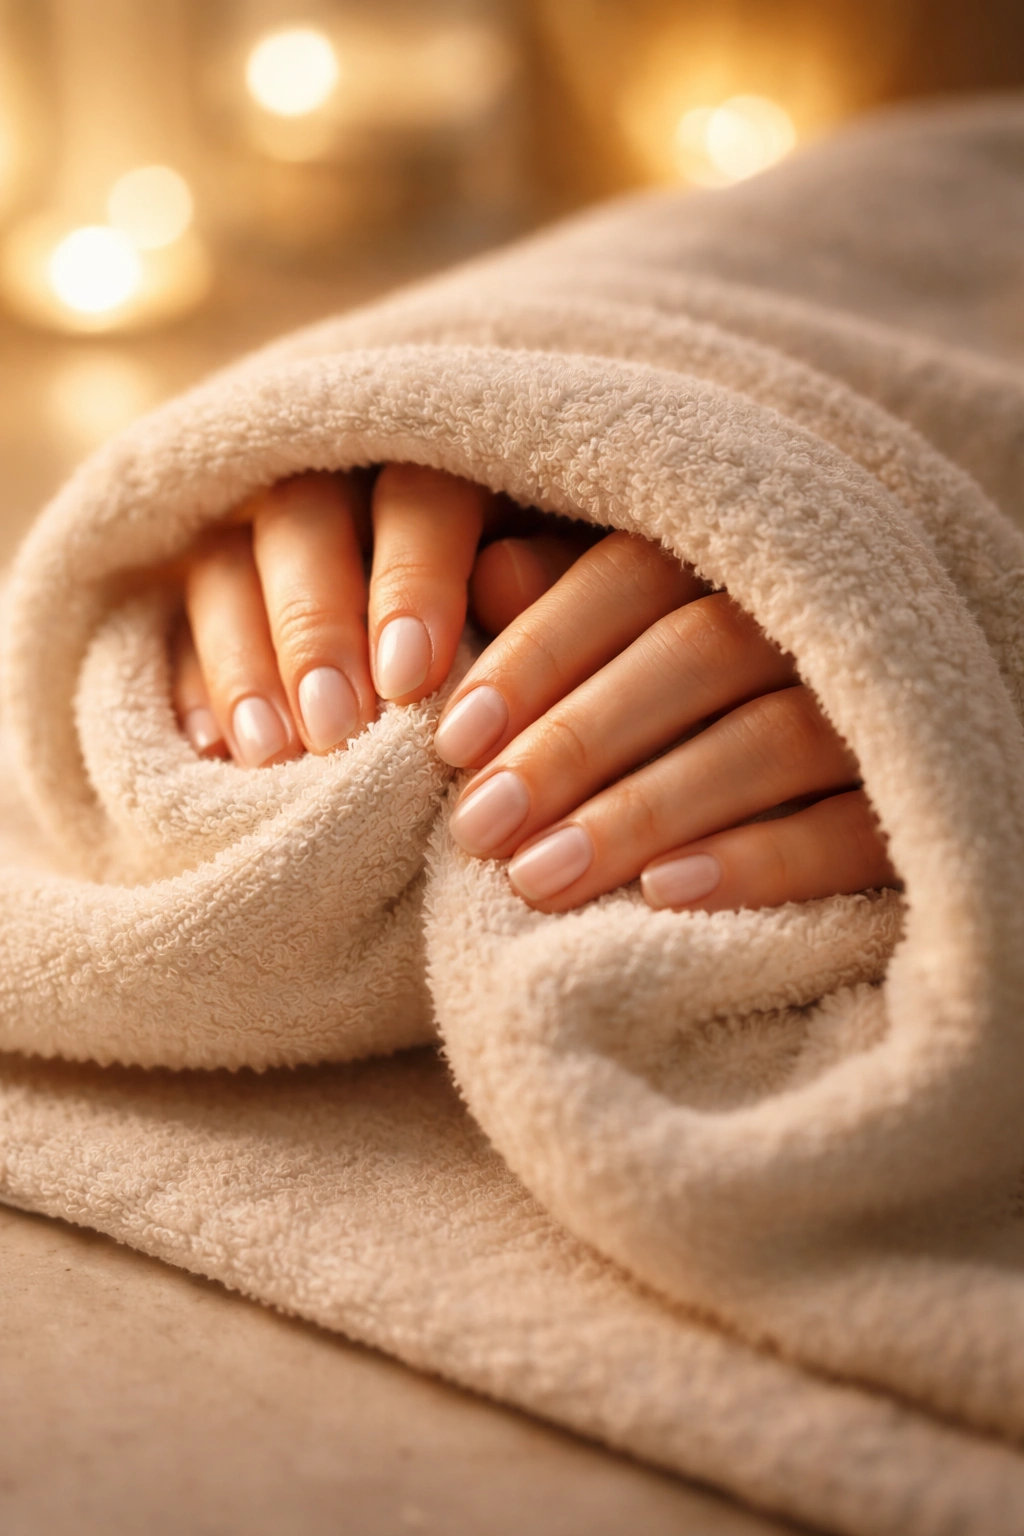
Wrap your foil- or plastic-covered fingertips in a warm towel, or slip them into terry cloth mittens. Some people run a towel through the dryer for a minute to warm it up. The heat helps the acetone penetrate more effectively and speeds up the dissolution process.
Set a timer for 15 minutes as your minimum soak time. Depending on how thick your gel application is, you might need 20 minutes. But here’s something important: don’t exceed 20 to 25 minutes. Acetone loses its effectiveness after extended periods, and you’re just drying out your nails and skin at that point.
Avoid cold drinks or exposing your hands to cold air during the soaking process. When your nail beds are cold, the gel removal slows down significantly. Internal temperature matters, so keep your hands cozy.
After the timer goes off, remove one foil or plastic wrap at a time—not all ten at once. When you expose all your nails simultaneously, the acetone that has penetrated the gel evaporates instantly, and the removal process grinds to a halt. Work finger by finger for best results.
Gentle Removal: No Force, No Scraping
This is where patience becomes your best friend.
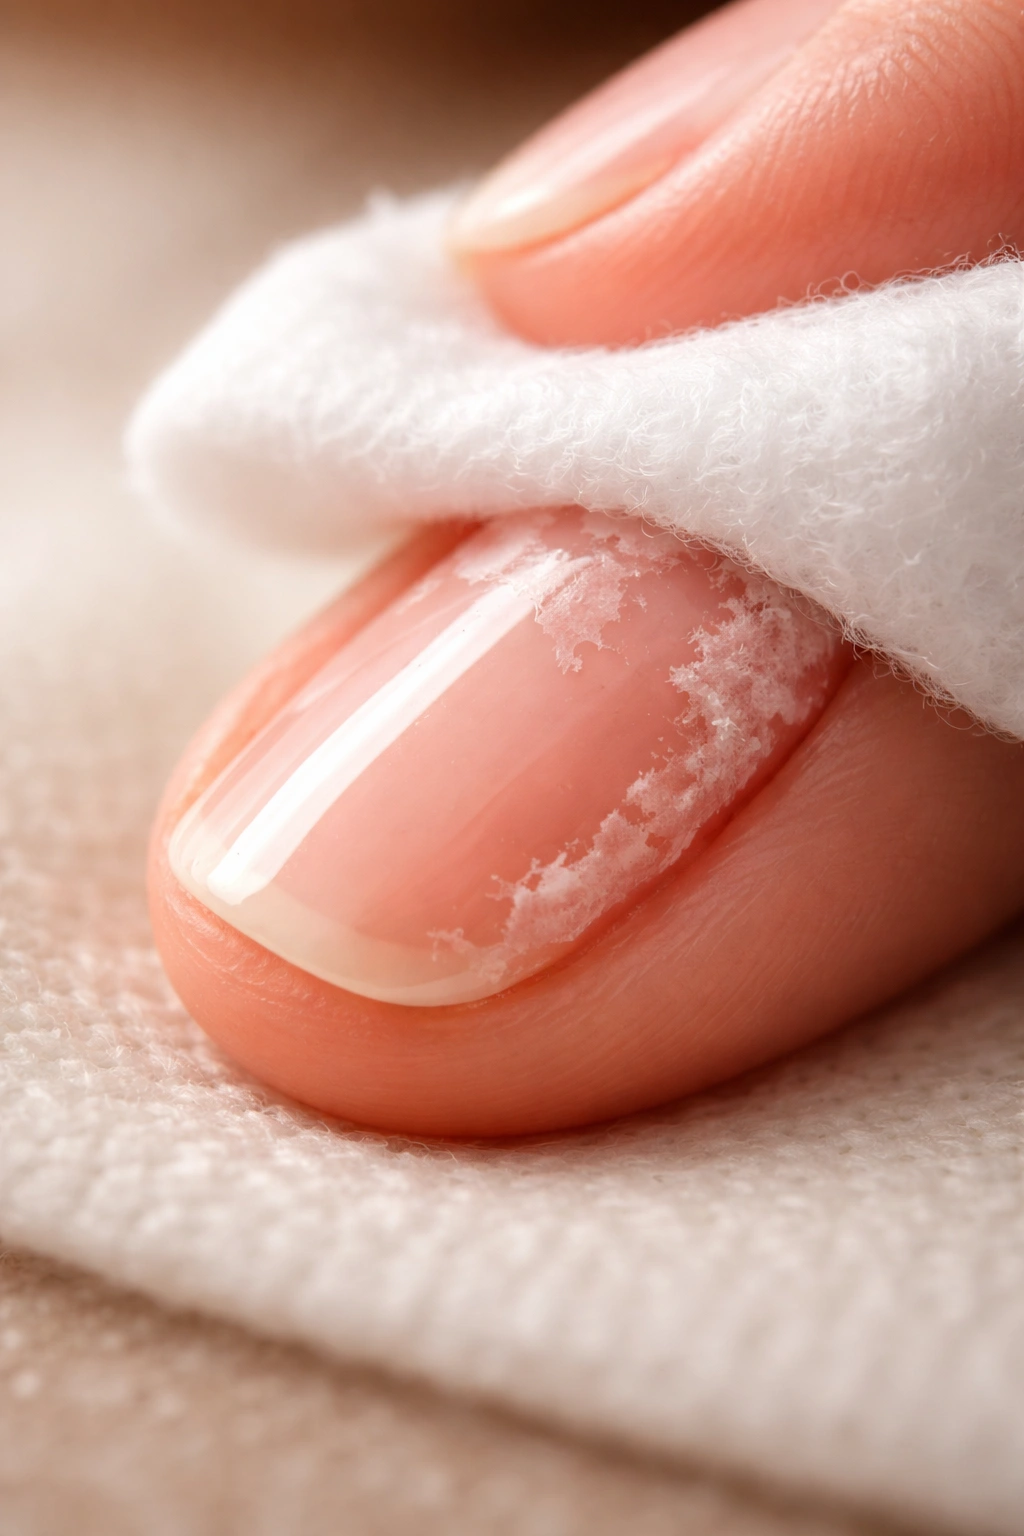
When you unwrap each finger, the gel should look soft, flaky, or lifted at the edges. Gently press the cotton pad against your nail and slide it off. Much of the polish should come away with the cotton.
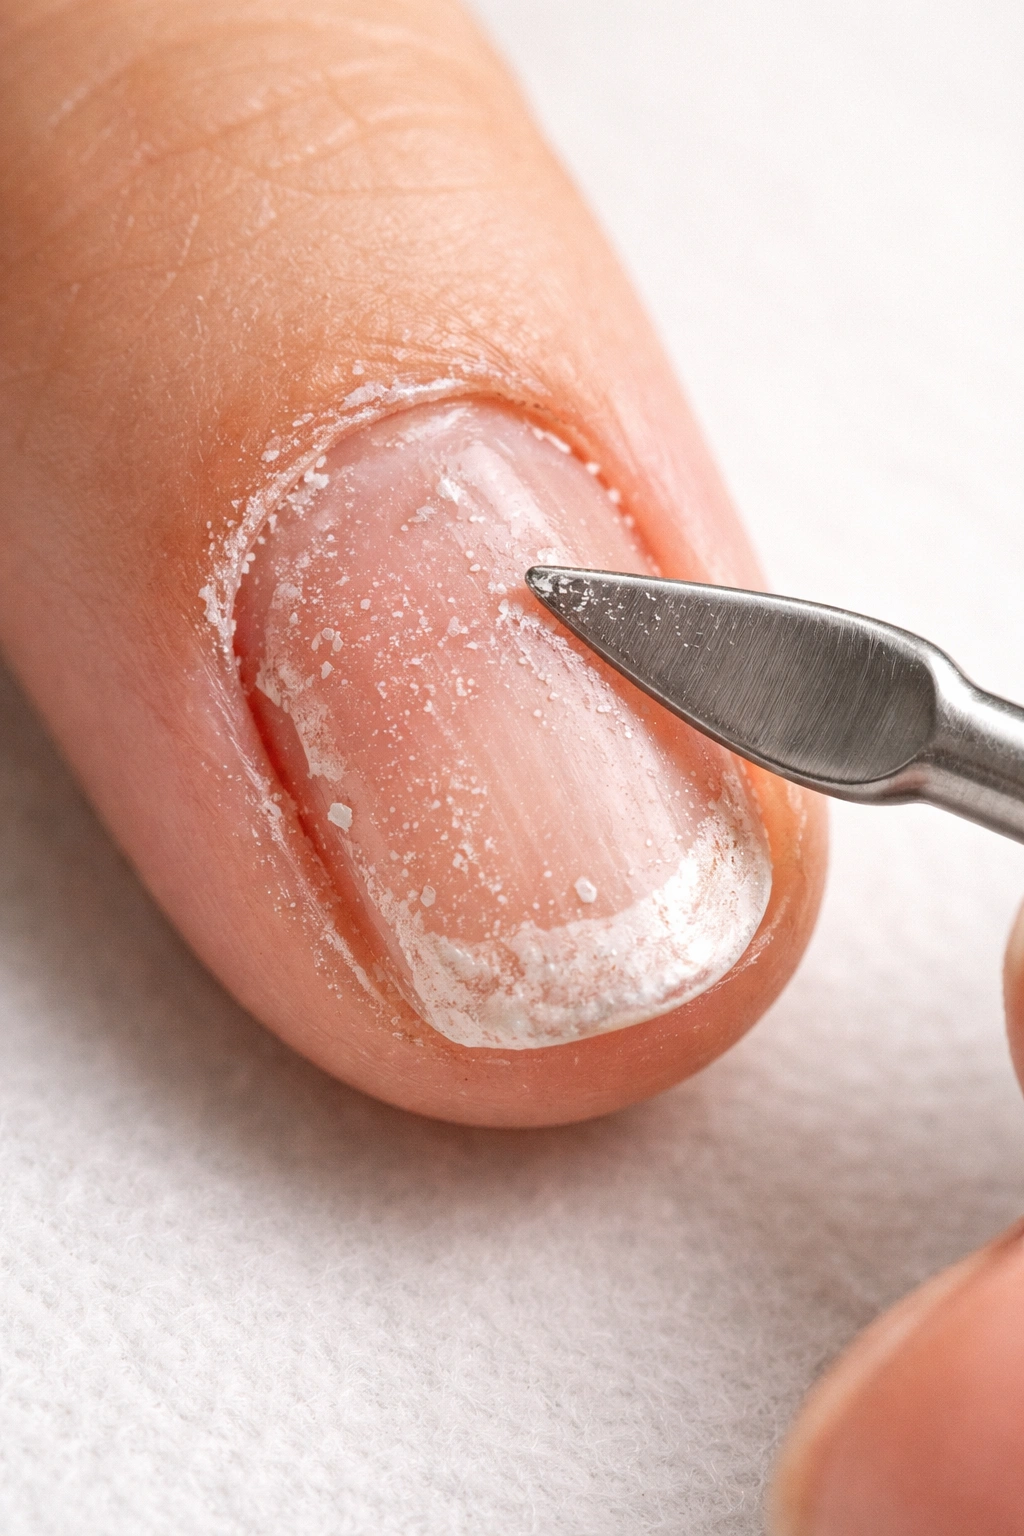
For any remaining gel, use a wooden orange stick or cuticle pusher—never metal tools. Place the stick flat against your nail near the cuticle and gently push the softened gel toward the tip of your nail. Use horizontal, sliding motions instead of digging or scraping. The gel should slide off easily if it’s ready. If it doesn’t, it needs more soaking.
The biggest mistake people make is forcing gel off before it’s fully broken down. This is how you end up peeling away layers of your natural nail along with the polish. If you encounter resistance, re-wrap that finger with fresh acetone-soaked cotton and wait another 5 to 10 minutes.
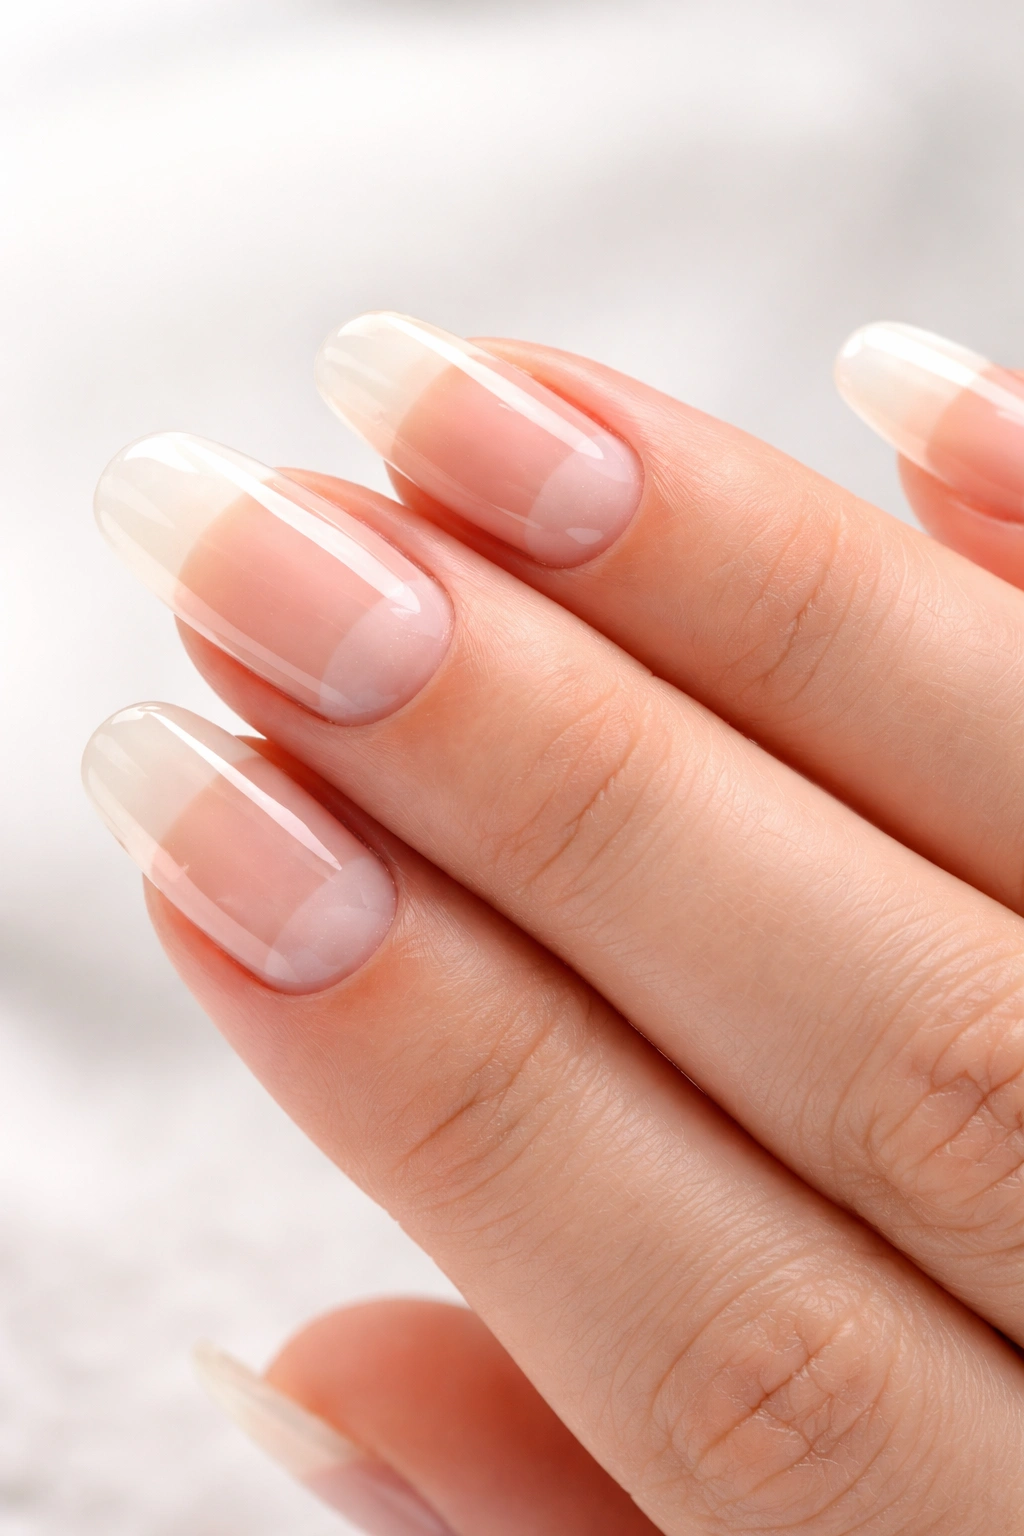
Your nails might look a bit scary when the gel first comes off—dry, slightly rough, maybe with some residue. That’s normal. The acetone and remaining polish create that appearance, but it doesn’t mean your nail is damaged.
What Never to Do: Peeling, Picking, and Forcing
Let’s talk about the temptations that lead to damaged nails.
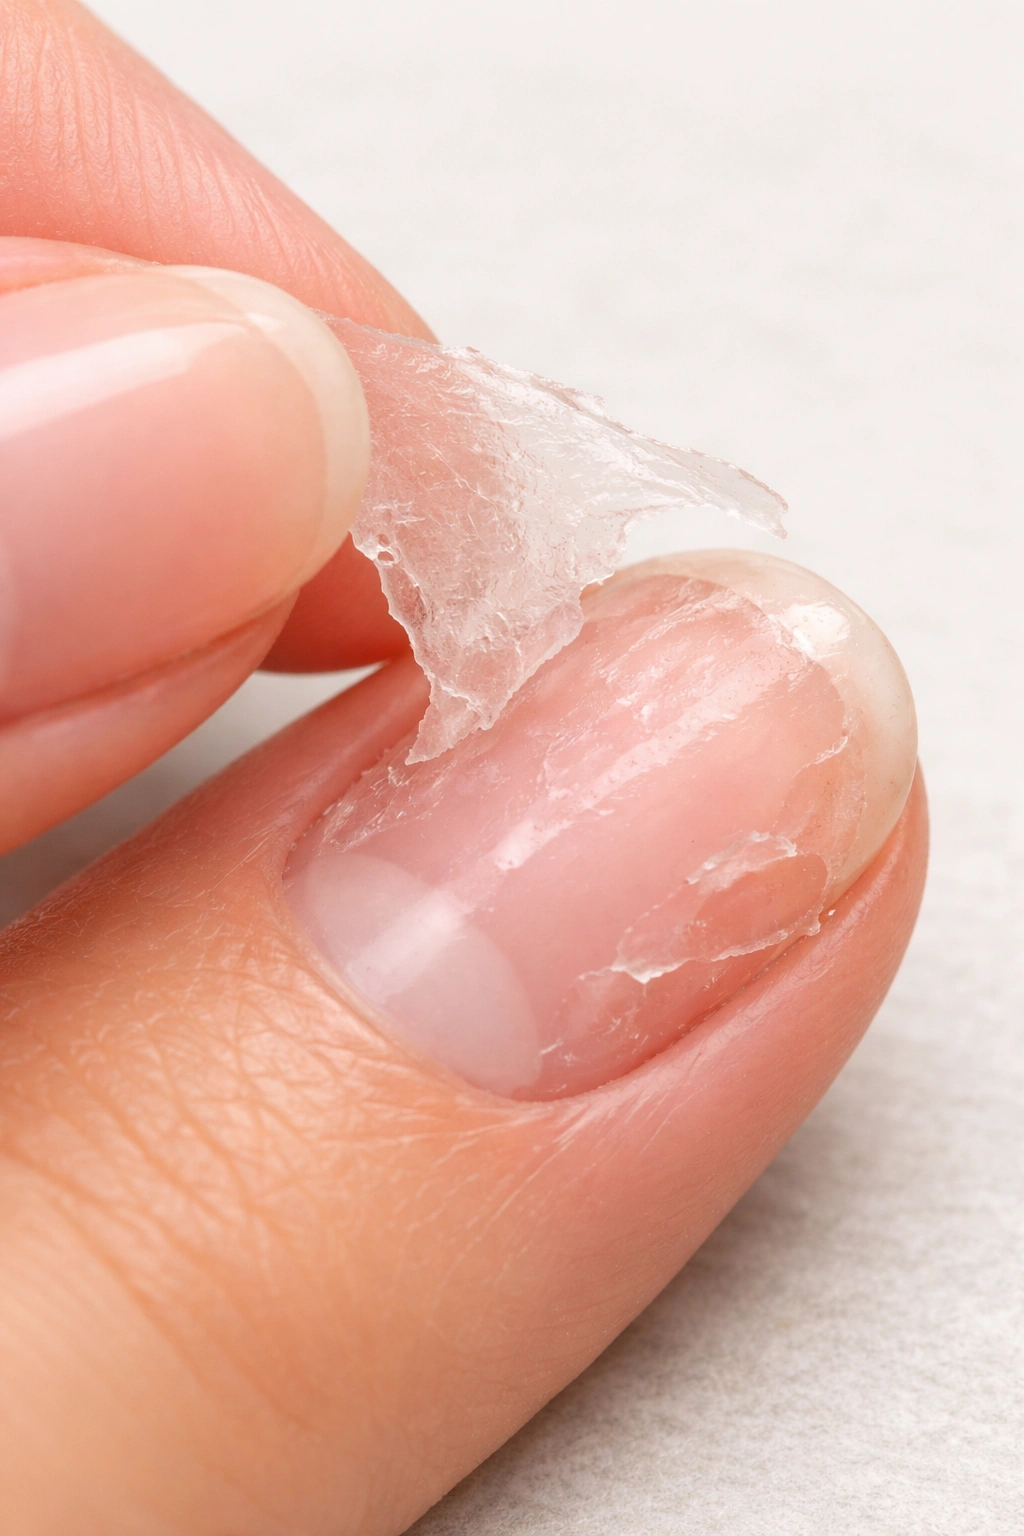
When your gel starts lifting at the edges or showing growth gaps, it’s incredibly tempting to pick at it. Maybe you can get a corner up, and it starts peeling off in satisfying strips. Stop right there. When you peel gel polish, you’re not just removing the polish—you’re removing thin layers of your nail plate that bonded to the gel.
This leaves your nails weak, thin, and prone to breaking. Some people strip away so much of their natural nail that it becomes painful, and the nail takes months to fully recover. The temporary satisfaction of peeling is not worth the long-term damage.
Similarly, don’t use excessive force with files, buffers, or scrapers. If you’re filing so aggressively that you’re generating heat or creating clouds of dust, you’re going too far. If you’re scraping with a metal tool and it takes real pressure to remove the gel, you need more acetone time, not more muscle.
Cutting your gel nails off with clippers or scissors is another bad move. Gel is hard, and when you try to cut through it, you create jagged edges and can crack or split your natural nail underneath.
Post-Removal Care That Rebuilds Strength
Your nails are thirsty after acetone exposure, and they need immediate nourishment.
As soon as all the gel is removed, wash your hands with a gentle, fragrance-free soap to get rid of any acetone residue. Pat your hands dry, then get to work with hydration.
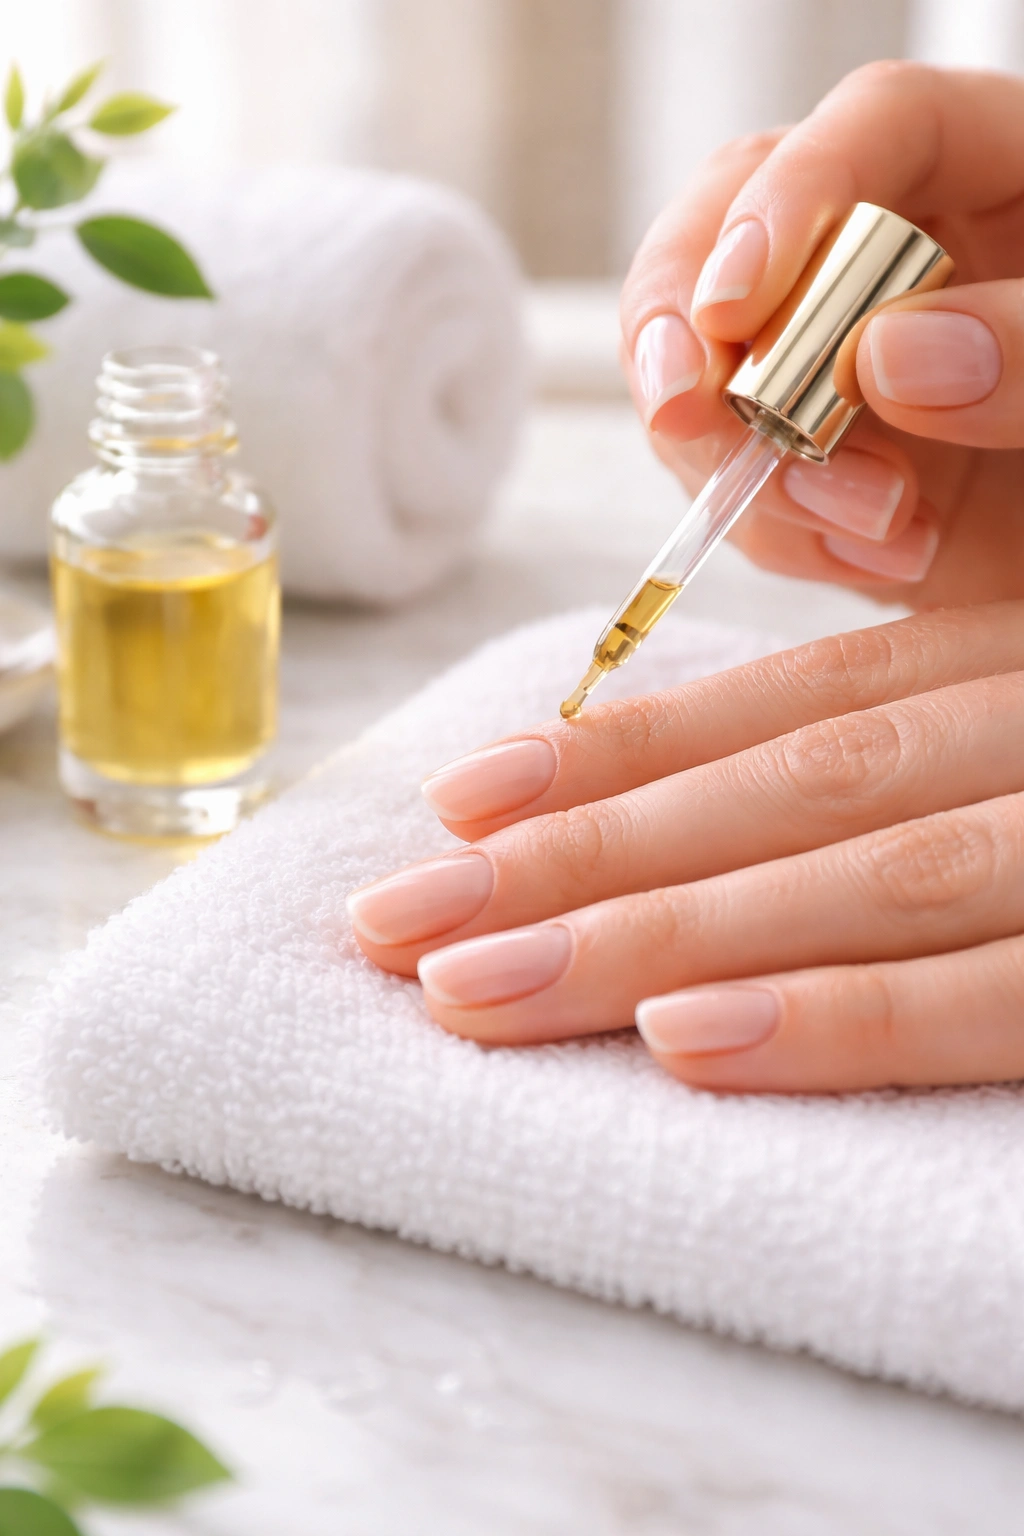
Apply cuticle oil to every nail and the surrounding skin. Massage it in thoroughly—into the nail plate, under the free edge if possible, and all around the cuticles. Oils containing vitamin E, jojoba, or sweet almond oil are especially beneficial for strengthening nails and promoting healthy growth.
For the week following gel removal, apply cuticle oil at least twice daily. This helps restore the moisture balance in your nails and prevents brittleness. Your nails might feel softer than usual for the first 24 hours after removal—that’s because water passes through your nails at a different rate when they’re coated versus bare. They’ll return to their normal state within a day.
Consider using a nail strengthener or treatment polish for the first few days. Products containing keratin, biotin, or calcium can help fortify nails that feel weak or flexible. Some treatments form a protective layer that prevents splitting and peeling while your nails recover.
Don’t forget about hand cream. Acetone doesn’t just dry your nails—it dries your entire hand. Use a thick, nourishing hand cream and reapply throughout the day.
The Grow-Out Method for Patience and Safety
If you’re not in a hurry, the safest removal method is simply letting your nails grow.
Gel polish grows out naturally as your nails grow. A gel manicure typically starts showing obvious growth after two to three weeks. Instead of removing it chemically, you can let it continue growing and clip the gel away bit by bit during your regular nail maintenance routine.
This method takes time—fingernails grow about 3 to 4 millimeters per month, so it can take six months or more to completely grow out a gel manicure. Toenails take even longer, sometimes 12 to 18 months. But during this process, your natural nail remains completely undamaged because you’re not exposing it to acetone or filing.
The key to success with this method is resisting the urge to pick or peel. As the gel grows out and starts to lift at the base, it becomes increasingly tempting to help it along. Don’t do it. Just keep trimming your nails weekly, removing the gel-covered portions as they extend beyond your fingertip.
This approach works especially well if your nails are already damaged or weak. It gives them time to recover and strengthen without any additional stress.
Tools and Supplies Worth Having
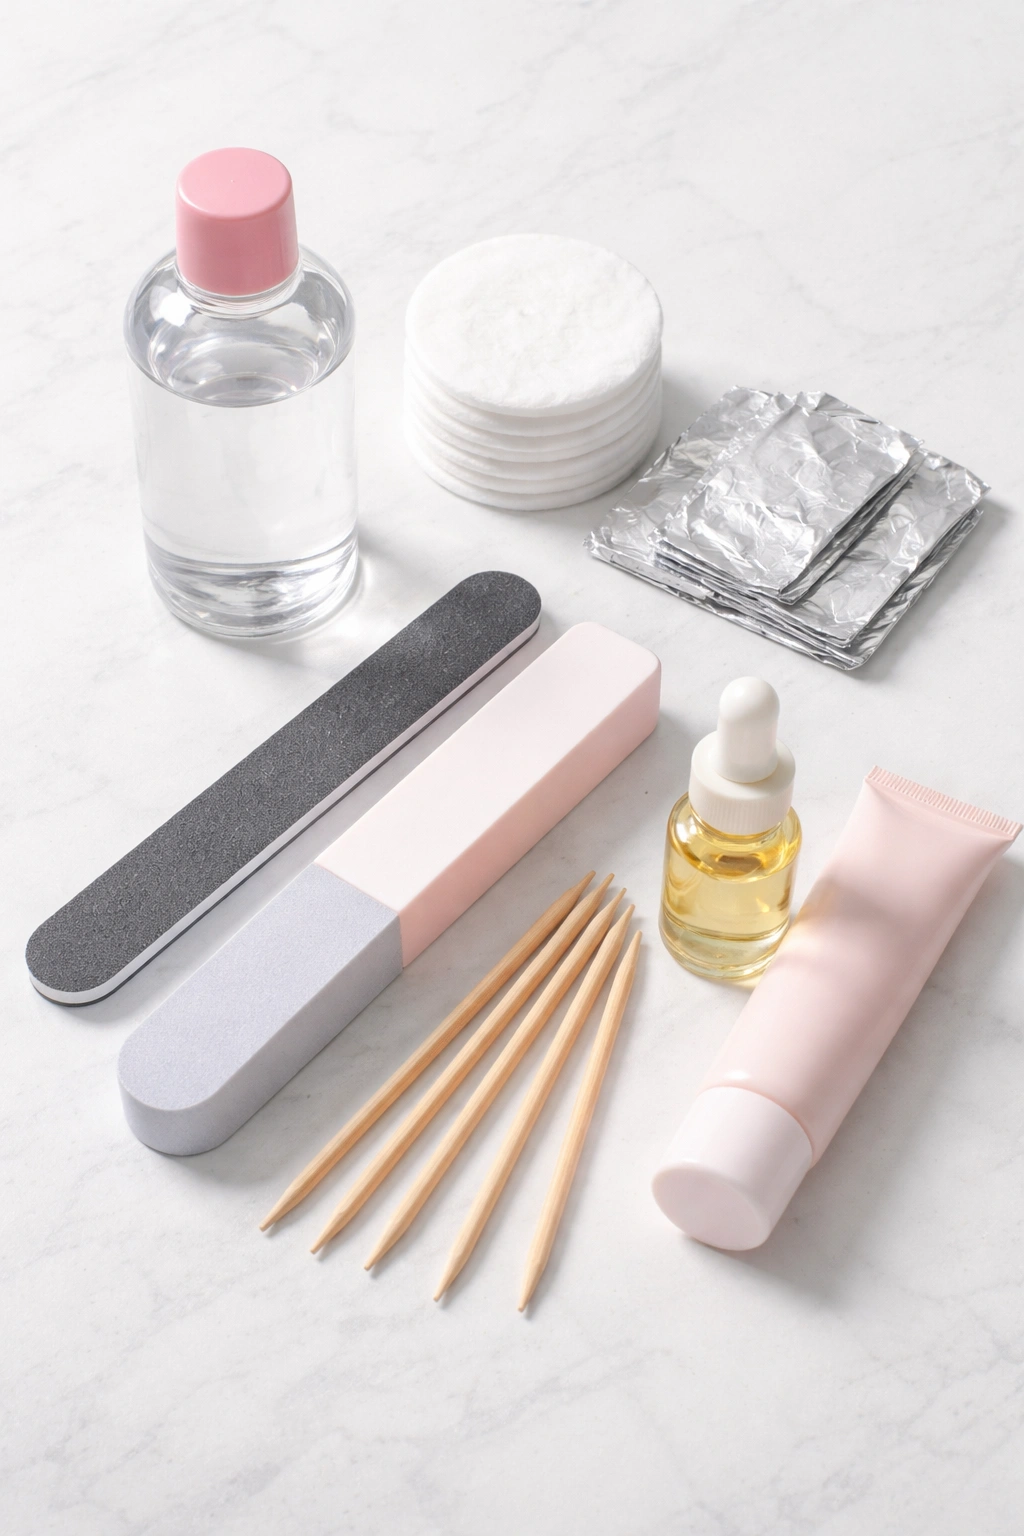
A proper gel removal kit makes the process smoother and safer.
At minimum, you need: 100% pure acetone, cotton balls or pads, aluminum foil or plastic wrap, a coarse nail file (100-180 grit), a fine buffer, wooden orange sticks, cuticle oil, and hand cream. Having these items ready before you start means you won’t waste precious soaking time hunting for supplies.
If you remove gel polish regularly, consider investing in reusable removal clips. These plastic clips hold acetone-soaked cotton pads firmly against your nails without the hassle of wrapping foil. They’re especially helpful if you’re removing polish from your dominant hand and struggling with dexterity.
Pre-packaged gel removal wraps are another convenient option. These are essentially cotton pads pre-saturated with acetone remover, already wrapped in foil, ready to use. You just place them on your nails and wait. They’re pricier than DIY removal, but they’re convenient and mess-free.
A good quality nail buffer with multiple grits helps smooth any roughness after removal without causing damage. Look for buffers marked 240 grit or higher for gentle finishing work.
Common Mistakes That Slow Down Removal
Small errors can turn a 20-minute process into an hour-long frustration.
Using acetone that’s too cold is a common problem. If your acetone bottle has been sitting in a chilly bathroom or garage, warm it up slightly by running the bottle under warm water for a minute. Don’t microwave it or overheat it, but bringing it to room temperature or slightly warmer makes a noticeable difference in how quickly it works.
Another mistake: not filing enough of the top coat initially. If you only lightly buff the surface until it looks slightly matte, you haven’t created enough porosity. Go further. Remove the shine completely and keep filing until you’ve taken off that first layer of color.
Working in a poorly ventilated area isn’t just uncomfortable—it can make you feel lightheaded or nauseous. Acetone fumes are strong. Always remove gel polish in a well-ventilated room, preferably near an open window or with a fan running.
Removing all your wraps at once instead of one at a time wastes the soaking work you’ve done. The acetone evaporates rapidly when exposed to air, so keep nails wrapped until you’re ready to work on each specific finger.
When to Give Your Nails a Break
Even with perfect removal technique, your nails benefit from occasional rest periods.
If you wear gel polish back-to-back for months without breaks, your nails can become thinner and more prone to damage, even if you’re removing the polish correctly. The combination of filing before each new application, the bonding process, and repeated acetone exposure takes a cumulative toll.
Plan to give your nails a break every two to three months. Go bare for a week or two, or just wear regular polish that comes off with gentle remover. During these breaks, focus on intensive nail care: daily cuticle oil applications, strengthening treatments, and keeping your nails at a shorter length to prevent breaks.
If your nails already feel weak, thin, or painful, take a break immediately. Let them recover fully before your next gel application. This might take several weeks, but it’s worth it to maintain long-term nail health.
Conclusion
Removing gel nails doesn’t have to mean damaged, weak nails. With pure acetone, proper technique, and genuine patience, you’ll keep your natural nails healthy and strong. Remember: the gel polish isn’t the enemy—rushing the removal process is. Take your time, protect your skin, and never force anything. Your nails will thank you, and you’ll be ready for your next gorgeous gel manicure without any guilt or worry.
