

Achieving a salon-quality gel pedicure at home might sound intimidating, but it’s genuinely one of the most rewarding beauty skills you can master. What once felt like an impossible task—curing polish under a lamp, managing tiny toenails, and getting everything to stick without chipping—has become completely accessible to anyone willing to invest a little time in learning the process.
The best part? Once you’ve done it a few times, you’ll wonder why you ever paid salon prices. Beyond the obvious money savings, there’s something deeply satisfying about sitting on your couch, watching your favorite show, and creating perfectly polished toes without leaving home. You’re in complete control of the colors, the finish, and the timing—no rushing to squeeze in an appointment or dealing with anyone else’s preferences.
The secret isn’t magic. It’s having the right supplies, understanding the actual mechanics of gel polish application, and knowing which steps truly matter versus which ones people overthink. The gap between a professional-looking pedicure and one that chips within a week often comes down to a few specific techniques that take practice to refine, but are absolutely learnable.
What Sets Gel Pedicures Apart From Regular Polish
Gel pedicures use an entirely different chemistry than traditional nail polish. While regular polish air-dries and remains somewhat flexible, gel polish hardens through curing under a UV or LED lamp. This curing process creates a bond to your nail that’s genuinely stronger and more durable than anything you can achieve with regular lacquer.
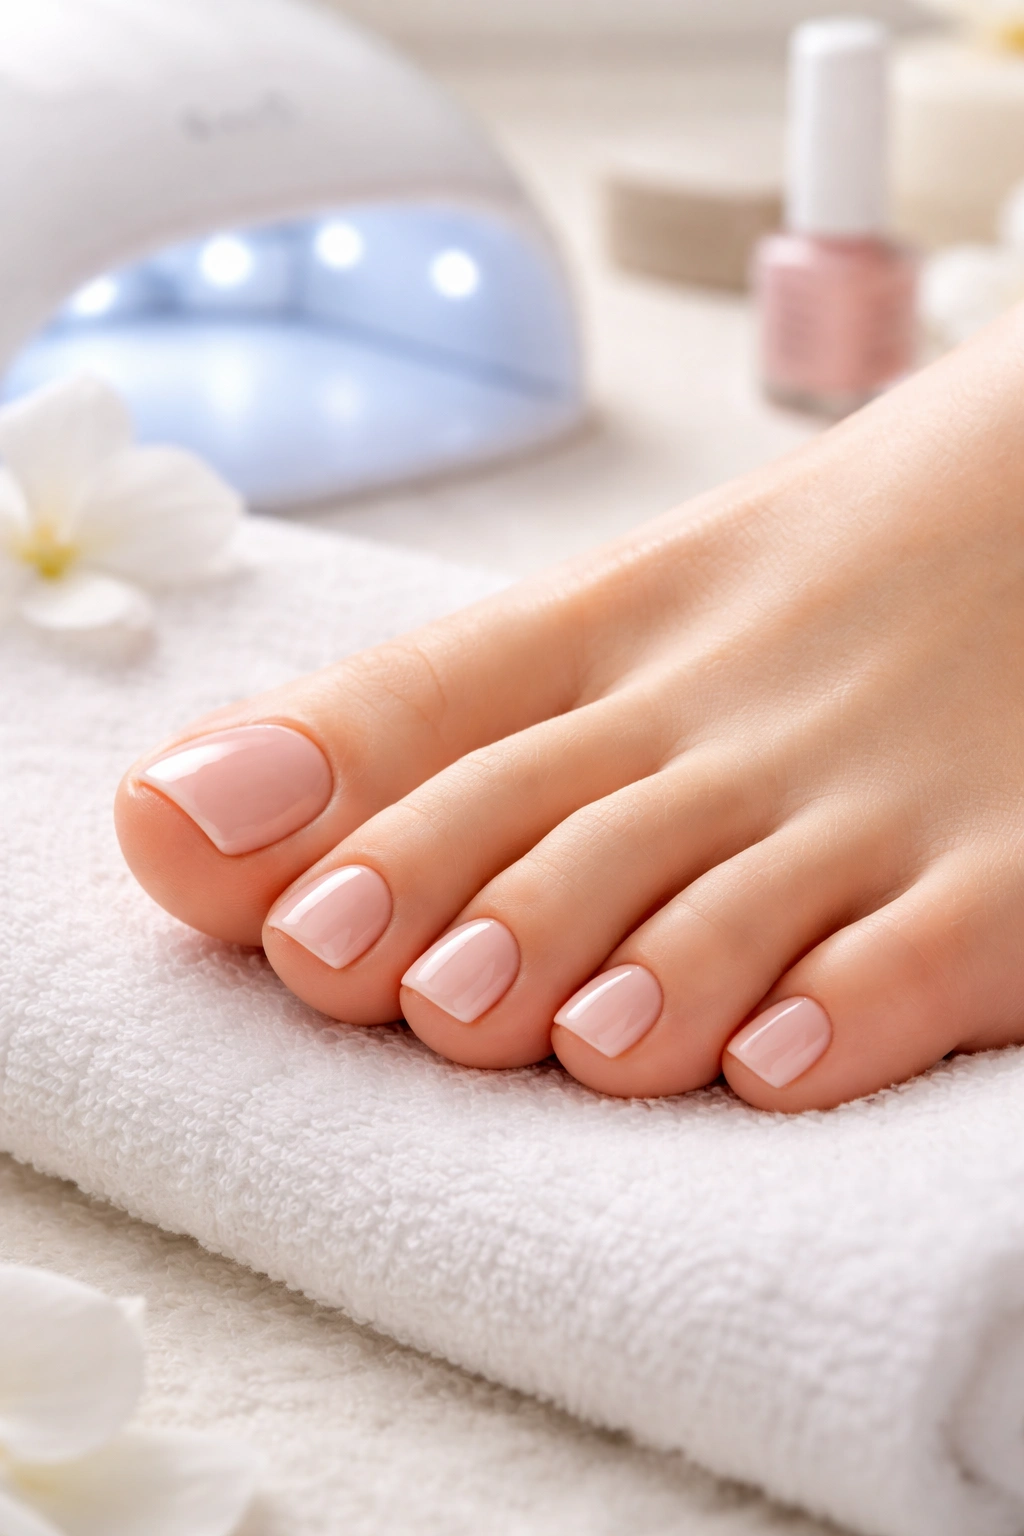
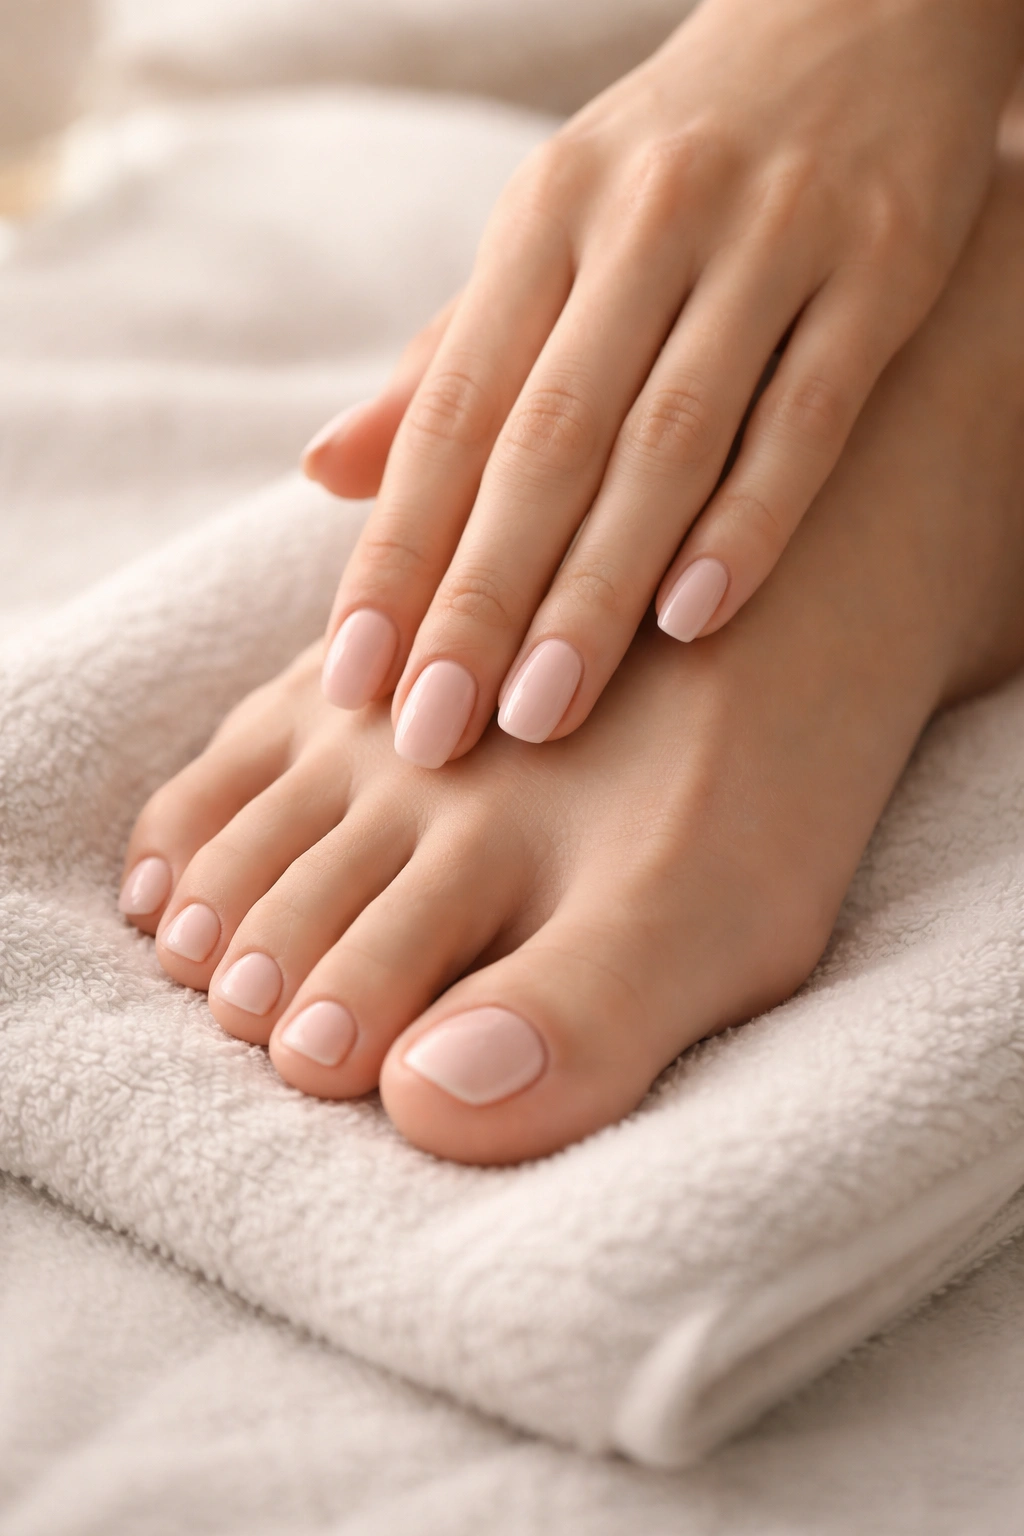
The practical difference shows up immediately. A regular pedicure might start chipping within a few days, especially on toenails that experience constant pressure from shoes and walking. Gel polish, by contrast, can last three to four weeks without chipping. Your toenails stay glossy, the color remains vibrant, and there’s zero smudging risk the moment it’s cured.
Another major distinction is drying time. Regular polish requires patience—you paint it, then need to wait for it to air-dry completely before you can put shoes on or do anything else without ruining your work. Gel polish dries instantly under the lamp. You cure it for 45 to 60 seconds, and it’s genuinely done. You can put socks and shoes on immediately without any worry whatsoever.
The trade-off is that gel removal is more involved than just soaking your feet and scrubbing polish off. You’ll need acetone, patience, and proper technique to avoid damaging your nail beds. But if you’re committing to a pedicure that’ll look perfect for weeks, the slightly more complex removal process is absolutely worth it.
Assembling Your At-Home Gel Pedicure Kit
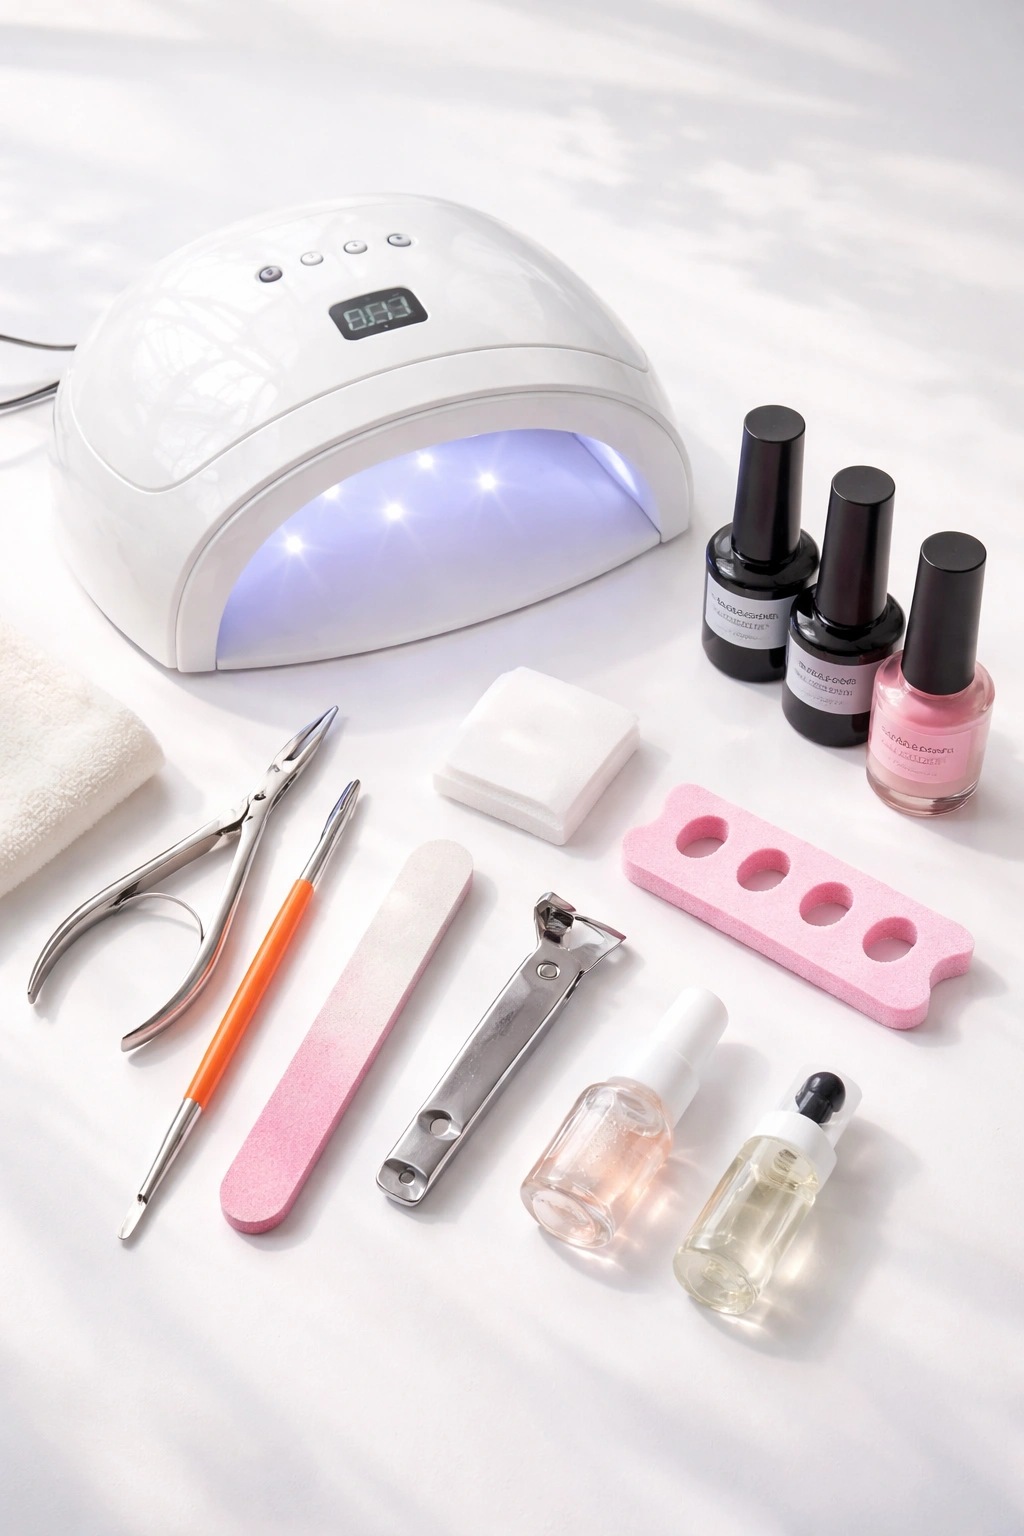
Before you even think about applying gel polish, you need the right tools and products. Skipping on quality here is the single biggest reason people struggle with DIY gel pedicures. This isn’t a situation where cheaper substitutes work just as well—they genuinely don’t.
The lamp is your foundation. You need either a UV lamp or an LED lamp (or a combination UV/LED lamp). LED lamps cure faster and are generally considered gentler on skin, though both work effectively for gel polish. Look for a lamp with enough interior space to fit your entire foot comfortably without awkward angles. This is where many people compromise and regret it—a lamp that’s too small makes curing your toes an uncomfortable experience every single time. A good lamp will set you back $30 to $50 and will last for years.
Gel polish requires matching base and top coats. Regular nail polish base coat won’t work with gel—it won’t cure properly under the lamp and your polish will lift. You need a gel-specific base coat and a gel-specific top coat. Many brands sell these as kits, which saves money. The base coat prepares your nail for color adhesion, and the top coat seals everything and adds shine.
Your color selection is unlimited. Gel polish comes in literally hundreds of shades. Pick colors you actually love because you’ll be living with them for a month. Darker colors tend to hide imperfections better if you’re new to this, but don’t let that stop you from trying something bold.
Prep and removal supplies matter more than people realize. You’ll need rubbing alcohol or a specialized nail dehydrator to clean your nails before applying gel. A good nail file (glass is best—it seals the keratin layer of your nail) shapes your toenails. A nail buffer smooths the surface so gel adheres properly. For removal, you’ll need 100% pure acetone—not acetone-based remover, but actual acetone. Cotton pads, aluminum foil, and a cuticle pusher help with the soaking-and-scraping removal process.
Cuticle tools are essential. A cuticle pusher gently moves back your cuticles without damaging the nail. A cuticle trimmer removes excess skin safely. A cuticle remover liquid softens cuticles and makes cleanup easier. These aren’t luxuries—they’re the difference between a neat, professional-looking pedicure and one where polish lifts prematurely because gel got on your skin.
Secondary supplies make the process smoother. Pedicure toe separators prevent polish from transferring between toes while curing. A nail art brush (smaller than a regular brush) lets you apply polish more precisely on tiny toenails. Lint-free wipes prevent fibers from getting trapped in your gel. Cuticle oil nourishes your nails after curing, counteracting any drying from the lamps and acetone.
Preparing Your Nails and Cuticles Properly
The single most important factor in whether your gel pedicure lasts four weeks or lifts in four days is preparation. Professional nail technicians understand this deeply—they spend as much time prepping as applying polish. Rush this step and you’re setting yourself up for disappointment.
Start by clipping your toenails straight across. This prevents ingrown nails and gives you a clean baseline. Use a file to round the corners slightly, creating a balanced shape. If you have particularly thick toenails, this step might take longer, but it’s worth the effort. A smoother starting point means smoother application.
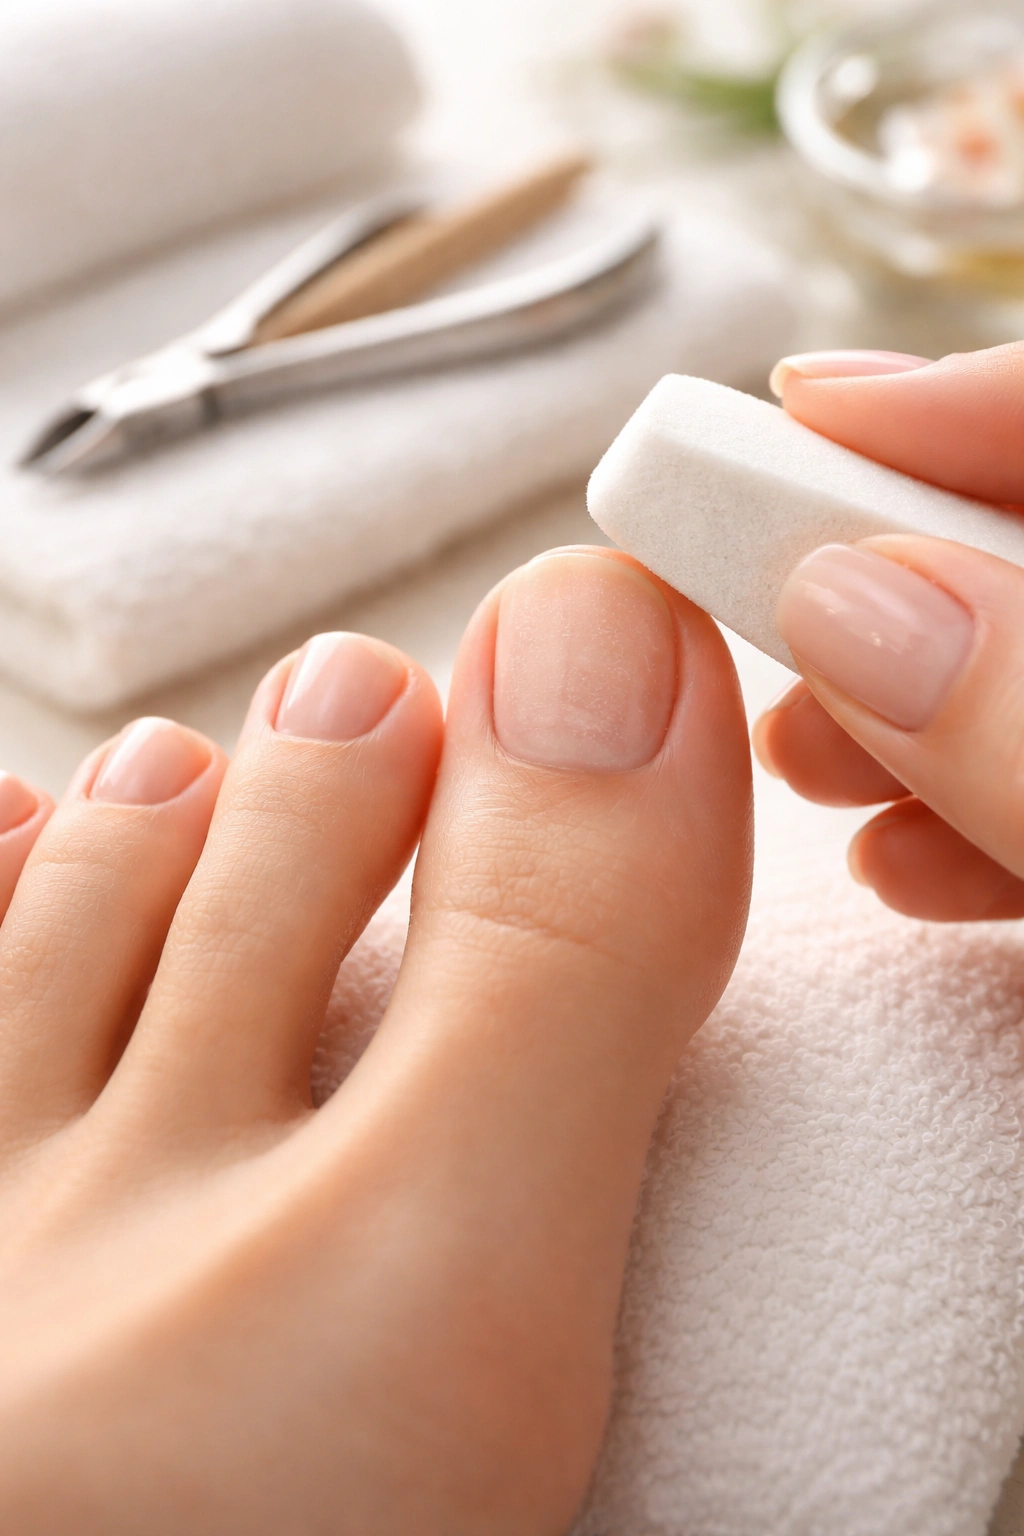
Now comes buffing, which genuinely changes everything. Use a nail buffer to lightly texture the surface of each toenail. You’re not trying to make your nails paper-thin—you’re creating tiny scratches that give your gel polish something to grip. Think of it like prepping a wall before painting. Buff gently with just a few passes over each nail. Too much buffing thins your nails unnecessarily; too little means your gel won’t adhere as strongly.
The cuticle situation requires attention and care. If you have a lot of cuticle buildup, apply a cuticle remover liquid and let it sit for three to five minutes. This softens the cuticles and dead skin, making everything easier to remove. Use your cuticle pusher to gently push back the cuticle. The goal is to see more nail bed—when you push back, you’re exposing more surface area for gel to bond to.
Be cautious with your cuticle trimmer. You only want to remove genuinely dead skin and excess cuticle, not the living tissue beneath. If you’re unsure, it’s better to leave a little extra than to cut too close and cause pain or bleeding. A small mistake here can set back your entire pedicure.
After cuticles are handled, use a cuticle stick or spade to gently scrape away any remaining dry skin from the nail plate itself. This is where a lot of people miss debris that’ll cause bumps in their final polish. Take your time here.
The final prep step is crucial and often skipped by beginners: cleaning and dehydrating your nails. Use a lint-free wipe soaked in rubbing alcohol or a nail dehydrator to wipe down each toenail. This removes oils, dust, and any residue from the prep work. Even one tiny dust particle can cause lifting later. Your nails should look clean, matte, and ready to receive gel.
Applying Your Gel Base Coat
Your base coat is what everything else depends on. If your base coat doesn’t bond properly to your nail, your entire pedicure is at risk of lifting.
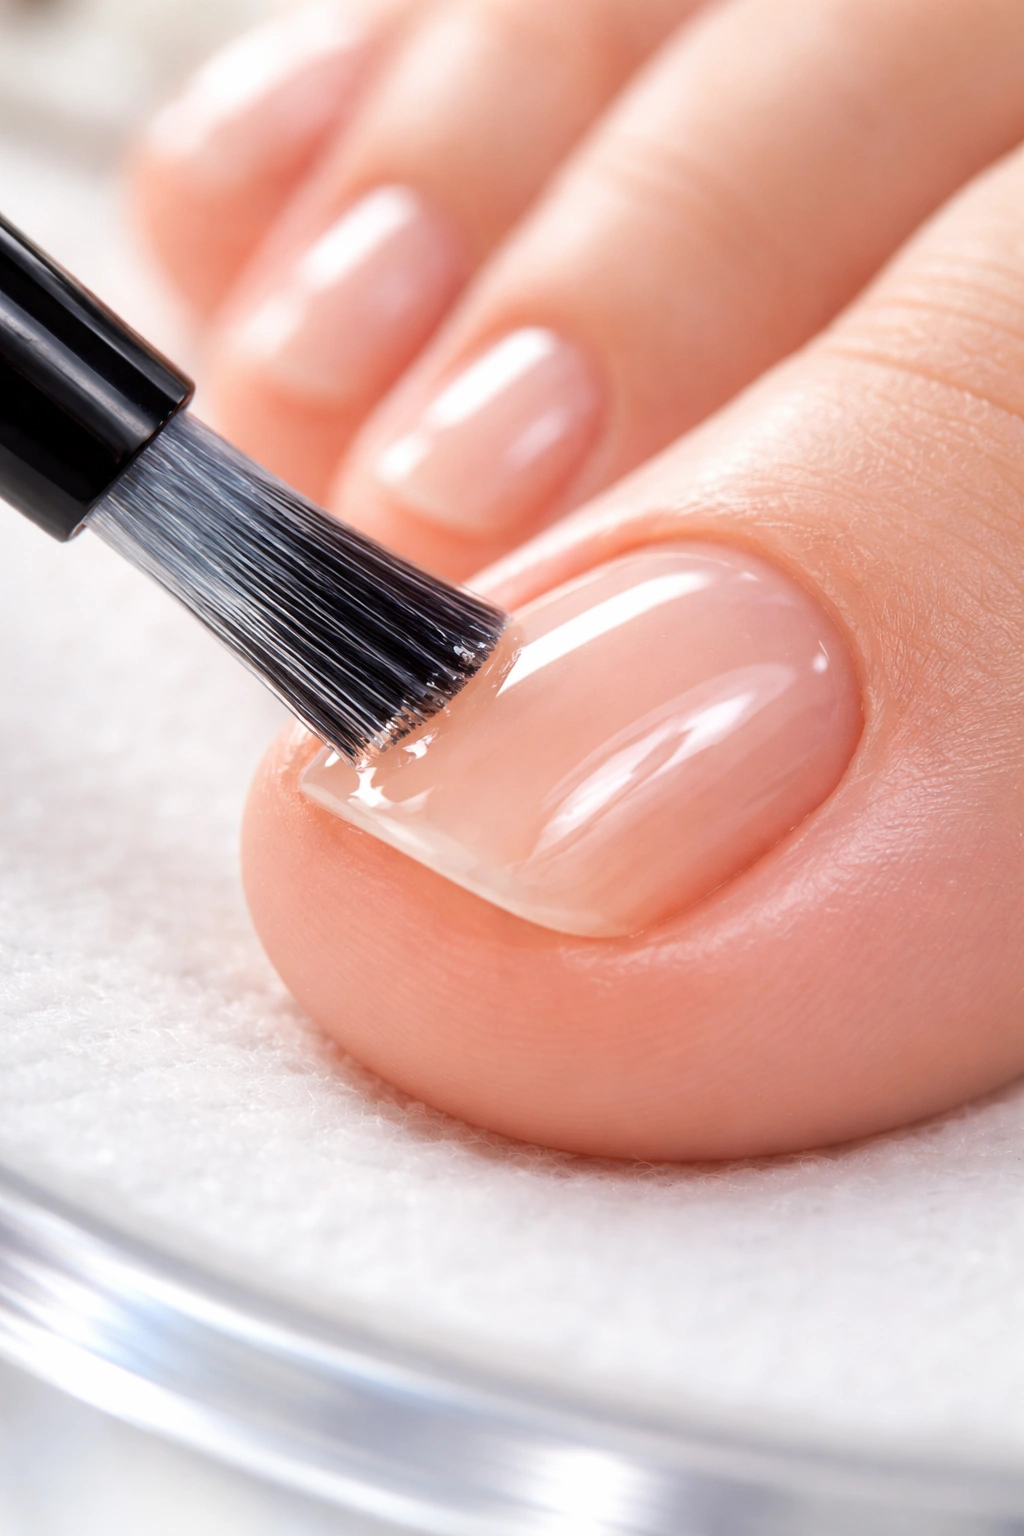
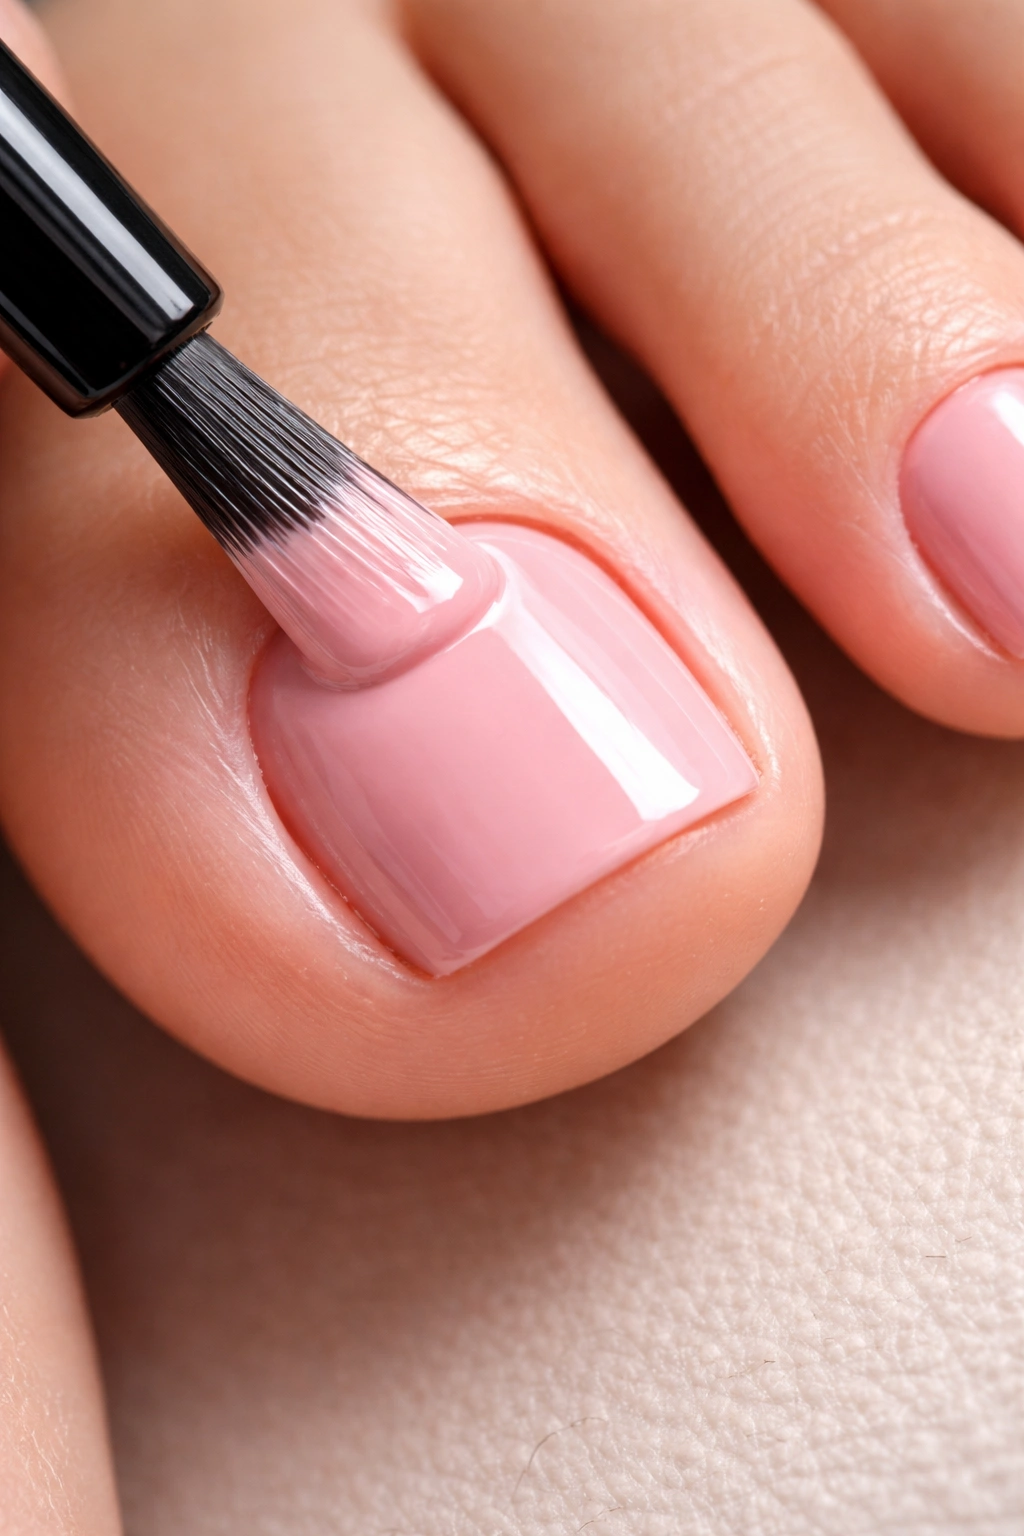
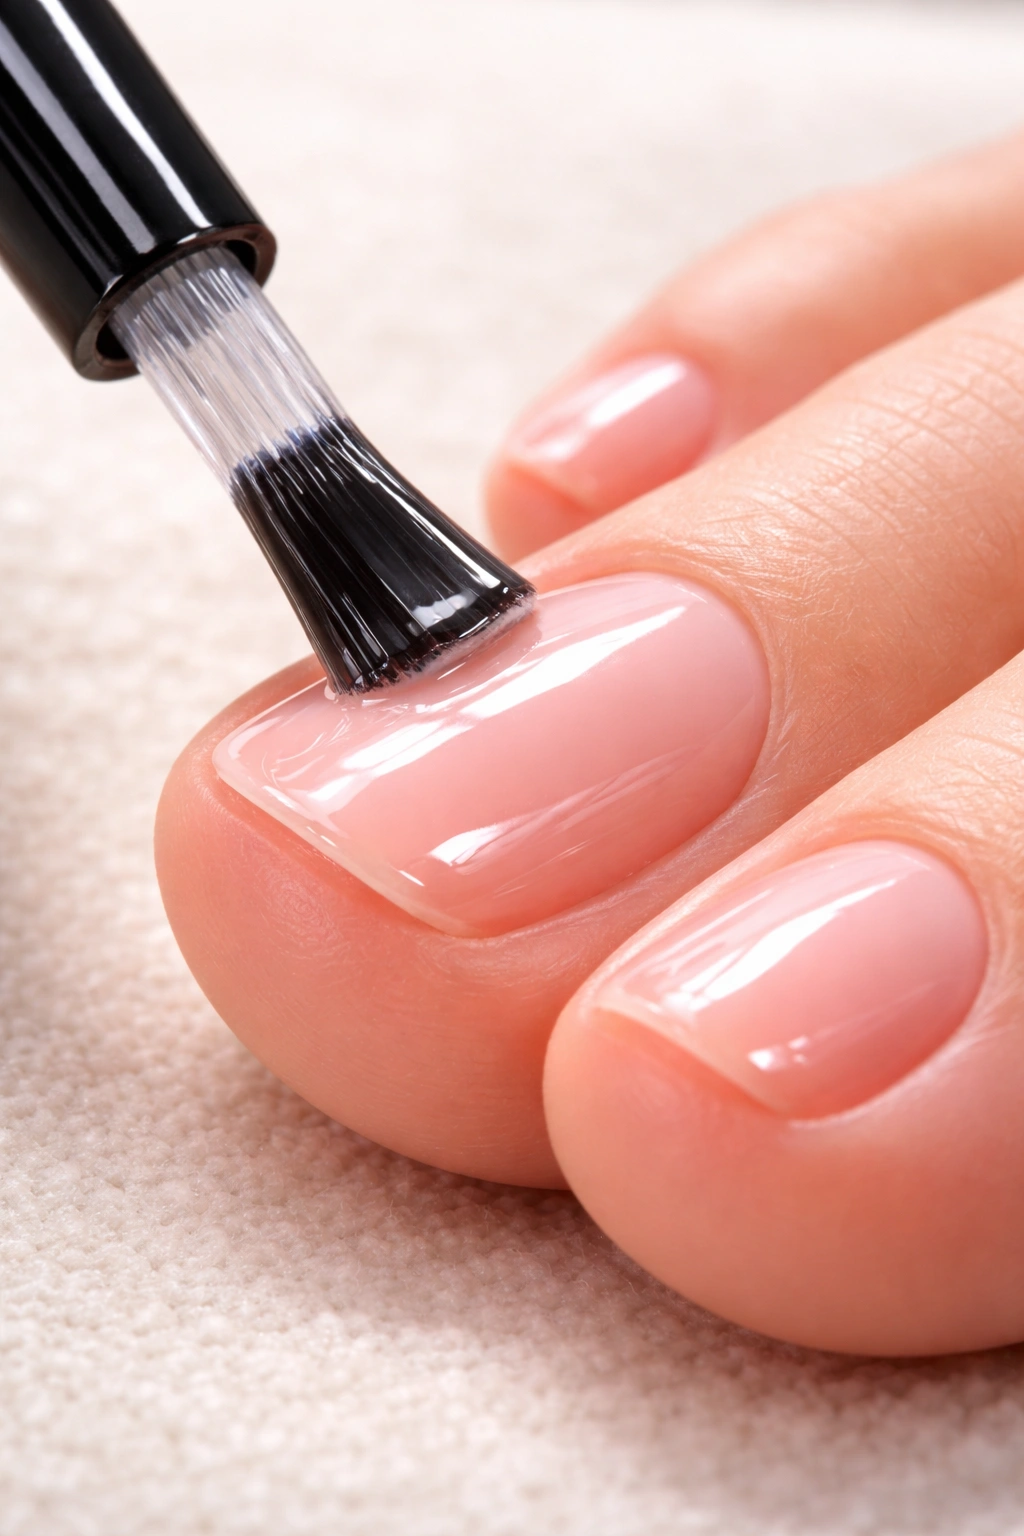
Apply a thin layer of gel base coat to each toenail, starting with one foot. The word “thin” matters here—this is where people commonly overapply and create thick, uneven layers that don’t cure properly. Your brush should glide across the nail surface smoothly, leaving just enough product to cover the entire nail evenly. Think of it like painting a wall with one coat of primer—you want coverage without excess.
After applying base coat to one foot, place that foot under your UV or LED lamp for the time specified by your product (usually 30 to 60 seconds for LED, longer for UV). Set a timer so you’re not guessing. Too little time and the base coat won’t fully cure; too much time won’t damage anything but is unnecessary.
Repeat this process for your other foot. Once both feet are cured, your base coats are ready for color application. The base coat creates a sticky surface that the color will adhere to beautifully.
Painting Your Gel Polish Color
This is where your pedicure actually gets its personality and color, and it’s where patience pays off. Rushing through color application is the fastest way to end up with streaky, uneven coverage.
Remove excess polish from your brush before each application. Circle the brush inside the bottle neck a few times and press it off against the rim. Less product on the brush actually gives you more control and better coverage. A loaded brush creates thick, uneven layers that cure poorly.
Apply your first thin coat of color, starting down the center of the nail and working outward toward the edges. Don’t worry if it looks streaky or uneven at this stage—that’s completely normal and expected. Cure this first coat under the lamp for 45 to 60 seconds depending on your lamp and polish.
After curing, check the coverage. Most colors need at least two coats for opaque, even color. If you can still see your nail beneath the polish, you’ll want a second coat. Apply it the same way—thin, smooth layers from center outward. Cure again for 45 to 60 seconds.
Some lighter shades or pastels might need a third coat. That’s fine. Multiple thin coats always look better than one thick coat, and they cure more reliably. Wait for each coat to cure before assessing whether you need another.
As you apply polish, inevitably some will get on your skin around the nail. This is actually normal and not a problem if you clean it up before curing. Keep a small brush or cotton swab handy with some acetone or gel remover on it. Wipe away any polish that strayed onto your skin before you cure that toenail. This prevents the gel from bonding to your skin (which peels uncomfortably later) and keeps your pedicure looking neat and professional.
Sealing Everything With Top Coat
Your top coat serves multiple purposes. It seals your color, adds shine, and protects your polish from chipping. Don’t skip this step or use regular polish top coat—you need gel-specific top coat.
Apply a thin, even layer of top coat over all your toenails on one foot, making sure to seal the edges completely. The edges are where chipping typically starts, so pay special attention to coverage there. Cure under the lamp for the full time specified by your product—usually 60 seconds.
Repeat for your other foot. Once cured, you’re technically done. Some gel top coats are “no wipe,” meaning they don’t leave sticky residue. Others do leave a tacky layer that you’ll wipe away with a lint-free wipe and rubbing alcohol. Check your product instructions—most will specify.
If you’re feeling creative, this is the moment to add nail art. You can apply stickers, stamping designs, or hand-painted details now. Just make sure to seal any additions with another layer of top coat before final curing.
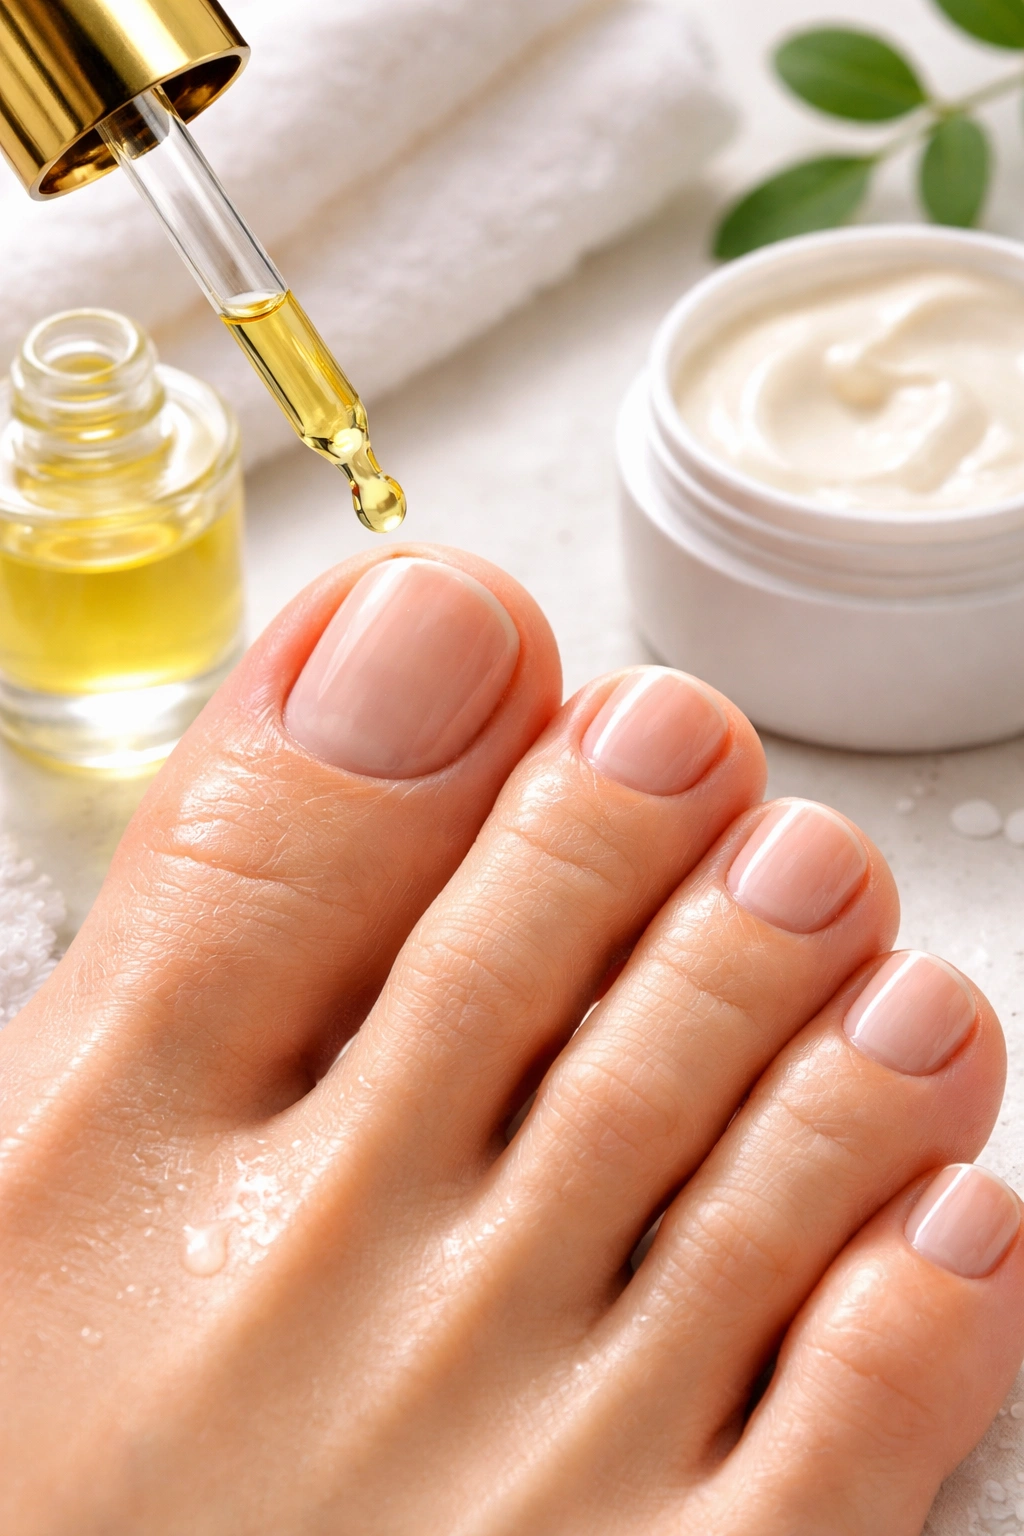
After your top coat is cured and any residue is wiped away, apply cuticle oil to your cuticles and the skin around your nails. The UV/LED lamps can be drying to your skin, and the acetone used in removal is also drying. Cuticle oil counteracts this, keeps everything moisturized, and actually helps your pedicure last longer by keeping the skin around your nails healthy.
Mistakes That Sabotage Your Results
Understanding what goes wrong helps you avoid the same pitfalls. These are the problems that plague beginners repeatedly.
Overapplying product is the number-one culprit. Thick layers of gel don’t cure evenly. The outer surface hardens while the interior remains gummy, creating a weak manicure that lifts easily. Thinner layers cure completely and uniformly, creating a durable bond. This is counterintuitive—you’d think more product means stronger nails—but it’s absolutely true with gel polish. Train yourself to apply less, not more.
Skipping the prep work is the second biggest mistake. If your nails aren’t properly buffed, dehydrated, and cleaned, gel won’t stick properly no matter how perfectly you apply it. This is where patience in the beginning saves you heartbreak later. Spend the time on prep.
Getting gel on your skin around the nails causes lifting. Gel polish can irritate skin if it sits there for weeks, and it also creates a barrier that prevents gel from bonding smoothly to your nail. Clean up any stray polish before curing. Your pedicure will look neater and last longer.
Not curing long enough leaves your polish gummy. If you guess at timing or use a timer on your phone that you might miss, you risk undercuring. Set a proper timer. A few extra seconds never hurts, but undercuring definitely does.
Using the wrong removal method damages your nails. If you pick, file, or peel gel polish off forcefully, you’ll damage your nail bed and thin your nails. Acetone soaking followed by gentle scraping is the correct method. Rushing removal is a sure way to have weak, damaged nails.
How Long Your Gel Pedicure Will Actually Last
Gel pedicures genuinely do last longer than regular polish—typically three to four weeks, sometimes even longer depending on several factors.
Your personal nail growth rate affects longevity. If your nails grow quickly, you’ll see the line between your grown-out nail and the gel within two to three weeks. If your nails grow slowly, your pedicure might stay perfect for four or five weeks. There’s nothing you can do about your growth rate, but understanding it helps you plan ahead.
Your activity level and footwear choices matter significantly. If you spend your time in open sandals or going barefoot, your gel will likely last longer because your nails aren’t experiencing constant friction and pressure from shoes. Conversely, if you wear tight shoes, do a lot of walking, or engage in activities that put pressure on your feet, your pedicure might show wear sooner.
Environmental exposure plays a role too. Chlorinated pools and saltwater beaches can affect longevity. Extended time in water softens the polish slightly and can cause edges to lift faster. This doesn’t mean you can’t swim with gel nails—just know that frequent water exposure might shorten the life of your pedicure slightly.
The quality of your application and curing directly affects durability. Properly cured gel with good base coat adhesion lasts longer than rushed applications. This is another reason why learning the technique well pays off immediately.
Most people find that maintenance between full applications makes sense. Around week three, if you notice any chipping or lifting, you can use a fresh top coat to refresh your pedicure and extend its life by another week or two. Just clean the area, apply new top coat, cure, and you’re good to go.
The Proper Way to Remove Gel Polish
Removal done wrong damages your nails. Removal done right preserves your nail health and prepares them for your next application.
Start by buffing the shiny top coat surface lightly with a nail file. This breaks the seal and helps acetone penetrate the gel layers below. You’re not trying to file away all the gel—just enough to dull the shine.
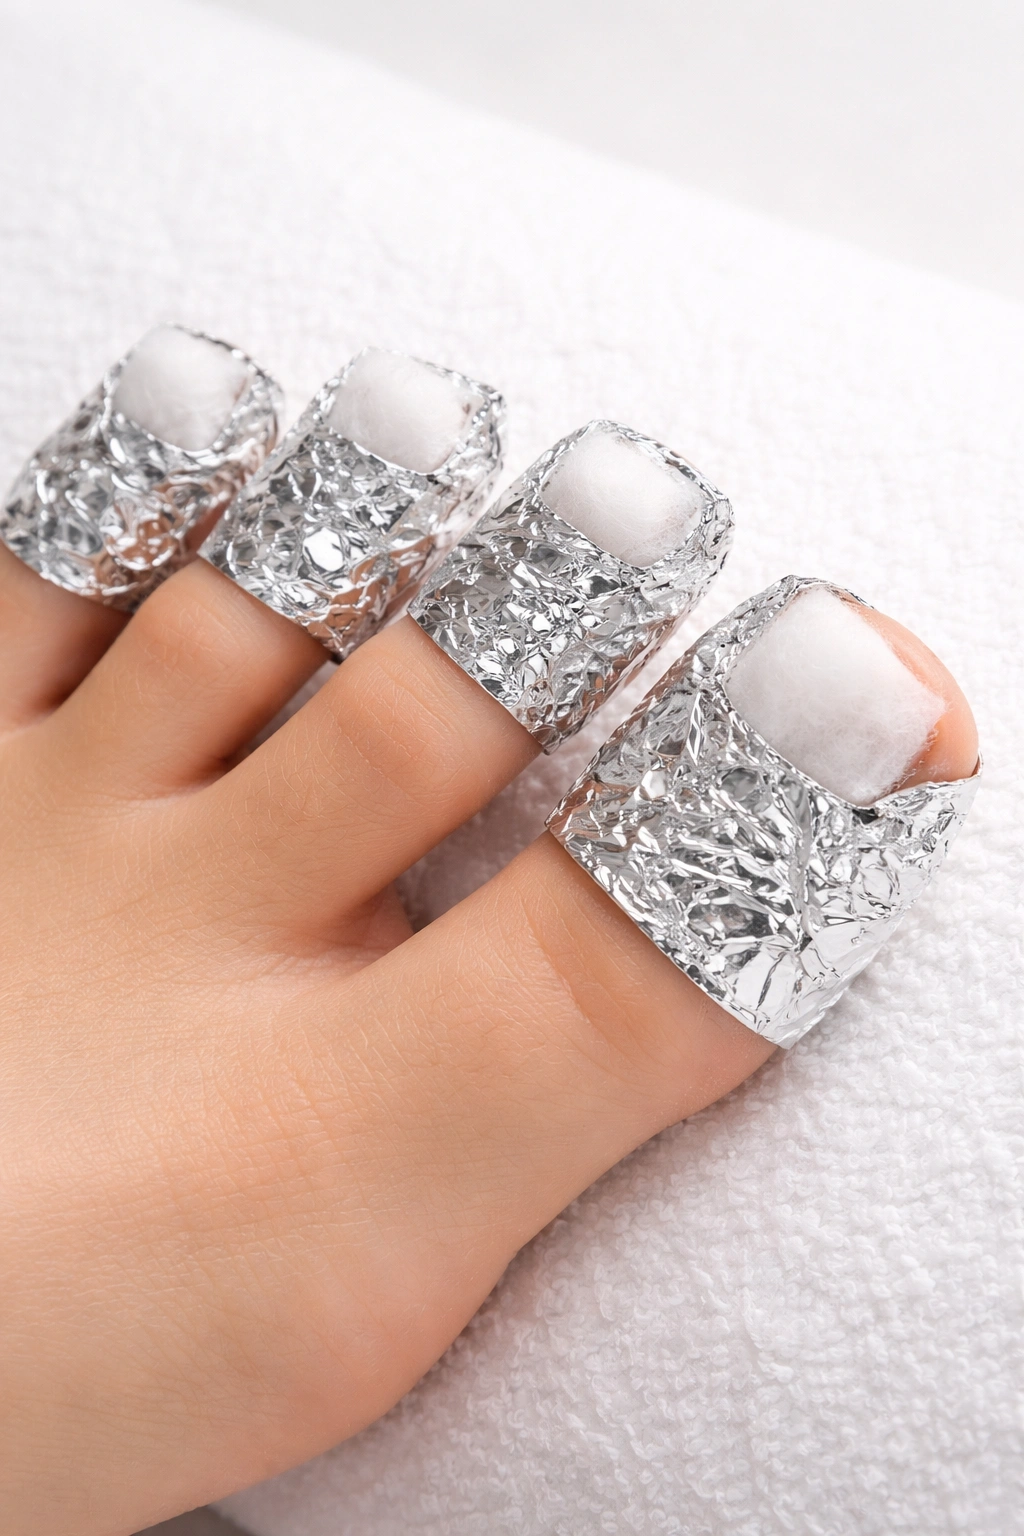
Cut cotton pads into smaller pieces (roughly one per toenail) and soak them completely in 100% acetone. The acetone is crucial—acetone-based removers won’t work as effectively. Wrap each acetone-soaked cotton pad around a toenail and secure it with aluminum foil wrapped tightly around your toe. The foil holds the cotton in place while the acetone works.
Leave the foil wraps on for at least 10 to 15 minutes. The longer you soak, the better the acetone penetrates. If you’re impatient and remove them too early, you’ll struggle to scrape the gel off. Set a timer and actually wait.
After soaking, remove one foil wrap and try gently scraping with a cuticle stick or wooden stick. The gel should start lifting relatively easily. If it’s still stuck, re-wrap that toe and soak for another five minutes. Don’t force it. Forcing removal damages your nail bed.
Gently scrape away the softened gel. Work slowly and carefully. Once you’ve removed the bulk of the gel, any remaining residue can be gently buffed away. Apply cuticle oil and a good moisturizer to your feet afterward—acetone is drying, and your nails need some hydration.
After removal, your nails need a break before your next gel application. At minimum, wait a few days. Many professionals recommend waiting a week to let your nails recover. This gives them time to regain moisture and strength. During this break, apply cuticle oil daily and skip any nail polish to let your nails breathe.
Maintaining Your Pedicure Between Applications
Gel pedicures require minimal maintenance, but a little effort extends their life considerably.
Apply cuticle oil daily, especially around your cuticles and the edges of your nails. This keeps the skin healthy and prevents premature lifting. Cuticle oil is genuinely one of the most underrated products in nail care.
Moisturize your feet regularly. Your feet deal with more friction and pressure than your hands, and they have fewer oil glands naturally. Regular foot cream or lotion keeps skin supple and helps maintain the seal around your nails.
Avoid prolonged soaking in water. While swimming occasionally won’t ruin your pedicure, spending hours in a bath or pool softens the gel and can cause edges to lift. Keep water exposure reasonable.
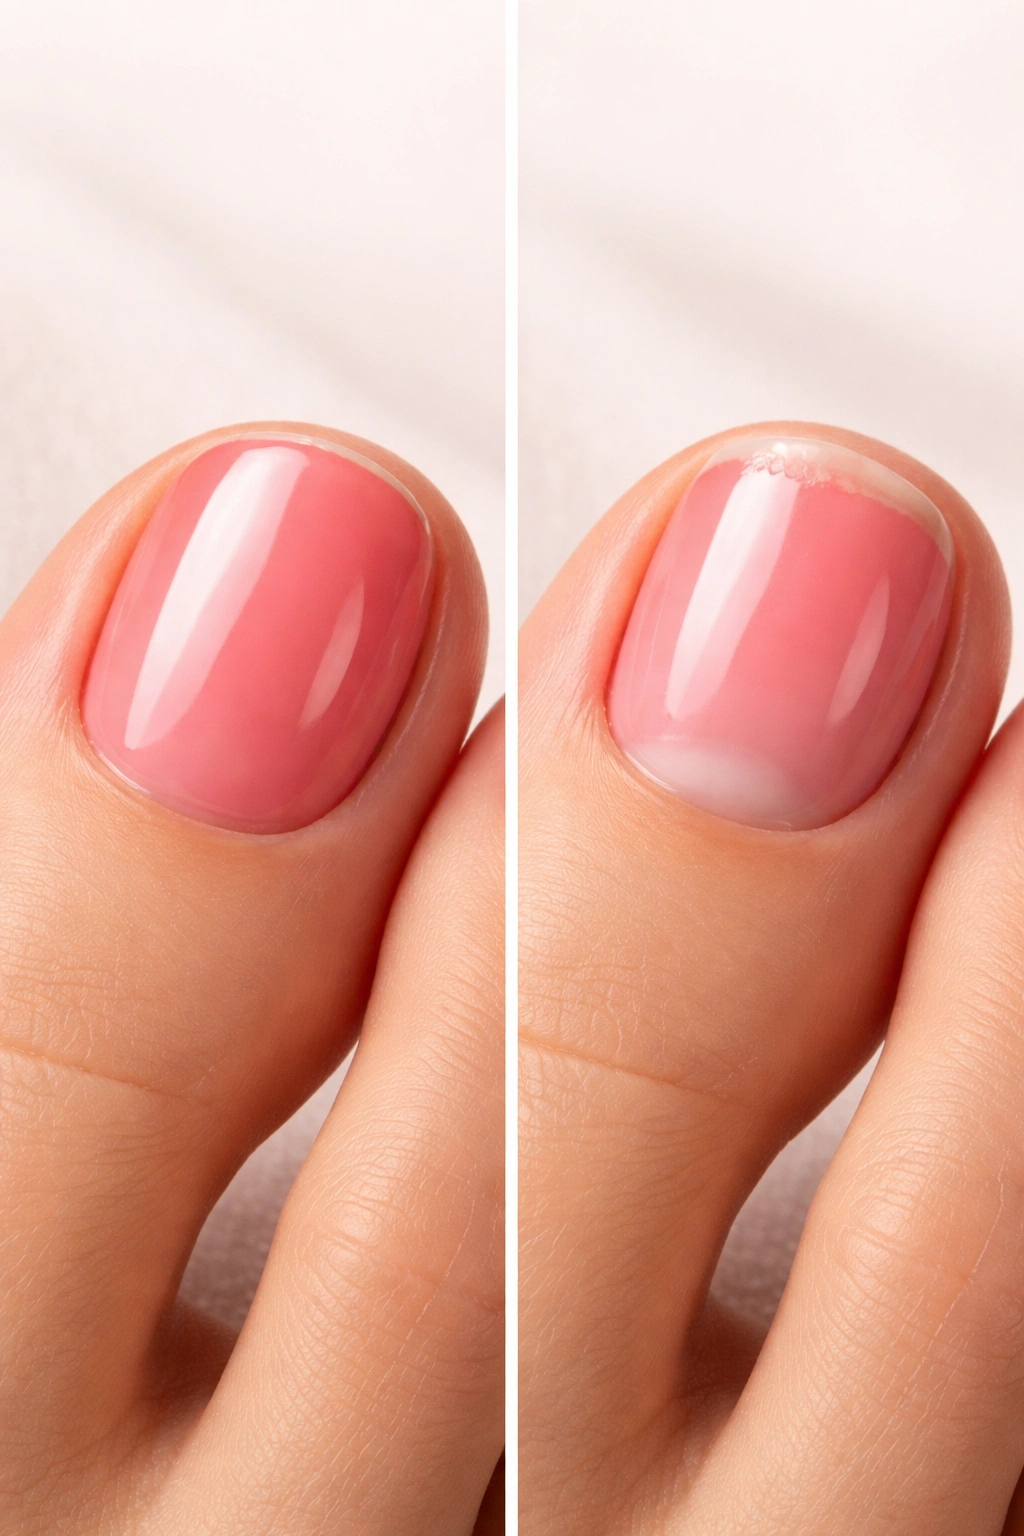
If you notice any chipping or lifting at the edges, address it immediately. A fresh layer of top coat cured properly can seal up a small issue and extend your pedicure’s life by another week. Don’t wait for the whole thing to fall apart.
Wear shoes that fit properly. Tight shoes create pressure on your toenails and speed up chipping. Well-fitting shoes protect your pedicure and your foot health.
Troubleshooting Common Problems

Even with perfect technique, occasional issues pop up. Here’s how to handle them.
Bubbles in your gel. These appear when air gets trapped during application. They’re usually caused by applying too much product or not spreading it evenly. Prevention is the best fix—apply thin coats and spread smoothly. If bubbles appear, you can sometimes tap them gently to release the air before curing.
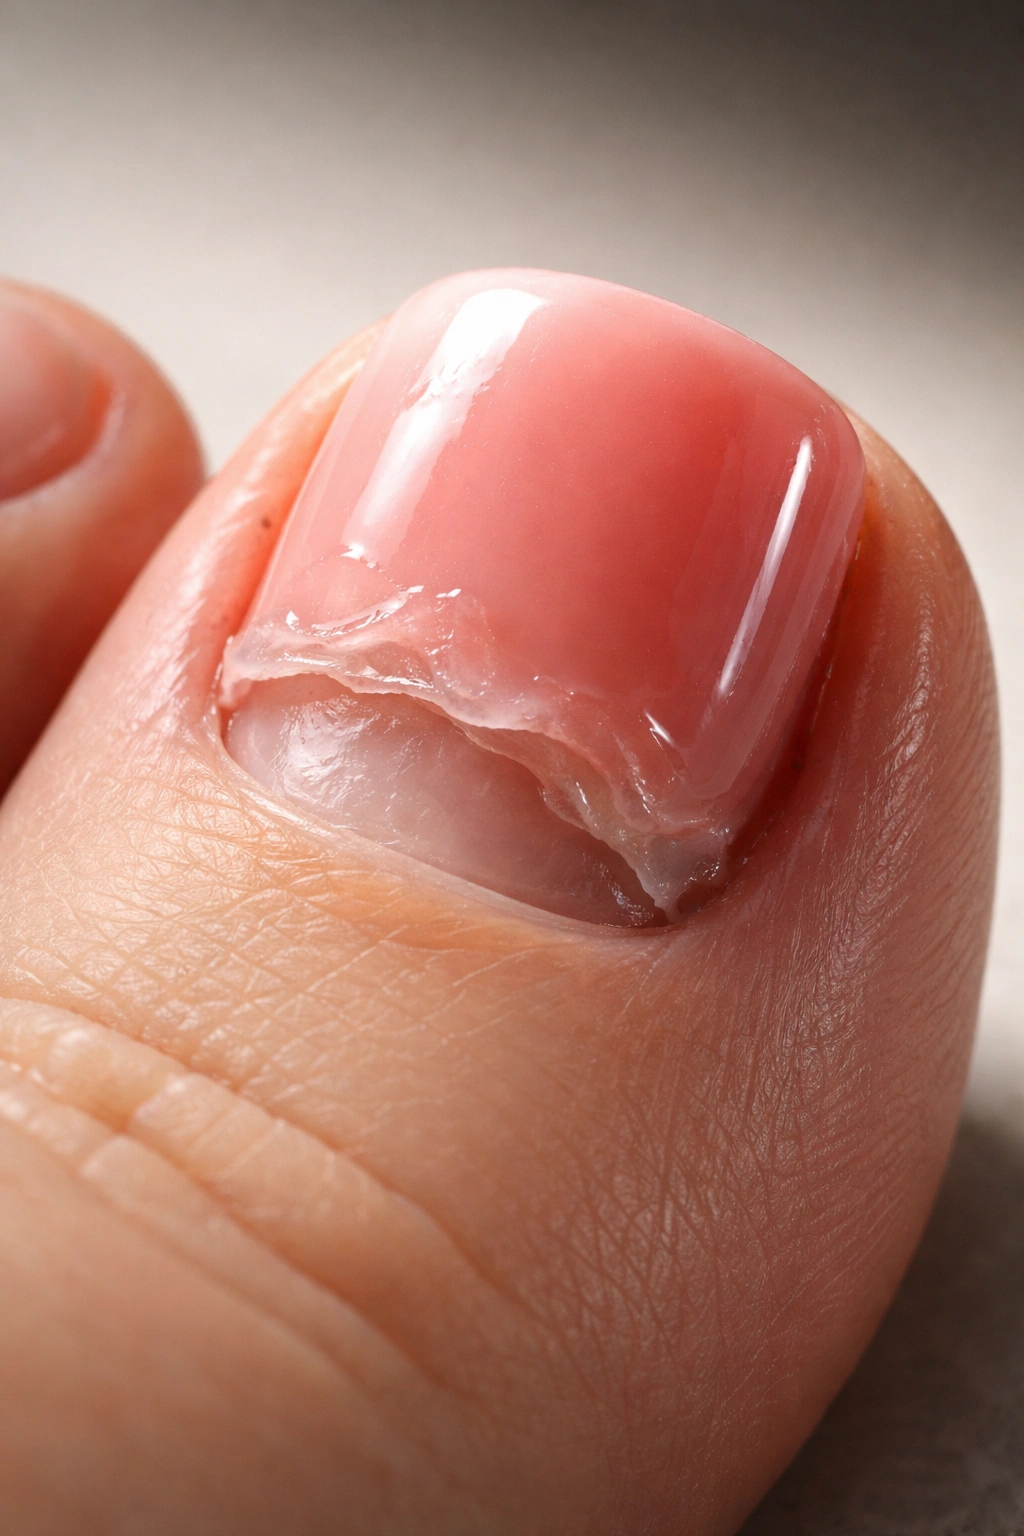
Lifting at the edges. This typically means your base coat didn’t adhere properly or you got gel on your skin. On your next pedicure, spend more time on prep and be more careful about cleanup. If lifting happens mid-pedicure, you can try applying fresh top coat to the affected area, but replacement is usually better.
Streaky or uneven color. This usually means you applied too little product. Apply a bit more product on your next coat and spread it more thoroughly. It takes practice to find the exact right amount—not too little, not too much.
Nails feel weak after removal. This means you either over-buffed during prep, used too much product that created too much weight, or were too aggressive during removal. Let your nails recover with cuticle oil daily. On your next pedicure, be gentler everywhere—less buffing, thinner product layers, and more careful removal.
Polish won’t cure evenly. Your lamp might be losing power, or you might not be curing long enough. Check that your lamp is working (they sometimes have switches you can accidentally turn off). Try curing a few seconds longer. If problems persist, your lamp might need replacing.
Allergic reaction or irritation. If your skin around your nails becomes red, itchy, or irritated, you likely got gel on your skin during application and it hardened there. This is preventable through careful cleanup before curing. If it happens, remove the gel and use a gentle moisturizer on the irritated area. Consider whether you need hypoallergenic gel polish if reactions continue.
Final Thoughts
Mastering at-home gel pedicures is genuinely one of those skills that pays dividends. The financial savings alone (you’ll save hundreds of dollars per year) justify the learning curve, but there’s also something empowering about creating beautiful nails yourself, on your schedule, without depending on anyone else’s skill or attitude.
Your first few pedicures won’t be perfect. You might overapply product, undercure, or struggle with even coverage. That’s completely normal and expected. The difference between nail professionals and DIY enthusiasts is mostly practice and attention to detail—both of which you can develop. Each time you do your nails, you’ll get a little smoother, a little faster, and a little more confident.
The real secret is understanding that preparation and patience matter infinitely more than speed or fancy techniques. Spend time on nail prep. Apply thin coats. Wait for proper curing. Clean up your mistakes before locking them in. Do this consistently, and your at-home gel pedicures will rival anything a salon could produce—except you’ll have done them yourself, for a fraction of the cost, while binge-watching your favorite shows.
