

There’s nothing quite like the disappointment of finishing a manicure only to discover tiny bubbles scattered across your freshly painted nails. You’ve invested time, selected the perfect color, and executed what felt like a flawless application—only to have those pesky air pockets emerge and threaten to ruin your look. The good news? Fixing nail polish bubbles is absolutely possible, and depending on when you catch them, you have several effective solutions at your disposal.
Bubbles in nail polish happen more often than you’d think, and they’re not always a sign that you’ve failed at your manicure. Even experienced nail technicians encounter them because they result from a combination of factors: the polish formula, application technique, environmental conditions, and timing. The key is knowing exactly what to do the moment you spot those telltale bumps.
This guide walks you through every method to rescue a bubbly manicure—from catching bubbles while they’re still wet to fixing them after they’ve dried. You’ll learn which techniques work best for different situations, what tools you actually need, and how to prevent this frustrating problem from happening in the first place. By the end, you’ll have the confidence to handle bubbles before they even become a real problem.
Understanding Why Nail Polish Bubbles Form in the First Place
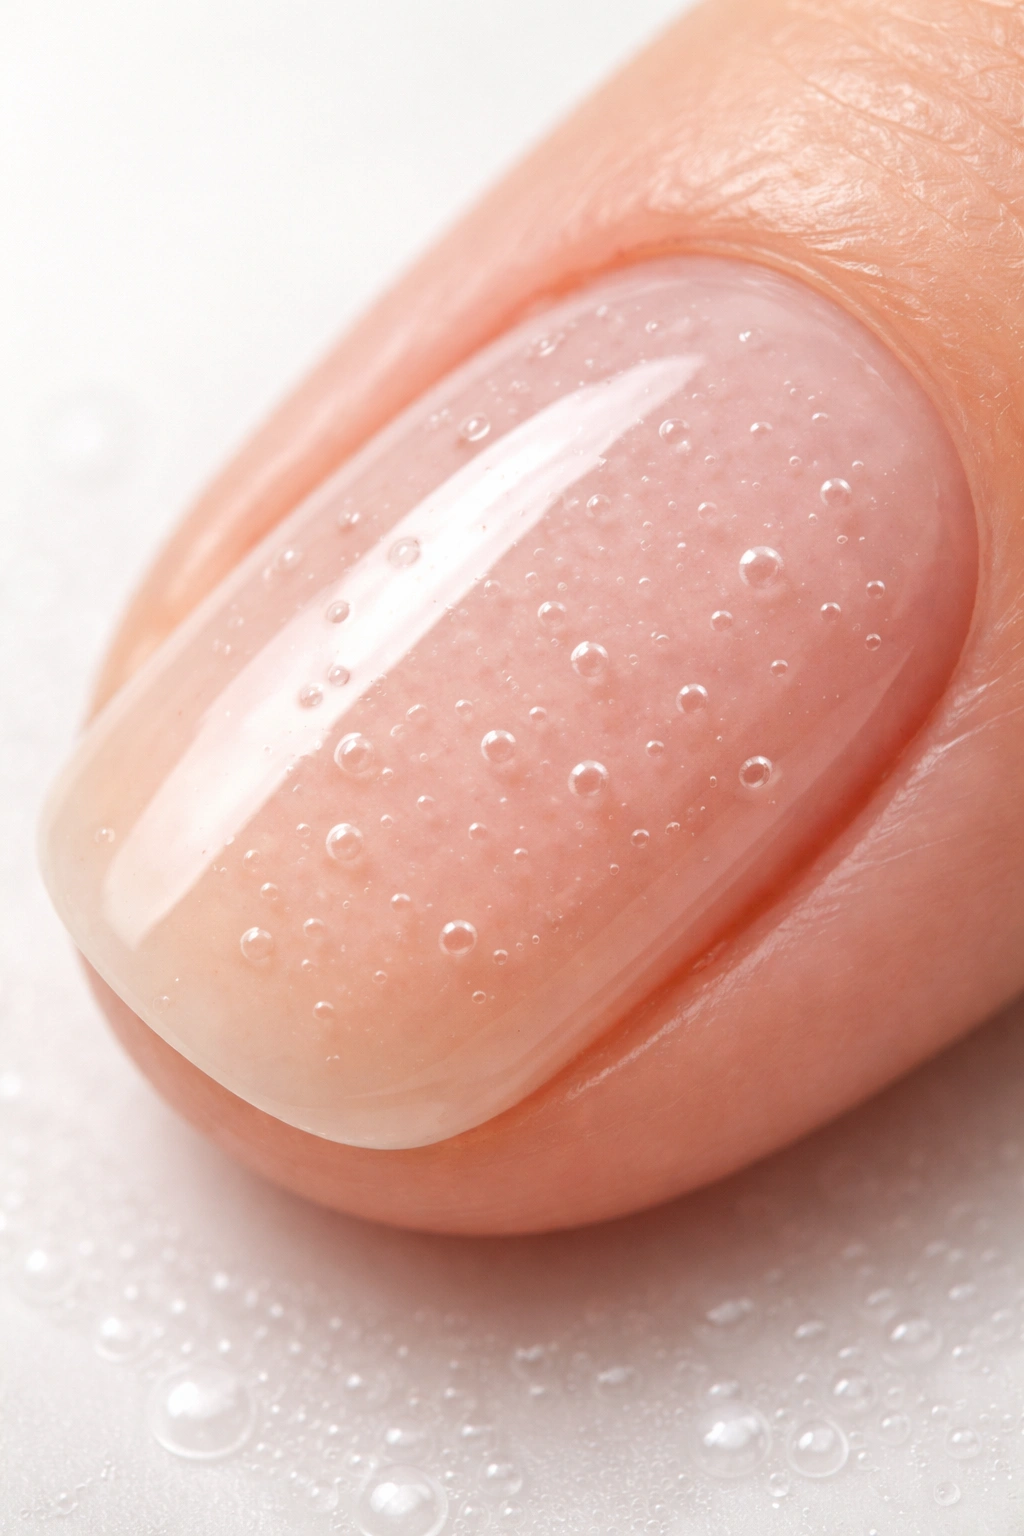
Before tackling fixes, it helps to understand exactly what’s happening on your nails. Nail polish bubbles are essentially tiny pockets of air that get trapped between layers of polish during the application and drying process. They’re not a sign of poor-quality polish—they’re an inevitable byproduct of how nail polish chemistry works.
The solvents in nail polish evaporate as it dries, and sometimes those solvents dry too quickly or unevenly, trapping air molecules underneath. Alternatively, if moisture or oils are present on the nail bed, they can create tiny gaps that allow air to sneak in between the polish and the nail surface. The polish formula itself matters too—some formulas are simply more prone to trapping air than others.
Humidity and temperature significantly influence bubble formation. High humidity disrupts the even drying process that prevents bubbles from forming. Cold temperatures can cause the polish to dry too quickly on top while staying soft underneath, creating pockets of trapped air. Understanding this chemistry helps you figure out not just how to fix bubbles, but why they happened in the first place.
How to Fix Bubbles While Your Polish Is Still Wet
The absolute best time to address a bubble is the moment you notice it forming—while the polish is still wet and workable. This is your golden window of opportunity because wet polish is malleable and responsive to correction.
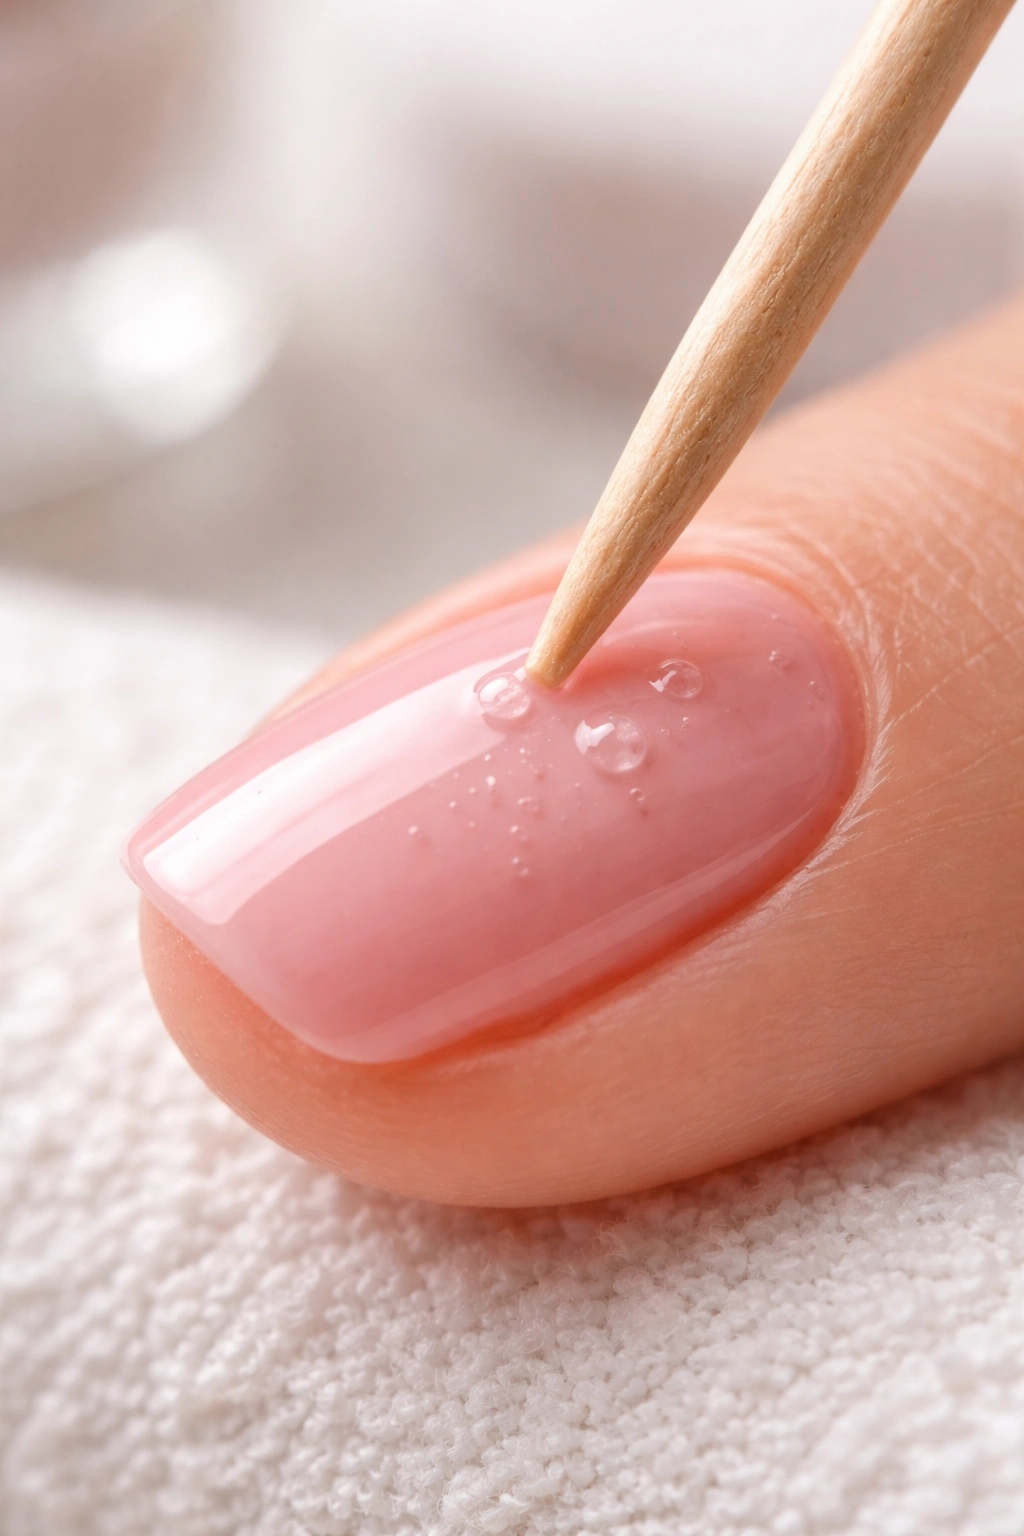
Using a Wooden Stick or Cuticle Pusher
If you spot a bubble while your polish is still wet, grab a clean wooden stick or the back end of a cuticle pusher. Gently press the bubble with the stick to pop it and release the trapped air. This works because the polish hasn’t yet hardened enough to seal the bubble inside. The trapped air escapes, and you’re left with a smooth surface.
The key word here is gently. You’re not trying to scratch or agitate the nail—you’re simply applying light pressure to create a tiny opening that allows the air to escape. If you press too hard, you’ll drag the polish around and create streaks or uneven texture. One light tap is usually enough.
This technique works particularly well with regular nail polish because it stays wet longer than gel polish does. You typically have anywhere from 5 to 15 minutes to catch and fix a bubble before the polish sets completely.
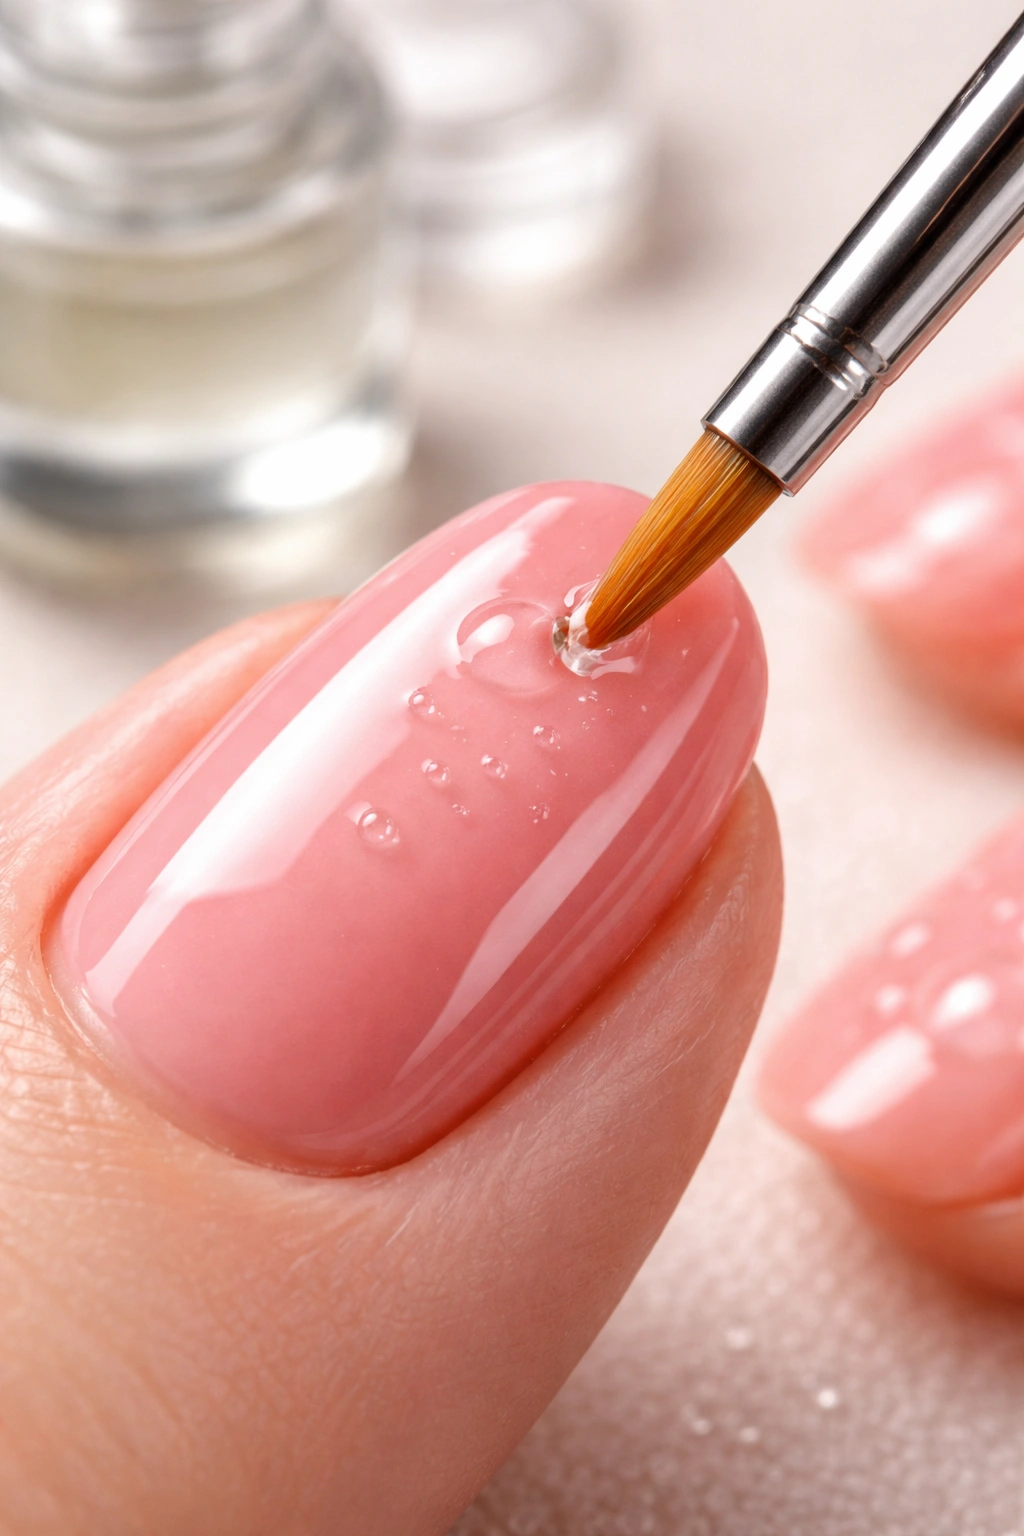
Dipping Your Brush Back Into the Wet Polish
Another approach while the polish is still wet is to dip your polish brush back into the bottle and paint over the bubble area with a fresh, thin coat. The new layer of wet polish can sometimes fill in the bubble and smooth it out as it dries.
This method requires precision because you’re essentially doing a mini touch-up. Paint only over the affected area using light, deliberate strokes. Avoid dragging your brush across already-dry sections of polish, as this can create visible lines where you’ve just painted over.
This technique is most effective when the bubble is small and localized to one spot. If your entire nail is covered in bubbles, this approach becomes tedious and won’t deliver satisfying results.
Using Alcohol on a Clean-Up Brush
Several nail experts recommend dipping a clean-up brush in acetone or rubbing alcohol and very lightly painting over bubbles while the polish is still wet. The alcohol slightly softens the wet polish and can help release trapped air, allowing it to escape.
This is an advanced technique that requires a very light touch—you’re not trying to remove the polish, just soften it enough to let the air out. You’ll need a dedicated clean-up brush (not the one in your polish bottle) and acetone or isopropyl alcohol. Dip the brush, blot off excess liquid so it’s barely damp, then swipe gently over the bubble.
The danger here is accidentally dissolving more polish than intended, which can create thin spots or remove color entirely. Start with the lightest touch possible, and repeat only if absolutely necessary. This method works best for stubborn bubbles that won’t pop with simple pressure.
Fixing Bubbles After the Polish Has Dried
If you’ve missed your window and the bubble has already hardened into your polish, you still have options. They’re not quite as elegant as catching it while wet, but they absolutely work.
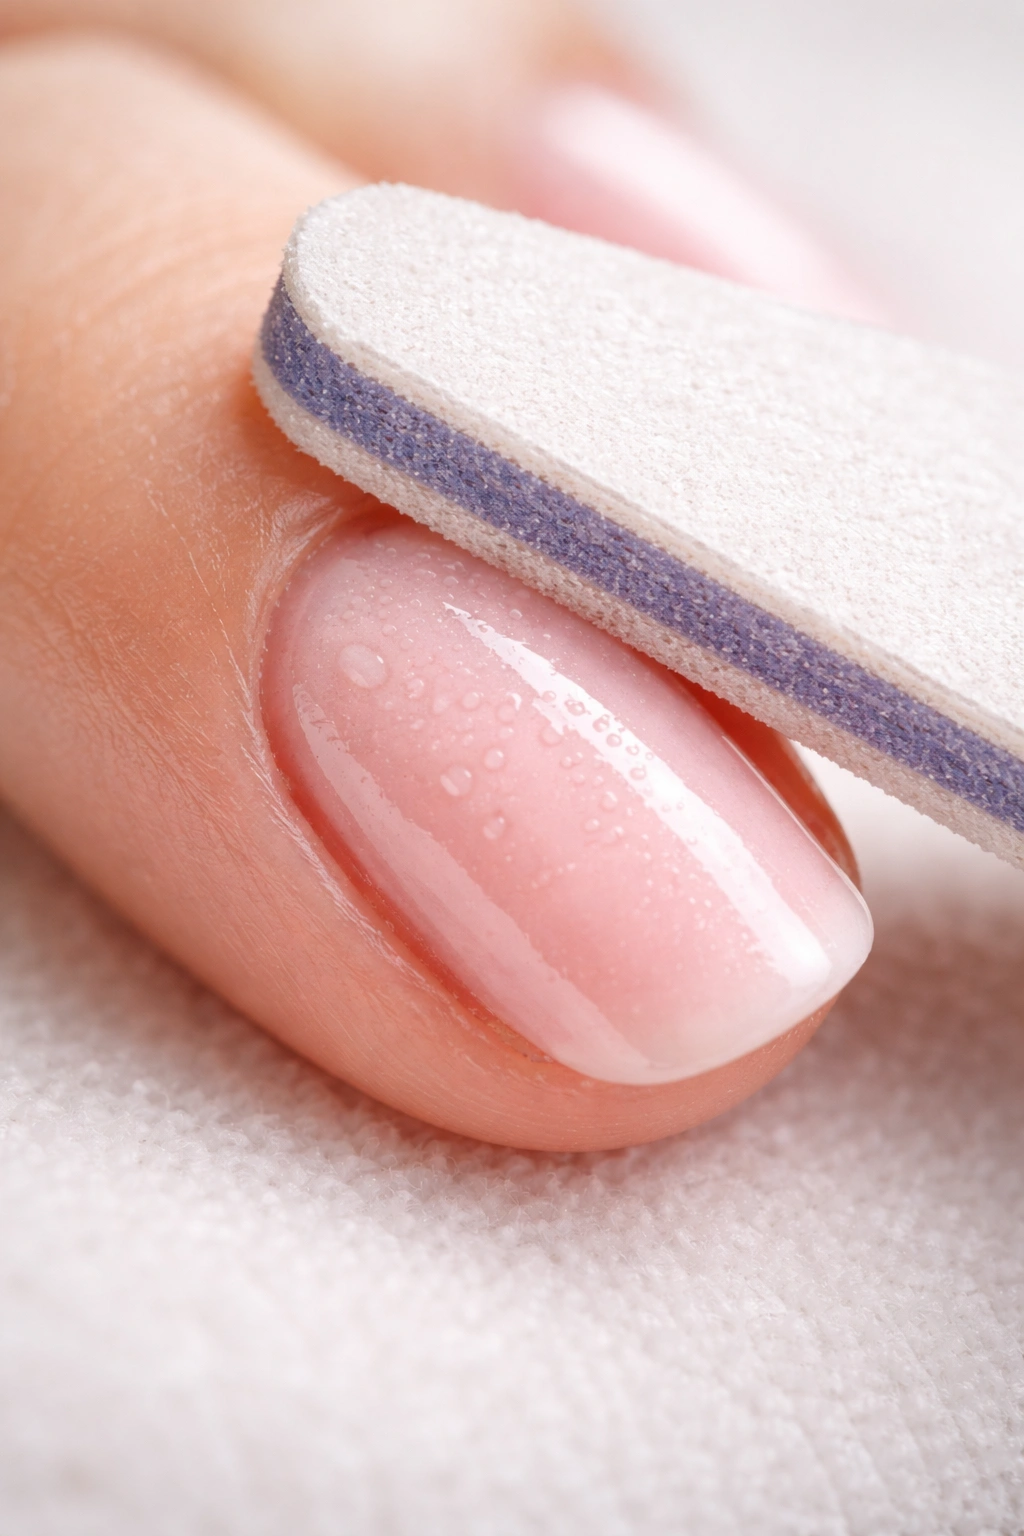
Buffing Out Minor Bubbles
For small, shallow bubbles that don’t look too severe, gentle buffing can smooth them out without removing your entire manicure. Use a fine-grit nail buffer (around 220-240 grit) and very lightly buff over the bubbled area. The goal isn’t to sand the nail down—it’s to just kiss the surface and knock down the height of the bubble.
Be patient and use minimal pressure. Buff in one direction rather than back and forth, which can create friction and heat that damages the polish. After a few gentle passes, the bubble should become less visible or disappear entirely.
Once you’ve buffed the area smooth, apply a fresh coat of top coat to seal everything and restore shine. A good top coat can work wonders at camouflaging any remaining minor imperfections and giving your nails that pristine, salon-finished appearance.
This method works best when bubbles are confined to just one or two nails. If your entire manicure is covered in bubbles, buffing each one individually becomes time-consuming and rarely delivers perfect results.
Applying a Camouflaging Top Coat
Sometimes the simplest fix is the best one: a glossy top coat can visually minimize the appearance of minor bubbles by creating a smooth, reflective surface over them. The shine and thickness of the top coat can help level out shallow bubbles, especially if they’re small.
Not all top coats are equally effective at this. A thick, gel-style top coat works better than a thin, runny one. Products designed specifically to add shine and thickness (as opposed to quick-dry or matte formulas) are your best bet. A couple of generous coats can sometimes hide bubbles so completely that they’re virtually unnoticeable.
This is the least labor-intensive fix and often produces surprisingly good results. Apply the top coat carefully to avoid introducing new bubbles into your fix, and allow it to dry completely. The reflection and shine of the top coat layer can be genuinely transformative.
Strategic Touch-Up or Patching
If bubbles are concentrated on just one or two nails, consider a targeted touch-up. Paint a thin coat of your original polish color only over the bubbled area, making sure to feather the edges so the patch blends seamlessly with the surrounding polish.
This works best when you still have the same polish shade available and when the bubbles haven’t spread across the entire nail surface. Apply the touch-up polish in thin layers to avoid creating new bubbles in the process. Allow each thin layer to dry before deciding if you need another coat to match the original color intensity.
Once the patch has dried, seal the entire nail with a top coat to ensure the touch-up area is protected and looks cohesive with the rest of your manicure.
The Acetone Method: A Precise Fix for Stubborn Bubbles
One particularly effective (though slightly advanced) method is using acetone to selectively remove just the bubble layer without disturbing the polish beneath. This requires a steady hand and genuine care, but it can save a manicure you really love.
Step-by-Step Acetone Bubble Fix
Start by dipping a thin clean-up brush or even a small synthetic brush into pure acetone. Blot the brush on a paper towel so it’s damp but not dripping. Very lightly—and this cannot be emphasized enough—paint over the bubble with the acetone-dampened brush.
The acetone will slightly dissolve the top layer of polish where the bubble is, allowing the trapped air to escape. Keep re-dipping and re-applying if the bubble persists, but each pass should be minimal. You’re essentially melting away just enough polish to release the air pocket.
Once you’ve eliminated the bubble, let the acetone evaporate completely (this takes just a minute or two). The area might look slightly less glossy, which is why the final step is essential: apply a fresh coat of top coat to restore shine and protection.
This technique works because bubbles often form in the top layers of polish. By selectively softening that area with acetone, you collapse the bubble and let the air escape. The nail beneath remains intact and properly colored.
When to Use This Method vs. Others
This acetone approach is ideal when you have significant bubbles in a polish you really love and don’t want to remove completely. It’s less effective for bubbles near the edges of the nail or those that have penetrated deeply into multiple polish layers. For those situations, a full removal and reapplication is more reliable.
Always do a test on one nail first if you’re trying this method for the first time. Acetone is powerful and can remove more polish than intended if you’re too heavy-handed.
Removing and Starting Fresh: When It’s the Right Call
Sometimes the most practical solution is accepting that the manicure needs to come off and start over. This isn’t failure—it’s recognizing when fixing would take more time and effort than simply reapplying polish correctly from scratch.
Identifying When a Full Redo Is Best
If bubbles cover more than 30-40% of your nail surface, or if they’ve formed in multiple layers making them impossible to smooth out, removal and reapplication is genuinely your best option. Attempting multiple fixes often results in uneven texture, visible touch-up lines, or a nail that looks patched rather than polished.
A full redo is also the right choice if you want to address the root cause—perhaps your hands were oily, the room was too humid, or you applied the polish too thickly. Starting fresh allows you to eliminate those variables and prevent the problem from happening again.
Gentle Removal Without Nail Damage
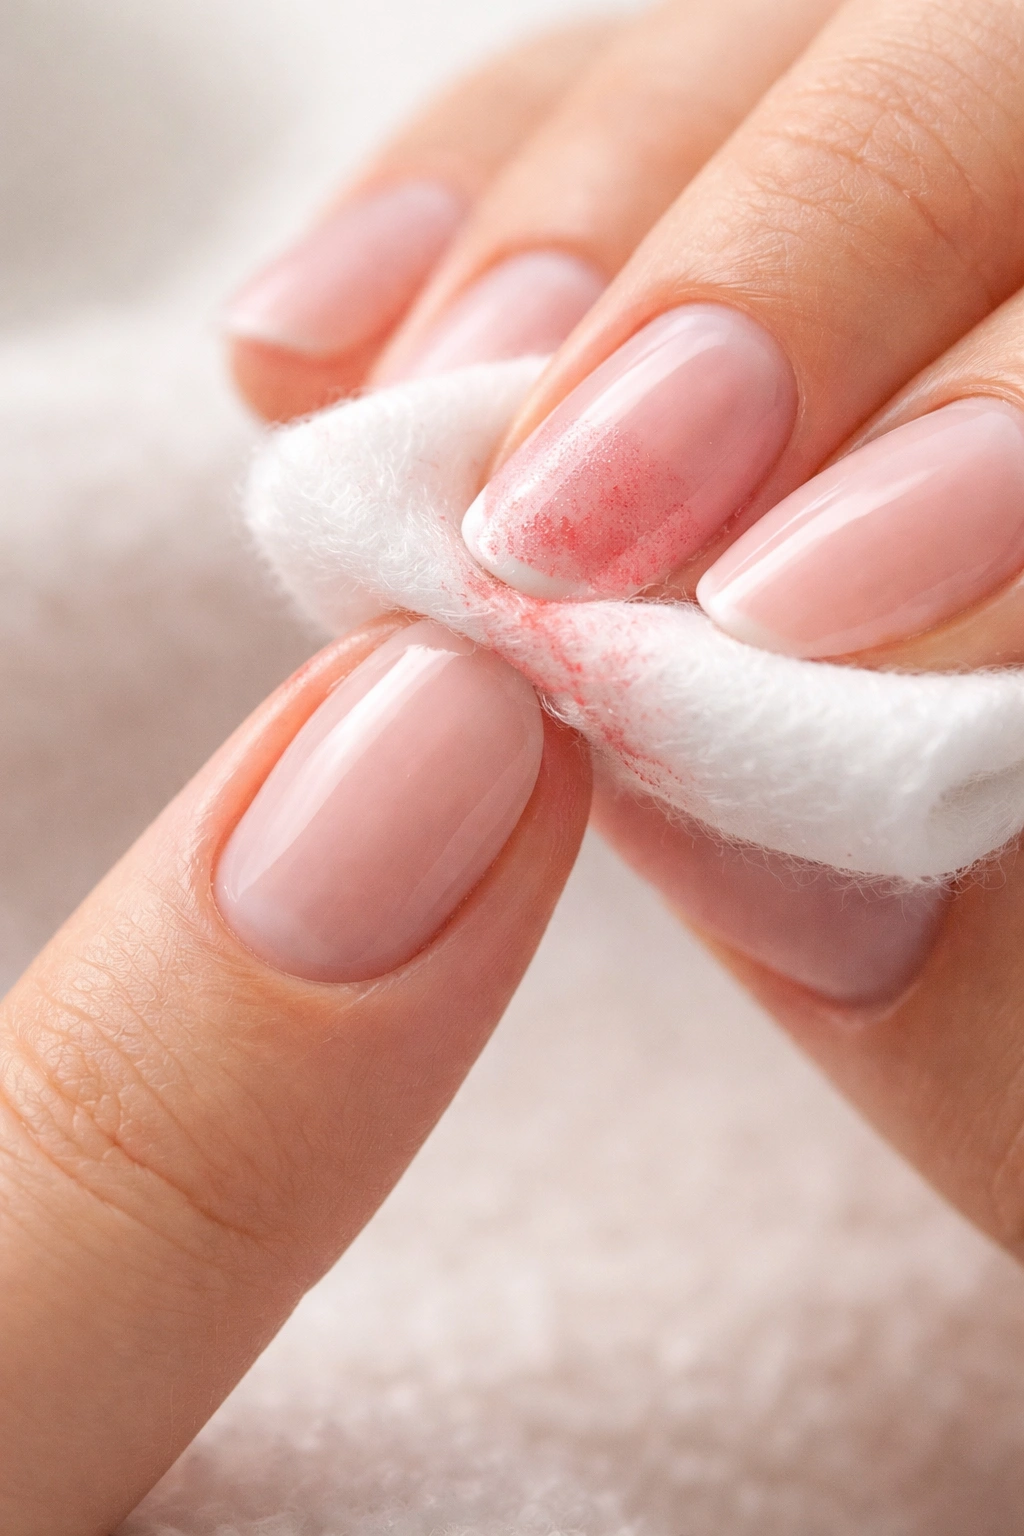
Use an acetone-free or gentler nail polish remover to avoid excessive drying of your nails. Pour remover into a small bowl and soak your fingertips for 5-10 minutes. Once the polish has softened, gently wipe it away with a soft cotton pad, resoaking if necessary.
Avoid the temptation to scrub aggressively or use metal tools to scrape off polish. This damages the nail surface and leaves it rough and prone to peeling. Patience during removal pays dividends when you go to apply fresh polish—your nails will be smooth and strong rather than weakened and damaged.
After complete removal, wash your hands to remove any remaining remover residue, and allow your nails to dry completely before applying fresh polish. This clean slate is your opportunity to apply the correct technique and eliminate the conditions that created bubbles before.
Preventing Bubbles: Stop Them Before They Start
The real victory isn’t fixing bubbles—it’s never getting them in the first place. Prevention requires attention to technique, products, and environment, but the effort is absolutely worth it.
Preparation: The Foundation of Bubble-Free Nails
Your manicure success begins before you even open a polish bottle. Start with completely clean, dry nails. Use nail polish remover or rubbing alcohol on a lint-free pad to wipe away oils, lotions, and any residue from cuticle oil or hand creams.
This step is crucial because oils and moisture create microscopic barriers between the polish and your nail. Polish won’t adhere evenly to oily nails, and those tiny gaps are where bubbles love to hide. After cleaning, avoid touching your face, hair, or any other part of your skin until you’ve finished applying polish—your natural skin oils transfer immediately back to your freshly cleaned nails.
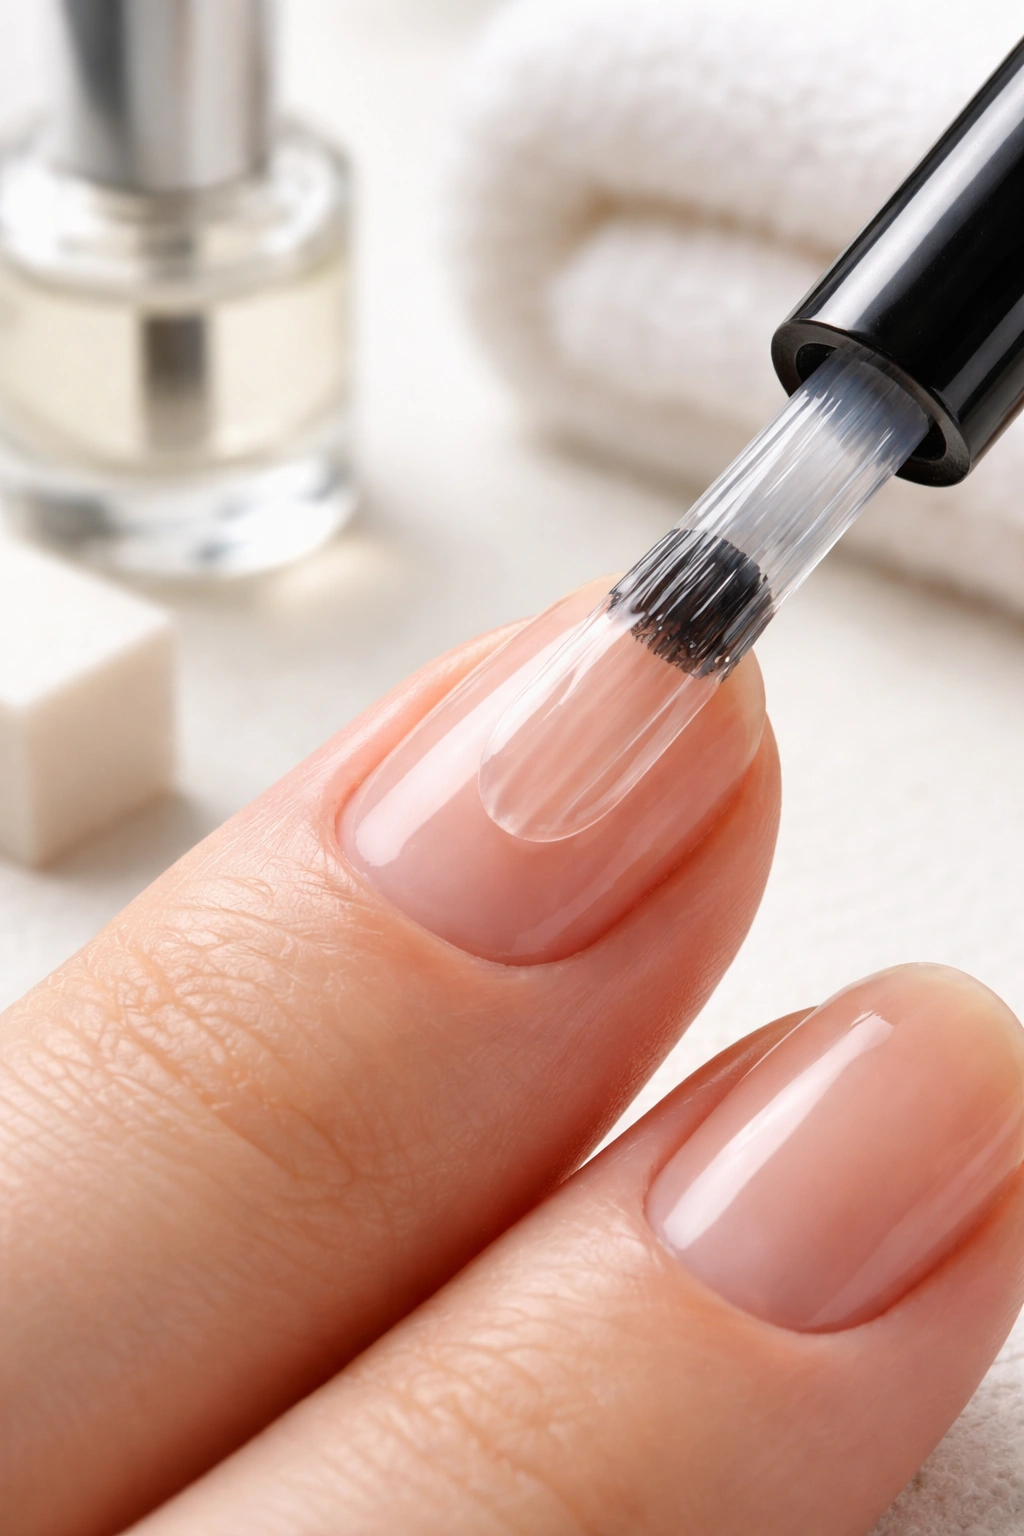
A quality base coat is your second line of defense. A good base coat not only fills in ridges and creates a smoother surface, but it also helps polish adhere more evenly, reducing the likelihood of air pockets forming beneath the color.
The Gentle Rolling Technique
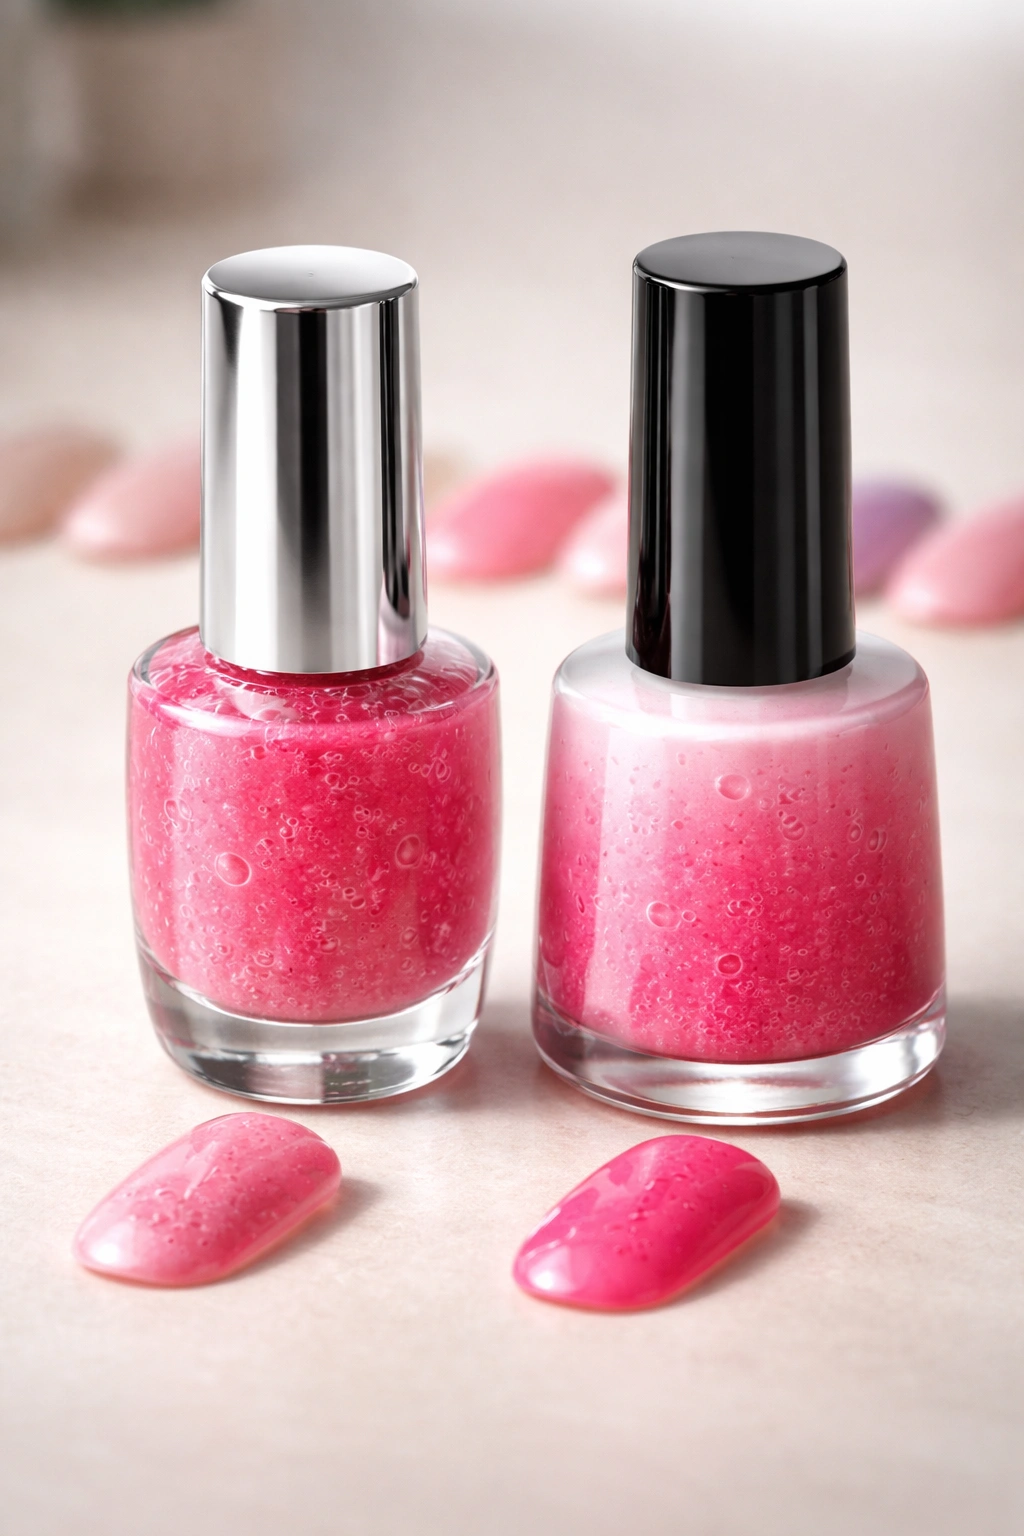
Stop shaking your polish bottle. Seriously. Shaking introduces hundreds of tiny air bubbles directly into the formula, which then transfer to your nails during application. Instead, gently roll the bottle between your palms 10-15 times. This mixes the polish without incorporating excess air.
If your polish is particularly thick or separated, let it rest for a few hours after rolling before you apply it. This allows any air you may have accidentally introduced to naturally rise to the top and escape. If your polish is very stubborn, some professionals add a tiny ball bearing to the bottle to help mix it—or simply purchase fresh polish rather than fighting with an old formula.
Applying Thin, Even Coats
Thick coats are the enemy of bubble-free nails. Apply thin layers and build color gradually rather than trying to achieve full opacity in one heavy coat. Thin coats dry more evenly and quickly, leaving less time for air bubbles to form and rise to the surface.
The technique matters here too. Load your brush with a normal amount of polish, then swirl it around the rim of the bottle to remove excess. Use light pressure and fewer strokes rather than pressing hard and painting back and forth repeatedly. This float-on technique deposits polish smoothly without introducing air through aggressive brush movement.
Most manicures benefit from two thin coats of color plus a base coat and top coat. That’s four layers total, but because each is thin, the overall drying time is actually shorter than attempting to cover nails with one thick coat.
Timing and Patience Between Coats
Allow adequate drying time between each coat. For regular nail polish, 3-5 minutes is generally sufficient between coats. For gel polish, always follow your lamp’s timer recommendation—typically 60 seconds under an LED lamp.
If you rush and apply the next coat while the previous layer is still wet, you’re trapping the solvents and moisture from the lower layer, which inevitably leads to bubbles. Patience during the application process prevents frustration during the drying process. Some people use this waiting time productively—respond to emails, scroll social media, or organize supplies—rather than sitting idle.
Environmental Control
Apply polish in a room with moderate temperature and low humidity. Avoid applying nails in bathrooms immediately after someone has showered, in extremely hot rooms, or outdoors in humid conditions. If your home tends to be humid, running a dehumidifier or applying nails in an air-conditioned room makes a genuine difference.
Temperature matters too. Very cold environments can cause polish to dry unevenly, and very hot ones can cause it to dry too quickly, both of which promote bubbles. Room temperature (around 70°F) is ideal.
Different Polish Types: Addressing Bubbles in Each
The type of polish you’re using influences both how bubbles form and what fixes work best.
Regular Nail Polish Bubbles
Standard nail polish stays wet longer, which is both a blessing and a curse. The extended wet time means you have more opportunity to catch and fix bubbles, but it also extends the window during which bubbles can form. Regular polish bubbles typically result from thick application, inadequate drying time between coats, or shaking the bottle.
For regular polish, the buffing and top coat methods work particularly well because the polish layer is typically thin. The acetone method is also effective because standard polish responds quickly to acetone exposure.
Gel Polish and Cure-Related Bubbles
Gel polish bubbles often stem from improper curing under the UV or LED lamp. Spend too little time under the lamp and the polish doesn’t fully set evenly; spend too long and the outer layer hardens while the inner layers remain soft, creating pockets of trapped air and trapped solvents.
For gel polish, ensuring proper cure time is essential. If you’re using your own lamp at home, verify that it has adequate wattage and the timer is accurate. Professional salon lamps are calibrated specifically for the polishes they use, which is one reason gel manicures at salons are often bubble-free.
Gel polish bubbles are also more difficult to fix after they’ve dried because you’d need to remove the entire gel layer and start fresh—buffing and acetone methods are generally ineffective because gel is much harder and less responsive to these techniques.
Hybrid and Thick Formulas
Some polishes are intentionally thicker or more pigmented, which makes them naturally more bubble-prone if not applied carefully. Glitter polishes, shimmers, and densely pigmented colors need even thinner application than standard sheer polishes.
These formulas benefit most from the prevention methods: thin coats, adequate drying time, and environmental control. If bubbles do form in thick polishes, they’re often large enough that buffing and top coat fixes are less effective—a full removal and reapplication is usually the way to go.
Tools and Products That Make Bubble-Fixing Easier
Having the right supplies on hand transforms bubble repair from frustrating to straightforward.
Essential Bubble-Fixing Tools
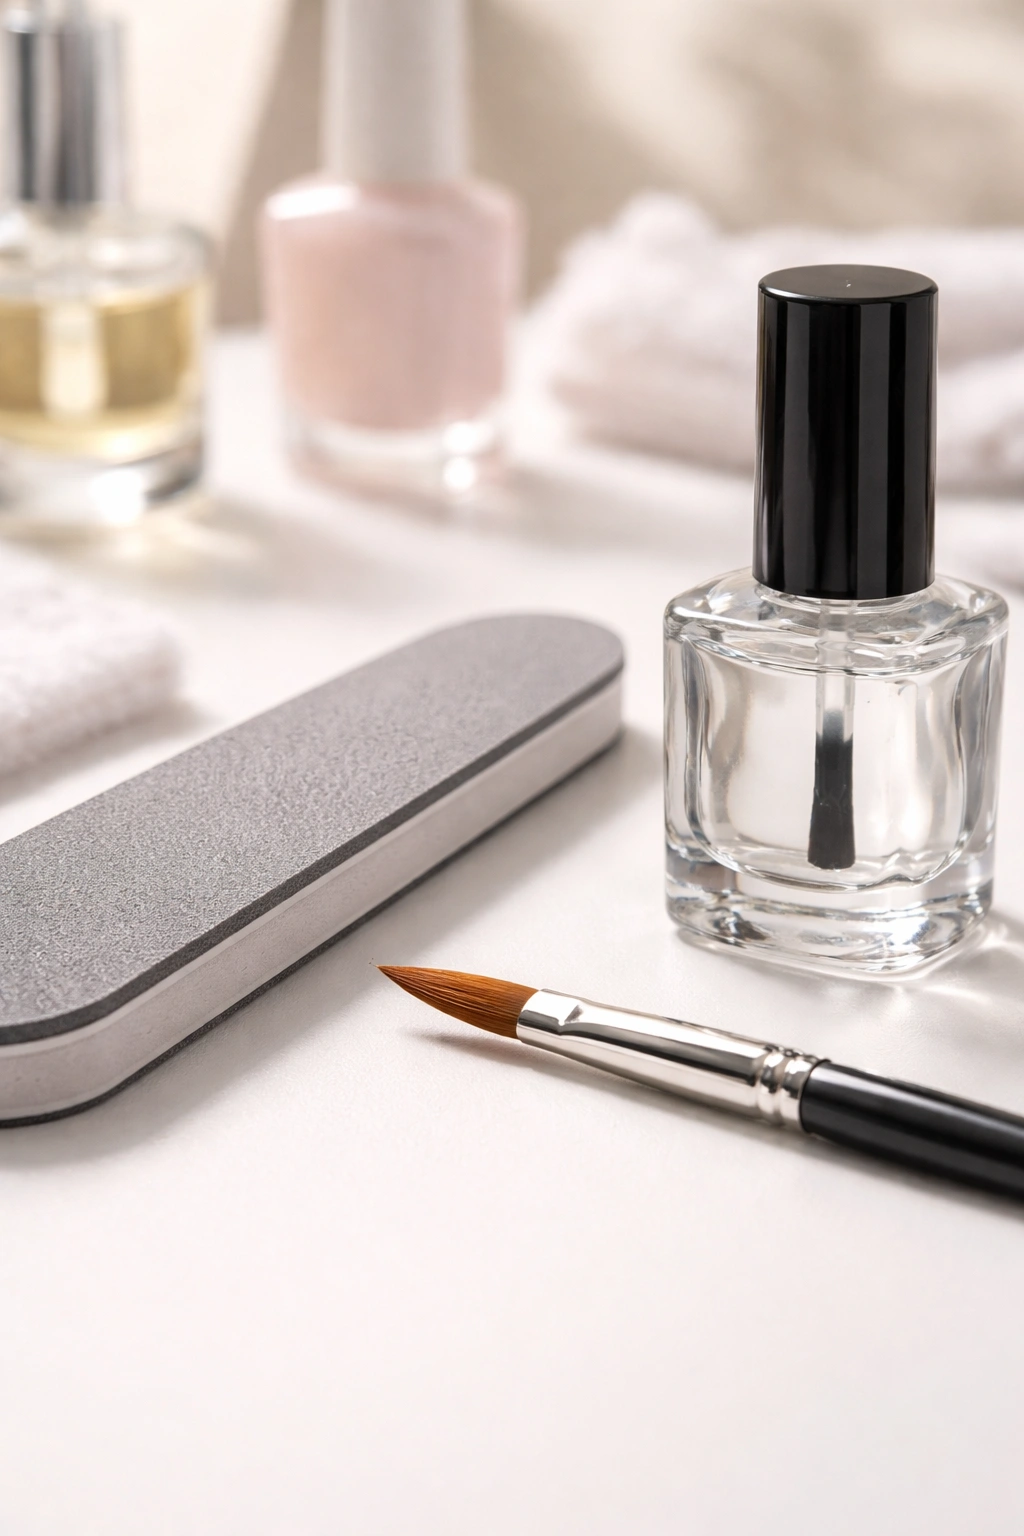
A fine-grit nail buffer (220-240 grit) is your first essential. This is gentler than the aggressive grits used for shaping, and won’t damage healthy nail or polish layers. Keep one dedicated buffer specifically for smoothing bubbles rather than using a general nail file.
A good clean-up brush—small, thin, and with synthetic bristles—is invaluable for detailed touch-ups and for the acetone method. Natural bristles absorb liquid too readily; synthetic bristles hold acetone or alcohol without degrading.
High-quality top coats are genuinely transformative. Thick, glossy top coats are your best allies for camouflaging minor bubbles. Invest in a good formula rather than relying on whatever top coat happens to be in your collection.
Products That Prevent Bubbles
A quality base coat is the foundation of bubble prevention. Look for formulas that promise smoothing, filling, or ridging properties. These create a more even surface for polish to adhere to, reducing the likelihood of air pockets.
Nail polish thinners are worth having on hand if you tend to keep polish bottles for extended periods. A few drops of thinner can restore old, gloopy polish to an application-friendly consistency, reducing the thick-paste-related bubbles that plague aged formulas.
Pure acetone is useful for the acetone bubble-fixing method. Avoid acetone-based remover solutions, which contain additional ingredients. Pure acetone responds predictably and dissolves only the polish, not the nail beneath.
Pro Tips from Nail Experts
Professional manicurists encounter bubbles regularly and have developed strategies over years of practice.
Press Out Bubbles Before Application
Julie Kandalec, founder of JK Nail Artelier in New York City, recommends pressing air bubbles out of your brush before you even touch your nail. When you pull your brush from the bottle, hold it horizontally and gently press the bristles against the side of the bottle to release trapped air. This prevents bubbles from transferring to your nails before you’ve even started.
Allow Polish to Rest After Mixing
Steph Stone, a celebrity manicurist, suggests mixing your polish and allowing it to rest for several minutes before applying it. This gives any air bubbles you may have accidentally introduced during mixing time to naturally float to the top and escape, rather than being applied directly to your nails.
Use Fresh, High-Quality Polish
Both experts emphasize that old, expired polish is a leading cause of bubbles. Nail polish thickens over time as solvents evaporate, and that gloopy consistency creates bubbles regardless of how carefully you apply it. Replace any polish older than 1.5-2 years, and avoid keeping polish in direct sunlight or heat.
Check Your Application Technique
If you’re consistently getting bubbles even with fresh polish, your technique likely needs adjustment. You’re probably applying polish too thickly, not allowing adequate drying time between coats, or using too much pressure with your brush. Record yourself applying polish and watch it back—you’ll often spot the habit causing bubbles.
Common Mistakes That Create Bubbles
Understanding what not to do is just as valuable as knowing what to do right.
Shaking Instead of Rolling
This is the most common mistake, and it’s an easy habit to break. Every time you shake the bottle, you’re introducing air. Roll instead, and you eliminate one of the biggest bubble sources entirely.
Applying While the Previous Coat Is Still Wet
Impatience is the enemy. Even if the polish looks dry, if it’s still tacky, you’re trapping moisture and solvents from the layer below, which creates ideal conditions for bubbles. The few extra minutes of waiting are genuinely worth the difference in your final result.
Using Nails Immediately After a Hot Shower
The heat and humidity from a shower opens your pores and creates moisture on your skin, including your nail beds. Apply polish at least 30 minutes after showering to ensure your nails are completely dry and your skin has returned to normal hydration levels.
Ignoring Contaminated Brushes
If your brush has dust, lint, or dried polish on it, those particles transfer directly to your fresh polish and create texture and bubbles. Wipe your brush with a lint-free cloth before using it, and never leave your bottle uncapped or lying on a surface where dust can settle on the brush.
Keeping Polish in Poor Conditions
Storing polish in direct sunlight, in a hot car, or in humid bathrooms degrades the formula and thickens the consistency. A cool, dry closet or drawer is ideal. Some professionals refrigerate their polish to extend its life and maintain optimal consistency—just remember to let it warm to room temperature before using.
Final Thoughts
Nail polish bubbles are frustrating, but they’re not permanent failures. Whether you catch them while wet and fix them with a simple press or gentle brush-over, or whether you wait until they’ve dried and use buffing or top coat to camouflage them, you have multiple paths to recovering a manicure you’ve already invested time in.
The real power, though, is in prevention. Clean nails, thin coats, gentle mixing, adequate drying time, and environmental control eliminate the vast majority of bubble problems before they even start. These habits become second nature quickly, and once they do, you’ll rarely encounter bubbles again.
Every manicure you do now is practice—whether it turns out perfect or develops bubbles, you’re learning what works and what doesn’t. Professional nail technicians achieve their bubble-free results through repetition and attention to detail, not magic. That same skill is entirely within reach for anyone willing to slow down, follow proper technique, and learn from mistakes.
Your next bubble-free manicure is waiting. Apply these strategies, trust the process, and enjoy nails that look as polished as the time and care you’ve invested in creating them.
