

You’ve probably scrolled past countless photos of those crisp, clean white-tipped nails and thought they looked impossibly professional. Here’s the truth: French tips aren’t reserved for nail techs with years of training. You can absolutely create that polished, elegant look right in your own living room.
The French manicure remains one of the most versatile nail designs out there. It pairs with everything from your favorite jeans to that fancy dress you’ve been waiting to wear. What makes it even better? It’s surprisingly forgiving. Even when the lines aren’t absolutely perfect, the overall effect still looks put-together and intentional.
Learning to do your own French tips saves you money, gives you complete control over the style, and becomes easier every time you practice. Plus, there’s something satisfying about looking down at your hands and knowing you created that look yourself. Let’s walk through exactly how to get salon-quality French tips without leaving home.
Gathering Your French Tip Supplies
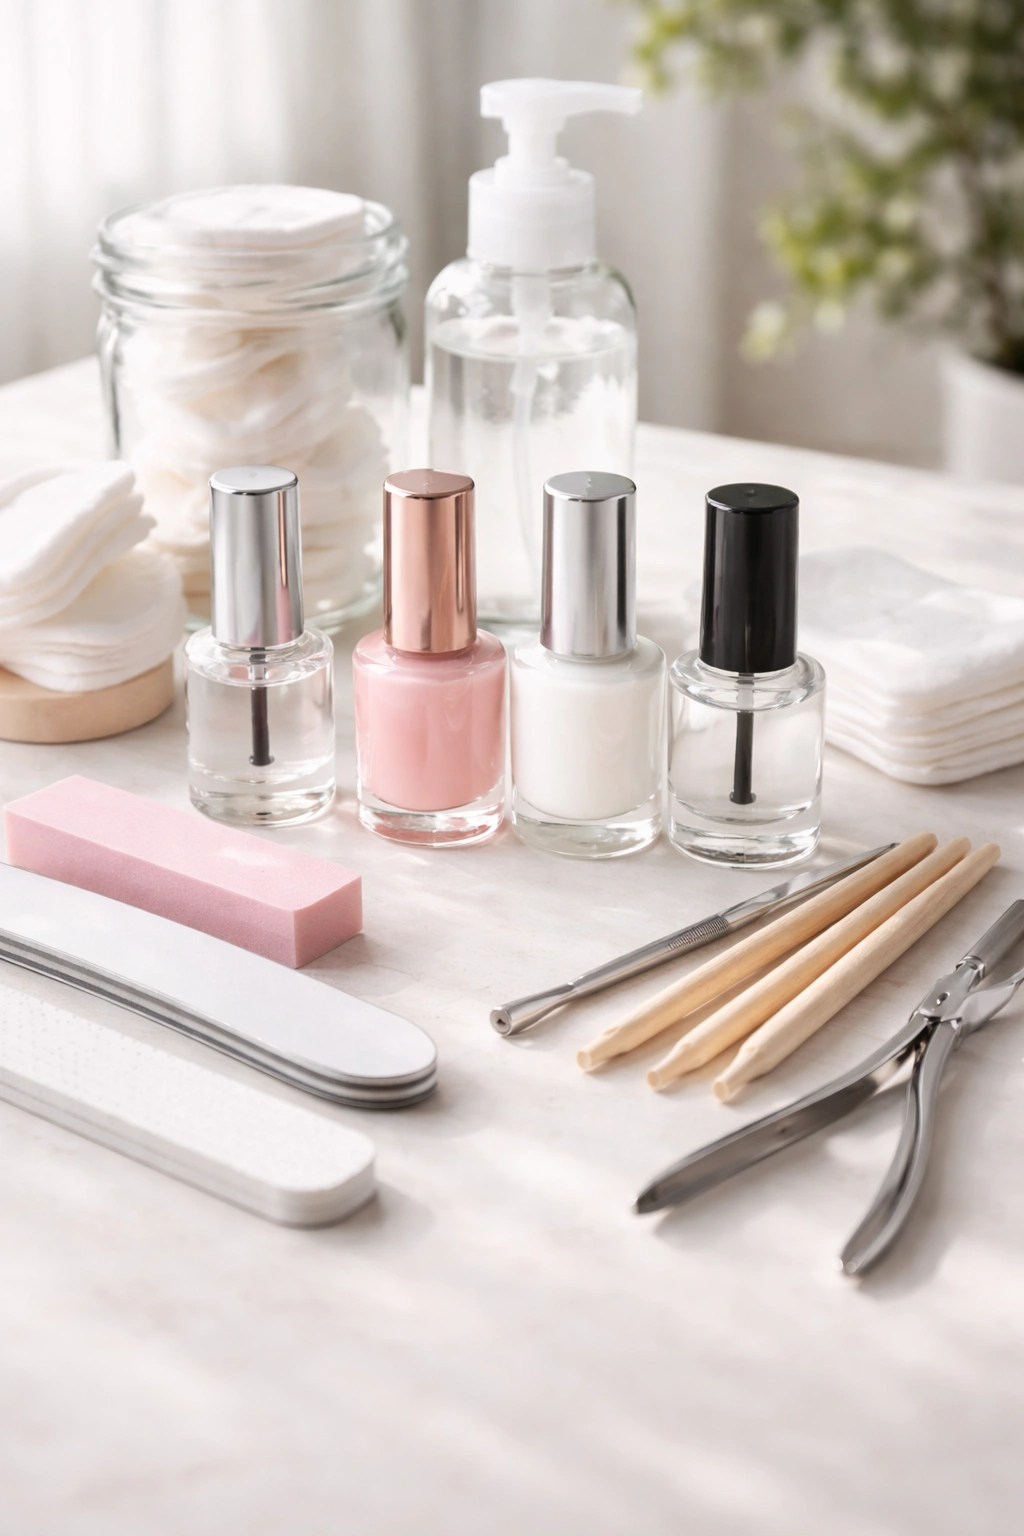
Before you start painting, you’ll need the right tools. Don’t worry—most of these items are affordable and available at drugstores or online.
At minimum, grab these essentials: a high-quality nail file, a nail buffer, cuticle pusher, base coat, sheer pink or nude polish, bright white polish, and a durable top coat. You’ll also want cotton swabs, nail polish remover, and either French tip guides or painter’s tape.
If you’re serious about getting precise lines, consider picking up a thin nail art brush or a clear jelly stamper. These tools give you more control when creating those signature curved tips.
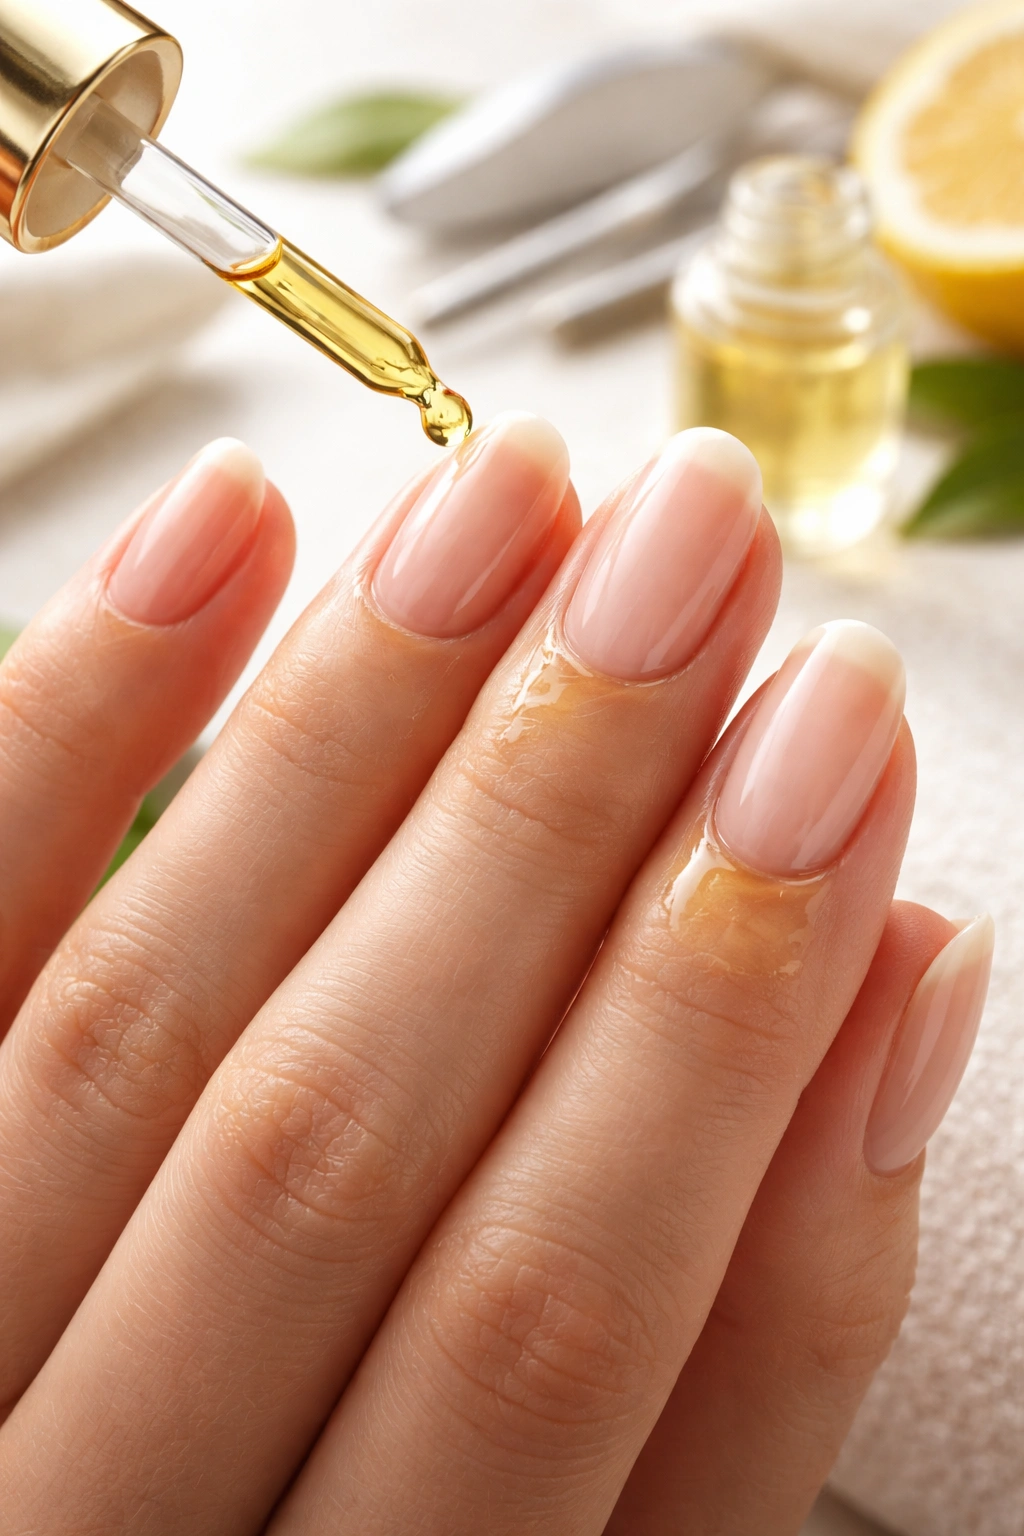
Hand cream and cuticle oil might seem optional, but they make a huge difference. Well-hydrated cuticles and hands create a more polished final look and help your manicure last longer.
Removing Old Polish and Cleaning Your Nails
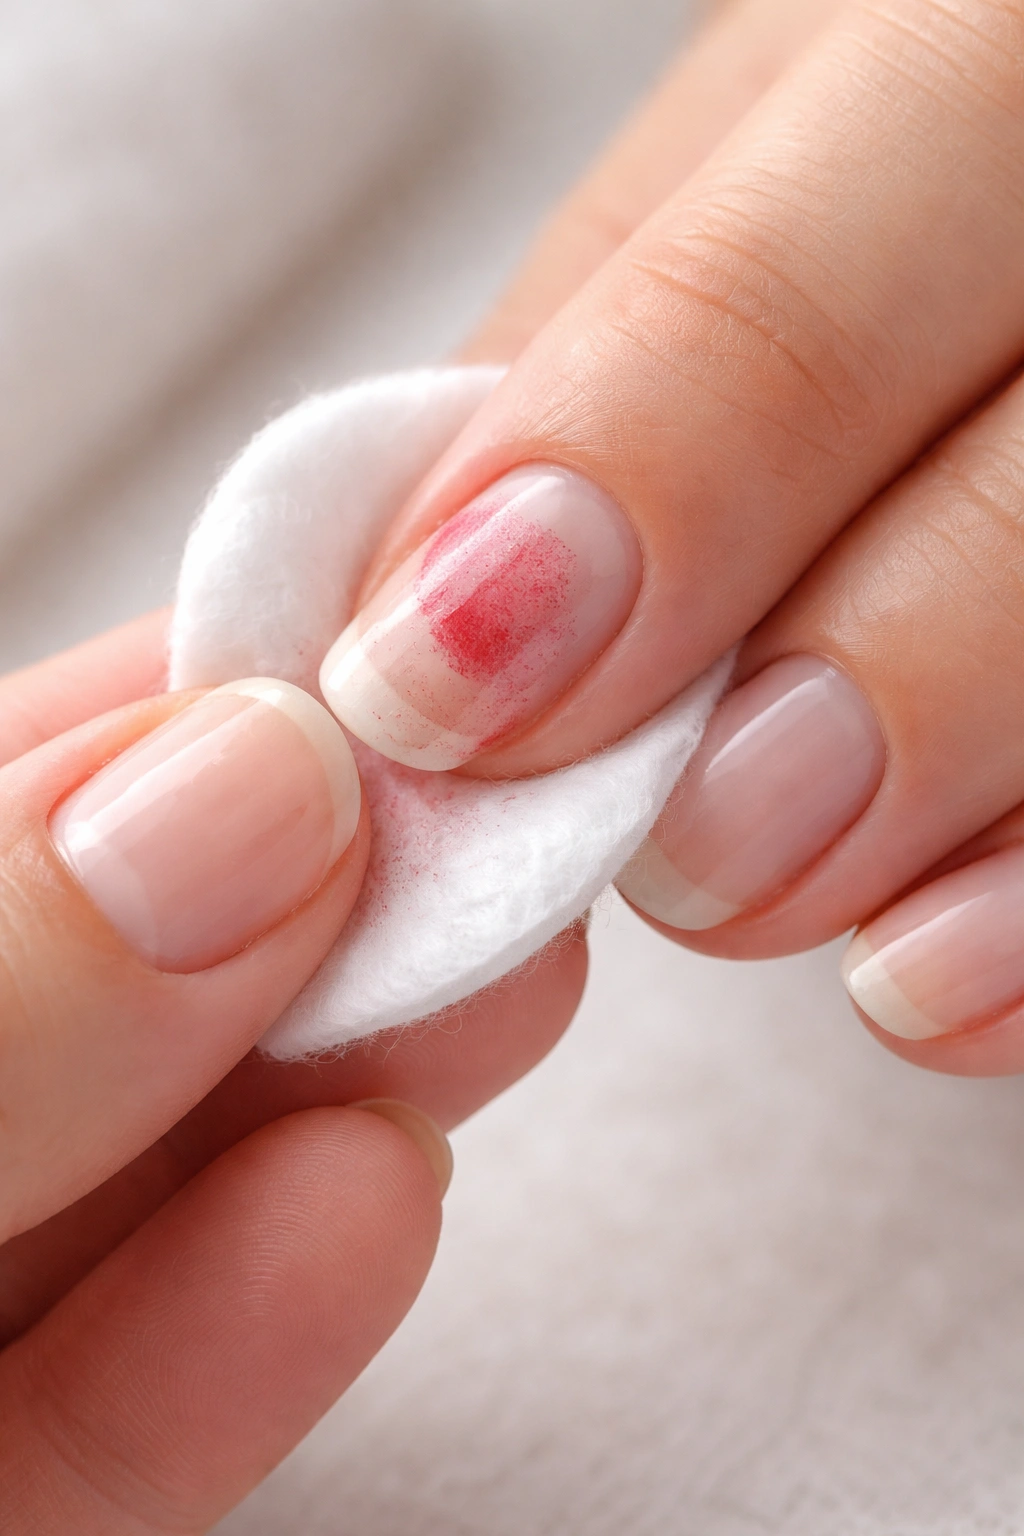
Start with completely clean nails. Even if you’re only wearing a clear coat, remove it completely with nail polish remover.
Use an acetone-free remover when possible—it’s gentler on your nails and the surrounding skin. Dip a cotton pad in remover and press it against each nail for a few seconds before wiping away.
Don’t forget the edges and corners where old polish likes to hide. Any leftover color will show through your sheer French manicure base, ruining that clean look.
Once all the polish is gone, wash your hands thoroughly with soap and water. This removes any oily residue from the remover, which can prevent your new polish from adhering properly.
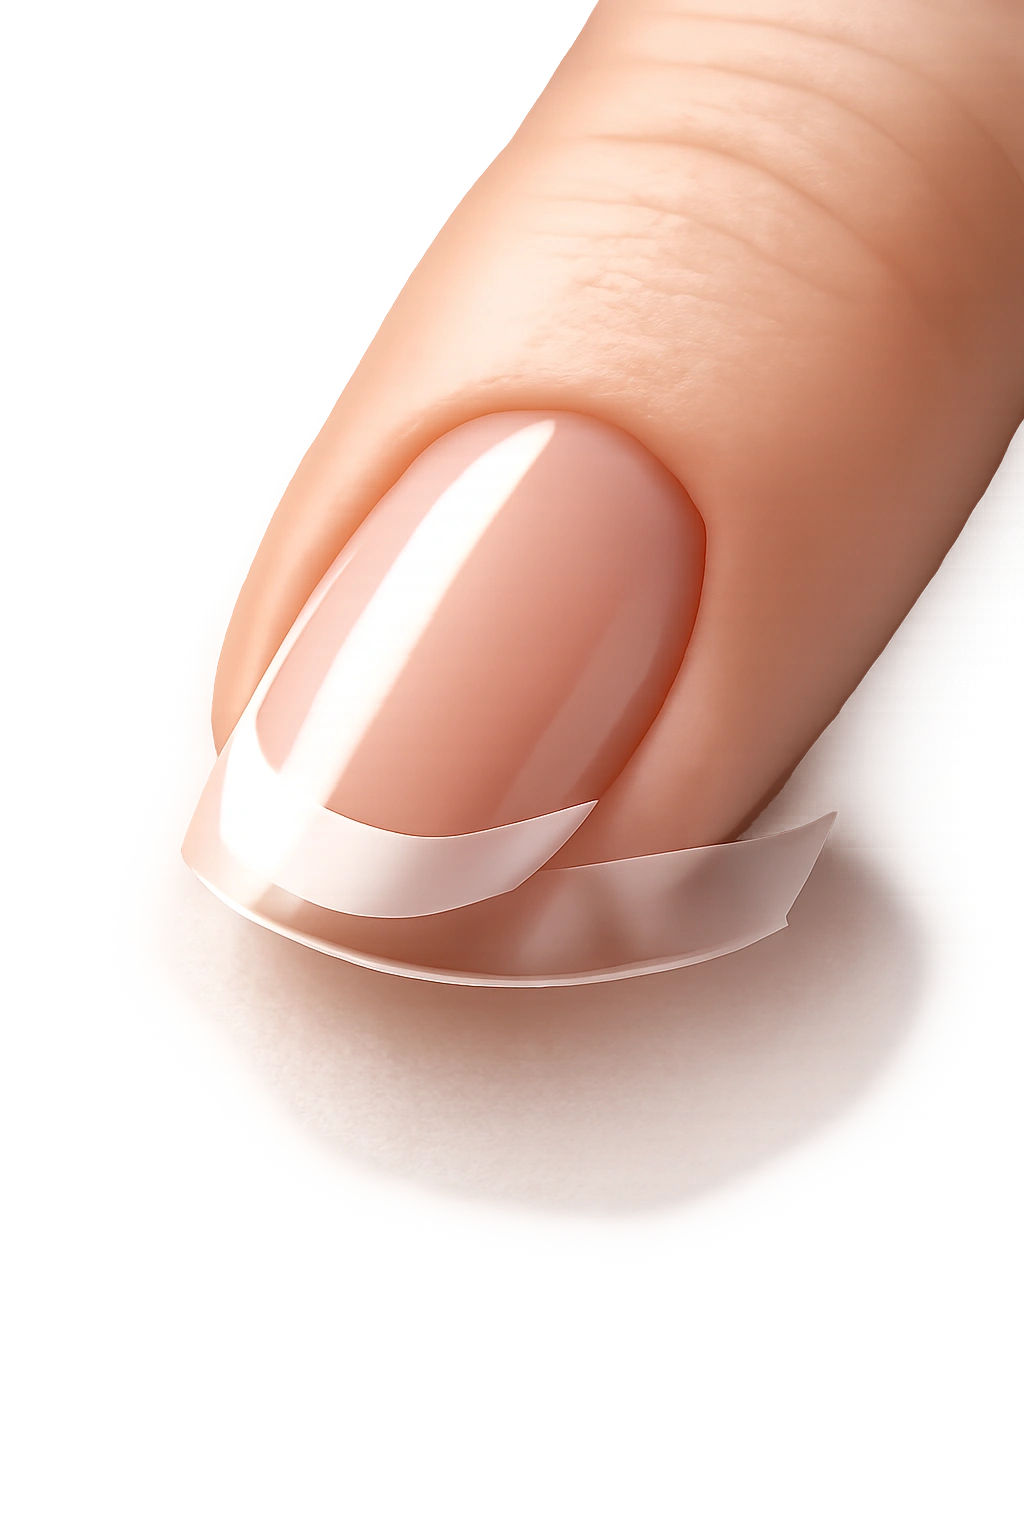
Shaping Your Nails to the Right Length
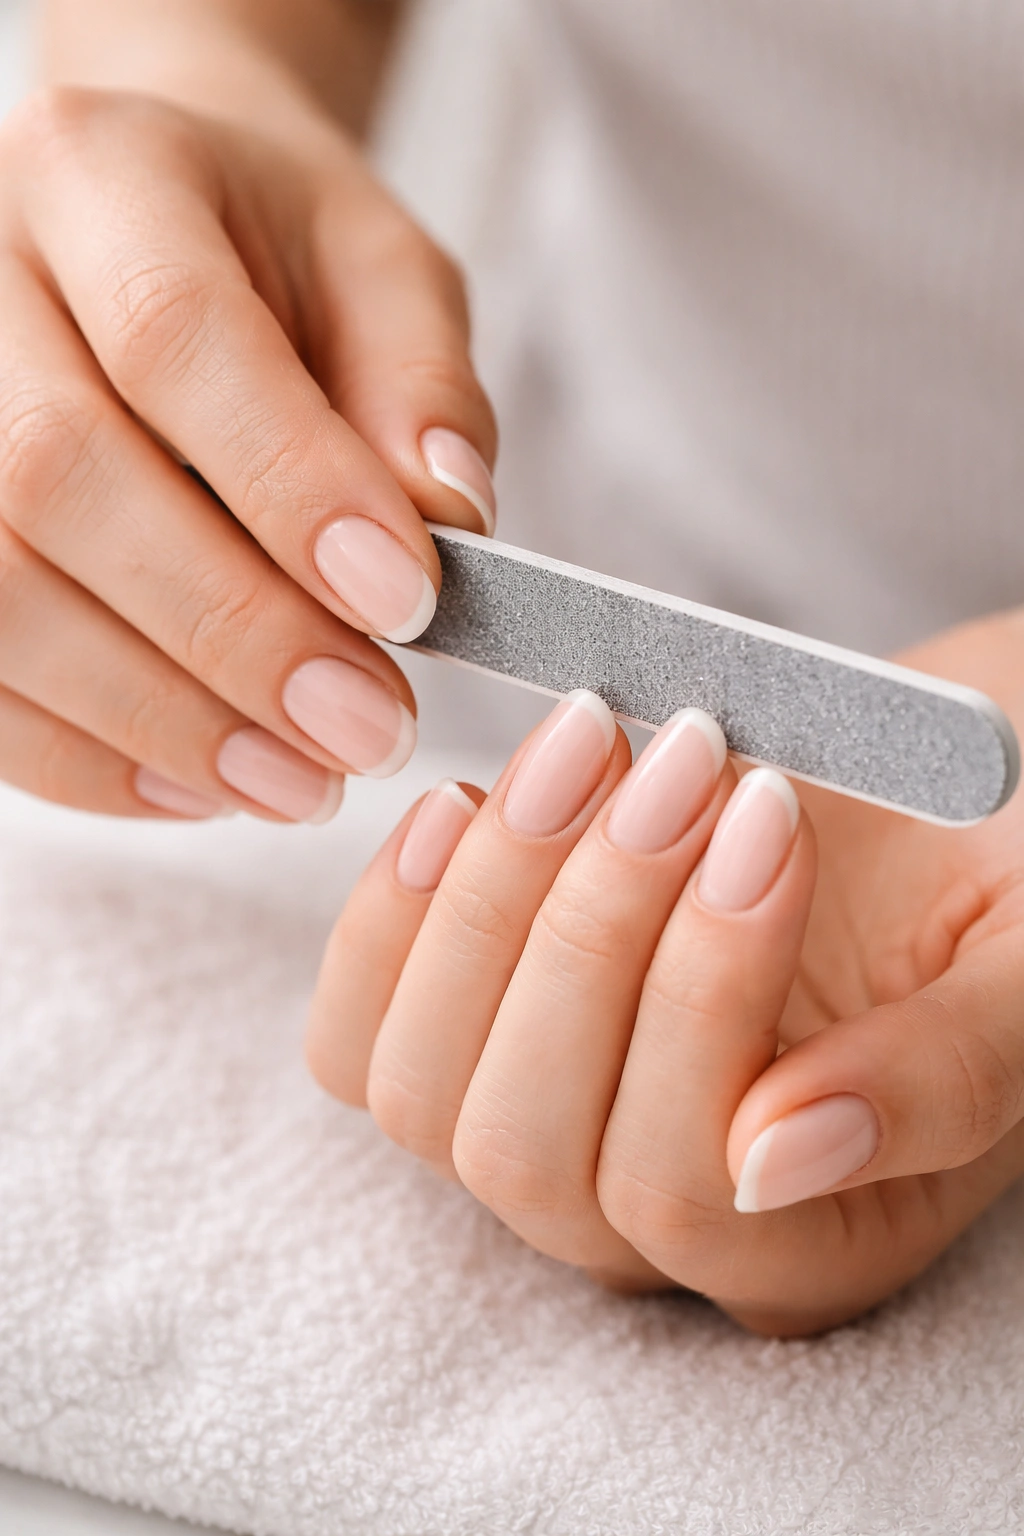
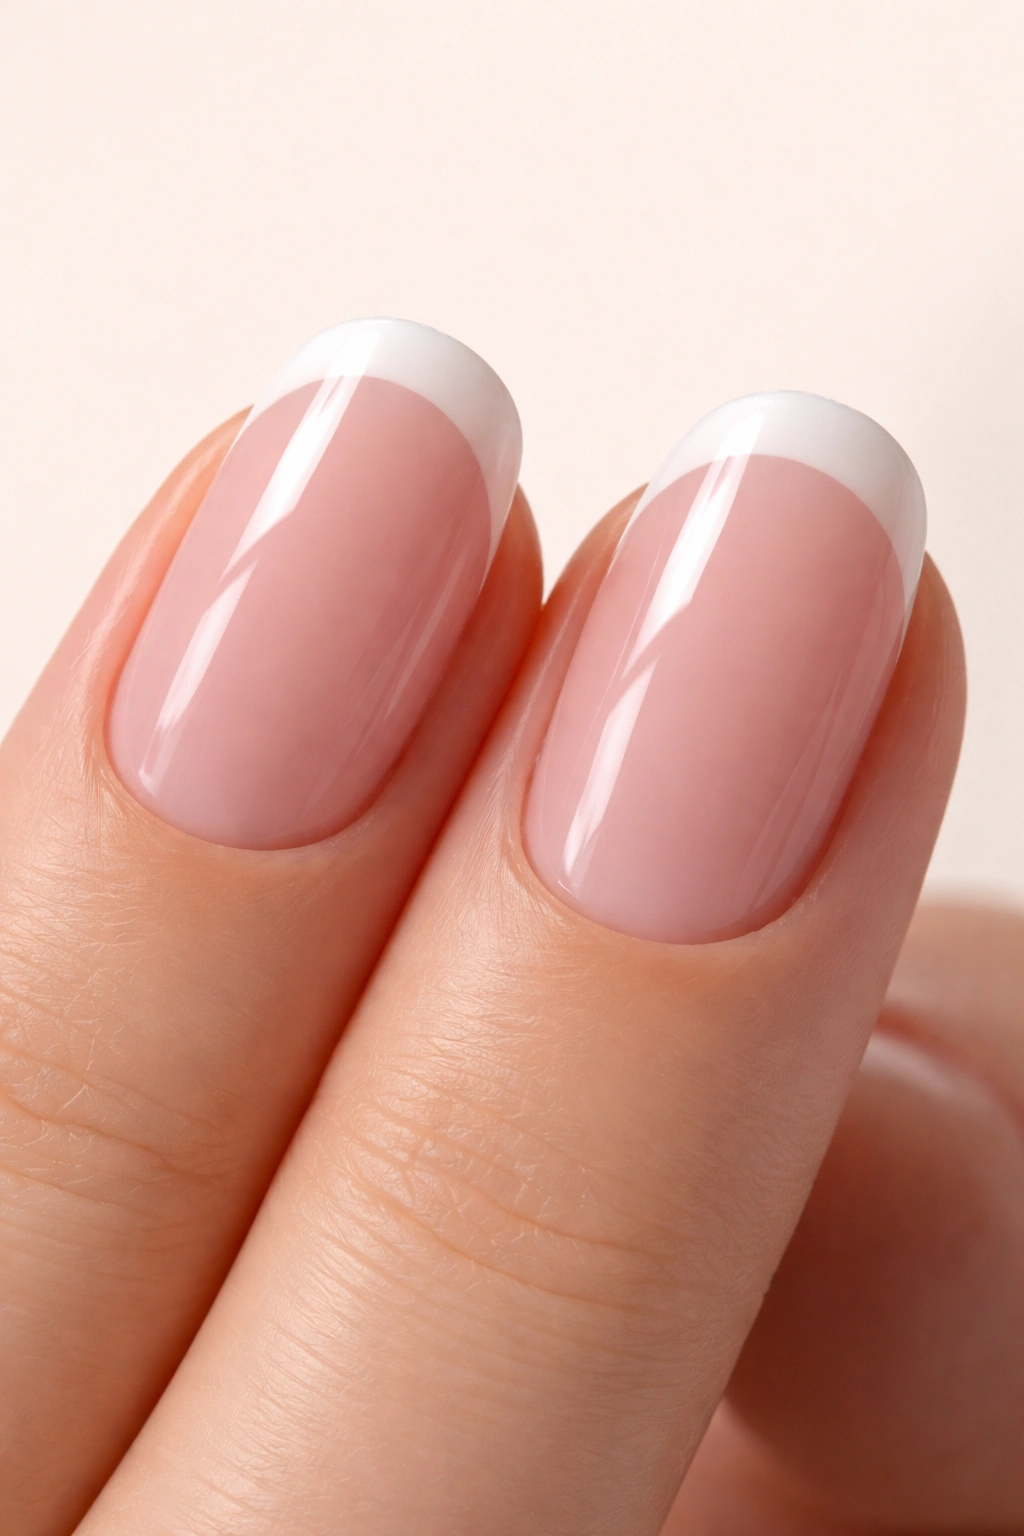
French tips look best with a little length, but you don’t need super long nails. Trim your nails so they’re even, leaving a bit of the white tip visible.
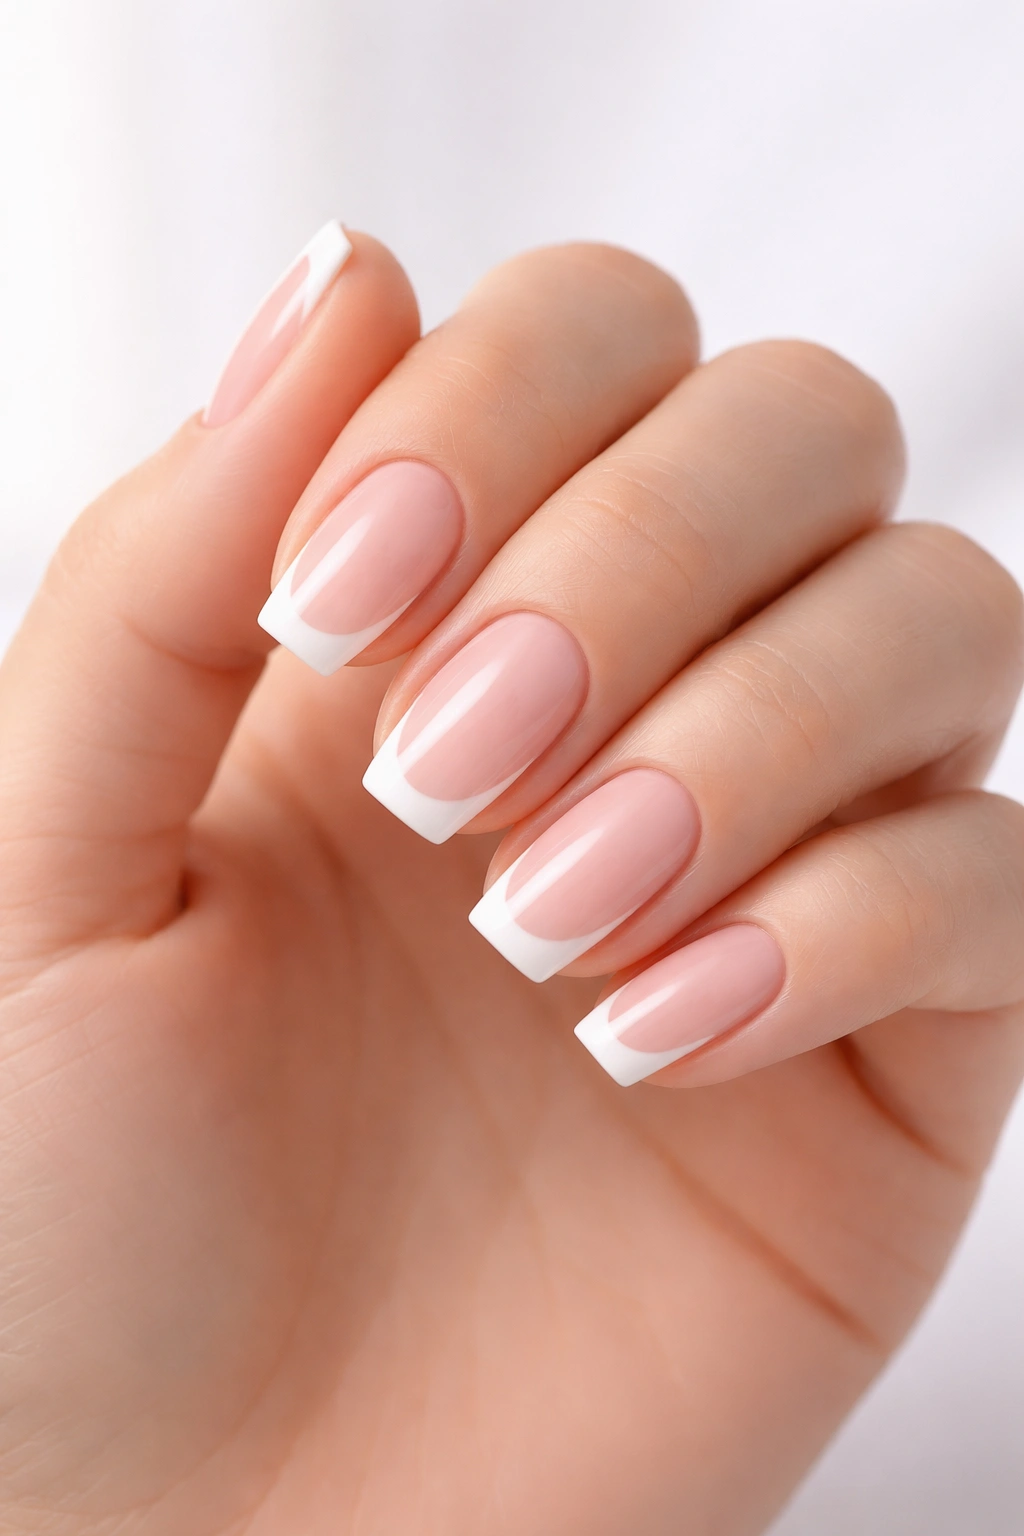
Grab your nail file and shape each nail carefully. Most people opt for either a rounded edge or a soft square shape. The key is making sure all your nails match in both length and shape.
File in one direction rather than sawing back and forth. This prevents splitting and creates a smoother edge that’s less likely to snag or catch.
Short nails can absolutely rock French tips too. You’ll just paint a thinner white line along the free edge instead of a wide tip. The effect is subtle and modern.
Softening and Pushing Back Your Cuticles
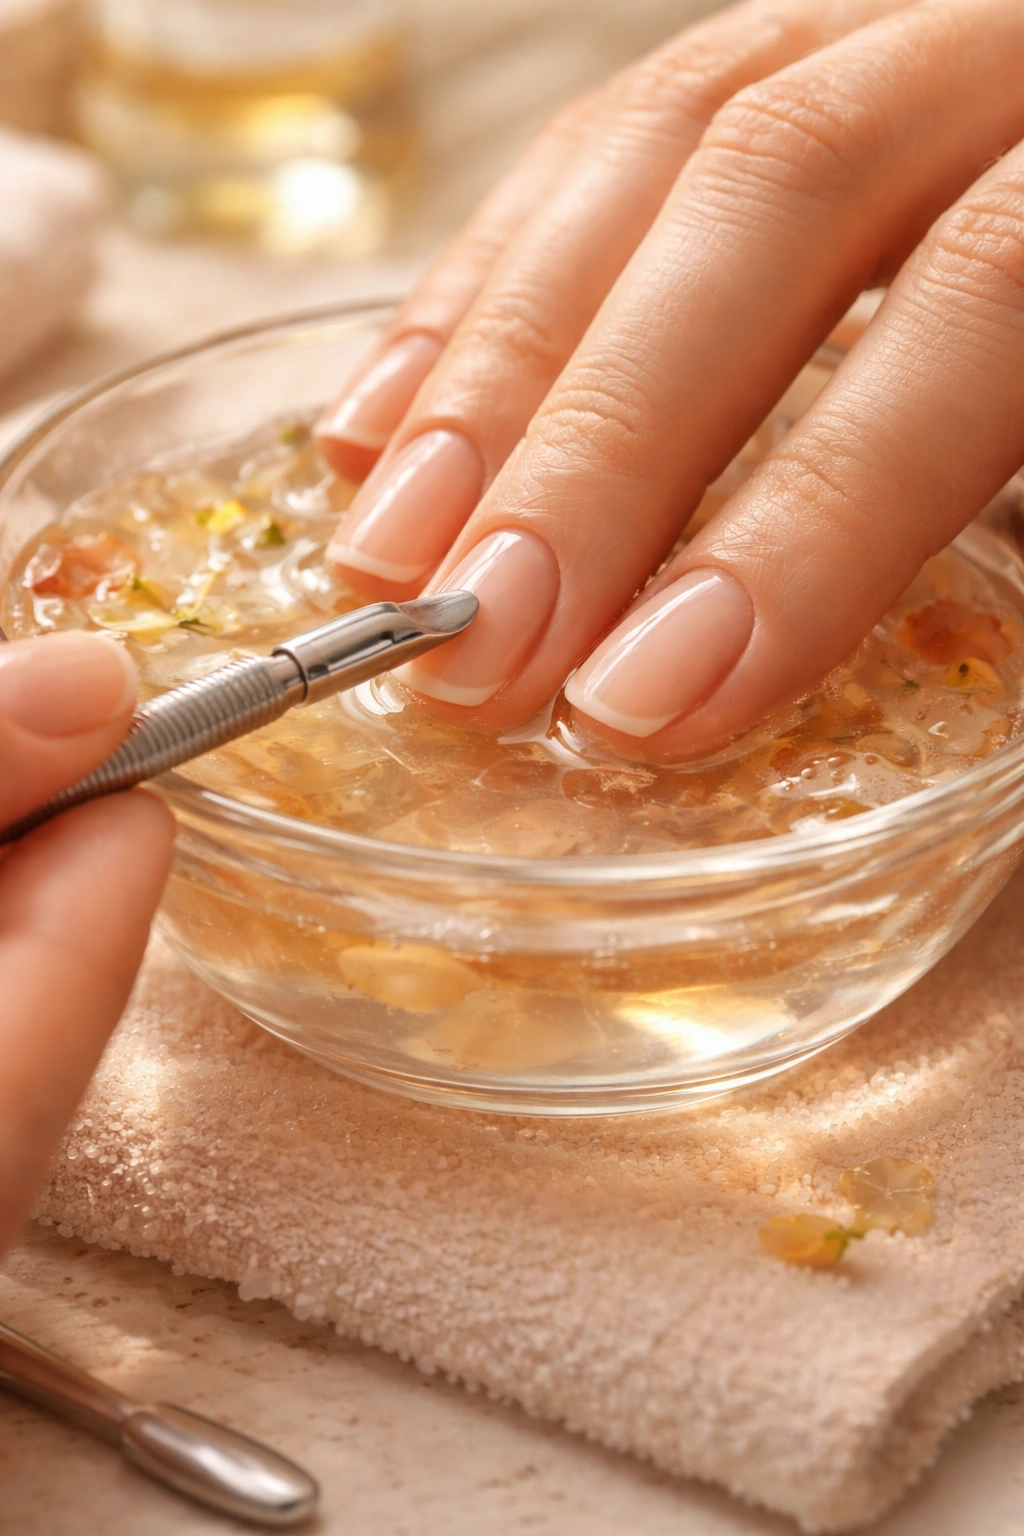
This step makes your nails look instantly longer and more professional. Fill a small bowl with warm water and add a few drops of cuticle oil or olive oil.
Soak your fingertips for five to ten minutes. You’ll notice your cuticles become softer and easier to work with.
Pat your hands dry, then use a cuticle pusher to gently push back the cuticles on each nail. Work slowly and don’t force anything—you’re just creating more space on your nail bed.
Never cut your cuticles. This opens your nail matrix to potential infections and can cause ridges or discoloration as your nails grow. Pushing them back is all you need.
Buffing Your Nails for a Smooth Surface
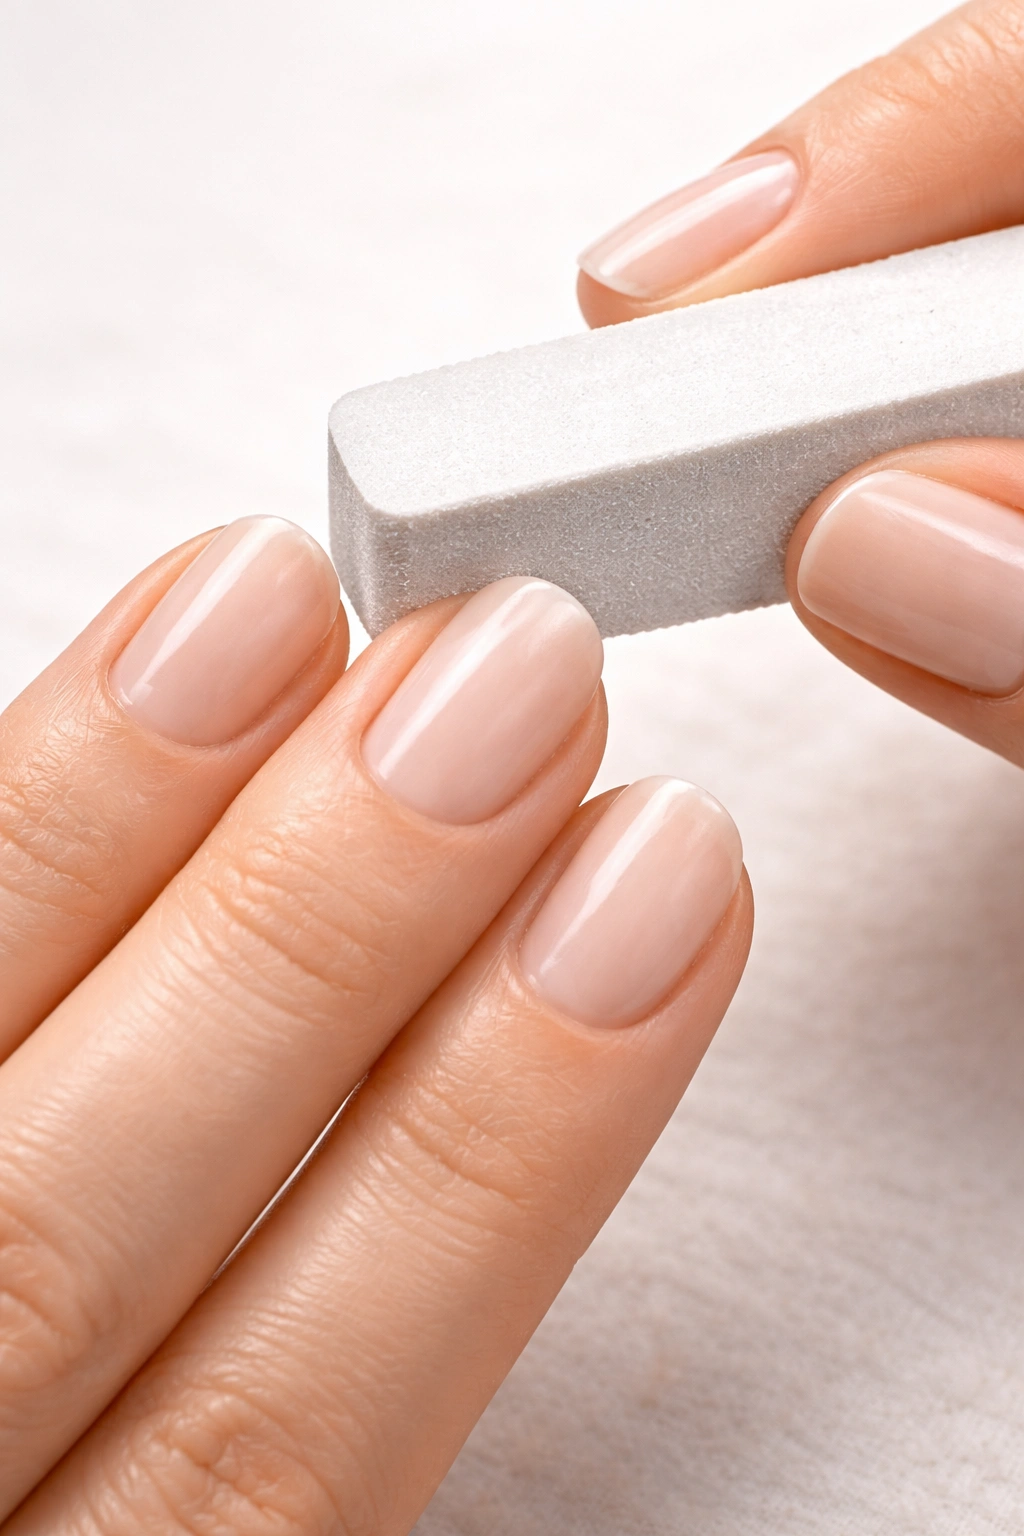
A smooth nail surface helps polish glide on evenly and stick around longer. Use a high-grit buffer and work with a light touch.
Focus especially on the area near your cuticles where texture tends to be more noticeable. A few gentle passes with the buffer should do it.
Avoid aggressive buffing or using a low-grit buffer. Too much pressure actually strips away layers of your nail and weakens them over time.
After buffing, wipe each nail with a cotton pad dampened with rubbing alcohol or nail polish remover. This removes any oils or dust left behind.
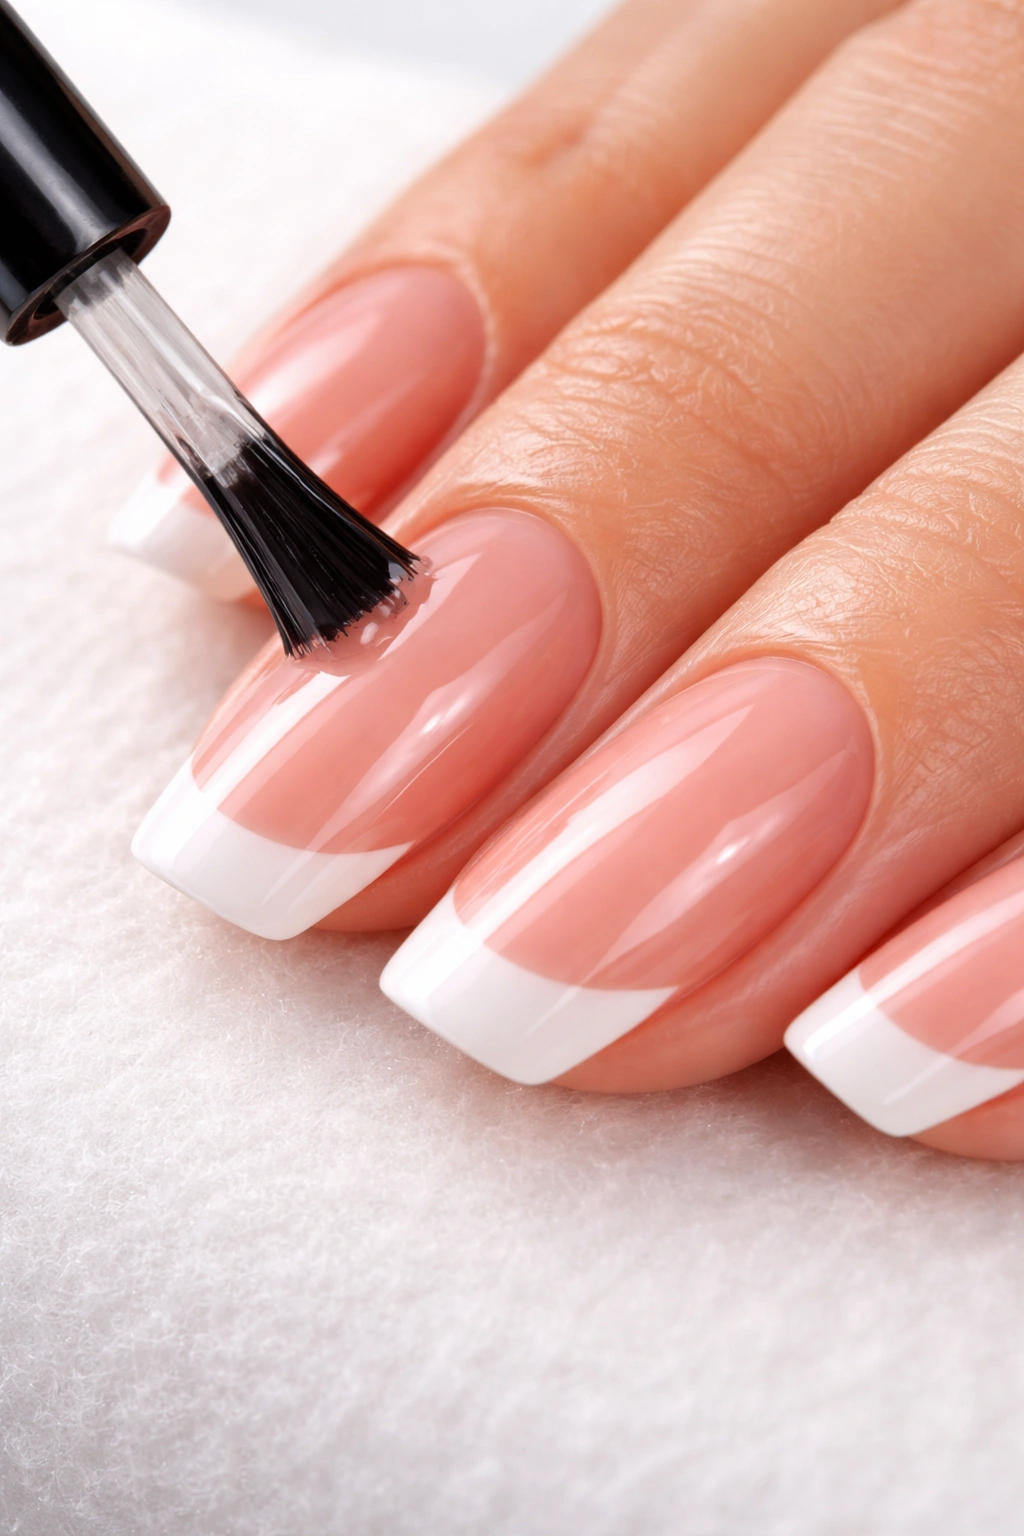
Applying Your Base Coat Protection
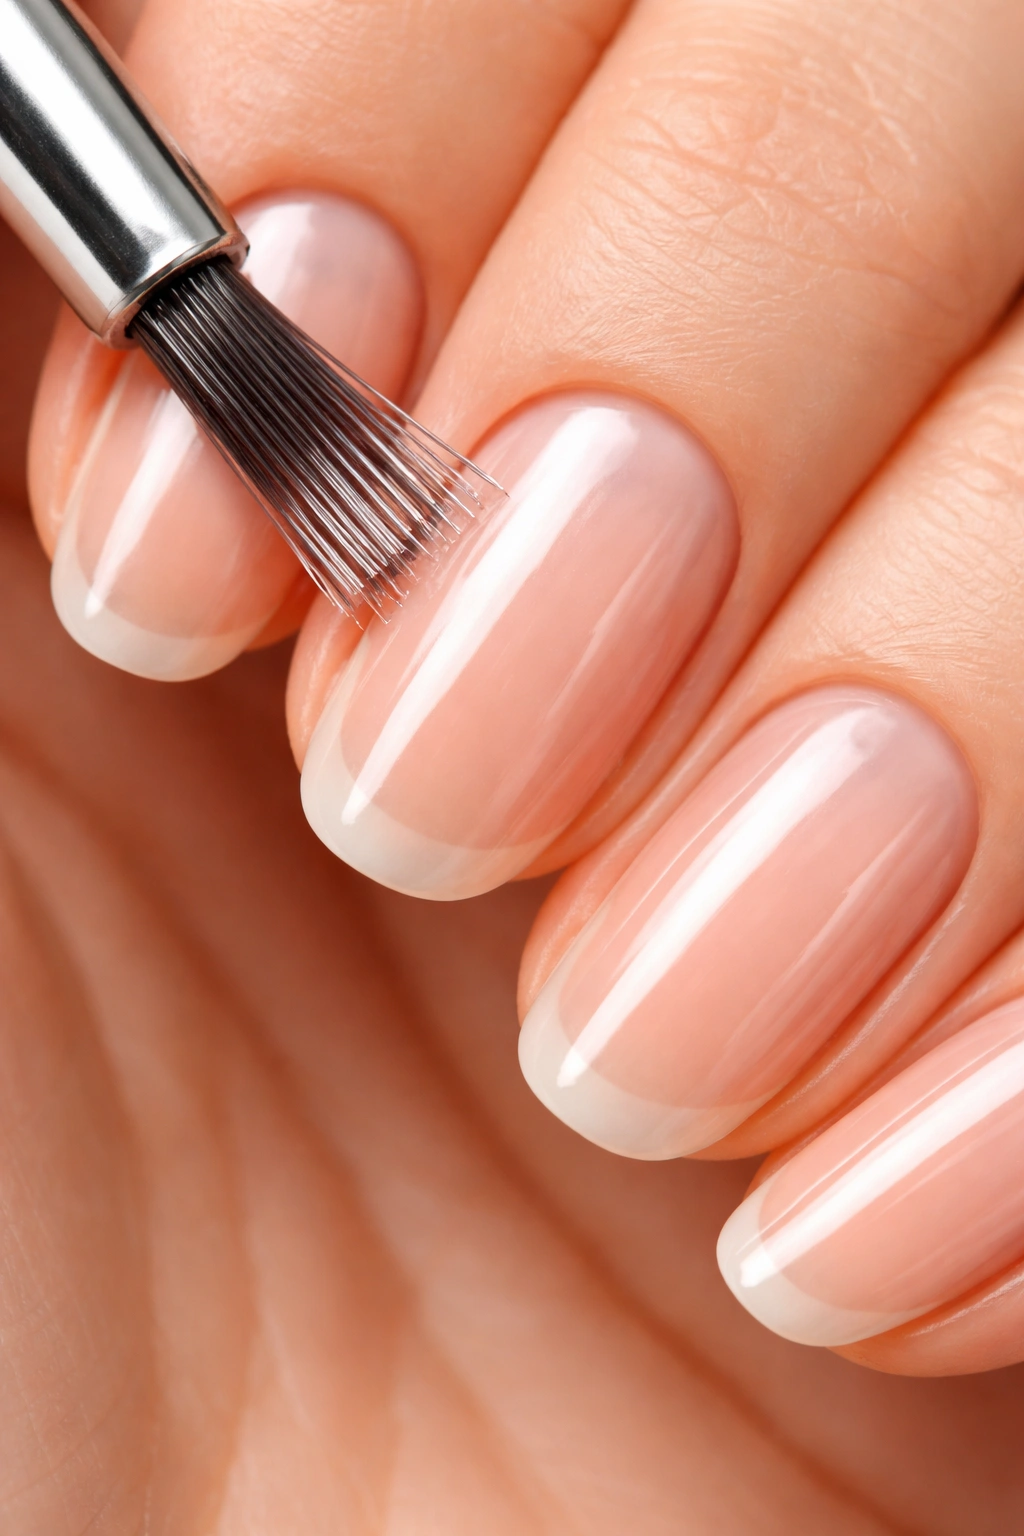
Think of base coat like primer for your face—it creates the perfect foundation for everything else. Pour a thin, even layer of clear base coat over each nail from cuticle to tip.
Don’t rush this step. A quality base coat prevents staining, helps your polish adhere better, and can actually extend the life of your manicure by several days.
Let the base coat dry completely before moving on. This usually takes one to two minutes, but don’t test it by touching your nails.
Some base coats also contain strengthening ingredients that protect your nails from damage. If you paint your nails often, investing in a good base coat pays off.
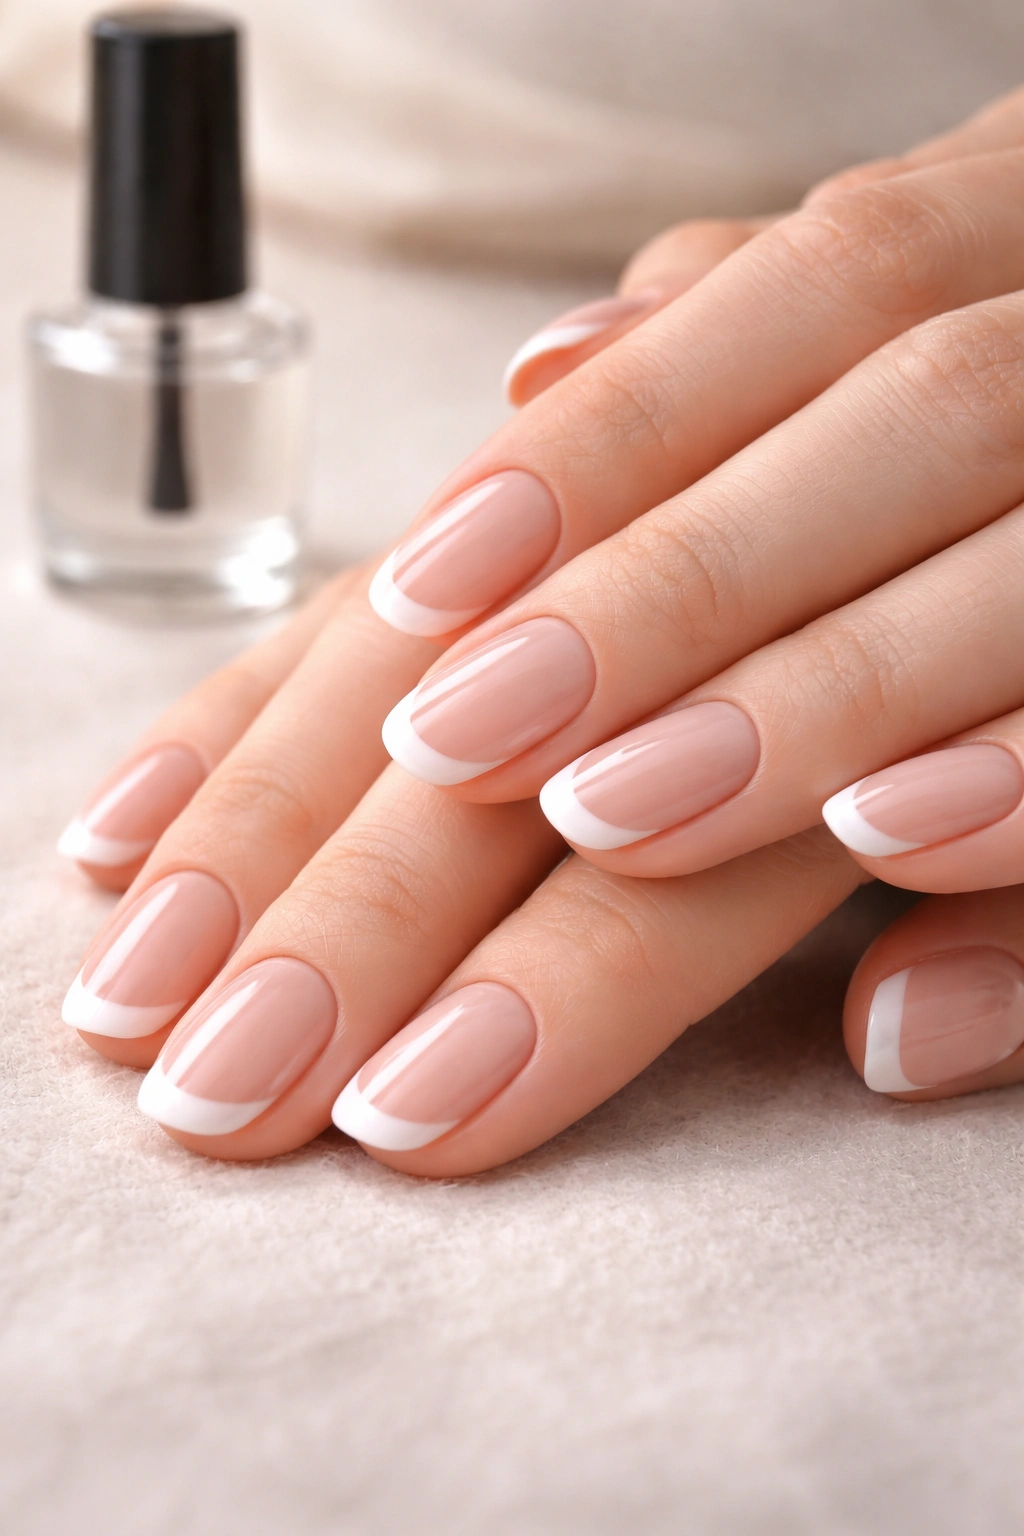
Painting the Sheer Pink or Nude Base Color
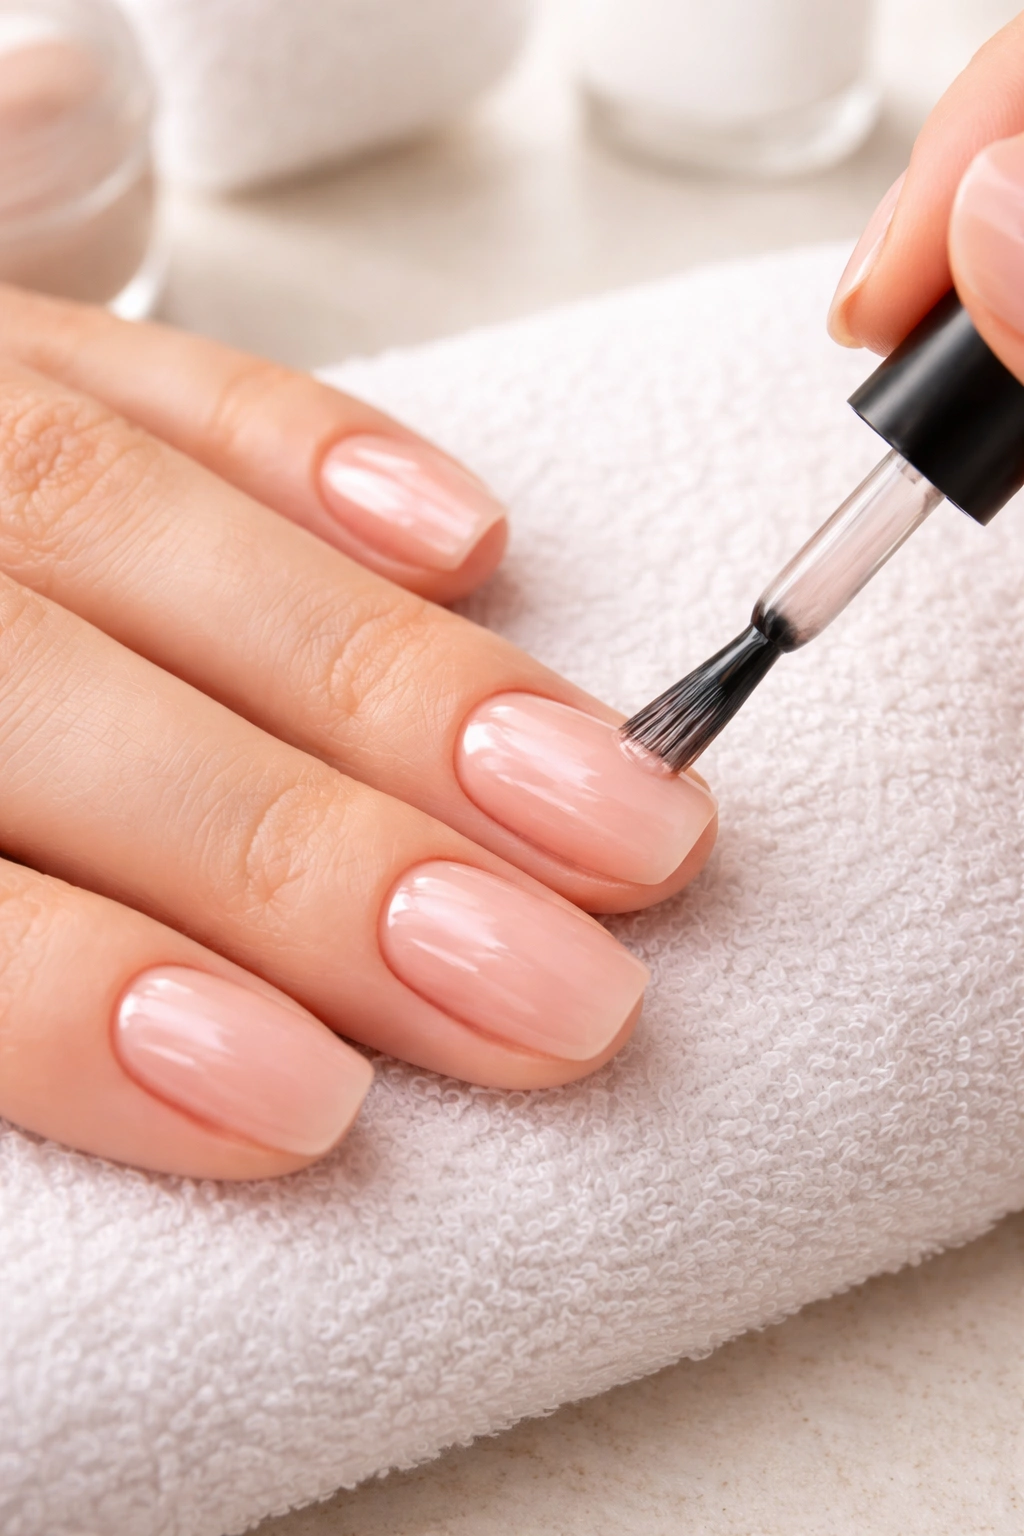
Choose a soft, sheer pink or nude shade that complements your skin tone. This layer creates that classic French manicure look and hides any imperfections or yellowing on your natural nails.
Apply one thin coat first, working from the cuticle to the tip with smooth, controlled strokes. Keep your hand steady by resting your pinky finger on a flat surface.
Wait two minutes, then assess whether you need a second coat. One coat might be enough if you’re using a highly pigmented sheer polish.
If you’re feeling adventurous, skip the traditional pink entirely. Pastels, bold colors, or even a sheer lavender can give your French tips a modern twist.
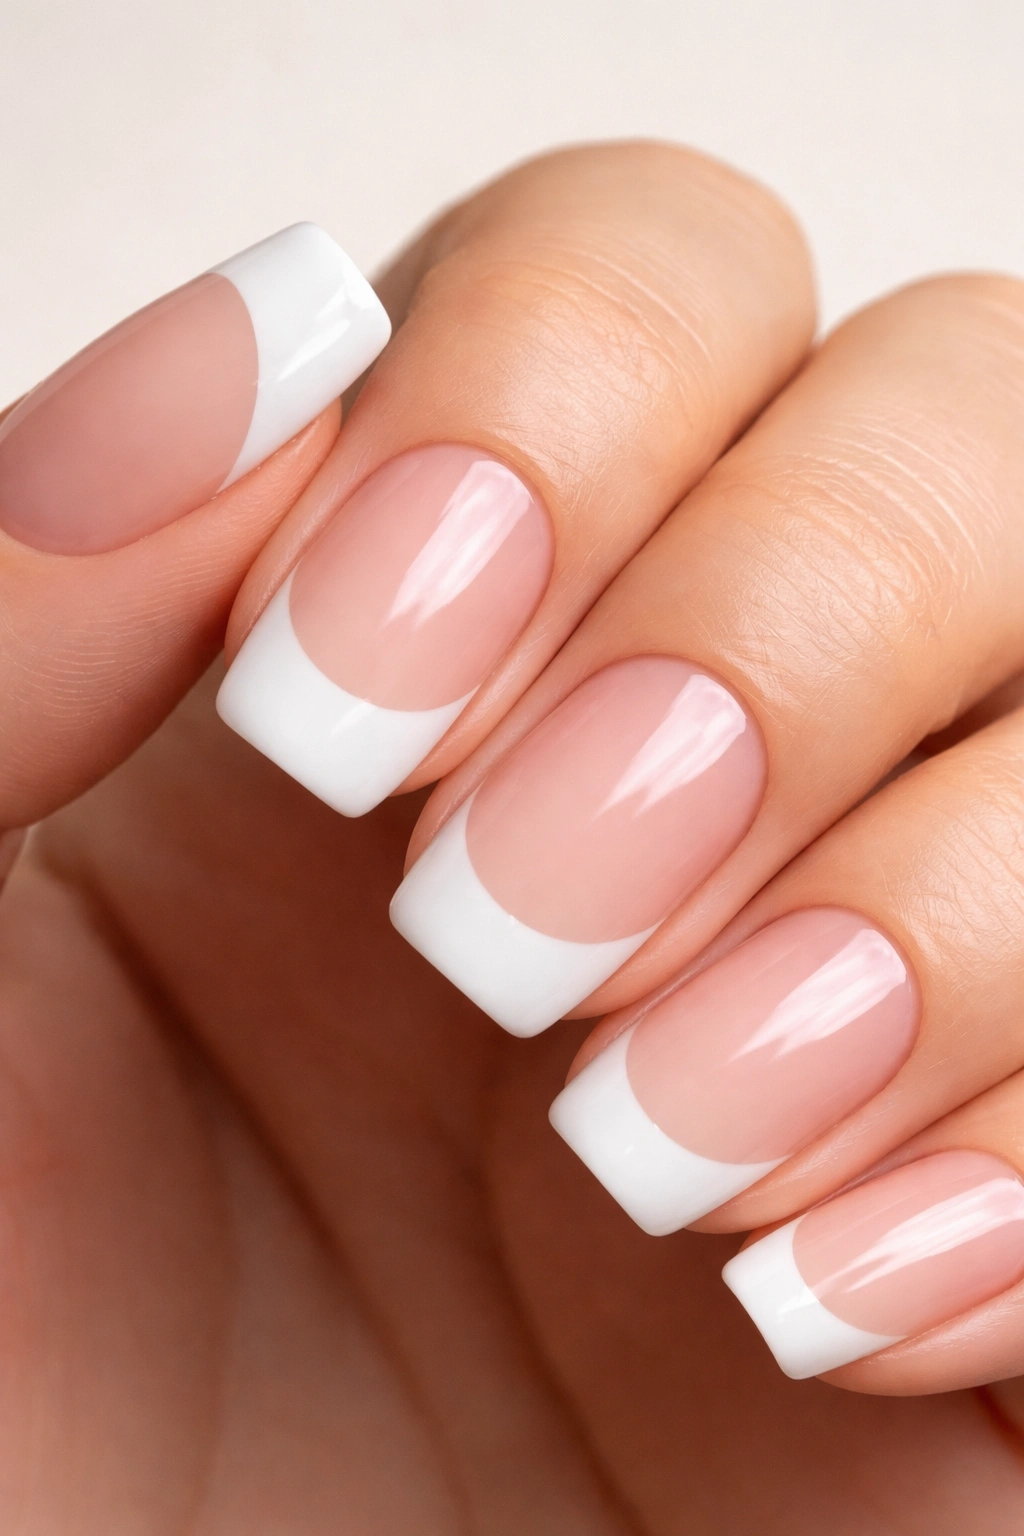
Creating the White Tips with Precision
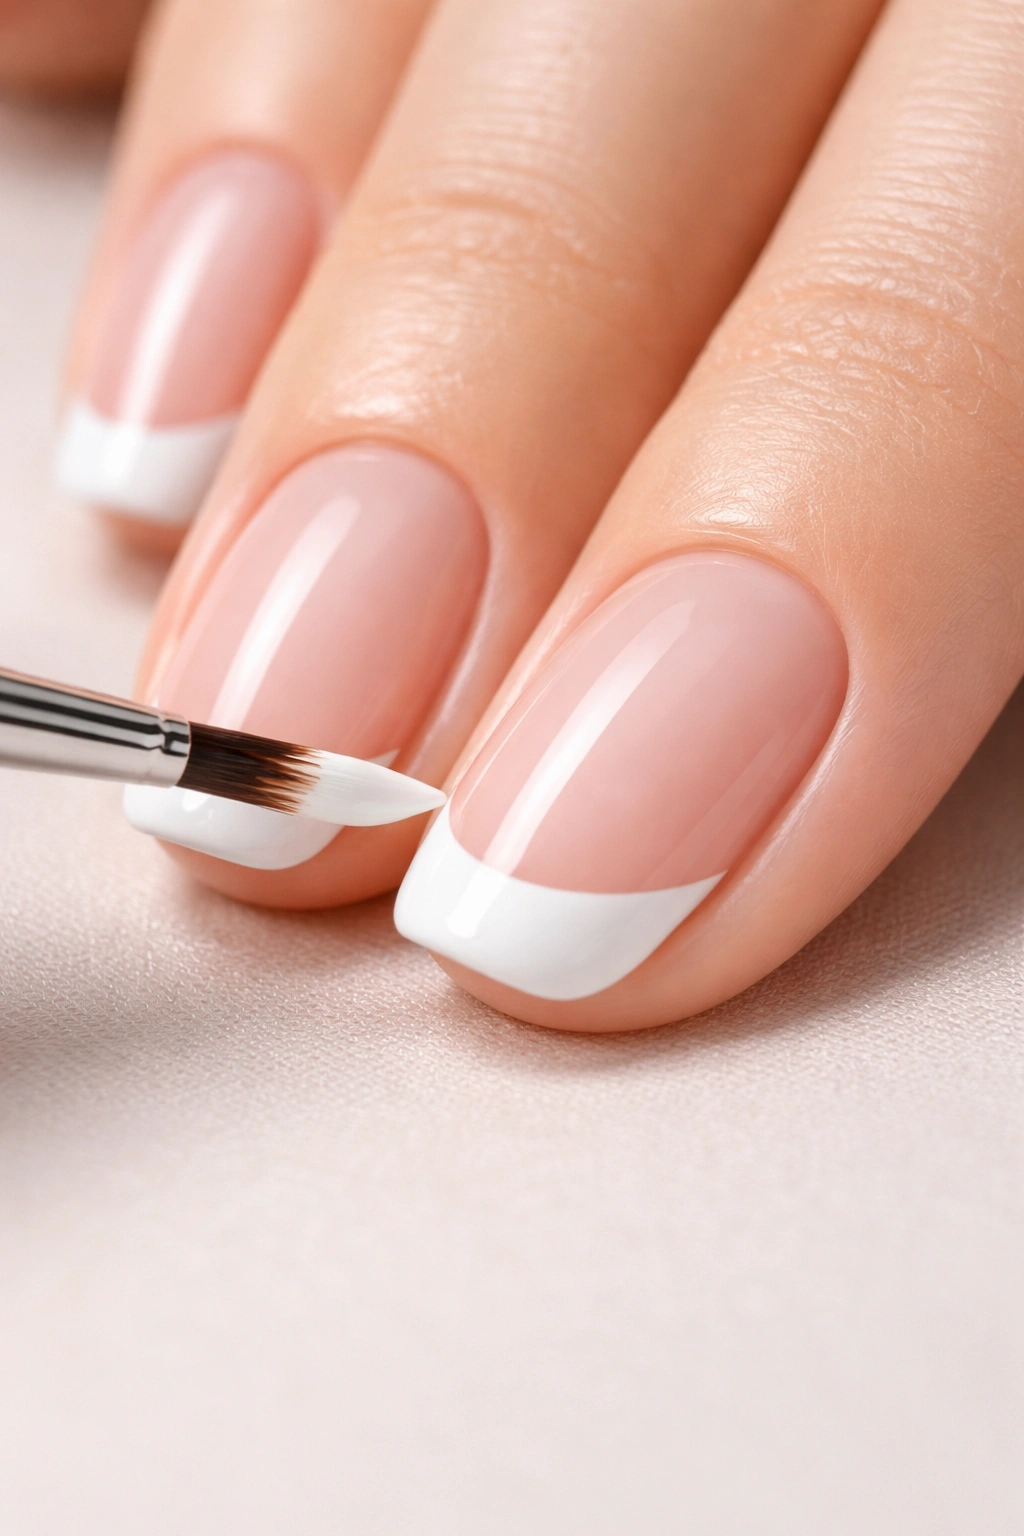
Here’s where the magic happens. Rest your hand on a flat surface to minimize shaking, and load your brush with bright white polish.
Start at one edge of your nail tip and slowly rotate your finger as you paint across. This technique is way easier than trying to keep the brush steady while moving it in a curve.
Paint a thin white crescent along the free edge of each nail. The curve should roughly follow your natural nail shape, creating that signature “smile line.”
If you’re painting with your non-dominant hand and it feels impossible, that’s totally normal. Be patient with yourself—even professional nail techs started somewhere.
Using French Tip Guides for Perfect Lines
French tip guides are small sticker strips that act as stencils. They’re lifesavers if you struggle with freehand painting.
Peel off a guide and place it on your nail just below where you want the white tip to start. Press it down firmly so polish can’t seep underneath.
Paint white polish over the exposed tip and slightly over the edge of the guide. While the polish is still wet, carefully peel away the guide to reveal a crisp, clean line.
You can also use regular painter’s tape cut into thin strips. It works surprisingly well and costs next to nothing.
Trying the Tape Method for Clean Edges
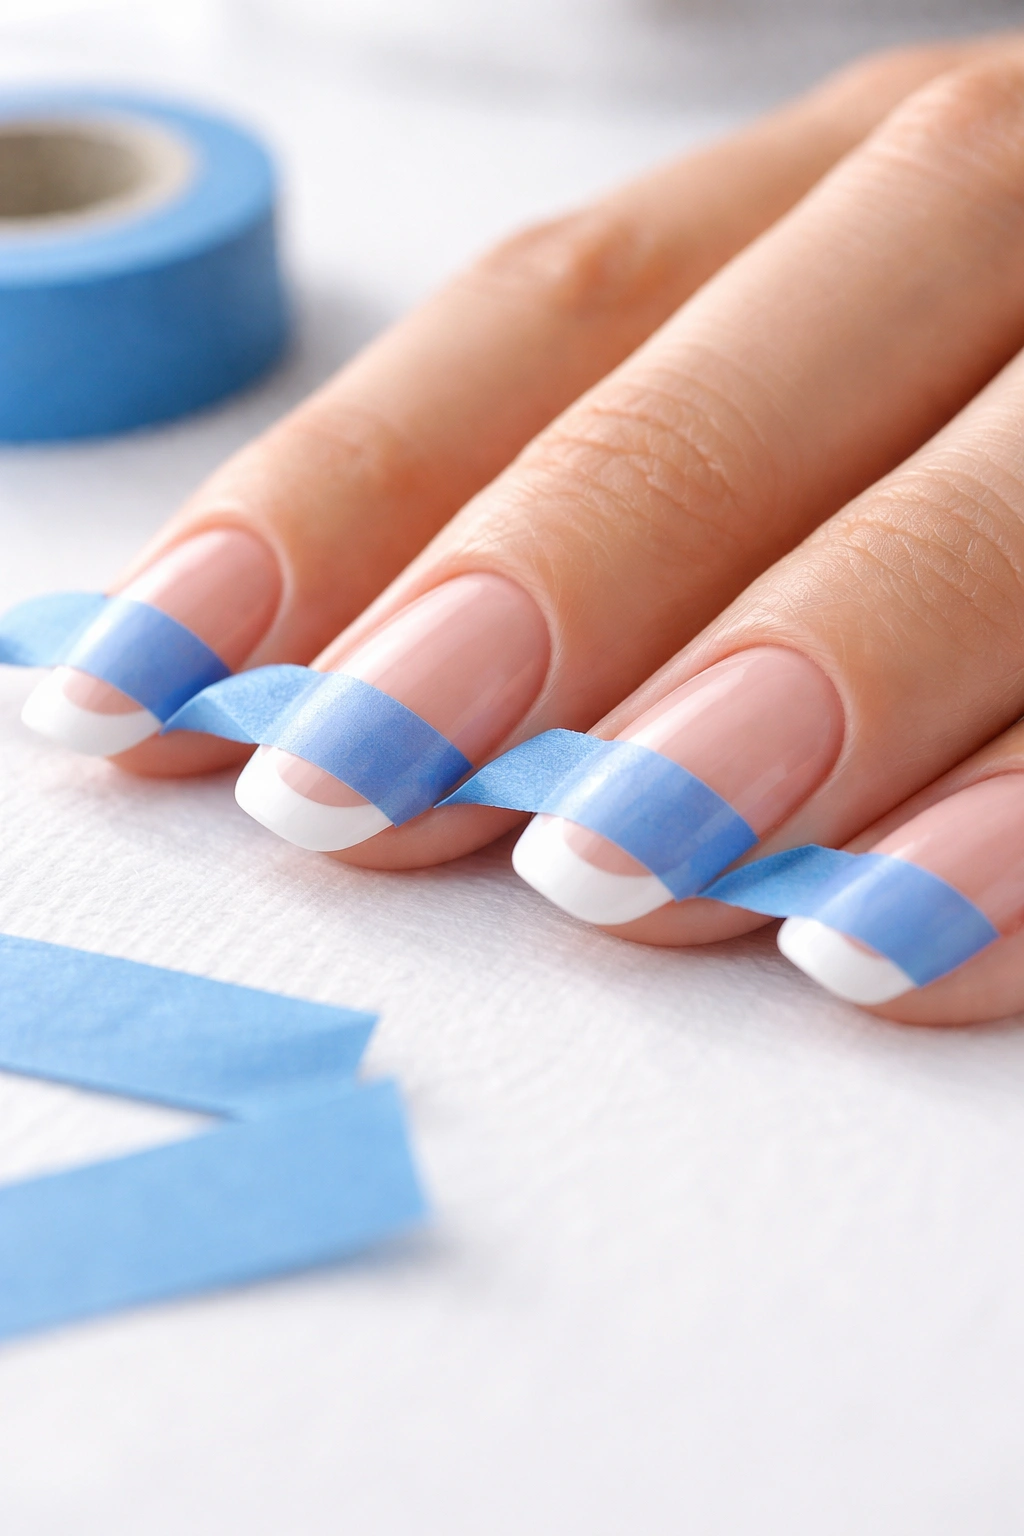
Don’t have French tip guides handy? Regular scotch tape works in a pinch, though painter’s tape is gentler on your base coat.
Cut small pieces of tape and stick them on your hand a few times first. This removes some of the adhesive and prevents the tape from pulling off your base color when you remove it.
Position the tape across each nail at the angle where you want your white tips to begin. Make sure it follows the natural curve of your nail.
Paint the exposed area with white polish, wait about thirty seconds, then remove the tape while the polish is still slightly wet. Let everything dry completely before moving on.
Sealing Everything with a Quality Top Coat
Your French manicure is almost complete. Grab your top coat and paint a thin, even layer over each nail from cuticle to tip.
Don’t forget to “cap” your tips by running the brush along the free edge of each nail. This seals the polish and prevents chipping at the tips.
A good top coat adds serious shine and can extend your manicure from three days to well over a week. Look for formulas that promise chip resistance and quick drying.
Let your nails dry completely before putting your hands to work. This can take up to two hours for full curing, though they’ll feel dry to the touch much sooner.
Cleaning Up Mistakes and Stray Polish
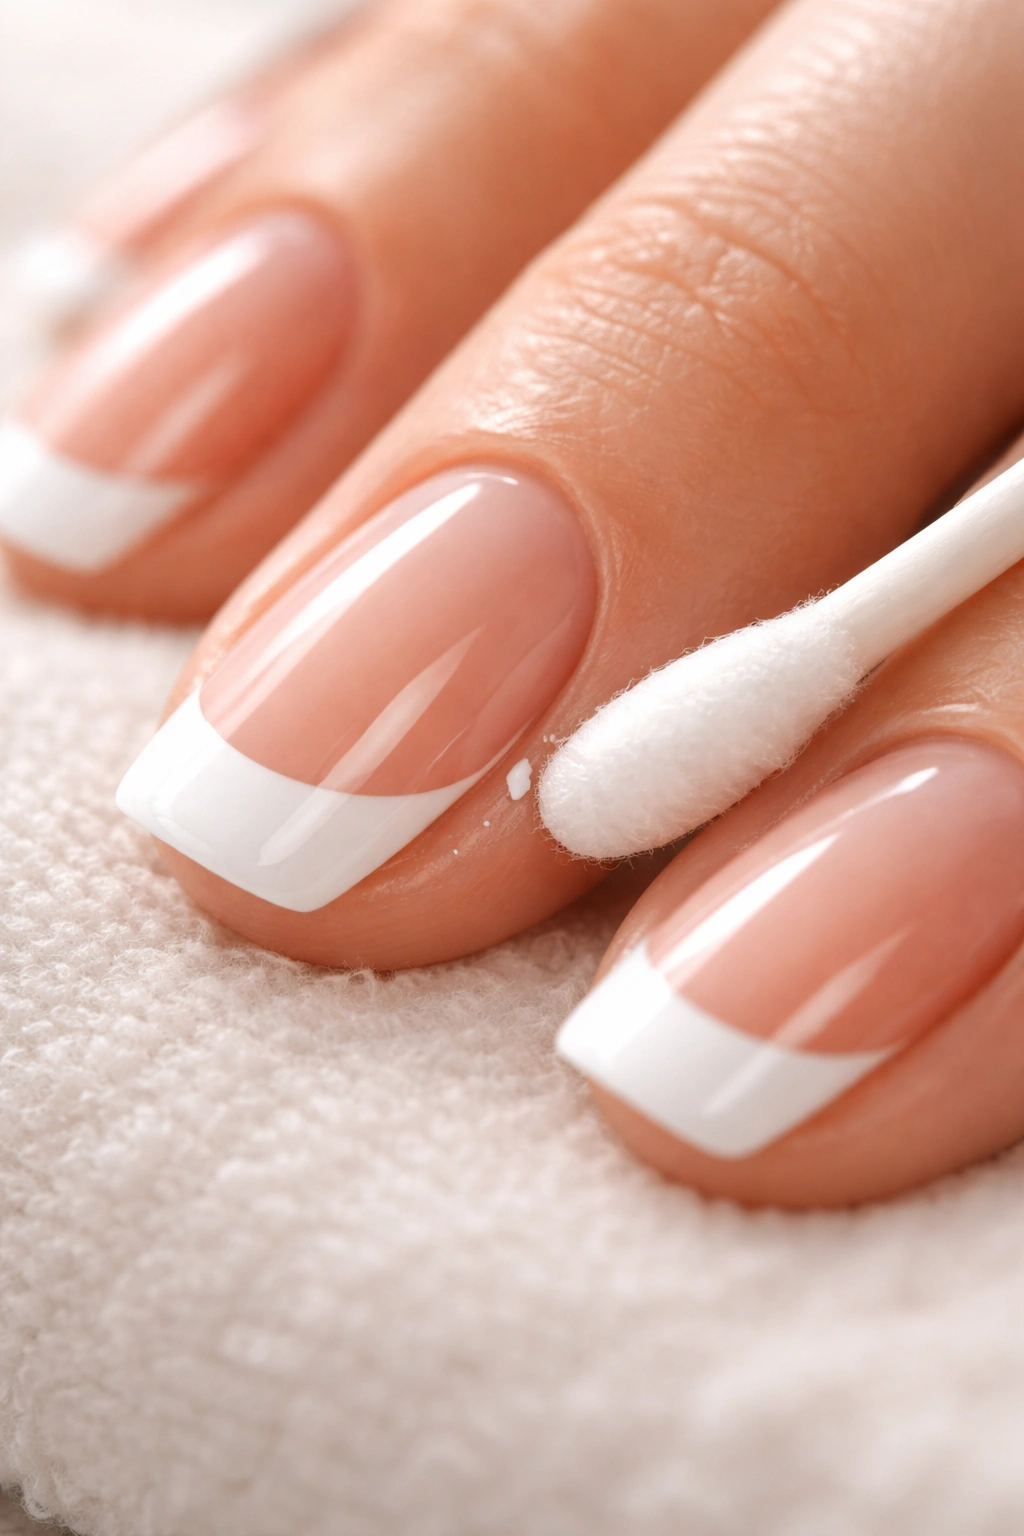
Even professionals make mistakes. Before your top coat dries, assess any areas that need cleaning up.
Dip a small brush or cotton swab in nail polish remover and carefully trace around your nails to remove any polish that got on your skin. Work slowly—you don’t want remover touching your fresh manicure.
For tiny mistakes on the nail itself, use a pointed cotton swab dipped in remover. A light touch fixes small errors without ruining the whole nail.
If you made a bigger mess, don’t stress. Remove the polish from that nail and start over. It happens to everyone.
Making Your French Manicure Last Longer
You didn’t put in all this work just to have it chip tomorrow. A few simple habits keep your French tips looking fresh.
Wear gloves whenever you’re doing dishes, cleaning, or working with water. Constant exposure to water and harsh chemicals breaks down nail polish faster than anything else.
Reapply top coat every two to three days. This refreshes the shine and adds another protective layer over your design.
Avoid using your nails as tools. Opening cans, peeling labels, or picking at things puts stress on the polish and causes chips around the tips.
Exploring Creative French Tip Variations
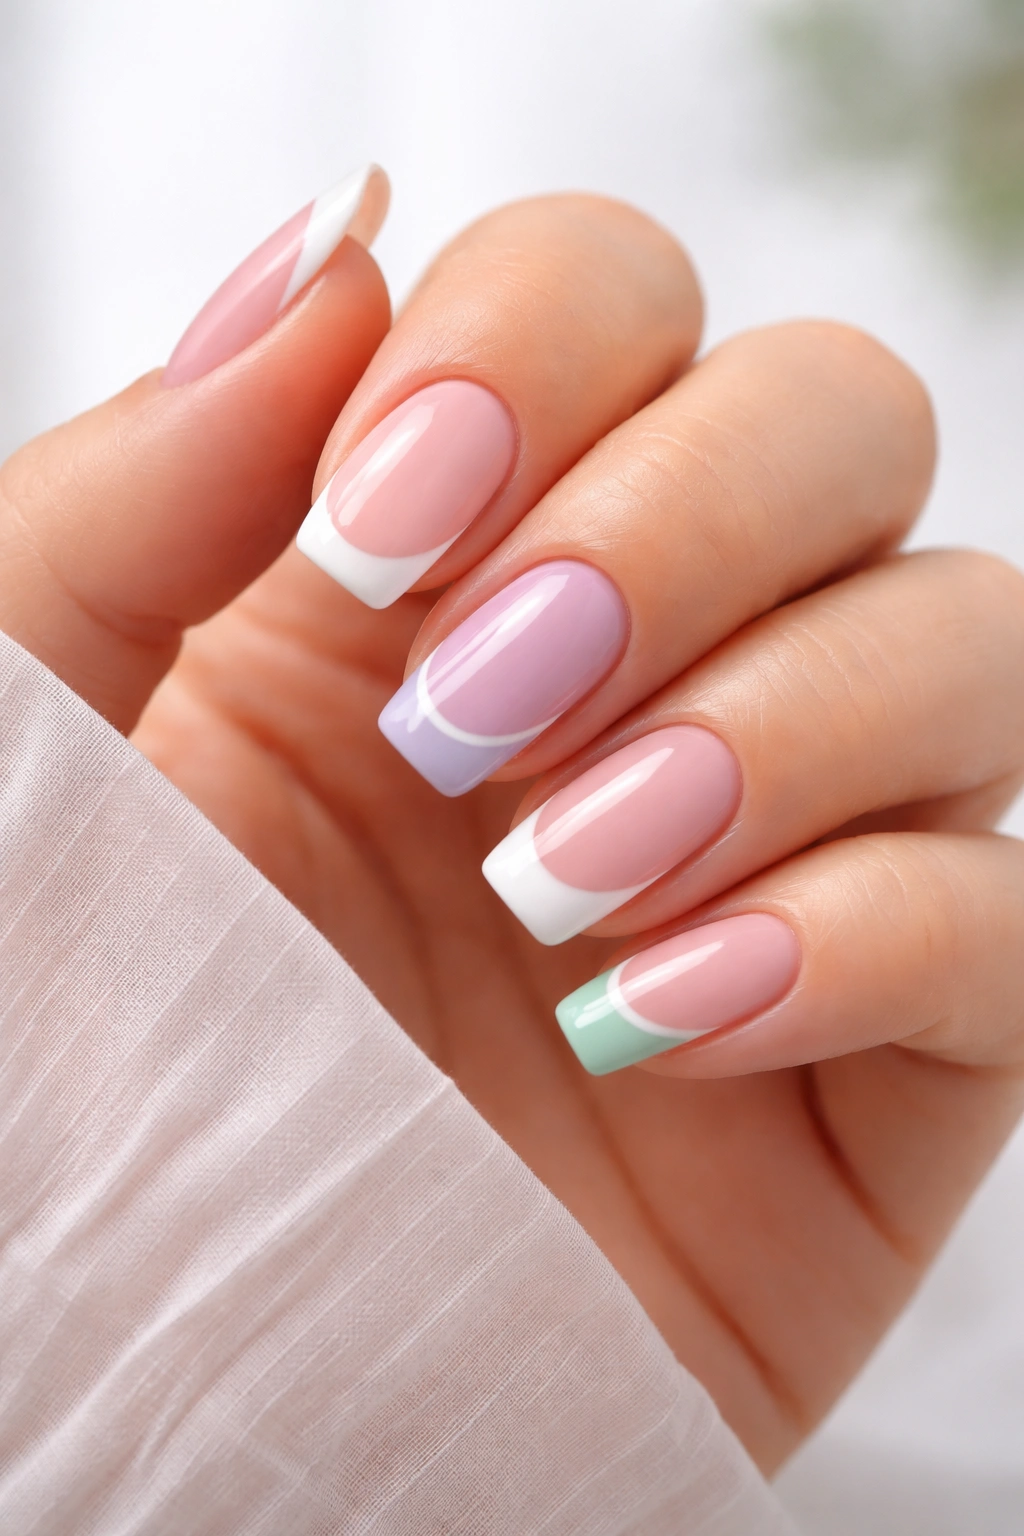
The classic white-and-pink combo is beautiful, but French tips are surprisingly versatile. Swap white tips for pastels, metallics, or even black for a modern edge.
Try colored French tips by using any contrasting shade at the tips. Baby blue, mint green, or soft lavender create a fresh, springtime vibe.
For something subtle, opt for “micro French tips”—super thin white lines that look minimalist and chic. This style also hides small imperfections better.
You can even reverse the design by painting the base of your nail (near the cuticle) white and leaving the tips in your chosen color. It’s unexpected and eye-catching.
Adding Nail Art Details to Your French Tips
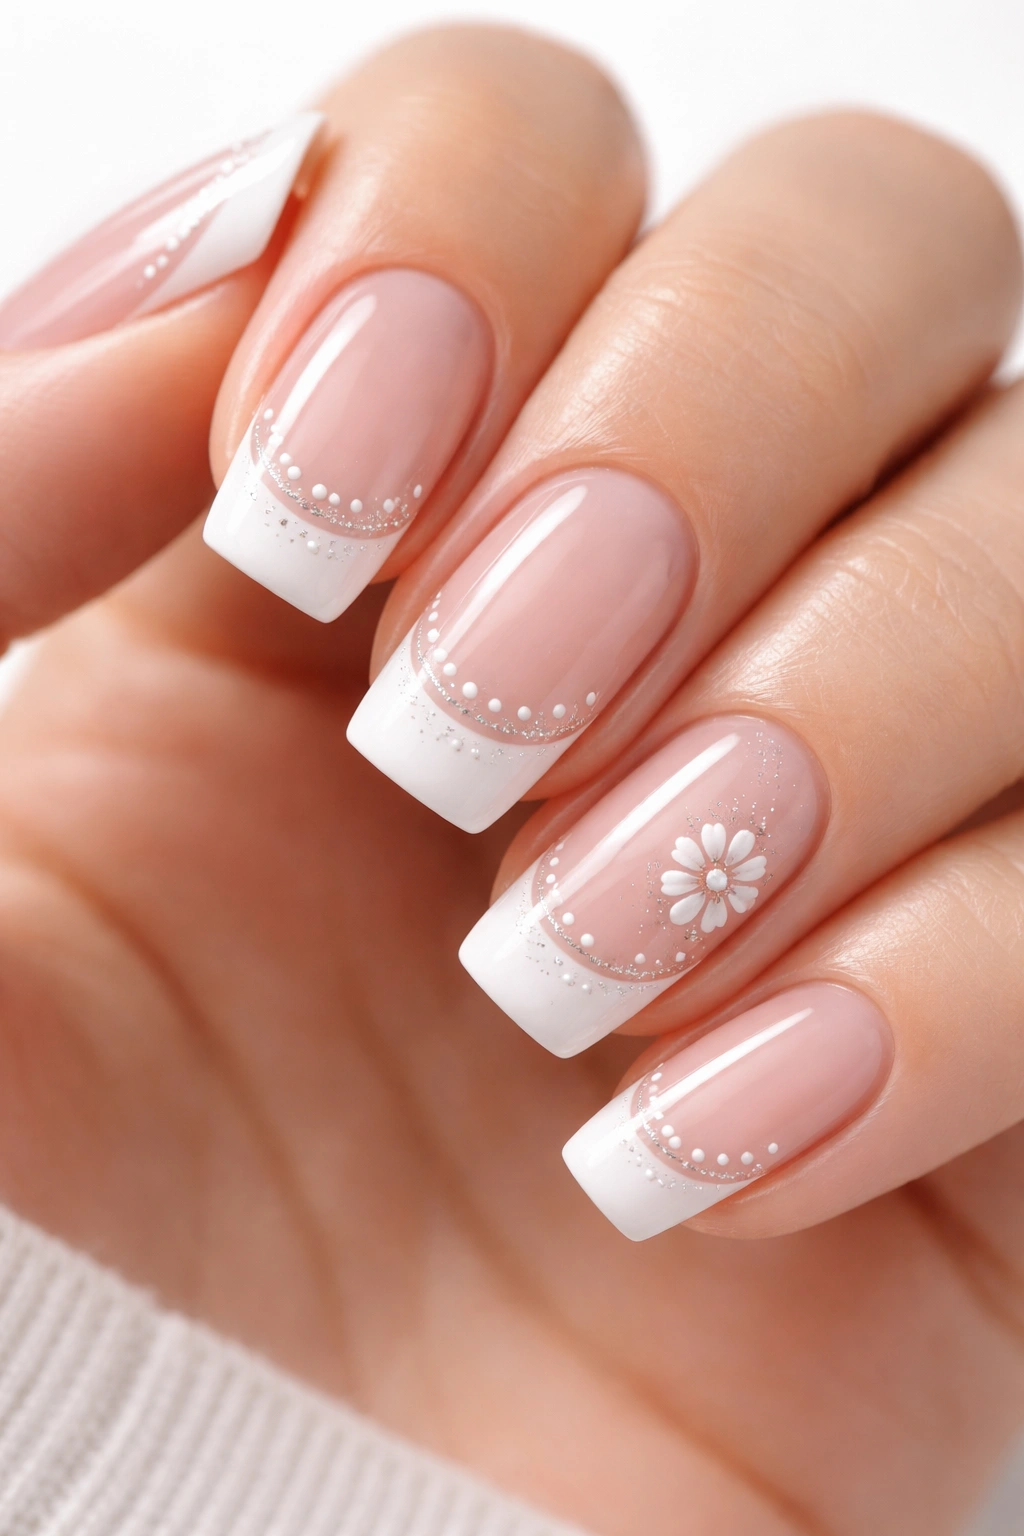
Once you’re comfortable with basic French tips, add your own creative touches. Small dots, delicate lines, or tiny flowers elevate the design.
A bit of glitter on just the tips catches the light beautifully. Apply loose glitter over wet white polish, or use a glitter topcoat for sparkle.
Nail stamping tools make it easy to add intricate patterns without needing artistic skills. You can find affordable stamping kits online with hundreds of designs.
Keep it simple at first. Even one accent nail with extra detail can transform your French manicure from basic to special.
Troubleshooting Common French Tip Problems
Thick, clumpy tips make your nails look stubby instead of elegant. If this happens, remove the white polish and try again with a thinner application.
Uneven smile lines are the most common struggle. Remember, it’s okay if they’re not identical on every nail—slight variations look natural, not sloppy.
If your hand shakes too much, rest your painting hand’s pinky finger on the table for stability. You can also try balancing the hand you’re painting on a flat surface.
Polish that chips within a day usually means your nails had oil on them when you started. Make sure you wipe them with alcohol before applying the base coat.
Understanding Gel Polish vs Regular Polish
Regular polish is perfect for beginners. It’s easy to apply, simple to remove, and lets you change your look whenever you want.
Gel polish lasts significantly longer—often two weeks or more—and has an ultra-glossy finish. However, you’ll need a UV or LED lamp to cure it properly.
Gel also requires more commitment. Mistakes are harder to fix, and you’ll need to soak it off with acetone rather than just swiping with remover.
For your first few attempts at French tips, stick with regular polish. Once you’re confident in your technique, gel becomes a worthwhile investment.
Maintaining Healthy Nails Between Manicures
Beautiful French tips start with healthy nails underneath. Give your nails a break from polish occasionally to let them breathe.
Keep your cuticles hydrated by massaging cuticle oil into them daily. This prevents hangnails and keeps the skin around your nails looking neat.
Eat foods rich in biotin like eggs, nuts, and whole grains. Nutrition plays a bigger role in nail health than most people realize.
File your nails regularly to prevent snags and breaks. Maintaining consistent length and shape makes your next French manicure session easier.
Conclusion
Creating salon-quality French tips at home is completely achievable with the right approach and a bit of practice. Your first attempt might not be perfect, and that’s okay—each time you do it, you’ll get faster and more confident.
The beauty of learning this skill is the freedom it gives you. You can freshen up your manicure whenever inspiration strikes without scheduling appointments or spending extra money. Plus, experimenting with different colors and styles becomes part of the fun.
Start with the classic pink-and-white combination to master the technique, then let your creativity take over. Whether you prefer timeless elegance or modern twists, French tips remain one of the most flattering nail designs you can do yourself.
