

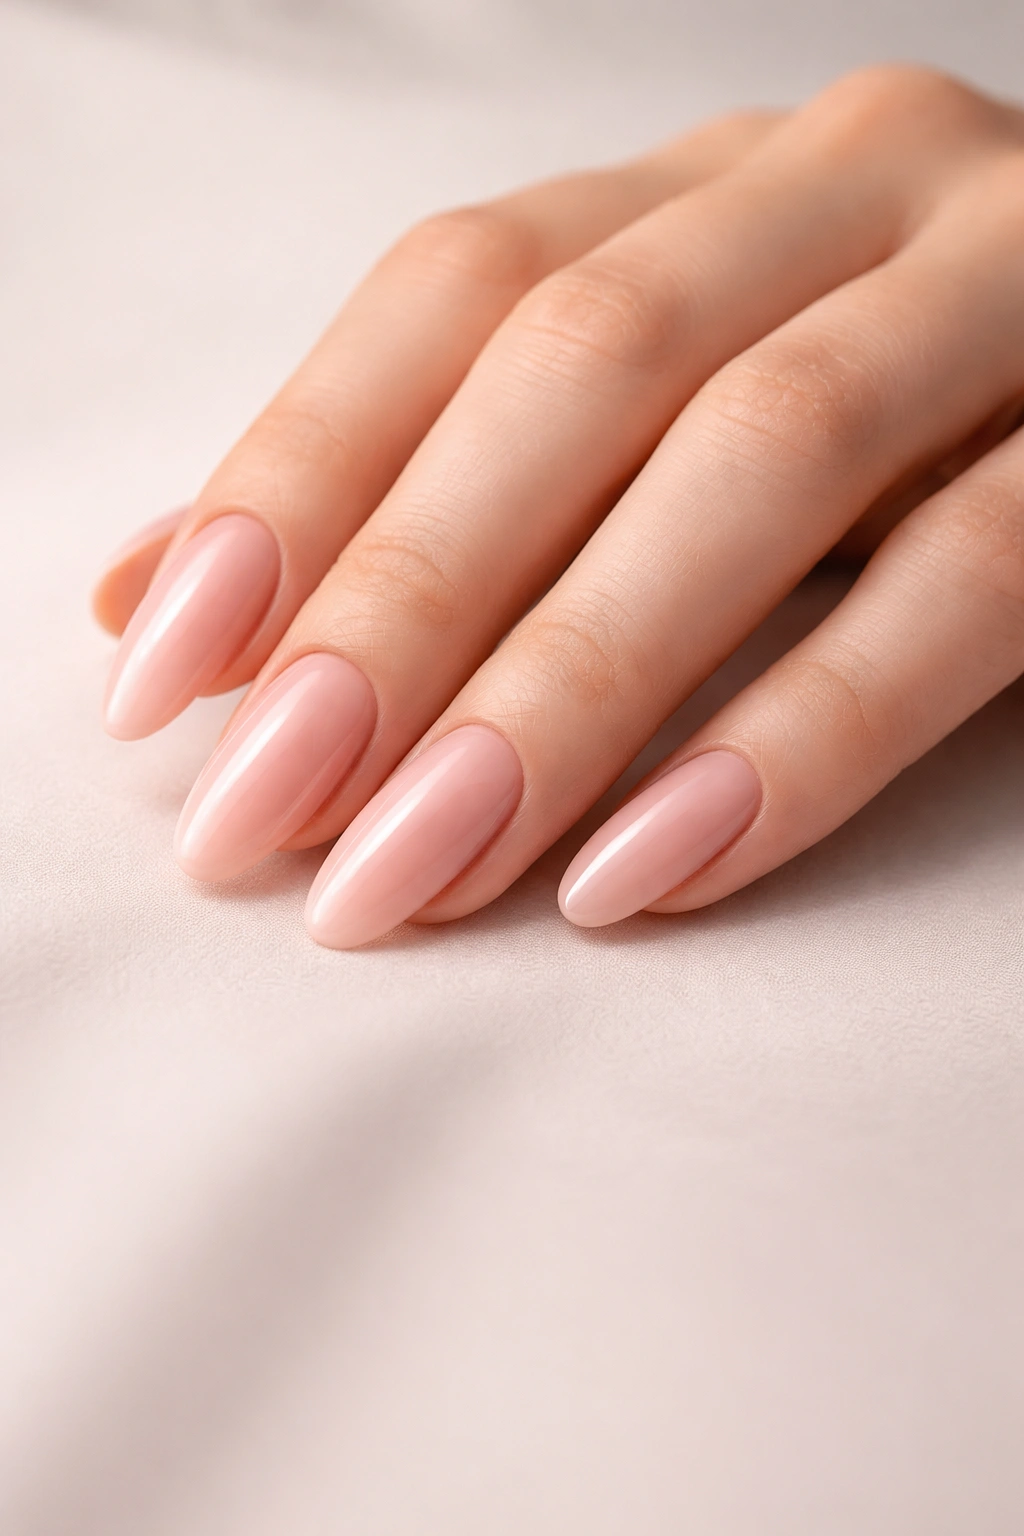
Nude pink nails have become the ultimate quiet luxury of the beauty world—subtle enough for professional settings, yet undeniably elegant and modern. When you combine that sophisticated nude-pink color story with the elongated oval shape, you’re creating a nail design that flatters virtually every hand and skin tone while maintaining a polished, intentional aesthetic. Long oval nails in particular create a gorgeous elongated silhouette that makes fingers appear more slender and refined, and the soft finish elevates the whole look from trendy to genuinely timeless.
The beauty of nude pink lies in its incredible versatility. It’s not just one color—it’s a spectrum that ranges from warm peachy-nudes to cool pink undertones, from barely-there baby pinks to richer mauve-infused shades. This means you can find the exact nude pink that works with your specific skin undertone, whether you’re warm, cool, or perfectly balanced. A soft finish—matte, satin, or gently glossed—adds another dimension of sophistication that catches light without screaming for attention.
Long oval nails demand a certain confidence and commitment to maintenance, but they’re absolutely worth it if you’re willing to treat them with the care they deserve. The shape creates beautiful negative space and works beautifully with both minimalist and detailed nail art approaches. Whether you prefer pure simplicity or subtle embellishments, nude pink long ovals can be customized to match your personal style while maintaining that coveted soft, approachable elegance.
Let’s explore ten specific nude pink long oval nail designs that each bring something different to the table—from nearly bare minimalism to refined, layered designs that still read as understated.
1. Creamy Nude Pink with Subtle Nude Gradient
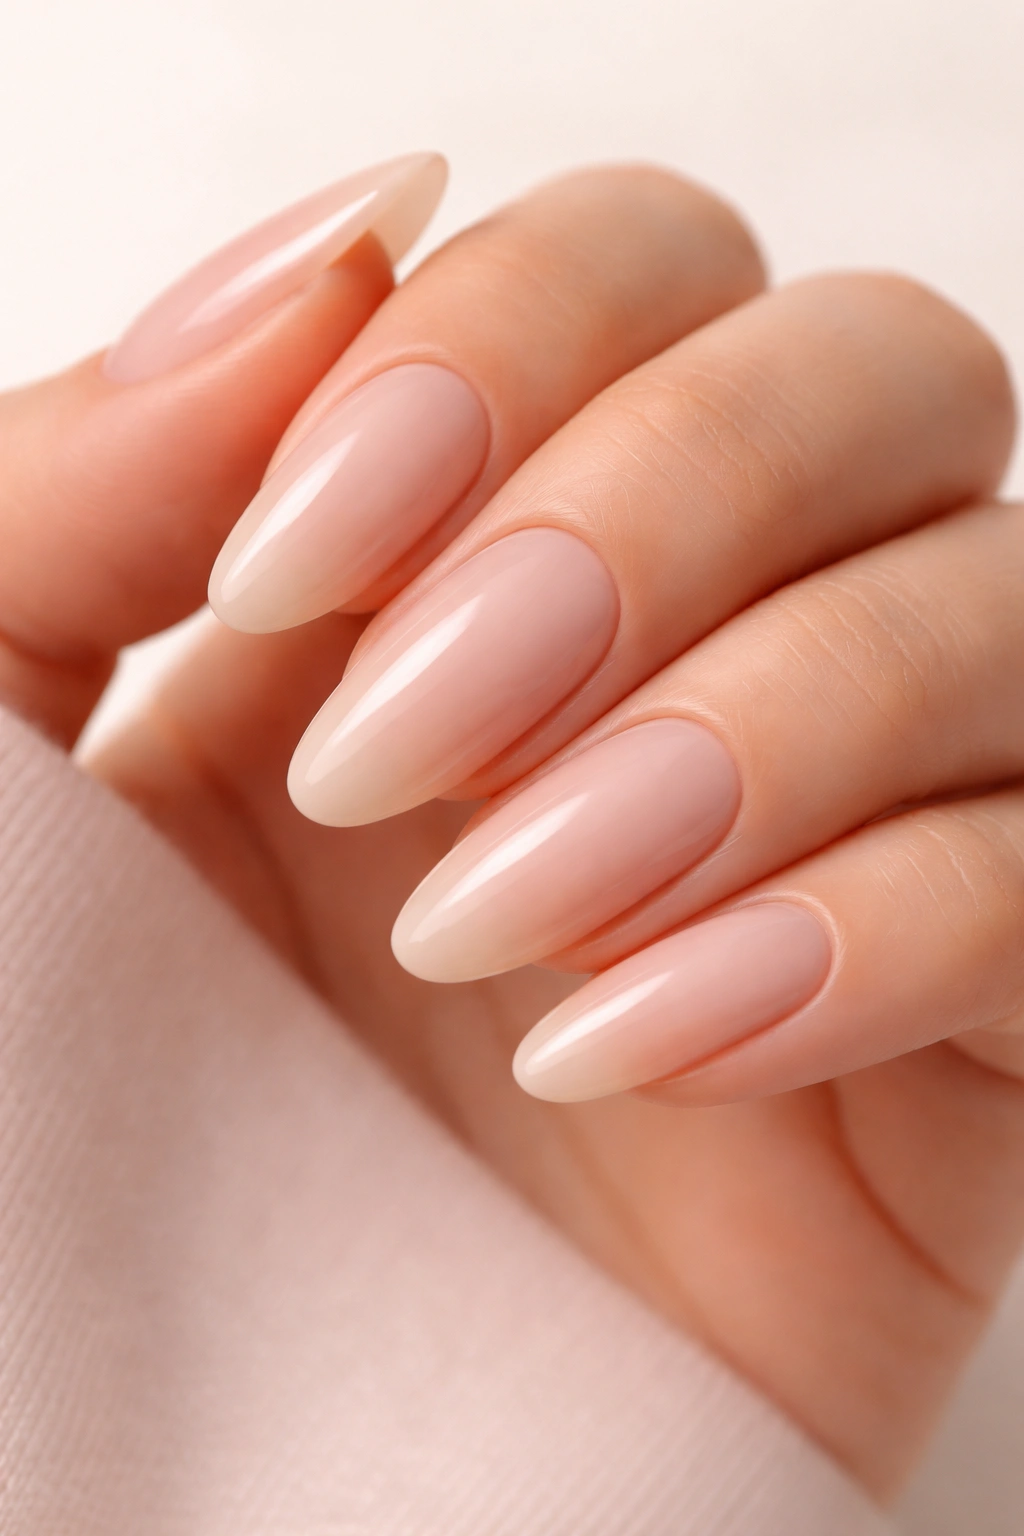
This design starts with a rich, creamy nude-pink base that transitions imperceptibly into a slightly warmer nude at the tips, creating barely-there gradient that catches light without announcing itself. The gradient is so subtle that most people won’t consciously notice it—they’ll just see a nail that looks flawless and impossibly dimensional.
How to Achieve This Look
Begin with a smooth base coat and apply two thin, even layers of your chosen creamy nude-pink shade. While the second layer is still slightly tacky, take a makeup sponge and dab a slightly warmer nude shade (one to two shades lighter and warmer) onto the sponge. Press and stipple the sponge gently onto just the upper third of each nail, working quickly before the polish sets completely. Seal with a matte or satin topcoat depending on your preferred finish. The key is using very little product on your sponge—too much polish and the gradient becomes obvious and harsh.
Why This Design Works So Well
The gradient adds visual interest without introducing a second color that might clash with your wardrobe or skin tone. It’s the kind of subtle detail that makes people compliment your nails without being able to pinpoint exactly why they look so good. The warmer tips create a subtle glow that’s especially flattering under natural lighting.
Application Tips
- Mix your gradient colors beforehand on a test nail to ensure they blend seamlessly
- Practice your sponge technique on a practice wheel before attempting it on your actual nails
- Apply the gradient to nail number four or five first, when you’ve found your rhythm but your hands aren’t tired yet
- Keep a bottle of acetone nearby to gently wipe away any gradient that extends onto your cuticles or side walls
2. Barely-There Nude Pink with Glossy Finish
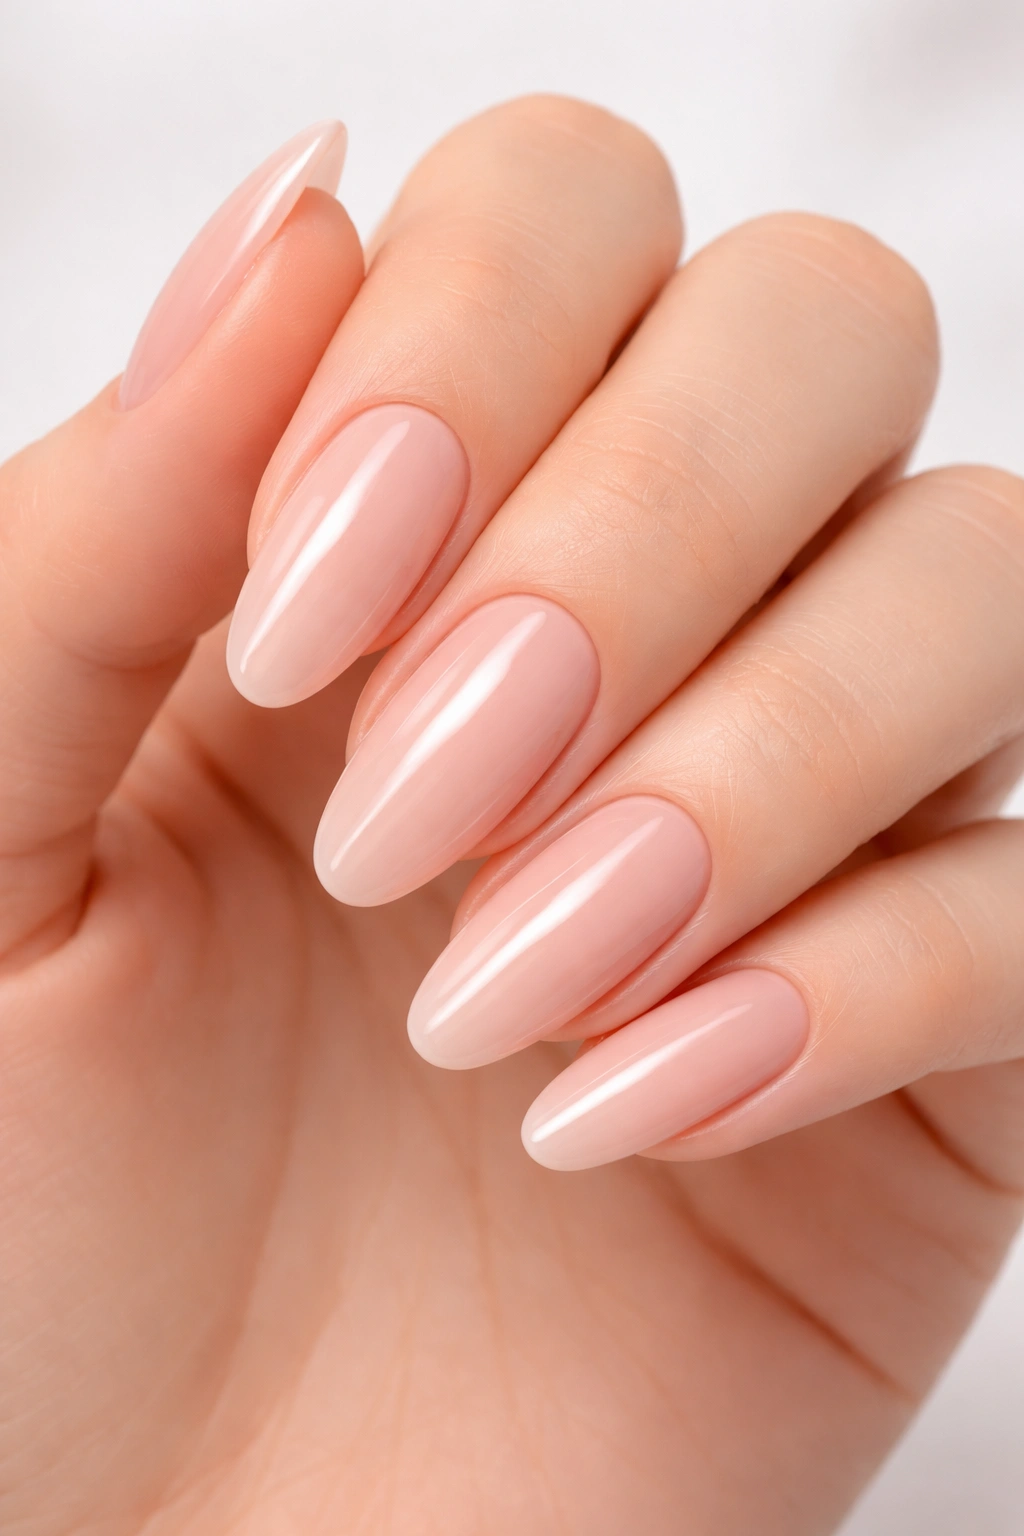
Sometimes the most sophisticated approach is pure minimalism—one color, high-quality polish, flawless application, and a subtle glossy finish that feels like second skin. This design relies entirely on the quality of the manicure itself rather than any embellishment, which means precision matters tremendously.
The Formula for Flawless Application
This look requires three things: pristine nail preparation, quality polish applied in thin even coats, and intentional topcoat selection. File your nails into a clean long oval, ensuring the sidewalls are perfectly smooth and the apex (the highest point of the nail curve) is positioned correctly for strength without looking bulbous. Apply a strengthening base coat, then two thin coats of your barely-there nude pink, capping the free edge with each coat to prevent chipping. Finish with a glossy topcoat that provides subtle shine without looking plastic or overdone.
Choosing the Right Nude Pink Shade
The barely-there nude pink should be close enough to your skin tone that it creates a nearly seamless line from skin to nail. If you have fair skin, look for pinks with peachy or beige undertones. Medium skin tones usually read beautifully in warmer nude pinks with subtle caramel notes. Deeper skin tones often glow in mauve-tinged nudes or peachy-browns. The goal is creating an optical line extension of your fingertip rather than a defined nail color.
Why Finish Matters
A glossy finish on a barely-there nude pink creates an almost dewy, youthful appearance while maintaining sophistication. The slight shine catches light in a way that highlights the nail shape without drawing attention away from your hands’ overall silhouette. This finish requires regular maintenance—glossy topcoats can become dull within two weeks—but the payoff is a manicure that reads as intentional and well-maintained.
3. Nude Pink with Delicate Gold Leaf Accents
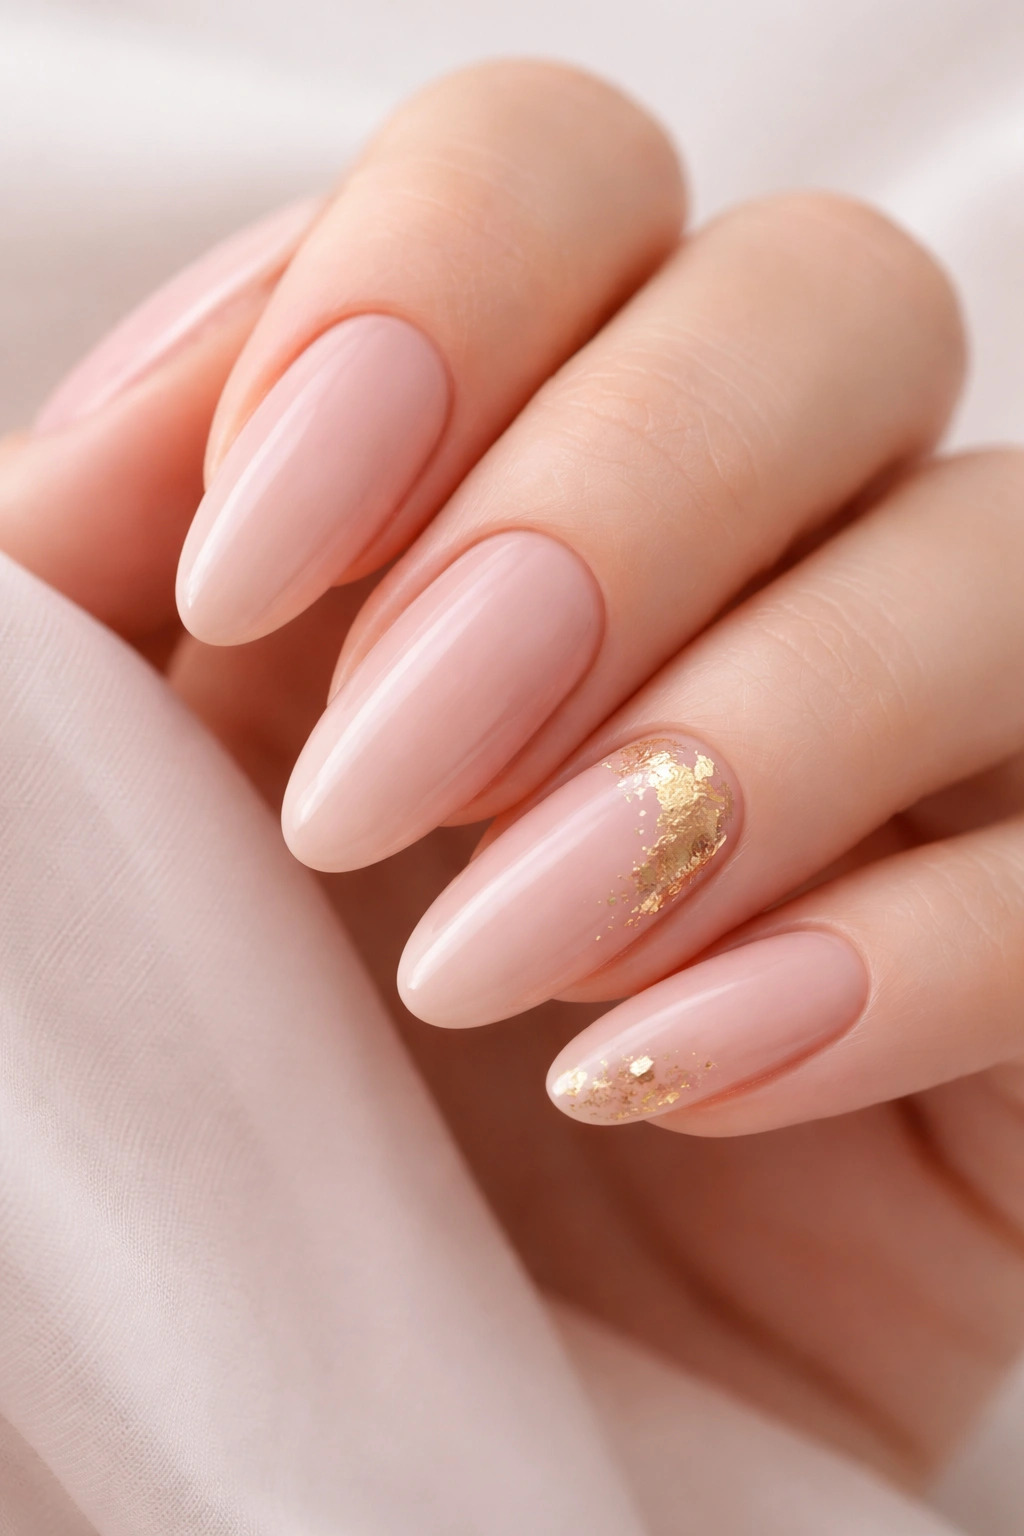
This design pairs a soft nude-pink base with subtle gold leaf placement, typically on one or two accent nails, creating a design that feels special occasion without being costume-like. The gold catches light beautifully and adds understated luxury without overwhelming the soft aesthetic.
Placement Strategy for Gold Leaf
The most flattering placement is typically on your ring finger and pinky, or on just your ring finger alone. This asymmetrical approach feels more intentional and modern than placing gold leaf identically on every nail. Some people prefer a scattered, random placement of small pieces across one or two nails, while others opt for larger, more deliberate gold leaf shapes that create a defined design. The key is leaving plenty of nude pink visible so the gold reads as an accent rather than the main focus.
Application Technique
After applying your nude pink base and topcoat, use tweezers to carefully lift small pieces of gold leaf from the sheet. Press the gold leaf gently onto your tacky topcoat (apply a slightly sticky topcoat before adding the leaf). Once positioned, seal everything with a glossy topcoat to secure the leaf and prevent it from flaking. The sealed gold leaf should feel completely integrated into the nail’s surface, not fragile or prone to peeling.
Occasions This Design Suits
Nude pink with gold leaf works beautifully for wedding guest appearances, date nights, professional events where you want to feel elevated, and everyday wear if you enjoy a touch of glimmer. The design reads as refined rather than flashy, making it appropriate for both work environments and celebrations.
Maintenance Notes
Gold leaf requires a sealed topcoat to stay put, so this design won’t last as long as a simpler design without embellishment. Plan for a 2-3 week wear before the leaf begins to show wear. Handle your nails gently and avoid excessive scrubbing or exposing your hands to harsh chemicals without gloves.
4. Matte Nude Pink with Polished Nude Accent Nail
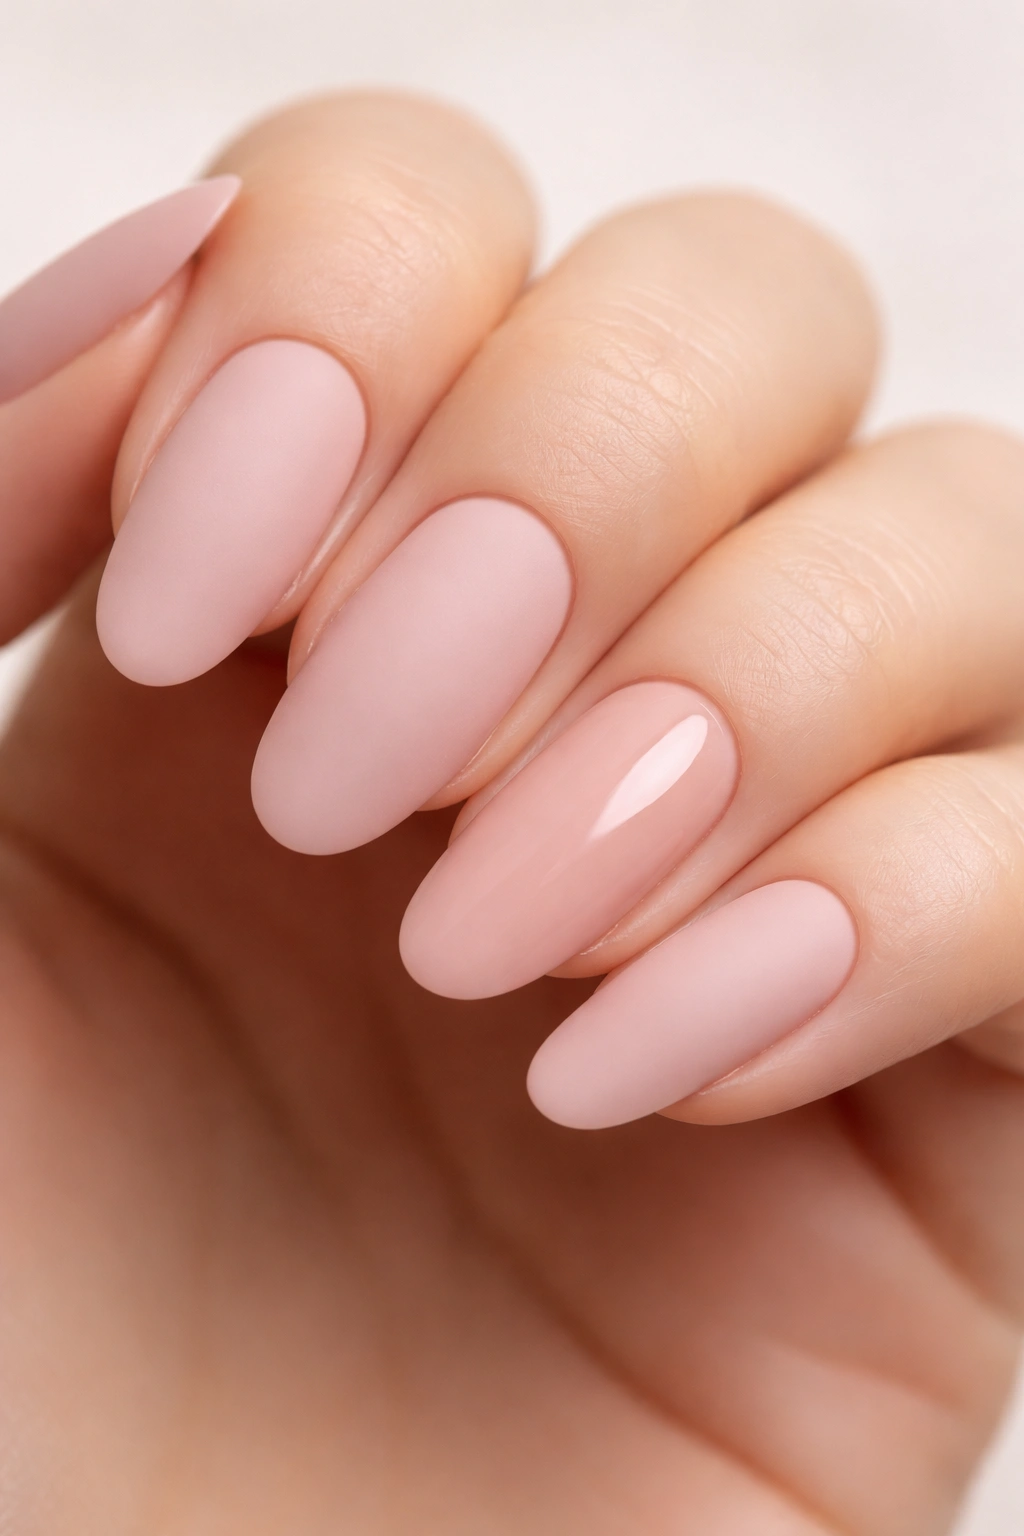
This striking design uses a matte nude pink as your base across all ten nails, with one accent nail in the same color but finished with a glossy topcoat instead. The contrast between matte and glossy creates visual texture and interest while maintaining color cohesion, and the single glossy nail draws the eye without introducing a second color into the mix.
Why Matte Finish Elevates Minimalism
A matte topcoat creates a velvety appearance that feels contemporary and intentional. It’s the texture equivalent of wearing matte lipstick—it reads as sophisticated and deliberate. The challenge is that matte finishes can look patchy or chalky if not applied correctly, so using a quality matte topcoat specifically designed for nail polish is essential. Matte topcoats also show water spots and fingerprints more readily than glossy finishes, so expect to buff the matte surface occasionally to maintain that pristine appearance.
Choosing Your Accent Nail
Traditionally, the ring finger or middle finger serves as the accent nail, but contemporary design often uses the pinky or index finger for a more unexpected touch. Some people prefer placing the glossy accent on the same finger across both hands, while others alternate—glossy middle finger on the right hand, glossy pinky on the left. This asymmetrical approach feels more modern and personal.
Achieving the Contrast
The contrast works best when both nails are exactly the same nude pink color. Apply your base coat and polish identically on all ten nails, then remove the glossy topcoat from nine nails and replace it with matte. The matte and glossy nails will read as distinctly different even though they’re technically the same color, creating an optical effect that’s both cohesive and visually dynamic.
Real-World Durability
Matte topcoats tend to chip slightly faster than glossy finishes, partly because matte texture can catch on fabric more easily. Plan for touch-ups every 2-3 weeks, or embrace the lived-in, slightly worn matte aesthetic as part of the design’s charm.
5. Nude Pink with Minimalist Line Art
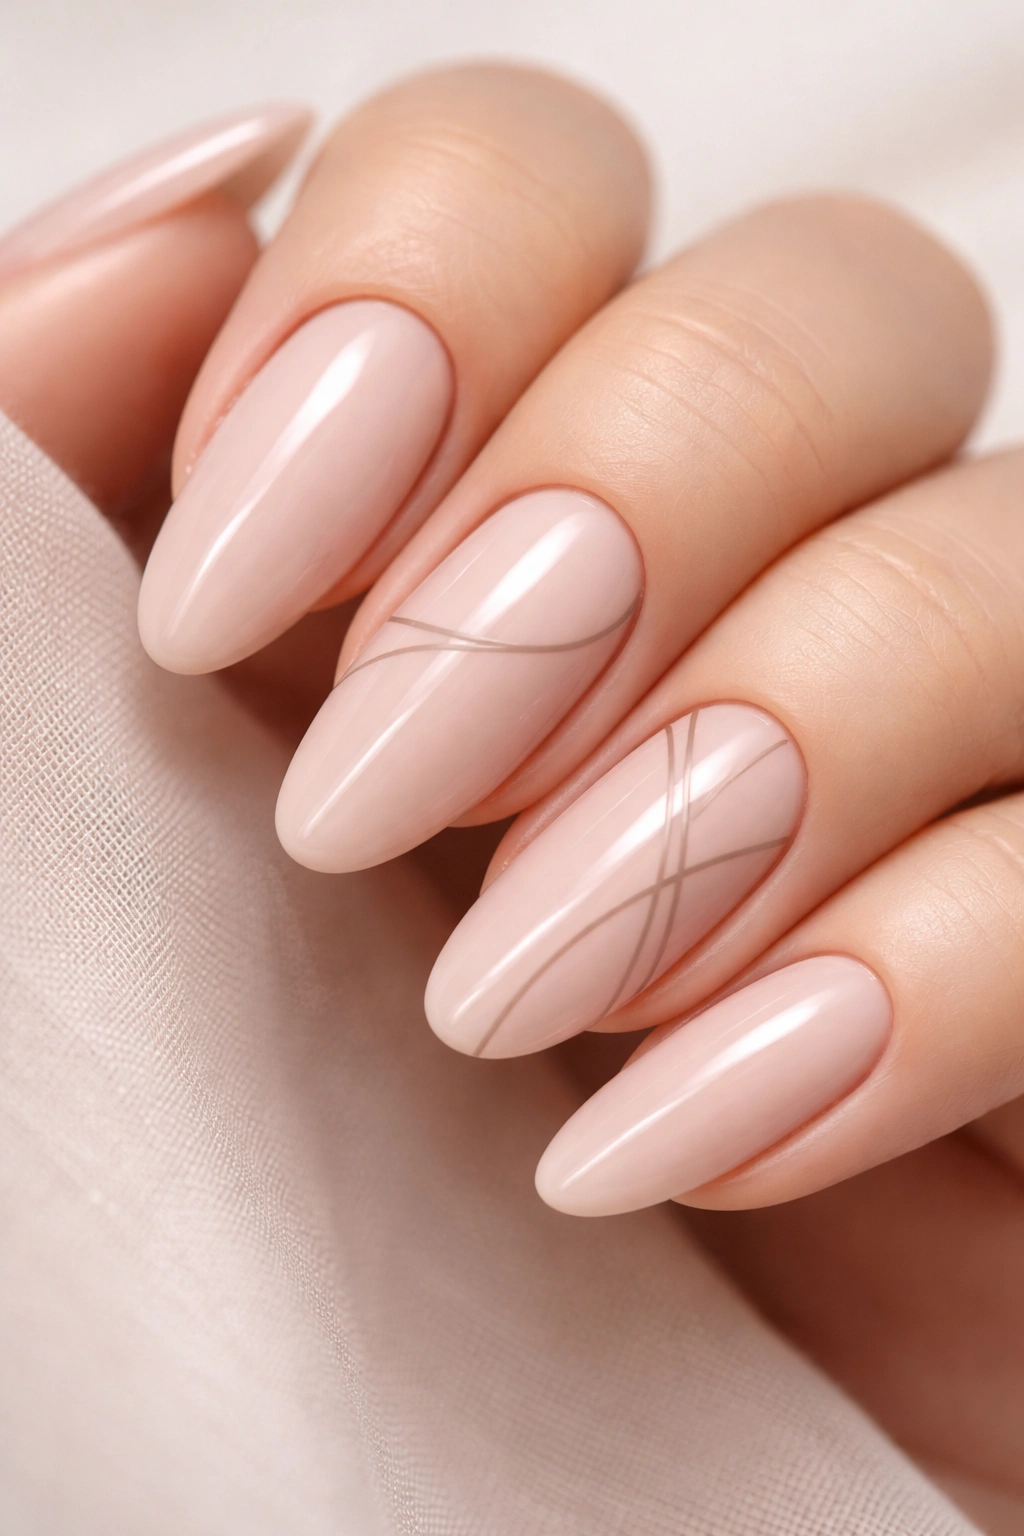
This design adds hand-drawn or freehand line art in a nude-brown or taupe shade, creating delicate geometric patterns or organic line work that reads as an extension of the nail rather than decoration. The lines are thin enough to feel sophisticated rather than bold, and the color story stays entirely within the warm neutral family.
Line Art Design Ideas
Popular minimalist line approaches include tiny geometric shapes (triangles, squares, or asymmetrical linear patterns), simple dot and line combinations creating an almost abstract appearance, or organic curved lines that mimic the nail’s natural shape. Some people love fine linear patterns that cover most of the nail surface, while others prefer a single delicate line or small cluster of marks. The common thread is restraint—these designs suggest rather than declare.
Application Method
You’ll need a thin, precise nail art brush or a liner designed specifically for nail art. Shake your line color thoroughly to ensure smooth, even consistency. Using your steady hand (your dominant hand), rest your pinky finger on the edge of the nail you’re working on to stabilize your hand against tremors. Practice your design on paper or a nail wheel first, then translate it to actual nails. Work with one nail at a time, allowing each line to dry before moving to the next nail or adding additional details.
Which Nails Work Best for Line Art
All ten nails can feature the same line art for a cohesive, patterned look, or you might place line art only on your accent nails (ring and pinky) for a more subtle approach. Some people prefer placing different line patterns on each nail while maintaining the same color palette, creating a set that’s patterned but still minimal.
Precision Requirements
This design requires steady hands and either artistic confidence or significant practice on nail wheels. The results depend almost entirely on your application skill, so commit to practice if you’re attempting this yourself rather than at a salon. Even small imperfections become more visible against the minimalist aesthetic, so clean, precise lines matter tremendously.
6. Nude Pink with Frosted or Glitter Gradient

This design layers a frosted or glitter effect that gradually increases toward the tips, creating a subtle sparkle that builds in intensity. The gradient starts nearly invisible at the base and becomes more glittery toward the free edge, creating movement and depth while maintaining the soft aesthetic through color choice.
Creating a Frosted Gradient Effect
Frosted finishes come in dedicated products that create a shimmery, almost crystalline appearance without the boldness of traditional glitter. Apply your nude pink base, then layer the frosted product starting at the free edge and working backward, using progressively lighter pressure as you move toward the cuticle. This creates a natural gradient where the sparkle is most concentrated at the tips. Seal with a glossy topcoat to integrate the frosted effect into the nail’s surface.
Building a Glitter Gradient
For a glitter gradient, mix your nude pink base with fine glitter and apply it densely to the tips, then progressively thin out the glitter concentration as you move toward the base. Alternatively, apply a glitter topcoat only to the tips and upper third of each nail, blending the line where glitter meets solid color with a slightly damp brush or sponge. The goal is creating a seamless transition rather than an obvious line of demarcation.
Choosing Your Sparkle Color
Gold, rose gold, and champagne glitter complement warm nude pinks beautifully, while silver and platinum sparkles work well with cooler, pinker nudes. Match your glitter’s warm or cool undertones to your base color for the most cohesive appearance. Frosted finishes often come in neutral, barely-there options that add dimension without introducing a new color to the design.
Durability and Maintenance
Glitter and frosted finishes show wear more quickly than solid colors, particularly at the tips where pressure is greatest during daily activities. Plan for touch-ups every 2-3 weeks, or embrace occasional glitter loss as part of the textured aesthetic. Avoid soaking your hands in water for extended periods, as this weakens the seal around glittery areas and encourages flaking.
7. Nude Pink with Negative Space Geometric Design
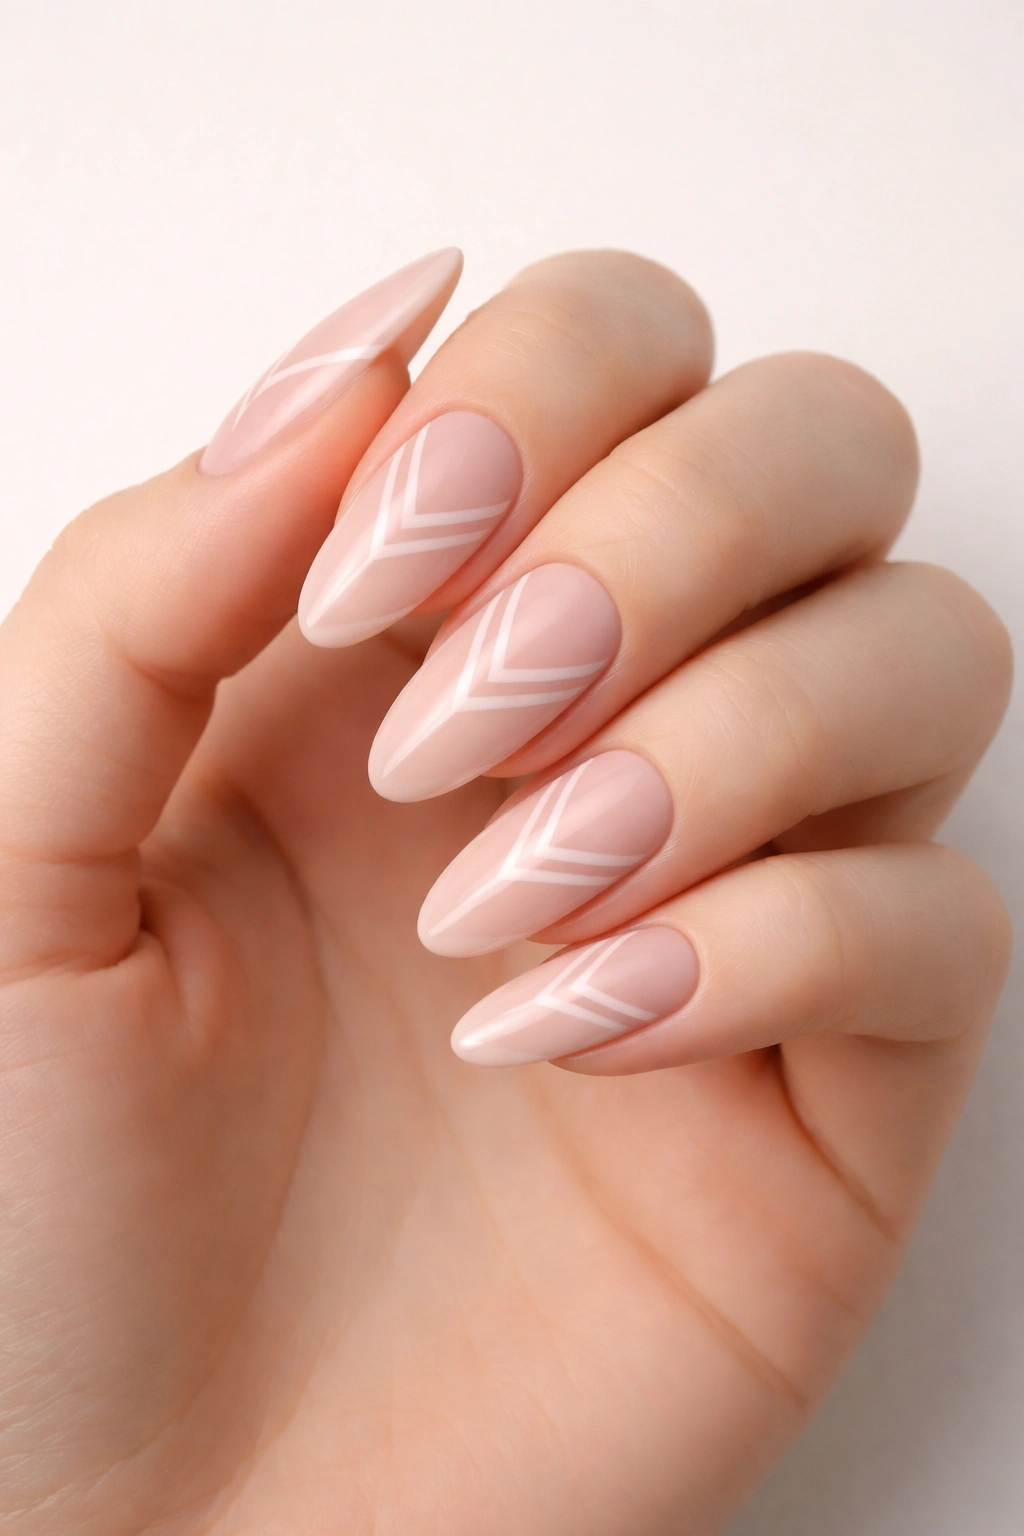
This design incorporates negative space—areas where you can see the nail bed or lack of polish entirely—arranged in geometric patterns like chevrons, stripes, or angular shapes. The contrasting revealed nail creates visual interest and a contemporary feel while the soft nude pink base maintains the overall gentle aesthetic.
How Negative Space Works
Rather than filling every millimeter of the nail with color, you intentionally leave portions bare, usually in a deliberate geometric pattern. This works best with long oval nails because the nail surface is large enough to show the pattern clearly. You might paint a full nude pink base, then use nail tape or precise freehand painting to create lines or shapes of bare nail showing through. Alternatively, you paint around negative space, never filling it with color from the start.
Creating Clean Geometric Patterns
Nail art tape is your friend here—use thin, quality nail art tape to create straight lines and sharp angles. Apply the nude pink polish over the tape, remove the tape while the polish is still slightly wet, and you’ll reveal crisp, clean lines of bare nail. For more complex geometric shapes, you might need to apply tape in multiple layers, changing the design between applications.
Negative Space Design Ideas
Popular options include thin vertical stripes running the length of each nail, chevron patterns pointing downward, small triangular cutouts scattered across the nail surface, or angular asymmetrical designs that flow differently on each nail. Some people create negative space only on accent nails while keeping other nails solid, while others incorporate negative space on all ten for a more dramatic, coordinated look.
Nail Health Consideration
Leaving sections of nail bare exposes more of the nail plate to air and daily handling. While this isn’t inherently harmful, ensure your nails are strong and healthy before attempting this design. Brittle or weak nails may be more prone to peeling or breaking if left without polish coverage in certain areas.
8. Nude Pink with Pearl or Iridescent Finish
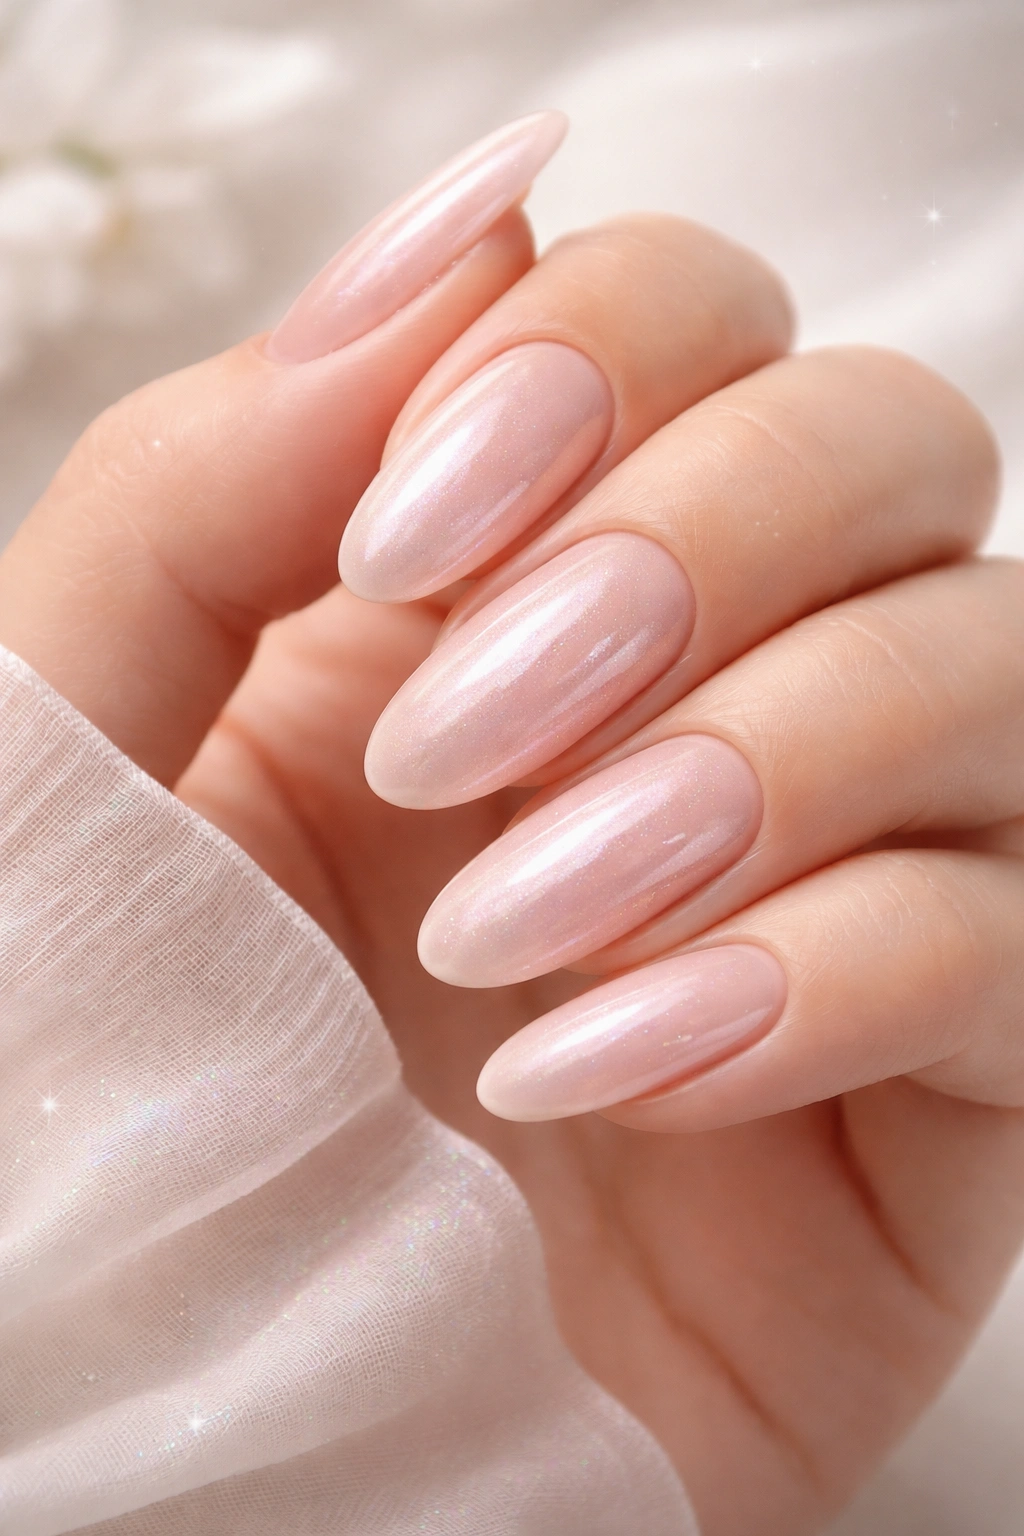
This design uses a specialized nude pink polish with built-in pearl or iridescent shimmer, creating a finish that shifts subtly in different lighting without being overtly glittery or sparkly. The shimmer reads as part of the color itself rather than an added embellishment, creating a finish that’s luminous and dimensional.
Understanding Pearl vs. Iridescent Finishes
Pearl finishes contain tiny pearl particles that create a soft, almost metallic sheen without obvious sparkle. They catch light smoothly and feel sophisticated and refined. Iridescent finishes shift color slightly depending on the angle and light source—a nude pink iridescent might read with purple, gold, or green undertones depending on how light hits it. Both create dimension and visual interest while maintaining the soft aesthetic.
Application Technique
Pearl and iridescent nude pinks typically require only two coats for full opacity, and they’re easier to apply than solid colors because any slight streakiness is camouflaged by the shimmer. Apply a base coat, then two thin, even coats of your chosen finish, capping the free edge with each coat. A glossy topcoat enhances the shimmer effect and creates additional dimension. Some people prefer a matte topcoat with these finishes to create a more understated, silky appearance.
Lighting Matters
The beauty of pearl and iridescent finishes is fully revealed in natural sunlight or bright indoor lighting, where the shimmer becomes apparent and luminous. In dim lighting or under artificial overhead lights, these finishes can read as nearly solid colors. If you spend most of your time in fluorescent office lighting, choose a more visibly shimmery finish so your nails read as intentional and dimensional.
Complementing Other Elements
Pearl and iridescent finishes work beautifully alone, but they also pair well with thin gold or silver lines, negative space designs, or a single glossy accent nail. The shimmer is subtle enough that it coordinates rather than competes with additional design elements.
9. Nude Pink with Fine Detailing on Ring Finger Only
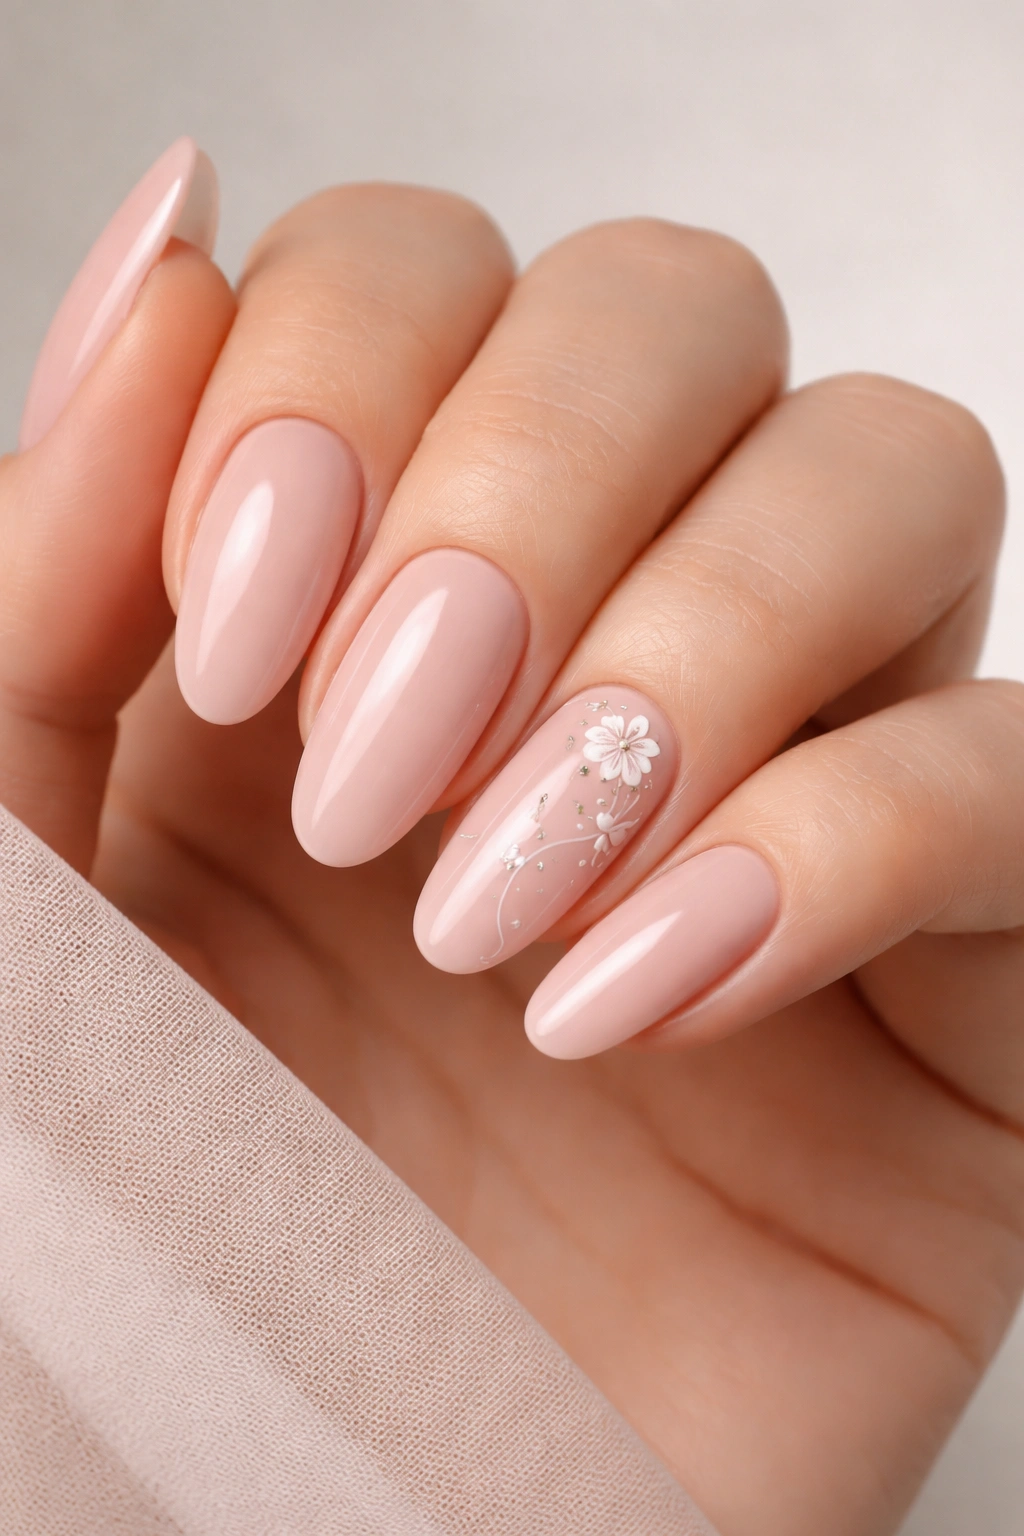
This design keeps nine nails in a simple, solid nude pink, while the ring finger features more involved nail art—perhaps delicate florals, intricate line work, or a small detailed scene. This concentrated approach means you can afford more complex details on a single nail without the design feeling busy or overwhelming.
Why Ring Finger Works as the Canvas
The ring finger is naturally where people’s eyes are drawn, particularly if you’re wearing any hand jewelry. A detailed design here feels intentional and personal without creating an overwhelming aesthetic across all ten nails. This approach works beautifully for people who love nail art but want to maintain a generally minimal, professional appearance.
Design Ideas for Detailed Ring Finger
Popular options include tiny florals in a contrasting color with fine stem details, a miniature landscape or silhouette image, delicate script or lettering, abstract watercolor effects contained within the ring finger’s boundaries, or intricate geometric patterns. Some people create a design that flows onto the ring finger from the surrounding nails (like vines extending from adjacent nails), while others make the ring finger an entirely distinct visual element.
Execution Approach
This design works well whether you’re creating it yourself or having a professional nail artist do the work. The concentrated detail on one nail means you can spend more time perfecting the design rather than rushing to complete ten nails. If you’re working with a nail artist, discuss placement and design ideas thoroughly beforehand to ensure the result matches your vision.
Balancing Simplicity and Detail
The stark contrast between simple nine nails and a detailed ring finger actually works in your favor—it makes the detailed design feel more intentional and special rather than standard nail art. The simplicity of the other nails lets your detailed ring finger shine without visual competition.
10. Nude Pink with Subtle Ombré to Sheer at Tips

This design creates a gradient where your nude pink becomes progressively more sheer and transparent toward the tips, eventually revealing nearly natural nail color at the very edge. The effect is barely-there and soft, yet it creates a subtle visual depth that reads as sophisticated and intentional.
Creating the Sheer Gradient
Start with a nude pink shade that’s slightly darker or more saturated than your natural nail color. Apply this color fully across the nail, then use a clean makeup sponge or soft brush dampened with a polishing solvent to gently “erase” polish from the tips, creating increasingly sheer layers. You’re not removing polish completely, but rather thinning it out and blending the edges. This requires a delicate touch—work slowly and test on one nail first before attempting the full set.
Alternative Method Using Diluted Polish
Some nail artists create this effect by mixing their nude pink polish with clear polish in progressively higher ratios (100% color, then 80% color and 20% clear, then 60/40, then 40/60, etc.). Each ratio is applied slightly further back on the nail, creating subtle gradations of opacity.
Why This Design Feels Soft
The sheer-at-tips effect creates a visual transition that mimics how light naturally falls on nails. It’s an effect you see on healthy, well-maintained natural nails and recreating it feels fresh and elegant. The transparency at the tips allows skin tone to show through slightly, creating a more natural-looking manicure even though you’re wearing polish.
Maintenance Considerations
This design shows wear differently than solid colors because the sheer areas become dirtier-looking as edges grow out. You’ll notice chips and growth more readily in the sheer gradient areas. Plan for fills or maintenance every 3 weeks, or embrace the gradient’s natural evolution as your nails grow out—the effect actually becomes more pronounced over time as the sheer section extends further down the nail.
Final Thoughts
Nude pink long oval nails represent a sophisticated approach to nail design—one that’s elegant without being boring, understated without feeling plain, and versatile enough to work across virtually every context and personal style. The beauty of this color and shape combination lies in its adaptability. Whether you prefer nearly bare minimalism, subtle shimmer and texture, or a single statement detail on an accent nail, nude pink in an extended oval shape provides the perfect canvas.
The long oval silhouette requires commitment to maintenance and a certain confidence in wearing nails that announce themselves simply through their shape and length. But if you’re willing to invest in regular upkeep and treat your nails with the care they deserve, you’ll have hands that look polished, intentional, and undeniably elegant. Nude pink doesn’t require constant redesigning or trend-chasing—it’s a foundational color that remains relevant and beautiful regardless of what’s happening in the broader beauty world.
Your choice of finish, embellishment, and application technique should reflect your personal style and lifestyle. If you’re in a conservative professional environment, lean toward simple solid colors or minimal details. If you have more flexibility in your professional life, experiment with matte finishes, subtle gradients, or negative space designs. The goal isn’t achieving perfection in nail art technique—it’s creating a manicure that makes you feel confident and beautiful when you look at your hands.
