

There’s something magical about watching colors melt into each other on your nails, creating that soft, dreamy effect that looks like you’re wearing a halo of light on your fingertips. Aura nails have taken the nail world by storm, and honestly, it’s not hard to see why. The gradient glow technique creates depth and dimension that flat color just can’t match, giving you a manicure that shifts and changes as you move your hands.
What makes aura nails special is how they mimic the look of energy fields—those soft, diffused halos of color that blend seamlessly from one shade into another. The technique works by concentrating color in the center of your nail and letting it fade outward, or by creating gradients that flow from your cuticle to your tips. Either way, the result is ethereal and surprisingly wearable for everyday life.
The best part? You don’t need fancy equipment or years of practice to pull off this look. With a makeup sponge, a few polish shades, and a bit of patience, you can create salon-worthy aura nails right at home. The gradient glow technique is forgiving—slight imperfections actually add to the soft-focus effect rather than detracting from it.
1. Soft Pink Blush Aura
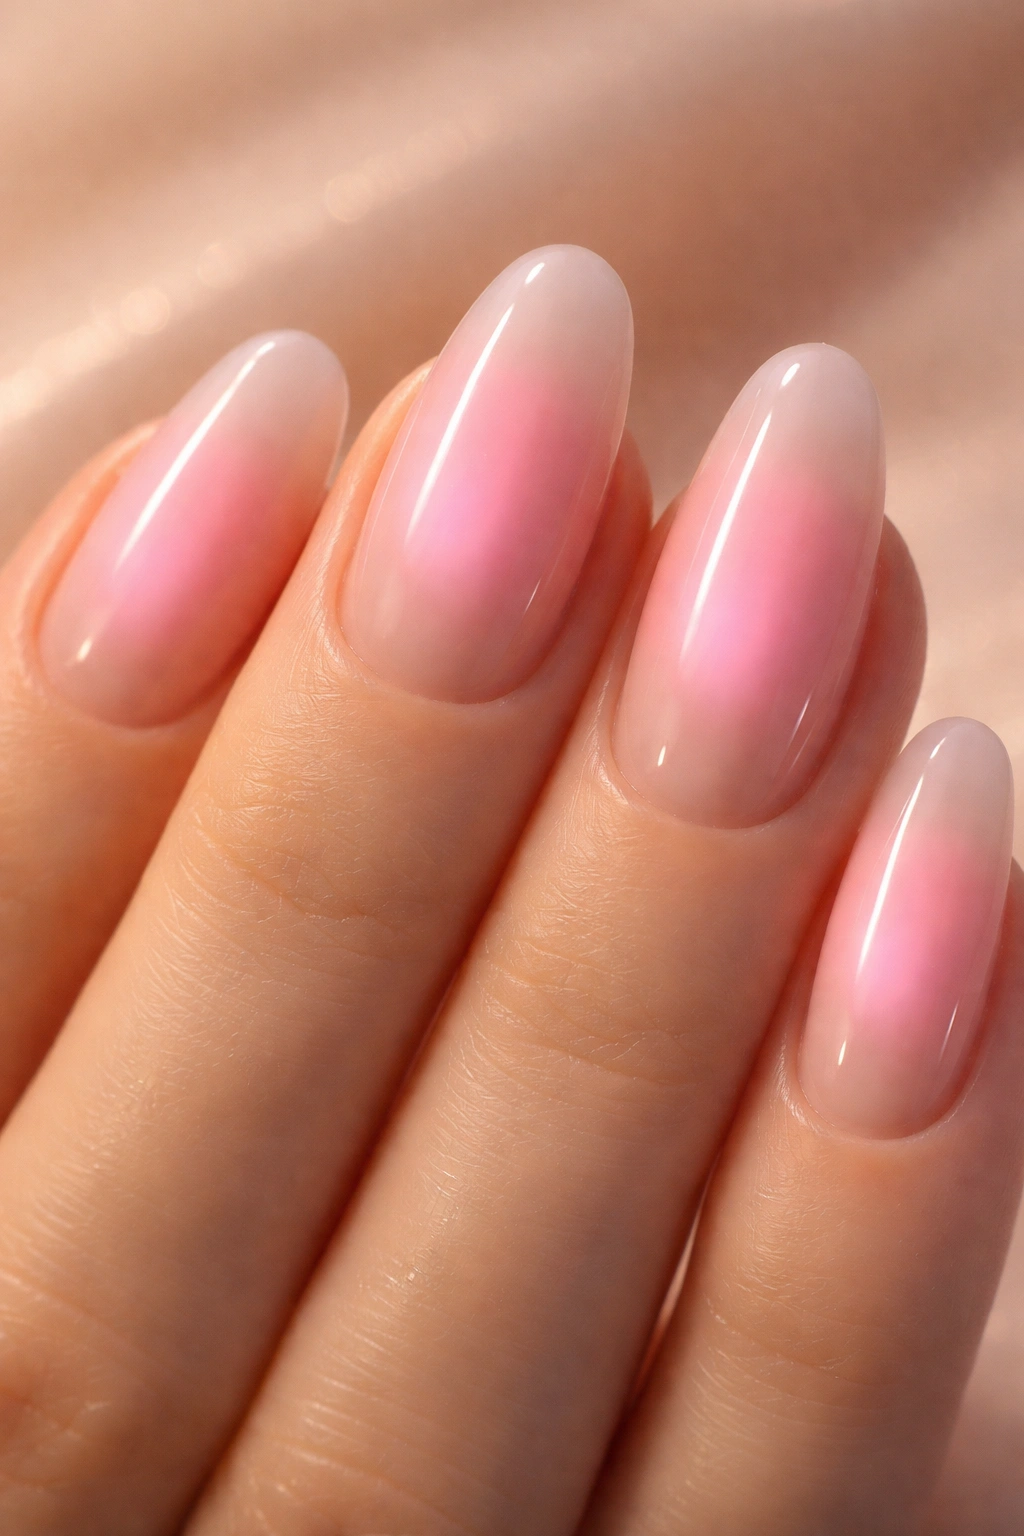
This delicate design brings a natural flush to your nails, mimicking the way color gently blooms on your cheeks. Start with a sheer nude or milky white base that matches your skin tone, then add a soft pink gradient that radiates from the center of each nail outward.
The effect looks like your nails are naturally glowing from within. It’s subtle enough for office environments but pretty enough to feel special.
Why This Gradient Works
The key to nailing this look is building up the pink slowly rather than trying to apply it all at once. Use a damp makeup sponge to dab baby pink or blush-toned polish onto the center of your nail, concentrating the color in a circular motion. Let it dry slightly, then repeat with another light layer to intensify the glow.
The soft-focus effect happens because you’re working with sheer formulas and light layers. This creates dimension without harsh lines.
Perfect Polish Combinations
- Sheer nude base with rose pink center
- Milky white base with peachy-pink glow
- Natural beige with warm mauve fade
Pro tip: Keep the pink aura softest at the edges of your nail, letting your base color peek through for that authentic “your nails but better” effect.
2. Blue Dream Gradient
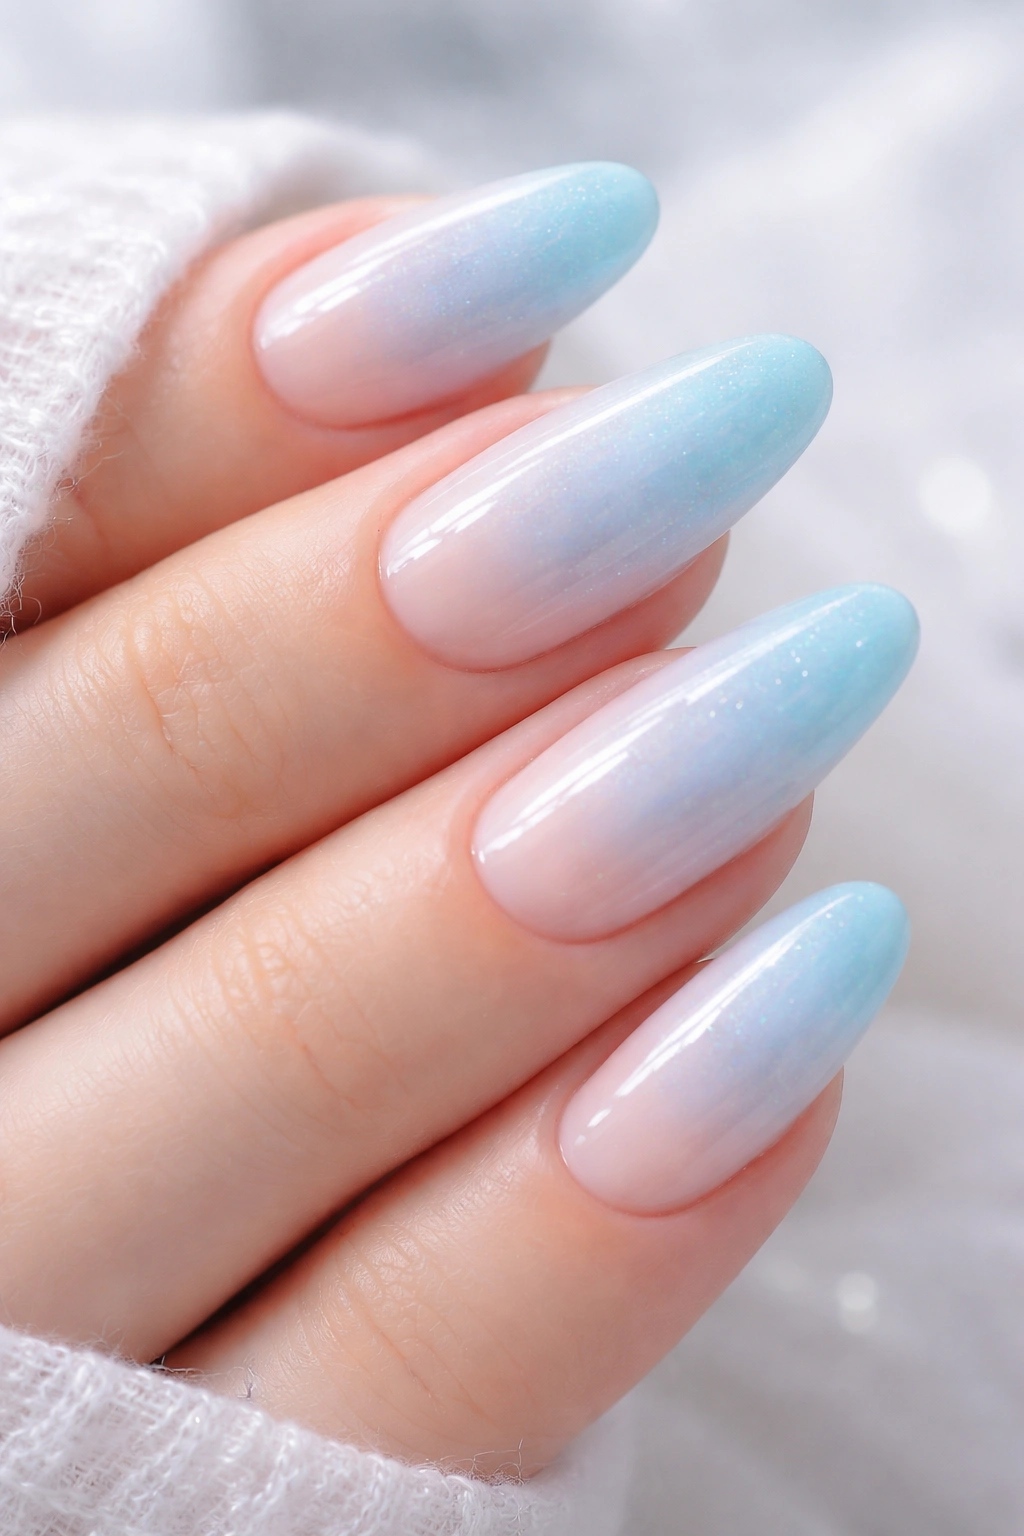
When you want something cooler and more unexpected, blue aura nails deliver that fresh, serene energy. This gradient pairs baby blue or sky blue shades with a neutral base, creating a misty effect that feels modern and calming at the same time.
The color combination works because blue naturally feels airy and light. When you blend it into a sheer nude or white base, you get this aquatic, dreamy quality that’s perfect for any mood.
Creating the Sky Effect
Apply your neutral base first—a pale pink or sheer white works beautifully here. Then, using your sponge, dab light blue polish onto the center or near the cuticle area. Work the color outward in gentle pressing motions, building up the intensity where you want the most color concentration.
For extra dimension, try layering a touch of shimmer or opal powder over the blue gradient once it’s dry. This catches light beautifully and enhances that dreamy quality.
Color Depth Options
Some days call for barely-there color, while others need more impact. With blue aura nails, you control the mood by adjusting how much blue you add.
Light layers give you that soft watercolor effect. Building up more coats creates a bolder statement while still maintaining the gradient glow.
Fun fact: Blue aura nails photograph incredibly well because the cool tones create natural contrast against most skin tones.
3. Sunset Coral Fade

Nothing captures warmth quite like a sunset gradient on your nails. This design blends coral, orange, and peachy tones into a neutral base, creating a gradient that feels like golden hour light on your fingertips.
The beauty of sunset aura nails is how the warm tones flatter literally everyone. Whether you have fair, medium, or deep skin, these orangey-pink shades create a gorgeous glow.
Building Warm Layers
Start with a light base—nude or sheer peach works perfectly. Then comes the fun part: dabbing on your sunset shades. You can use just one orange-coral color for simplicity, or layer multiple warm tones for more depth.
Apply the darkest color (burnt orange or coral) first at the center, then blend a lighter peachy shade over the edges. This creates dimension and makes the gradient more complex.
Mixing Warm Tones
- Burnt orange center fading to peach
- Coral pink blended with soft orange
- Terracotta base with peachy-gold highlights
The key is staying within the warm color family so everything blends seamlessly. Cool-toned pinks won’t give you that sunset effect—you want shades that lean orange or yellow.
Pro tip: Add a high-shine top coat to make your sunset gradient look even more luminous, like light reflecting off water.
4. Purple Haze Effect
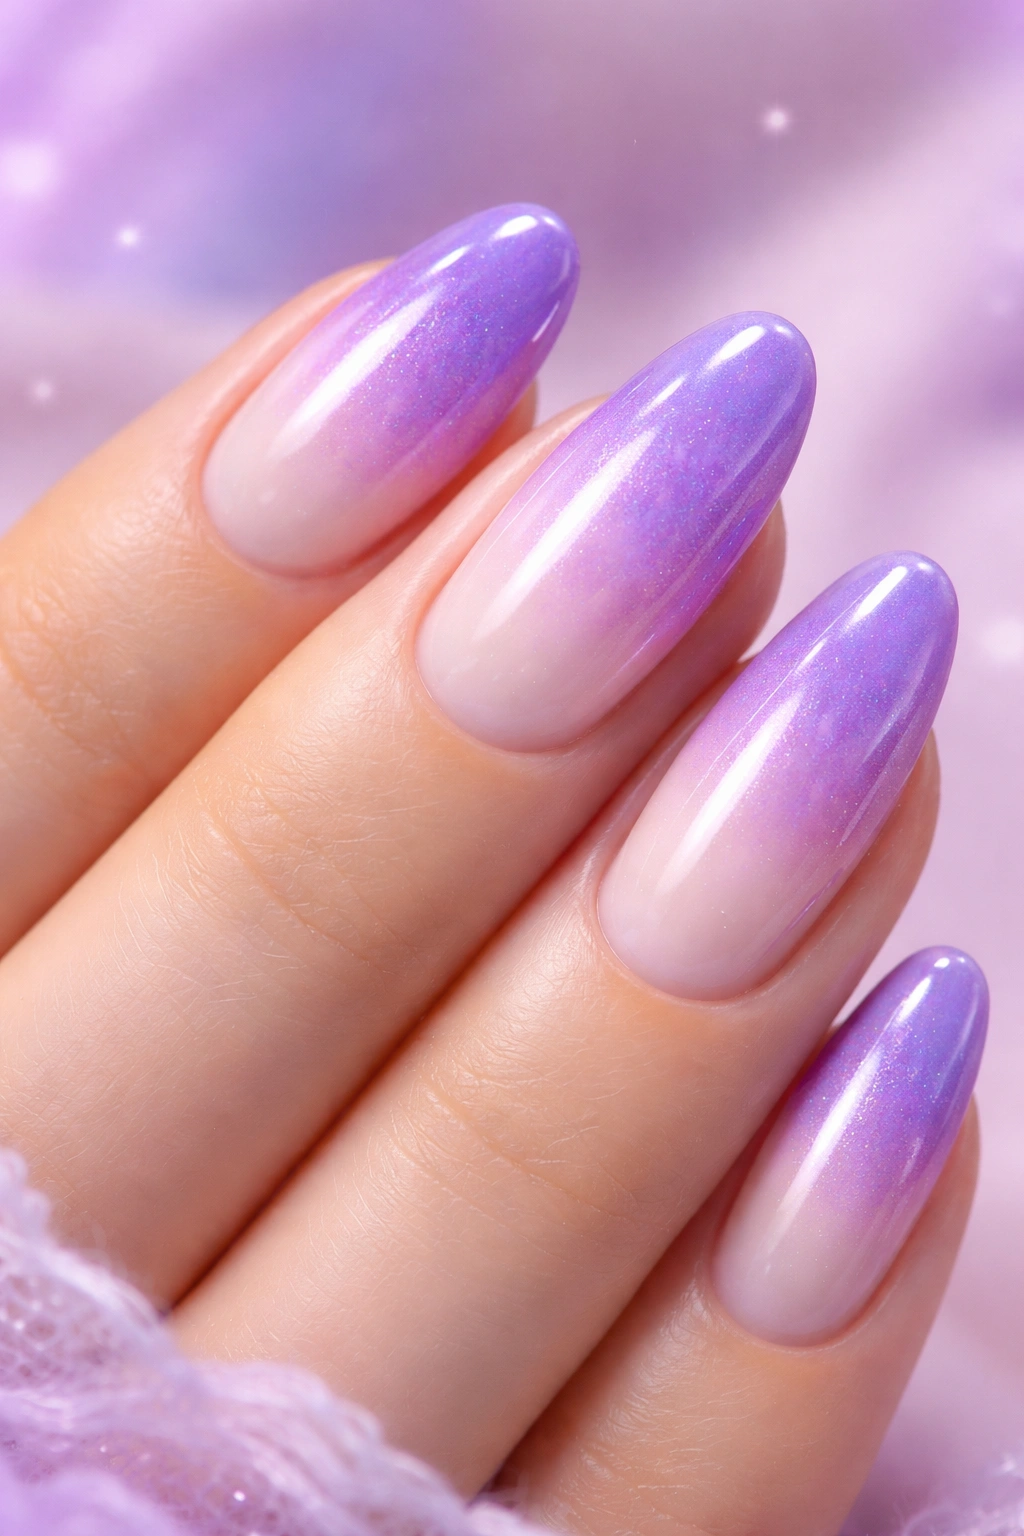
Purple aura nails bring that mysterious, magical energy that feels both elegant and playful. This gradient works with lavender, lilac, and deeper purple shades blended into a soft neutral base for maximum dreamy impact.
The purple haze effect is romantic without being overly sweet. It has this ethereal quality that works for date nights, weddings, or anytime you want your nails to feel a bit enchanted.
Layering Purple Gradients
Apply a sheer nude or pale pink base to start. Then, using a sponge, press light purple polish onto the center of each nail. Build the color slowly—purple can get intense quickly, so thin layers give you more control.
For extra magic, blend two different purple shades together. Try soft lilac at the edges with deeper violet in the center, creating depth that draws the eye.
Adding Shimmer and Glow
Purple aura nails look stunning with a subtle shimmer overlay. After your gradient is completely dry, apply a thin layer of opal or pearl shimmer polish over the top.
This doesn’t overpower your purple gradient—it just adds a soft glow that catches light beautifully. The effect is subtle but makes a real difference in photos and low lighting.
Fun fact: Purple has long been associated with creativity and intuition, so wearing purple aura nails might just inspire your artistic side.
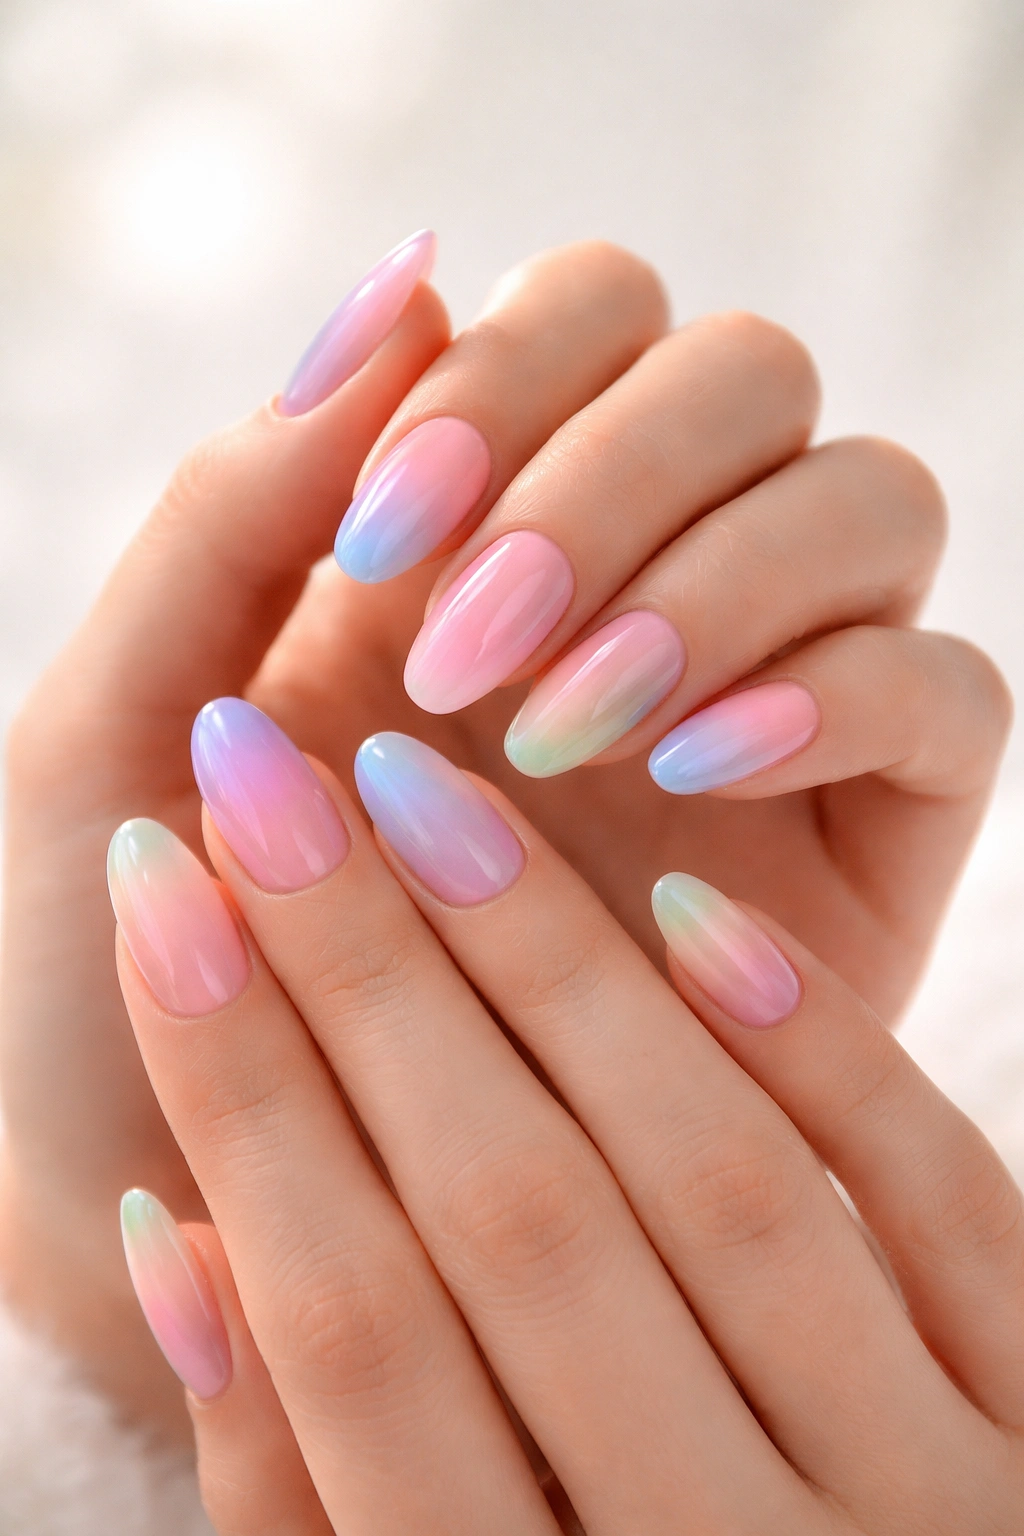
5. Rainbow Burst Nails
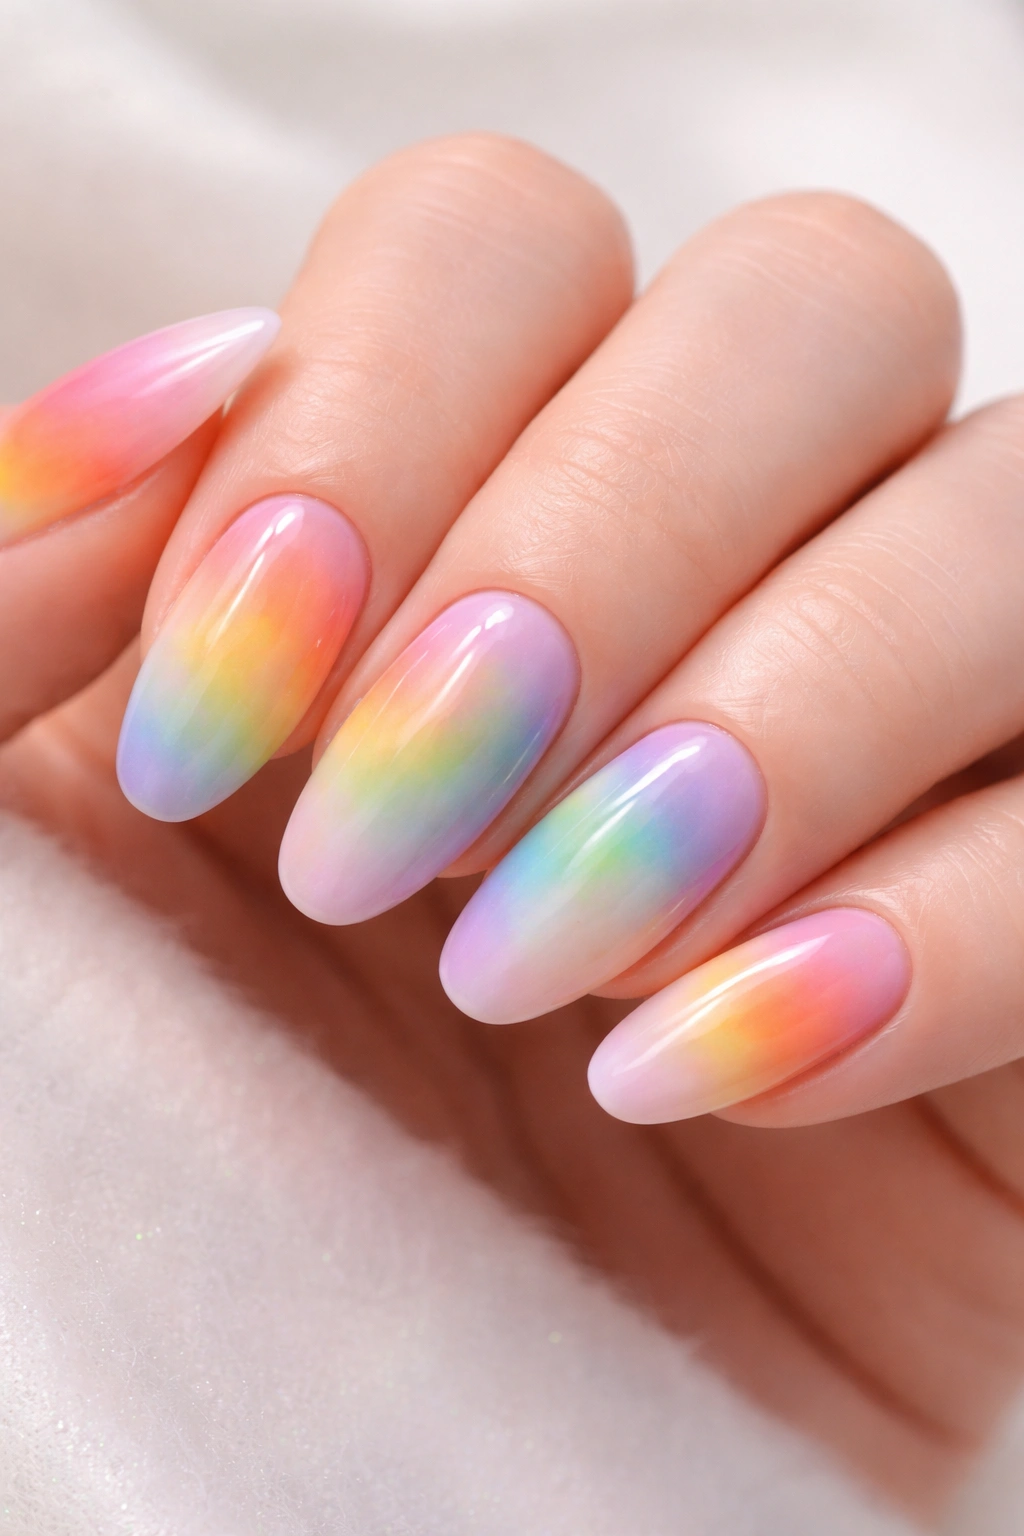
Why settle for one color when you can have them all? Rainbow aura nails pack multiple colors into a gradient that somehow feels cohesive rather than chaotic. The secret is blending everything softly so the colors melt together like watercolors.
This design is bold and joyful without being juvenile. The gradient technique keeps it sophisticated—these aren’t cartoon rainbow stripes, but rather a soft spectrum of color.
Blending Multiple Colors
Start with a white or very pale base—this lets your rainbow colors really pop. Then comes the tricky part: applying multiple colors without turning everything muddy. Work with colors in order (red, orange, yellow, green, blue, purple) and apply each shade to a different section of your sponge.
Press the sponge onto your nail in one smooth motion, rotating slightly to help the colors blend where they meet. It takes practice, but the result is worth it.
Alternative Rainbow Approaches
If a full rainbow feels like too much, try a rainbow aura on just one or two accent nails. Keep the rest of your nails neutral with a simple pink or nude aura.
Another option: give each nail a different single-color aura. Your thumb gets pink, pointer gets orange, middle finger gets yellow, and so on. It’s rainbow energy without the blending challenge.
Pro tip: Work quickly when sponging on rainbow gradients—you need the polish slightly wet so colors blend rather than sitting on top of each other.
6. Neon Pop Aura
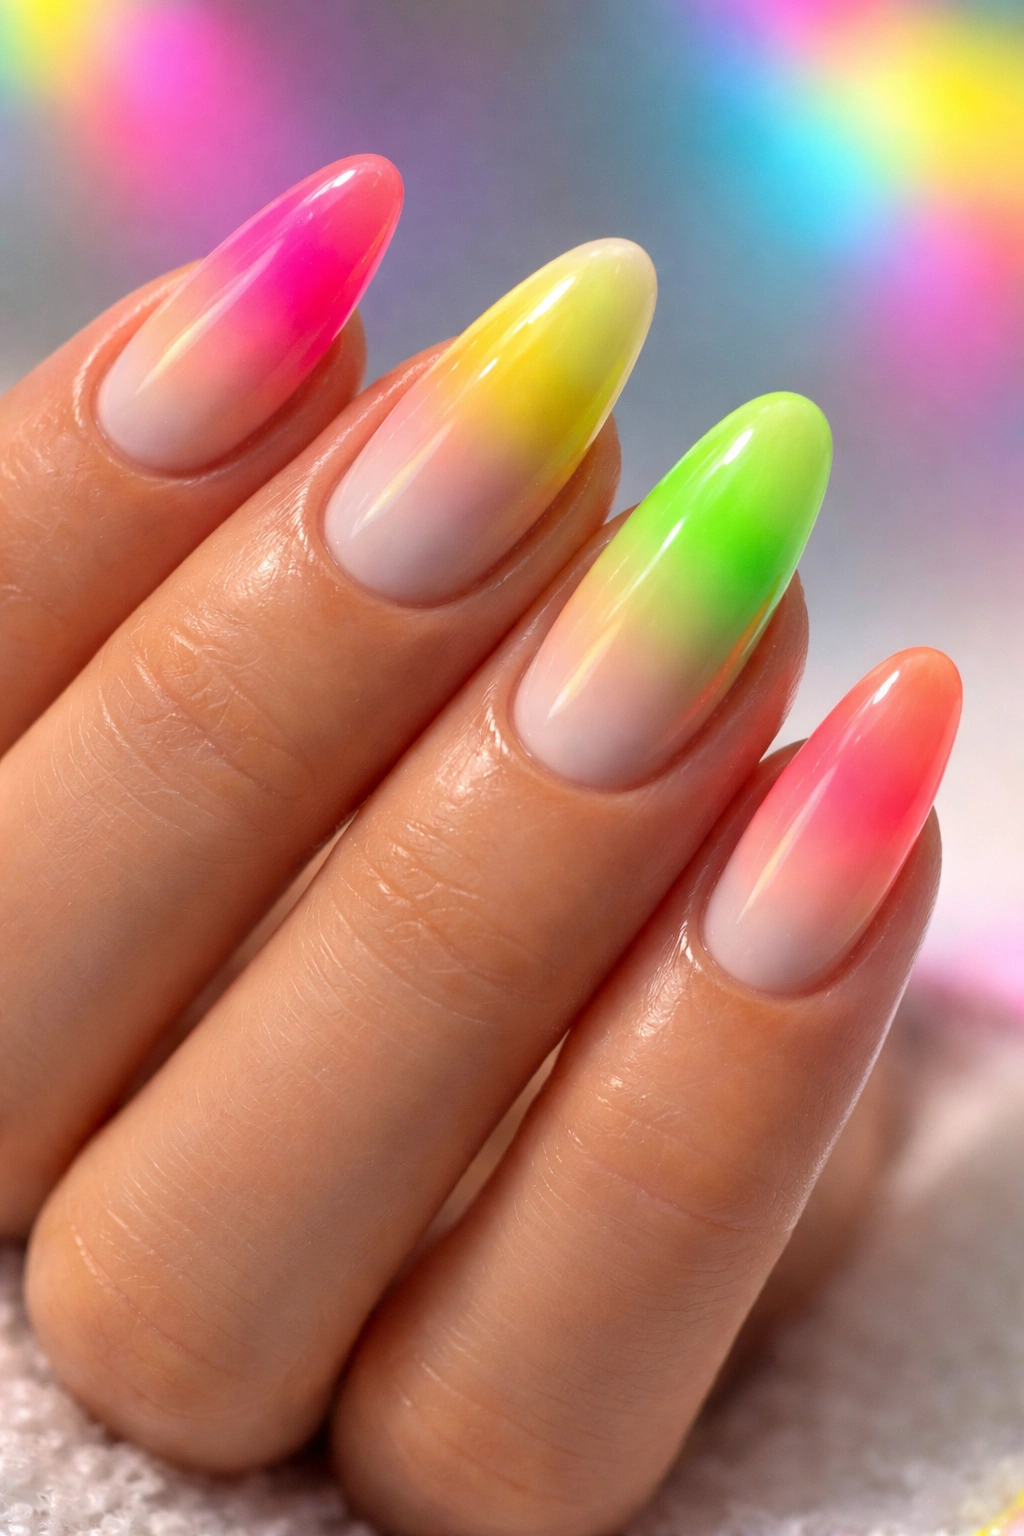
When you’re ready to make a statement, neon aura nails deliver maximum impact. These vibrant gradients feature electric shades of pink, yellow, green, or orange blended into neutral bases for a look that’s bold but still wearable.
The gradient technique actually makes neons more approachable. Instead of full-coverage neon (which can feel overwhelming), the aura effect gives you a burst of bright color that fades into something softer.
Working With Bright Pigments
Neons are highly pigmented, which means a little goes a long way. Start with a white or very pale base—this makes neon colors glow like they’re under a black light. Apply your neon shade sparingly at first, building up intensity layer by layer.
Because neons are so strong, you’ll get visible color even with the lightest application. This actually works in your favor for creating that gradient glow effect.
Best Neon Combinations
- Hot pink neon on white base
- Electric yellow center on nude base
- Lime green aura on sheer pink
- Bright orange gradient on cream base
Each of these combos gives you that fun, energetic vibe while the gradient keeps everything from feeling too intense. The soft fade at the edges makes neon polish surprisingly sophisticated.
Fun fact: Neon polishes look especially vibrant in natural sunlight and under UV light, making them perfect for outdoor events and parties.
7. Chocolate and Rose Blend
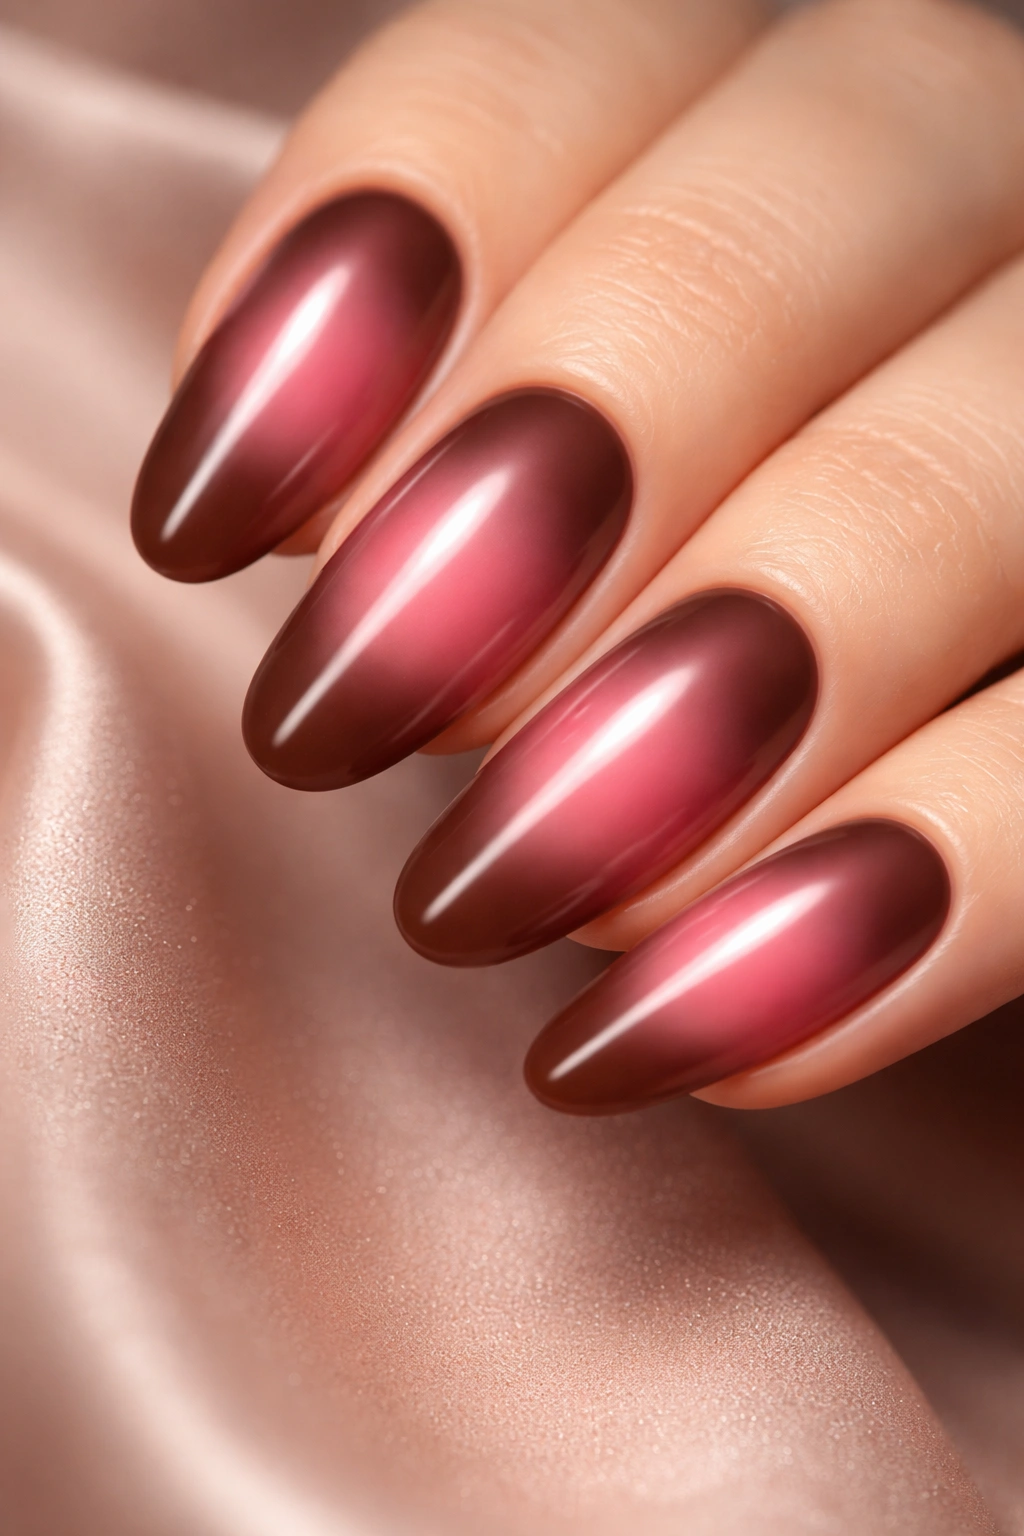
This combination brings together rich, earthy brown tones with soft pink for a gradient that feels both grounded and romantic. The contrast between warm chocolate shades and delicate rose creates unexpected depth.
Brown has become a go-to neutral for nails, and pairing it with pink adds just enough color to keep things interesting. The gradient effect makes the transition between these different tones seamless and sophisticated.
Creating Depth With Browns
Start with a chocolate brown or deep taupe base. This creates your foundation and gives the design its rich, earthy quality. Then, using your sponge, apply a rosy pink or mauve shade to the center of each nail.
The magic happens as these different tones blend together. Where the brown and pink meet, you’ll see a beautiful in-between shade that adds dimension.
Tone Variations to Try
- Deep espresso with dusty rose
- Milk chocolate with peachy pink
- Taupe with soft mauve
- Caramel with warm pink
Each combination gives a slightly different energy, from cozy and autumnal to soft and spring-like. The beauty of this color pairing is how versatile it is across different shades.
Pro tip: Add a coat of shimmer polish over your brown-and-rose gradient for a subtle glow that elevates the whole look.
8. Mint Green Fresh Glow
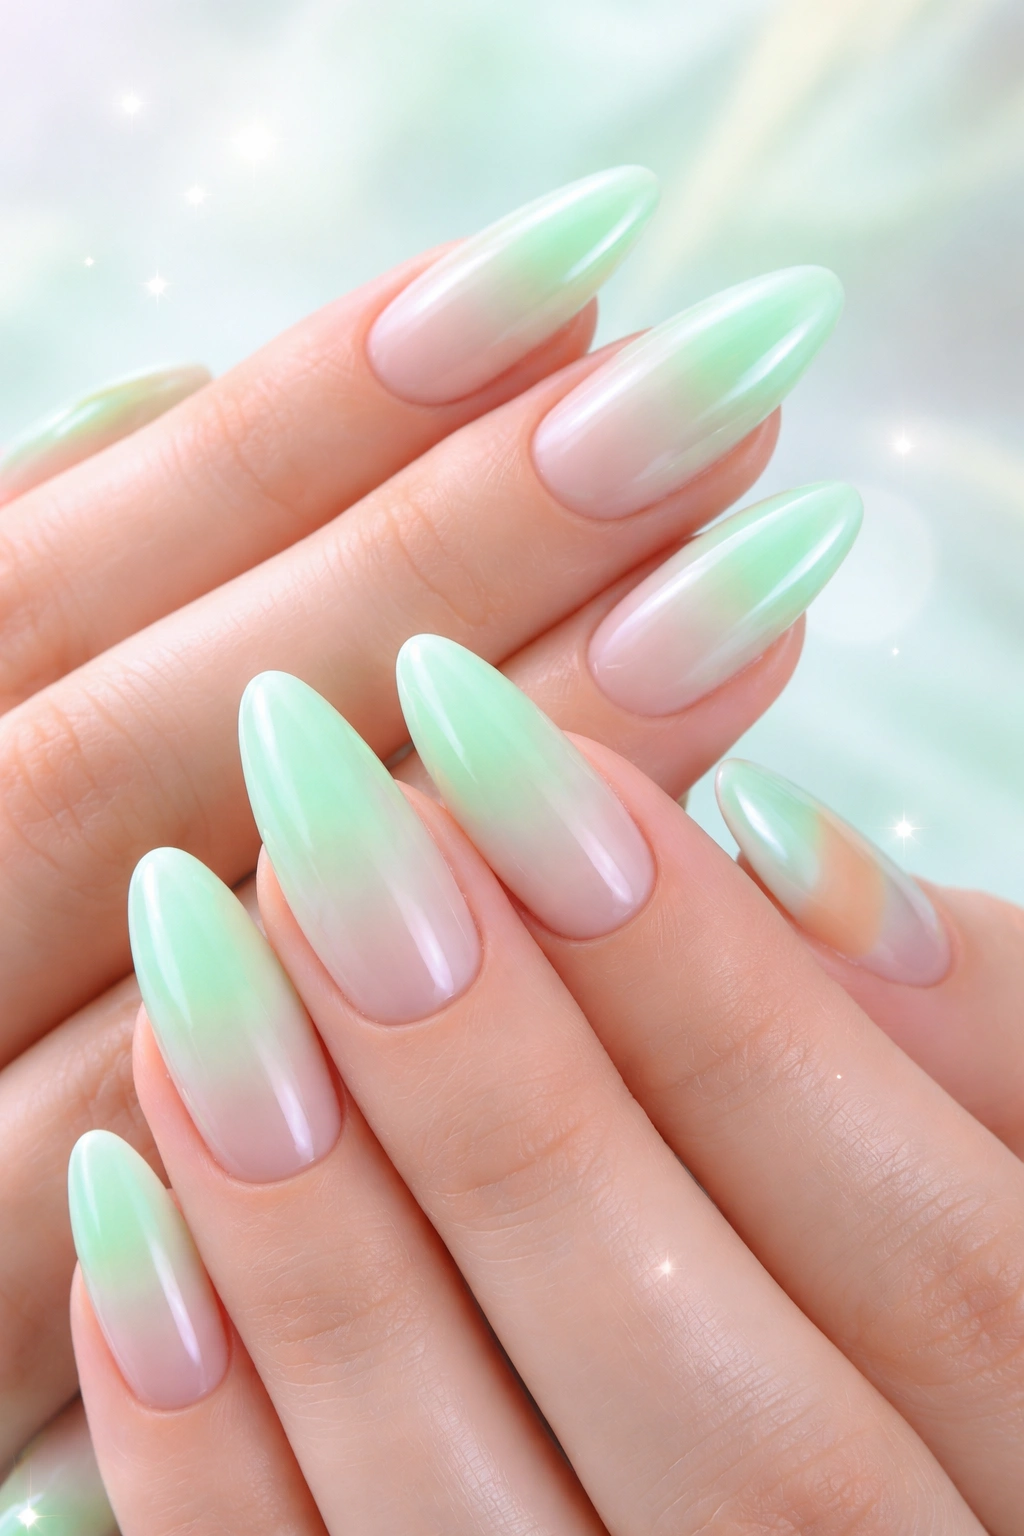
Mint green aura nails bring a fresh, clean energy that feels like a breath of cool air. This gradient pairs soft mint or seafoam green with neutral bases for a look that’s surprisingly versatile and easy to wear.
The cool, pastel quality of mint makes it feel modern and current without being trendy in that “here today, gone tomorrow” way. It’s refreshing and youthful but still polished enough for any setting.
Achieving the Mint Effect
Apply a sheer white or very pale pink base—this keeps your mint color looking true rather than muddy. Using your sponge, press mint green polish onto the center of each nail, working outward in a circular motion.
Build the color gradually. Mint can look chalky if applied too heavily, but when layered in thin coats with a gradient technique, it has this luminous quality.
Pairing Mint With Other Colors
While mint on its own creates a beautiful aura effect, you can also blend it with other soft colors for extra dimension. Try combining mint with baby blue at the edges for an aquatic vibe, or blend it with pale lavender for something more whimsical.
The key is staying within the pastel family—all your colors should have that soft, muted quality so they harmonize.
Fun fact: Green shades are said to represent growth and harmony, making mint aura nails a great choice when you’re starting new projects.
9. Black Smoke Gradient
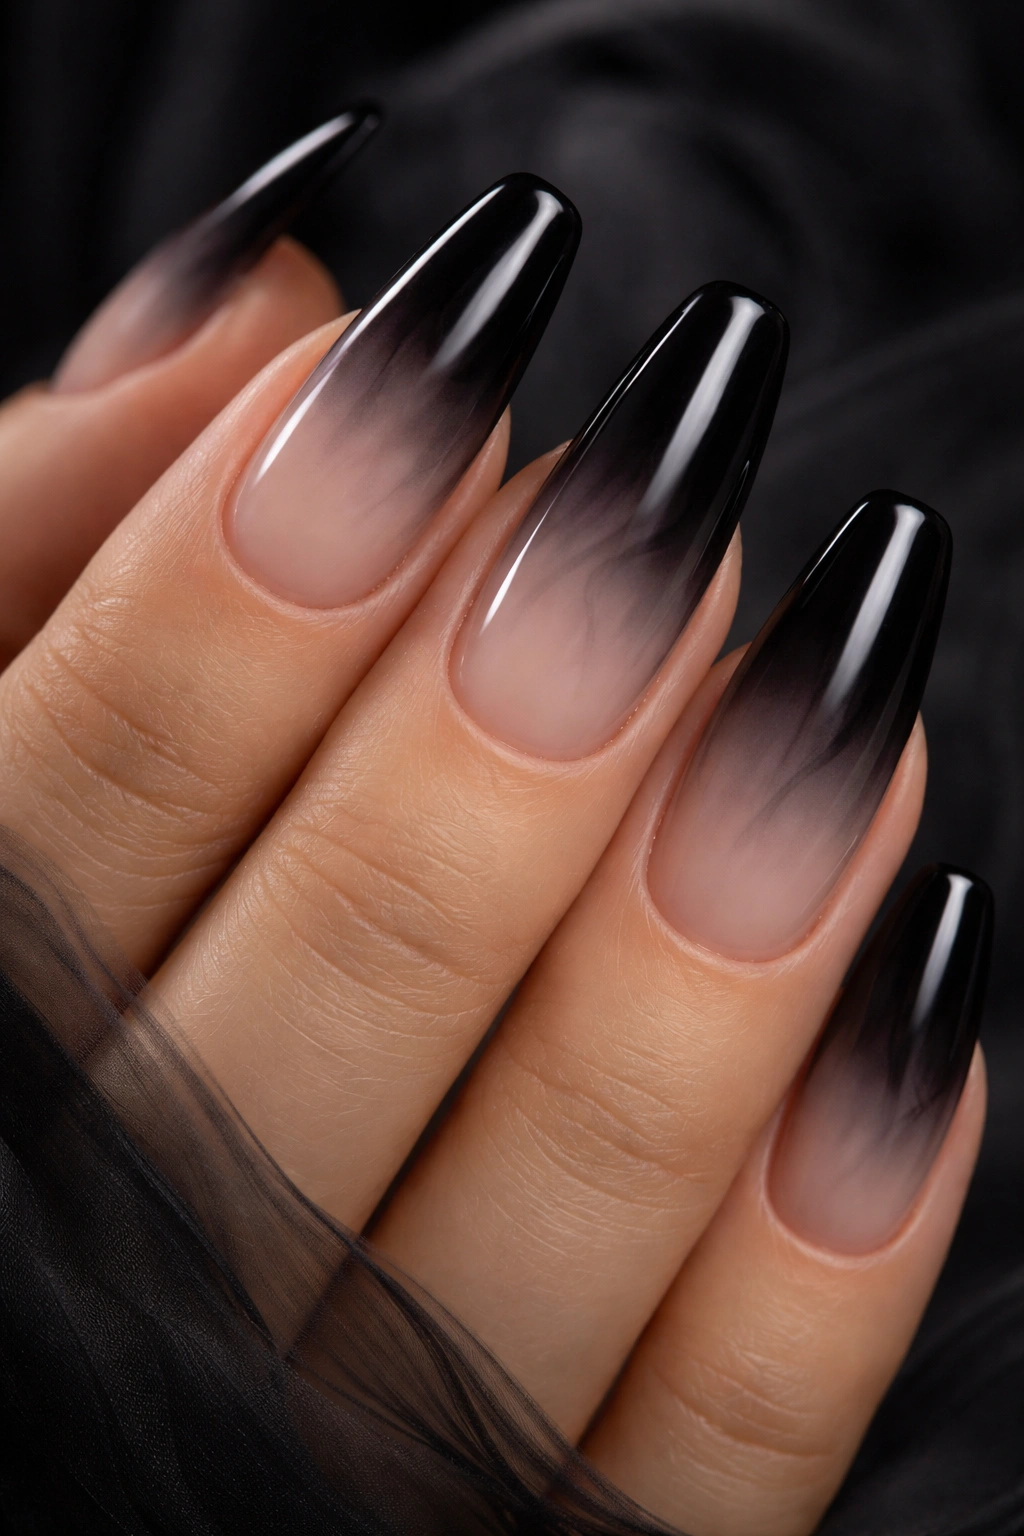
For something edgier and more dramatic, black aura nails create a smoky, mysterious effect that’s bold without being gothic. This gradient blends black or charcoal into a lighter base, creating a moody halo that feels modern and sophisticated.
The contrast between dark and light makes this design particularly striking. It’s perfect when you want your nails to make a statement but still appreciate the soft, blended quality of aura nails.
Blending Dark Shades
Start with a nude, light pink, or sheer white base. Then comes the challenging part—blending black without making harsh lines. The trick is working with extremely thin layers and building up slowly.
Dab tiny amounts of black polish onto your sponge, then press it gently onto the center or edges of your nail. Let it dry slightly, then repeat. Each layer adds depth without creating that harsh “stamped on” look.
Controlling the Intensity
Black is powerful, so you control how dramatic your gradient looks by how much you build it up. For a subtle smoke effect, keep the black very sheer and diffused.
Want something bolder? Build up more layers in the center while still keeping the edges soft and blended. This creates a gradient that goes from nearly black at the most intense point to barely-there at the edges.
Pro tip: A glossy top coat makes black smoke gradients look sleek and modern, while a matte top coat gives them a velvety, atmospheric finish.
10. Cotton Candy Clouds
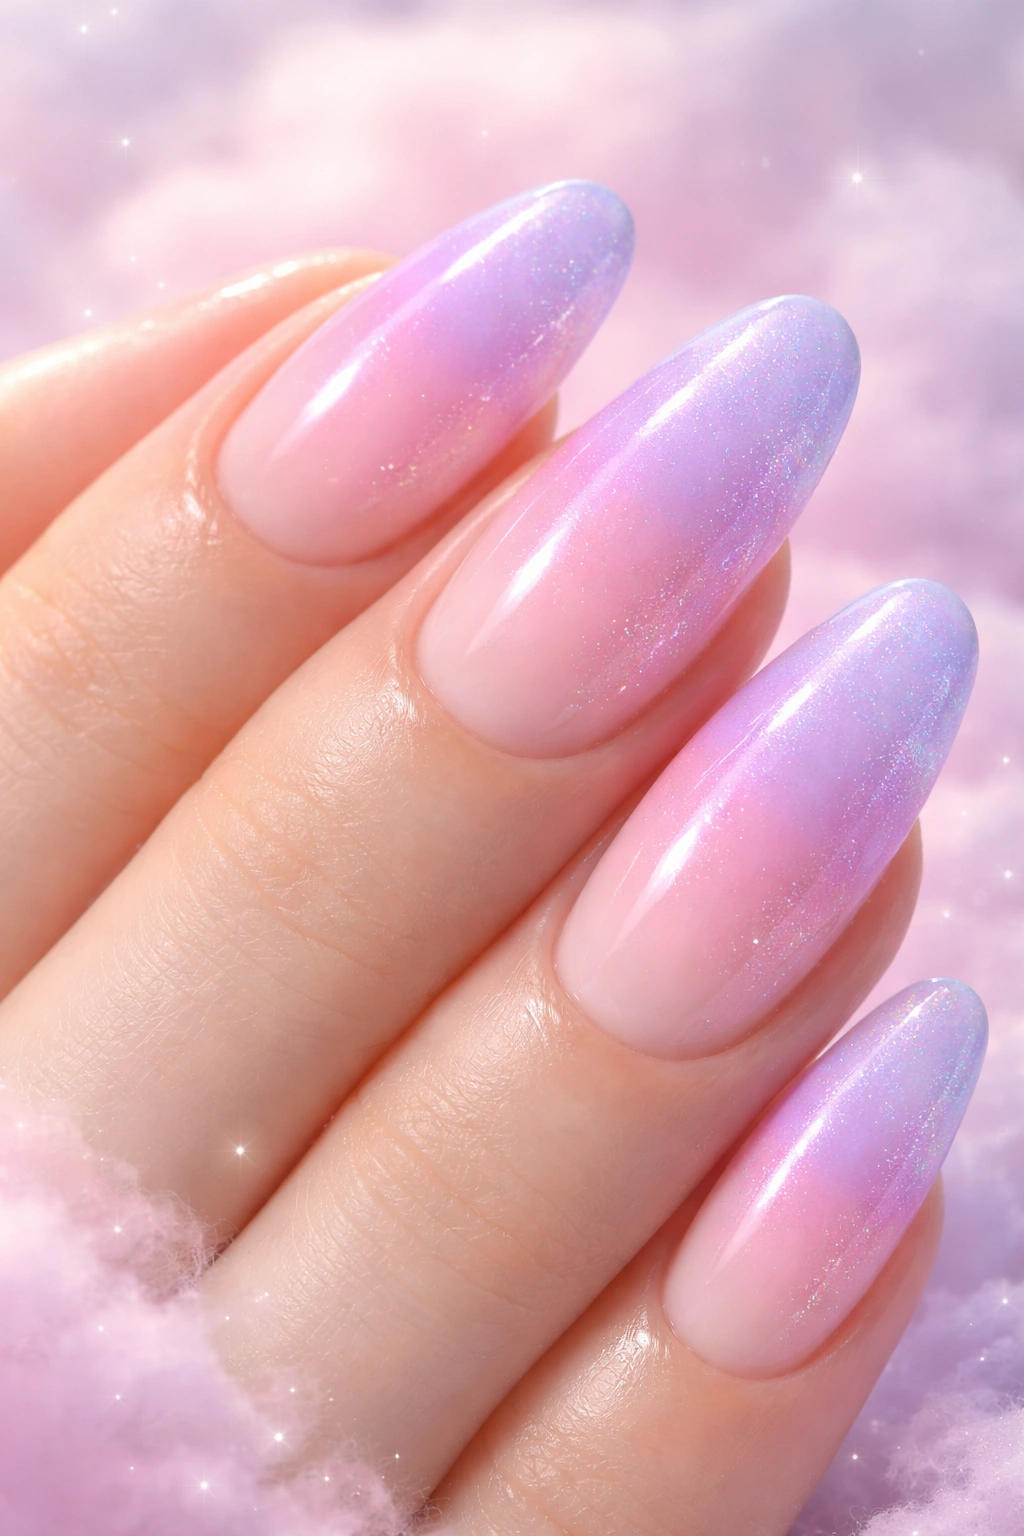
This dreamy design combines soft pastel pink and lavender in a gradient that looks like spun sugar. Cotton candy aura nails are sweet and whimsical, creating a look that feels lighthearted and playful.
The blend of pink and purple tones creates dimension that single-color nails can’t match. As light hits your nails, different colors catch and reflect, creating that magical glow effect.
Layering Pastel Shades
Start with a sheer white or very pale base. Apply soft pink polish to one section of your sponge and light lavender to another section, letting them touch slightly in the middle. Press this onto your nail in one smooth motion.
The colors will blend where they meet, creating a gradient that fades from pink to purple. Build up more layers for intensity, or keep it sheer and subtle.
Adding Cloud-Like Texture
For extra dimension, try adding a thin layer of white polish with a light hand over parts of your gradient. This creates a cloudy, ethereal effect that enhances the cotton candy vibe.
You can also incorporate shimmer or iridescent flakes that catch light like sugar crystals. Keep it subtle—just a hint of sparkle maintains the soft, dreamy quality.
Fun fact: Pastel aura nails photograph beautifully on social media because the soft colors create a flattering, gentle effect in photos.
Conclusion
Aura nails with gradient glows offer endless possibilities for expressing your style. Whether you lean toward soft neutrals or bold, vibrant colors, the gradient technique creates dimension and visual interest that makes your manicure feel custom and special.
The beauty of this trend is how approachable it is—you don’t need professional equipment or artistic training to create stunning results. A few polish shades, a makeup sponge, and patience are all you need to bring these glowing gradients to life on your own fingertips.
Experiment with different color combinations to find what resonates with your personal energy. Your nails are tiny canvases, and aura gradients let you paint them with the colors that make you feel most like yourself.
