

There’s something magical about February that makes you want to paint your nails in shades of romance. Maybe it’s the overload of heart-shaped everything in store windows, or perhaps it’s just an excuse to treat yourself to a fresh manicure. Either way, Valentine’s Day nails don’t have to scream “holiday special” to feel festive.
The truth is, this year’s Valentine’s nail trends are less about candy hearts and more about sophisticated romance. We’re talking velvety finishes, chrome details, and negative space designs that feel modern and wearable. You can absolutely rock heart-shaped tips and glittery accents if that’s your thing—but you’ve got plenty of options if you’d rather keep things understated.
What makes a manicure Valentine’s-worthy these days isn’t just slapping on red polish and calling it done. It’s about texture, finish, and those little details that make people do a double-take. Chrome hearts that shift in the light. Jelly polishes layered over hand-painted designs. French tips reimagined with unexpected color combinations.
Whether you’re planning a romantic dinner, a Galentine’s brunch, or just want an excuse to pamper yourself, these designs work for every vibe. Let’s explore the sweetest Valentine’s Day nail looks that’ll have you falling head over heels.
Classic Red Nails That Never Miss
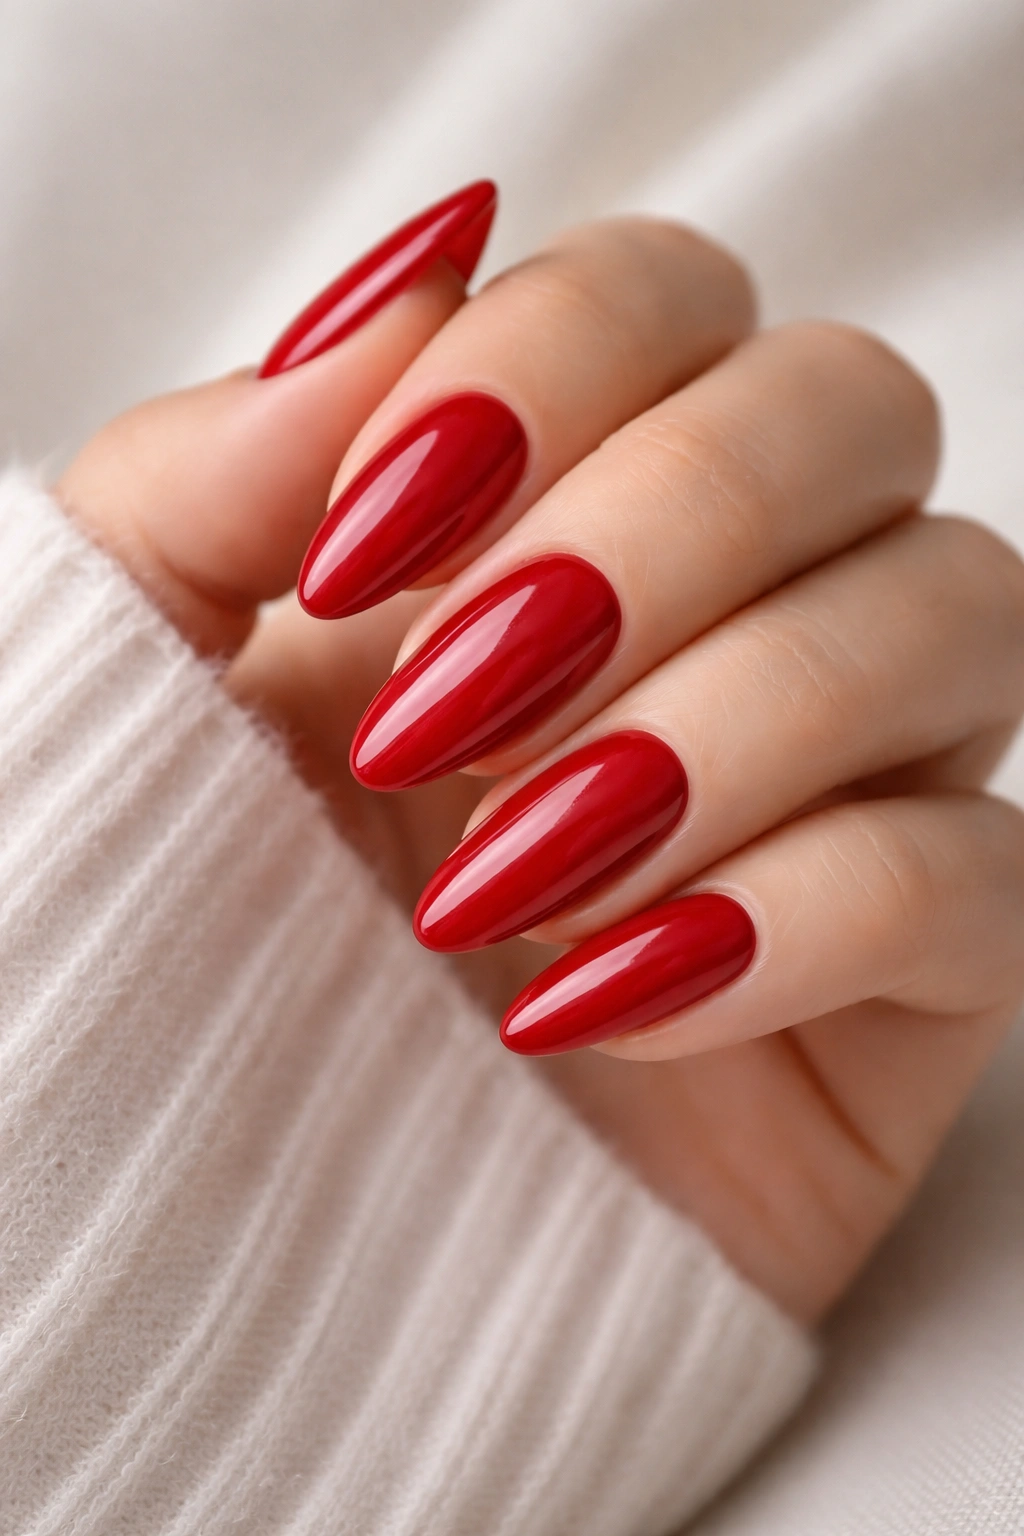
Red nails and Valentine’s Day go together like champagne and strawberries. But here’s the thing—red doesn’t have to feel predictable. The key is finding the right shade and finish for your style.
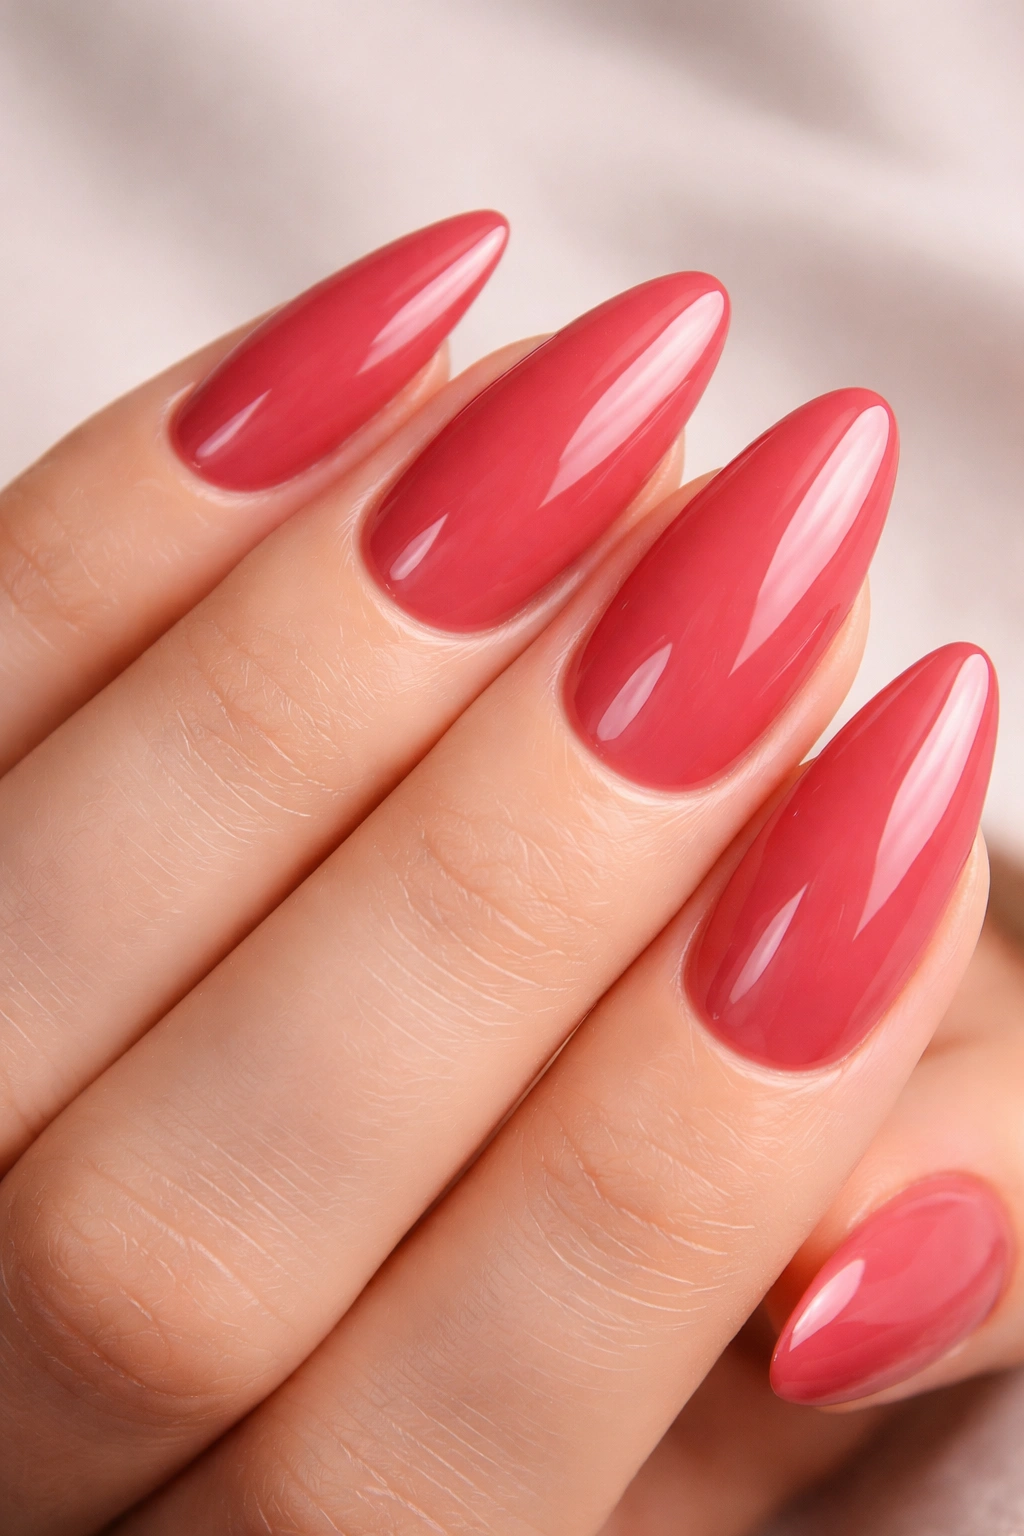
A true red polish (one that doesn’t lean too orange or too berry) creates that timeless elegance you can’t fake. Picture a glossy, cherry-red manicure on almond-shaped nails. It’s sophisticated enough for a fancy date night but also feels completely appropriate for everyday wear. The secret is in the application—two thin coats beat one thick coat every time.
For something with more depth, burgundy and wine tones bring moody romance to the table. These darker reds feel richer and more complex, especially when you add a velvet or matte finish. Cat-eye polishes in deep red create that luxurious, velvety texture that catches light beautifully. You’ll want to stare at your hands all day.
Red chrome takes things in a totally different direction. The reflective, almost metallic finish makes your nails look like liquid metal. It’s futuristic and romantic at the same time, which shouldn’t work but absolutely does. Pair it with shorter nail lengths if you want something bold but practical.
Sweet Pink Shades for Every Mood
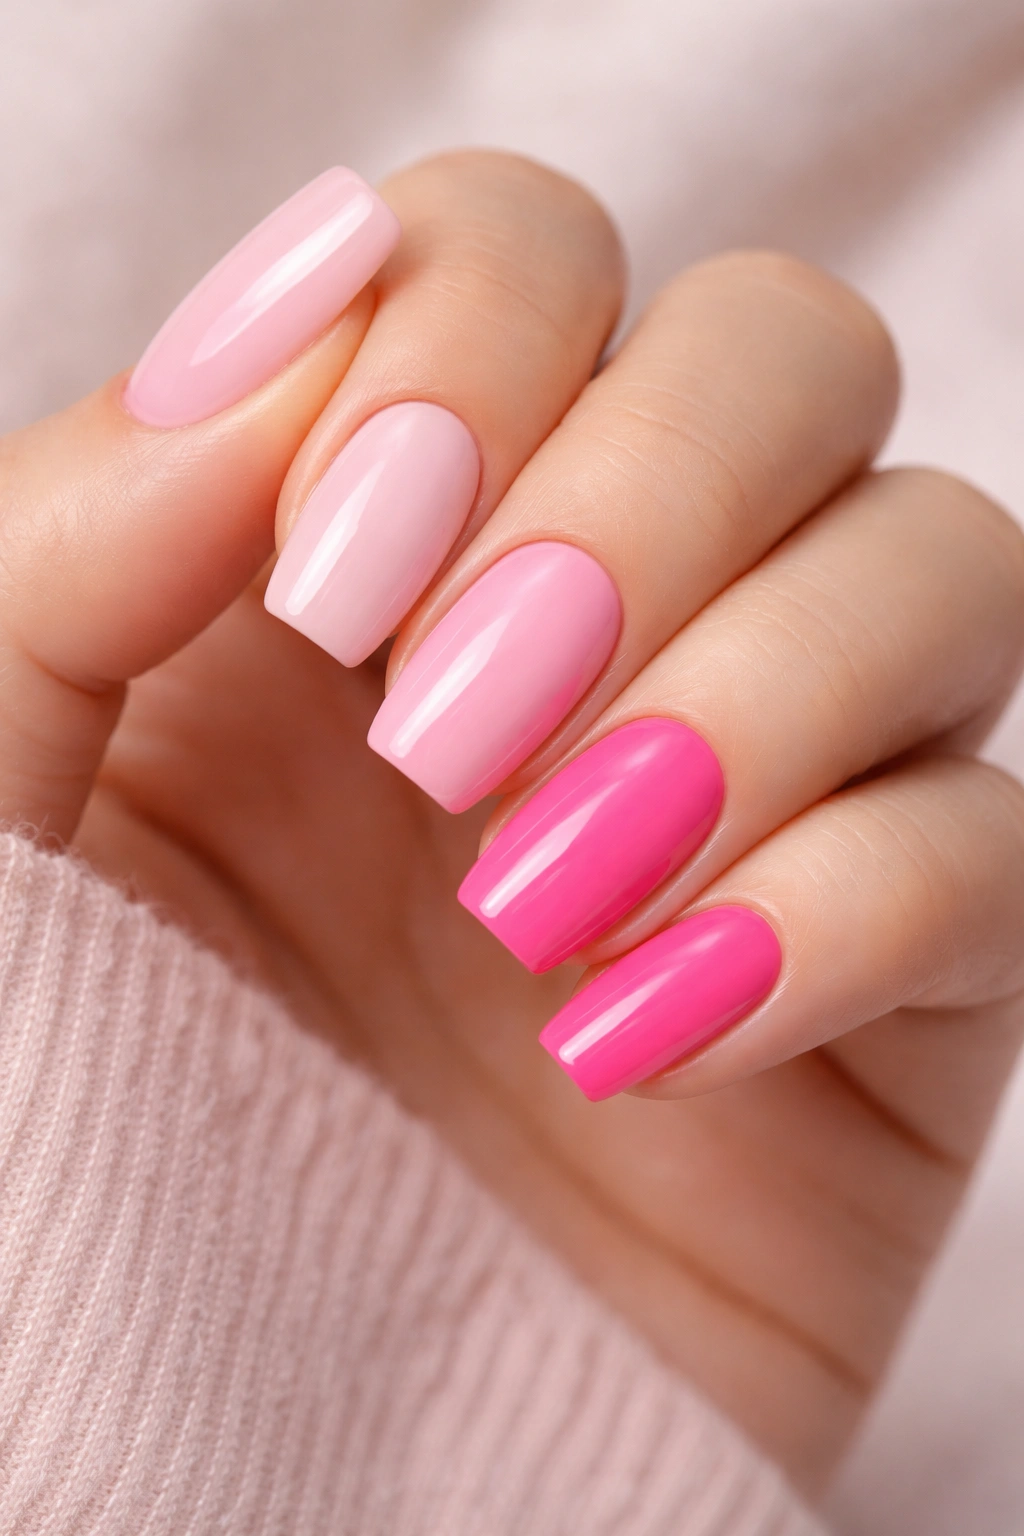
Pink owns February, but you’ve got options beyond basic bubblegum. The spectrum runs from barely-there blush to electric fuchsia, and each shade tells a different story.
Soft, milky pinks create that “your nails but better” effect that feels effortless. These sheer shades work beautifully as a base for nail art or stand perfectly fine on their own. They’re the nail equivalent of a white t-shirt and jeans—simple, polished, and always appropriate. Layer two or three coats for more opacity, or keep it sheer for a natural vibe.
Hot pink makes a statement without trying too hard. This shade radiates confidence and fun, especially when you choose a glossy finish. It’s flirty without being over-the-top, and it photographs beautifully if you’re planning to flood your Instagram with Valentine’s content. The bonus? Hot pink complements practically every skin tone.
Peach and coral pinks offer a warmer alternative to cool-toned roses. These shades feel fresh and modern, like Valentine’s Day took a tropical vacation. They’re particularly gorgeous in jelly finishes, which give your nails that translucent, lip-gloss effect. Add some shimmer and you’ve got a manicure that glows from within.
Heart-Shaped Tips That Hit Different
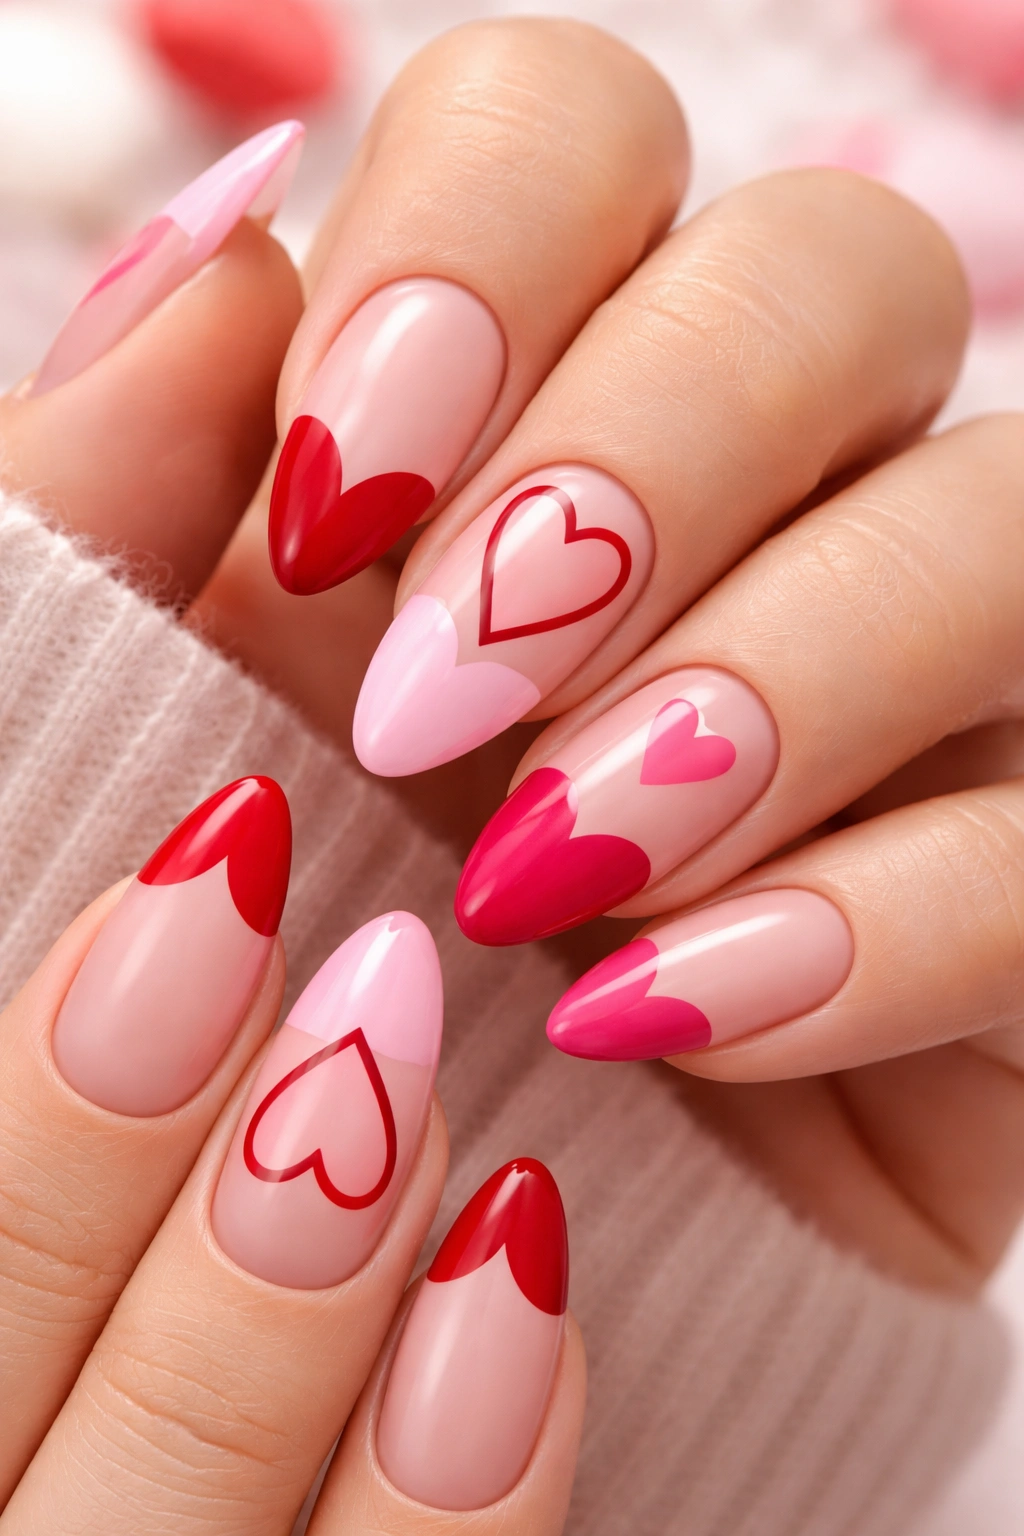
French manicures got a major upgrade, and heart-shaped tips are leading the charge. Instead of the classic curved white tip, your nail tech (or you, if you’re brave) creates hearts along the edge of each nail.
The technique works especially well on almond-shaped nails because the natural taper creates the perfect canvas for a heart outline. Start with a neutral or sheer pink base, then use red or deep pink polish to form the tips. The hearts can be filled in solid or left as outlines—both look incredible.
For a twist, flip the script with reverse hearts. Paint your nails a solid color (red looks particularly striking), then create heart-shaped negative space at the tip using the natural nail as your “color.” It’s unexpected and way more interesting than standard French tips.
Multi-colored heart tips take this concept even further. Alternate between shades of red, pink, and white across your fingers for a playful Skittles effect. Each nail becomes its own little work of art, but the consistent heart shape ties everything together. This works best on longer nails where the heart has room to breathe.
Minimalist Magic With Tiny Details
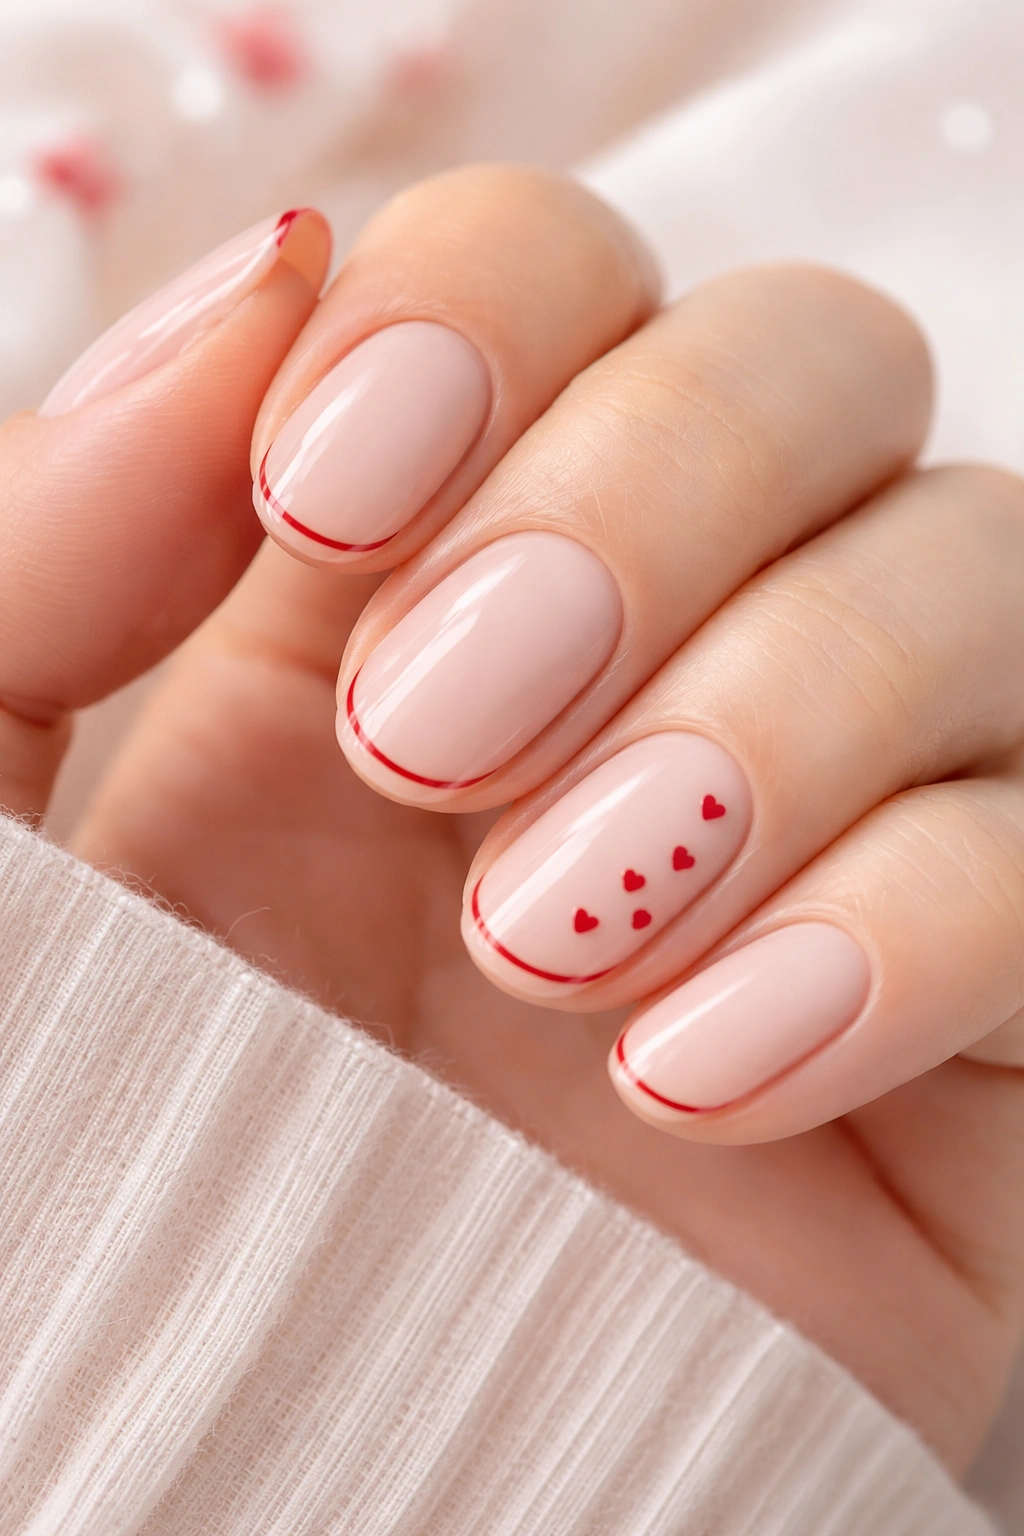
Not everyone wants their nails to announce “VALENTINE’S DAY” from across the room. Subtle designs let you participate in the festivities without going full-on Cupid.
Dainty heart accents—we’re talking tiny, barely-there hearts—add just enough festivity to feel intentional. Place a single small heart on your ring finger nail, or scatter a few miniature hearts near the base of each nail. Use a dotting tool to create perfect little hearts without needing steady hands or artistic talent. Two dots placed close together, then drag the polish down to connect them. Done.
Delicate line work creates romance through suggestion rather than literal symbols. Think thin red or pink lines tracing the edge of your nail, or geometric patterns that happen to incorporate heart-adjacent shapes. It’s for people who want something special but prefer their nail art whispered rather than shouted.
Single accent nails give you the best of both worlds. Keep nine nails simple with a solid color or clean French tips, then go wild on that one ring finger. Add 3D hearts, rhinestones, or intricate hand-painted designs. This approach feels balanced and lets you try trends without fully committing.
Chrome and Metallic Finishes That Shine

Chrome nails exploded in popularity, and Valentine’s Day gives you the perfect excuse to try this mirror-like finish. The reflective quality catches light in the most mesmerizing way.
Pink chrome creates an almost pearlescent effect that shifts between rose gold and silver depending on the angle. It’s ethereal and romantic without reading overtly Valentine’s-themed. The application process involves rubbing chrome powder over gel polish, which sounds complicated but becomes second nature after watching one tutorial.
Rose gold chrome hits that sweet spot between warm and cool tones. It flatters basically everyone and works for Valentine’s Day while remaining versatile enough to wear year-round. Layer it over a pink base for extra dimension, or apply it directly over black gel polish for a deeper, more dramatic rose gold.
Silver chrome with colored accents combines futuristic vibes with Valentine’s touches. Think silver chrome on most nails with one or two featuring red or pink hearts. The contrast between the cool metallic and warm romantic colors creates visual interest without feeling too busy. Add tiny rhinestones along the cuticle line if you’re feeling extra.
Jelly Nails and Translucent Designs
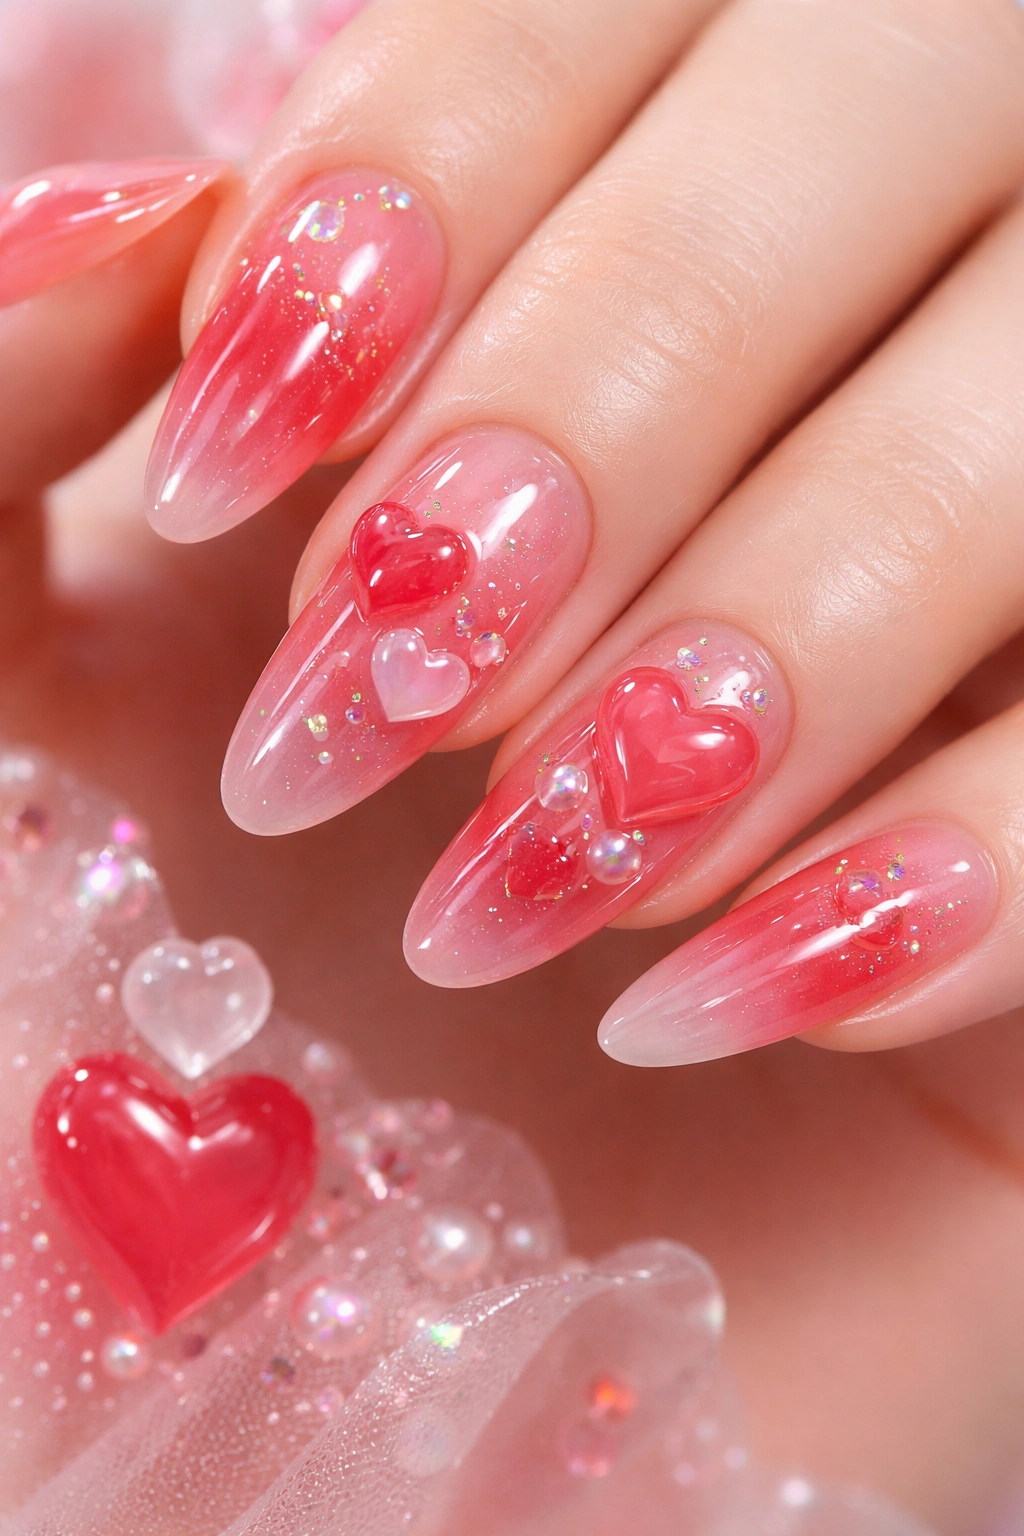
Jelly nails—those gorgeous, translucent manicures that look like stained glass—are having a major moment. The sheer, glossy finish creates depth that solid colors can’t match.
Pink and red jelly polishes let you see shadows of your natural nail underneath, creating this cool layered effect. The translucency means you can layer colors without them getting muddy or opaque. Try a sheer pink base with red jelly hearts painted on top. The red shows through the pink in some spots, creating natural dimension.
Bubble hearts and 3D elements take jelly nails to the next level. Use builder gel to create raised heart shapes on your nail, then coat everything in clear or tinted jelly polish. The 3D elements become visible under the translucent layer, like little treasures suspended in resin. It’s weirdly satisfying to look at.
Ombré jelly gradients transition between shades seamlessly. Start with a deep pink or red jelly at the base and fade to clear or light pink at the tips. The translucent quality makes the gradient appear softer and more natural than it would with regular polish. This technique works beautifully on shorter nails where dramatic nail art might overwhelm.
Mix-and-Match Designs for Maximalists
If “more is more” is your philosophy, Valentine’s Day is your time to shine. Maximalist nail art combines multiple techniques, colors, and designs across one set.
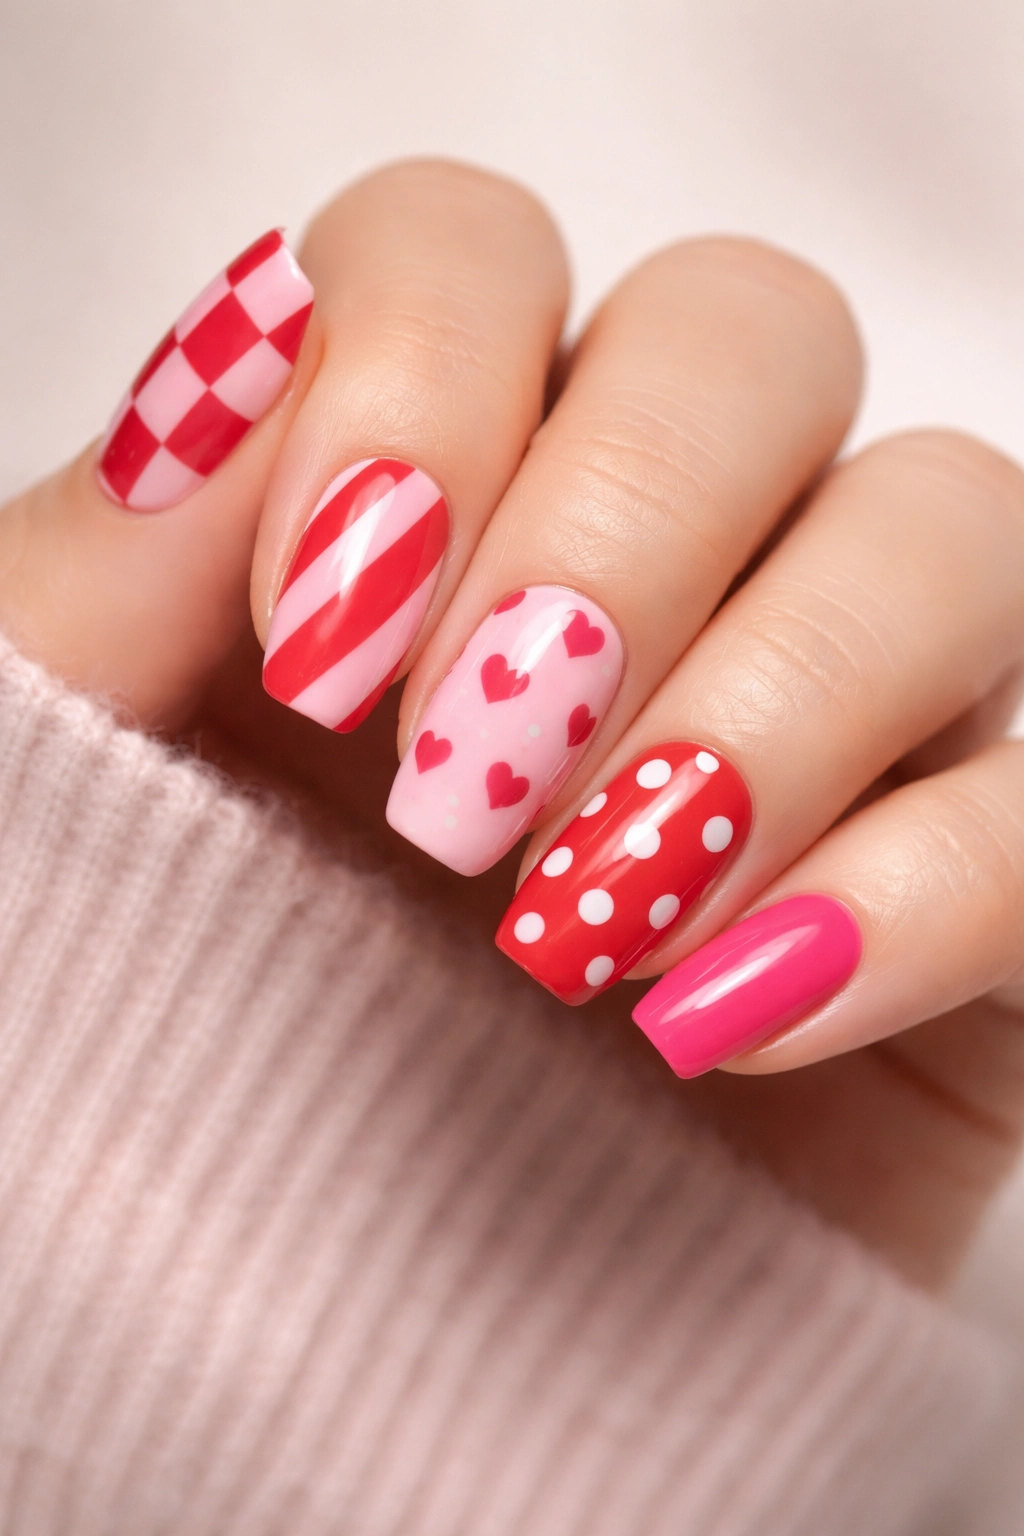
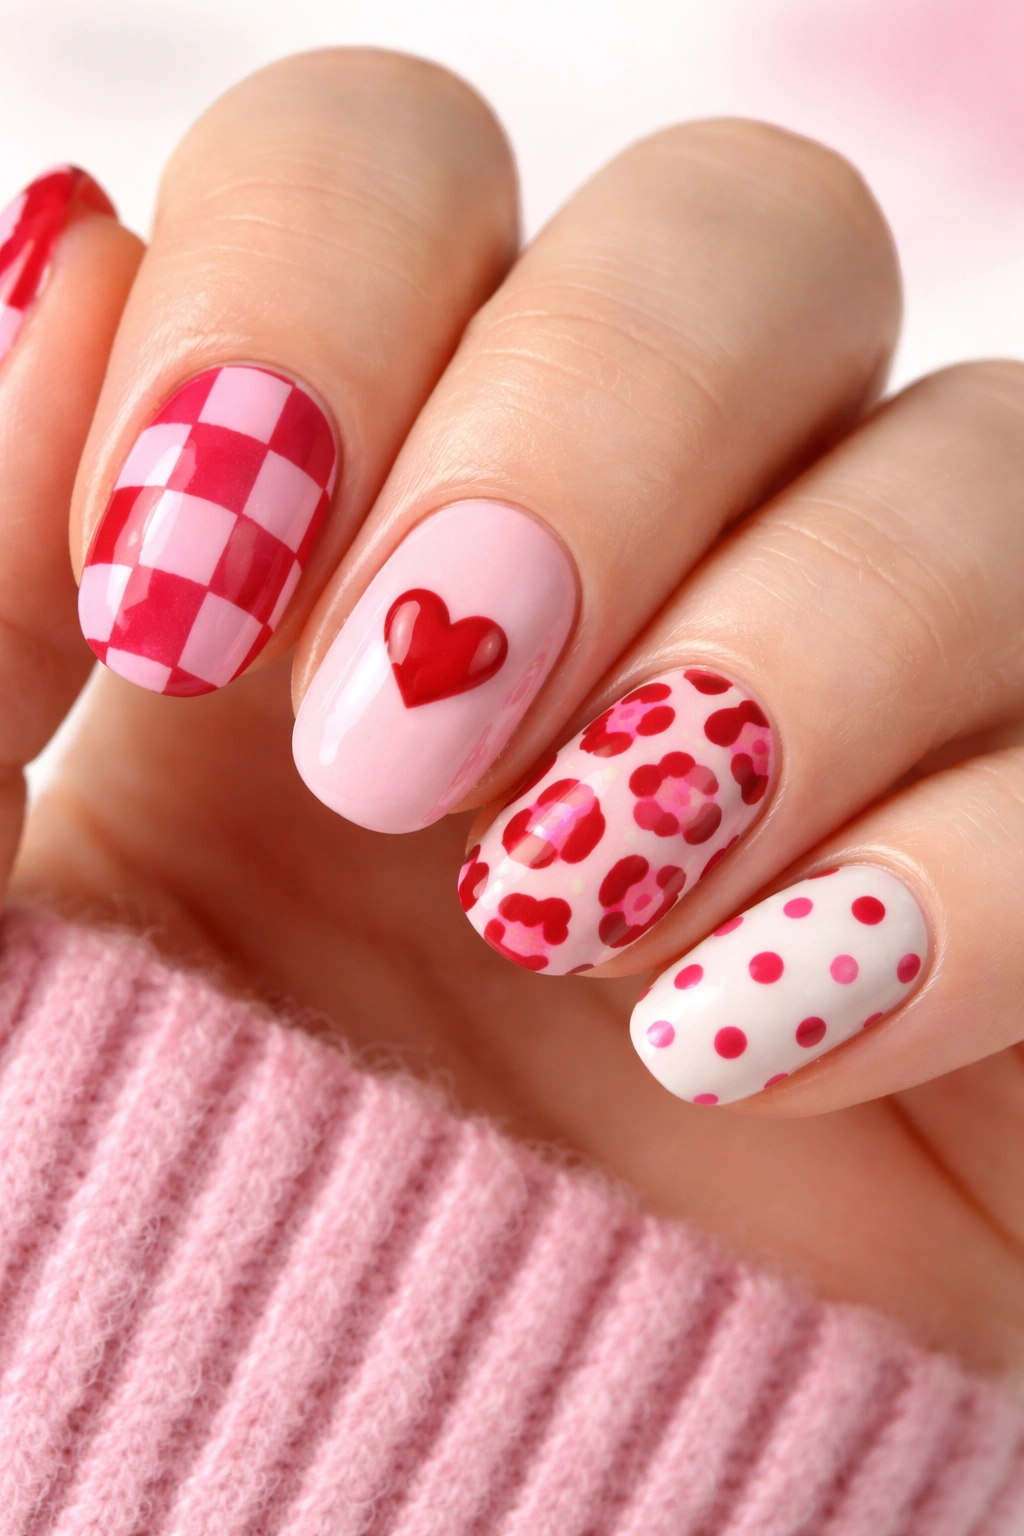
Pattern mixing keeps each nail interesting. Try checkerboard on your thumb, stripes on your pointer, hearts on your middle finger, polka dots on your ring finger, and solid color on your pinky. It sounds chaotic, but when you stick to a cohesive color palette (reds, pinks, whites), everything works together. The variety prevents your eyes from getting bored.
Texture variation adds another layer of visual interest. Combine glossy nails with matte accents, smooth polish with rhinestone embellishments, or flat color with 3D gel details. Your manicure becomes this little art gallery where each nail offers something different to look at. Just remember to seal everything with topcoat so those varied textures last.
Color-blocked designs create bold, graphic looks that photograph incredibly well. Split each nail horizontally or vertically between two or three colors. Red and pink is the obvious Valentine’s choice, but don’t sleep on pink and white, or even pink and black for an edgier vibe. Use nail tape to get those crisp, clean lines between colors.
Romantic Florals Beyond Basic Hearts
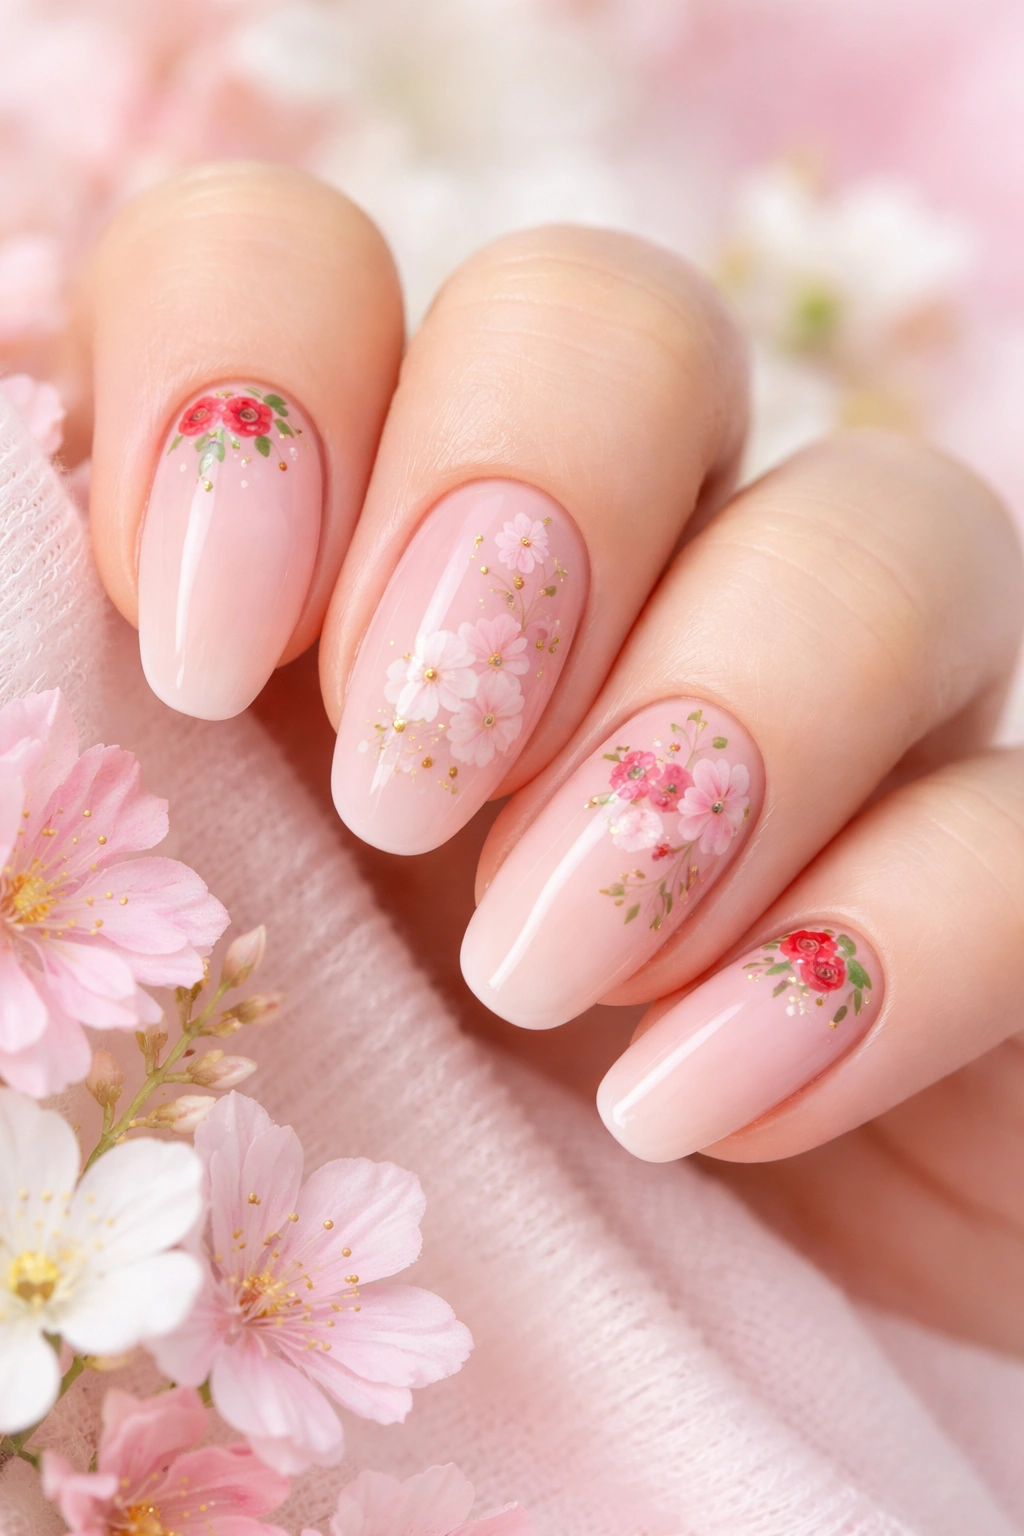
Hearts get all the attention, but floral designs bring their own brand of romance to Valentine’s nail art. Delicate flowers feel softer and more ethereal than graphic heart shapes.
Tiny painted roses in red or pink transform your nails into miniature bouquets. You don’t need to be a skilled artist—simplified roses with just a few brush strokes look intentionally stylish rather than amateur. Use a pale pink base and add small red roses clustered near the cuticle, or scatter them randomly across each nail.
Cherry blossoms offer a more subtle nod to the season. These delicate flowers in soft pink and white create a dreamy, romantic atmosphere without screaming “Valentine’s Day.” Add a few gold accents to make the design feel more elevated. This works particularly well on longer nails where the branches can stretch gracefully.
Abstract florals give you artistic freedom without requiring perfect technique. Think loose brush strokes and watercolor-style flowers that blur at the edges. The imperfect, organic quality makes these designs feel more personal and handcrafted. Pair abstract florals with solid accent nails to balance the busy design.
Playful Prints and Unexpected Patterns
Valentine’s nails don’t have to follow a script. Unexpected patterns and prints add personality while still feeling festive for the holiday.
Checkerboard patterns in pink and red create retro vibes with a romantic twist. The graphic, geometric design contrasts nicely with softer Valentine’s elements. Try checkerboard on most nails with one solid red or pink accent nail featuring a single heart. The mix of precise patterns and organic shapes creates interesting tension.
Animal prints might seem random for Valentine’s Day until you see them in pink and red. Leopard spots or zebra stripes in Valentine’s colors feel playful and flirty. It’s unexpected, which makes it memorable. This works especially well if you typically gravitate toward edgier styles but still want to acknowledge the holiday.
Polka dots are eternally charming and ridiculously easy to execute. Use a dotting tool to place red dots on pink nails or pink dots on red—or go wild and do white dots on both. Vary the dot sizes for more visual interest, or keep them uniform for a more polished look. Add one heart nail to make the Valentine’s connection obvious.
Sophisticated Neutrals With Valentine’s Touches
Neutral nails can absolutely participate in Valentine’s Day. The secret is adding small, romantic touches to your usual understated palette.
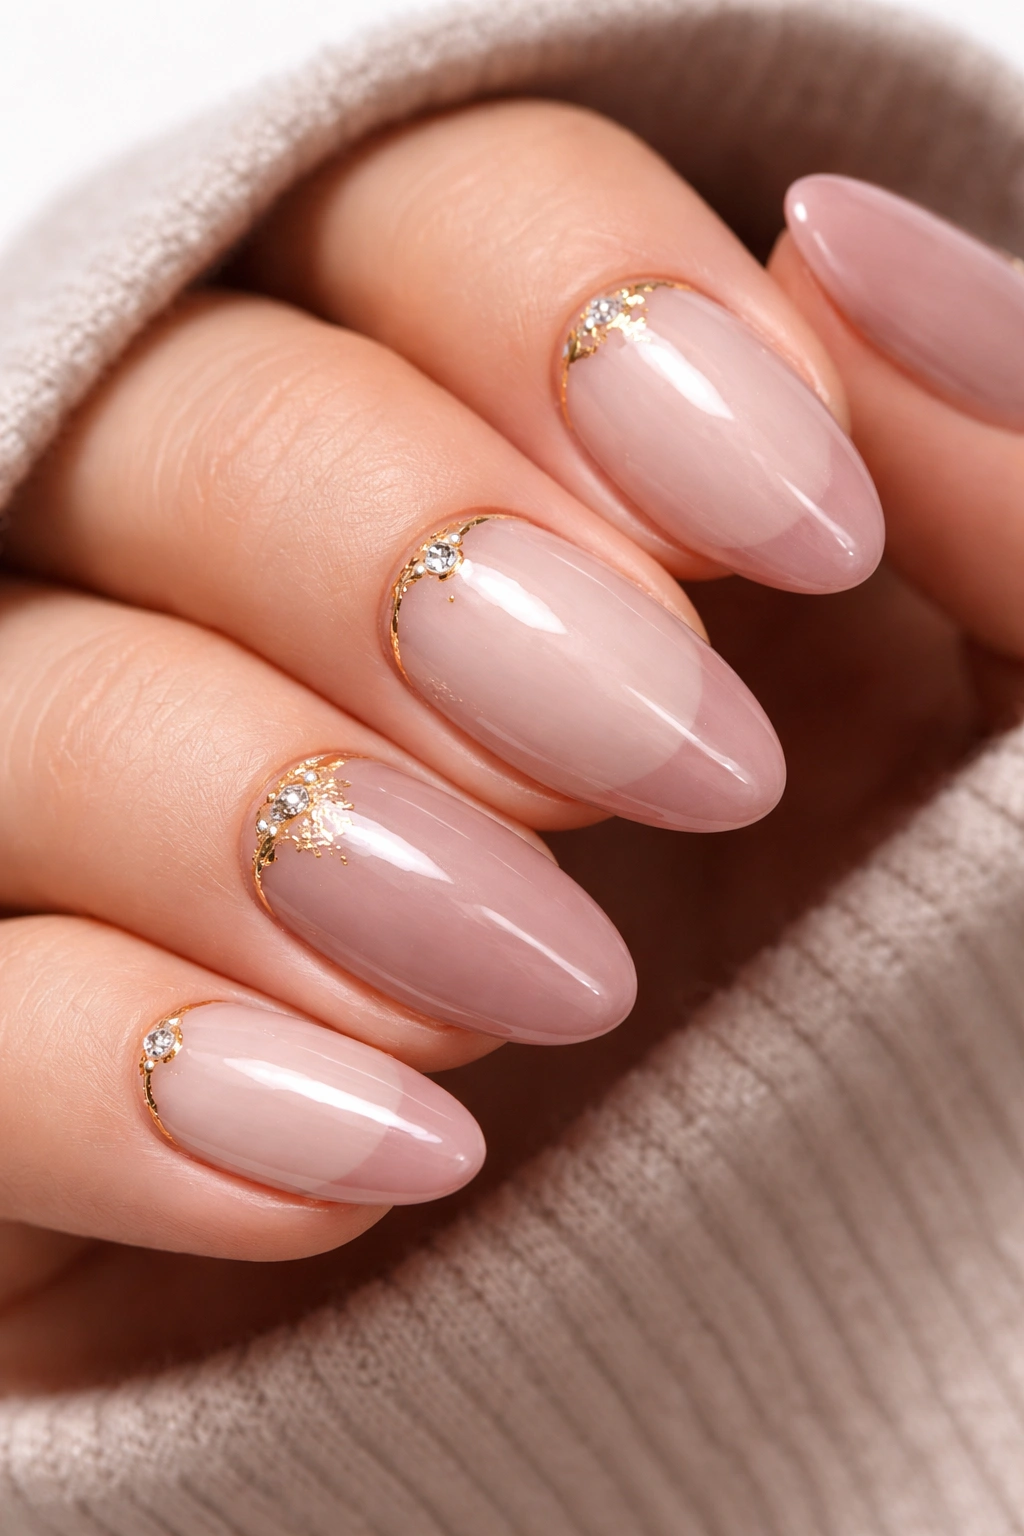
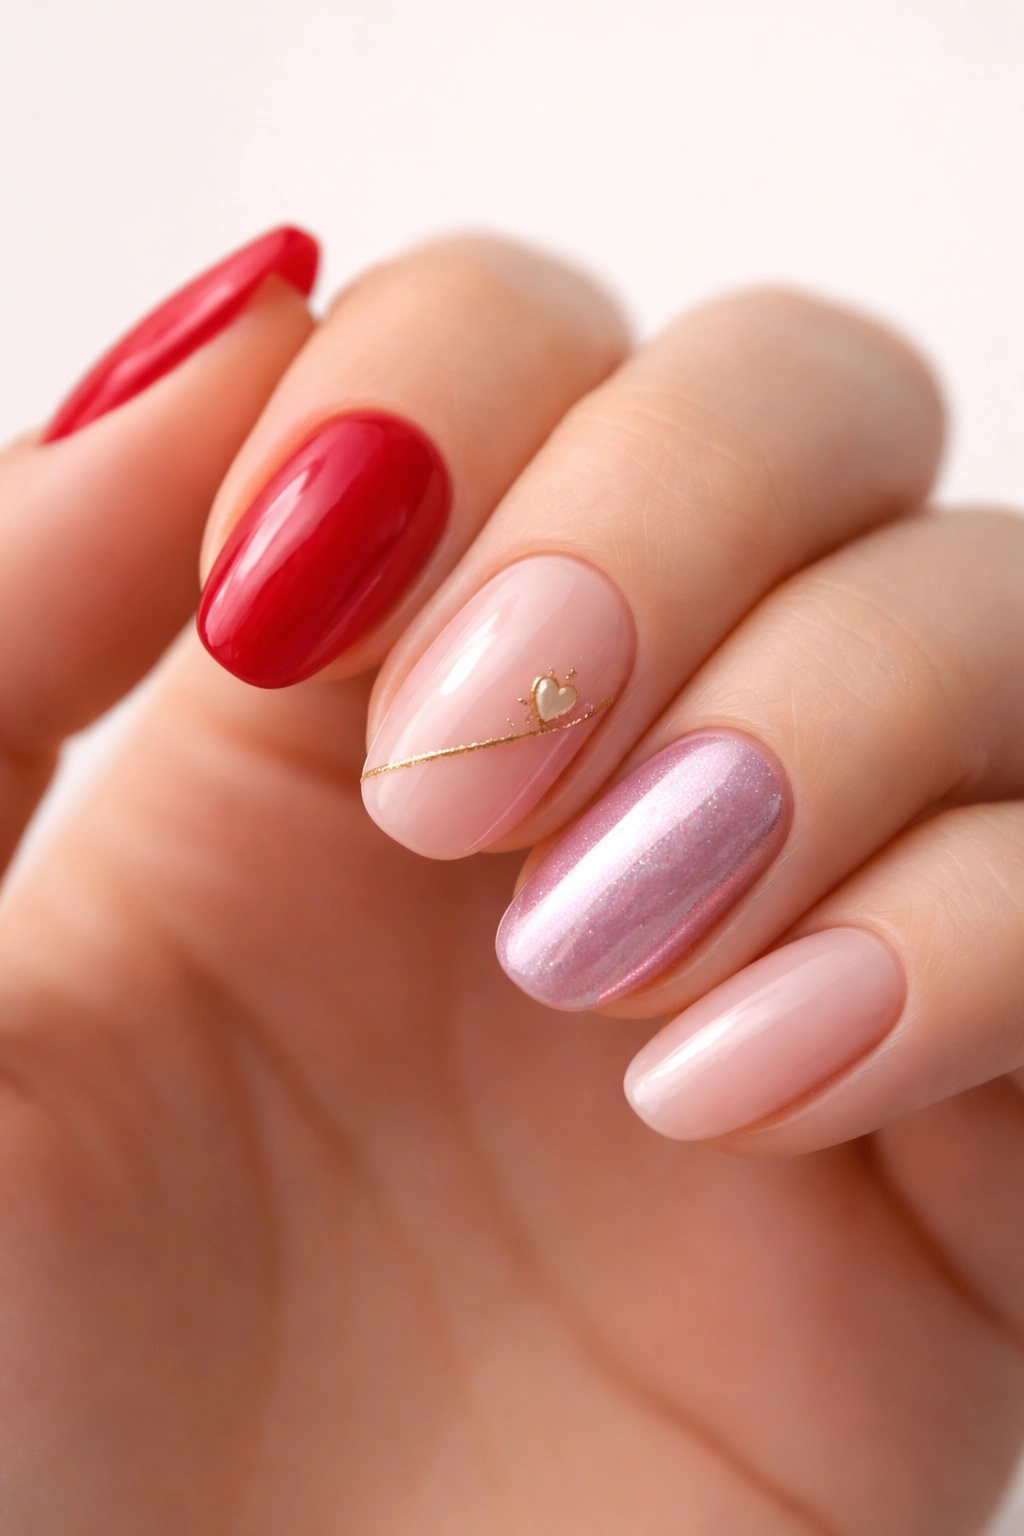
Nude bases with gold accents feel luxurious and refined. Think barely-there pink or beige polish with thin gold lines tracing the cuticle or creating minimalist heart outlines. Gold foil flakes pressed onto the nail tips add texture and shine without looking too blingy. This approach works beautifully for professional settings where bright red nails might feel too bold.
Sheer pink French tips update the classic manicure with just enough color to feel Valentine’s-appropriate. Instead of stark white tips, opt for the softest blush pink. The effect is romantic and feminine while remaining incredibly versatile. Add a single rhinestone to one nail if you want a tiny bit of sparkle.
Taupe and mauve create a moody, romantic atmosphere that feels grown-up. These muted tones pair beautifully with rose gold accents or subtle burgundy details. It’s Valentine’s Day for people who find traditional pink and red a bit too saccharine. The sophisticated color palette feels more “elegant dinner party” than “high school dance.”
Kiss Prints and Lipstick-Inspired Art
Lipstick kisses bring a playful, flirty energy to Valentine’s nail designs. This trend works whether you go literal with actual kiss prints or more abstract with lip-inspired shapes.
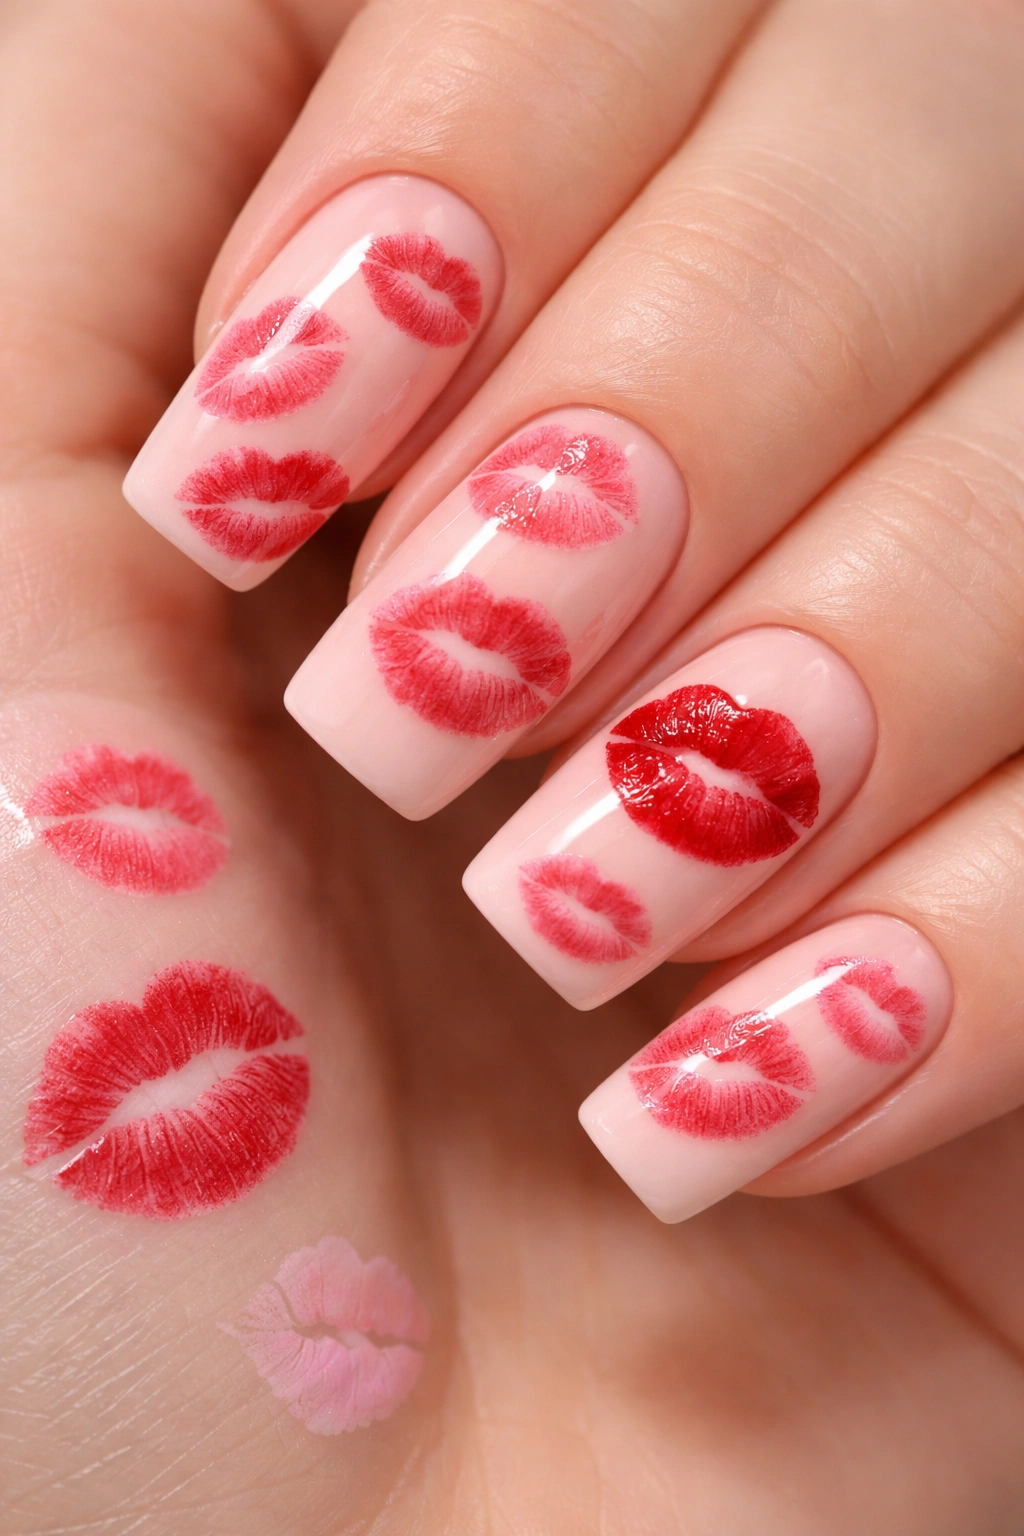
Red lip prints scattered across nude or white nails create an instantly recognizable Valentine’s vibe. You can achieve this with lip-shaped nail stickers (the easy route) or carefully paint them by hand if you’re feeling ambitious. Vary the sizes and angles of the kisses to keep things interesting rather than repetitive.
Ombré lips add an artistic twist to the kiss print trend. Instead of solid red lips, create gradient effects within each kiss mark—darker at the edges, lighter in the center. This small detail elevates the design from cute to genuinely cool. It shows you put thought into your manicure rather than just slapping on stickers.
Single lip accents keep things subtle if full-on kiss prints feel too literal. Place one perfect red lip on your ring finger nail and keep the rest of your nails a solid color. The single accent becomes a focal point without overwhelming your whole hand. This approach works particularly well for shorter nails.
Glitter and Sparkle Without the Cheese
Glitter can go wrong fast, but when done right, it adds just the right amount of glamour to Valentine’s nails. The key is strategic placement and choosing the right type of sparkle.
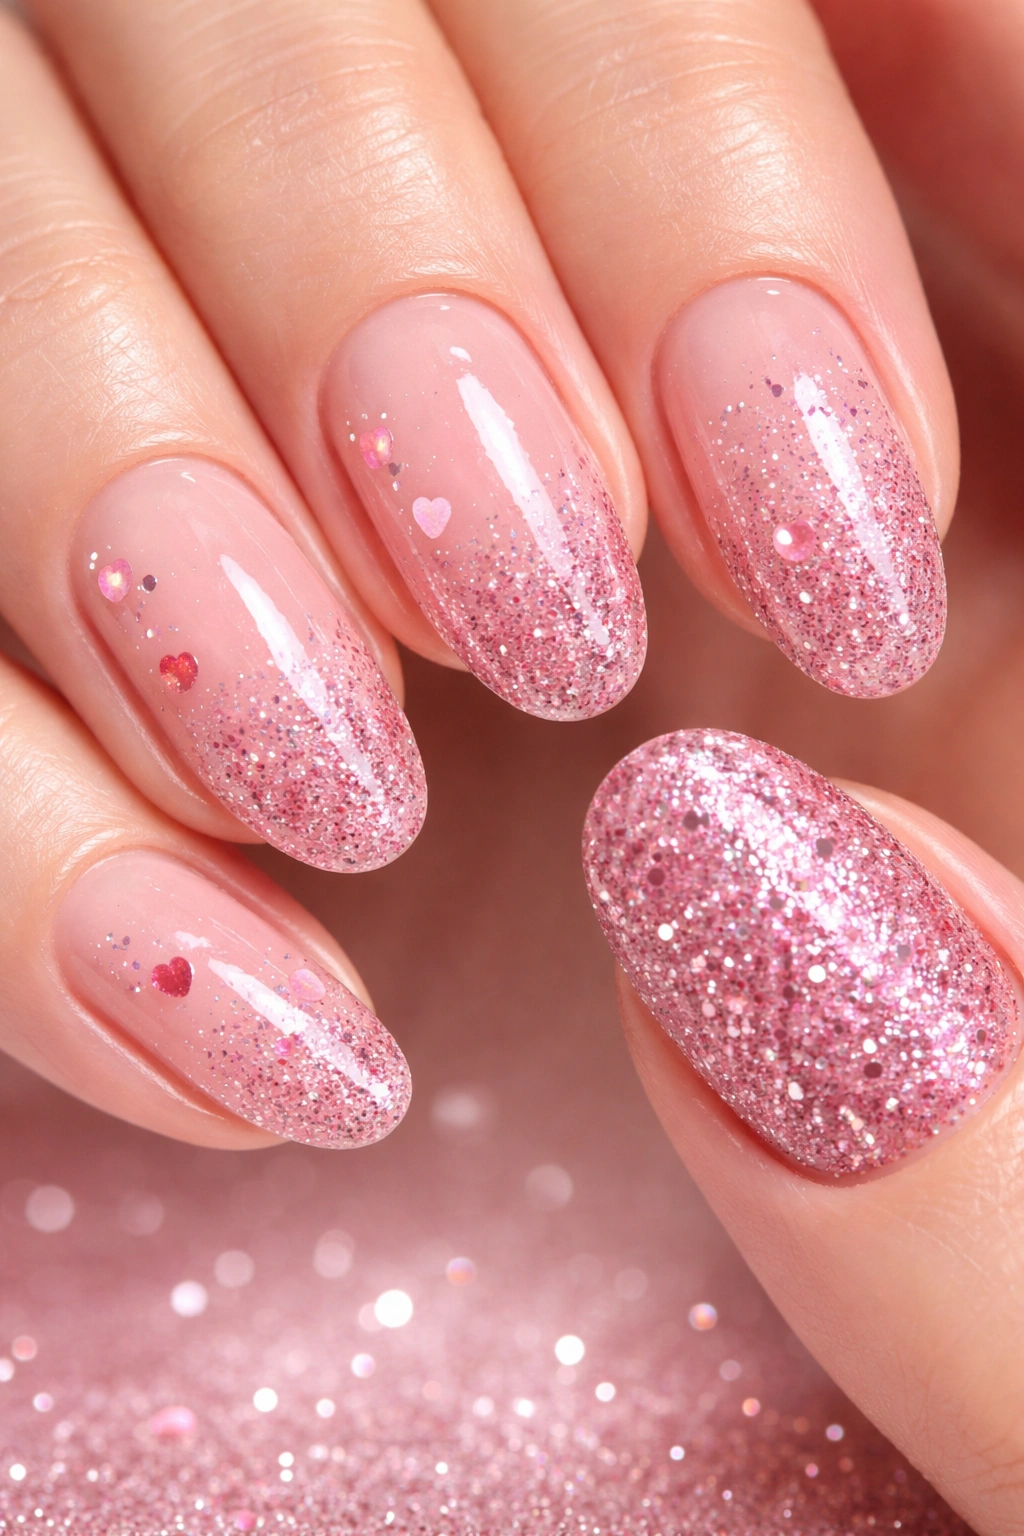
Glitter gradients concentrate shimmer at the tips and fade toward the base. This creates a sophisticated sparkle that doesn’t look like you bedazzled your entire hand. Use fine glitter rather than chunky pieces for a more refined effect. Pink or red glitter over a matching base color creates depth, while silver or gold glitter adds contrast.
Micro-glitter hearts combine sparkle with Valentine’s symbolism in the best way. Instead of painting solid hearts, create heart shapes using tiny, fine glitter particles. The effect is more textured and dimensional than flat polish. These work beautifully as accent nails or scattered across all fingers.
Single glitter accent nails let you indulge your sparkle cravings without going overboard. Keep nine nails in a solid color or simple design, then coat one nail (or two if you do both ring fingers) in dense, gorgeous glitter. This gives you that moment of glamour while keeping the overall look balanced and wearable.
Getting Your Valentine’s Nails to Last
You went through the effort of creating (or paying for) gorgeous Valentine’s nails—now make them last. A few simple habits extend your manicure’s lifespan significantly.
Prep work matters more than most people realize. Clean, properly shaped nails with pushed-back cuticles give polish something to grip onto. Buff away any ridges and wipe nails with rubbing alcohol before applying base coat. This removes oils that cause polish to peel. It’s not the fun part, but it’s the foundation of a long-lasting manicure.
Thin coats beat thick ones every single time. It’s tempting to glob on polish to get full coverage in one pass, but thick polish takes forever to dry and chips faster. Apply thin, even coats and let each layer dry completely before adding the next. Two or three thin coats outlast one thick coat by days.
Top coat is non-negotiable, and reapplying it every few days extends your manicure’s life considerably. That clear layer protects your design from chips and keeps everything glossy. Wrap the tips (run the brush along the edge of your nail) to seal the polish and prevent peeling. Reapply top coat every two to three days to refresh shine and reinforce protection.
Final Thoughts
Valentine’s Day nails have evolved way beyond basic red polish and heart stickers. The designs we’re seeing this year balance romance with sophistication, giving you options whether you lean minimalist or maximalist.
What makes a manicure Valentine’s-worthy isn’t about following rules or checking boxes. It’s about choosing something that makes you smile when you glance at your hands. Maybe that’s classic red nails with a glossy finish. Maybe it’s chrome pink with 3D hearts. Maybe it’s nude nails with one tiny gold accent.
The beauty of nail art is its temporary nature. You can try something bold and playful for Valentine’s Day, then switch to something completely different next week. There’s zero commitment and endless possibilities to experiment with colors, finishes, and designs.
So whether you’re booking a salon appointment or breaking out your home nail kit, pick something that feels authentically you. Valentine’s Day is just the excuse—the real reason is treating yourself to something beautiful.
