

Duck nails have become one of the most satisfying nail trends, but if you’ve got shorter nail beds, you might think they’re off-limits. The truth is, duck nails look stunning on short nails — sometimes even better than their longer counterparts. Short duck nails feel more wearable for everyday life, they’re faster to create, and they require way less maintenance. The challenge isn’t whether they’ll work; it’s finding designs that complement shorter lengths without looking stubby or out of proportion.
The beauty of duck nails on a short canvas is that simplicity becomes your secret weapon. You don’t need intricate designs, multiple colors, or advanced techniques to pull off the look. Some of the most gorgeous short duck nail designs rely on subtle color blocking, strategic placement of details, and smart use of negative space. Whether you’re a beginner doing your nails at home or someone who just prefers minimal nail art, there’s a duck nail design here that’ll make you excited to show your hands off.
The key to pulling off short duck nails is choosing designs that enhance rather than overwhelm your nail length. This means leaning into soft, cohesive color palettes, keeping embellishments focused to specific zones, and using contrasts strategically to draw the eye. You’ll notice that most of the designs below work with just one or two colors, require basic tools you probably already have, and can be achieved by almost anyone with a steady hand and a little patience.
Let’s walk through ten designs that prove short duck nails don’t have to be complicated to look completely polished.
1. Pink Gradient Duck Nails with Shimmer

A soft pink gradient is the ultimate no-fuss duck nail design that works for literally every occasion. Start with a light pink or nude base that’s two to three shades lighter than your skin tone, then transition to a slightly deeper pink at the tip. The duck shape naturally guides the eye to the color shift, making the gradient feel intentional and elegant without requiring perfect blending.
Why This Design Works for Short Nails
Gradients are forgiving because they don’t require precision — the blended nature of the color shift hides any imperfect lines. On short nails, this softness actually feels more sophisticated than stark, hard-edged designs. The warmth of pink elongates even the shortest nail beds visually, and the subtle shimmer catches light without screaming for attention. This is the design you’ll wear to work, to a date, to family dinners, and feel confident every single time.
What You’ll Need
- Light pink or pale nude nail polish as your base
- Medium to deeper pink polish for the gradient
- A makeup sponge or a blending brush for the ombre effect
- Optional: a clear coat with fine shimmer mixed in, or a separate shimmery top coat
Pro tip: If blending with a sponge intimidates you, use a dry brush to gently feather the color line where the two pinks meet — it creates a softer edge that reads as intentional on short nails.
2. Classic White Tips with Duck Charm
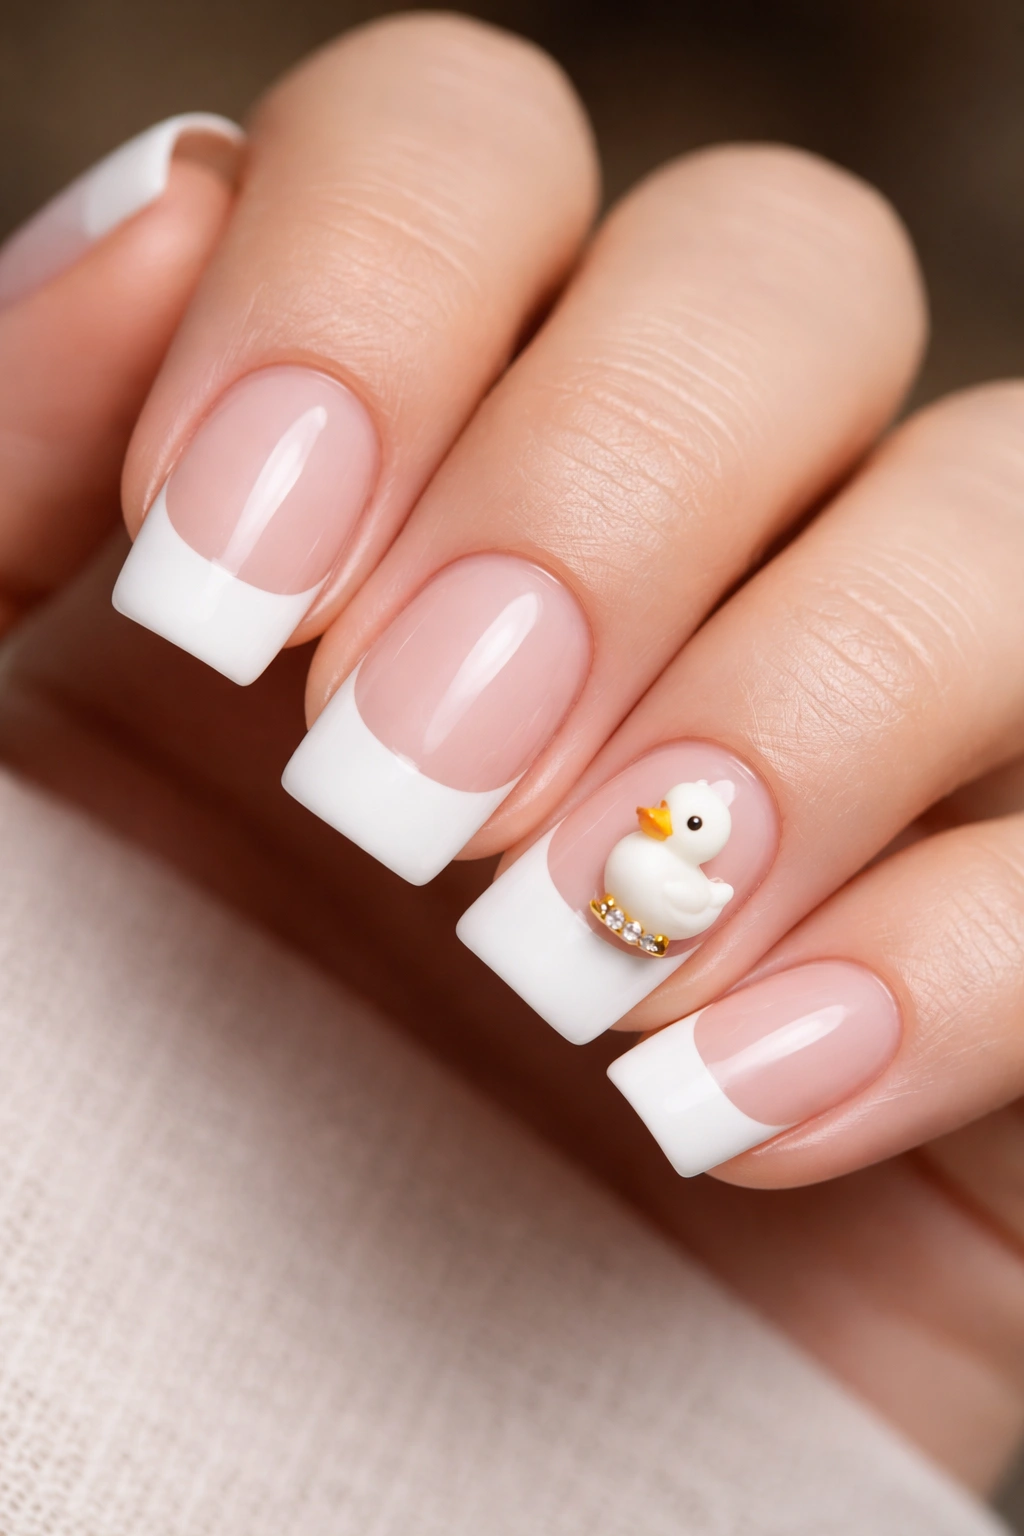
This take on the timeless white-tip look gives you the sophistication of a French manicure with the modern flair of duck nails. The white extends into the duck shape naturally, creating a clean, elongated appearance even on very short nails. Keep your base color neutral — think soft beige, pale pink, or even a barely-there nude — and let that crisp white do all the talking.
Why This Design Works for Short Nails
White tips create an optical illusion that extends the length of your nail beds. Because the duck shape is already a forward extension, adding white to that area maximizes the lengthening effect. This design is also incredibly versatile — it transitions seamlessly from casual weekend wear to professional office settings. There’s a reason classic designs never go out of style: they just work, especially when paired with a modern shape like duck nails.
Application Tips
- Apply two thin coats of white polish rather than one thick coat to avoid chipping and to keep the edge neat
- Use a fine-tipped brush or a thin nail art liner to define the white duck shape with precision
- A top coat is non-negotiable — white tips chip faster than other designs, so seal everything well
- Keep the white slightly translucent by diluting your white polish slightly if your base color shows through too much
Worth knowing: If pure white feels too stark for your skin tone, cream white or off-white provides the same elongating benefit without the high contrast.
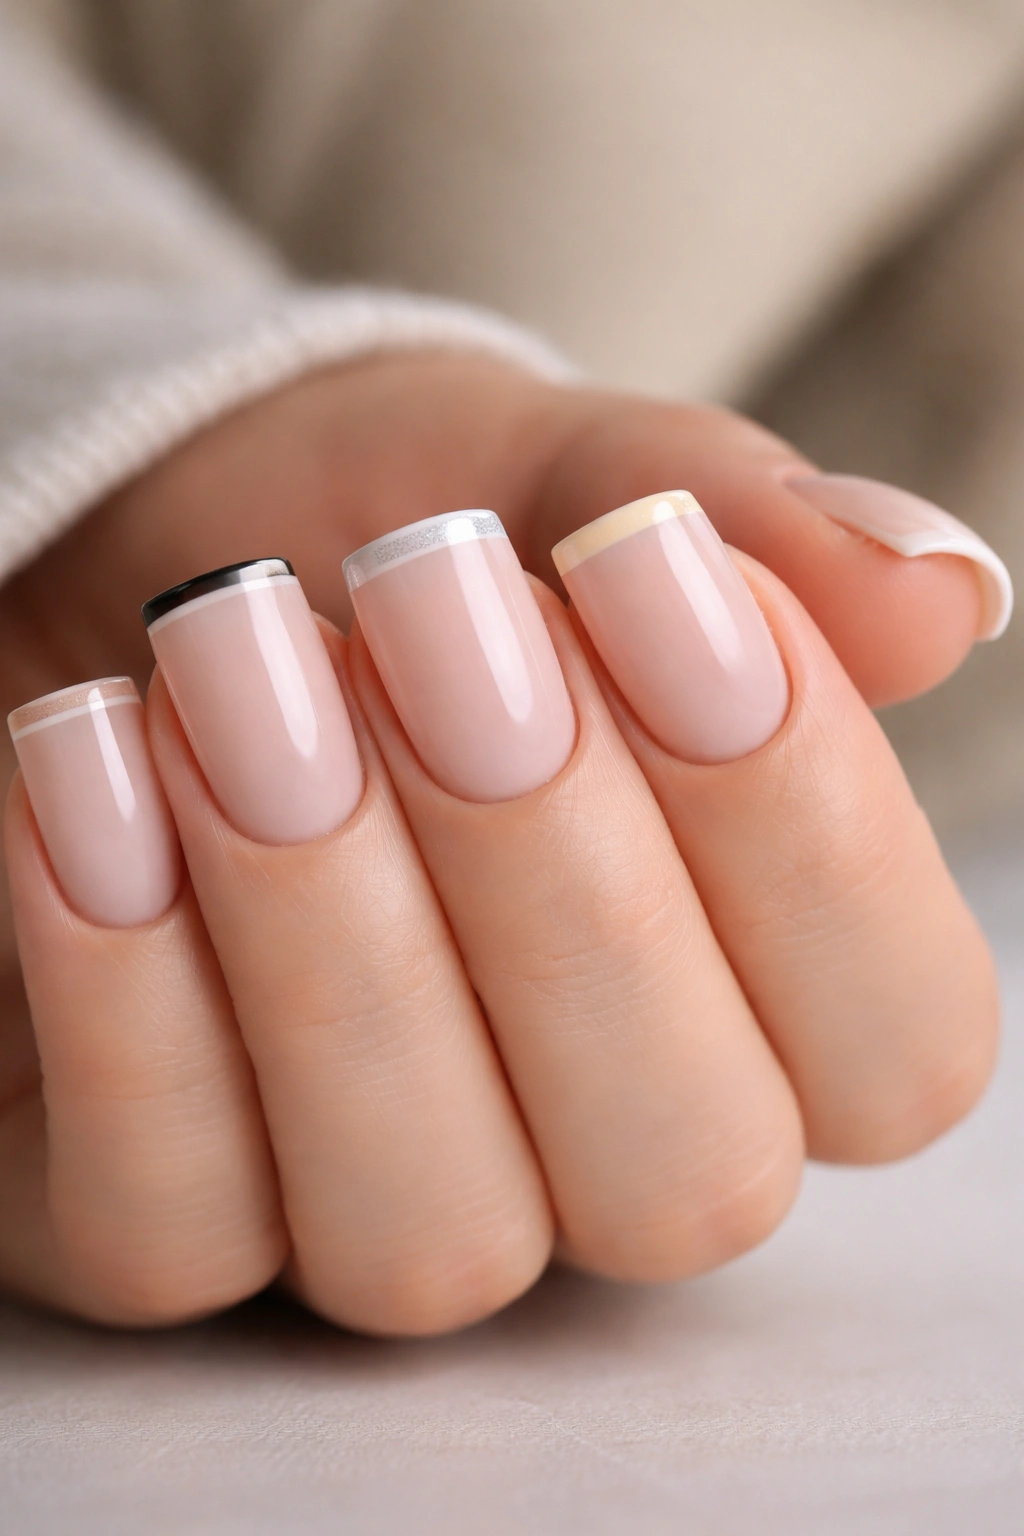
3. Nude Base with Colored Duck Details
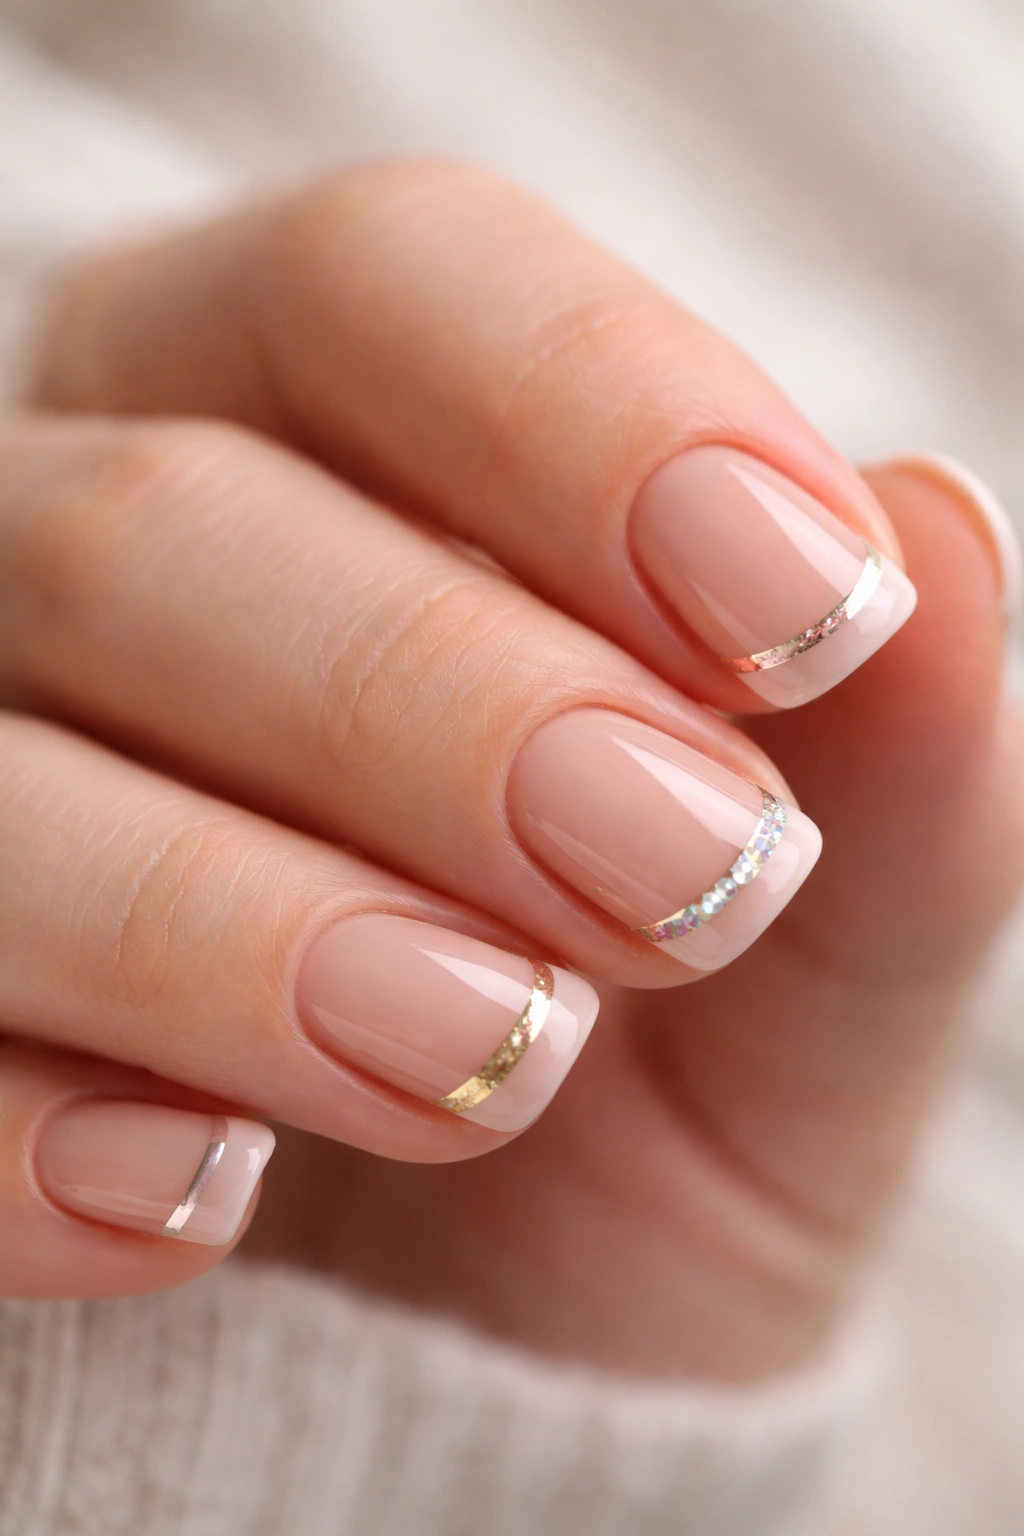
Here’s where minimalism gets creative. Use a neutral nude that matches your skin tone as your entire base coat, then add a single pop of color directly onto the duck extension. This could be a tiny metallic stripe, a jewel tone dot, or even a fine glitter line — the point is that the color is confined to the very tip, letting the duck shape do the heavy lifting.
Why This Design Works for Short Nails
Monochromatic nails feel incredibly sophisticated, especially when you’re working with a short canvas. By confining color to the duck tip only, you’re drawing focus to the most eye-catching part of the design without making your nails look visually cramped. This approach also makes the design feel intentional rather than like you ran out of polish. The subtlety makes duck nails feel appropriate for conservative environments where full-color nail art might get a raised eyebrow.
Design Variations
- A thin gold or rose gold stripe along the outer edge of the duck
- A single small diamond or rhinestone centered on the duck tip
- A delicate brush stroke of metalllic or holographic polish
- A barely-there glitter in just the very center of the duck extension
- A contrasting matte line if your base is glossy, or vice versa
Quick fact: This design actually shows off your nail shape better than maximalist designs because it doesn’t distract from the duck silhouette itself.
4. Pastel Rainbow Duck Nails
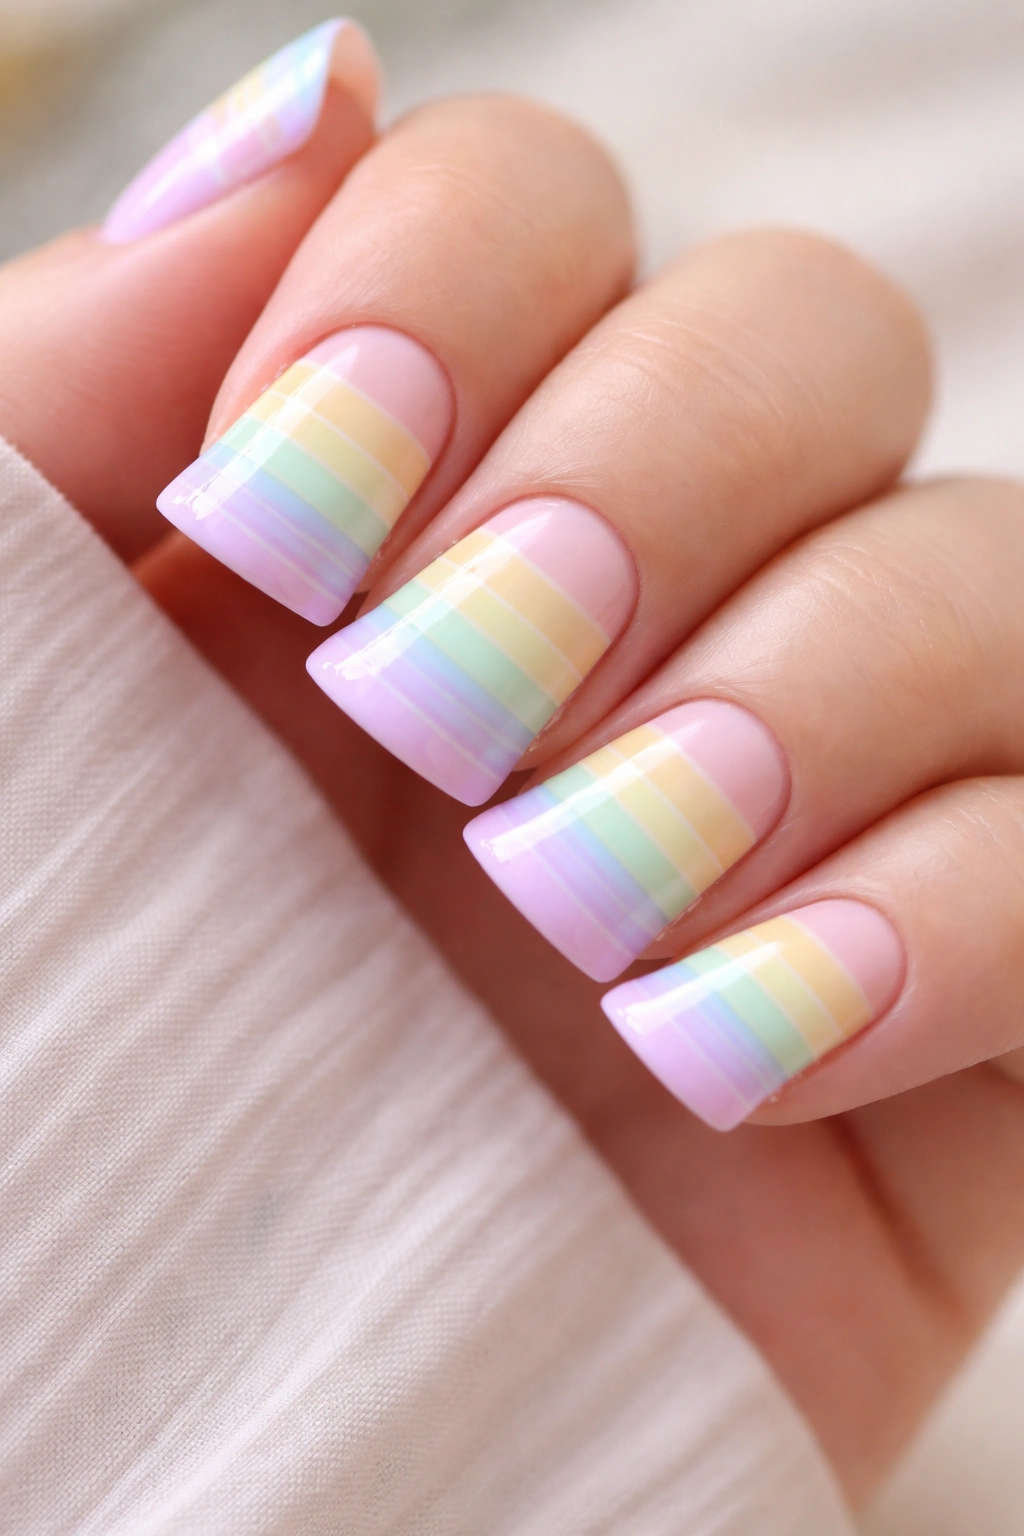
Soft pastels bring playfulness to duck nails without the intensity of neon or bright primaries. Instead of a traditional rainbow, choose five to six soft pastel shades and arrange them horizontally across the nail, with each color occupying a thin stripe. On short nails, these thin horizontal bands create subtle visual length without overwhelming the space.
Why This Design Works for Short Nails
Horizontal stripes are naturally elongating because they guide the eye across the nail rather than up and down. With pastels, the effect feels fun and youthful without being juvenile or over-the-top. The softness of the colors keeps the whole look harmonious even with multiple hues, and on short nails, multiple thin stripes read as one cohesive, elegant design rather than a scattered mess.
How to Execute It Cleanly
- Use thin nail art liners or striping brushes rather than full-size polish brushes — this gives you control and prevents the stripes from looking clunky
- Paint each stripe in one continuous motion from side to side for a clean line
- Let each color dry slightly before painting the next one to prevent colors from bleeding into each other
- Consider doing 4-5 stripes instead of 6 or 7 on very short nails to keep the design from feeling too busy
Pro tip: Matte pastels feel softer and more cohesive than glossy ones when you’re using multiple colors on a short space.
5. Glitter Accent Duck Nails
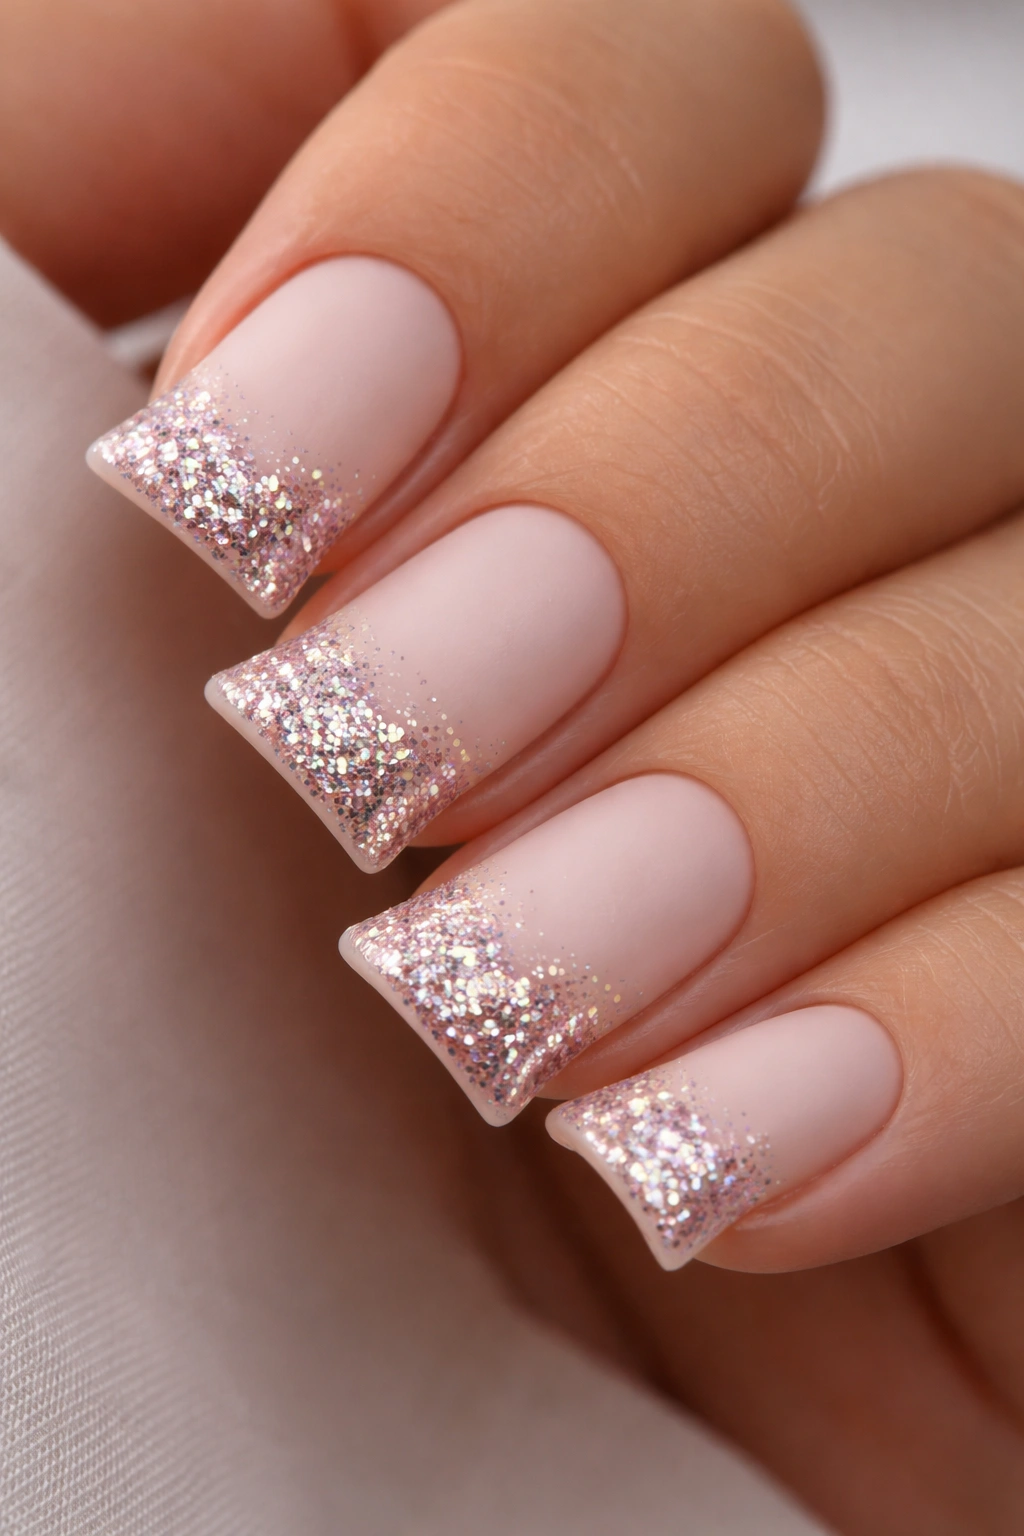
A glitter accent keeps your main design clean while adding just enough sparkle to feel celebratory. Apply a solid base color — anything from blush pink to sage green to soft grey — then use glitter as a strategic accent on the duck tip only. This might be a full glitter gradient fading from solid to sparkle, or concentrated glitter just in the very center of the duck.
Why This Design Works for Short Nails
Glitter on the entire nail can feel overwhelming on short nails because there’s less space to distribute the visual interest. By concentrating it on the duck extension, you’re adding glamour exactly where the eye already wants to look. The contrast between the solid base and the sparkly tip is what makes this design work — it feels intentional and curated rather than like you just wanted everything shiny.
Application Method
- Use a matte or satin base color so the glitter really pops in contrast
- Apply a layer of clear base coat or nail polish to your duck tip first so the glitter adheres well
- Use a thin brush to apply loose glitter one flake at a time, or use a glitter polish formulated to go on smoothly
- Seal with a thick, clear top coat to keep glitter from shedding and to create a smooth surface
- Consider using ultra-fine glitter or cosmetic-grade glitter rather than chunky craft glitter for a refined look
Worth knowing: Gel polish works beautifully with glitter designs because the top coat seals everything in a durable, glossy finish that won’t chip.
6. Minimalist Line Duck Nails
Sometimes the most striking designs are the simplest ones. A single thin line — either down the center of each nail or along the outer edge of the duck shape — creates geometric interest without any actual complexity. Use a contrasting color to your base: a dark line on a light base, or a metallic line on any solid color.
Why This Design Works for Short Nails
Lines are graphic and modern, and they emphasize your nail shape rather than obscuring it. On short nails, a single element feels sophisticated and intentional. This design is also beginner-friendly because a line is forgiving — even if it wavers slightly, it reads as artistic rather than messy. The minimalism also means this design works in professional settings, formal events, and casual contexts without modification.
Execution Details
- Use a striping brush or thin nail art liner, not a regular polish brush
- Steady your hand by resting your pinky finger against another finger or a table edge while you draw
- One or two coats of color gives you more control than trying to get it in one swipe
- Practice on a nail wheel or a piece of paper first if you’re nervous about the line
Pro tip: A line that’s slightly off-center looks intentional and artistic; a line that’s supposed to be centered but isn’t can look like a mistake. If precision feels difficult, go intentionally off-center and own it.
7. Soft Peach Duck Nails with Dots
Peach is the shade that flatters nearly every skin tone, and when paired with playful polka dots on the duck tip, it becomes a design that’s both elegant and approachable. Use a soft, warm peach as your base, then add small white or cream dots across the duck extension using a dotting tool or the back of a bobby pin.
Why This Design Works for Short Nails
Peach has a warmth that makes nails feel longer and more refined. The polka dots add visual interest to the duck tip without requiring precision — dots can be slightly wonky and still look charming. The combination feels both playful and put-together, which is exactly what you want from a design you’ll wear regularly. This is also a design that photographs beautifully, so if you’re someone who likes nails that look good in pictures, this one delivers.
Dot Placement Tips
- Space your dots evenly but not rigidly — organic placement looks better on small nails than grid-perfect dots
- Use a dotting tool (available at any drugstore beauty section for a few dollars) or make your own with a bobby pin bent into a U shape
- Dip your tool into white or cream polish and gently dab onto the peach base
- Let each dot dry before moving to the next one to prevent smudging
- Three to five dots per nail is typically the sweet spot on shorter nails
Quick fact: White dots on a warm peach base create a retro aesthetic that feels both timeless and modern at the same time.
8. Matte and Glossy Combo Duck Nails
Texture contrast is underrated. Use the same color on your entire nail but apply matte top coat to the main part of your nail and glossy top coat to just the duck extension. The matte base with a shiny duck tip creates depth and visual interest without requiring a second color.
Why This Design Works for Short Nails
Texture creates visual separation that makes nails look more intentionally designed. The contrast between matte and glossy draws attention to the duck shape without adding complexity. This design works with any color — soft nudes, dusty pastels, deep jewel tones — because the texture is doing the visual work. It’s also incredibly quick to execute once your base color is dry.
How to Create the Effect
- Paint your entire nail with your chosen color and let it dry completely
- Apply a matte top coat to the entire nail, let it dry, then apply matte top coat again for extra opacity
- Use a thin brush or striping tool to apply glossy top coat only to the duck extension
- Alternatively, apply glossy coat to the whole nail, then paint matte coat to everything except the duck tip
- Make sure your top coats are completely dry before handling your nails to avoid smudging the texture
Pro tip: This design also works beautifully in reverse — glossy base with matte duck tip — so experiment and see which direction feels more “you.”
9. Coral Ombre Duck Nails
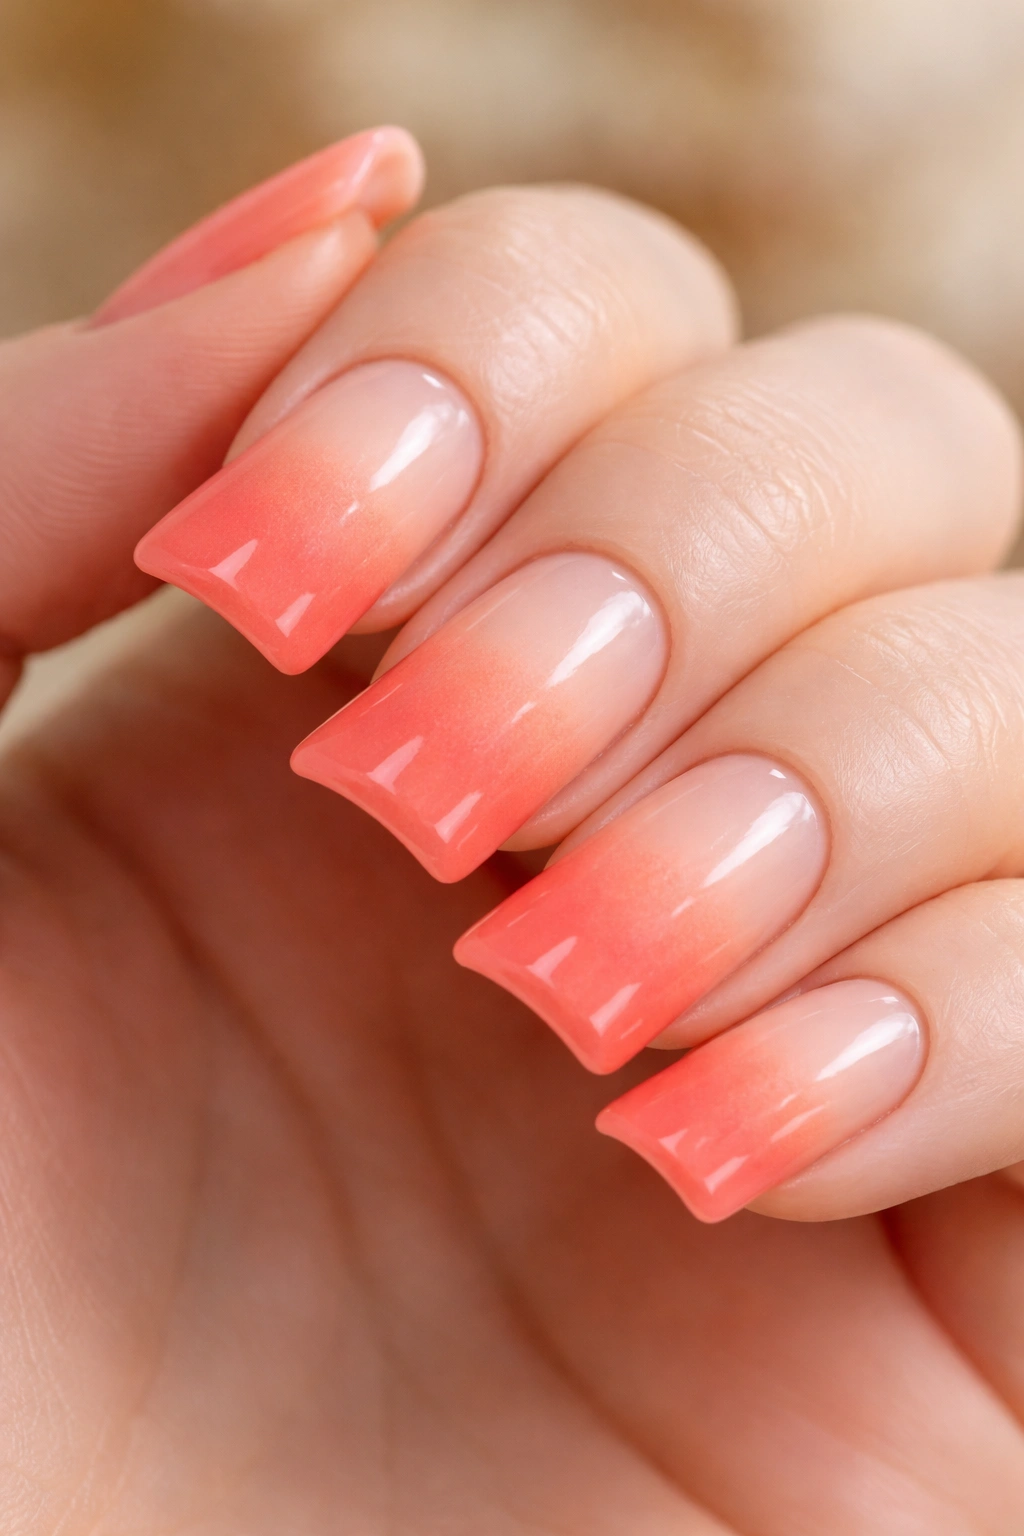
Coral sits in that perfect middle ground between warm pink and bold orange, and it works on nearly every skin tone. Create an ombre by starting with a pale peachy tone at your cuticle and gradually deepening toward a rich coral at the duck tip. The color transition feels modern and intentional, and the warmth of coral makes short nails look healthier and longer.
Why This Design Works for Short Nails
Ombre designs have been around long enough that they’ve become classic rather than trendy, which means they feel fresh but not dated. On short nails, ombre creates the illusion of length because your eye follows the gradient from light to dark, which naturally extends visually. Coral is also flattering in ways that most other colors aren’t — it has an inherent warmth that photographs well and coordinates with tons of clothing and accessories.
Blending Technique
- Choose three shades: a pale peachy base, a medium coral, and a deeper coral or coral-red shade
- Apply the palest shade to your entire nail as a base coat
- Use a makeup sponge or blending brush to apply the medium shade to the middle portion, feathering the edges slightly
- Apply the darkest shade to the duck extension, again feathering the edge so you have a smooth gradient
- Seal with a glossy top coat to blend any harsh lines slightly and create cohesion
Worth knowing: If your gradient isn’t perfectly smooth, don’t worry — on short nails, slight imperfections in an ombre actually read as artistic rather than sloppy.
10. French Style Duck Nails with a Twist
This design takes the elegance of a French manicure and updates it for the duck nail era. Instead of white at the tip, use a pale gold, blush pink, or soft nude that’s one or two shades deeper than your base. This creates the French effect — that clean, elongating contrast — but in a softer, less traditional way that feels modern and interesting.
Why This Design Works for Short Nails
The French manicure silhouette is one of the most universally flattering designs ever created because it creates length and sophistication. By using a softer color contrast than traditional white tips, you’re keeping that benefit while adding a personal twist that feels current. This design works for every life context — it looks professional, elegant, approachable, and polished all at once.
Customization Ideas
- Nude or beige base with a slightly deeper warm taupe or caramel duck tip
- Very pale pink base with a soft rose or mauve duck tip
- Ivory base with a champagne or pale gold duck tip
- Soft grey base with a warmer greige duck tip
- Light peach base with a deeper peach or coral duck extension
Pro tip: The less contrast between your base and your tip color, the more modern and understated the design feels — try going with colors that are in the same family but different depths.
Final Thoughts
Short duck nails are genuinely underrated, and these ten designs prove that you don’t need length to make a statement. The designs that work best on shorter nails are the ones that lean into simplicity, use soft color palettes, and let the duck shape itself do most of the visual work. You don’t need advanced technique or professional equipment to pull off any of these looks — just steady hands, quality polish, and the confidence that your short nails are the perfect canvas.
The beautiful thing about short duck nails is that they’re actually more achievable than longer ones if you’re painting them yourself. They dry faster, they’re less likely to break, and honestly, they photograph just as beautifully. Try one of these designs this week, and you’ll probably find yourself wondering why you ever thought longer nails were the only way to wear duck nails. Your shorter nails are about to become your favorite accessory.
