

You’ve probably stood in front of a mirror, examining your nails and wishing they looked as elongated and graceful as the ones you see in magazines. The truth is, wider fingers aren’t a limitation—they’re an opportunity to choose nail shapes that actually complement your hand’s natural proportions instead of fighting against them. Selecting the right nail shape can instantly make your hands look more refined, balanced, and intentionally styled rather than an afterthought.
The shape of your nails matters far more than most people realize. A shape that works beautifully on long, slender fingers can actually emphasize width if you choose poorly, but the right shape does the opposite—it creates visual lines that elongate and narrow your fingers while drawing attention upward. The key is understanding which shapes create that lengthening illusion and which ones inadvertently emphasize the width you’re trying to minimize.
What makes a nail shape flattering for wider fingers comes down to proportion and visual psychology. Shapes that feature diagonal lines, subtle points, or gentle curves tend to create the appearance of length and refinement. The worst approach is choosing a shape that’s too blunt or too rounded at the tip—these can amplify the appearance of width rather than counteracting it. The shapes in this guide have been selected specifically because they work with wider finger proportions, not against them, creating hands that look elegant, intentional, and polished.
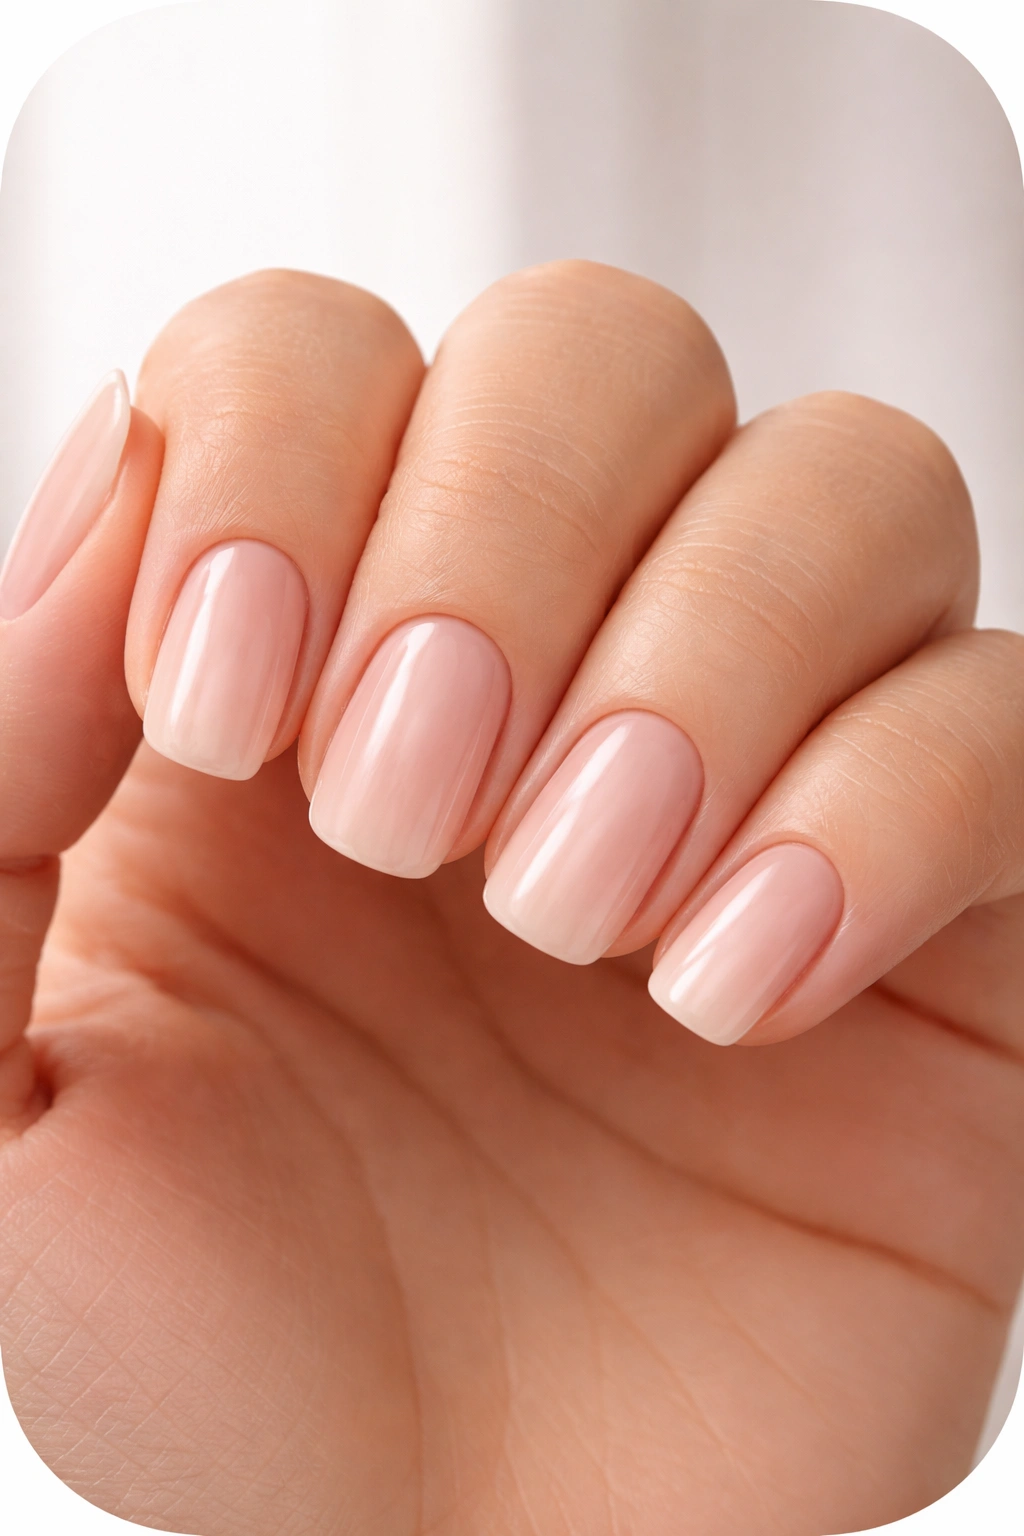
1. Soft Oval
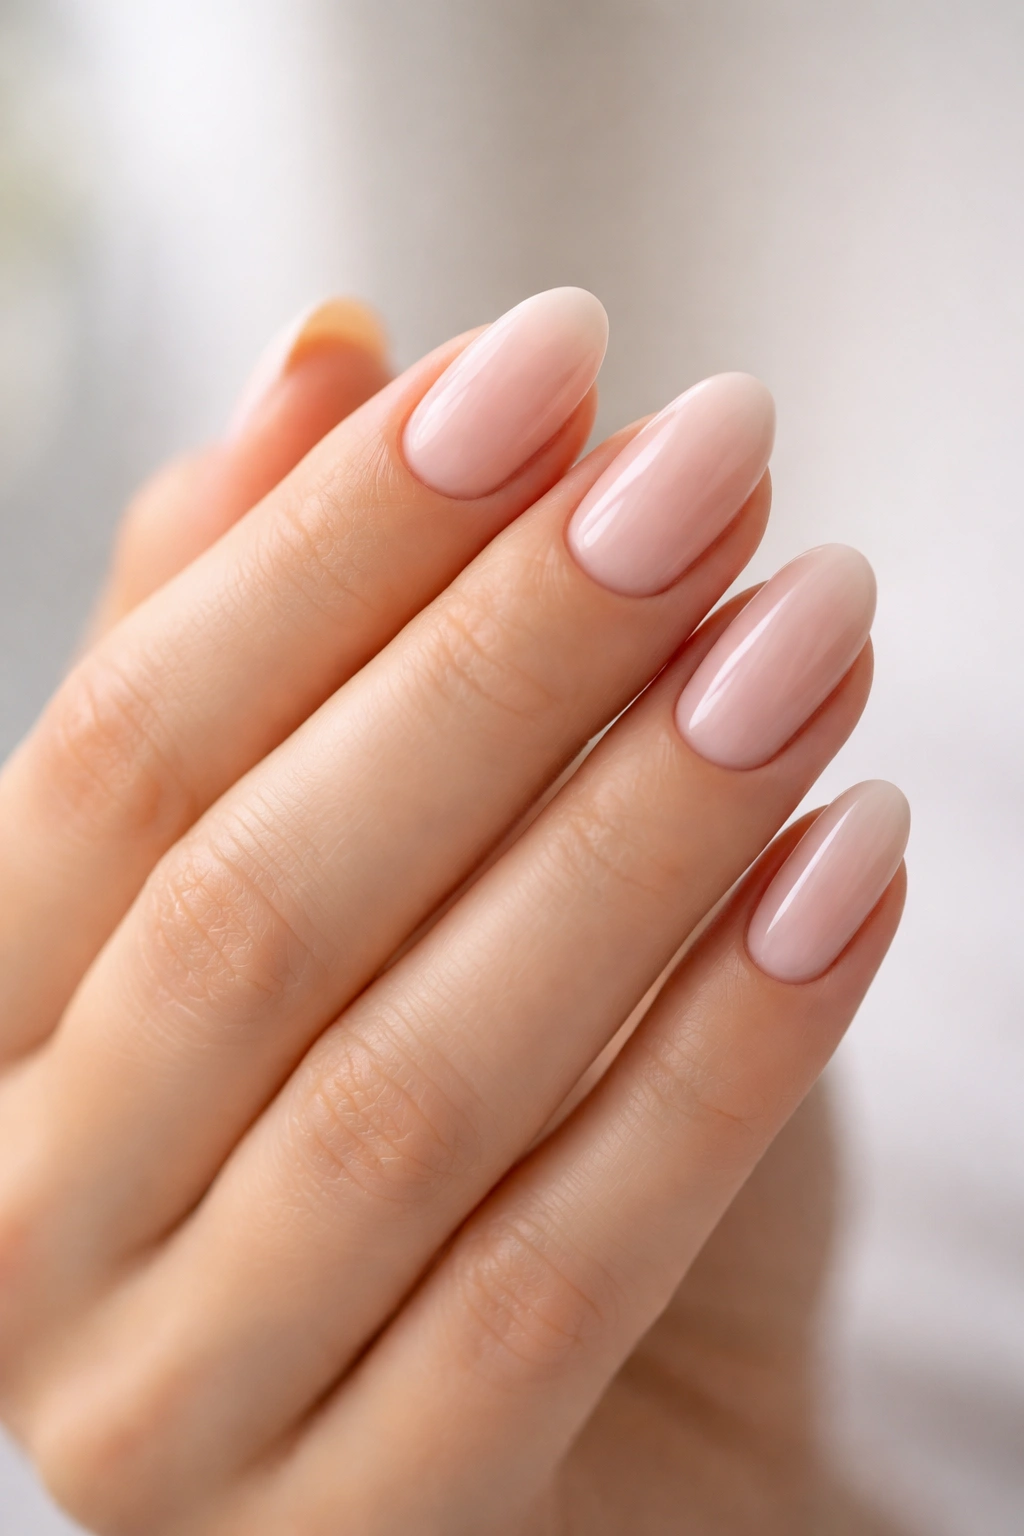
Soft oval nails are one of the most forgiving and universally flattering shapes for wider fingers, which is why you’ll see them recommended so often in professional settings. This shape features gently rounded sides that taper smoothly to an oval point—not pointy in an aggressive way, but softly tapered so the tip is noticeably narrower than the base. The magic of soft oval lies in its ability to elongate without requiring extreme length.
Why It Works for Wider Fingers
The soft oval creates an unbroken vertical line from cuticle to tip, and that continuous line is what tricks the eye into perceiving length rather than width. Unlike square or rounded shapes that emphasize the horizontal expanse of your nail bed, the oval pulls the visual focus upward. The slight taper at the tip is key—it prevents the nail from looking stubby or wide, which would happen if the oval were too rounded at the very edge. You’ll notice the most flattering effect if you keep your nails at a medium length rather than extremely short or dramatically long.
How to Shape and Maintain It
- Use a nail file or buffer held at a 45-degree angle along the sides to create that gradual taper
- Keep the point slightly off-center if you have particularly wide nail beds—this creates an even more elongated appearance
- File from the outer edge toward the center, never sawing back and forth (that damages the nail)
- Maintain the shape by filing every 5-7 days to prevent the sides from becoming too rounded
- A soft oval looks equally polished at 1/4 inch or 2 inches—choose whatever length feels comfortable for your lifestyle
Pro tip: This is the easiest shape to maintain if you do your own nails at home, and it looks professional in literally any setting, from a corporate office to a casual weekend.
2. Almond
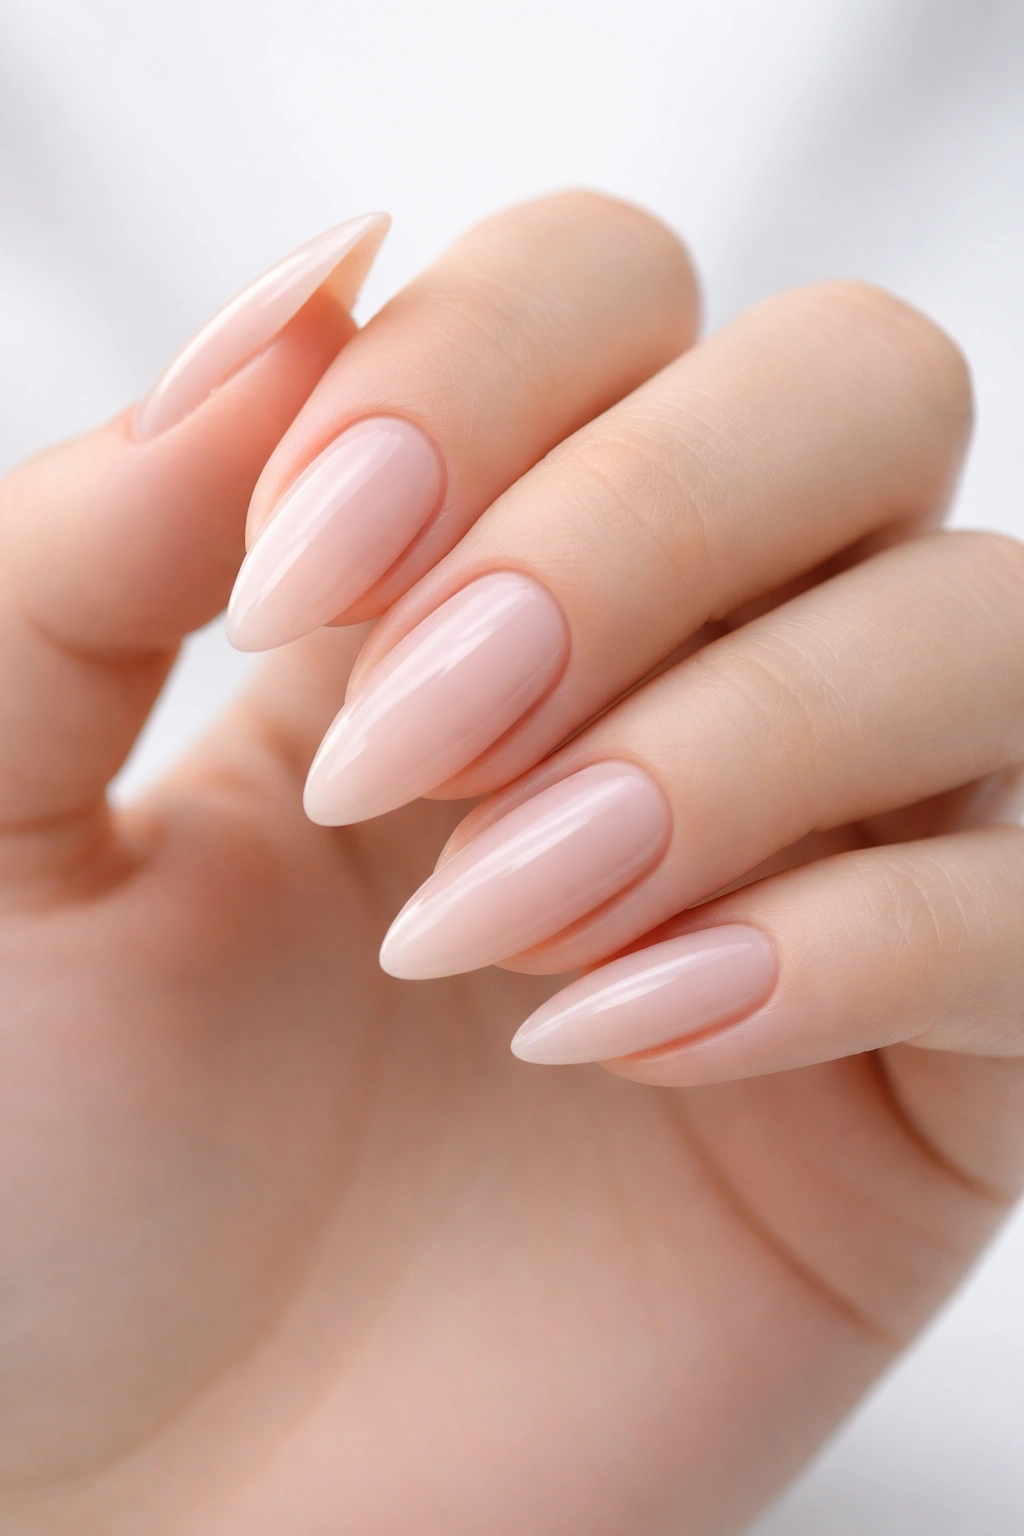
Almond nails are the elegant older sister of the oval—a little more refined, a touch more sophisticated. The shape features straighter sides that angle inward more dramatically than an oval, meeting at a softer, more pointed tip. This creates a distinctly elongated silhouette that sits somewhere between an oval and a pointed stiletto, but more wearable and refined than either extreme.
Why It Works for Wider Fingers
Almond shape is exceptional for wider fingers because the straighter sides create a visual frame that makes your fingers appear narrower. The sides don’t curve outward the way a traditional oval does; instead, they angle inward in a controlled way that pulls the eye vertically. The slightly pointed tip elongates the overall effect without demanding the extreme length that a stiletto would require. This shape pairs particularly well with wider nail beds because the geometry is strong enough to balance the horizontal space.
How to Shape and Maintain It
- Start by establishing a gentle point at the center of the tip—not sharp, but clearly defined
- Angle your nail file along the sides at approximately 30 degrees from the edge to create those converging lines
- The straight sections of the sides should take up about two-thirds of the nail length
- Keep the tip proportional to your nail width; if your nails are naturally wide, a slightly blunter point looks more intentional than a needle-thin one
- This shape requires filing every 4-5 days because the angled sides will quickly round if you’re not maintaining it
- Almond nails do require slightly more length than soft oval to look their best—aim for at least 1/2 inch beyond the fingertip
Worth knowing: Almond nails look particularly striking with darker polish colors or intricate nail art, since the shape itself is elegant enough to be the focal point.
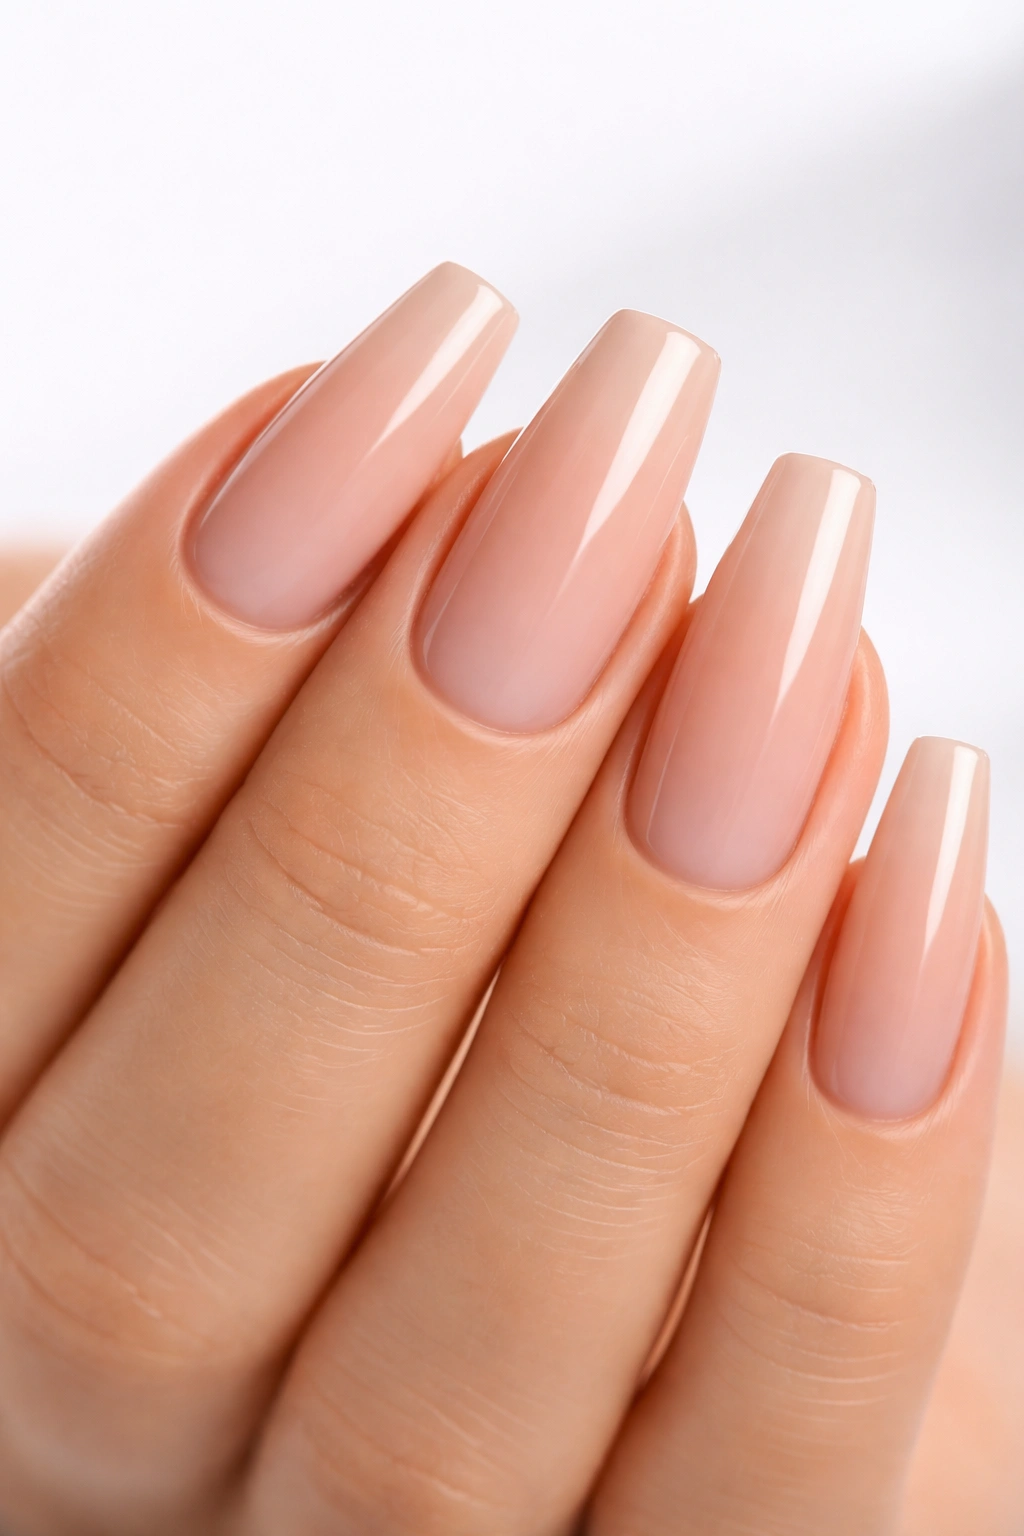
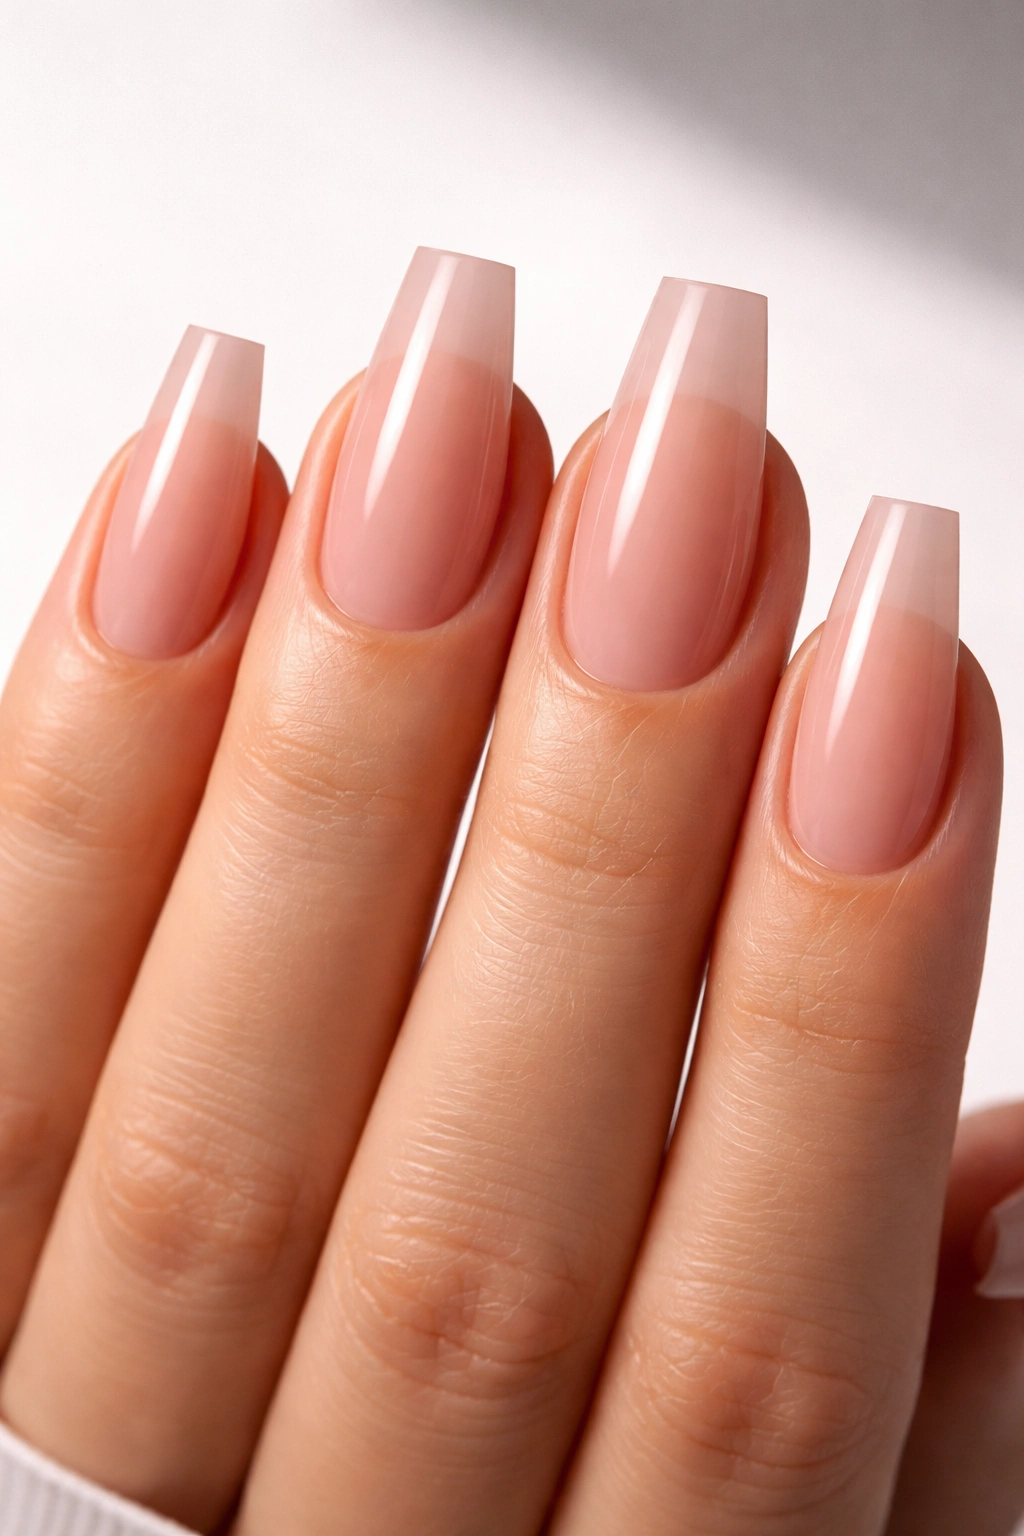
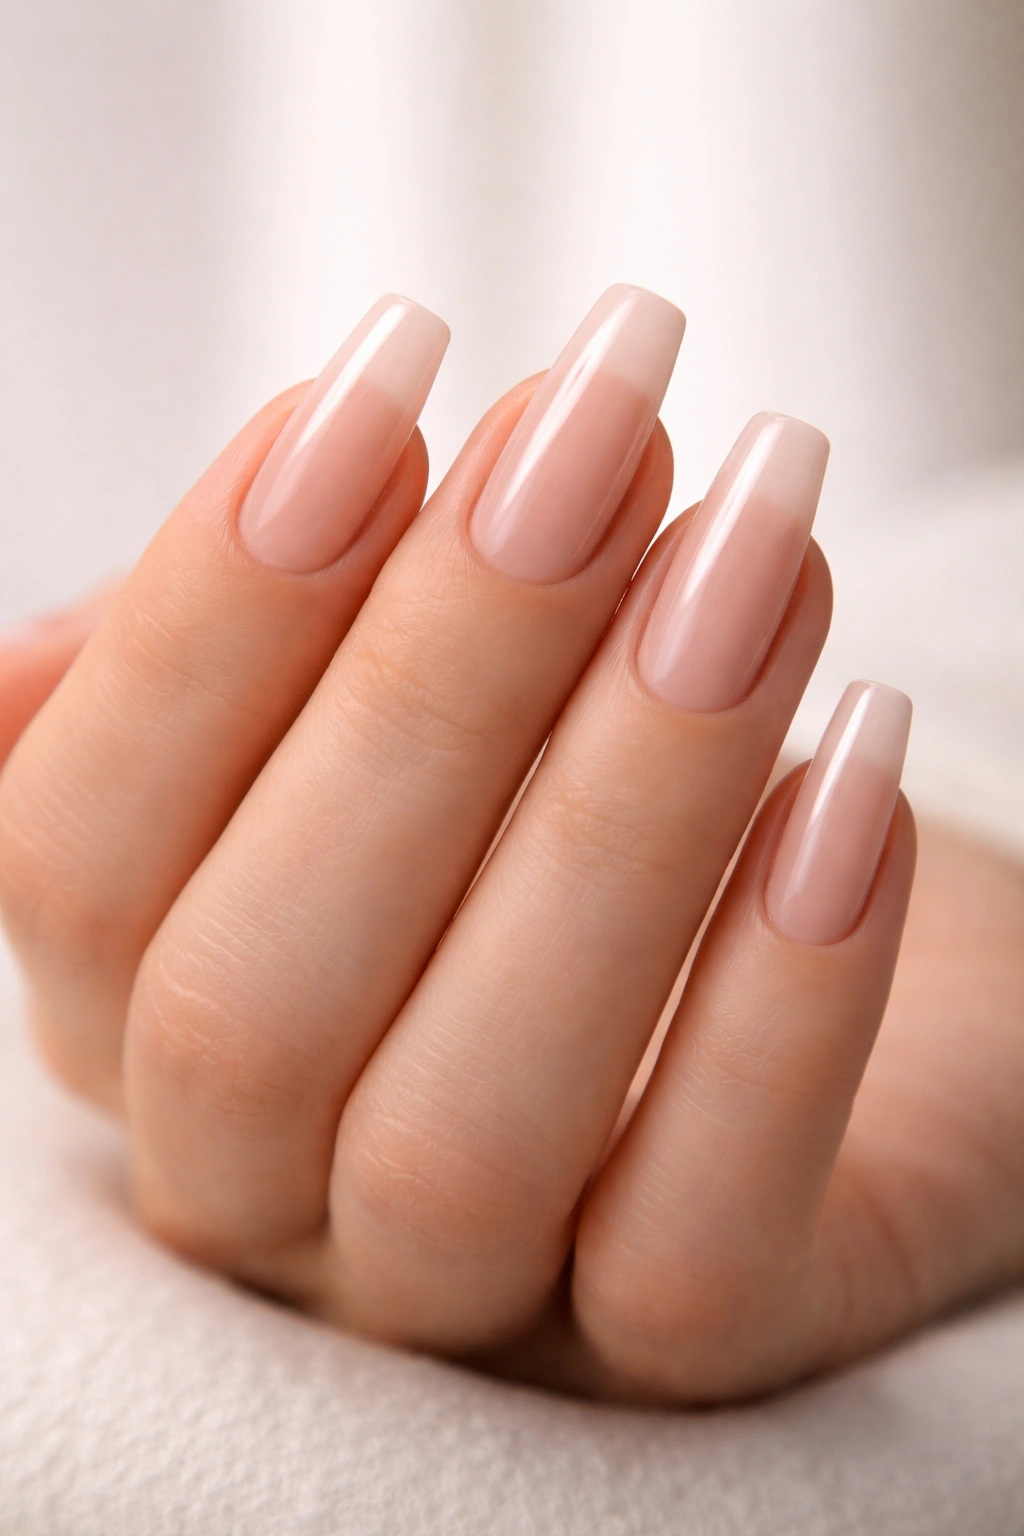
3. Coffin or Ballerina
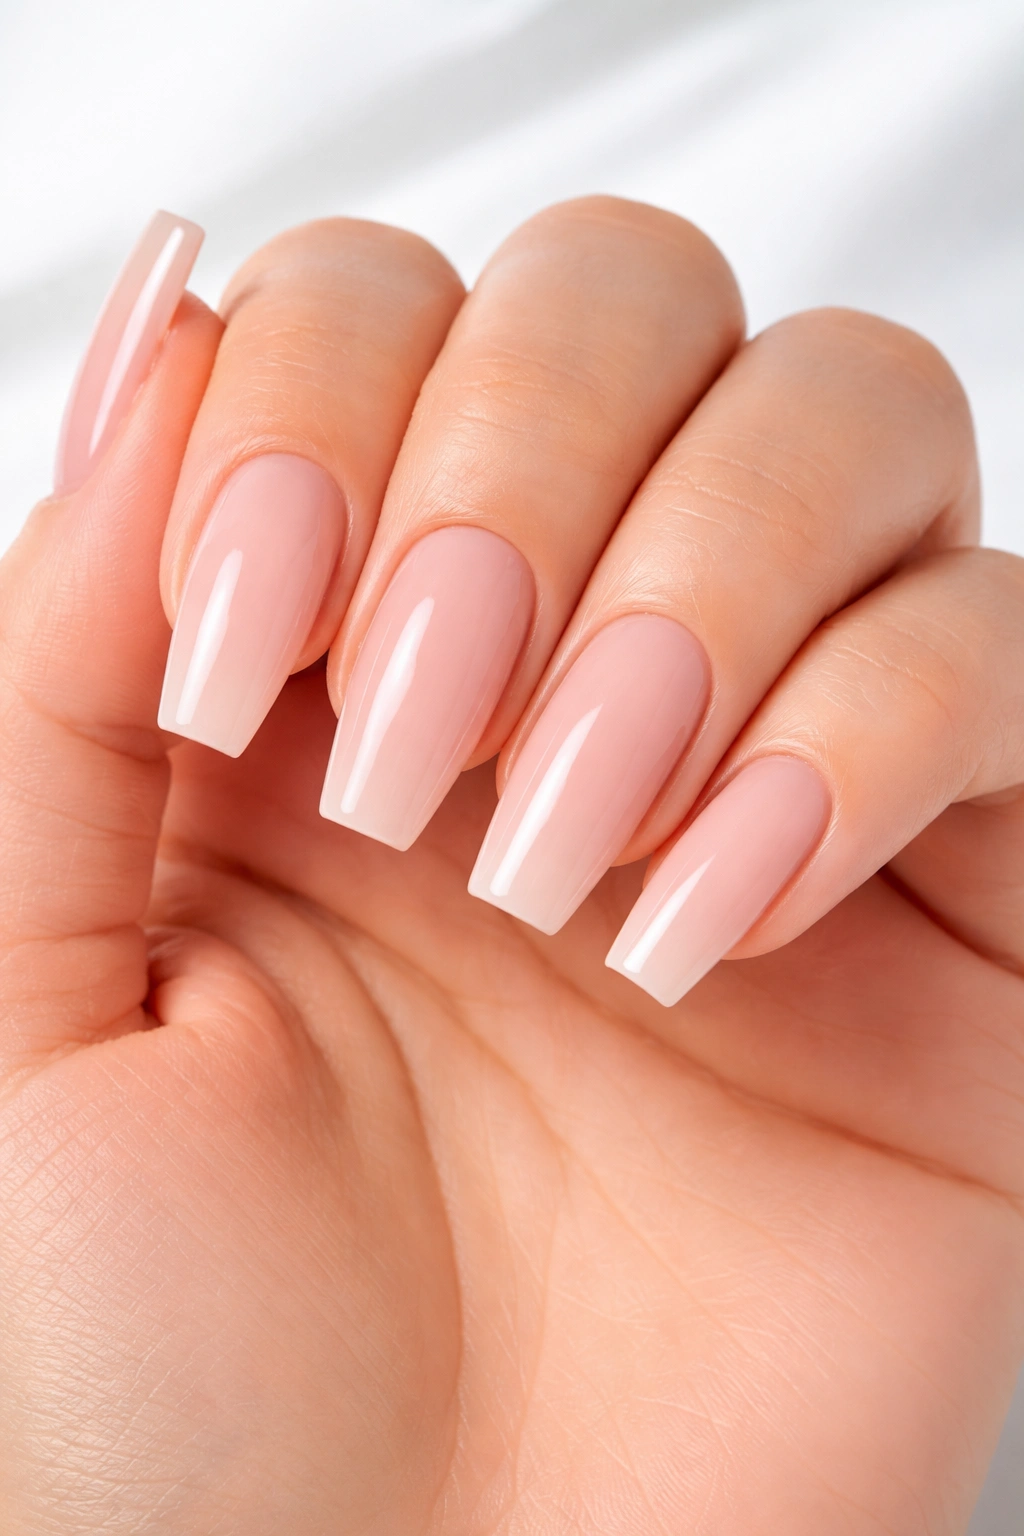
Coffin nails—also called ballerina nails—are having a major moment in nail design, and for good reason: this shape is genuinely flattering for wider fingers when done correctly. The coffin shape features straight sides that run parallel to each other for most of the nail’s length, then angle inward at the very tip to create a tapered, flat-topped finish. It’s a dramatic shape that makes a statement without being as extreme as a stiletto.
Why It Works for Wider Fingers
The genius of the coffin shape is that those parallel straight sides create a visual frame that actually makes your fingers appear narrower and more elongated. The squared-off flat top prevents the nail from looking pointy or dainty—instead, it reads as confident and intentional. This shape works particularly well for people with wide nail beds because the horizontal top edge is just wide enough to feel proportional. Unlike a true square, which emphasizes width, the coffin tapers inward just enough to create that lengthening effect you’re after.
How to Shape and Maintain It
- File the sides straight and parallel using a fine-grit file, keeping them equidistant from each other
- The angled cut that creates the tapered tip should happen in the final 1/4 inch of the nail—any farther back and you lose the coffin silhouette
- Keep both sides of the angle symmetrical; an asymmetrical taper looks accidental rather than intentional
- File the top edge flat and smooth with a buffer to prevent snagging
- Coffin nails require enough length to show off the shape properly—aim for at least 5/8 inch beyond the fingertip, though longer lengths look even more striking
- Maintain the shape every 3-4 days since the straight edges will round quickly with daily wear
Insider note: Coffin nails are easier to live with than you’d expect—they’re less prone to breaking than you’d think because the weight is distributed across a wider tip rather than concentrated on a tiny point.
4. Squoval
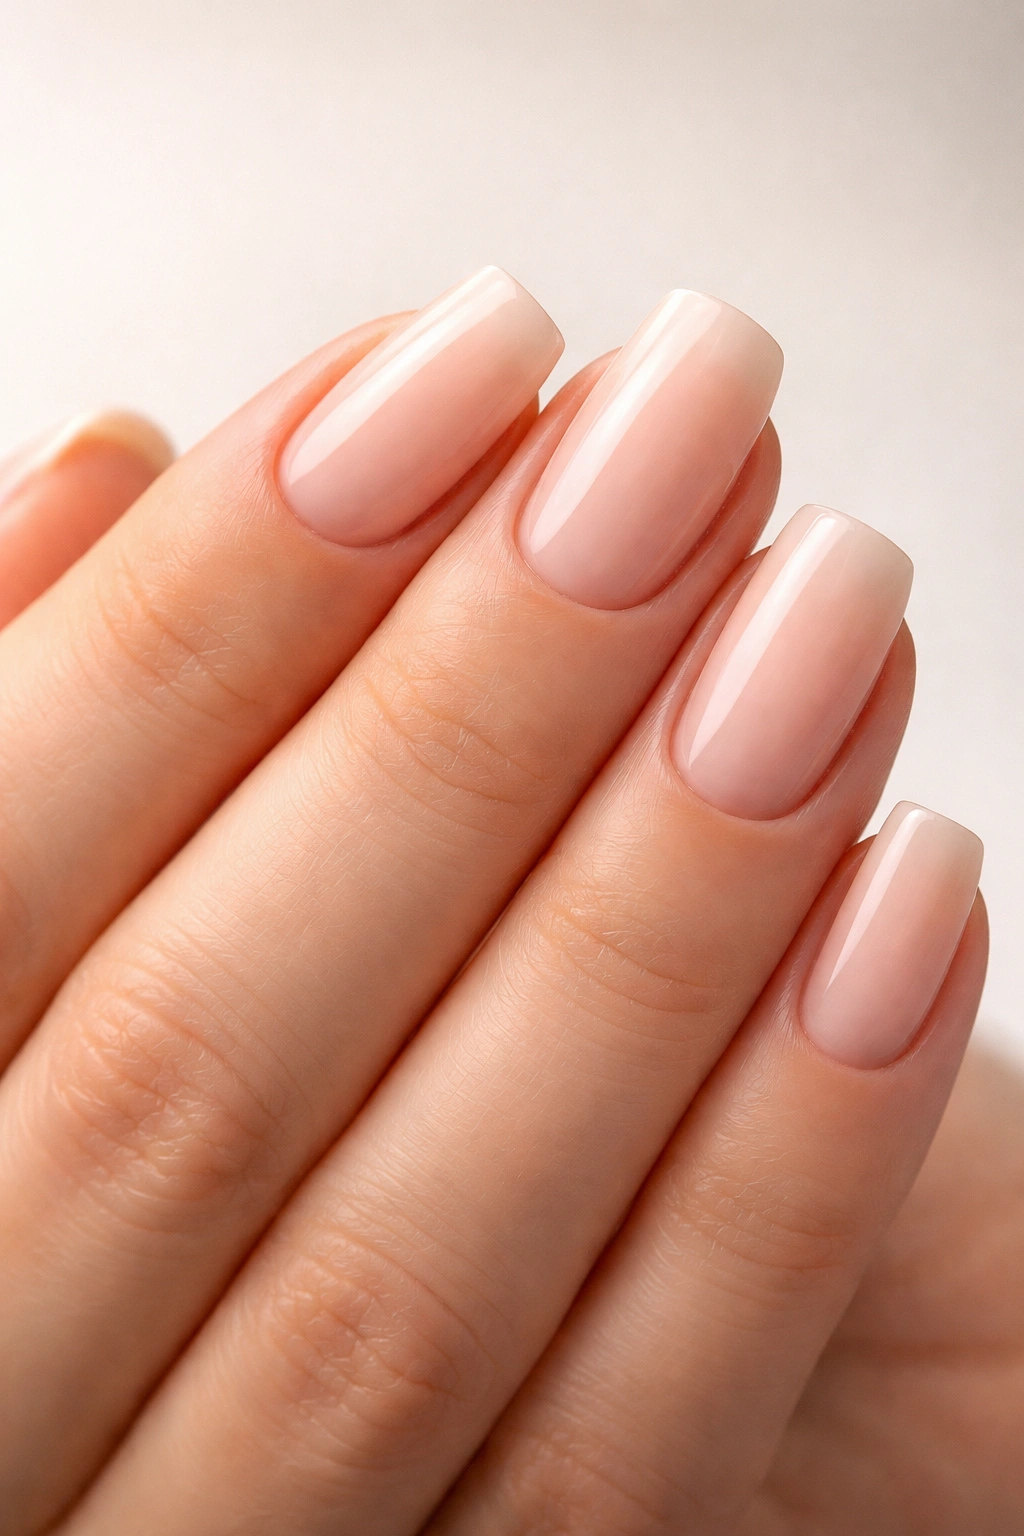
Squoval is the perfect compromise shape for anyone who wants the elongating benefits of an oval but the modern punch of a square. This shape combines straight sides (like a square) with slightly rounded corners and a gently rounded tip (like an oval). The result is a shape that feels contemporary and flattering without being as dramatic as either extreme.
Why It Works for Wider Fingers
The squoval is tremendously forgiving for wider fingers because it’s fundamentally balanced. The straight sides are long enough to create that lengthening effect, but the rounded corners and tip prevent the shape from looking boxy or emphasizing width. This shape creates visual interest through subtle geometry rather than extreme angles, which makes it feel sophisticated rather than trying too hard. It’s one of the most versatile shapes because it works equally well at short or long lengths, in any setting, and with any style of polish or nail art.
How to Shape and Maintain It
- Start by filing the sides relatively straight, keeping them parallel or angling inward only slightly
- Round the corners gently using a curved motion with your file—not sharp right angles, but not fully rounded either
- The tip should be rounded but still slightly flatter than a true oval, creating a subtle geometric interest
- Keep the sides fairly straight for the elongating effect; resist the urge to round them too much or you’ll lose the “square” part of squoval
- This shape is low-maintenance—file every 5-7 days when you notice the edges rounding
- Squoval looks balanced at almost any length, from very short (1/8 inch) to dramatically long (1 inch), making it perfect if your lifestyle doesn’t allow for extreme nails
Pro tip: Squoval is the best all-purpose shape if you can’t decide, work in a conservative environment, or want a shape that works with any aesthetic from minimalist to maximalist.
5. Rounded Square
Rounded square nails are distinct from squoval in that they maintain more of the square’s geometric strength while softening the corners. Imagine a true square shape with the sharp corners gently rounded—not rounded enough to become an oval, but rounded enough to prevent any sharpness. This creates a modern, geometric look that’s surprisingly flattering for wider fingers.
Why It Works for Wider Fingers
The straight sides of a rounded square create strong vertical lines that elongate your fingers visually, while the rounded corners prevent the shape from looking boxy or too blunt. The key difference from a true square is that those rounded corners actually create an optical illusion of length because the eye follows the curved edge rather than stopping at a harsh corner. This shape is particularly effective if you have naturally wide nails but a moderate finger width—the geometry feels proportional and intentional rather than like you’re trying to hide something.
How to Shape and Maintain It
- File the sides nearly straight, keeping them parallel from the cuticle to about 1/4 inch from the tip
- Use a curved motion to round the corners gently, creating a quarter-circle arc at each corner
- Avoid rounding the corners too much or you’ll drift into oval territory
- The top edge should be nearly flat with just the slightest curvature across the nail
- Keep the sides as straight as possible—this is what creates the elongating effect
- Maintain every 4-5 days as the corners will naturally round with daily activity
- This shape looks best at medium length (1/4 to 3/4 inch)—very short lengths can start to look boxy, and very long lengths might emphasize width
Worth knowing: Rounded square is the ideal shape if you work with your hands regularly but still want nails that look polished and intentional rather than purely practical.
6. Tapered Rectangle
Tapered rectangle nails take the rectangular shape and angle the sides inward slightly as they approach the tip, creating a subtle tapered effect. Unlike an almond with its obvious point, a tapered rectangle maintains a flatter top while still creating those converging side lines. This is a sophisticated, modern shape that reads as intentional and refined.
Why It Works for Wider Fingers
The tapered rectangle is exceptional for wider fingers because the inward-angling sides create a strong visual frame that makes fingers appear narrower and longer. The sides draw the eye upward rather than across, which is exactly the optical effect you want. Unlike a true rectangle that might emphasize width, the taper counteracts that by creating diagonal lines. The shape requires a bit of length to show the taper effectively, but it’s a geometric approach to elongation that feels elegant rather than extreme.
How to Shape and Maintain It
- Create a rectangular base by filing straight sides and a fairly flat top edge
- Angle the file so the sides converge toward the center as you move from the base to the tip (approximately 15-20 degree angle)
- The convergence should be subtle—you’re not creating a point, just a narrowing
- Keep both sides symmetrical and parallel to create a balanced look
- File the top edge flat or with the slightest curve across the center
- Maintain the shape every 4-5 days because those angled sides will round with activity
- Tapered rectangles need at least 1/2 inch of length beyond the fingertip to showcase the shape effectively
Pro tip: This shape pairs beautifully with ombré or gradient nail art because the tapered lines direct the eye along the length of the nail, emphasizing the elongation.
7. Soft Square

Soft square nails are exactly what they sound like: a square shape with fully rounded corners. This is the most geometric and modern-looking shape among the options here, yet it’s surprisingly flattering for wider fingers when the proportions are right. The shape features a wide, flat top edge with curved sides that arc gently to meet the fingertip.
Why It Works for Wider Fingers
The soft square works for wider fingers because the flat top edge doesn’t need to be narrower than your nail bed—in fact, it can align perfectly with your natural nail width, which feels proportional and intentional. The curved sides don’t emphasize width the way a true square might; instead, they create a gentle visual flow that feels modern and refined. The key to making this shape work is ensuring that the width-to-length proportion feels balanced. You need enough length that the nail doesn’t look stubby, or the squareness will emphasize width rather than counteracting it.
How to Shape and Maintain It
- File the sides in a gentle arc using a curved buffing motion, creating smooth, symmetrical curves on both sides
- Keep the top edge relatively flat—this is what defines the “square” part
- Avoid making the curves too dramatic; gentle arcs are more elongating than exaggerated curves
- Round any sharp corners where the top edge meets the sides into soft curves
- The nail should feel balanced between geometric (square top) and organic (curved sides)
- Maintain every 5-7 days, focusing on keeping the curves smooth and symmetrical
- Soft square looks best at medium length (1/4 to 1/2 inch)—longer and it risks looking more like a rounded rectangle, shorter and it can appear boxy
Worth knowing: Soft square is the most forgiving shape in terms of daily wear—there are no sharp edges, no points to catch on things, and the shape naturally resists chipping at the corners.
8. Elongated Oval
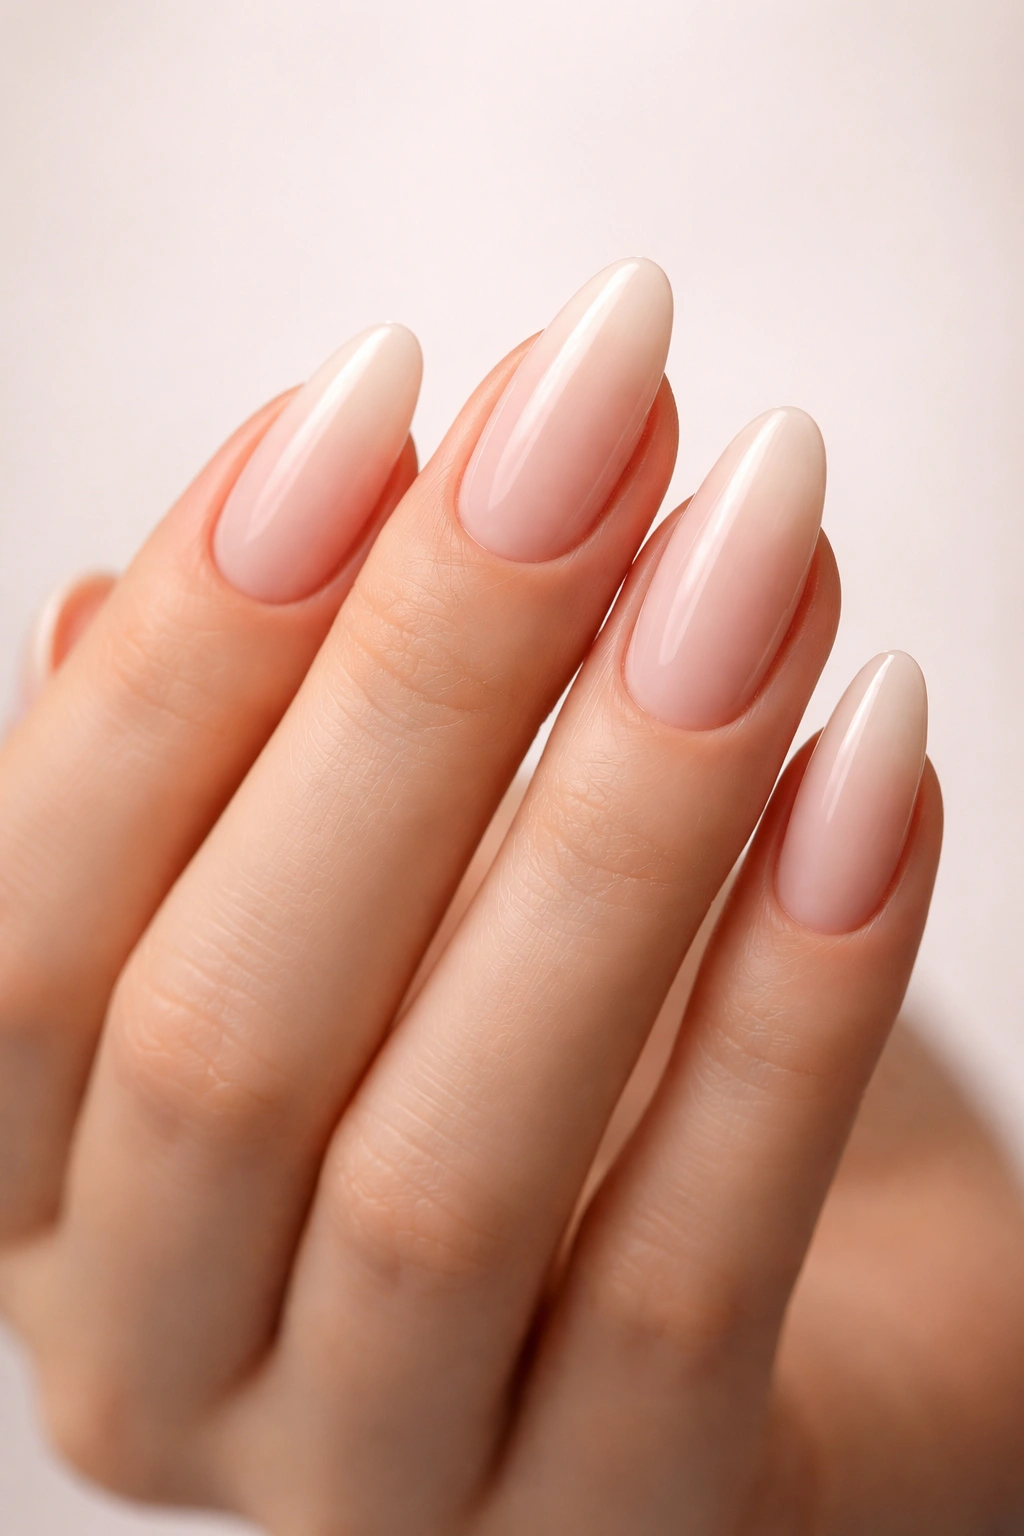
Elongated oval takes the soft oval shape and stretches it into a more dramatic, distinctly lengthened version. The sides taper more gradually than a standard oval, and the tip comes to a softer point. This creates an ultra-elongated appearance that’s elegant without being as pointy as an almond or as dramatic as a stiletto.
Why It Works for Wider Fingers
The elongated oval is perhaps the most effective shape for creating the illusion of length because the extended tapered sections draw the eye along the entire length of the nail. The gradual taper feels organic rather than angular, which means it works with your finger shape rather than against it. For wider fingers, this shape is particularly effective because the continuous vertical line created by the taper is a strong visual counterweight to the horizontal width. The shape requires more length than a standard oval, but the payoff is a genuinely elegant, refined appearance.
How to Shape and Maintain It
- File the sides with a slight inward angle, creating a taper that’s noticeable but gradual
- The straightest part of the sides should occupy the first half of the nail (from cuticle to midpoint)
- Begin the taper in the center of the nail, so the final quarter-inch comes to a soft point
- The overall length should be noticeably longer than it is wide—aim for at least 3/4 inch beyond the fingertip
- Use a buffer on the final edges to smooth any file marks and create a shine
- Maintain every 4-6 days, focusing on preserving the symmetrical taper on both sides
- This shape is absolutely stunning at dramatic lengths (1 to 1.5 inches) but also looks polished at medium length (5/8 inch)
Pro tip: Elongated oval is the shape to choose if you want maximum impact and elegance—it’s the most “statement” shape that still reads as refined rather than costume-like.
9. Geometric Trapezoid
Geometric trapezoid nails are the bold choice—straight sides that angle inward sharply to create a distinctly narrower tip. This is a modern, architectural shape that makes a strong visual statement. The top of the nail is noticeably wider than the tip, creating an intentional geometric silhouette.
Why It Works for Wider Fingers
The trapezoid shape is brilliant for wider fingers because the sharp inward angles create a powerful visual effect—they make your fingers appear noticeably narrower and longer. The straight sides offer no visual softness, which can feel modern and intentional rather than like you’re trying to hide width. The geometry is strong enough that it feels confident, and the proportion between the wide top and narrow tip creates balance. This shape requires some length to show the geometric effect properly, but the payoff is a genuinely striking appearance.
How to Shape and Maintain It
- File the sides with a pronounced inward angle, creating distinct diagonal lines
- Maintain parallel sides initially (from cuticle to about 1/3 down the nail), then angle inward sharply
- The angle should be consistent on both sides for a balanced, intentional look
- File the top edge flat or with a very subtle curve across the center
- Keep edges sharp and well-defined—this is what makes the geometry work
- Maintain every 3-4 days because the angled edges will wear quickly with daily activity
- This shape demands length to be flattering—aim for at least 3/4 inch beyond the fingertip; anything shorter will lose the geometric effect
Worth knowing: Geometric trapezoid is the most dramatic shape on this list, so it makes the strongest statement. It works best if you’re comfortable with nails that are clearly intentional and visible.
10. Curved Pedestal
Curved pedestal nails are the sophisticated, slightly unconventional choice on this list. This shape features straight sides that run parallel for most of the nail length, then the tip curves upward and inward slightly, almost like a pedestal. The curve is gentle and refined, creating a shape that’s both geometric and organic.
Why It Works for Wider Fingers
The curved pedestal works for wider fingers because it combines the elongating straight sides with a refined curved tip that prevents the shape from looking boxy. The inward curve of the pedestal creates the visual narrowing you want without requiring a sharp point. The shape is sophisticated because it’s not one of the super-common shapes—it reads as intentional and designed. The parallel straight sides are key to the elongating effect, while the pedestal curve adds refinement and prevents the overall appearance from being too harsh.
How to Shape and Maintain It
- File the sides relatively straight for most of the nail’s length, keeping them parallel
- Beginning about 1/3 of the way from the tip, create a gentle inward curve on both sides
- The final tip should curve upward slightly and then down to a soft rounded point
- The overall impression should be of a shape that looks “designed” rather than natural
- Keep the edges smooth and well-defined to show off the subtle geometry
- Maintain every 5-6 days, focusing on preserving the curved transition at the tip
- This shape looks elegant at medium to longer lengths (1/2 to 1 inch), though it requires enough length to show the pedestal curve effectively
Pro tip: The curved pedestal is the choice if you want your nails to look thoughtfully designed but not overly dramatic—it’s refined sophistication in nail form.
Final Thoughts

The right nail shape can genuinely transform how your hands look and feel, making wider fingers appear longer, narrower, and infinitely more polished. You’re not fighting against your hand’s natural proportions when you choose the right shape—you’re working with them strategically. Every shape on this list has been selected specifically because it creates vertical visual lines that counteract width and emphasize length, whether through subtle curves, geometric angles, or strategic tapering.
The most important decision you’ll make is picking a shape that feels right for your lifestyle and personal aesthetic. There’s no point in choosing dramatic coffin nails if you type for eight hours a day and need practical nails, just as there’s no reason to choose a very conservative soft oval if you love bold, statement-making details. Your nails are an extension of your personal style—they should make you feel confident and intentional every time you look at your hands.
Start by testing one shape for two to three weeks before deciding if it’s truly flattering for you. Nail proportions work differently on different hands, and what looks stunning on someone else might need slight adjustments to work perfectly for your specific finger width and length. Once you find your shape, you’ll likely stick with it because the confidence boost alone is worth it. Your hands deserve to look as refined and intentional as the rest of you.
