

French tip pedicures remain one of the most universally flattering nail designs, offering a clean, polished aesthetic that works for literally any occasion. Whether you’re heading to a formal event, planning a beach vacation, or simply want your everyday look to feel more intentional, French tips deliver that “just groomed” vibe that quietly communicates elegance and care. The beauty of this timeless style is that while the classic white-and-pink combination never fails, there’s actually far more room for creativity and personalization than most people realize.
The key to a truly clean French pedicure—one that looks fresh, refined, and carefully executed—isn’t just about the design itself, but about understanding the subtle variations that can elevate the look from basic to genuinely sophisticated. Some versions emphasize minimalism through ultra-thin lines, while others play with sheer bases and barely-there tips. Some prioritize a soft, blended quality, while others go bold with crisp white contrast. What ties them all together is intentionality: every clean French pedicure feels like someone took their time to think about the details.
The truth is, once you understand what makes a French pedicure feel clean versus cluttered, you’ll never struggle with toe design choices again. Clean doesn’t mean boring—it means purposeful. It means every element serves the overall aesthetic instead of competing for attention. In this guide, we’re exploring eight different French tip pedicure ideas that each deliver that coveted clean, chic appearance, with specific techniques and styling tips for each approach so you can choose the version that best matches your personal style and the impression you want to create.
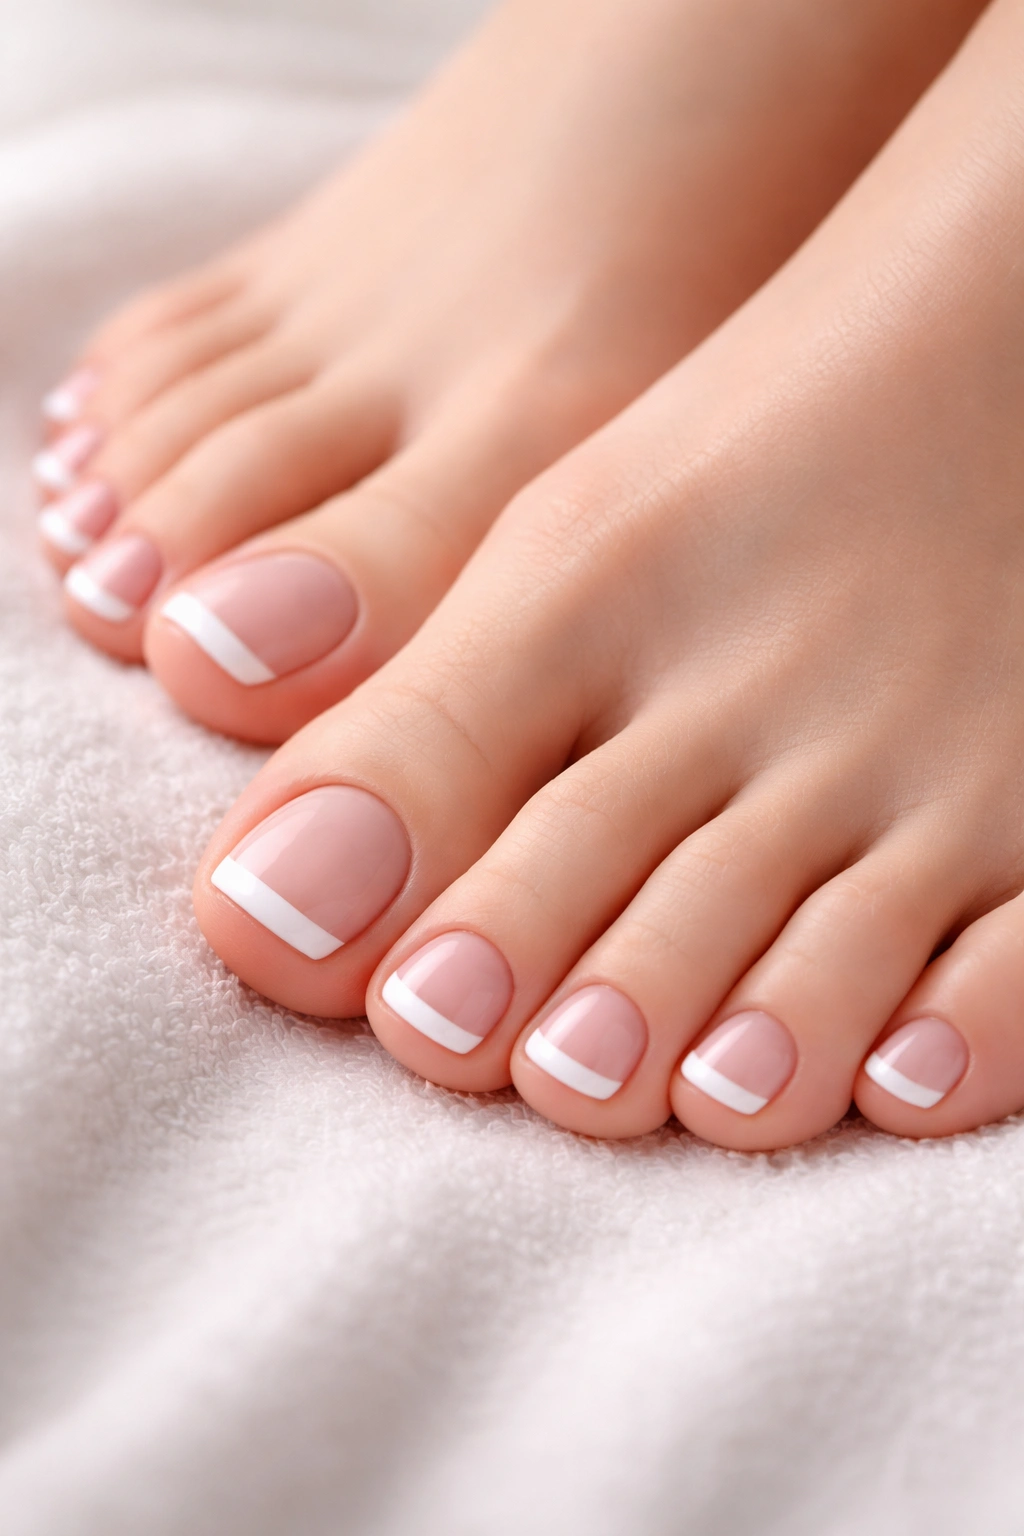
1. Classic White French Tips
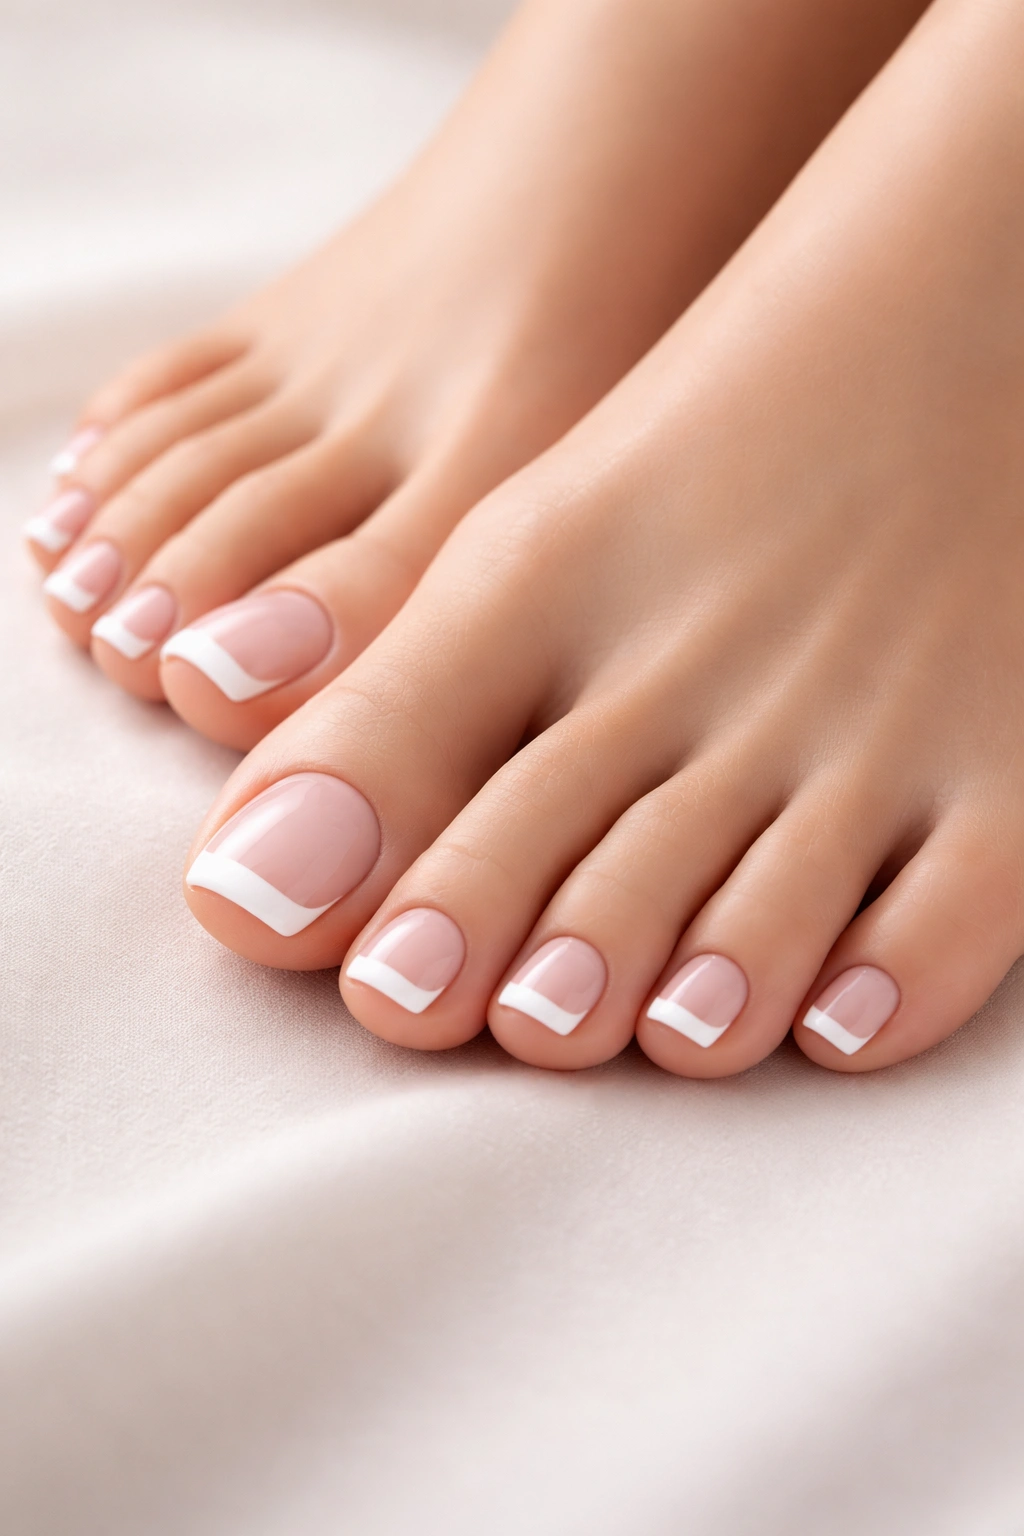
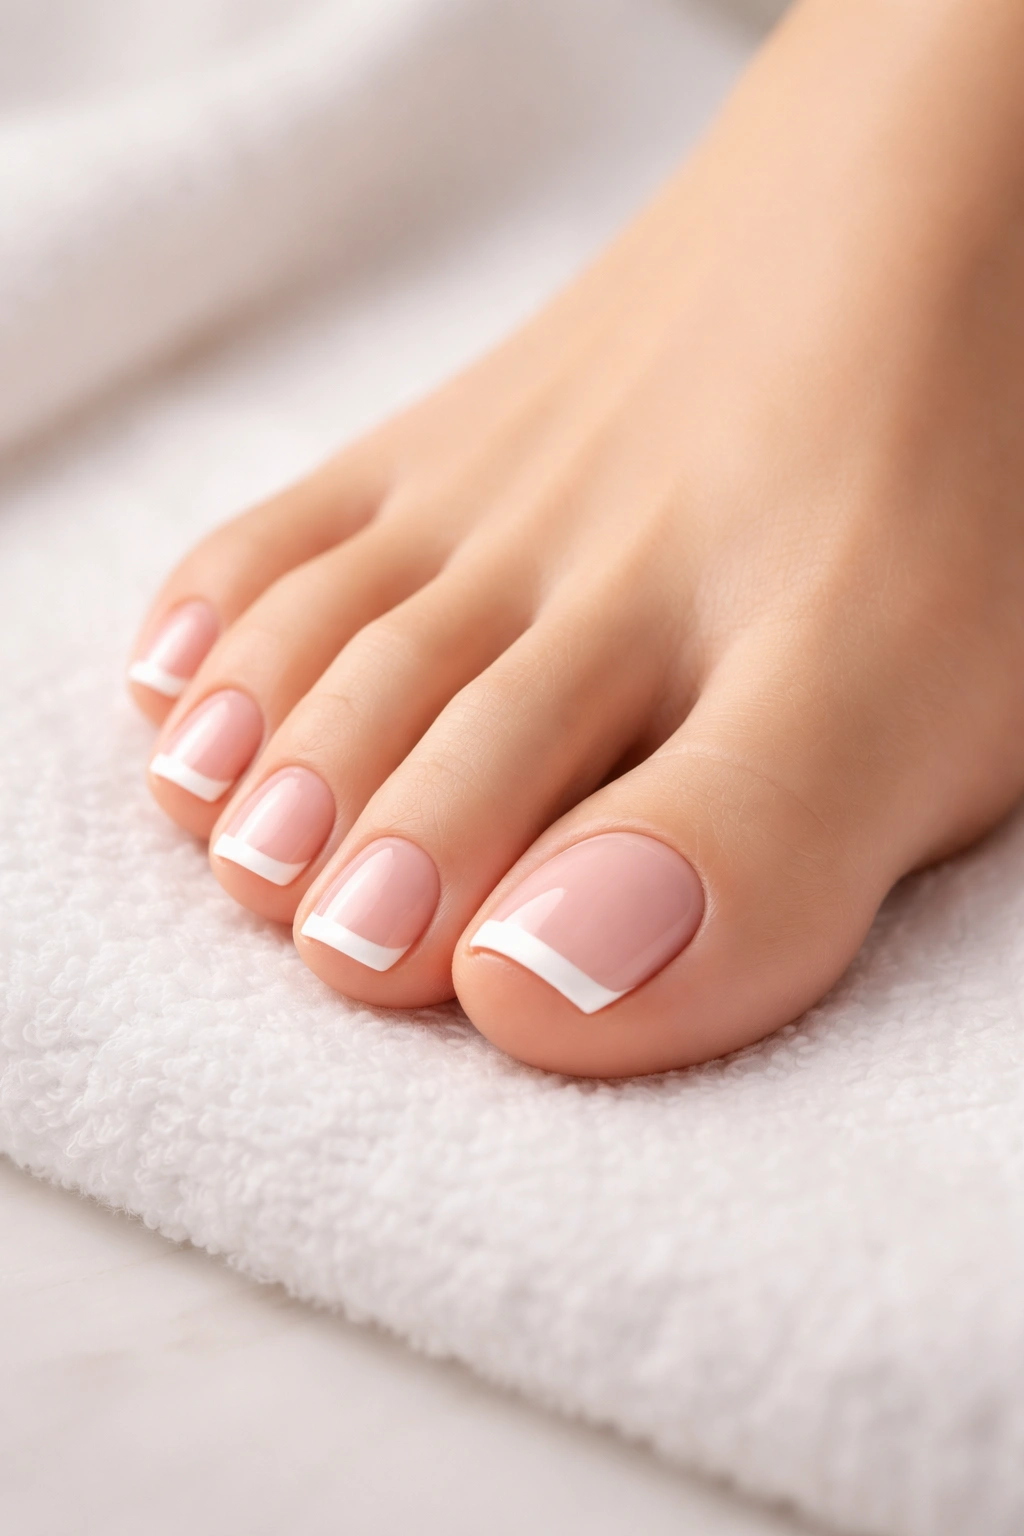
This is the design that started it all, and honestly, it remains undefeated for a reason. A soft pink or nude base paired with crisp opaque white tips creates a look that feels both polished and understated. The white line should follow the natural curve of your nail’s free edge, creating what nail artists call the “smile line.” When executed well, this design makes your nails appear longer and your feet look incredibly groomed, whether you’re wearing sandals or going bare.
Why This Design Works
The classic white French tip works because it mimics the natural appearance of a healthy, well-maintained nail while adding just enough definition to feel intentional. The contrast between the soft base and bright white tip creates visual interest without being loud or distracting. This combination also has the practical advantage of being forgiving—minor imperfections in the line are far less noticeable than they would be with a bold design.
How to Achieve the Perfect White Tips
- Apply a base coat first to protect your nails and help the polish adhere longer (crucial for longevity)
- Choose a sheer pink or nude base color that matches your skin tone—this is more important than you’d think for that clean aesthetic
- Paint two thin coats of your base color, allowing each to dry completely before applying the next
- Use a fine-tipped nail art brush rather than the standard polish applicator; this gives you infinitely more control
- Paint the white tip in one smooth stroke if you can, following the nail’s natural curve—stability matters, so rest your hand on a table
- For clean lines, apply white polish to just the tip area, about 2-3 millimeters from the edge of the nail
- Seal everything with a quality top coat; this is what makes the design last and protects against chipping
Pro tip: If your hand isn’t entirely steady, use adhesive French tip guide stickers placed just above where you want your white line to be. They’ll give you a crisp edge without requiring freehand precision.
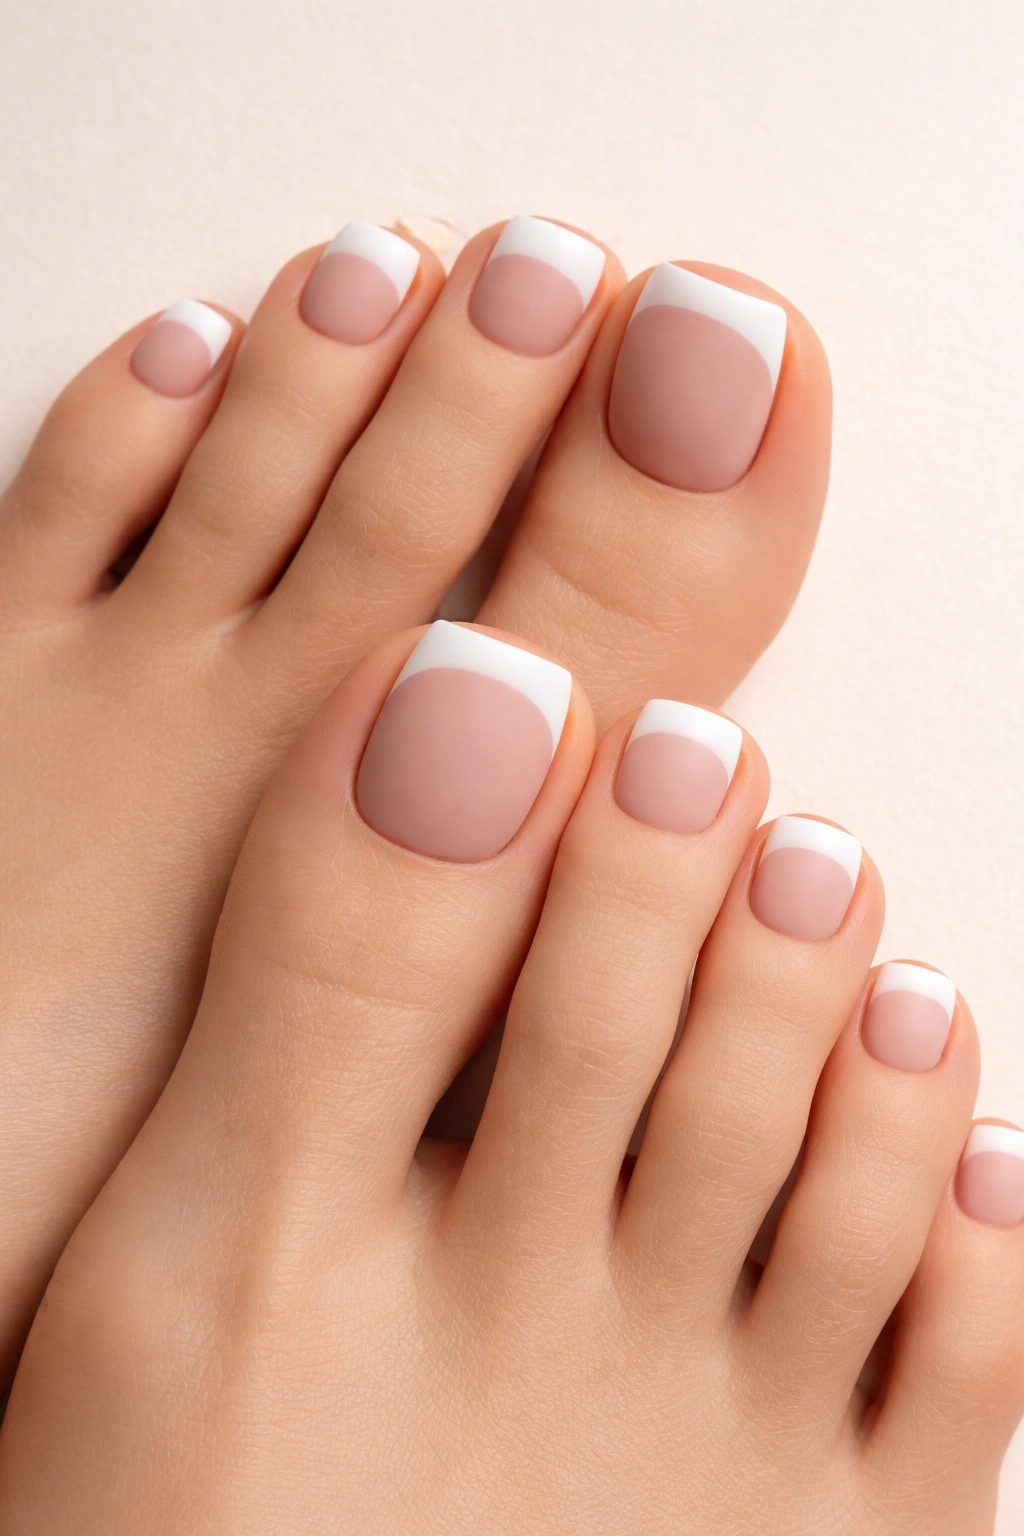
2. Soft Nude and White French Pedicure
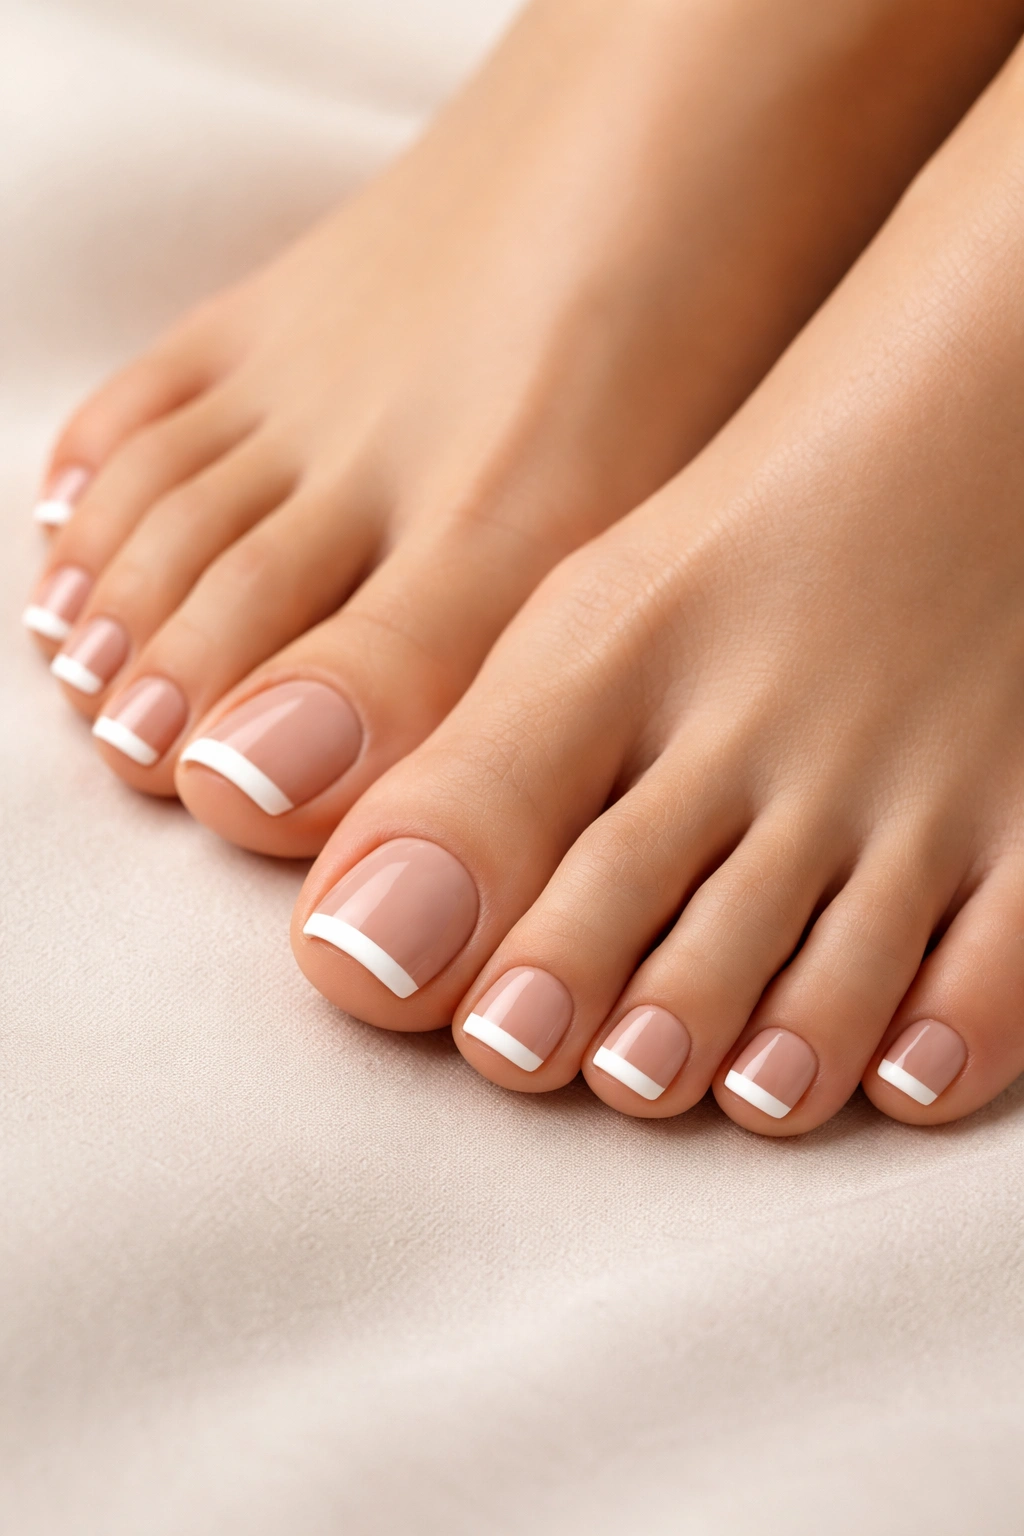
If you find the traditional pink-and-white combination too much, consider swapping the pink base for a warmer, deeper nude shade. This approach is understated in a way that feels impossibly sophisticated. The nude base creates an almost monochromatic effect that flows naturally from your foot, while the white tips still provide that clean, defined finish. It’s minimal without being boring, refined without being obvious.
The Art of Choosing the Right Nude Shade
The most common mistake people make with nude French pedicures is selecting a shade that doesn’t complement their skin tone. A shade too light can disappear entirely, while one too dark can create an unattractive visual break. The goal is to find a nude that looks like your nail is a natural extension of your skin, just slightly more polished.
Application Steps for Nude and White
- Start with a protective base coat; this is especially important with nude shades because any yellowing or staining is far more visible
- Select a nude shade that matches your skin tone as closely as possible—test it on a hidden toe first if you’re uncertain
- Apply two thin coats of your nude base, allowing proper drying time between coats to avoid streakiness
- Once fully dry, carefully apply your white tip line using a thin brush
- Keep the white line slightly more delicate than you might with a traditional pink base—the contrast between the colors is already subtle, so a thicker line can feel heavy
- Finish with glossy top coat for that refined shine
Worth knowing: Nude French pedicures often look even better with a matte or semi-matte top coat instead of high-gloss. This creates a skin-like quality that’s incredibly chic and modern.
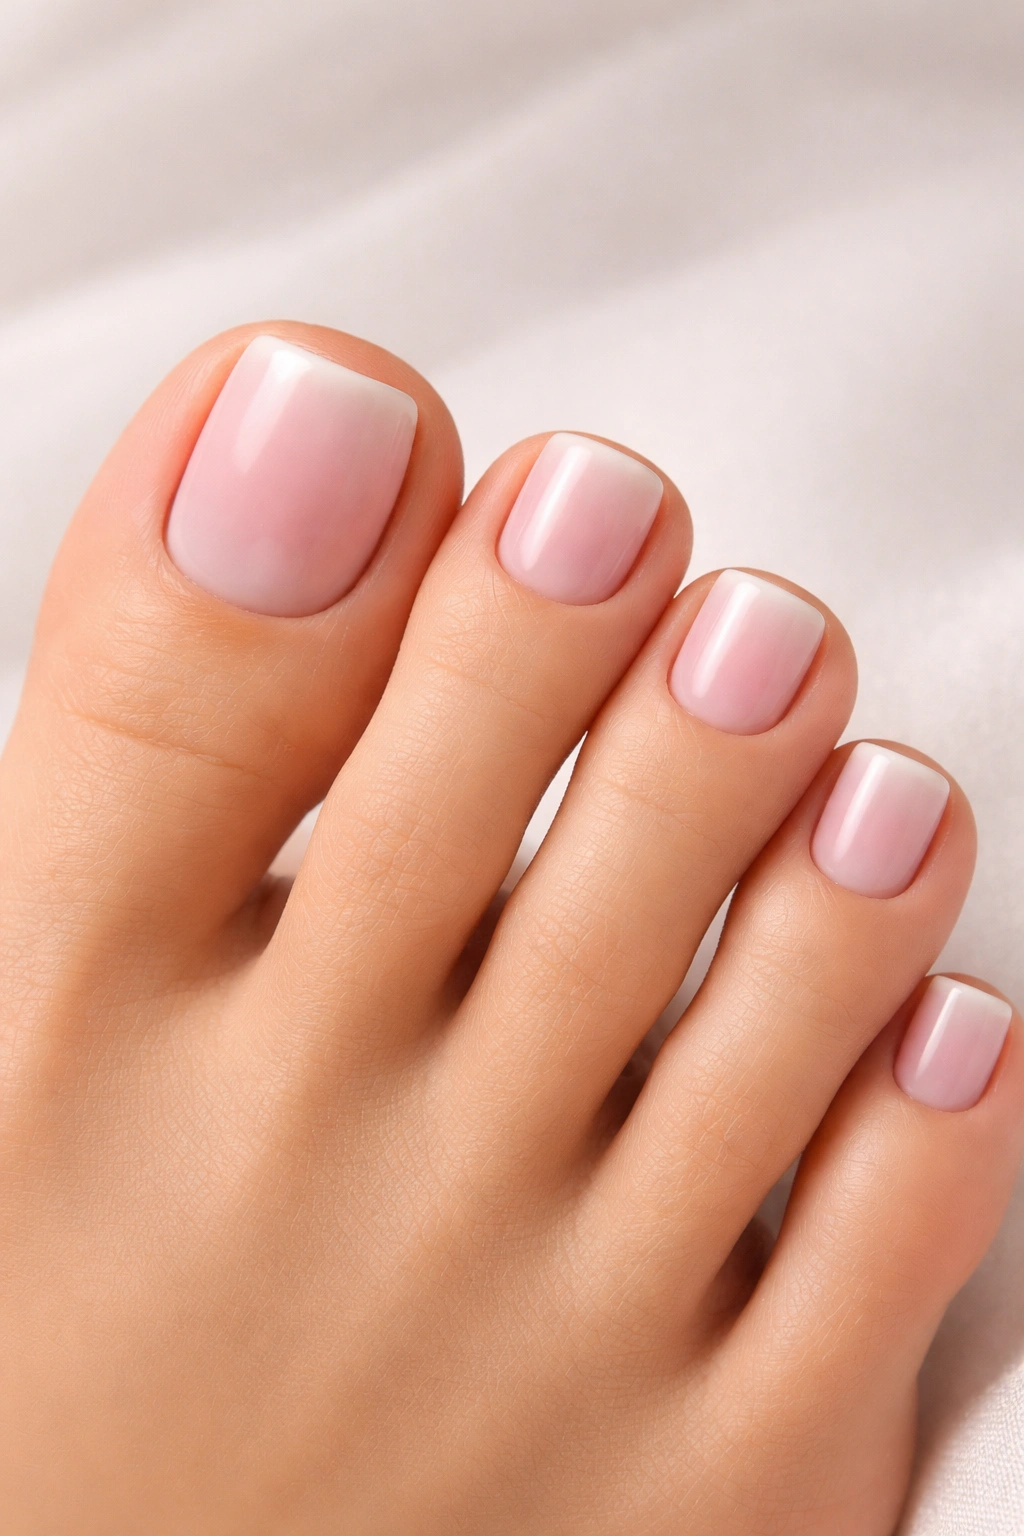
3. Milky White Base French Pedicure
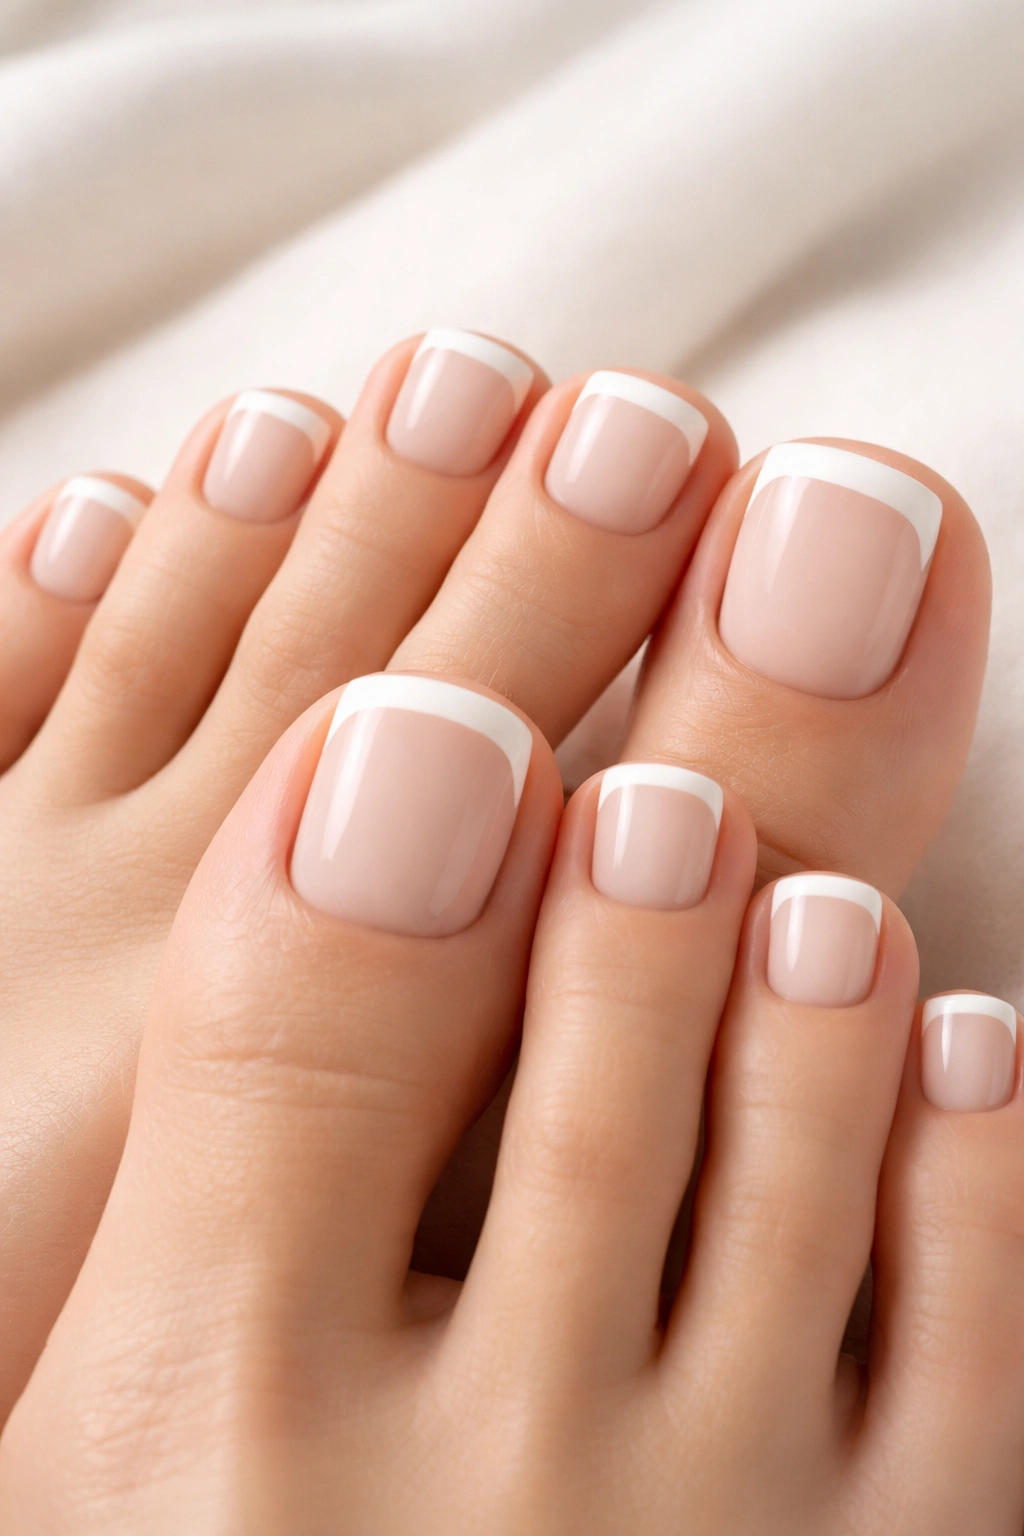
Here’s a variation that’s been gaining serious traction: replace your traditional pink or nude base with a soft, opaque white or milky shade. Then paint white tips on top. This might sound like the design would disappear, but the magic happens when you use slightly different opacities or undertones between the base and the tip. The result is clean, ethereal, and impossibly elegant—like your nails are made of frosted glass.
Why This Works for a Clean Aesthetic
The milky white approach creates a soft, dreamy quality while maintaining that polished “just groomed” appearance that defines a clean French pedicure. There’s no harsh contrast here, which is part of why it feels so refined. The design reads as intentional and deliberate—you clearly made a choice—but it’s also incredibly forgiving because minor imperfections are practically invisible against the soft base.
Building the Milky White Look
- Apply a clear base coat as your foundation
- Choose a milky white or very pale blush polish for your base shade—brands like Essie Marshmallow or similar work beautifully
- Apply 2-3 thin coats of your milky base color; each coat should be sheer enough to see through slightly, but layering creates depth
- Allow thorough drying between coats; rushing this step will create a streaky, muddy appearance
- For your tip, select a pure white polish that’s slightly more opaque than your base
- Paint your white tips in a gentle curve following your nail’s natural shape
- Seal with a top coat, and don’t skip this step—it’s what gives the design its signature glossy finish
Insider note: The more coats of your milky base you apply, the more substantial and visible the design becomes. If you want something ultra-subtle and ethereal, stick to two coats. If you want more presence, three coats will give you a more obvious result.
4. Micro French Tips
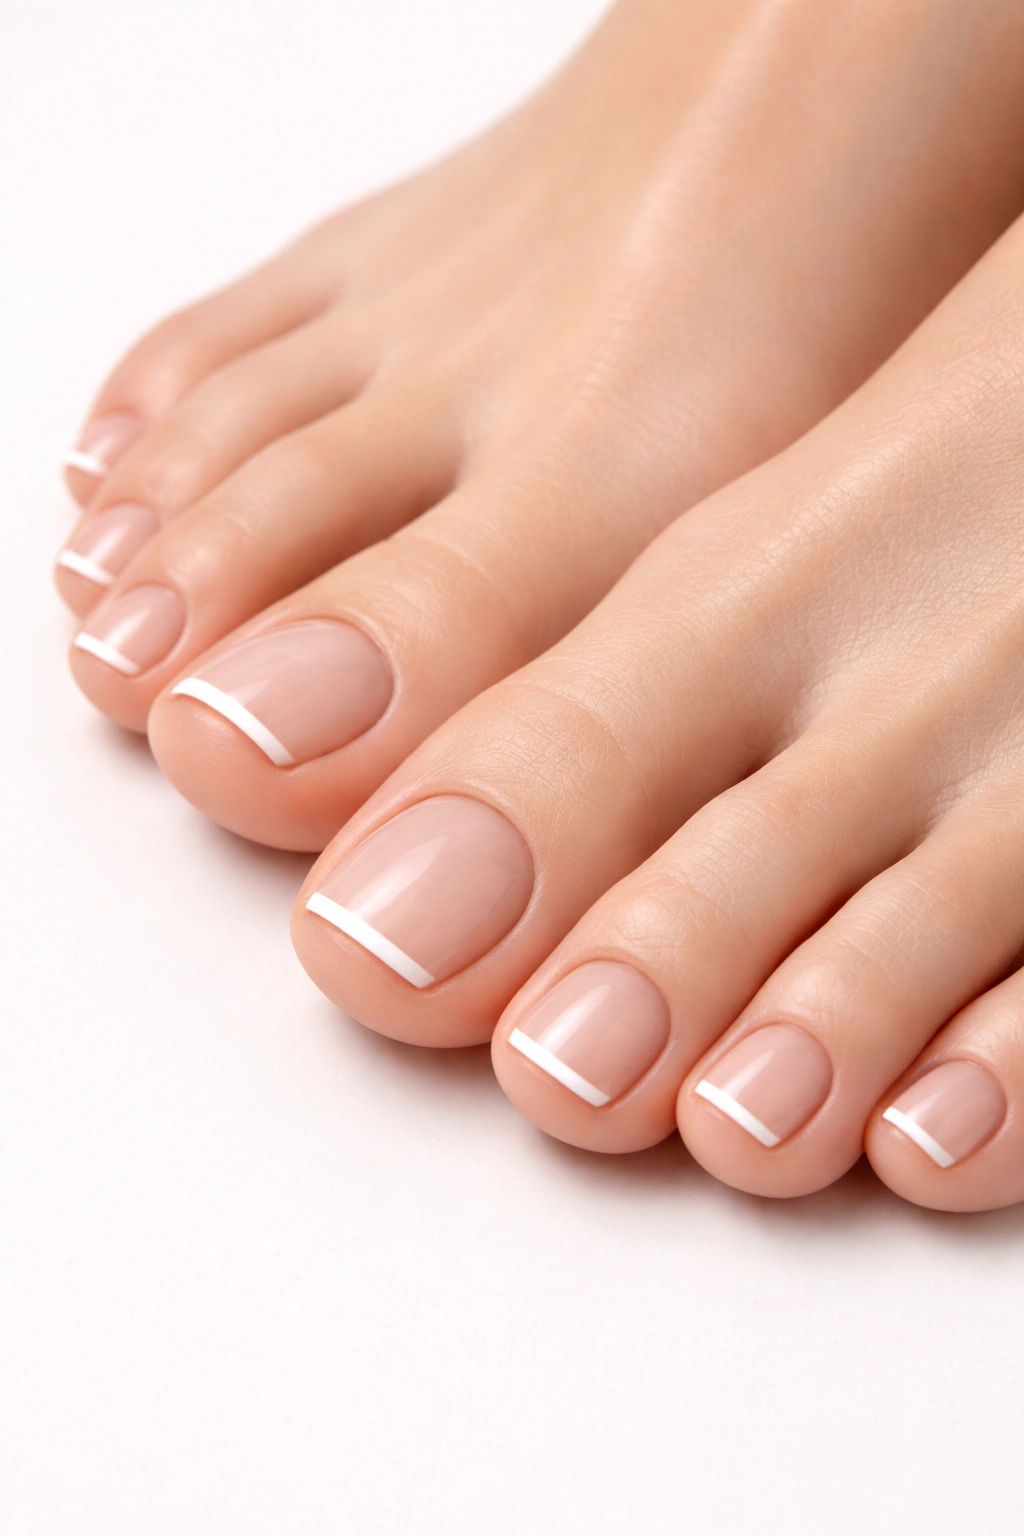
Micro French tips are where minimalism meets maximum sophistication. Instead of the traditional width, imagine a line so thin it’s almost whisper-thin—just a delicate sliver of white at the very edge of your nail. This style has become increasingly popular because it feels contemporary while respecting the original French tip concept. It’s technically a French pedicure, but it reads as decidedly modern.
The Appeal of Ultra-Thin Lines
Micro French tips feel impossibly clean because there’s nothing extraneous about them. Every millimeter of the design serves a purpose—creating just enough visual definition to suggest polish without overwhelming the natural nail. This style pairs beautifully with shorter nail lengths, but it also looks stunning on longer nails where it creates an elegant tapering effect.
Achieving Perfect Micro French Lines
- Prep your nails exactly as you would for any French pedicure: clean, shaped, and buffed
- Apply base coat and your chosen nude or pink base shade in two thin coats
- Once completely dry, use your finest available nail art brush—seriously, the thinner the better
- Dip just the very tip of your brush into bright white polish
- Position your brush so you’re painting just the tiniest line at the absolute edge of your nail
- The line should be so thin it’s almost translucent in appearance; you’re not painting a thick stripe, but rather suggesting one
- If using guide stickers, position them extremely close to the actual nail edge rather than the traditional placement
- Apply a thin, quality top coat to seal and protect your micro tips
Pro tip: Micro French tips are significantly easier with a stamper or stencil rather than freehand. The precision tools make achieving that hair-thin line dramatically easier, even for experienced DIY nail enthusiasts.
5. Sheer Pink and White French Pedicure
For those who want a more romantic, feminine take on the French pedicure, a sheer pink base paired with white tips offers that graceful, refined appearance. The difference from the traditional version is in the undertones and opacity of your pink—you’re going for something translucent and soft rather than opaque and bold. The result feels like a whisper of color rather than a statement.
Why Sheer Pink Is Having a Moment
Sheer pink French pedicures have become increasingly popular because they offer more personality than a nude base while maintaining that clean, sophisticated aesthetic. The transparency of the base creates an almost watercolor quality, making the design feel less like an obvious nail look and more like a natural expression of your style.
Creating the Sheer Pink Look
- Start with a base coat to prevent any staining or yellowing of your nails
- Select a jelly pink or sheer pink polish—look for products labeled as “translucent” or “sheer” rather than opaque
- Apply your chosen pink in 2-3 thin coats; the more coats, the more saturated the color becomes, so adjust based on how subtle you want the effect
- Allow each coat to dry completely; thin coats dry faster but provide better control
- Paint your white tips using your preferred application method—freehand brush, guide stickers, or stamper
- The white tip should contrast clearly against your sheer pink base
- Finish with a glossy top coat to create that signature shine
Worth knowing: Jelly polish creates a particularly clean, professional appearance because of its inherent transparency. It feels less “nail polish-y” and more like a tinted gloss, which is part of why this variation reads as so refined.
6. Matte White French Finish
If you’re looking to break from the glossy aesthetic entirely while still maintaining that clean French pedicure vibe, consider a matte white French design. This approach uses the same pink or nude base and white tips, but finishes with a matte top coat instead of glossy. The result is unexpectedly sophisticated—it has a modern, fashion-forward quality that reads as intentional and high-fashion.
The Modern Appeal of Matte French Tips
Matte finishes have transcended the novelty phase and are now recognized as a legitimate style choice that communicates sophistication and editorial awareness. A matte French pedicure feels less traditional and more contemporary while still delivering that clean, polished appearance. The flat finish actually makes imperfections less noticeable than glossy finishes, which makes it easier to achieve a professional result at home.
Executing the Matte French Look
- Prep your nails with base coat and your chosen base color using the standard approach
- Apply white tips once your base is completely dry, using whichever application method you’re most comfortable with
- Instead of a glossy top coat, apply a matte or velvet top coat; these are now available from most reputable nail polish brands
- Allow the matte top coat to cure or dry fully; matte formulas sometimes require slightly longer drying time
- The matte finish will look flat and slightly chalky when first applied, but this is normal and intentional
- If you want to add shine back only to the white tips while keeping the base matte, apply glossy top coat only to the tip area for a mixed-finish effect
Insider note: A mixed-finish French pedicure—matte base with glossy tips—is exceptionally chic and modern. It draws attention to the white tips while letting the base recede, creating a refined, editorial quality.
7. Ombre Pink to White French Pedicure
For something slightly more complex but still undeniably clean, consider an ombre effect that transitions from pink at the nail base to white at the tip. This creates a gradient rather than a distinct line, offering a softer, more blended appearance. The design still reads as French, but it’s evolved into something more artistic and intentional.
The Gradient Effect for Clean Sophistication
Ombre French pedicures use blending techniques to create a gentle transition rather than a harsh line. This approach feels less graphic and more sophisticated because it doesn’t create visual contrast the way traditional French tips do. It’s a design that communicates confidence and fashion awareness while remaining utterly wearable for any occasion.
Creating Your Ombre French Pedicure
- Apply your base coat, then cover each nail completely with your chosen pink shade
- Allow this to dry fully; rushing this step compromises the gradient effect
- Apply a thin layer of matte or sponge-friendly top coat if using the sponge method, which helps the next layer blend smoothly
- Dip a small makeup sponge into white polish and lightly press it against the tips of your nails
- The sponge texture creates an irregular edge that blends naturally; don’t worry about a perfect line
- Blend the white and pink by gently sponging back and forth where the two colors meet
- Add additional layers of white sponging to build opacity at the tips while keeping the transition soft
- Once you achieve your desired gradient, apply a protective top coat to seal everything
Pro tip: Use a dedicated makeup sponge (not your face sponge!) and allow your base color to dry completely before sponging. Damp polish will muddy your colors rather than creating a clean gradient.
8. Minimalist Nude French Tips

Perhaps the most understated variation: replace white tips with the subtlest possible contrast in your base shade itself. Use a light nude as your primary base, then apply an even lighter nude (almost white, but not quite) to the tips. The design is so minimal that it reads more as excellent nail care than as nail art, which is precisely why it’s so clean and refined. This approach is perfect for professional settings or when you want your pedicure to feel like an invisible luxury.
The Elegance of Extreme Subtlety
Minimalist nude French tips represent the opposite end of the spectrum from bold designs, yet they’re equally effective at communicating polish and intention. The idea is that someone who knows nails will immediately recognize the design, while others will simply perceive you as having exceptionally well-maintained feet. It’s sophisticated in the quietest possible way.
Achieving the Nude-on-Nude Effect
- Start with your base coat to protect your nail beds
- Select a warm, medium nude shade as your primary base color
- Apply 2-3 thin coats of your chosen nude, allowing each to dry fully
- Choose a lighter nude, ivory, or off-white shade for your tip area; it should be only marginally lighter than your base
- Paint your tips carefully; since the contrast is minimal, precision matters more than usual
- The goal is for someone to notice your nails look pristine without immediately identifying it as a “design”
- Seal with a glossy top coat for that subtle shimmer and shine
Worth knowing: The success of this design hinges entirely on selecting the right two shades. Visit a professional counter if possible to see the shades together under different lighting before committing. The contrast between the two nudes should exist, but be understated.
Final Thoughts
The eight French tip pedicure ideas covered here all share one essential quality: intentionality expressed through restraint. What makes a French pedicure feel clean is never about adding more—it’s about making deliberate choices about what to include and what to exclude. Whether you gravitate toward the boldness of classic white tips or the subtlety of nude-on-nude design, the principle remains the same: every element should contribute to an overall sense of polish and care.
The beautiful part about French pedicures is that they accommodate virtually any personal style. You can express yourself through your choice of base color, tip thickness, finish (glossy versus matte), and even the degree of contrast between the base and tips. None of these variations sacrifice the clean, refined quality that makes French pedicures so enduringly popular—they simply offer different expressions of that same core aesthetic.
Remember that clean doesn’t mean boring, and minimalist doesn’t mean impersonal. It means you’ve made thoughtful decisions about your appearance, and those decisions come across in the final result. Whether you’re doing your pedicure at home or visiting a professional, choosing the right French tip variation for your style and maintaining it with proper top coats and careful handling will keep your toes looking fresh and intentional for weeks. The investment in getting your French pedicure right—whether that’s finding the perfect shade, mastering the technique, or discovering the variation that best suits your personality—is always worth the effort.
