

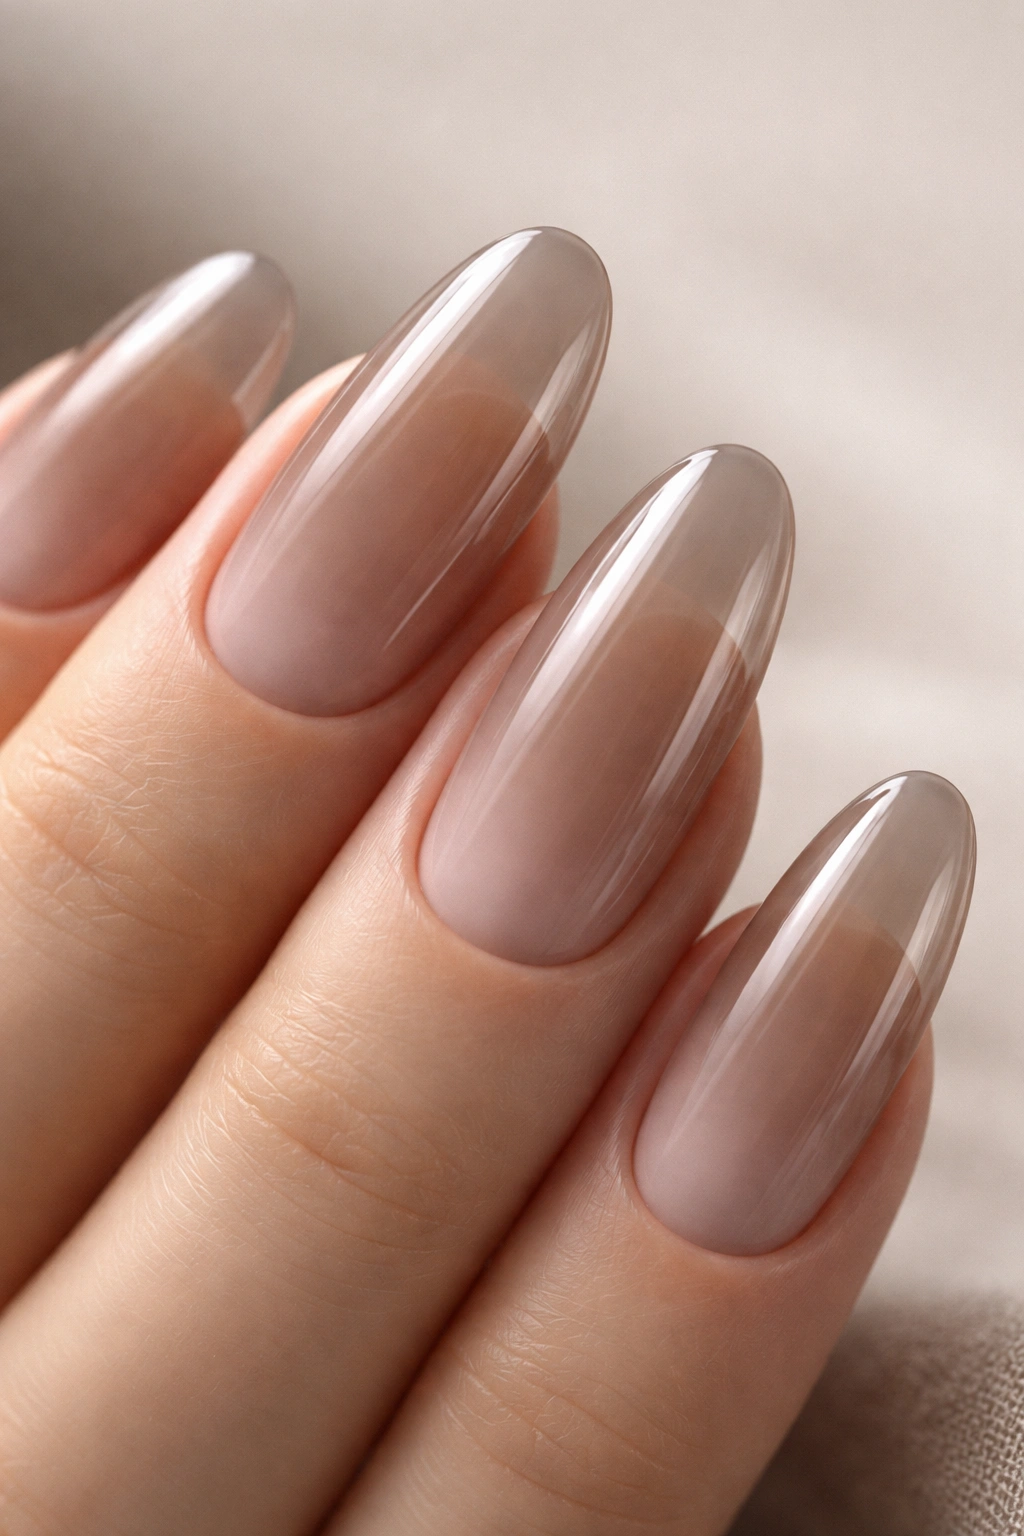
Glass nails have become the go-to manicure for people who want polished sophistication without the visual heaviness of opaque color. There’s something inherently elegant about a sheer finish — it enhances your natural nail rather than concealing it, creates an illusion of length and strength, and somehow manages to look both minimal and intentional at the same time. The long oval shape amplifies this effect, giving you an elongated canvas that catches light beautifully and feels surprisingly wearable for everyday life. Unlike dramatic stilettos or sharp almonds, the oval silhouette is timeless, comfortable to live with, and flattering on virtually every hand shape and skin tone.
The sheer finish is what sets glass nails apart from traditional manicures. Instead of opaque polish, you’re working with translucent or semi-transparent glazes that let your natural nail bed show through — sometimes enhancing the rosy undertones of your nail, sometimes adding just a whisper of warmth or shimmer. This approach suits every occasion, from professional environments where subtle is safer, to casual settings where understated elegance feels fresher than bold color. The beauty lies in the texture, the light-play, and the careful layering of sheer products that create depth without darkness.
What makes long oval glass nails so versatile is that you can dress them up or down with minimal effort. Add soft metallics and they feel luxe. Keep them completely bare except for a neutral glaze and they read as refined and minimal. The oval length gives you room to experiment with subtle nail art, negative space, and interesting layering techniques without overwhelming the overall effect. Whether you prefer barely-there translucence or something with more visible color depth, there’s a sheer glass nail style waiting to become your signature look.
1. Barely-There Cream
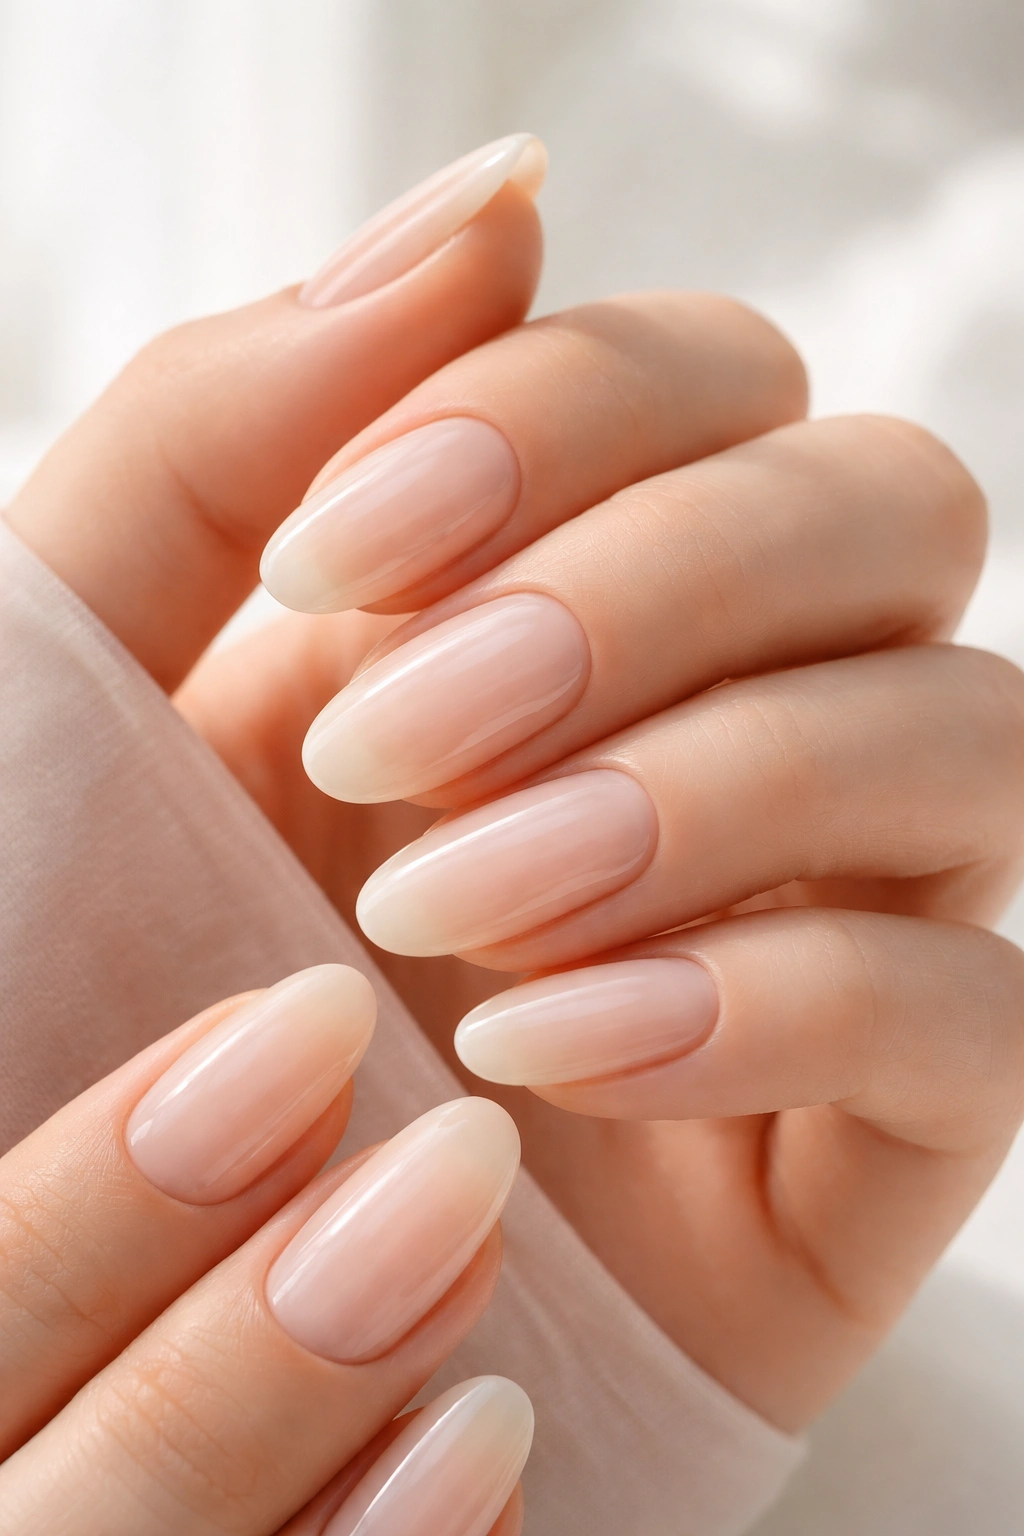
The barely-there cream is the ultimate “your nails but better” look — so sheer that someone seeing you from across the room might not even realize you’re wearing polish. This is pure minimalism with a purpose: a single coat of extremely transparent cream-colored gel or soft pink undertone that sits right on the edge of visible. The magic is in how it subtly warms the nail bed and creates an impression of perfect, perfectly healthy nails without doing much of anything.
Why This Design Works for Every Situation
The barely-there cream finish is universally professional, completely appropriate for workplaces with strict nail policies, and somehow makes your hands look more refined. Because there’s so little color, the focus shifts entirely to your nail shape, health, and condition — which means you need clean cuticles and well-maintained nails, but once you’ve got those basics down, this style requires almost no upkeep. The translucency means regrowth isn’t noticeable, and a single coat lasts remarkably long without chipping or looking obviously worn.
What to Know Before You Book
- Barely-there shades work best if your natural nails are already fairly light or pink-toned — deeper nail beds can read as slightly yellow under extreme transparency
- One or two thin coats is the sweet spot; too many coats start to look intentional rather than barely-there
- Pair this with a high-gloss top coat for that glass-like shine and extra nail strength
- This style demands clean hands and groomed cuticles — imperfections show more clearly against barely-there color
- The oval length should be moderate (not too long) to maintain the understated, natural appearance
Pro tip: Apply the sheerest coat first, let it cure or dry completely, then add just a whisper of a second coat if needed. This method gives you control over the final transparency level.
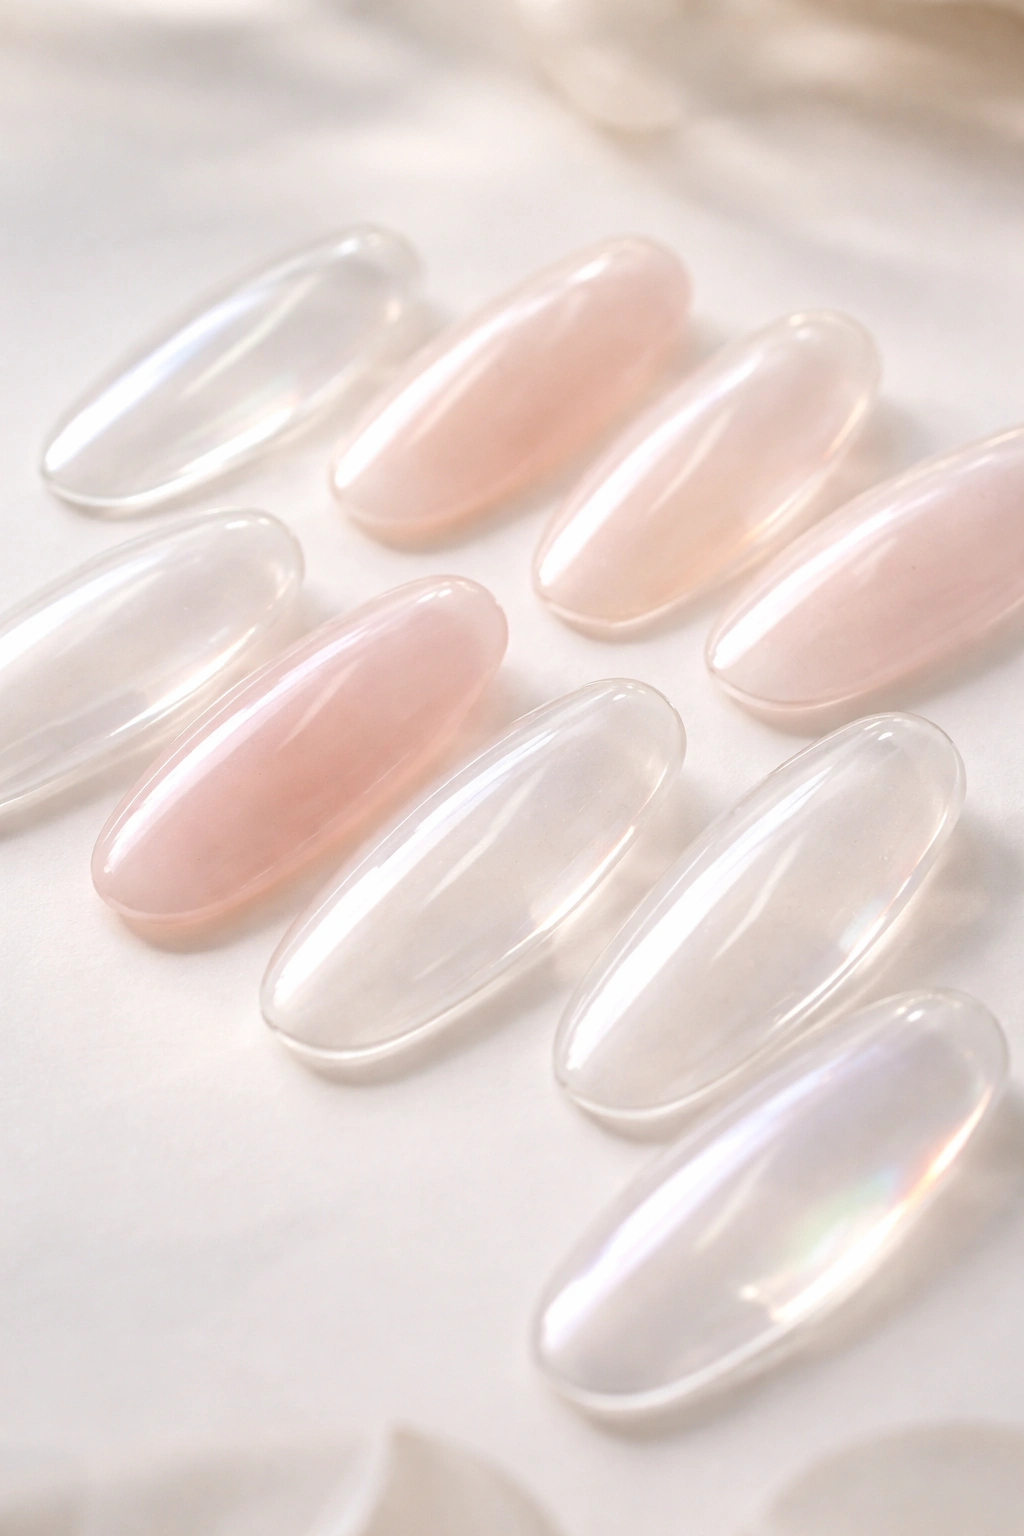
2. Blushed Pink Glass
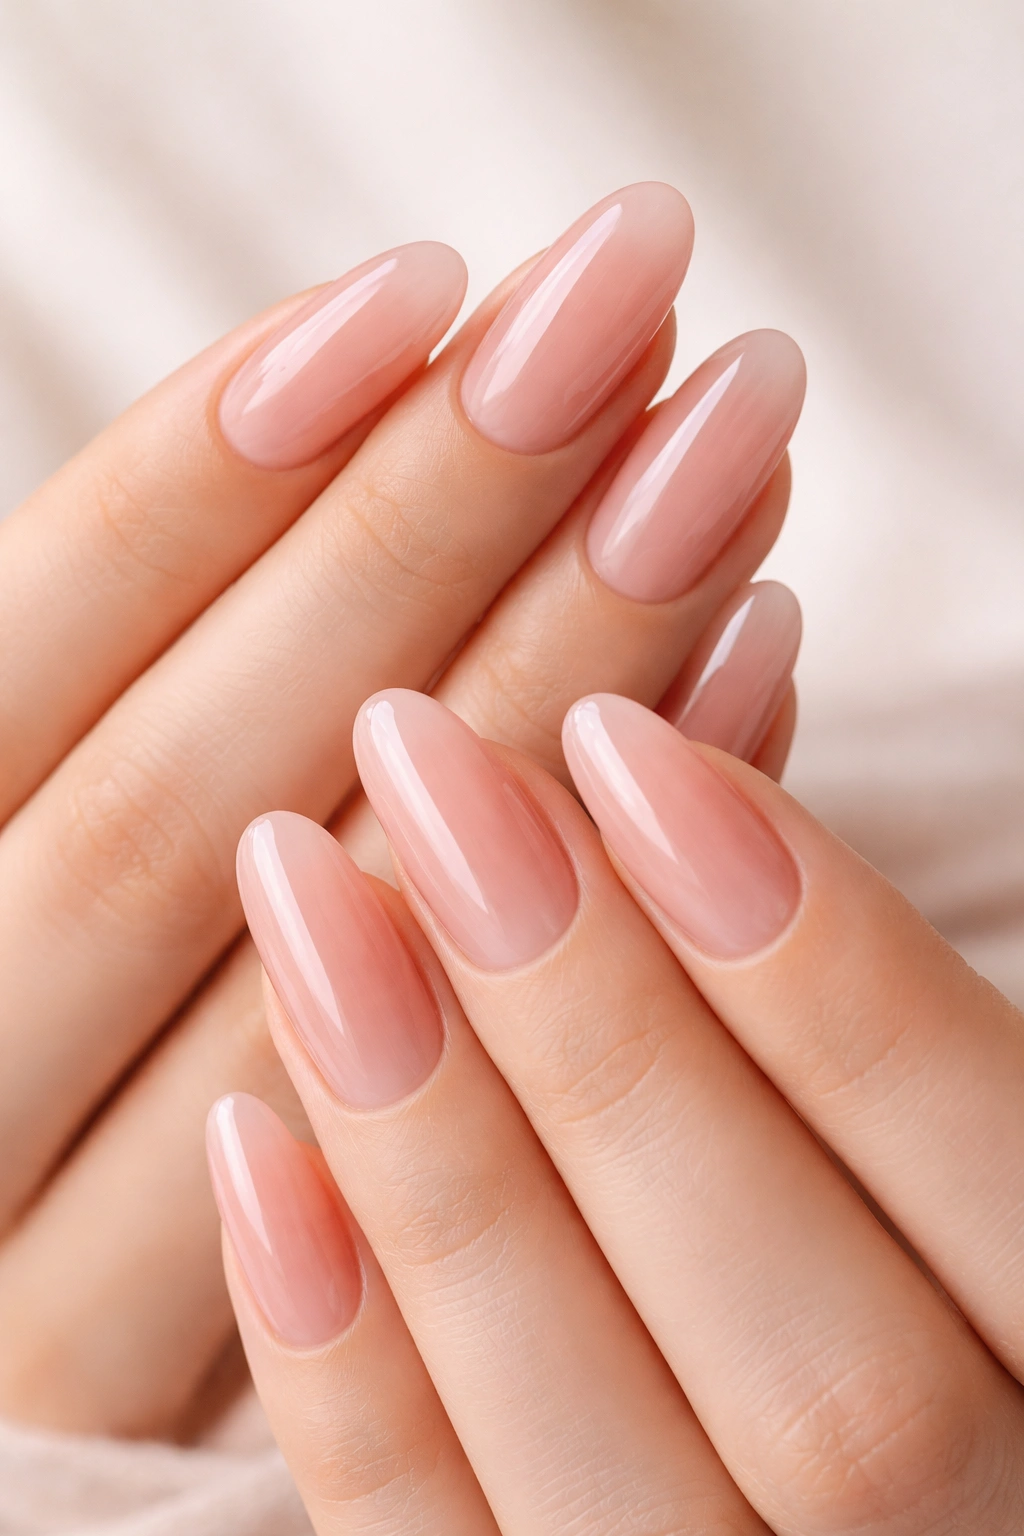
Blushed pink glass nails sit right in that sweet spot between completely bare and noticeably colored — a soft, rosy-pink translucence that feels romantic without being girly, sophisticated without being cold. Think of the color you see through frosted glass with a pink-toned light behind it. This shade universally flatters and reads as both elegant and approachable, which is why it’s become the default “I spent time on my nails but not a ton of money” look.
The Appeal of Soft Pink Translucence
Blushed pink works across every skin tone because transparency is the key — the sheer finish lets your skin show through the pink, creating a custom shade that harmonizes with your individual undertones. Fair skin reads it as a pale rose, deeper skin tones see a richer mauve-pink, and medium tones land somewhere beautifully in between. The oval shape combined with this color creates an optical illusion of slightly longer fingers and adds a touch of femininity that doesn’t feel overwhelming.
Getting the Color Just Right
- Start with sheer pink gel or a pink-tinted clear base rather than trying to dilute opaque pink — diluted color often looks muddy or chalky
- Look for products labeled “blush pink,” “dusty rose,” or “soft mauve” to avoid anything too saturated or too yellow-toned
- Two coats usually creates the right depth; three coats if you want slightly more visible color without losing the glass effect
- Pair with a glossy top coat for maximum light-reflection and that coveted glass-like appearance
- The sheer quality means any nail art underneath shows through — plan accordingly if you’re adding details
Worth knowing: Blushed pink shows dust, water spots, and fingerprints more readily than completely transparent finishes, so maintain high-gloss shine for the cleanest look.
3. Milky Nude Gradient
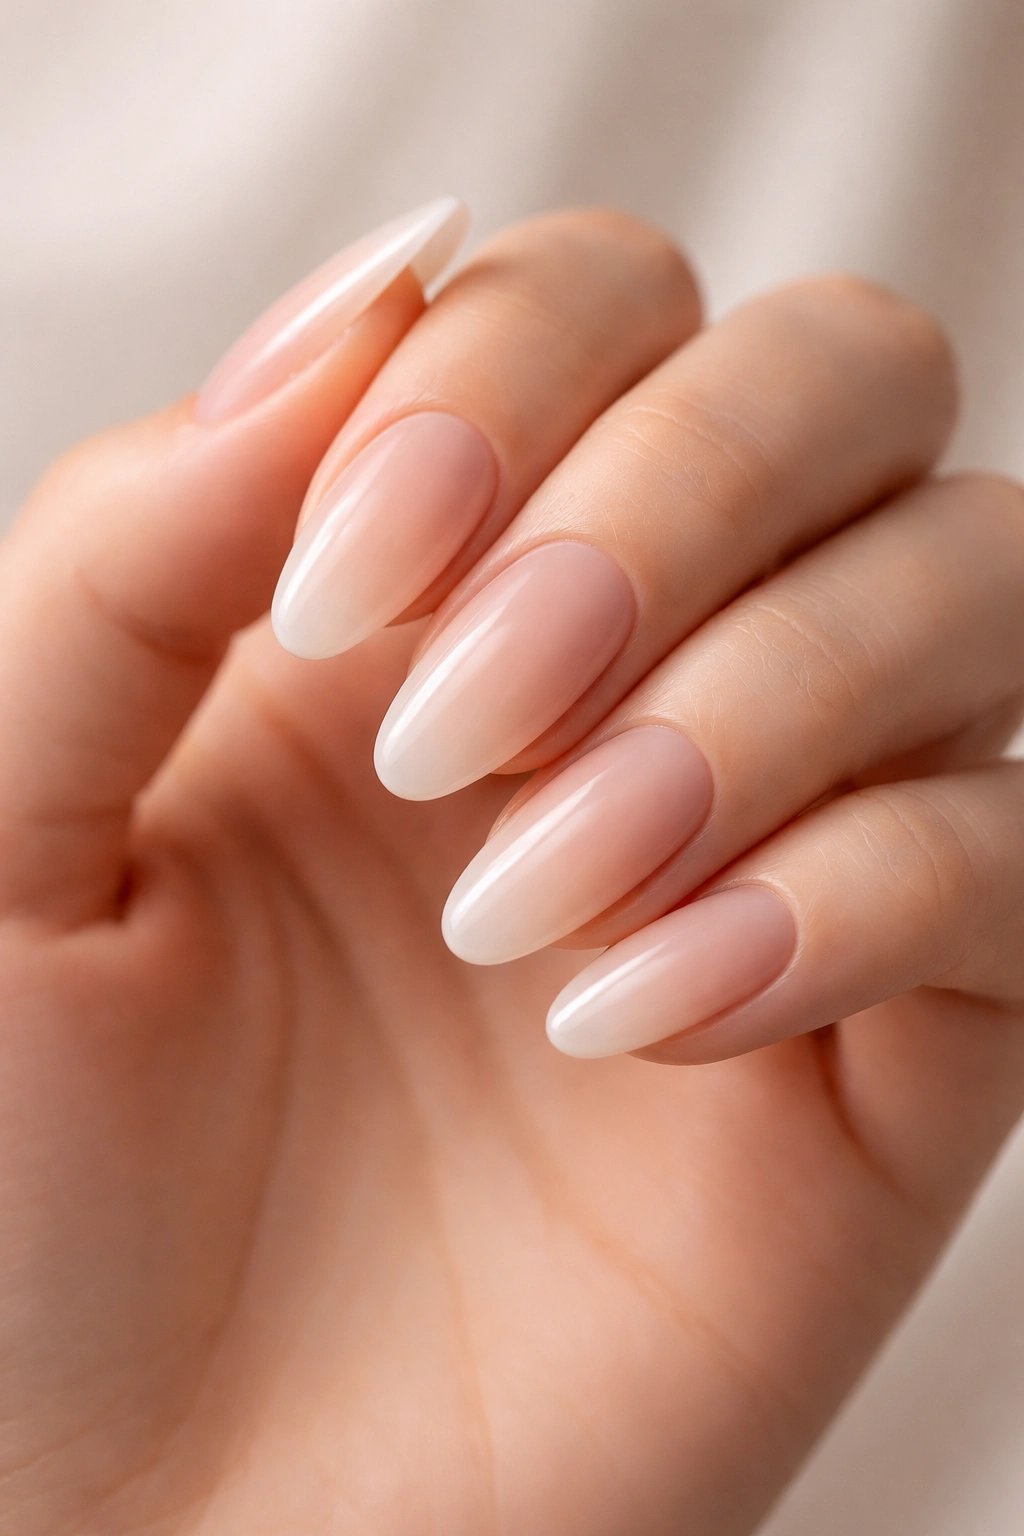
A milky nude gradient plays with sheer translucence across the length of the nail, starting nearly transparent at the cuticle and gradually deepening to a soft, creamy nude at the tip. It’s more involved than a solid sheer finish but infinitely more visually interesting — the gradient creates subtle dimension and draws attention to the nail shape itself. The effect feels both modern and timeless, professional and thoughtfully designed.
Building the Gradient Effect
The gradient technique requires either a sponging method or careful layering with increasingly opaque shades of the same nude family. Start with a clear base coat, then use a makeup sponge or soft brush to apply progressively denser layers of milk and nude-toned products toward the free edge. The key is building slowly — if you go too heavy too fast, you lose the glass effect and end up with an opaque ombre instead. Work in thin layers and cure (or allow to dry) between each application.
Tips for a Seamless Gradient
- Use a wet sponge technique if building with gel — press a damp sponge gently against each layer to soften the transition
- Keep your shades within the same color family (all warm nudes or all cool beiges) so the gradient feels intentional, not accidental
- Stop the darker shade just short of the very tip if you want the glass effect to remain visible throughout
- A glossy top coat is essential here to unify the gradient and create that glass shine
- This design shows off nail length beautifully, so make sure your oval is the right proportion to your hand
Insider note: The milky nude gradient photographs beautifully — it catches light in ways that create subtle depth in photos, making your nails look more expensive and carefully designed than the effort required.
4. Transparent with Gold Leaf Accents
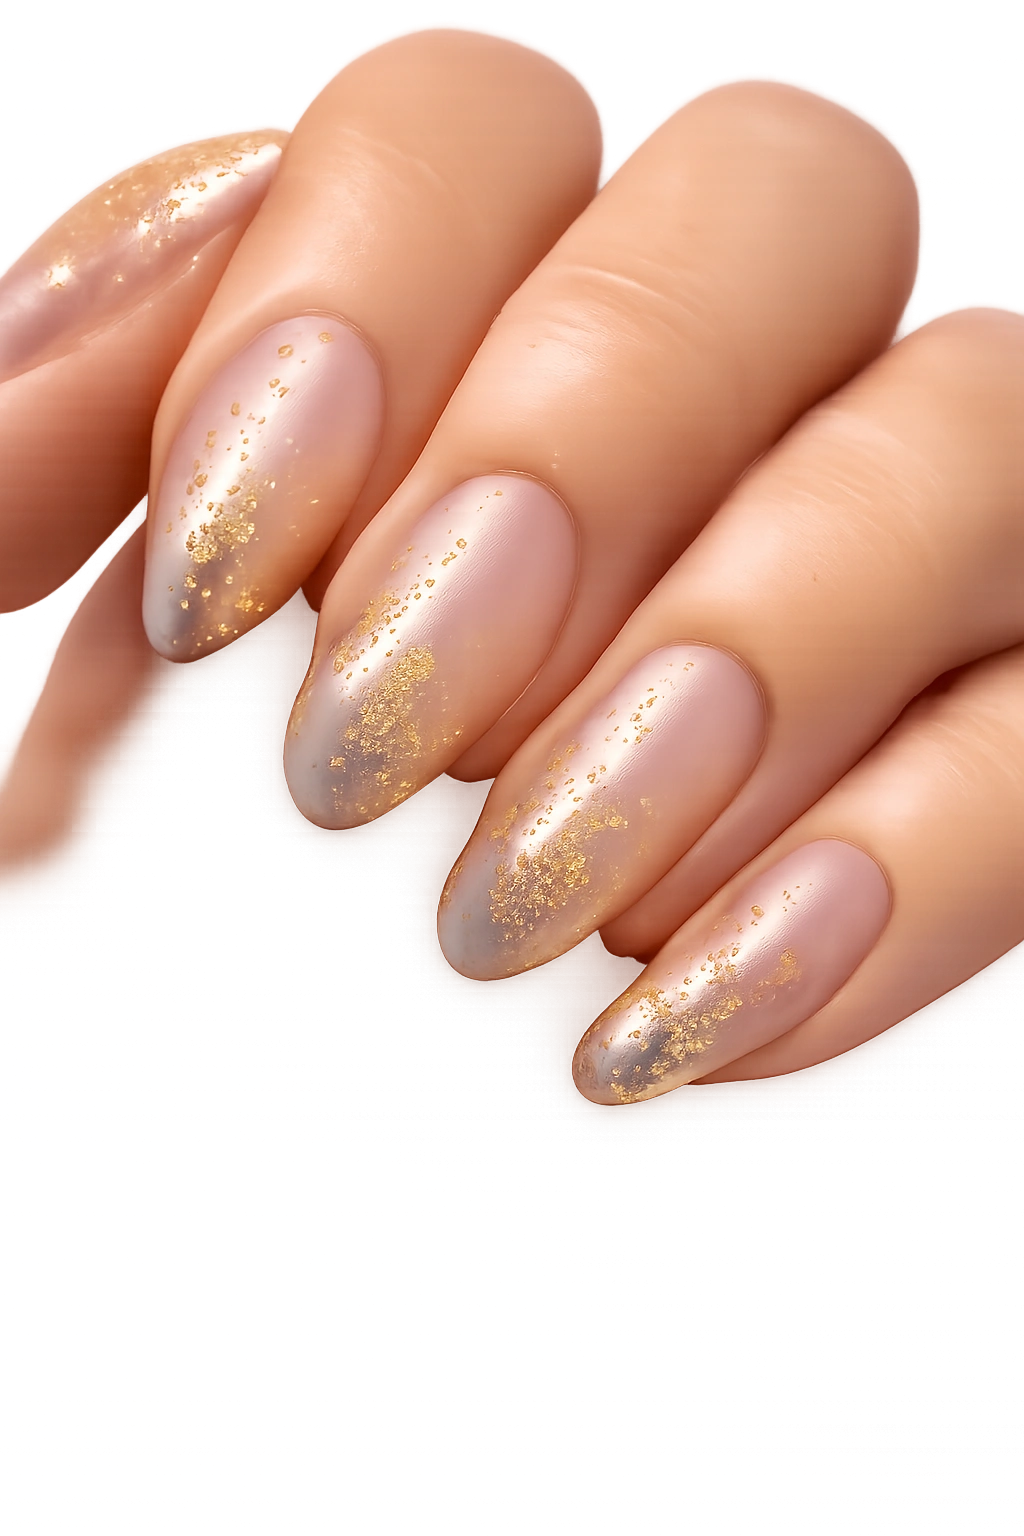
Adding delicate gold leaf to a transparent finish introduces just enough sparkle and luxury without overwhelming the minimal aesthetic. A single piece of thin gold leaf applied to one accent nail, or scattered subtly across two or three nails, catches light with every hand movement while staying understated enough for any environment. The key is restraint — this works precisely because it’s not overdone.
Placing and Applying Gold Leaf for Maximum Impact
Gold leaf sits best when applied to a slightly sticky surface — usually the uncured gel beneath the top coat, or a clear gel with just a touch of tackiness left. Apply your sheer base, then press the gold leaf into position while the surface still has slight adhesion. Seal everything with a top coat to prevent the leaf from lifting or tarnishing. The gold should look like it’s embedded within the glass rather than sitting on top of it.
Design Options That Actually Work
- A thin vertical stripe of gold down the center of one nail creates an understated focal point
- Scattered flecks across two adjacent nails read as intentional rather than accidental
- Gold at the cuticle area of an accent nail gives a subtle luxury vibe without overwhelming the design
- A thin gold line along the nail edge creates definition without covering the glass effect
- Save the most prominent placement for your ring finger or middle finger — the nails that naturally draw the eye
Real talk: Gold leaf can shift with your lighting environment. It might look more prominent indoors under bright lights and more subtle in natural daylight. Test it in different settings if this is your first time wearing it.
5. Clear with Soft Shimmer
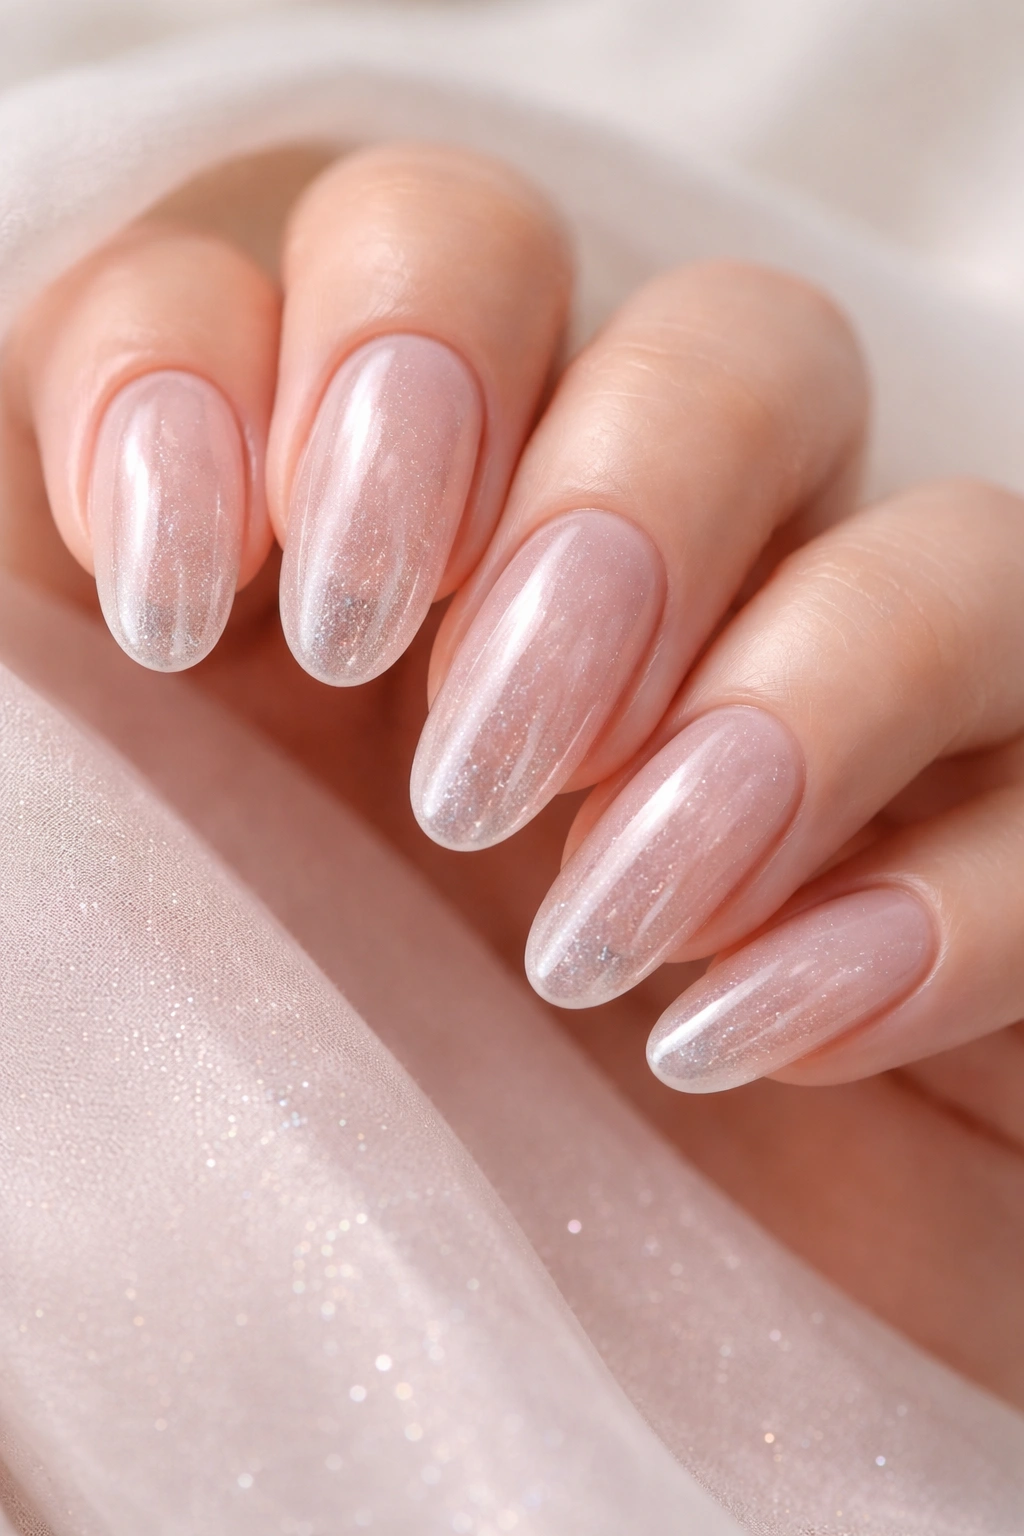
Pure transparent shimmer sits between completely bare and obviously decorated — just enough sparkle to catch light and add dimension without reading as glittery or overdone. This is where glass nails meet a touch of sophistication and celebration; you get all the benefits of a sheer finish plus the subtle magic of light-reflecting particles suspended in the glaze. It’s perfect for occasions when you want to elevate your look without going full sparkle.
Choosing the Right Shimmer Suspension
Not all shimmers are created equal. Look for ultra-fine shimmer particles that sit smoothly within a clear or translucent gel base — not chunky glitter, which catches too much attention and sits unevenly. The shimmer should create more of a glow than visible sparkle when you first look at your nails, becoming more obvious as light hits them from different angles. This creates a sophisticated “is that just the shine of the gloss or is there shimmer?” effect.
Application Techniques for Even Distribution
- Apply a clear base coat first, then apply the shimmery gloss as your top layer for better control
- If using a gel with suspended shimmer, apply in thin coats to prevent particles from settling unevenly
- Use a gentle, dabbing motion rather than dragging the brush — this helps distribute particles evenly
- Cure properly between coats to lock everything in place
- Finish with a crystal-clear top coat to seal and amplify the shimmer effect
Worth knowing: Soft shimmer shows fingerprints slightly more than completely clear finishes, but less than opaque colors — a reasonable trade-off for the added dimension.
6. Frosted Pearl Finish
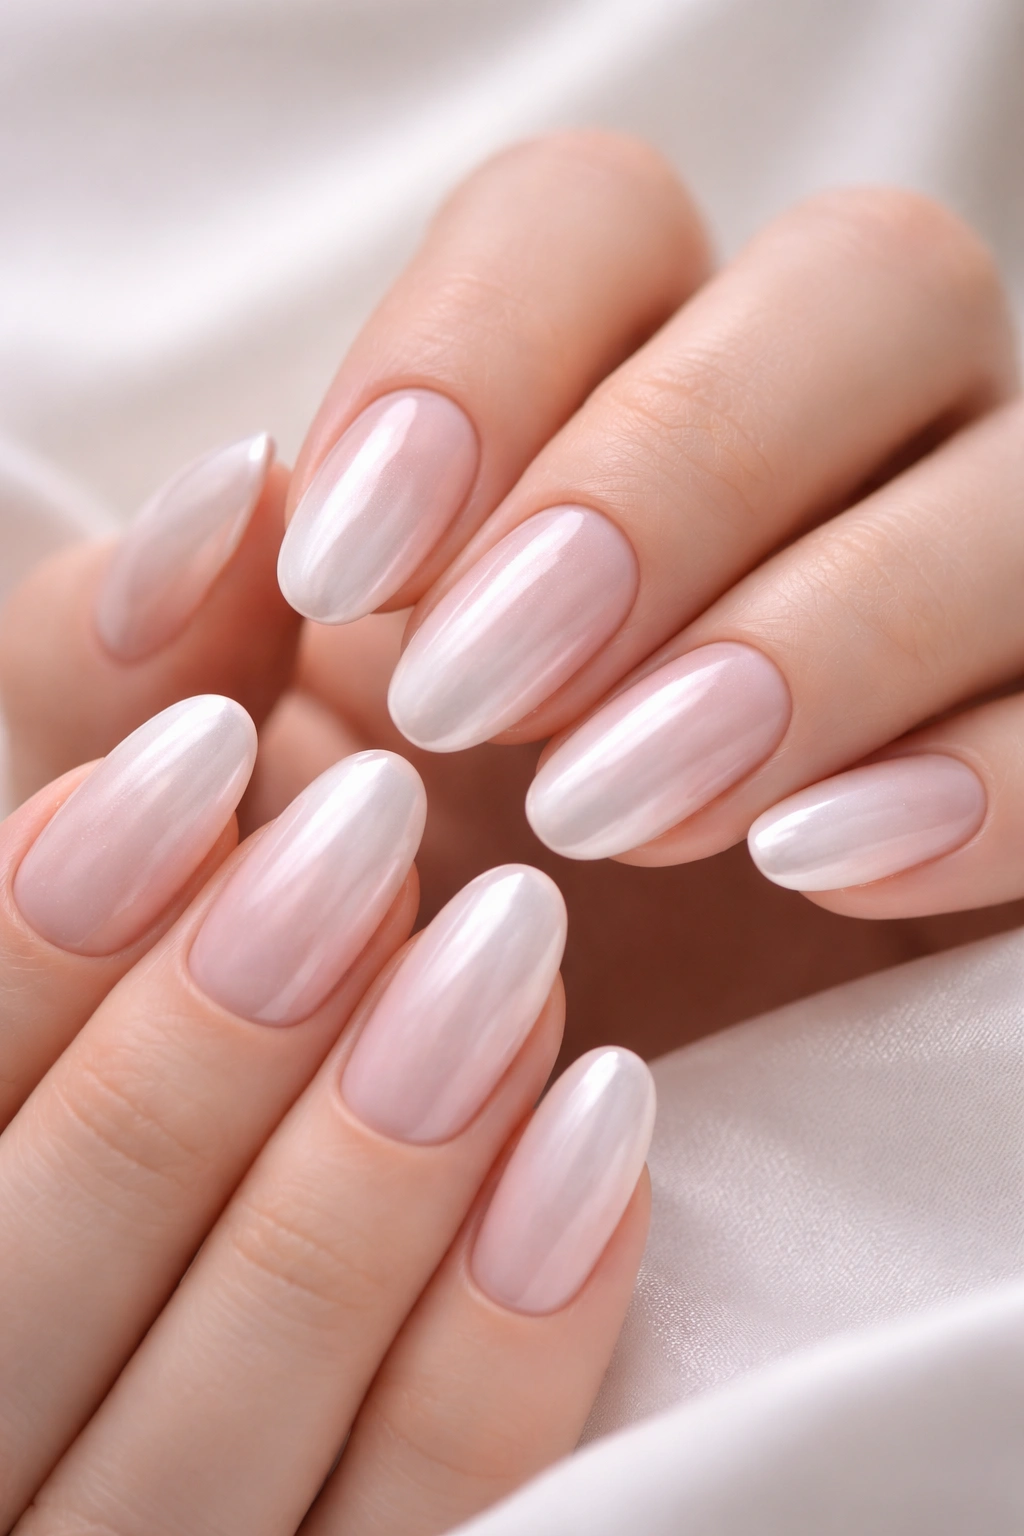
Frosted pearl nails achieve a semi-opaque, lustrous appearance that feels both elegant and slightly ethereal — like light passing through frosted glass. This finish sits somewhere between transparent and opaque, creating a milky, pearl-like quality that’s less sheer than true glass nails but still maintains the translucent aesthetic. The oval shape becomes even more visually striking with this finish because the pearl quality enhances the nail’s three-dimensional appearance.
Creating Authentic Pearl Luminescence
True pearl finish requires products specifically formulated to create that luminous quality — often through mica, pearl pigments, or iridescent flakes suspended in a translucent gel or polish. The result should have depth and a subtle glow rather than looking flat or chalky. The color shifts subtly depending on the angle and light source, which is what creates that coveted pearl effect. This isn’t just opaque white with shimmer; it’s a specific shimmer quality that mimics actual pearl luster.
Achieving the Look at Home or in a Salon
- Ask specifically for “pearl finish” or “pearlescent” products — regular white or cream won’t give you this effect
- Apply two coats for the right balance of opacity and pearl luminescence
- Use a high-shine top coat to amplify the pearl quality and create maximum light reflection
- Avoid matte finishes with pearl nails — the glow requires glossy shine
- This finish pairs beautifully with negative space or accent details because the pearl quality stands alone as decoration
Pro tip: Pearl nails photograph incredibly well and look more expensive than they actually are, making them perfect if you’re documenting your nails or want a luxe look on a moderate budget.
7. Peachy Glass with Subtle Swirls
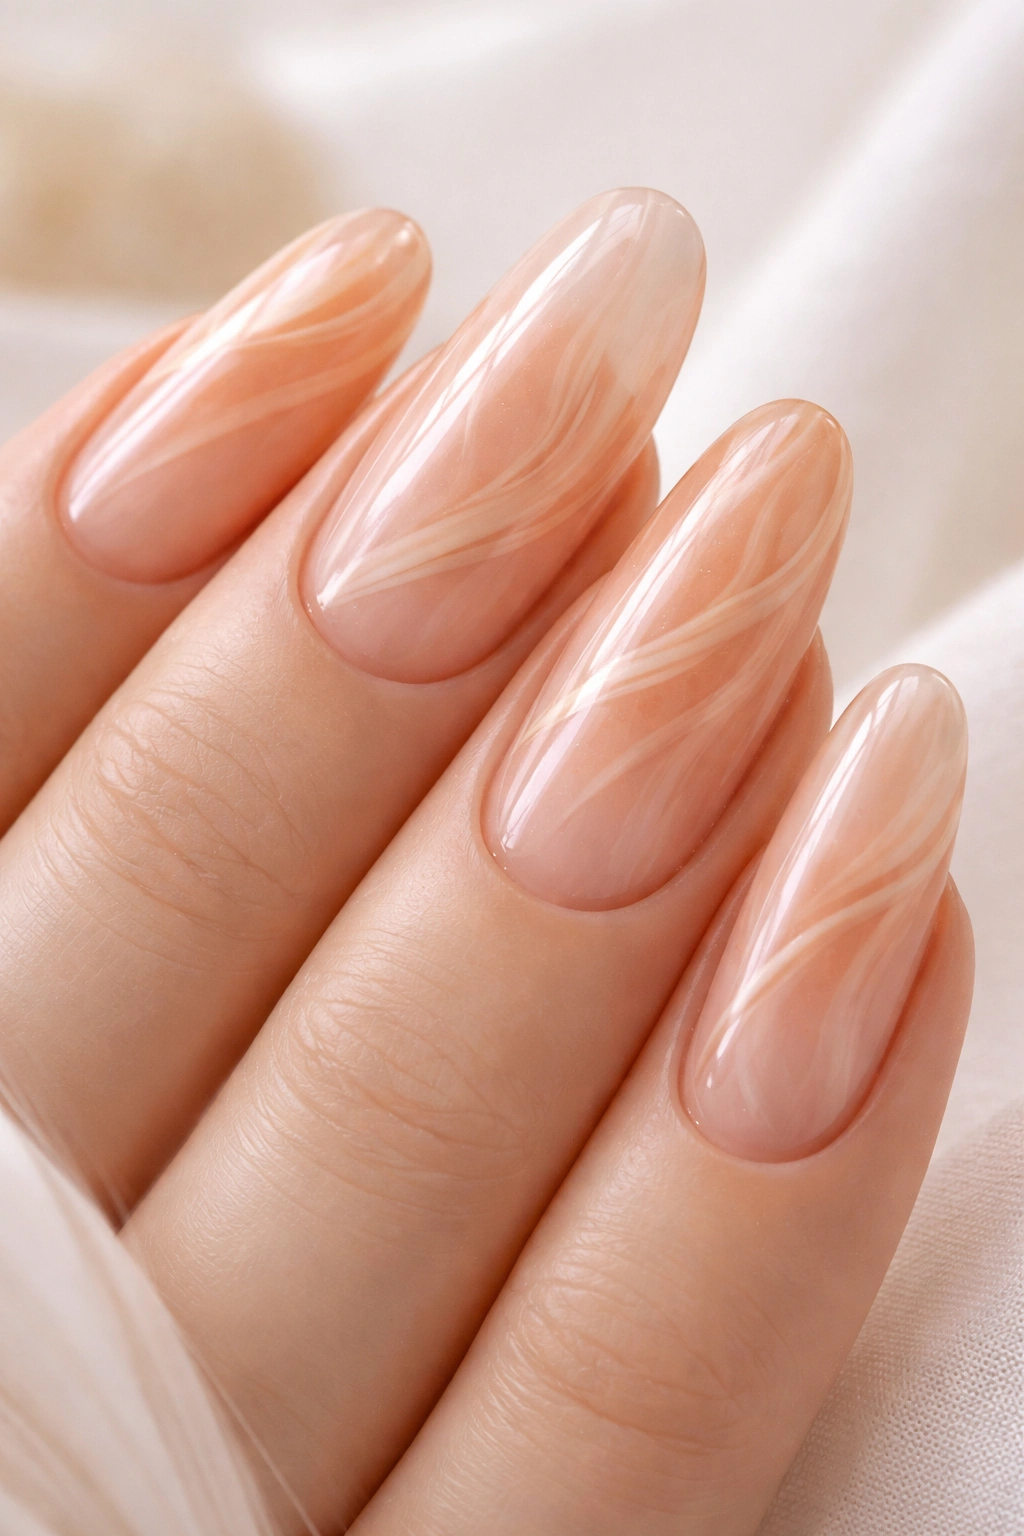
Peachy glass provides warmth and approachability while subtle swirls add just enough visual interest to prevent the look from feeling boring. Swirls don’t have to mean elaborate nail art — thin lines of a slightly deeper peach tone, or hints of cream and nude marbled throughout, create movement and intentionality without overwhelming the glass effect. This design feels modern and thoughtfully put together while remaining wearable.
Creating Natural-Looking Swirls in Sheer Polish
Swirls work best when you’re using very similar tones within the same color family — think different depths of peach and cream rather than contrasting colors. Use a fine brush or nail art tool to create thin, organic lines through wet or uncured product, letting them blend slightly as they cure. The swirls should look like they happened somewhat naturally rather than precisely executed, which maintains the effortless elegance of the glass finish.
Swirl Placement That Enhances Rather Than Distracts
- Keep swirls thin and loosely scattered rather than covering the entire nail
- Focus heavier swirl detail on the free edge, letting the cuticle area remain clear or barely-there
- Use swirls to guide the eye along the length of the nail, emphasizing the oval shape
- Two to three swirls per nail is usually ideal — enough for visual interest, not so much that it becomes a pattern
- One accent nail with more prominent swirls while others have subtle hints creates balance
Real talk: Swirls in sheer finishes require a steady hand or a good nail tech — wobbly swirls read as accidental rather than intentional. If precision isn’t your strength, keep the swirls thicker and more organic.
8. Ombré Sheer Blend

A true ombré sheer blend creates a gradient where transparency itself shifts — from more opaque at the tip to nearly clear at the cuticle, or vice versa. This is different from a color gradient because the shimmer, opalescence, or pearl quality intensifies as density increases, creating dimension through translucence rather than color change. The effect is subtle, sophisticated, and creates an impression of length and refinement.
The Science Behind Translucent Ombré
This technique works by gradually layering transparent products from most opaque to least opaque across the nail’s length. Each layer adds density without changing the fundamental hue, so what shifts is the intensity of light reflection and the depth of color showing through. The cuticle area remains nearly glass-clear, while the tip becomes increasingly frosted or shimmery. This creates a sophisticated gradient that feels modern and intentional.
Building Your Translucent Ombré Layer by Layer
- Start with a clear base coat cured completely
- Apply your first opaque layer at the very tip, covering about one-third of the nail
- Apply a slightly less opaque layer over the middle third, leaving the tip uncovered so the deeper layer shows through
- Apply an even lighter layer at the cuticle area, creating a gradient of density
- Seal everything with a glossy top coat
- This technique works with gel products best because you can cure between each layer and maintain control
Worth knowing: Translucent ombré requires patience and precision — rushing the layering creates streaks instead of smooth gradients. This is a good design to have done professionally if you’re trying it for the first time.
9. Clear with Geometric Negative Space
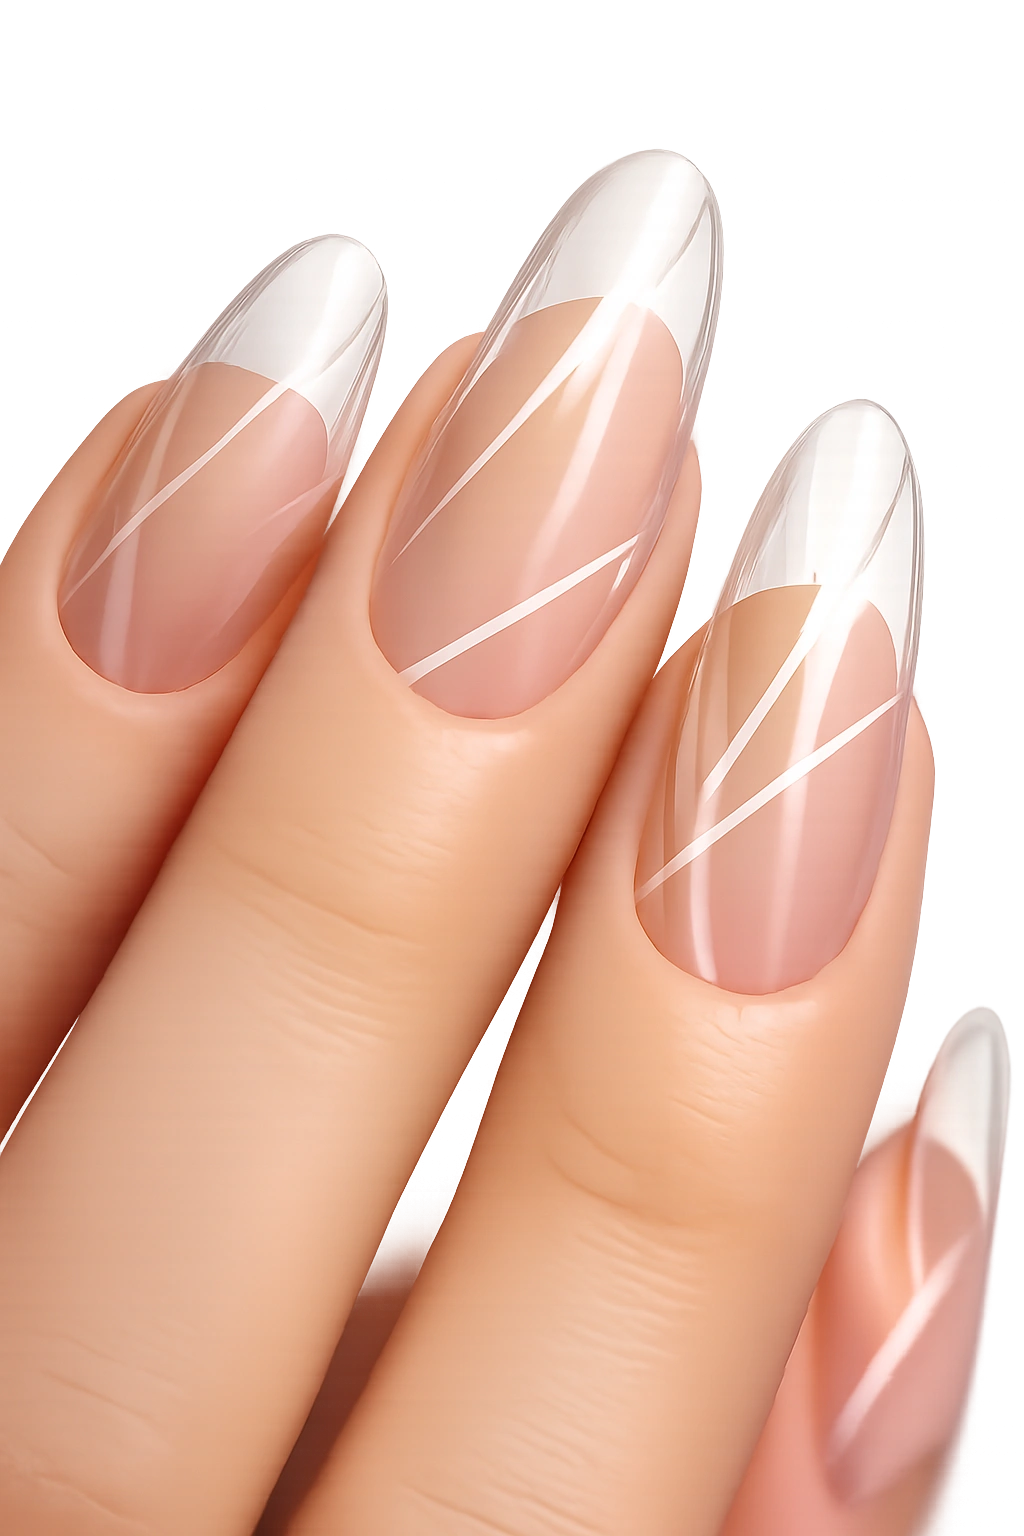
Negative space in sheer nails means strategically leaving the natural nail visible in geometric patterns while filling the rest with translucent product. A thin line around the edge, triangular cutouts at the tips, or linear designs create modern sophistication while maintaining the glass aesthetic. The contrast between the sheer glaze and the bare nail creates visual interest without requiring colored polish or nail art.
Designing Geometric Patterns in Negative Space
Simple geometric shapes work best: thin lines running horizontally or vertically, small triangles at the corners, negative space at the cuticle, or angular shapes framing the nail. Apply your sheer product to the entire nail first, then use a fine brush to carefully remove the glaze in your desired pattern while it’s still wet or uncured (depending on your product). Alternatively, apply sheer polish only to the areas you want covered, leaving geometric areas bare.
Geometric Patterns That Actually Look Intentional
- A thin vertical line down the center of the nail reads as minimalist and modern
- Small triangles at the tips create playful geometry without being cutesy
- Horizontal lines spaced evenly create rhythm and draw attention to nail length
- Asymmetrical negative space on different nails creates visual interest across the whole hand
- Keep lines clean and crisp — wobbly geometry reads as sloppy
- One accent nail with more prominent negative space while others stay subtle creates balance
Pro tip: Use thin tape or stencils to create perfectly clean lines if freehand precision isn’t your strength — the geometric effect relies on sharp edges to look intentional.
10. Soft Taupe Glass with Matte Base Option
Soft taupe glass provides a neutral warmth that reads as intentionally sophisticated rather than accidental bare nails. Taupe has brown, gray, and sometimes mauve undertones depending on the product — choose one that complements your skin’s undertone. The sheer finish prevents this from feeling cold or institutional, while the matte base option (if you choose to add one) creates an entirely different texture experience: velvety and modern rather than glossy and classic.
Understanding Taupe’s Versatility Across Skin Tones
Taupe is genuinely one of the most universally flattering nail colors because it’s an inherent neutral — warm enough to feel approachable, cool enough to feel sophisticated. Fair skin reads taupe as a soft, elegant nude. Deeper skin tones reveal the richer brown and gray undertones, creating depth and warmth. Medium skin tones land right in that perfectly neutral territory. The sheer finish allows your natural nail to influence the final appearance, creating a custom shade unique to your coloring.
Matte vs. Gloss: Two Entirely Different Aesthetics
- Glossy taupe glass creates a luxe, expensive appearance with maximum light reflection and classic elegance
- Matte taupe glass feels modern, slightly edgy, and more fashion-forward while maintaining sophistication
- Matte requires slightly different application — you’ll need a matte top coat applied to the final product, which can sometimes dull shimmer or sheen if present
- Matte finishes show fingerprints and watermarks more readily than gloss, requiring more frequent maintenance
- Consider your lifestyle: if you prefer low-maintenance, gloss taupe is the better choice; if you love a contemporary look, matte is worth the extra upkeep
Worth knowing: Soft taupe photographs differently than most sheer colors — it reads as more intentional and designed in photos, often looking more prominent than it does in person. If you’re documenting your nails, taupe glass nails will photograph beautifully.
Final Thoughts
The beauty of long oval glass nails is that they work because they’re honest — they enhance what’s already there rather than covering it up or transforming it entirely. Each of these 10 styles proves that sheer doesn’t mean boring, and minimal doesn’t mean effort-free. Whether you choose barely-there transparency, subtle color with sophisticated details, or thoughtful design elements like negative space and delicate accents, you’re committing to a nail aesthetic that says “I know what suits me and I’m confident enough to keep it understated.”
The long oval shape elongates your fingers and suits virtually every hand, making it the perfect canvas for glass nails. The sheer finish ensures your nails remain wearable in any setting — professional environments, formal events, everyday life — without needing to compromise style for appropriateness. These designs prove that you don’t need bold color or elaborate art to have memorable, beautiful nails; sometimes the most striking designs are the ones that whisper rather than shout.
Start with whichever style resonates with you. If you love simplicity, begin with barely-there cream or blushed pink. If you want subtle interest, try the milky nude gradient or clear with soft shimmer. If you’re ready for something slightly more designed, explore negative space or the peachy swirls. Once you find your glass nails baseline, you’ll likely return to it again and again — it becomes the reliable style that always feels right, always looks intentional, and always earns compliments from people who appreciate quiet elegance.
