

French tip almond nails are one of those rare manicure ideas that manage to look clean, feminine, polished, and a little bit sharp all at once. That’s the appeal. You get the softness of the almond shape, which flatters almost every hand, and the crisp line of a French tip, which keeps the whole look from drifting into messy DIY territory. If you’re doing your own nails at home, that balance matters more than people admit.
A lot of beginners assume French tips are too hard to do without a salon steady hand. I don’t buy that. Are they fiddly? Yes. Will your first set look identical on both hands? Maybe not. But almond nails are actually more forgiving than square tips because the rounded shape makes slight line differences less obvious, especially when you’re working with thin polish layers and a soft smile line instead of a harsh stripe.
The other reason this style works so well for beginners is that it teaches good habits fast: shaping evenly, painting in controlled strokes, using less polish than you think, and knowing when to stop before you overwork the design. That last one matters. Most DIY nail disasters happen because someone keeps “fixing” a line until the whole tip turns thick and lippy.
If you want beginner-friendly DIY French tip almond nails that look intentional, wearable, and realistic to do at home, these are the designs I’d start with.
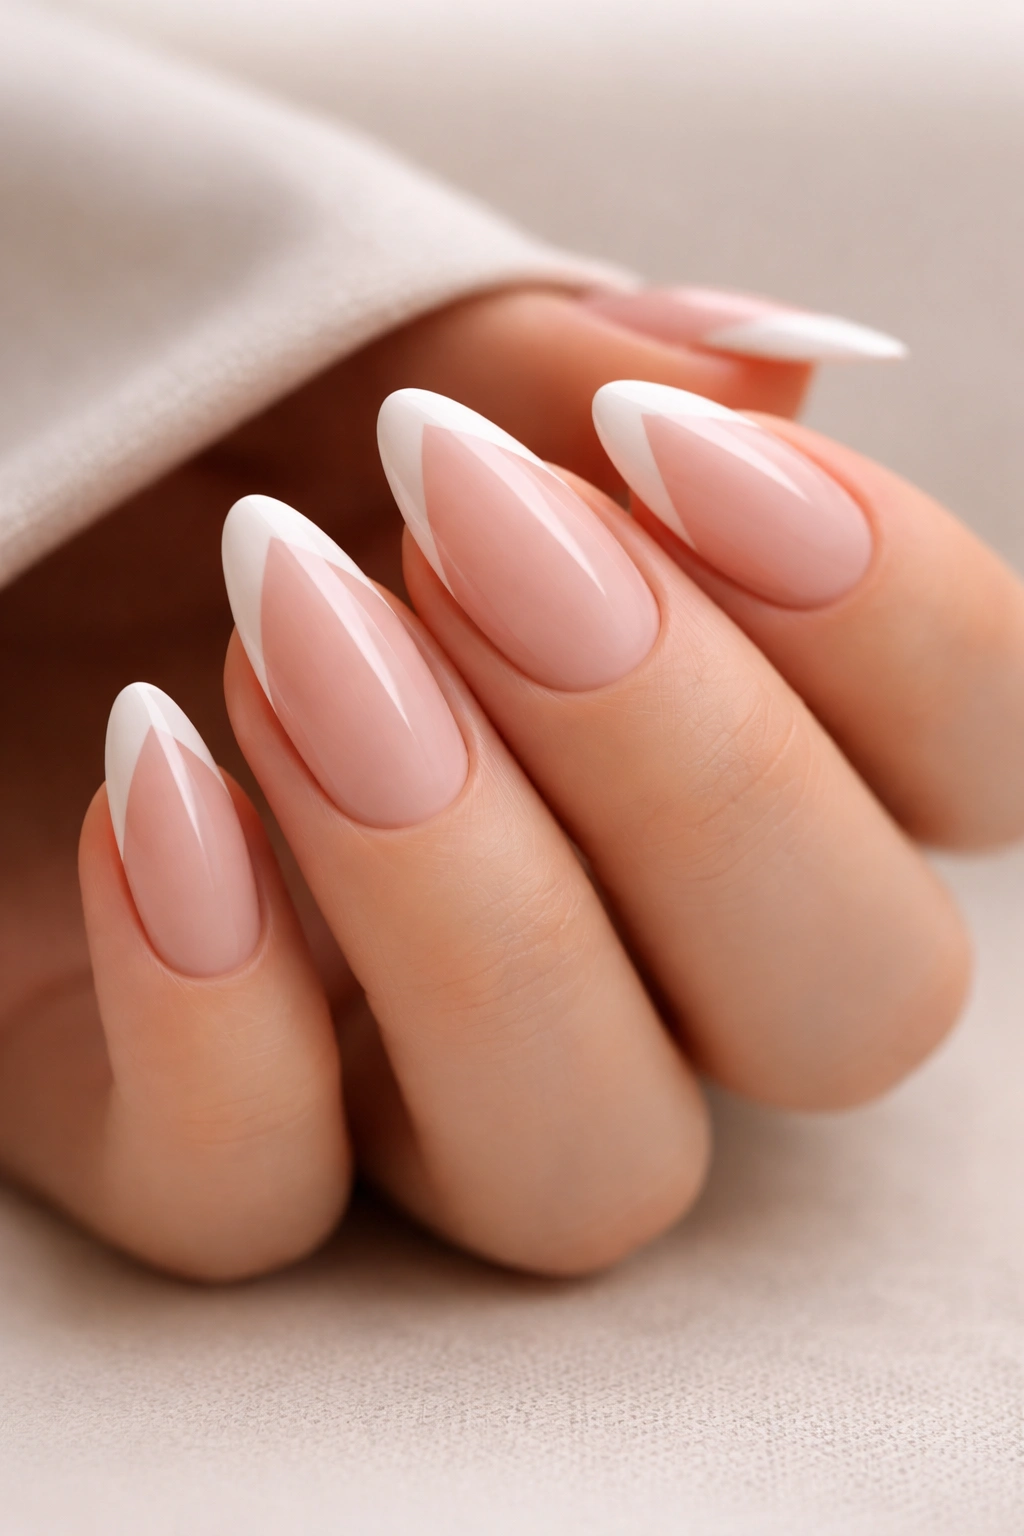
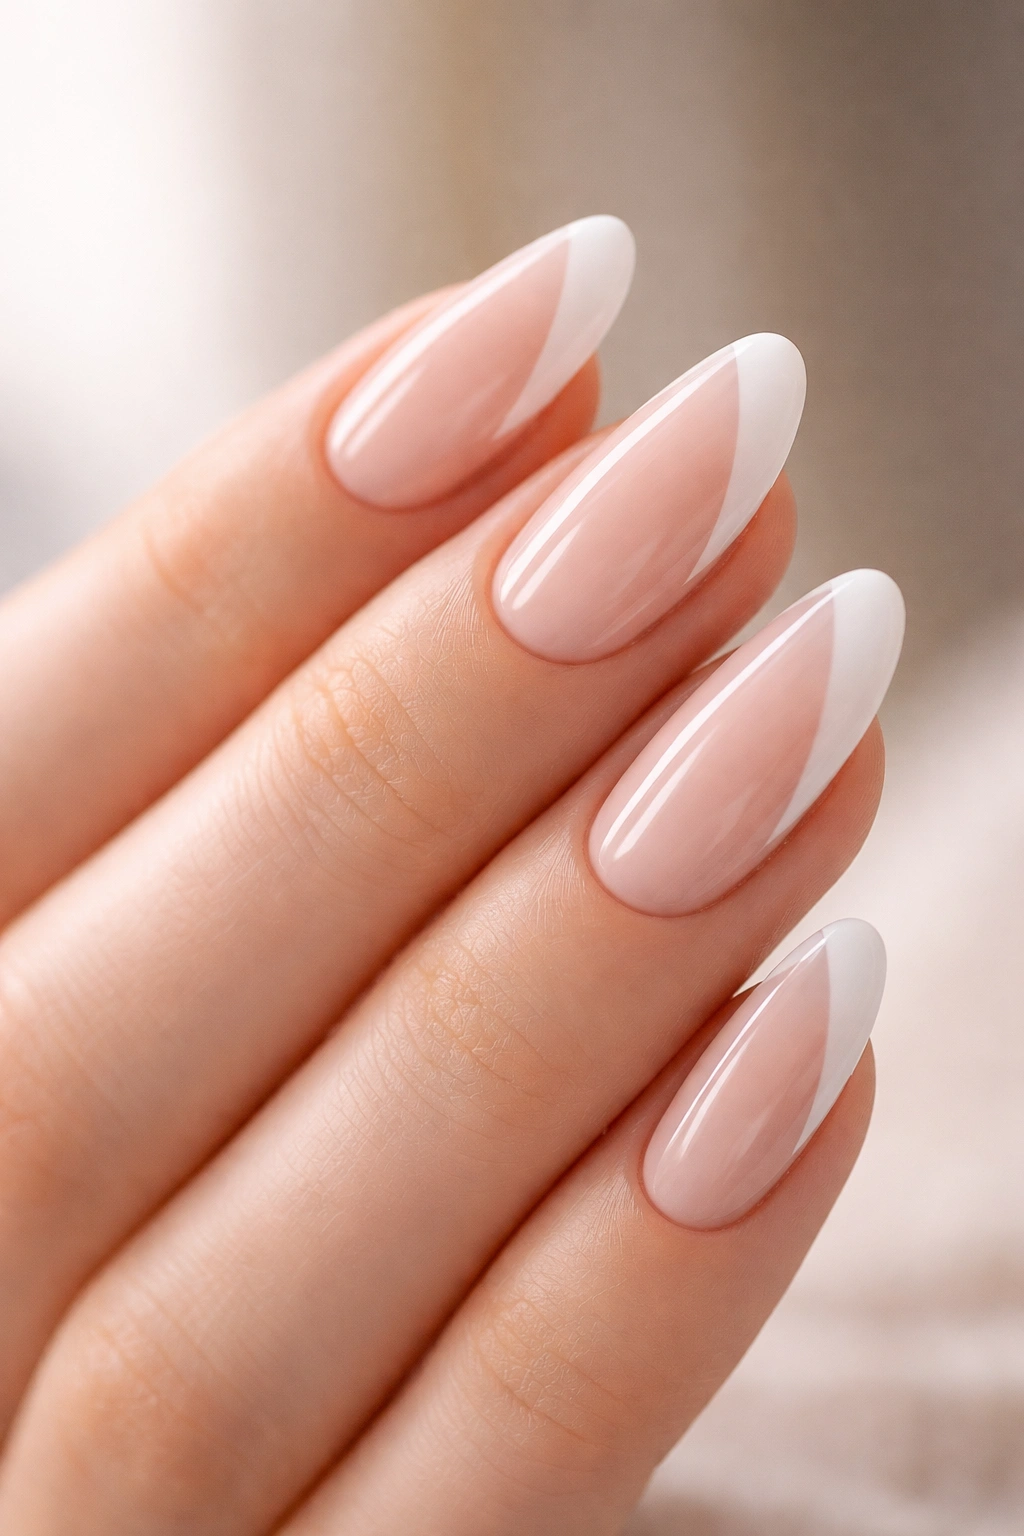
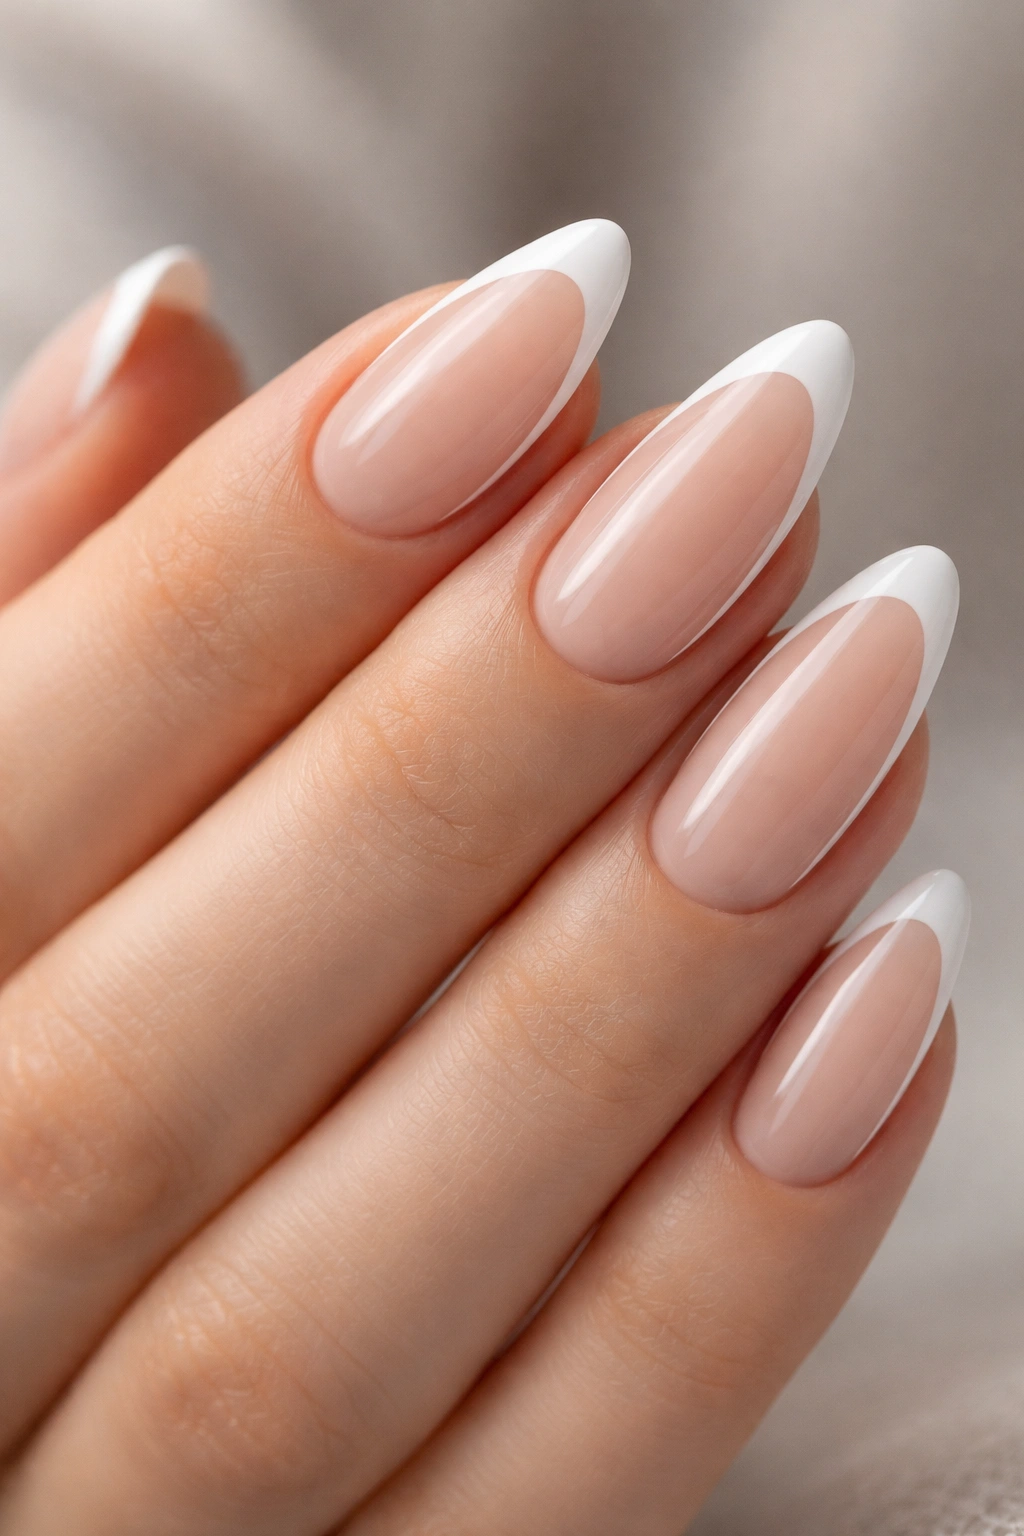
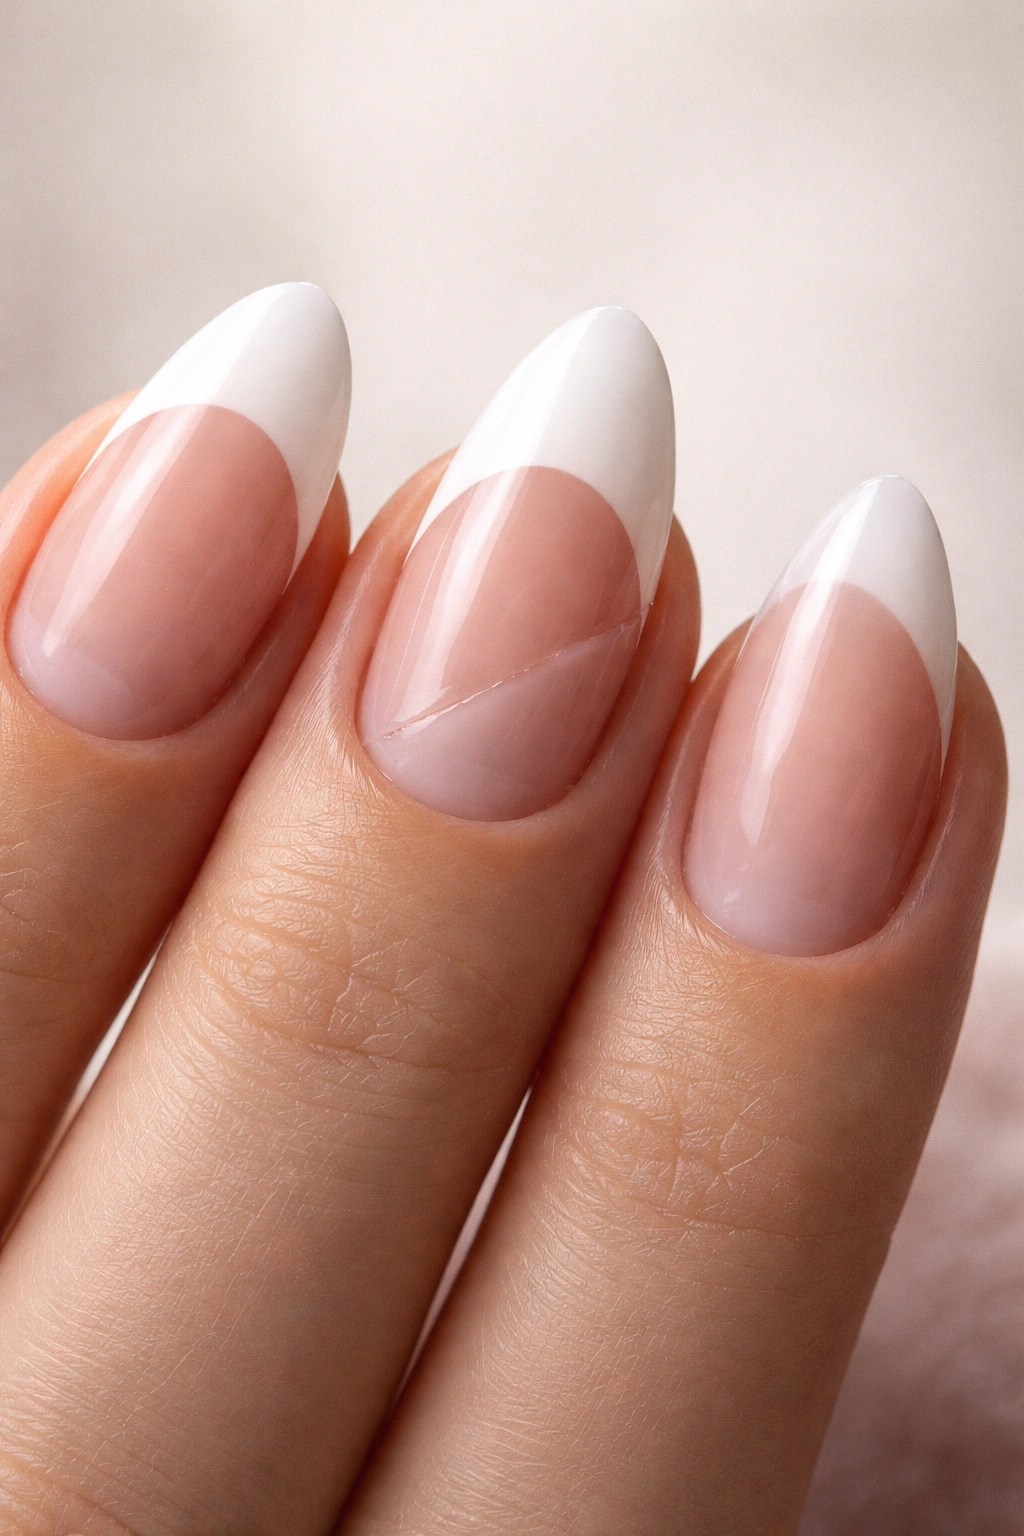
1. Classic Soft White French Tip
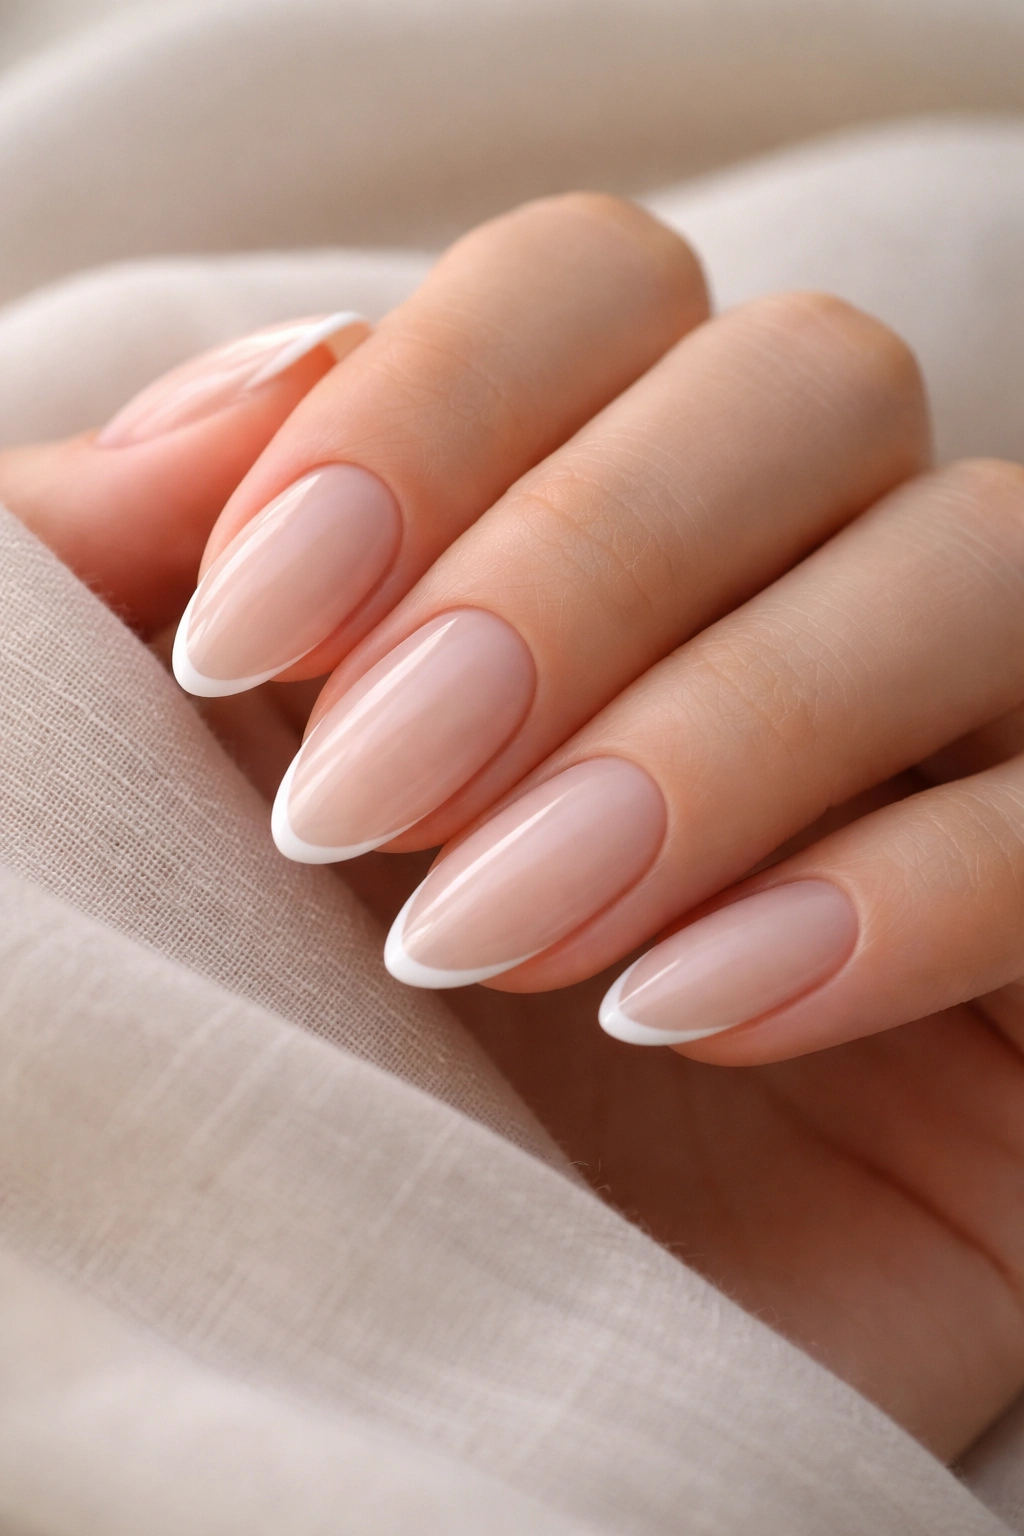
If you only try one style, make it this one. A soft white French tip on an almond nail is the baseline look that teaches nearly everything you need to know about balance, symmetry, and polish control.
The trick is not making the white too bright or too thick. On almond nails, a tip that takes up about 15 to 20 percent of the nail length usually looks cleaner than a deep, heavy curve. If the white comes too far down the sidewalls, the nail starts looking stubby instead of elegant. That’s a common beginner mistake.
Why this one works for first-timers
A classic soft white French gives you room for tiny imperfections. Because the color contrast is familiar, the eye tends to read the whole manicure before it notices a slight difference between one smile line and the next.
You also don’t need nail art tools to pull it off. A regular bottle brush can work if you:
- apply a sheer pink or nude base first
- let it dry fully for at least 10 to 15 minutes
- use the side of the brush to sketch the curve
- fill in the tip with thin coats instead of one thick pass
Quick setup that helps
- File each nail into the same almond shape before painting
- Keep the center point soft, not sharp
- Use a sheer base to blur streaks and small dents
- Seal with a glossy top coat to smooth the transition line
Best beginner tip: paint your dominant hand first while your nondominant hand is still steady.
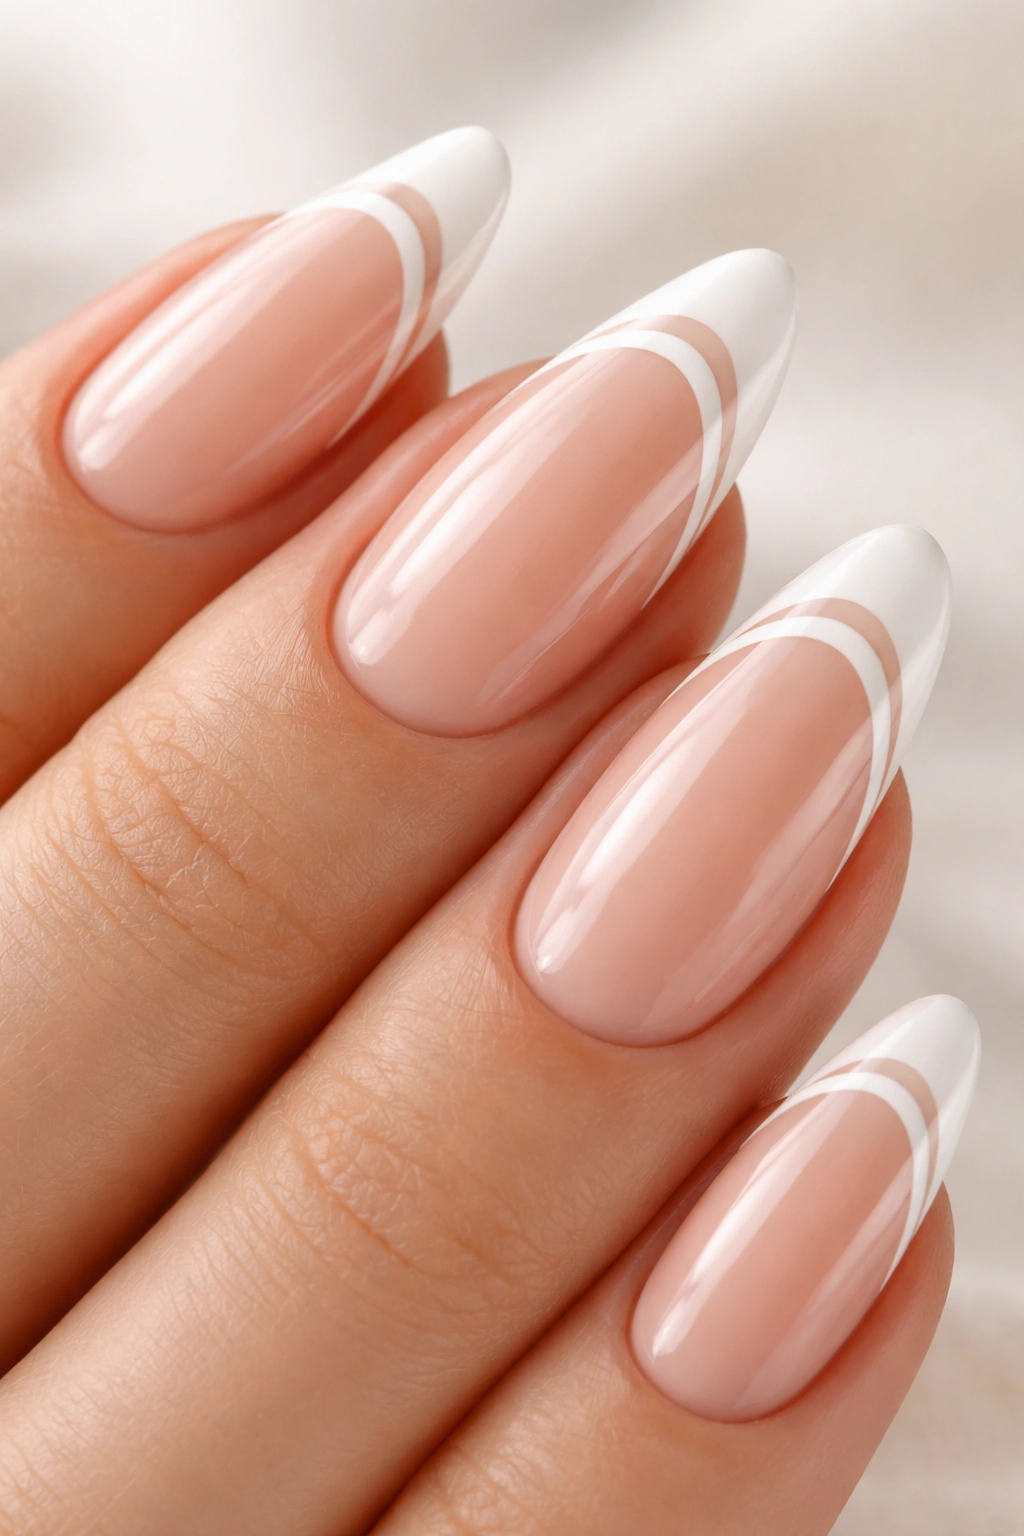
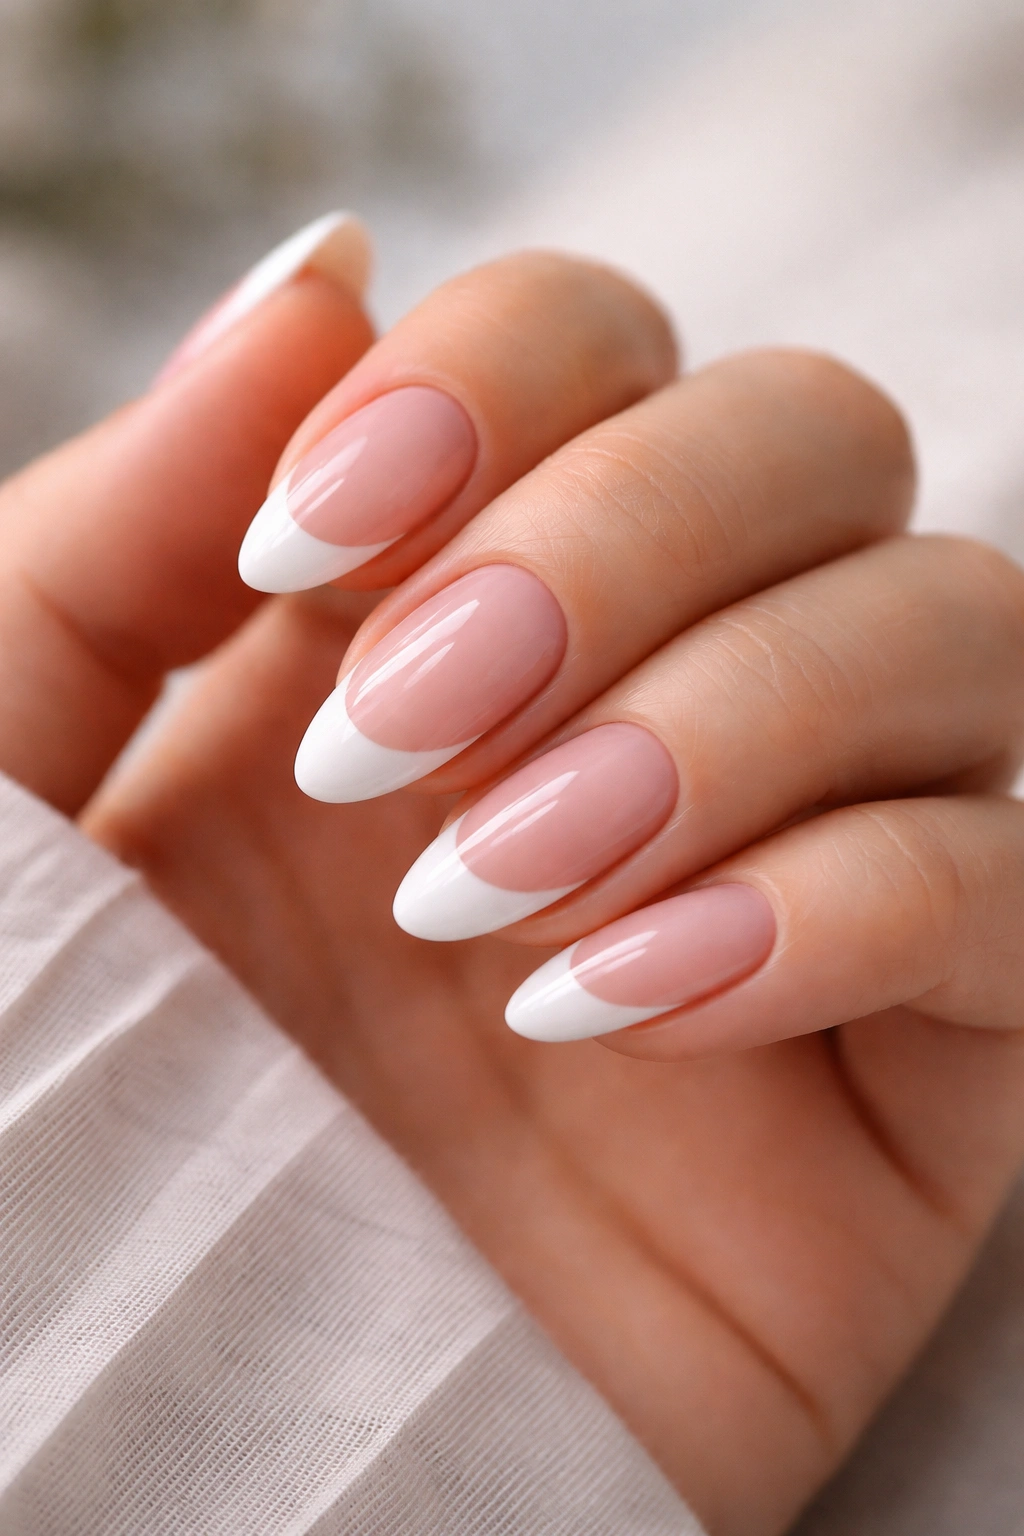
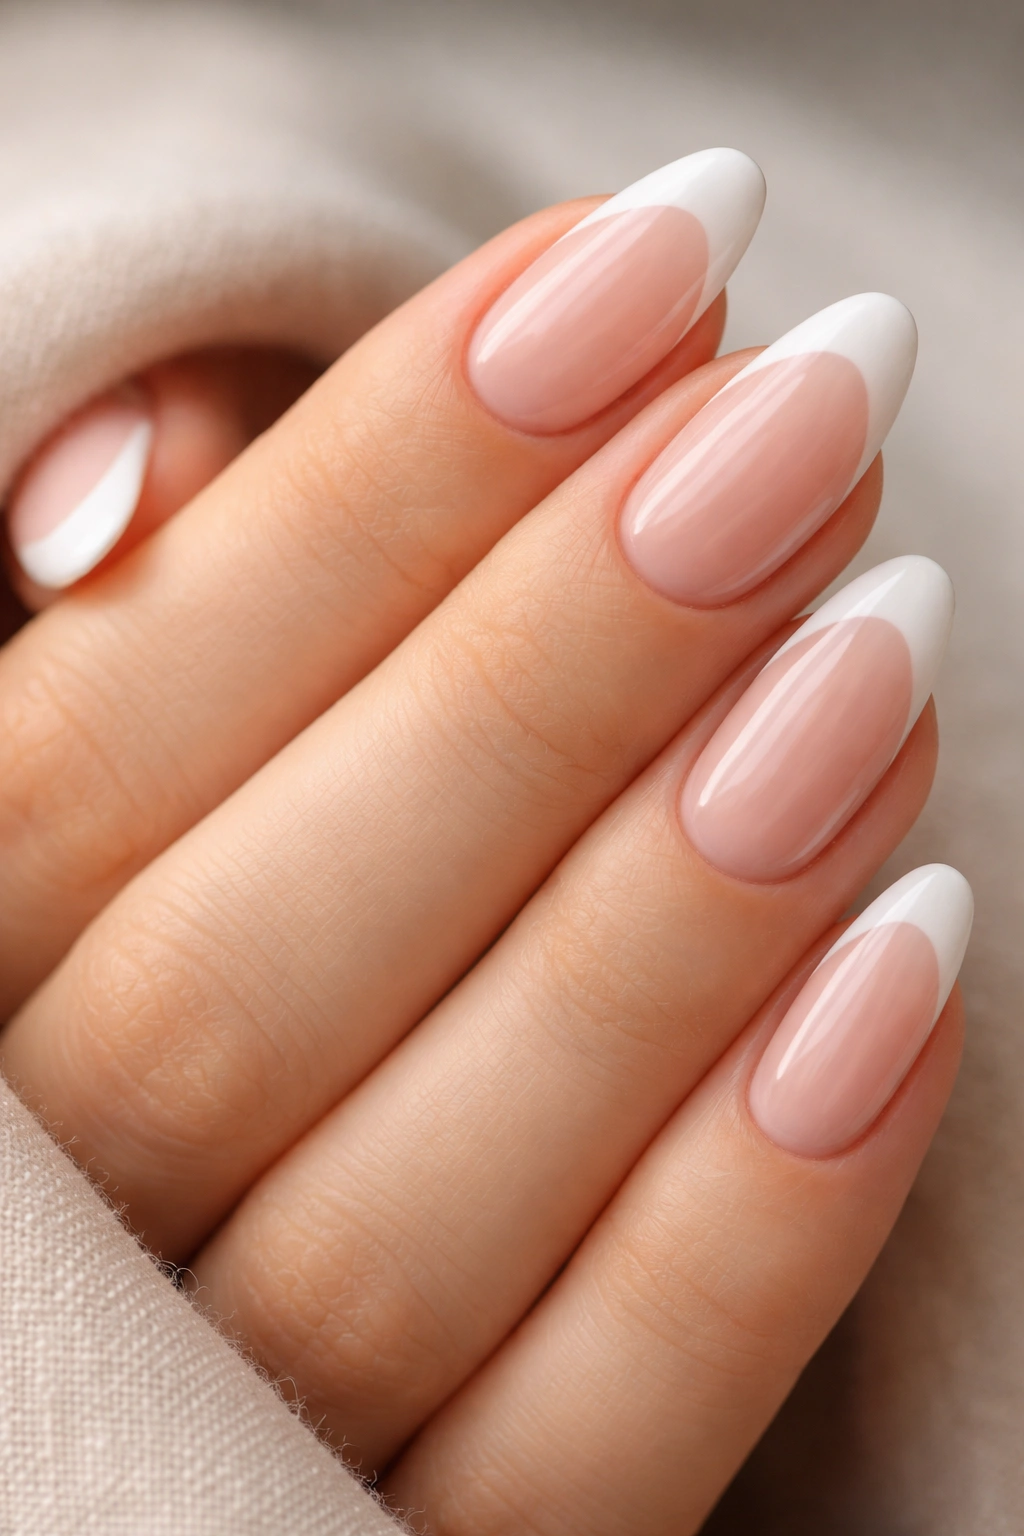
2. Milky Nude Base With Micro French Edge
This is the French manicure for people who want something easier than the old-school look. A micro French edge uses a much thinner white line—often only 1 to 2 millimeters wide—and on almond nails it looks refined without demanding perfect deep curves.
There’s a practical advantage too. A thin tip means less room for visible wobble. If your hand shakes a bit, a micro edge still reads as delicate. A chunky white tip announces every mistake.
I like this version on short to medium almond nails because it lengthens the finger without screaming for attention. It feels neat. That’s the word.
How to get the line thin enough
Use less polish than feels natural. Wipe one side of the brush against the bottle neck, then turn the brush so the fuller side faces the free edge. Start in the middle, push gently, and drag outward in small arcs.
If a regular brush feels clumsy, a thin liner brush around 7 to 9 mm long gives you more control. Dip just the first third of the bristles into polish. Too much product floods the edge fast.
A milky nude base also helps because it softens the contrast between your natural nail and the painted tip. That means the whole design looks cleaner, even if the line is not salon-perfect.
3. Baby Pink French Tip Almond Nails
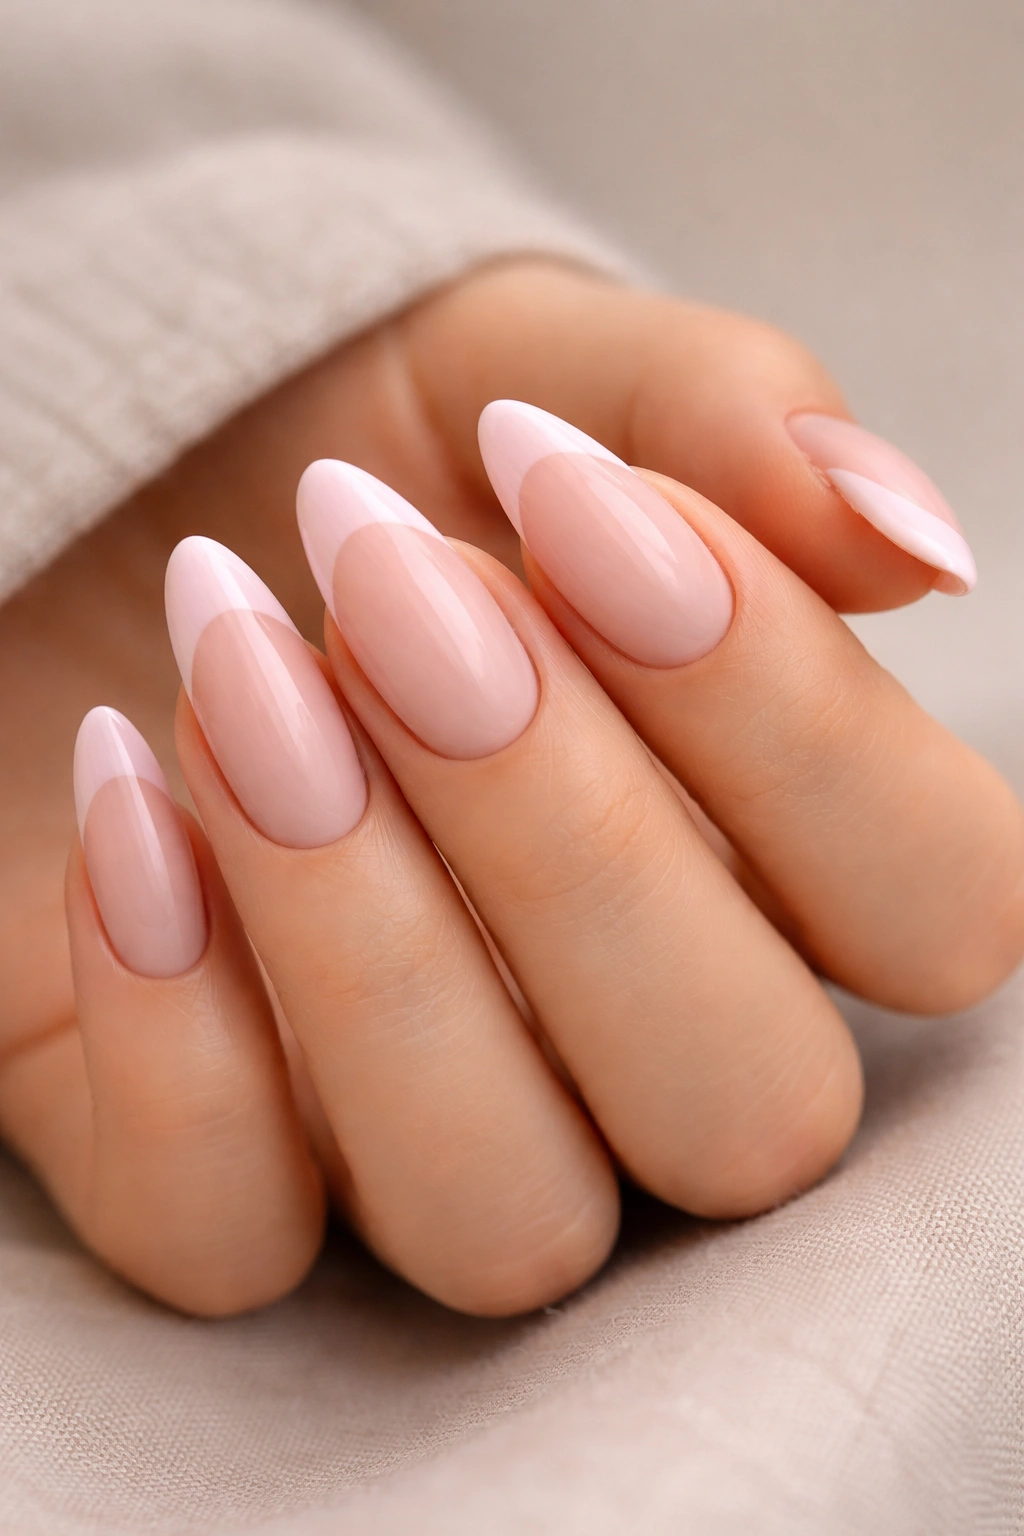
Want something classic but a touch sweeter? Swap the white tip for baby pink. It’s one of the safest beginner moves because the lower contrast hides unevenness better than white against nude.
And yes, that matters.
A pale pink French tip still gives you the French manicure structure, but with a softer finish that feels less formal and a little more playful. On almond nails, this reads fresh rather than childish—provided the pink stays light and the base stays neutral.
What makes it easier than white
White polish shows every ridge, streak, and thick patch. Light pink usually self-corrects more gracefully, especially in two thin coats. If your line is a hair uneven, the eye won’t grab it as quickly.
You can also lean into a monochrome look:
- sheer pink base
- baby pink tip
- high-gloss top coat
That combination creates a subtle gradient effect even when the tip line is still clearly defined. If you’ve never done French tips before, this is a smart confidence-building set.
One warning: avoid bubblegum pink with a chalky finish. On almond nails, that can make the manicure look plastic instead of polished.
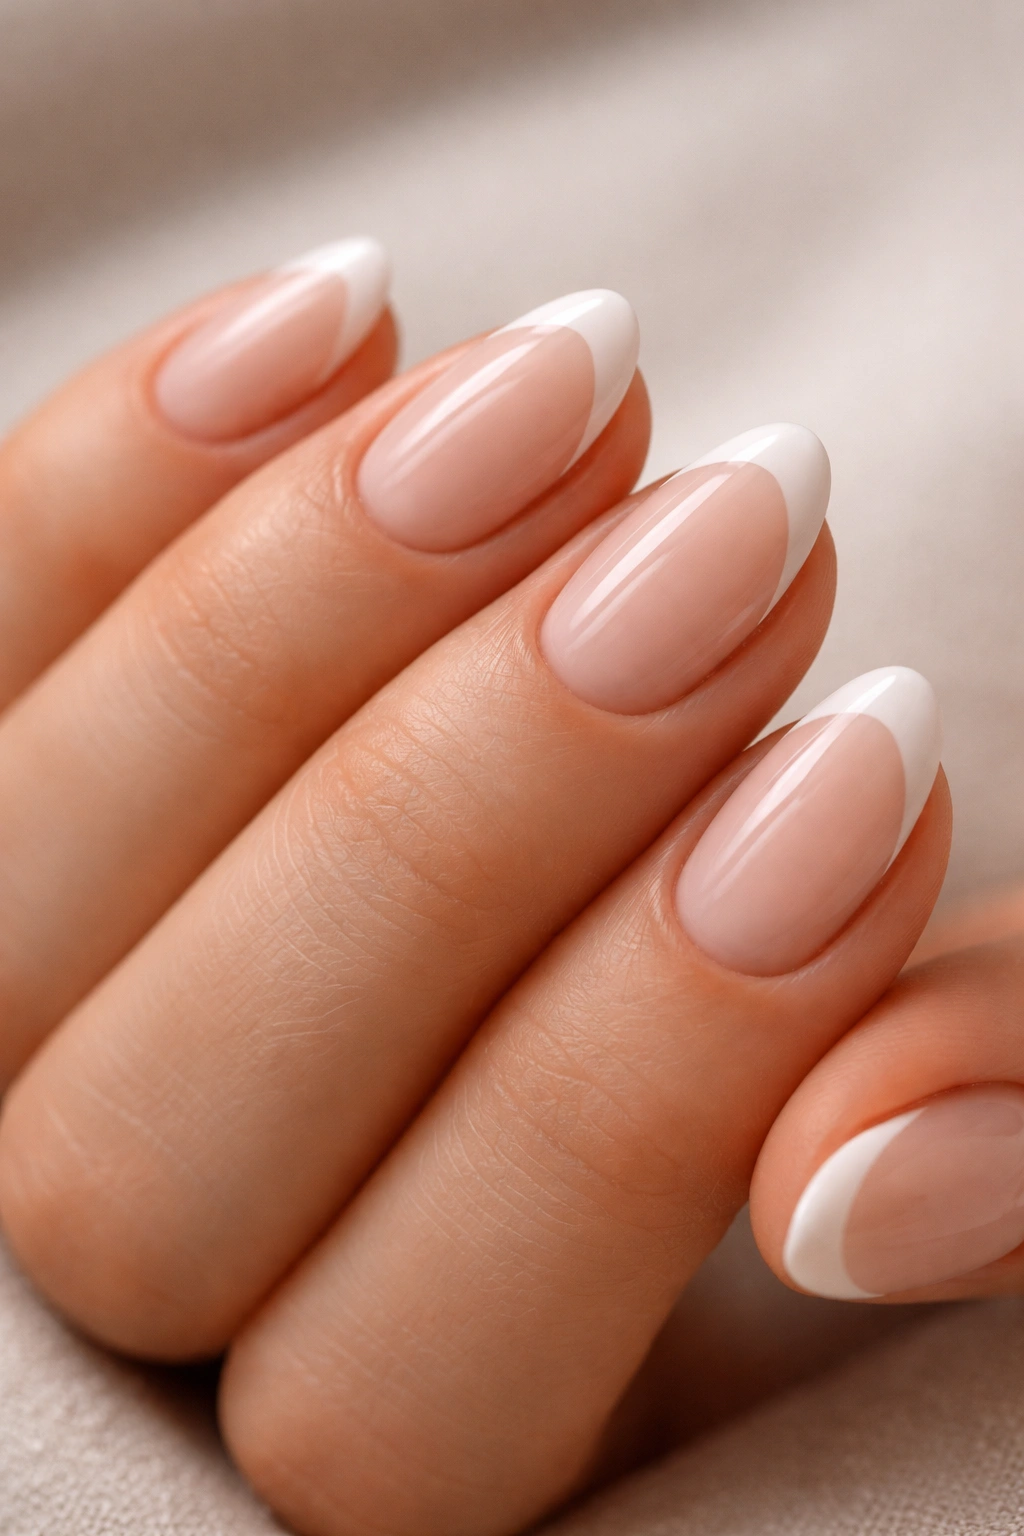
4. Sheer Peach Base With Cream Tip
Not every French tip needs stark white. A cream tip over a sheer peach base has a warmer, softer look that’s easier to wear if bright white feels too sharp against your skin tone.
This combo is especially nice on medium skin, olive skin, and deeper complexions, where cool white can sometimes look harsh. Cream still gives contrast, just with less bite.
I’m partial to this version because it looks expensive without trying too hard. It reminds me of the kind of manicure that grows out gracefully instead of looking rough after four days.
The science behind the softer contrast
A warmer tip color blends more naturally into peach and beige bases, so your eye reads fewer hard edges. That makes tiny DIY inconsistencies less visible. It also helps if your nail shape isn’t perfectly matched from finger to finger—which, for beginners, is normal.
How to keep it clean
- Shape first, polish second
- Use a sheer peach base in 2 thin coats
- Let the base dry fully before adding the cream tip
- Keep the tip arc shallow on shorter nails
- Finish with a plumping top coat for a smoother surface
If you’re choosing between white and cream for your first attempt, cream is often the less frustrating option.
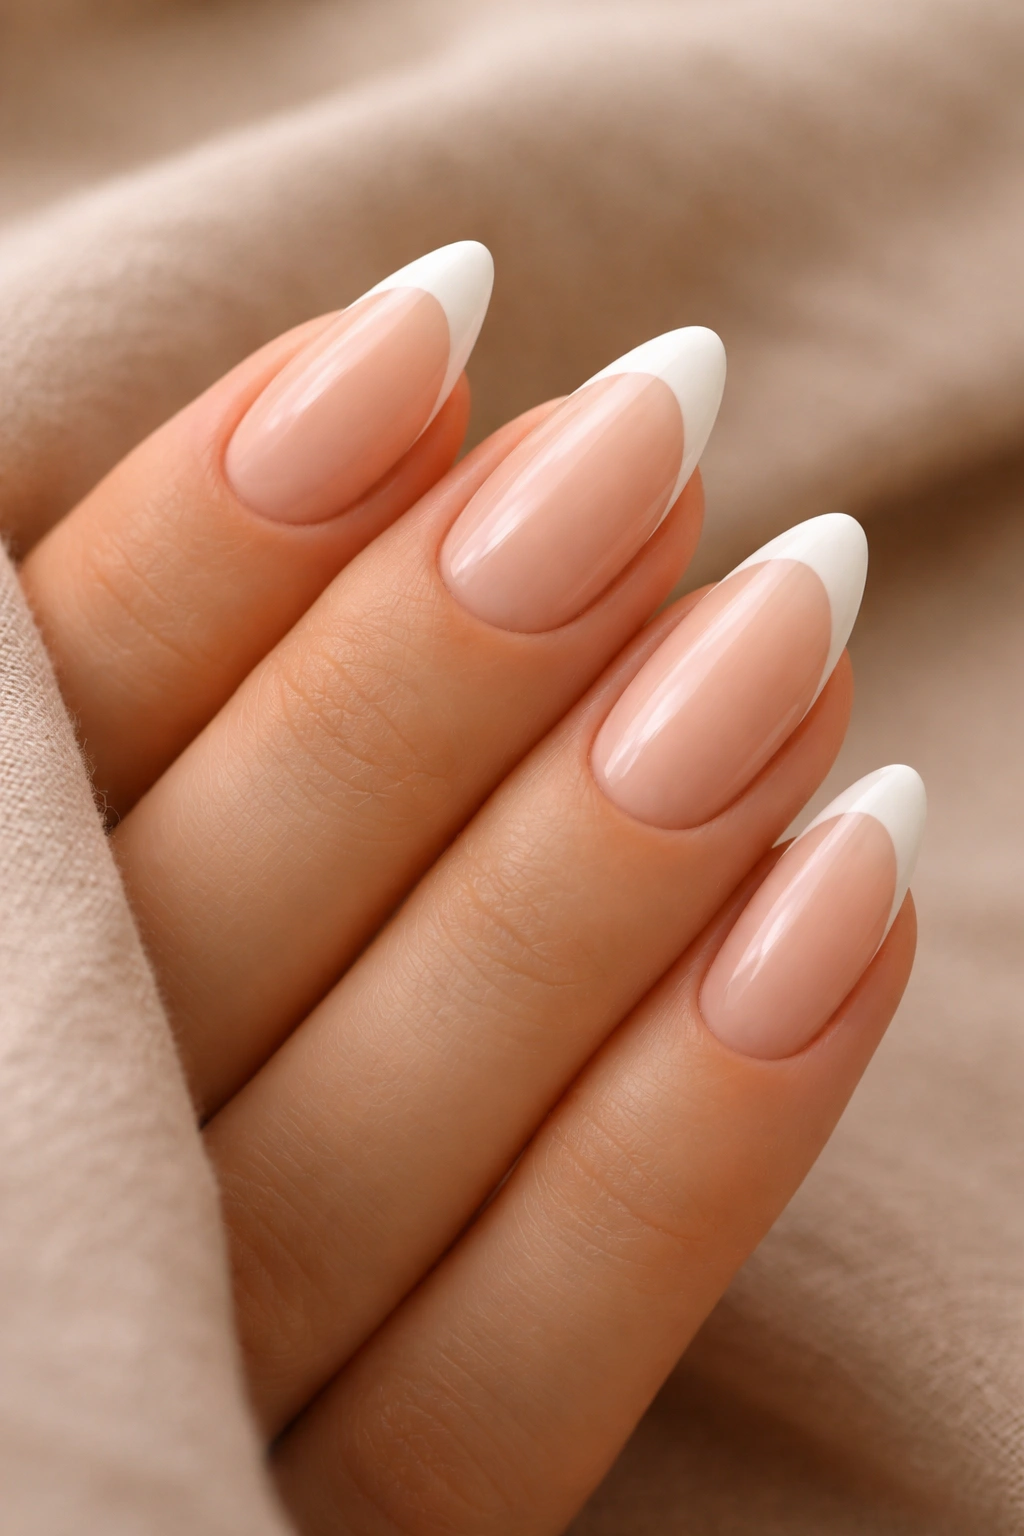
5. Short Almond French Tips With Rounded Smile Line
Short almond nails deserve more respect than they get. People act like almond only works with long extensions, but a short almond French tip can look tidy, practical, and flattering if the shaping is done right.
The key is the smile line. On shorter nails, a deeply carved French tip can eat up too much space and make the nail bed look smaller. A rounded, shallow smile line works better because it follows the natural edge without dropping too far down the sides.
This one is beginner-friendly because shorter nails are easier to control while painting. Less surface area, less time waiting for polish to self-level, less chance of smudging the tip on your phone five minutes later because you got impatient. We’ve all done it.
What to watch for
If your nail free edge is under 2 to 3 mm, don’t force a dramatic French arc. A thin crescent at the edge will look more proportional.
Try this order:
- File into a soft almond shape with a 180-grit file
- Apply base coat and let it set
- Use a guide sticker if you need one
- Paint a thin white or cream curve
- Remove the guide before the polish fully dries
- Add top coat after the tip is set to the touch
Good beginner call: keep the tips narrow and let the shape do most of the work.
6. Diagonal French Tip for an Easier Line
Here’s the slightly sneaky option: skip the traditional curved smile line and do a diagonal French tip instead. It still gives you that clean tipped effect, but the line is often easier to paint because you’re making one angled sweep rather than trying to draw a balanced curve.
On almond nails, a diagonal tip looks modern without getting weird. That matters more than you’d think. Some DIY nail art ideas look cute in a photo and awkward on an actual hand. This one usually holds up.
Why diagonal tips are beginner-friendly
A straight or slightly angled line is easier to control than a symmetrical crescent, especially on your nondominant hand. You can start at one sidewall and guide the brush across the tip in a single motion.
You can also tidy the shape with a small flat cleanup brush dipped in remover. Because the line is geometric, cleanup tends to be simpler.
A few good color pairings
- nude base + white diagonal tip
- milky pink base + cream diagonal tip
- sheer beige base + pastel tip
- clear nude base + soft metallic diagonal edge
Practical tip: angle the line upward toward the center of the nail rather than downward. It lengthens the look of the almond shape instead of cutting it off.
7. Double-Line French Tip With Extra Space
A double-line French tip sounds harder than it is. Done the easy way, it’s one of the most forgiving DIY looks because the design doesn’t rely on filling in a whole solid tip. You’re painting two slim curved lines, usually with a tiny gap between them.
That little gap does a lot of work. It makes the manicure look intentional, and it distracts from small differences in line thickness. Smart design, honestly.
What makes it different
Unlike a full French tip, the double-line style uses negative space near the free edge. On almond nails, that negative space keeps the nail looking airy and a touch more graphic.
You can use:
- white + white
- white + silver
- pink + white
- cream + gold
How to paint it without making a mess
Start with the upper line at the tip edge. Let it dry for 2 to 3 minutes. Then paint the second curved line slightly below it, following the same shape. Do not try to paint both lines wet unless you have a steadier hand than most people.
A liner brush helps here more than a bottle brush. If the lower line gets too thick, clean the center gap with a pointed cotton swab or cleanup brush.
This design looks like you spent more time on it than you did. I’m not above appreciating that.
8. Glitter French Edge on a Nude Almond Base
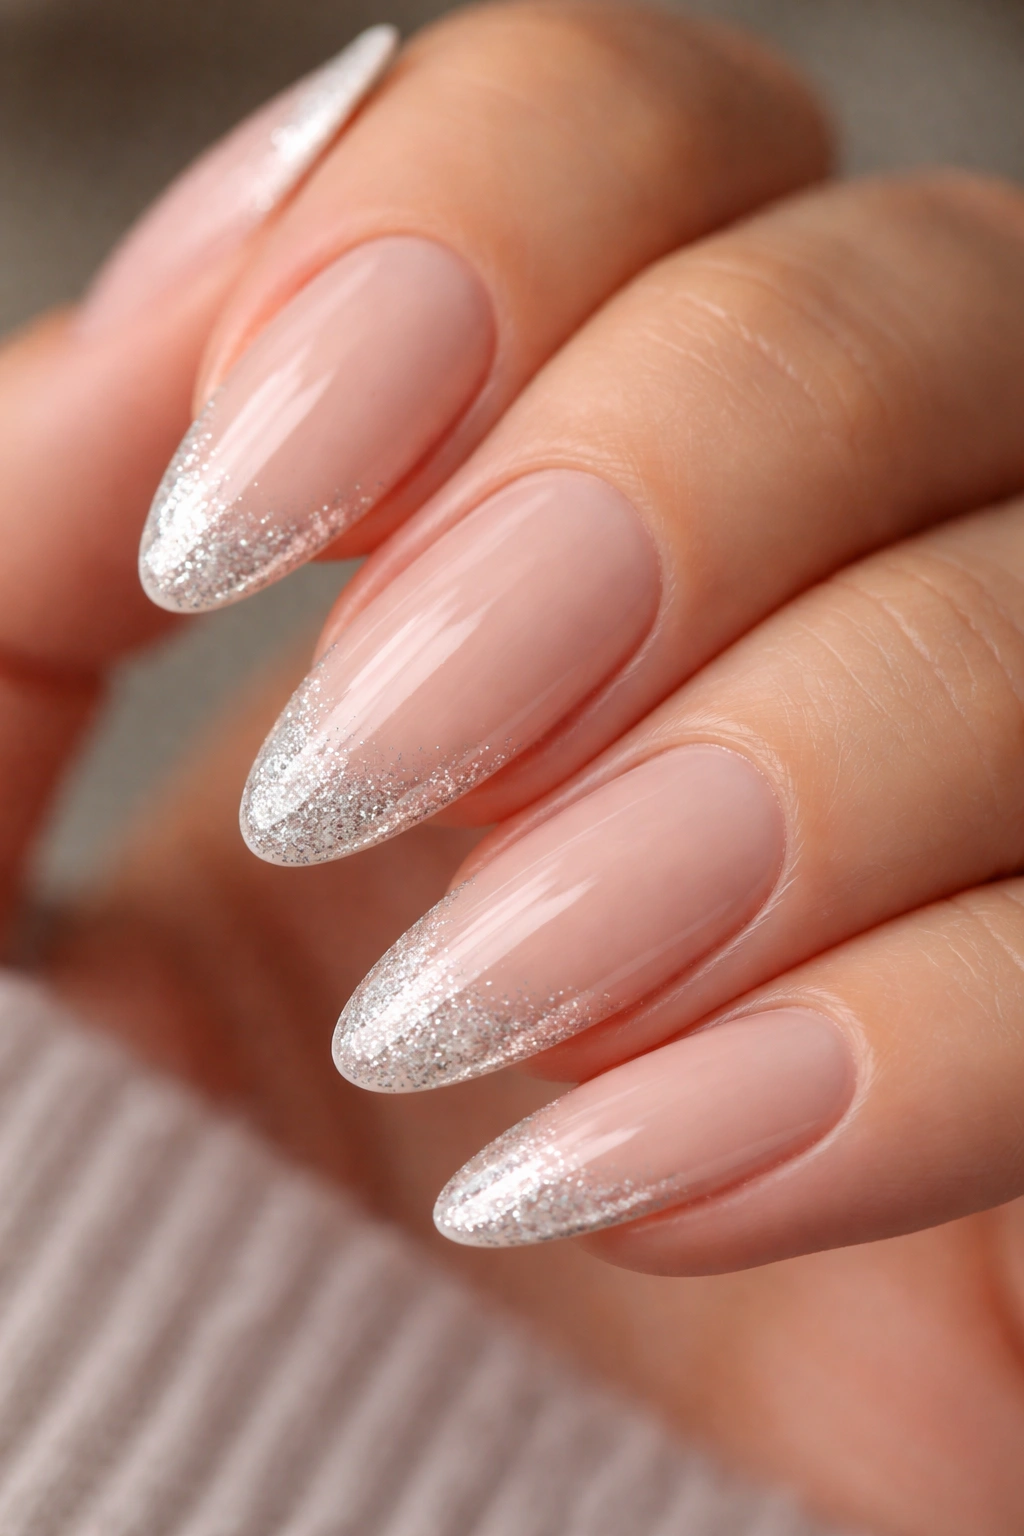
If crisp lines make you nervous, glitter French tips are your friend. Fine glitter is far more forgiving than opaque polish because the sparkle breaks up the line and hides uneven edges.
That doesn’t mean you should dump glitter all over the tip and hope for the best. A neat glitter fade or packed glitter edge works. A chunky silver blob does not.
Why beginners usually do better with glitter
Glitter polish has built-in visual texture. That means tiny gaps, brush marks, and edge imperfections are less obvious. It’s the same reason sheer shimmer polishes are easier to wear than flat pastel creams when your application isn’t perfect.
A good beginner setup is:
- sheer beige or pink base
- fine silver, champagne, or rose gold glitter
- thin tip concentrated at the edge
- clear top coat to smooth the texture
Best way to place glitter
Use a small sponge or dab with the polish brush, concentrating the sparkle at the free edge and tapering upward by 1 to 2 mm. If you want a more defined French look, paint a thin clear line first, then pat glitter over it.
Skip oversized craft glitter. Nail glitter should be fine enough to lie flat under top coat.
9. Thin Black French Tip for a Cleaner Graphic Look
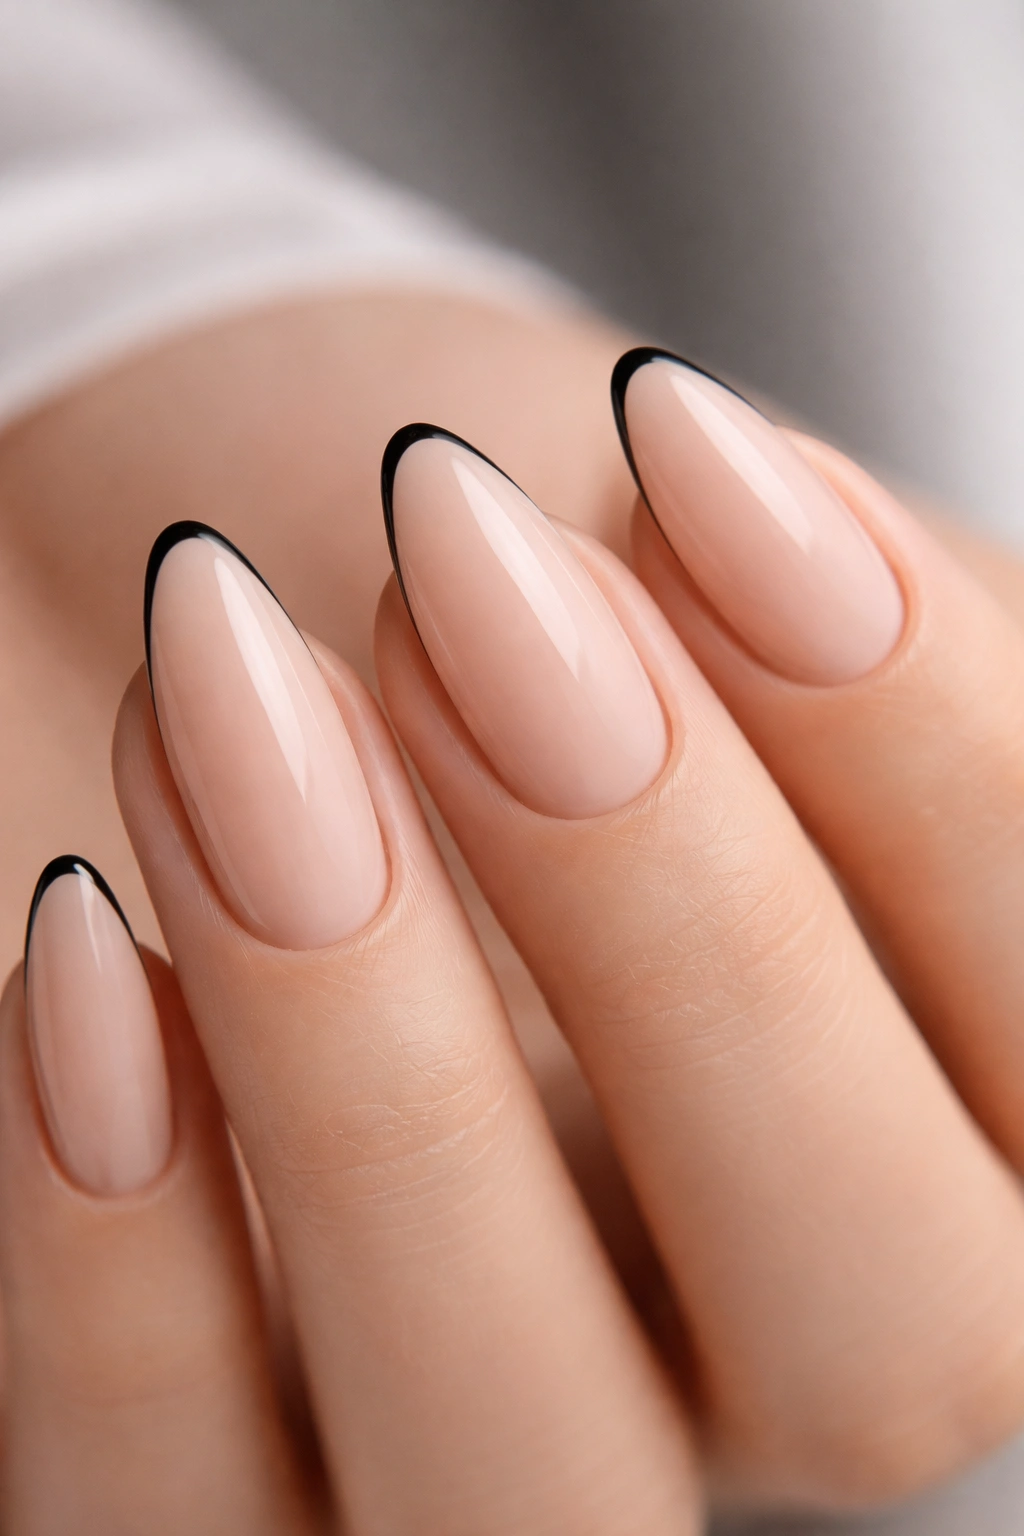
Black French tips sound dramatic, but on almond nails they can look surprisingly sleek, especially when the line is thin. This design works for beginners who have a steadier hand with graphic shapes than with soft bridal-style details.
There’s less softness here, and that’s the point.
Why black can be easier than white
Black polish is often more fluid and more opaque in one coat than white polish, which has a habit of going chalky or streaky. A single thin black line on a nude base can look sharper with less effort.
The catch is cleanup. Black shows mistakes immediately, so keep remover and a fine angled brush nearby.
Who this style suits best
Unlike pastel or cream tips, black French tips lean modern and a bit fashion-forward. They look especially good on:
- short to medium almond nails
- neutral or sheer pink bases
- glossy finishes rather than matte
- slimmer tip widths under 2 mm
If you’re trying this at home, keep the line skinny. Once black gets thick on an almond nail, the design can start looking heavy.
My take: this is one of the best non-traditional French tip almond nail ideas if you want something simple but not sweet.
10. Pastel Blue French Tips for a Soft Color Pop
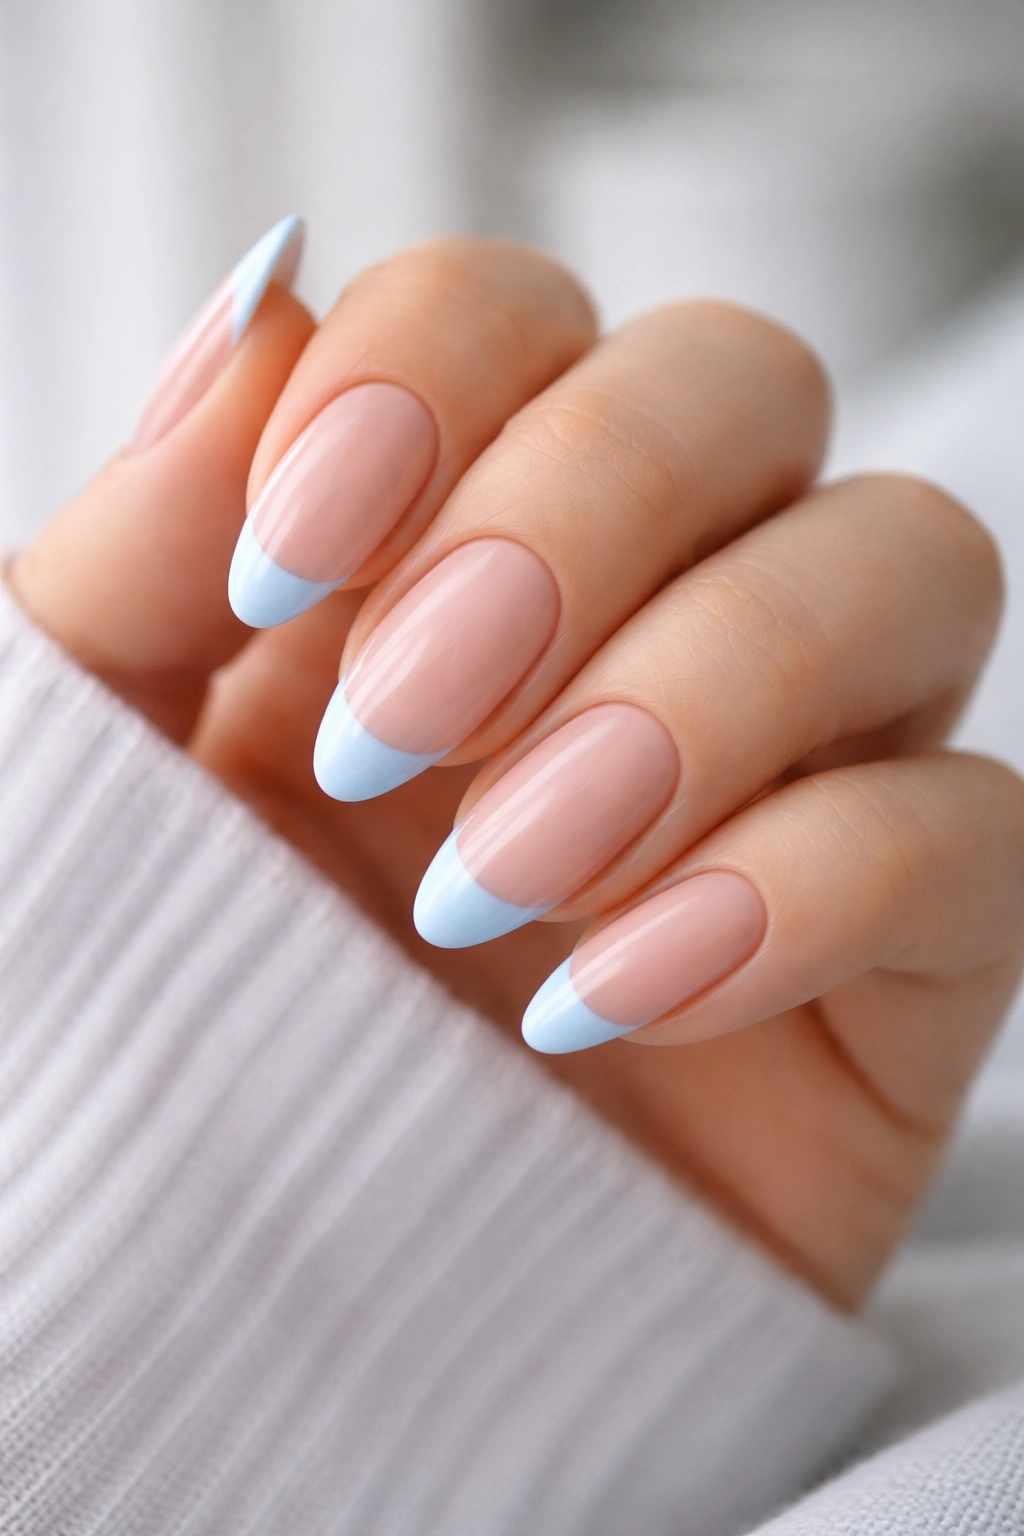
Sometimes white feels predictable. A pastel blue French tip keeps the same beginner-friendly structure while adding more personality.
Blue works better than people expect because it still reads clean. A pale robin’s egg, sky blue, or dusty pastel blue gives contrast without turning the manicure into full-on nail art. On a sheer nude base, it feels light and crisp.
How to keep it wearable
Use a muted pastel, not a neon. Bright electric blue can overwhelm the softness of almond nails unless that’s the whole point. For a first attempt, a dusty or milky pastel is easier to control and easier to wear.
You’ve got two good options:
- a classic curved pastel tip
- a micro French pastel edge
The second one is usually simpler, especially on shorter nails.
Placement matters more than color here
Keep the blue concentrated at the outer edge. If you drag the tip too low, the manicure can start looking blocky. Almond nails need that taper to stay visible.
A thin coat is often enough. If you need a second coat, let the first set for 3 to 5 minutes so you don’t drag the color and create bald patches.
11. Side French Tip With a Minimal Curve
Here’s a style I wish more beginners knew about: the side French tip. Instead of outlining the full free edge, you paint color along one side of the tip with a curved sweep toward the center. It’s modern, flattering, and much easier than trying to mirror ten perfect smile lines.
That asymmetry helps.
What it looks like in practice
Picture a nude almond nail with white, cream, or pastel color hugging one side of the tip, almost like a corner French but softer. Because almond nails already taper, the side tip follows the shape naturally.
You can paint it with one controlled motion:
- Start at one sidewall near the tip
- Sweep the brush inward toward the center
- Fill the outer corner
- Leave the opposite side mostly bare
Why this one punches above its weight
The side French gives you a nail-art look without requiring much extra skill. It also works well if your nail lengths are not perfectly matched, because the asymmetry distracts from minor shape differences.
Use this style when:
- your French curves keep coming out uneven
- you want something cleaner than full nail art
- you’re doing your nails in a hurry
- your dominant hand is hard to paint neatly
It has personality, but it’s still restrained. Good combination.
12. Ombre French Fade on Almond Nails
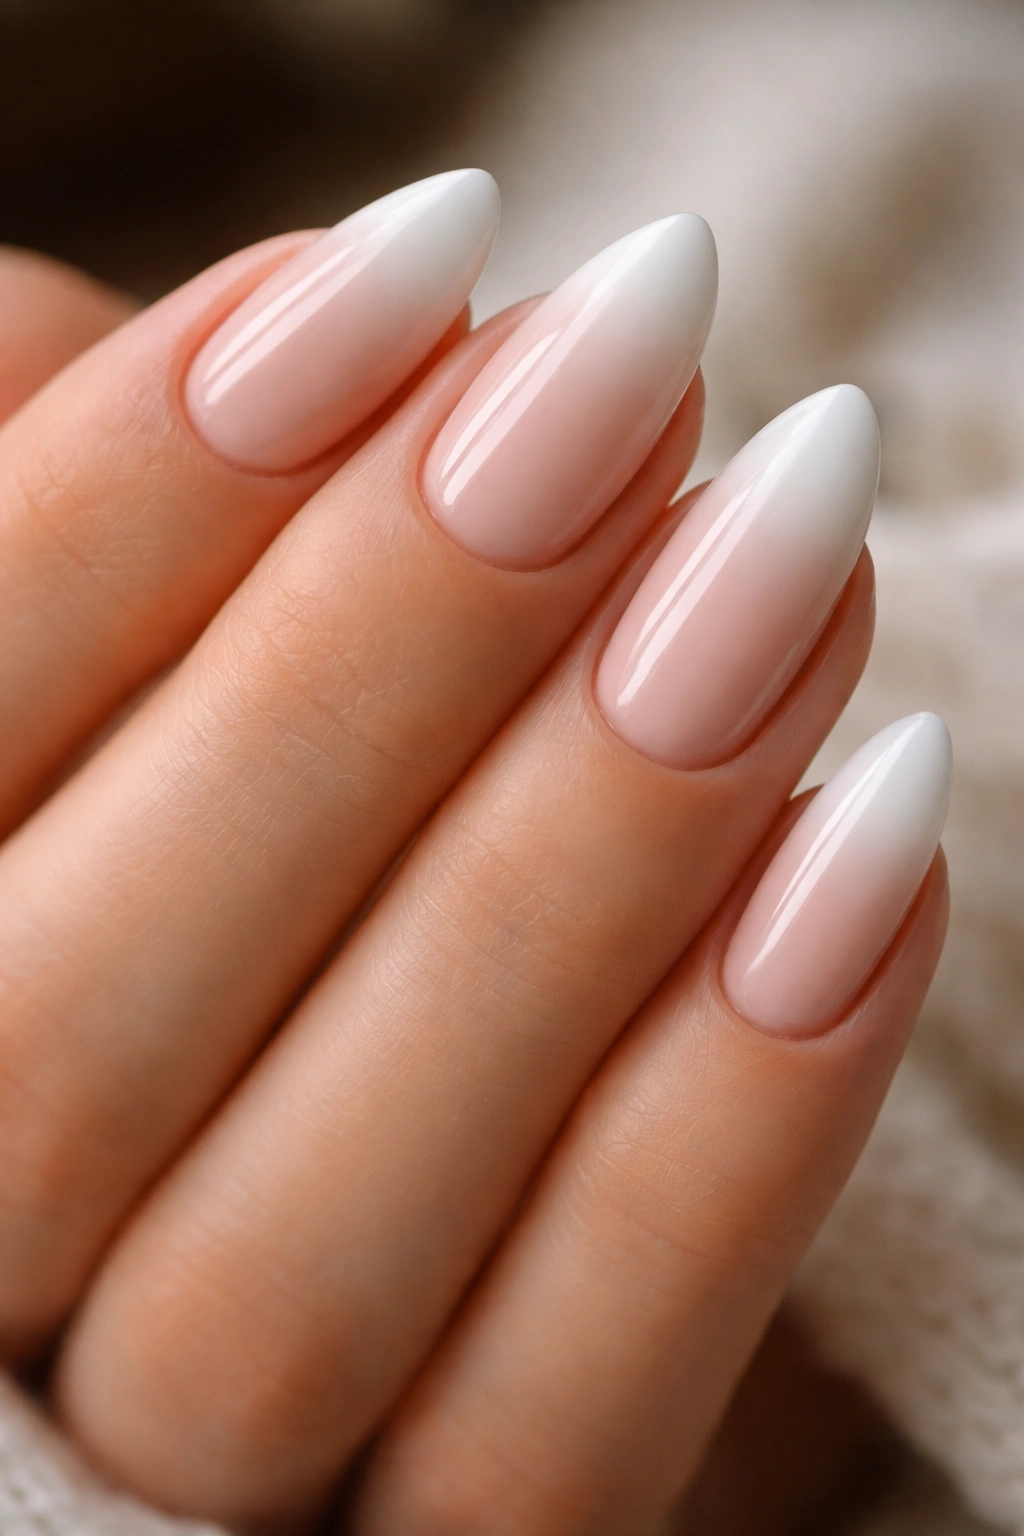
Strictly speaking, an ombre French fade is softer than a true tip line, but it belongs in this conversation because it gives the same polished effect and can be easier for shaky hands. Instead of drawing a crisp smile line, you blend white or cream upward from the edge.
This one takes patience, not drawing skill.
The easiest way to do it
Use a makeup sponge. Paint your sheer nude base and let it dry fully. Then apply a stripe of white or cream onto the sponge and dab lightly at the tip, working upward in tiny taps.
The fade should cover only the top quarter to third of the nail. Any higher and the nail starts losing the French look.
What beginners get wrong
Most people use too much polish on the sponge. That floods the tip and leaves a thick, uneven patch instead of a haze. Start with less than you think you need. Dab off excess on foil first if necessary.
A milky top coat can help soften the blend further. So can one layer of sheer pink jelly polish over the fade before your final glossy top coat.
Worth knowing: this style hides uneven natural nail tips better than a classic French, which is useful if your free edges are different shades or lengths.
13. Gold Foil French Accent Tip
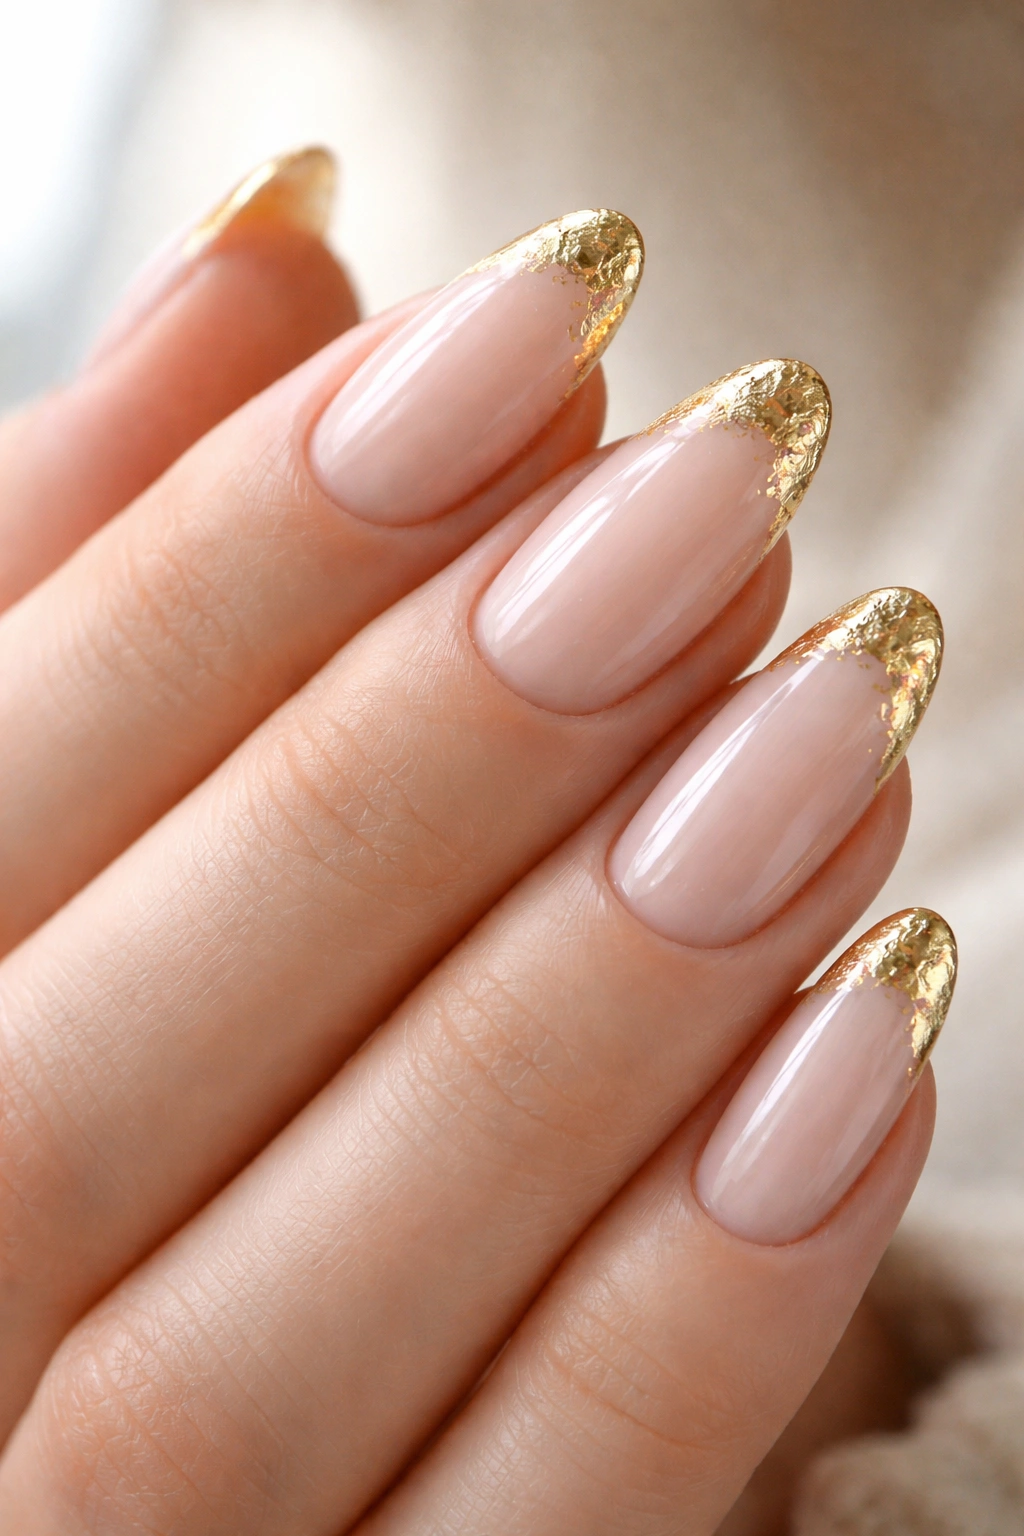
Not every beginner French manicure needs to look traditional. A gold foil accent tip gives you the French placement without the pressure of a perfectly painted line. Foil has irregular edges by nature, so small inconsistencies read as part of the design.
That’s a gift to DIY nails.
How to make foil look polished, not random
Start with a neutral base. Paint or dab a thin curved strip of foil adhesive or slightly tacky top coat near the free edge. Press tiny pieces of gold foil onto that area using tweezers or a silicone tool.
You can keep the edge fragmented or lightly overlap pieces to create a more solid tip effect. On almond nails, I prefer a broken metallic edge rather than a full heavy band. It looks lighter.
A few smart ways to use it
- Gold foil on all ten nails for a dressier set
- Foil only on ring fingers and thumbs
- Cream micro French on most nails, foil on two accent nails
- Rose gold foil if yellow gold feels too warm on your skin
Seal carefully with 2 layers of top coat if the foil edges lift. One layer often isn’t enough.
14. Reverse French With a Nude Tip and Framed Edge
A reverse French usually highlights the base of the nail, but there’s a beginner-friendly variation that works beautifully on almond shapes: a framed edge that outlines part of the nail while leaving the center nude or sheer. It still reads French-adjacent, but with a cleaner graphic twist.
This is one of those designs that looks harder than it is.
Why framing works on almond nails
The almond shape already narrows toward the tip, so a slim outline along the edges emphasizes that taper. You don’t need to fill much space. You’re guiding the eye, not covering the whole nail.
Try a thin white or cream border starting from one side of the tip, curving around the free edge, and trailing a short distance down the sidewalls.
Tools make the difference here
Use a liner brush, not the bottle brush. A brush around 5 to 7 mm gives more control on curved edges. Keep the line thin, and do not worry if each nail isn’t a perfect copy. As long as the weight of the outline looks balanced, the set will feel cohesive.
This design suits people who like French manicures but are tired of the same old smile line.
15. White French Tip With a Tiny Dot Accent
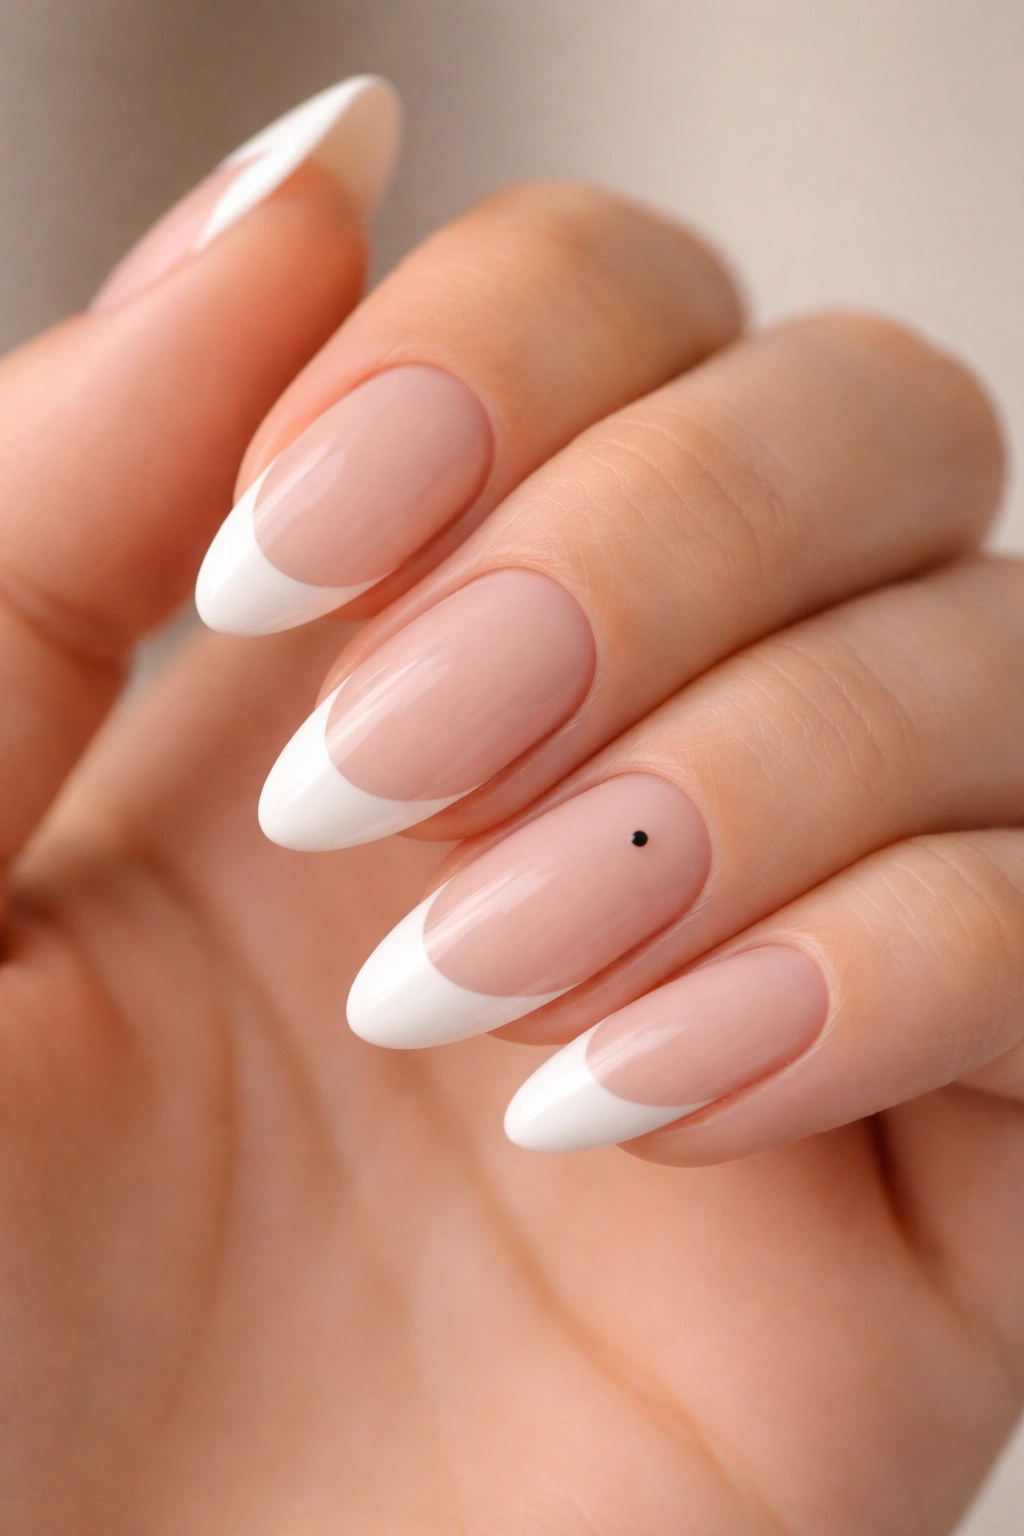
If you want to practice French tips without diving into complicated art, add a single tiny dot accent. One dot. Maybe two on accent nails if you’re feeling ambitious. The design stays beginner-friendly, but it looks more considered than a plain classic set.
And small details can save a simple manicure from looking flat.
Where to place the dot
The cleanest options are:
- centered just above the smile line
- near one side of the nail bed
- at the cuticle area on one or two accent nails
- matching dot color to the tip or using metallic silver/gold
Use a dotting tool, the end of a bobby pin, or even a toothpick. The dot should be small—around the size of a pinhead, not a sequin.
Why this is a smart practice design
You learn two useful skills at once: painting a balanced tip and placing a controlled detail. The dot also draws attention away from tiny imperfections in the French line. Not enough to hide a mess, no. But enough to make the set feel intentional.
If your French manicure looks a little plain but you don’t want rhinestones, stickers, chrome powder, or anything fussy, this is the move.
Shaping Almond Nails Before You Paint
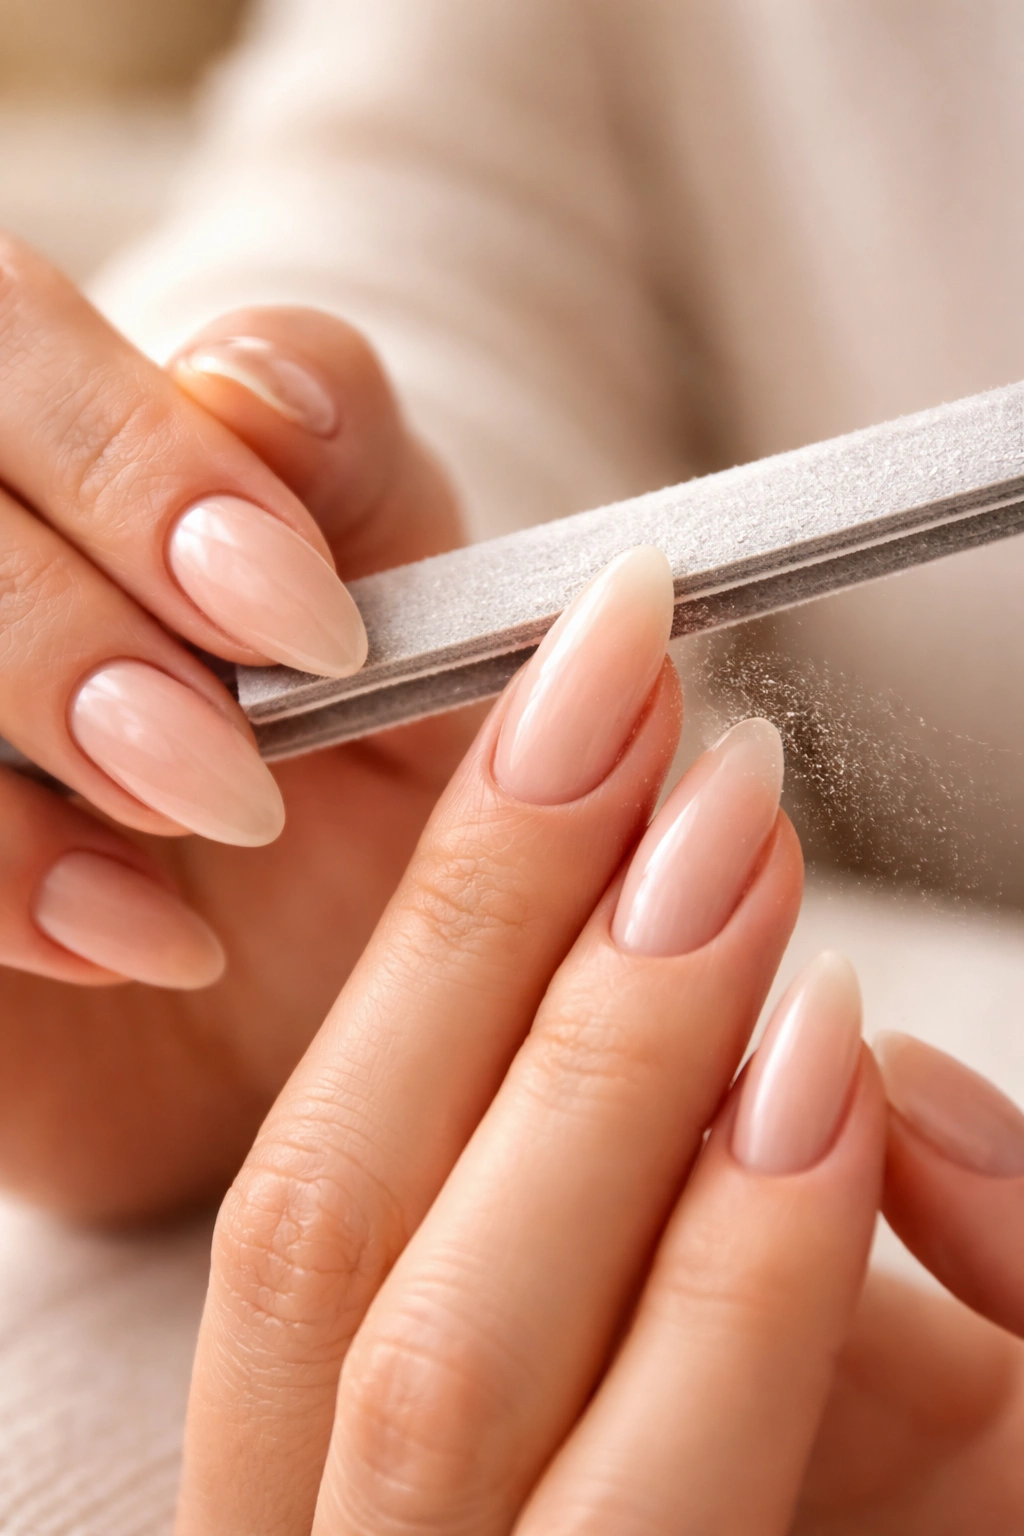
A French tip looks only as good as the shape underneath it. If the almond shape is crooked, the tip will look crooked even when the line itself is clean. That’s why I always think shaping matters more than the art for beginners.
Start with nails that are at least slightly longer than your fingertip. You need a little free edge to create a true almond silhouette. File the sidewalls first, angling inward gently, then round the tip into a soft point. Think tapered oval, not claw.
A quick shaping checklist
- Use a 180-grit file for natural nails
- File in one direction if your nails peel easily
- Check symmetry by turning your hand palm-up
- Compare all nails after every few strokes, not only at the end
- Soften the point so it doesn’t catch on fabric or hair
If one nail breaks shorter than the rest, file the whole set slightly shorter and keep the proportions even. A matched set of medium almonds looks better than nine long ones and one awkward rescue job.
The Easiest Tools for DIY French Tip Almond Nails
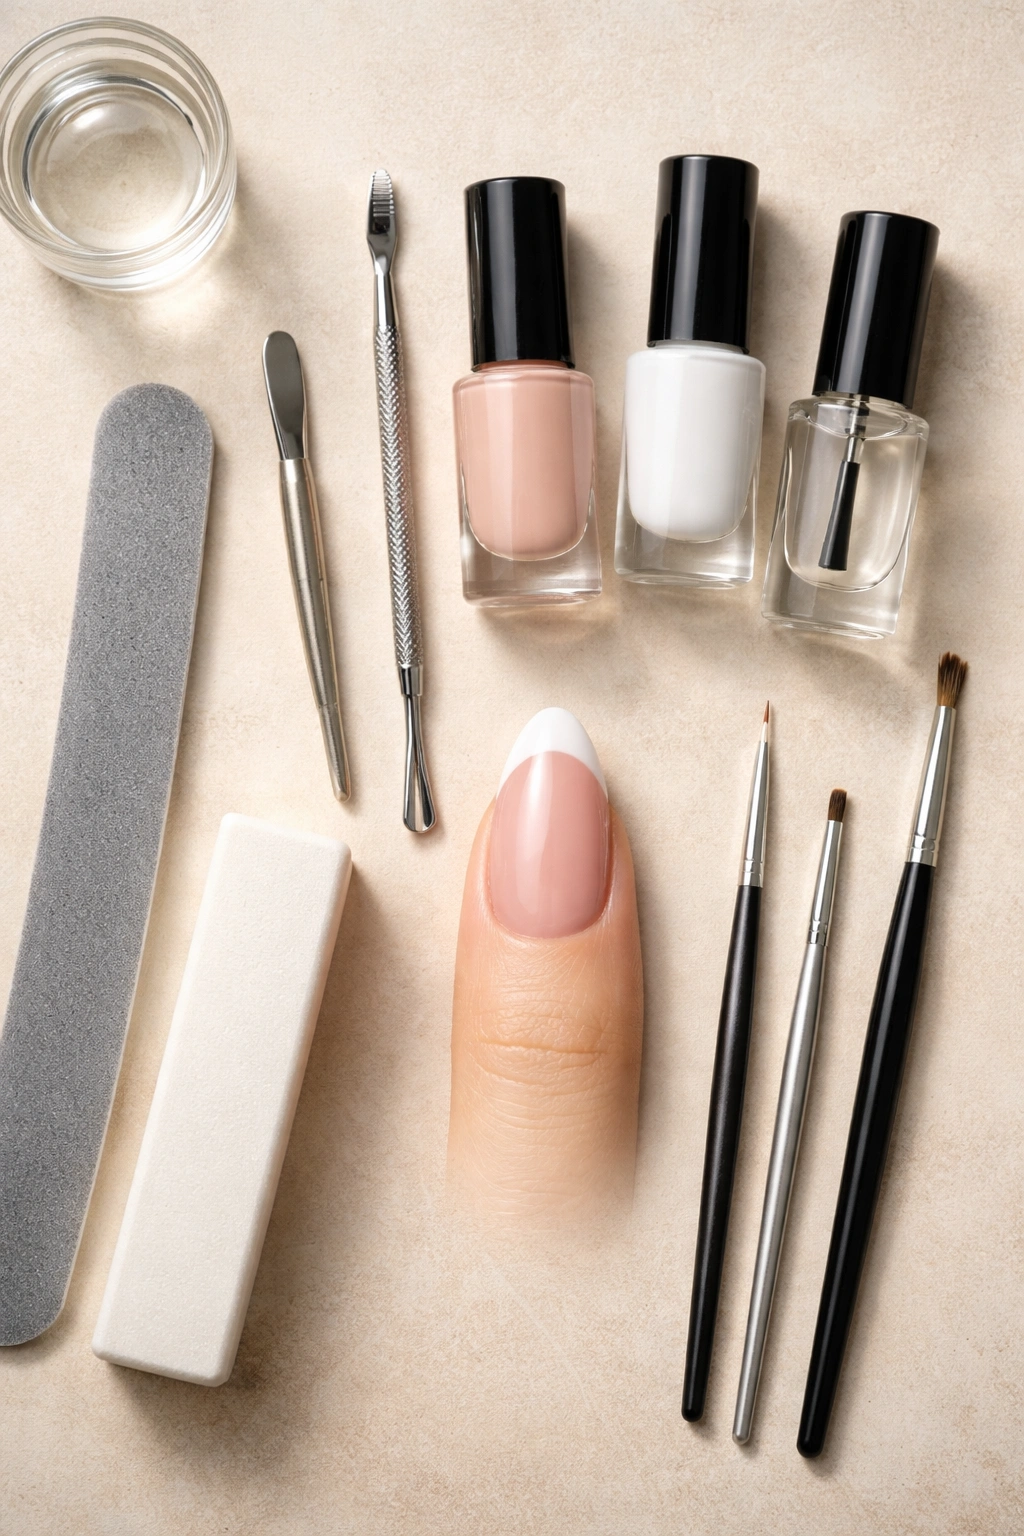
You do not need a drawer full of nail gadgets. Some tools help, though, and a few make the job much less annoying.
Here’s the basic kit I’d recommend for DIY French tip almond nails:
- 180-grit nail file for shaping
- Buffer block for smoothing ridges
- Cuticle pusher or orangewood stick
- Base coat to help polish grip
- Sheer nude, pink, or peach polish for the base
- White, cream, black, pastel, or glitter polish for tips
- Liner brush for thin curves and cleanup
- Angled cleanup brush plus acetone or remover
- Glossy top coat for shine and smoothing
- Guide stickers if freehand lines make you tense
A cleanup brush matters more than most beginners realize. You do not need a perfect first stroke if you know how to sharpen the edges afterward. That single trick can make a home manicure look far more polished.
Common French Tip Mistakes That Make DIY Nails Look Clunky
Most bad DIY French tips come down to three things: thick polish, oversized tips, and impatient drying time. That’s the blunt version.
White polish is the usual troublemaker. It drags, streaks, and builds bulk fast. If your tip looks raised or gummy, you used too much product or went back over semi-dry polish.
The mistakes I see most often
- Tip width is too deep for the nail length
- Smile lines drop too low at the sides
- Almond shape is uneven from nail to nail
- Base color is patchy under the tip
- Top coat is dragged over half-dry art
- Cleanup around the cuticle is skipped
One more thing: don’t chase perfect symmetry to the point where you ruin the whole set. Nails are viewed as a group, from arm’s length, while your hands are moving. If one smile line sits half a millimeter higher than another, you’re probably the only one who will ever notice.
How to Make Your French Tip Manicure Last Longer
A good DIY French manicure should last 5 to 7 days on natural nails without looking rough, and longer if you’re using gel. Durability comes down to prep, thin layers, and sealing the free edge.
Push back cuticles, remove surface oils with remover or alcohol, and avoid applying lotion right before painting. Cap the free edge with base coat, tip color, and top coat. That little swipe across the nail edge makes a difference.
Small habits that help
- Wait at least 2 hours before hot water exposure if using regular polish
- Reapply top coat every 2 to 3 days
- Wear gloves when washing dishes
- Use cuticle oil nightly, but not before painting
- Avoid peeling off chipped polish, even if it’s tempting
If one tip chips early, patch only that edge instead of repainting the whole nail immediately. A tiny repair plus fresh top coat can buy you a couple more days.
Final Thoughts
The best beginner-friendly DIY French tip almond nails are the ones you can actually finish without losing patience halfway through. That usually means softer contrast, thinner lines, and shapes that work with your natural nails instead of fighting them.
If I were narrowing this list down for a first attempt, I’d start with the micro French edge, the baby pink tip, or the glitter French edge. They’re forgiving, they look polished, and they teach the kind of brush control that makes every later manicure easier.
Once your shaping improves, the rest gets simpler. And that’s the nice part about French tip almond nails: even when you’re still learning, they tend to look a little more put-together than the effort suggests.
